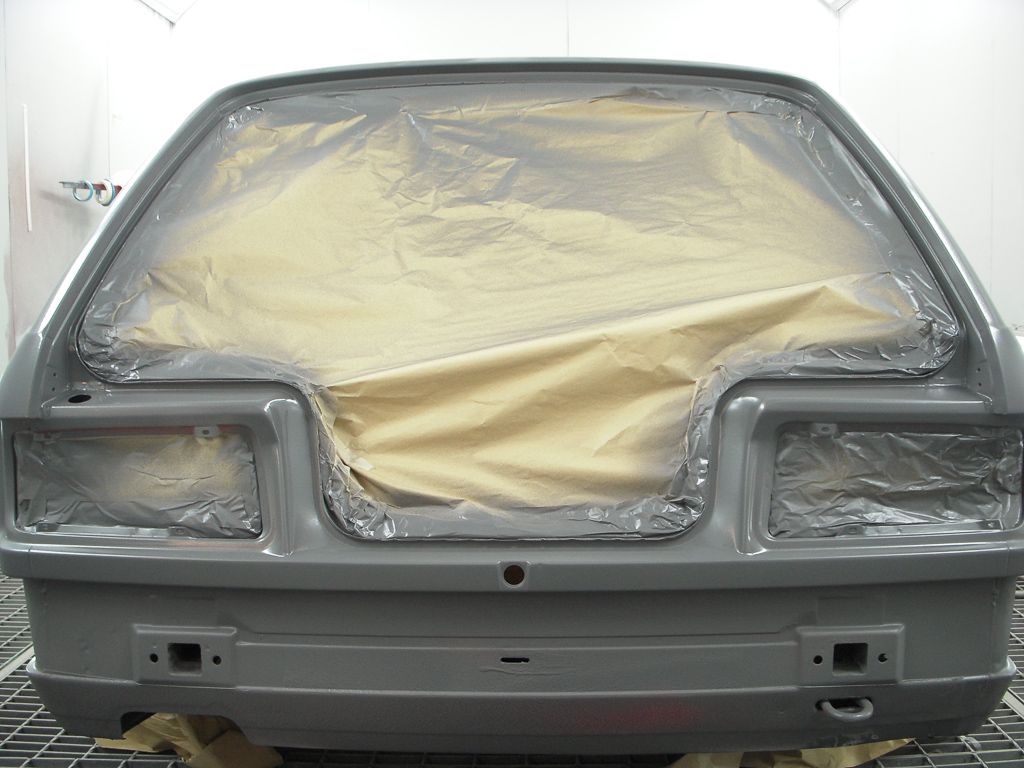
Touring M52B28 (another one from Ireland)

Collapse
X
 
  • Time
  • Show
Clear All
new posts

  • Jozi
    replied
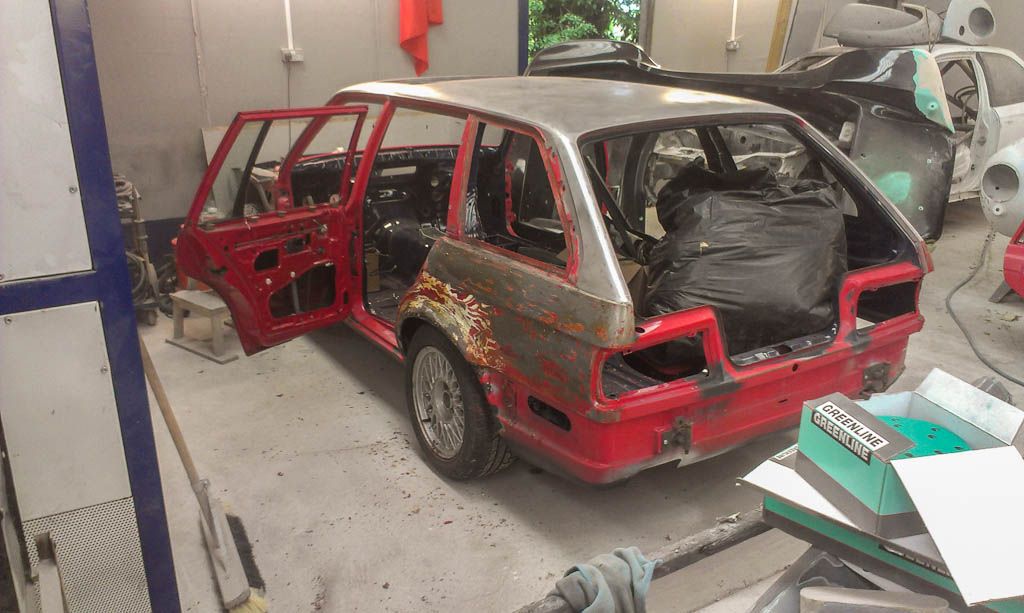
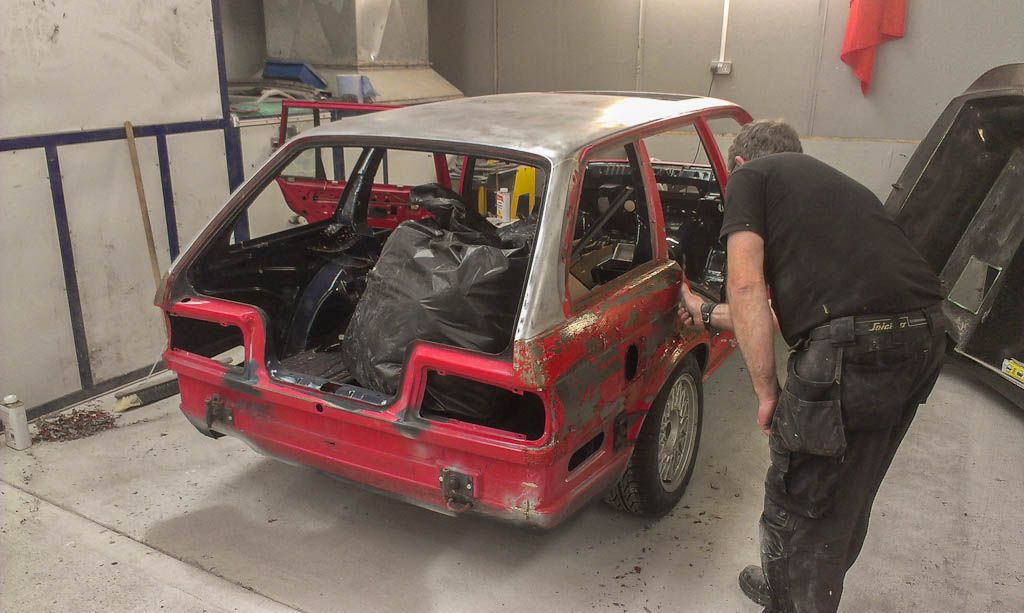
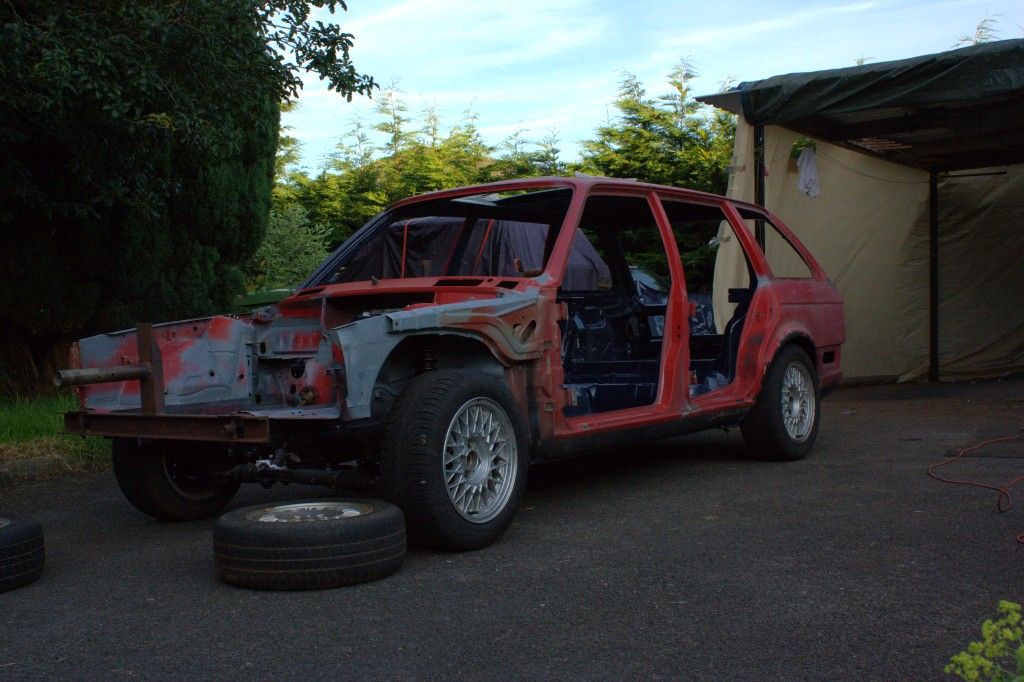
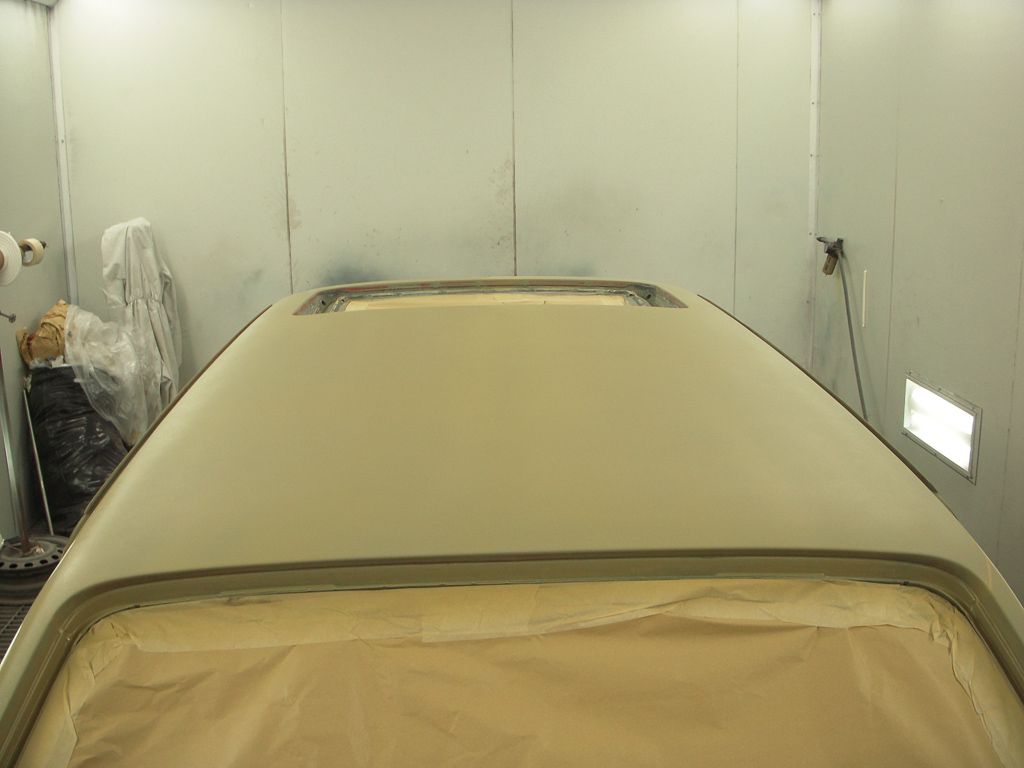
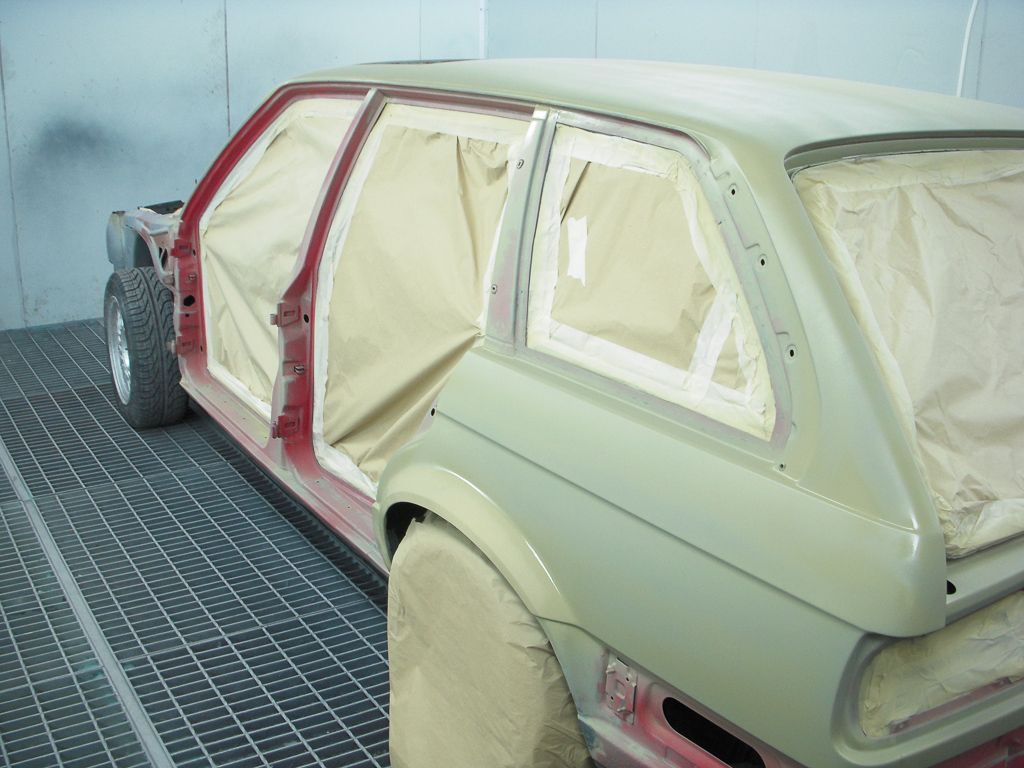
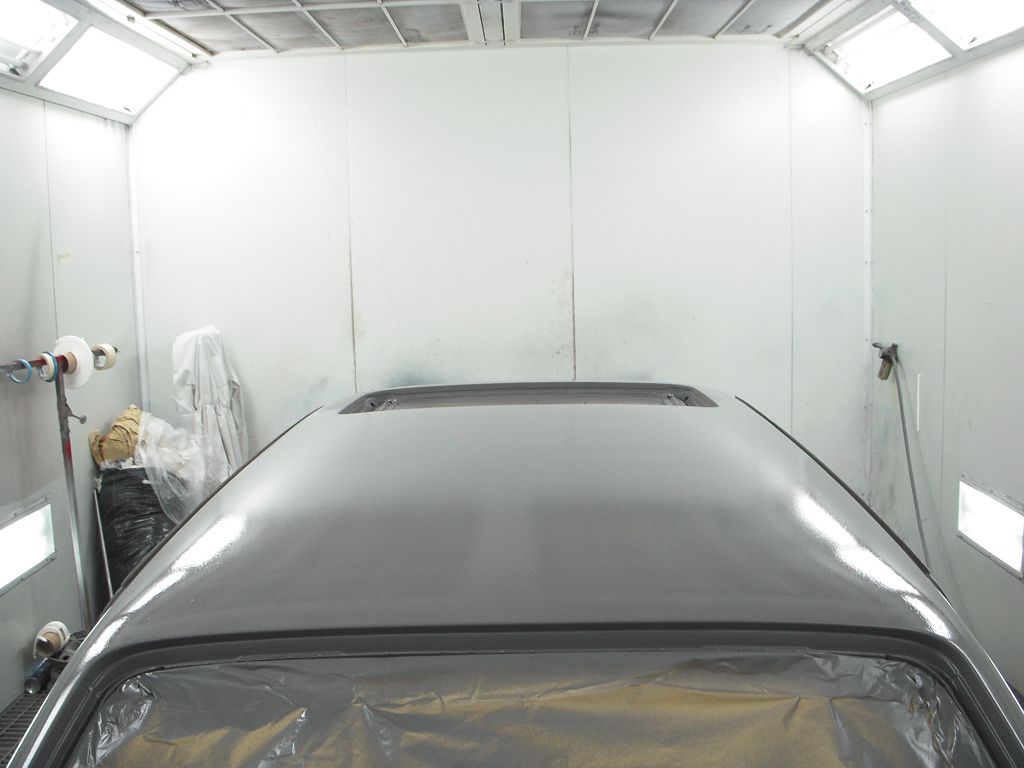
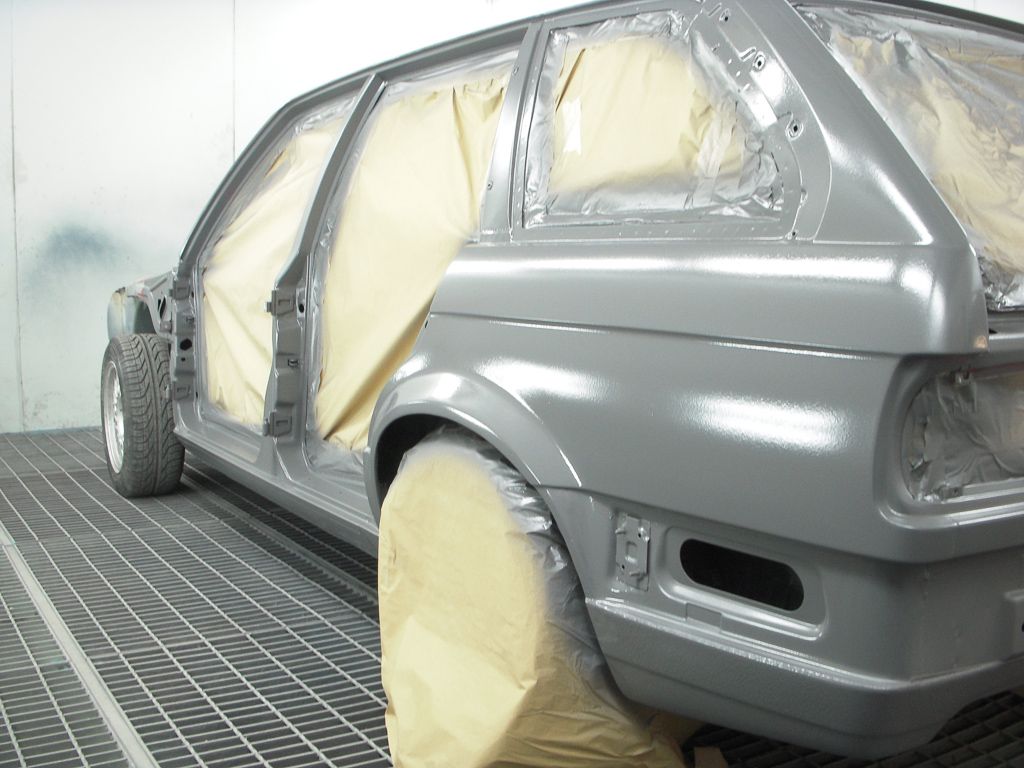
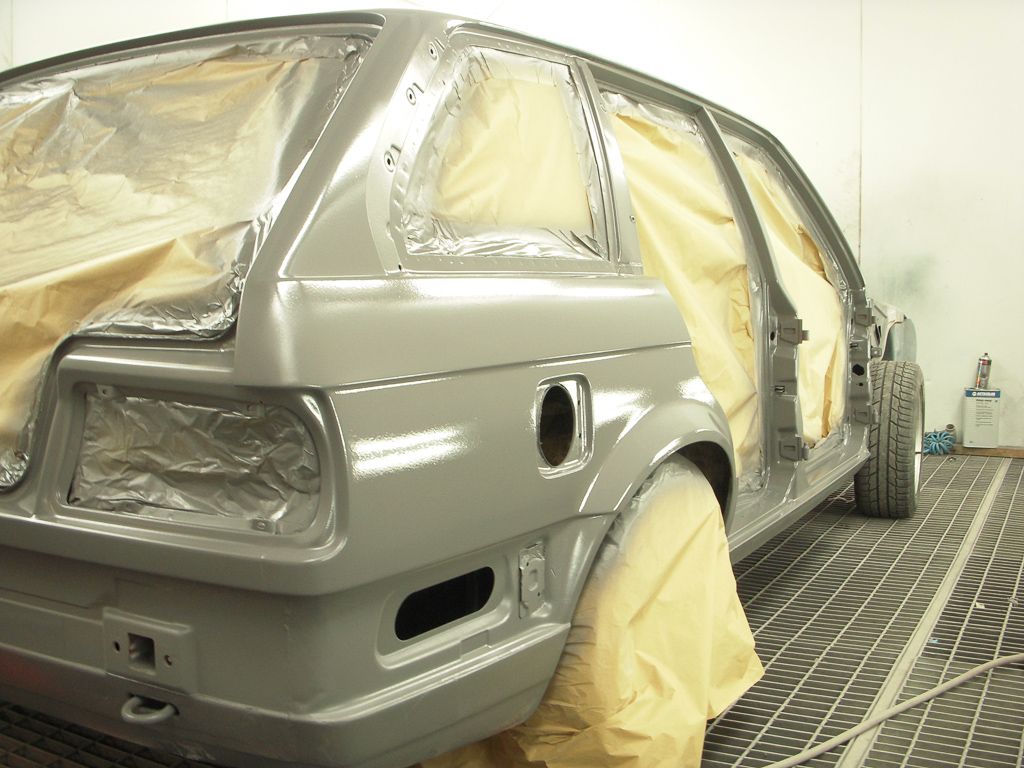
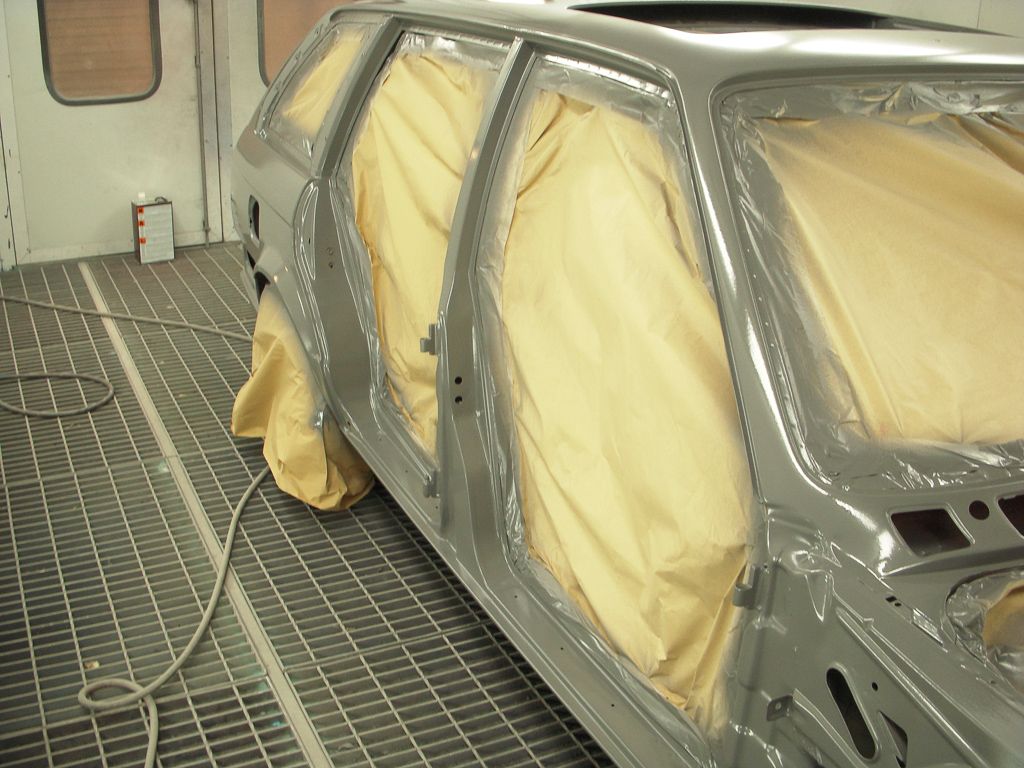
    It's been a little quiet in here so I thought I'd put these few pics up here.


    Marty's sending a panel my way this weekend with a few colours on it for me to decide on what I want to go with.

    Leave a comment:


  • Jozi
    replied
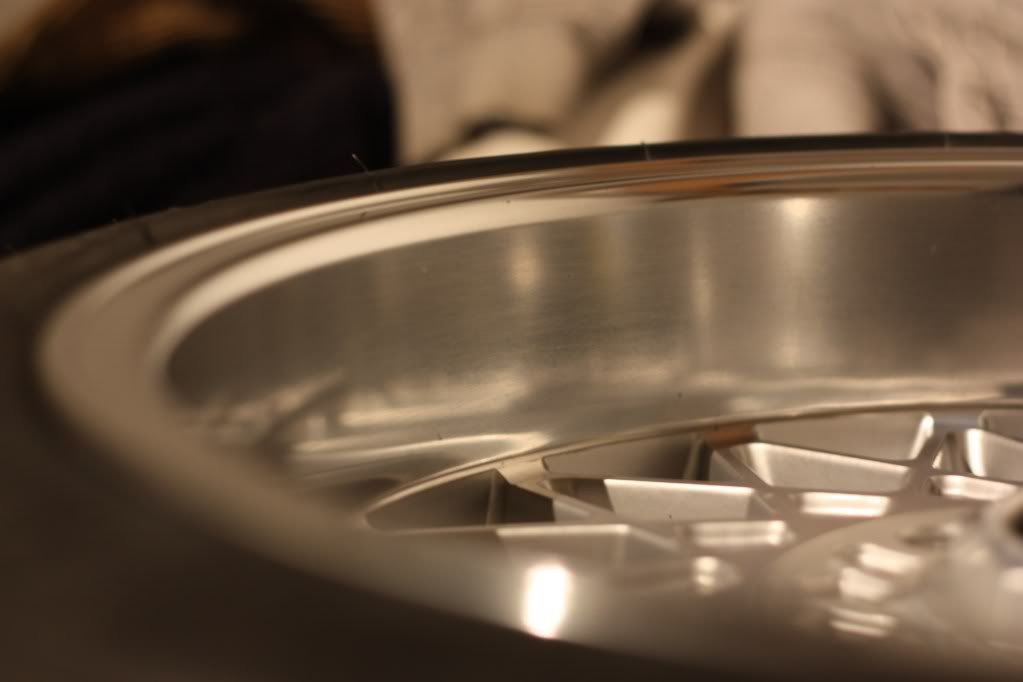
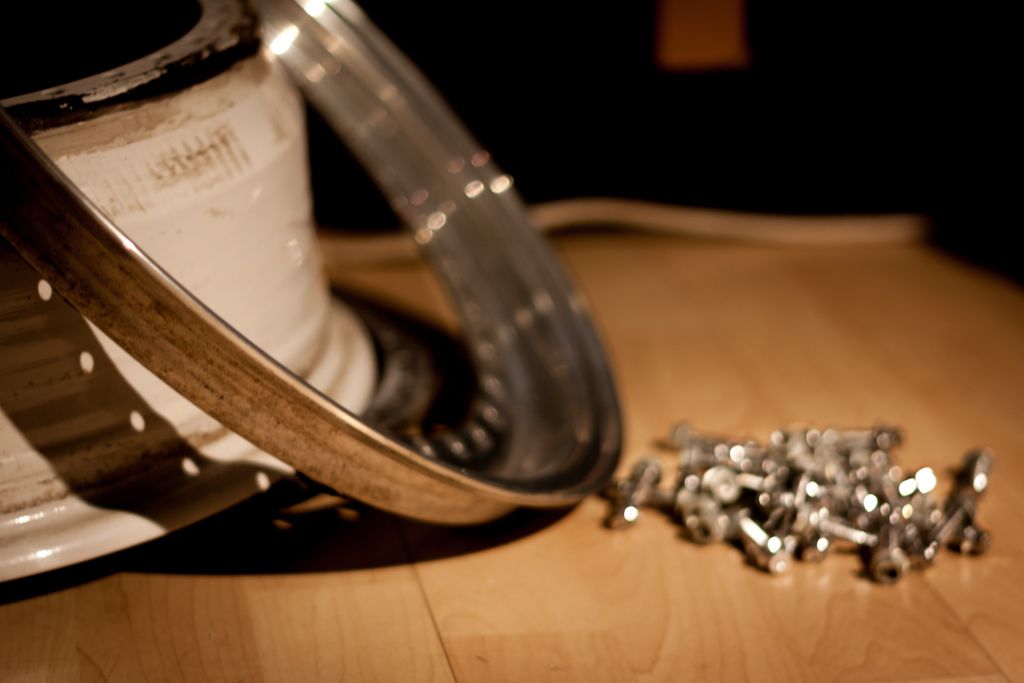
    Small side-project I'm working on. No idea when I'll get round to refurbing and widening but at least 1 wheel is now split :D

    Leave a comment:


  • mechdonald
    replied
    Originally posted by Massimo
    Wicked we need more tourings.

    Its funny all the Americans see rust and are like


    You guys in Ireland are all like


    And us Australian are like

    ... and Canadians are like "That's Nuthin'!" Shrug

    Well done on the touring

    Leave a comment:


  • Jozi
    replied

    Click image for video

    Sounds much louder than expected with only the exhaust manifold, she's a little shaky, injectors are clicking away and idle is around 16-1800rpm (4cyl clocks). No idea if this is good/bad!

    Leave a comment:


  • Jozi
    replied
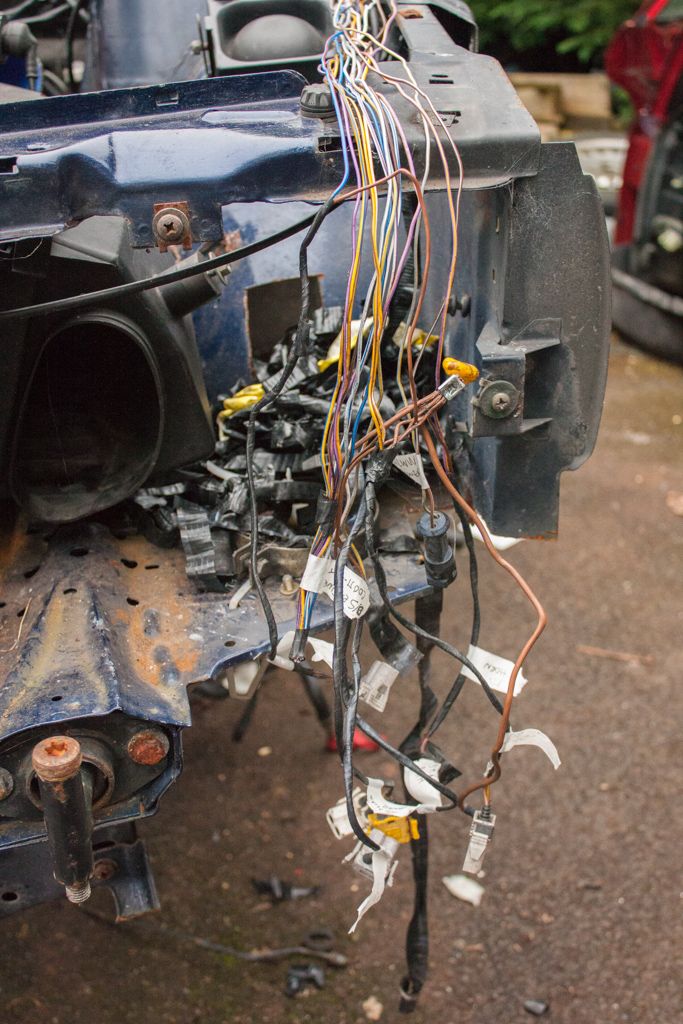
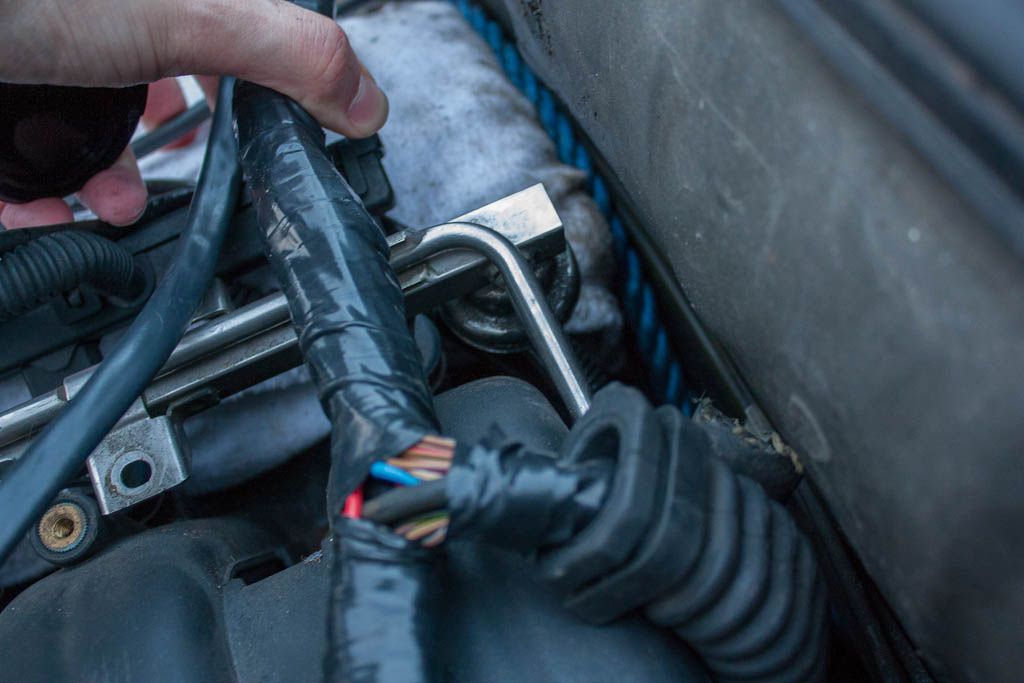
    Just a small update, got started on the wiring around the bay yesterday, going to tidy it all up and re-route some wires to make it a little neater in the bay.


    Suggestions how to go about this welcome! Have some idea's but someone might have better ones!

    Leave a comment:


  • Jozi
    replied
    Lol, it's a case of there being little or no rust free shells I think. There's a lot of rust that hides and just gets worse until it breaks the underseal and you see it.

    Leave a comment:


  • Massimo
    replied
    Wicked we need more tourings.

    Its funny all the Americans see rust and are like


    You guys in Ireland are all like


    And us Australian are like

    Leave a comment:


  • Jozi
    replied
    Thats it really, I've made a start on tidying up the wiring for the bay. Gonna try and hide as much wires as I possible can.

    Leave a comment:


  • Jozi
    replied
    19 Oct

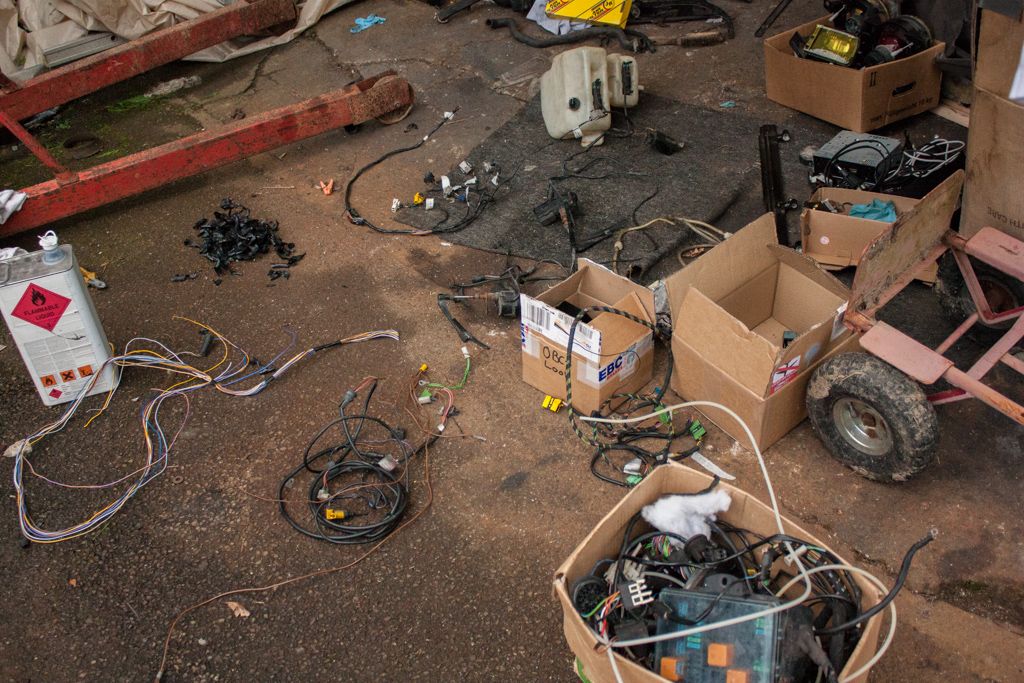
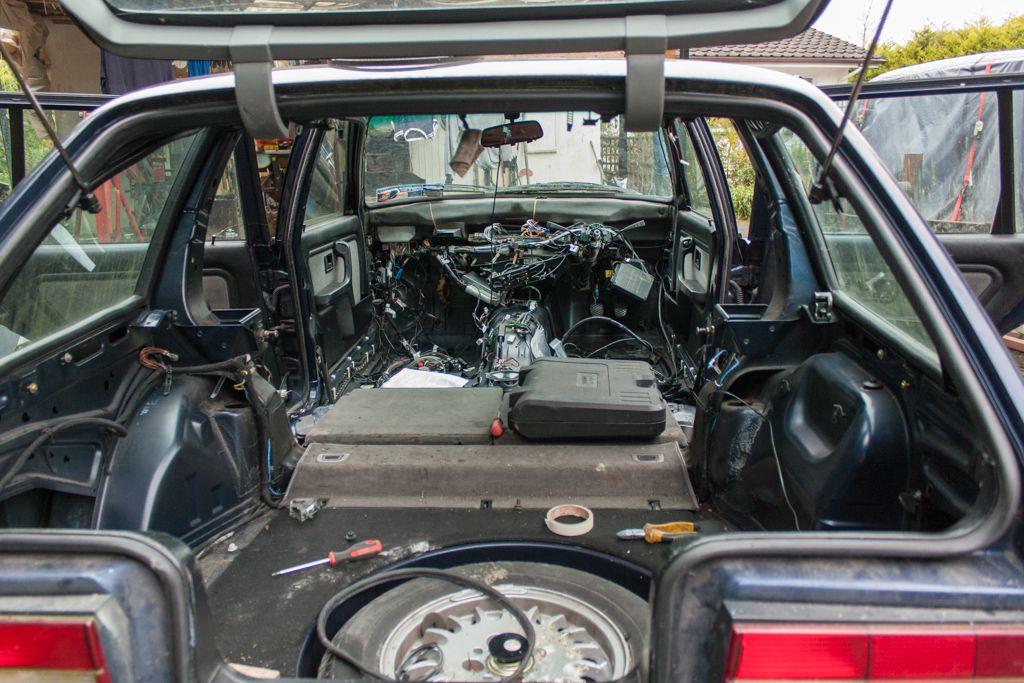
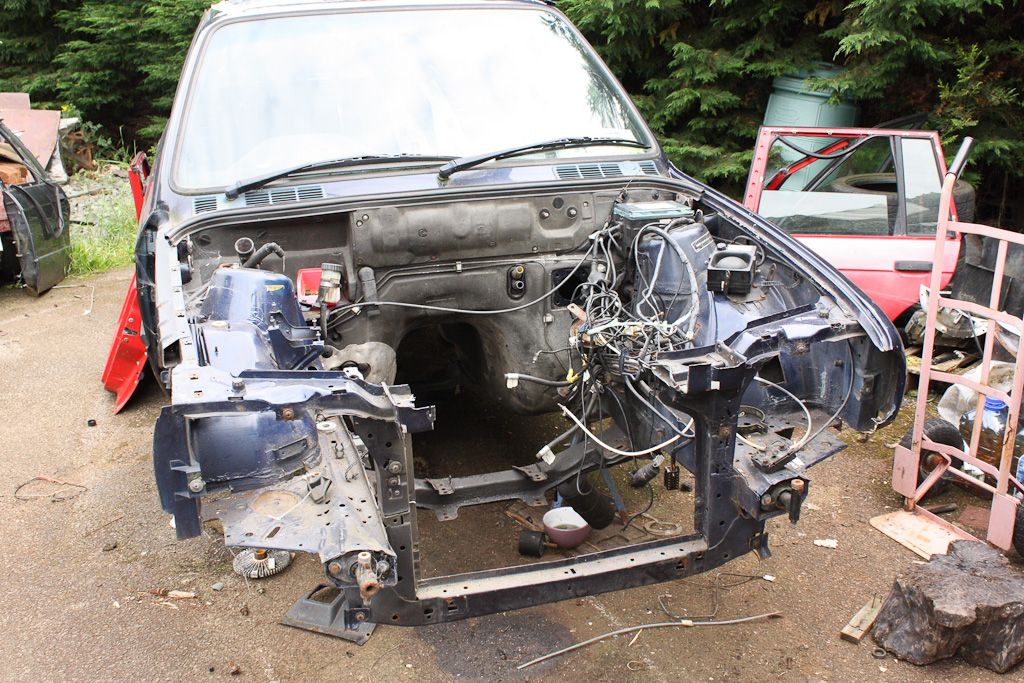
    Pretty much have the whole shell stripped down to the wiring loom


    I need to figure out how to remove the back rest and the carpet area behind it, should have the part from the red shell to look at for this.

    Few other pics of little mods I had to do related to the engine:


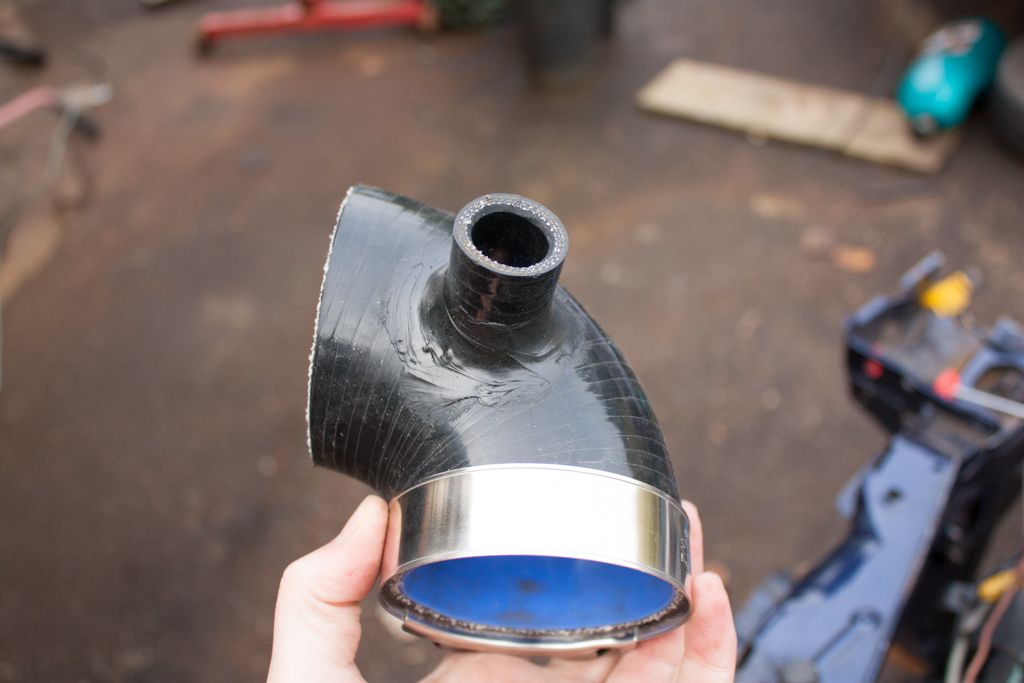
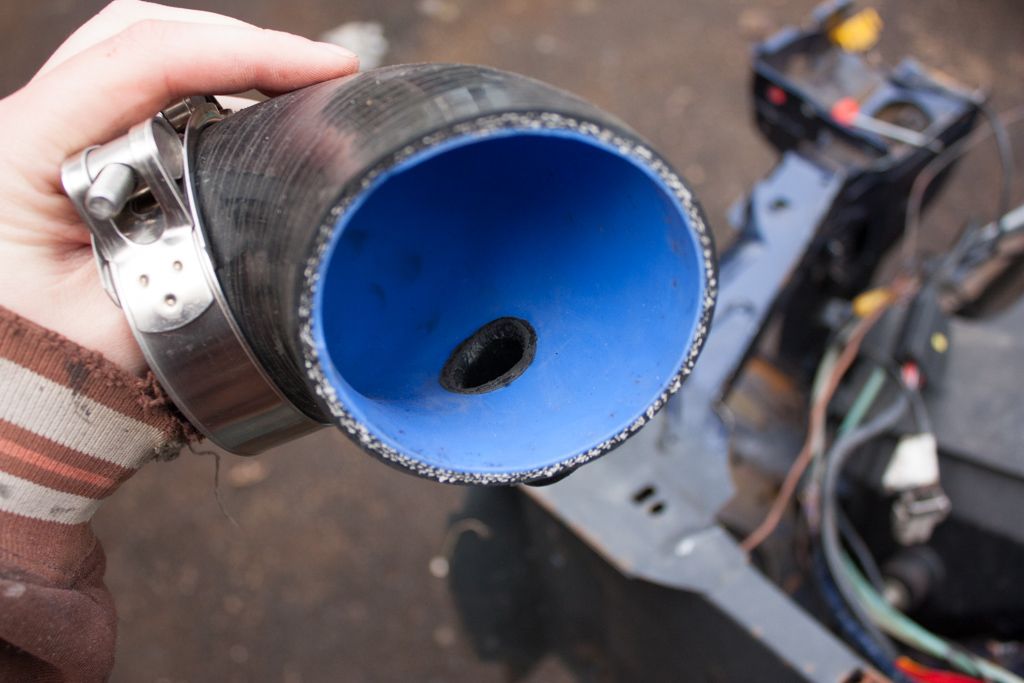
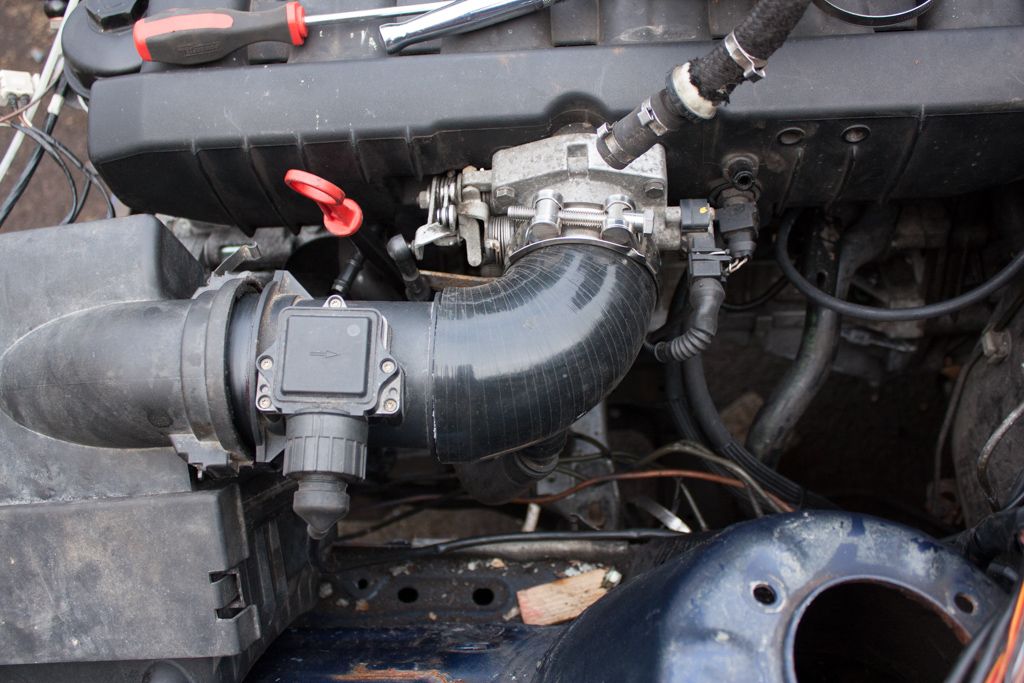
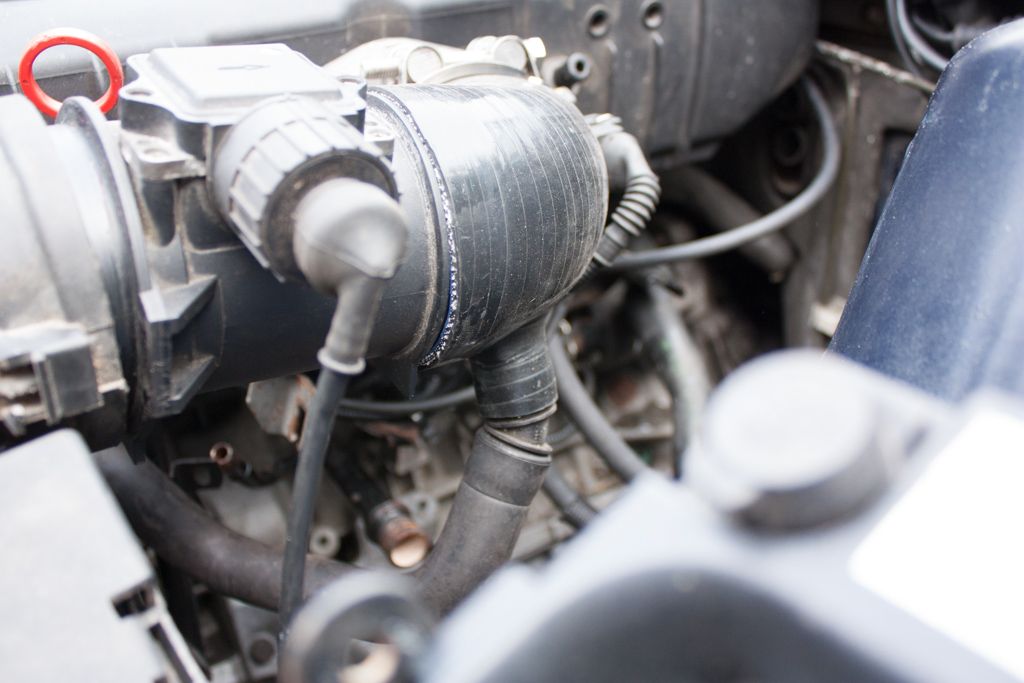
    You can buy a proper intake silicone boot from a few places in the US but by the time you have it deliverd it ends up costing something like €130 I have been talking to a Samco distributor in the Uk who I think might also be able to sell me on but for a lot less. I used a 80mm to 74mm reducing elbow and some 20mm (I think) striaght pipe for the above. Lots of trimming until I was happy how it fitted and then made a hole for the AFM T-piece on the under side.
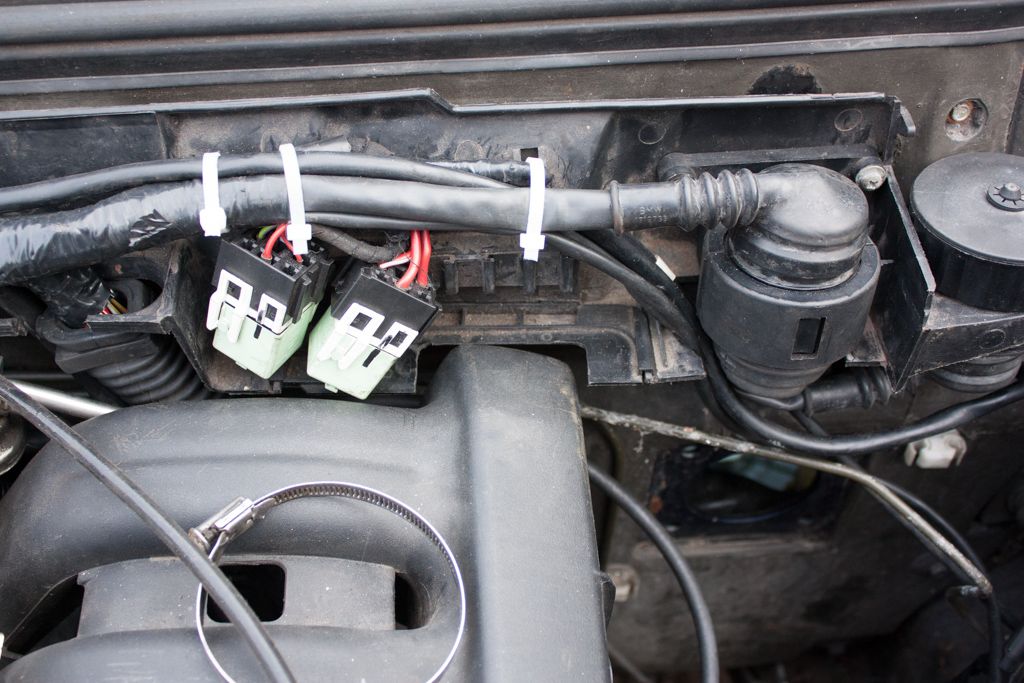
    Little bit of trimming I had to do to the wiring harness cover so that it still fits:


    There's a little trimming on the outer cover also but I can't find pics of it.

    Leave a comment:


  • Jozi
    replied
    16 Oct

    Went by the Marty earlier on today. Not a whole lot of progress due to him being sick and busy. Hopefully he'll have it in primer over the next week or two! Also visited a few car dealerships and come to the conclusion that BMW, Mini and audi are sound, Toyota were not friendly at all and Merc looked like a drug dealer.


    Leave a comment:


  • Jozi
    replied
    10 Oct

    Thanks guys, it's a labour of love (I think) getting this thing back up to scratch. I'd nearly say this shell wan't to bad, there's a lot of rust you simply don't see until you clear of the underseal.

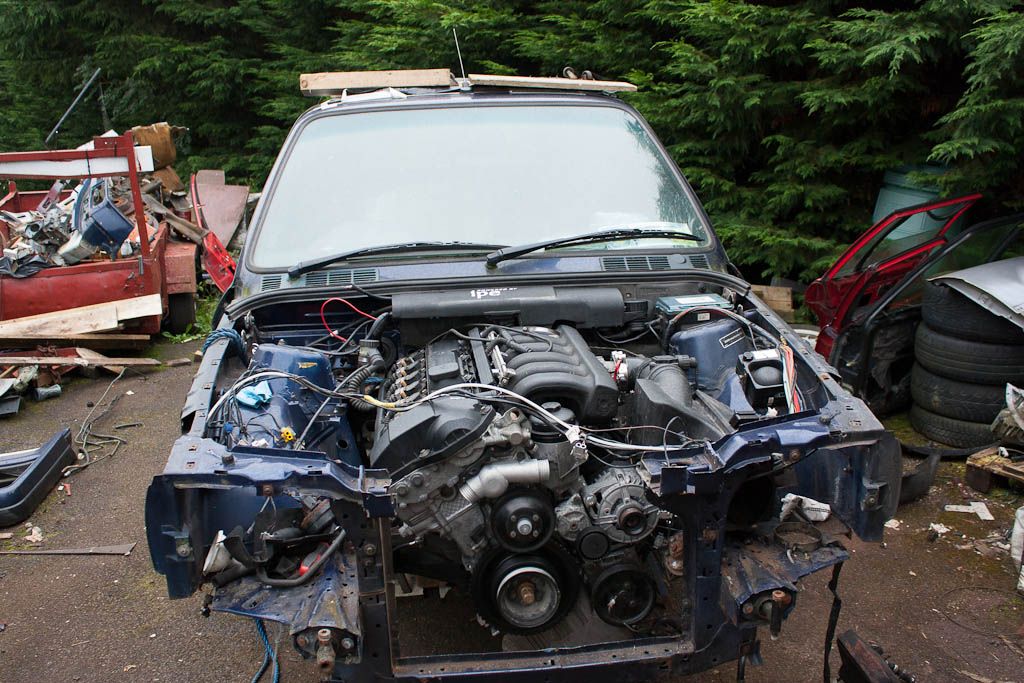
    Slow progress, again, the last week or so, have slowly been getting everything ready to get the engine to turn over. Got a new battery for her yesterday, the fuel lines are all hooked up again as is all the wiring neatly tucked inside the wiring cover (which needed a little trimming, not 100% happy on the outcome of this though), just some nut needed on the bushes and a few small things. This is how she stands as of this evening:


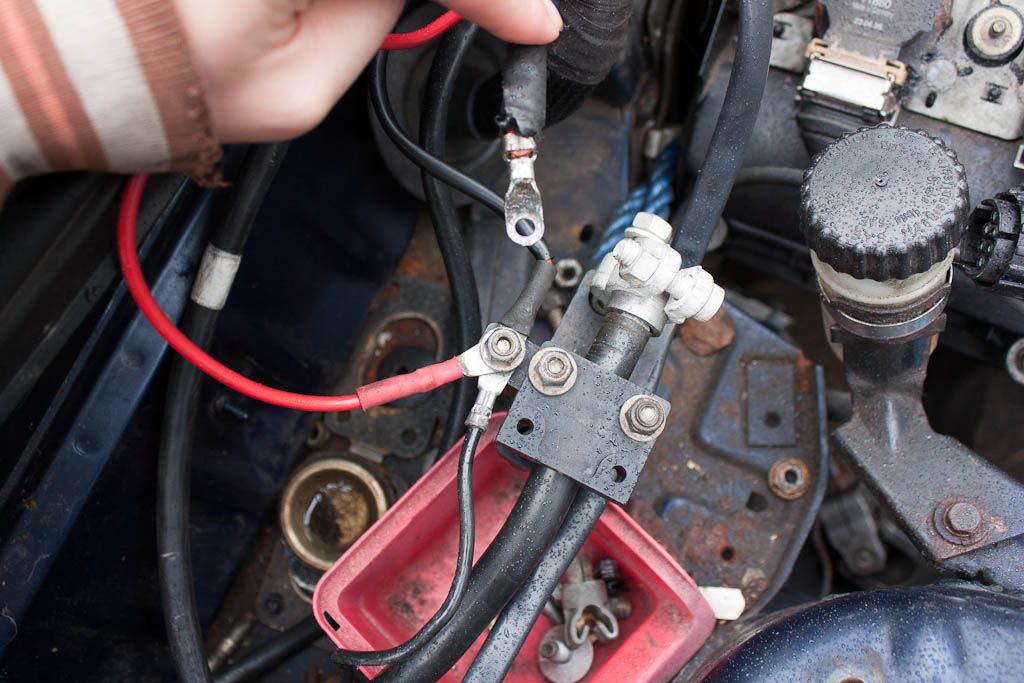
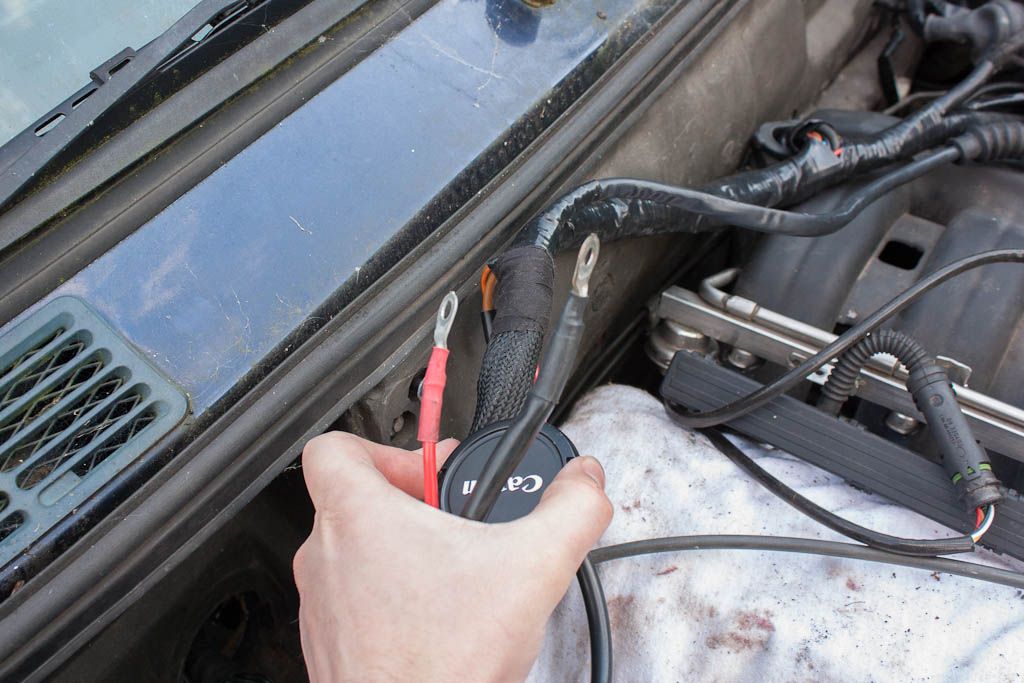
    Anyone know where this wire needs to go?

    It's red and should be power but it won't fit with the other bundle of wires. I forget where it came from but I think it might be from the fuse box.


    I also seem to have the whole lot sitting at a slight slant for what ever reason?

    Leave a comment:


  • Jozi
    replied
    29 Sept

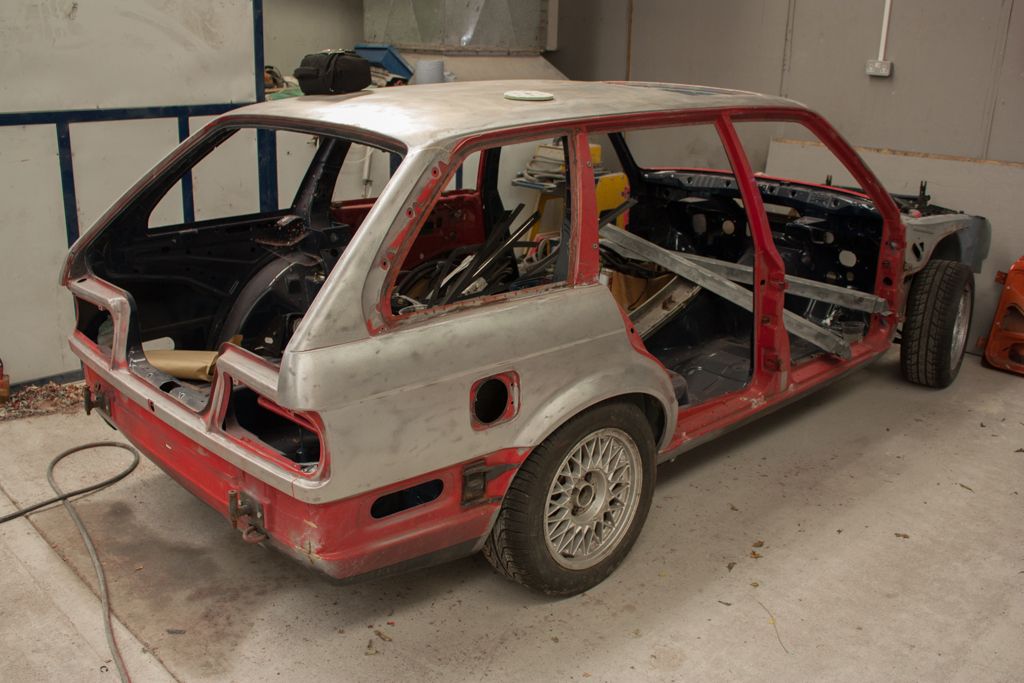
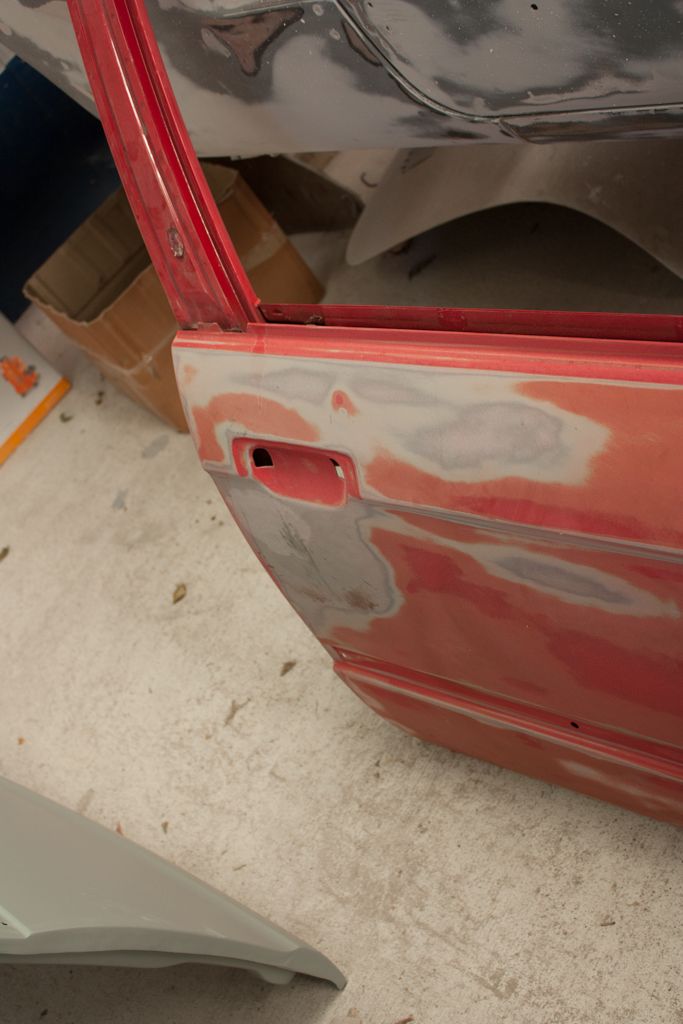
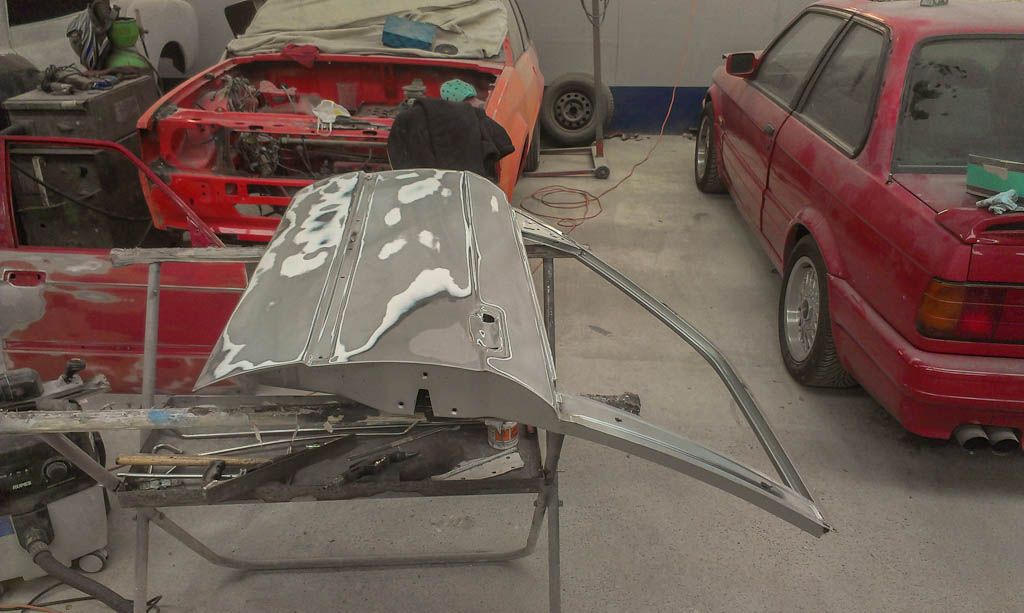
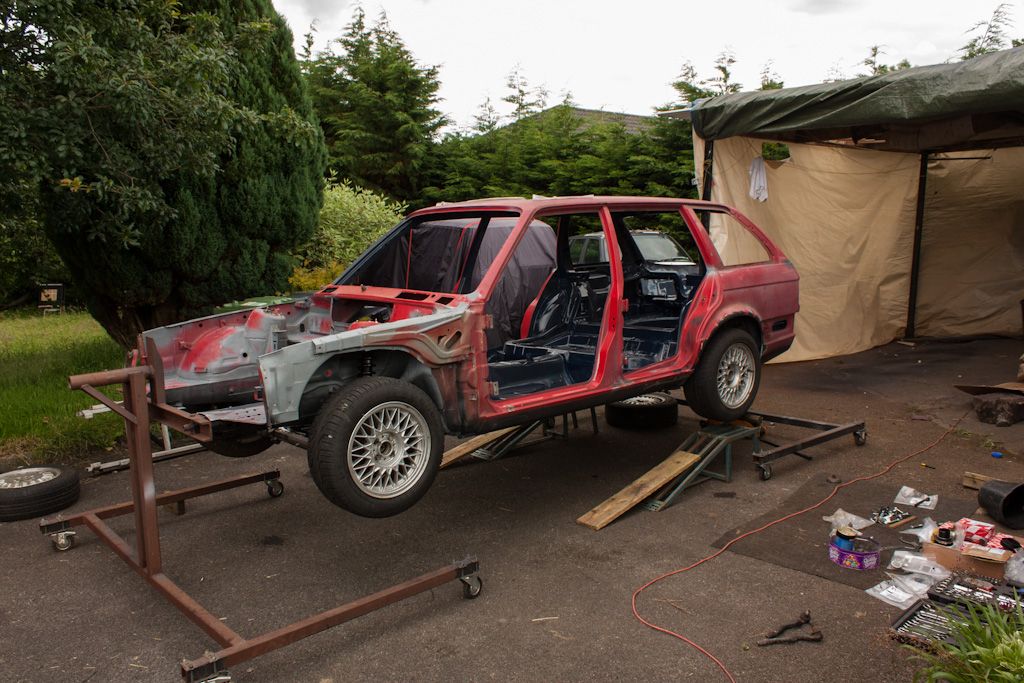
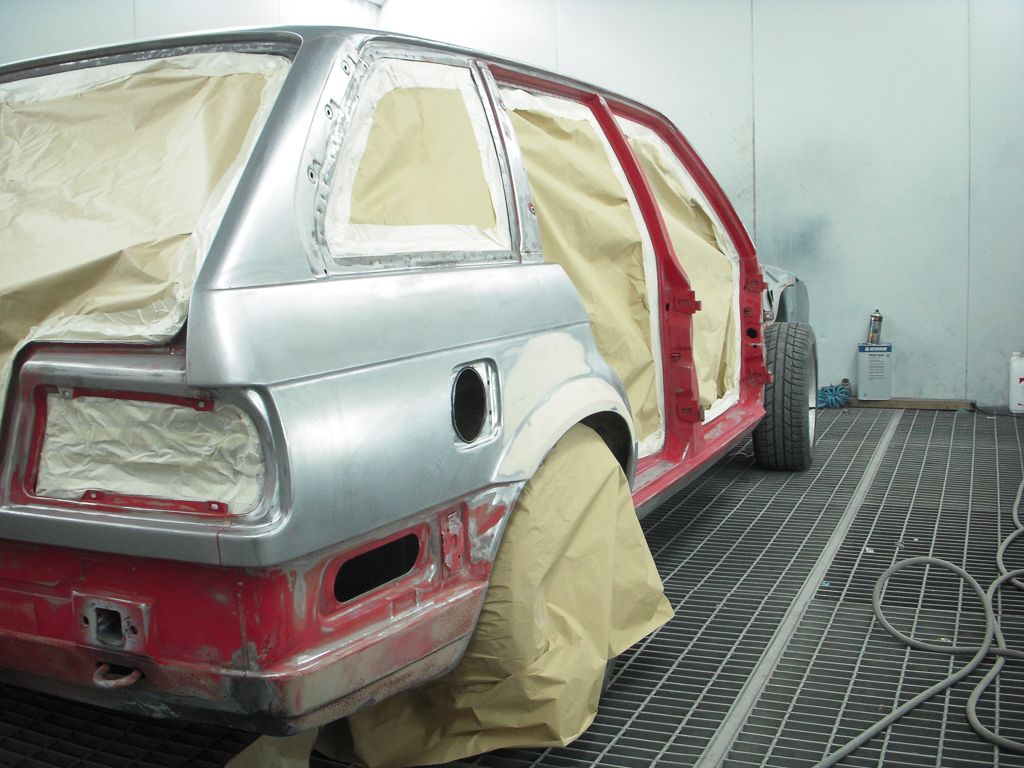
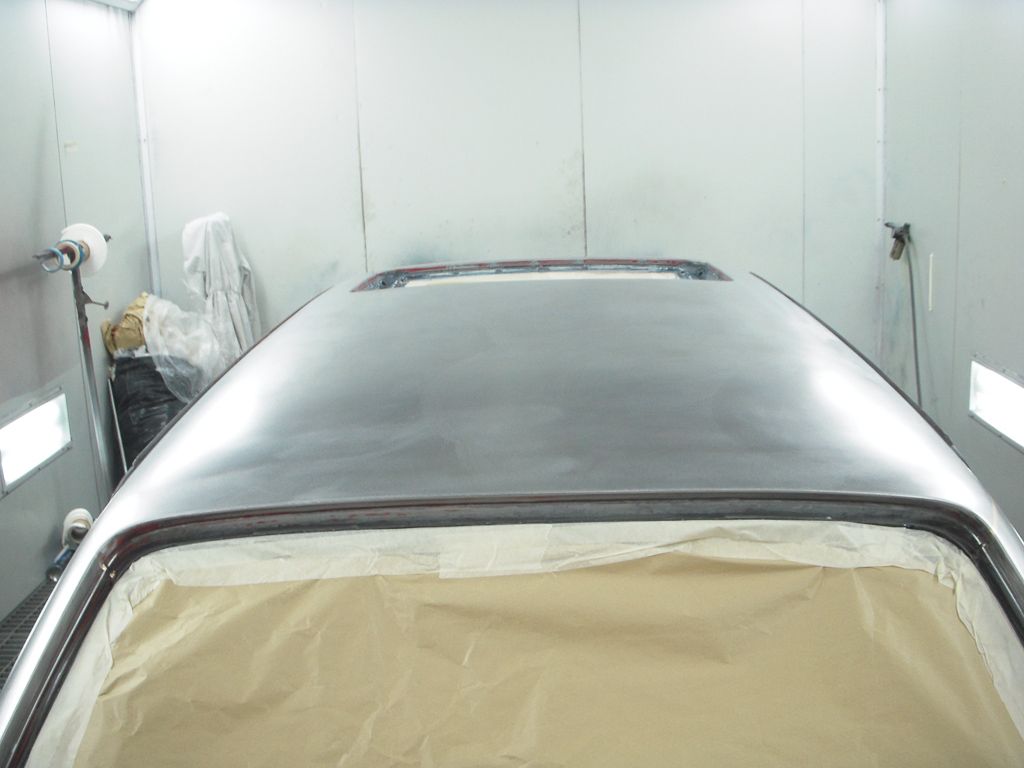
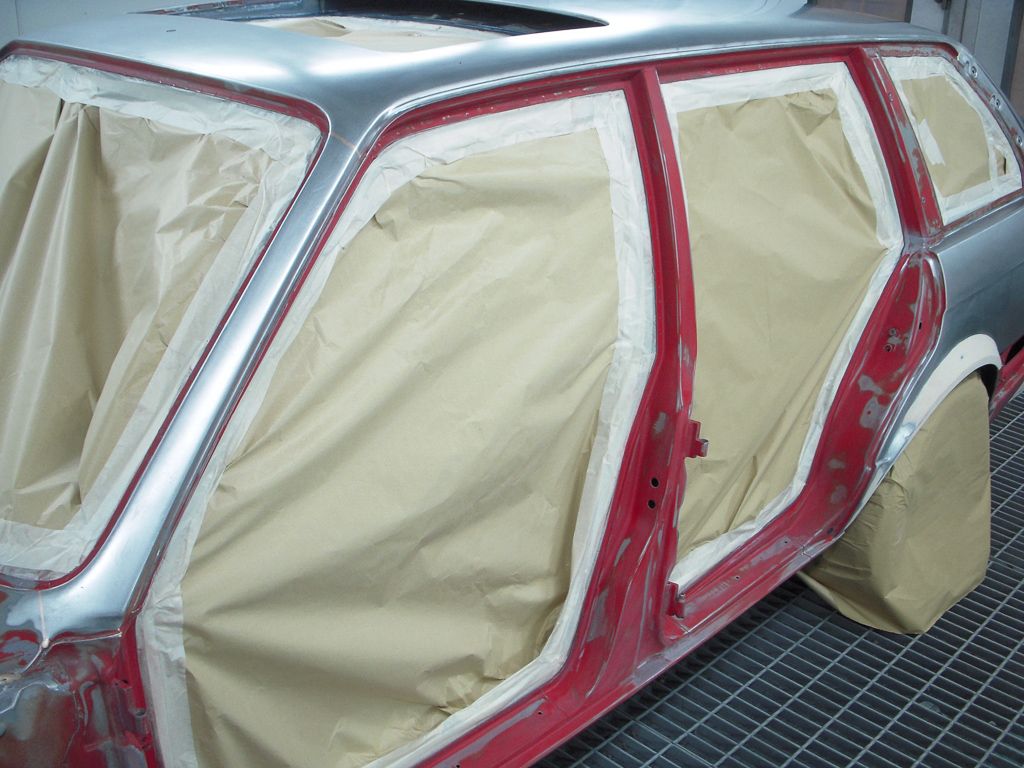
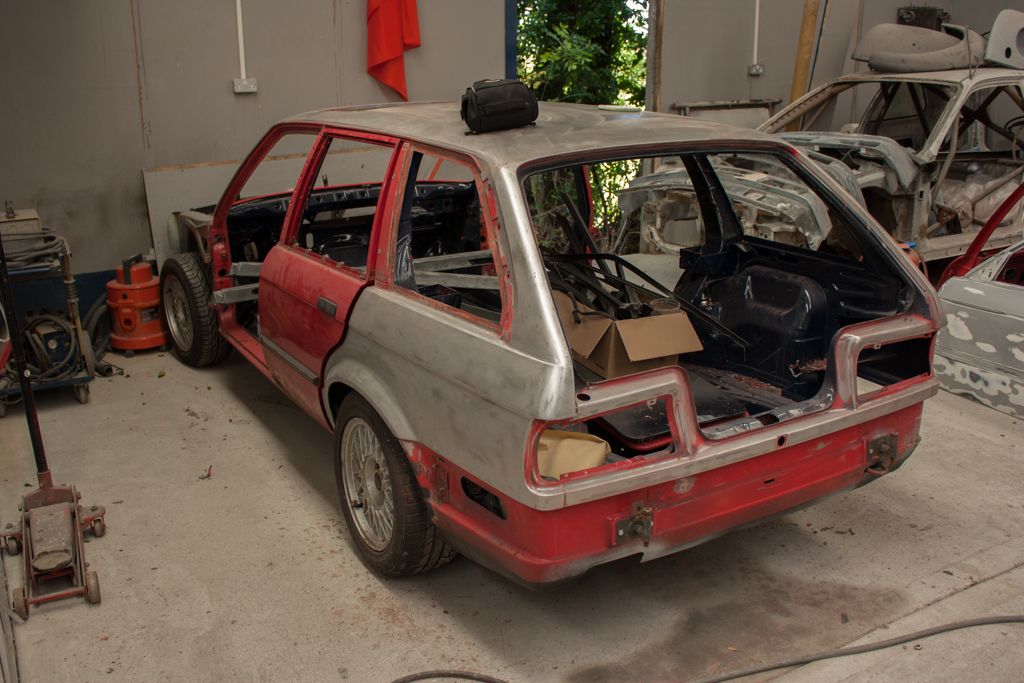
    Went to see Marty Lane today to see how he's getting on with the paint work and I was greeted with this:


    The roof had been painted at some point and it crap hence why that was stripped back, the rear quarters were taken back to prevent reactions.

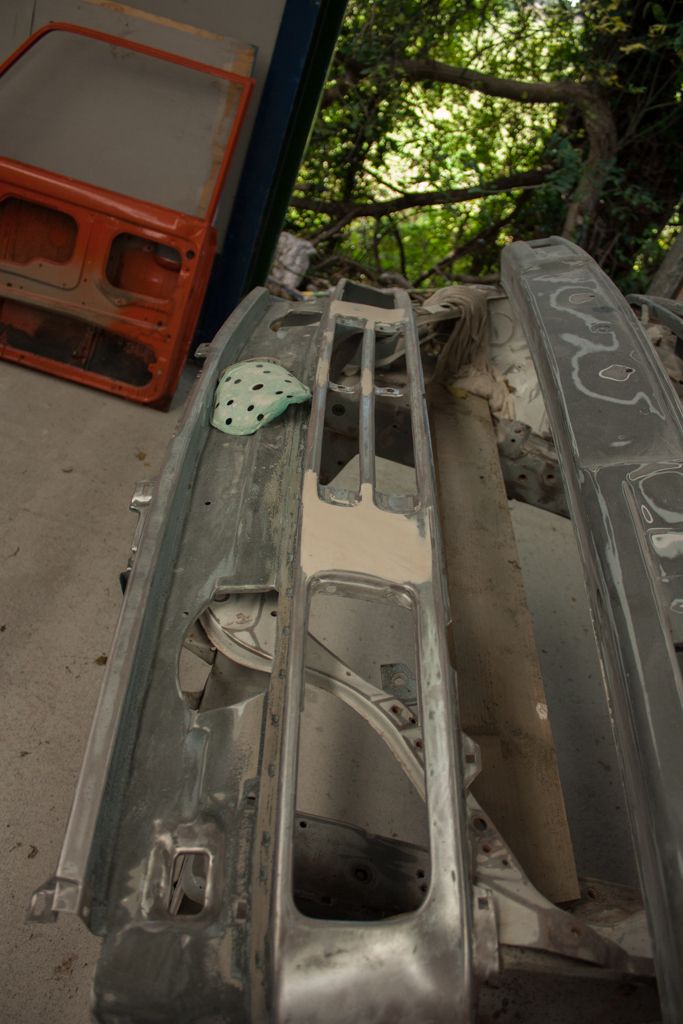
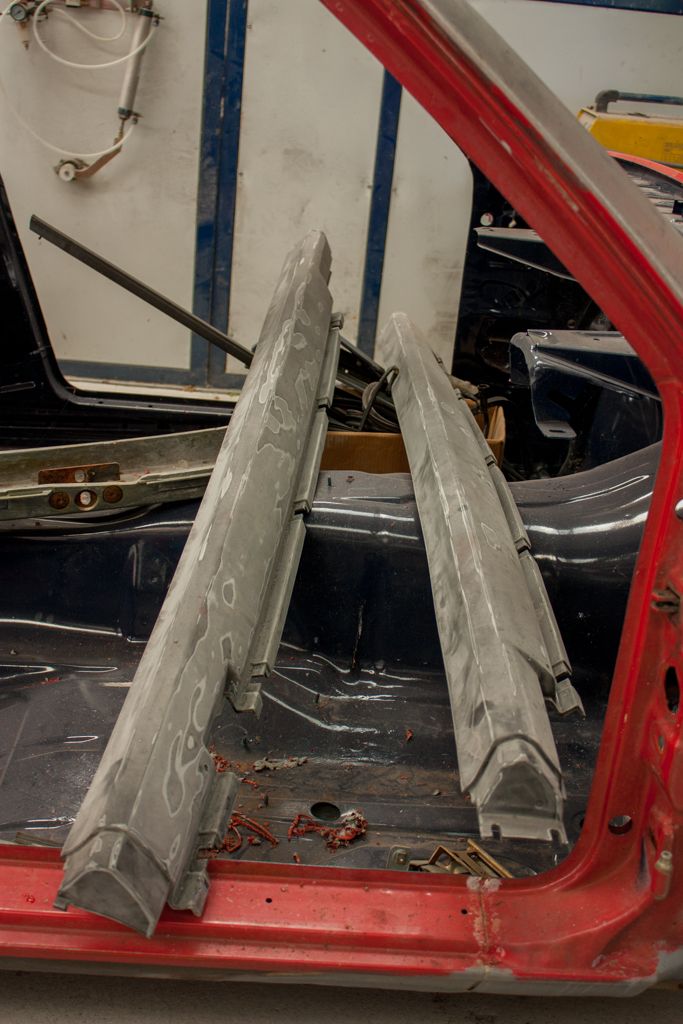
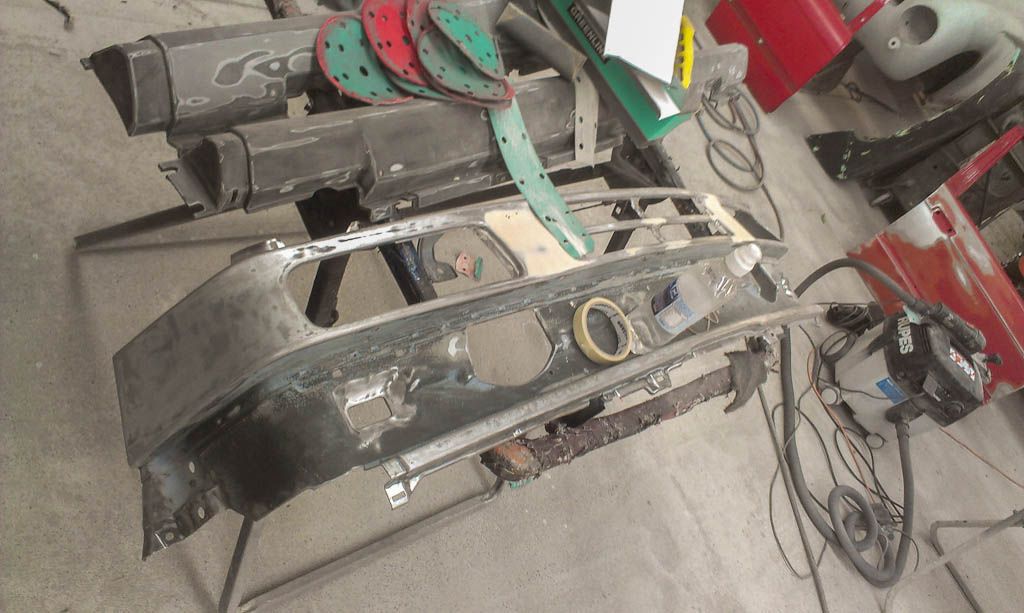
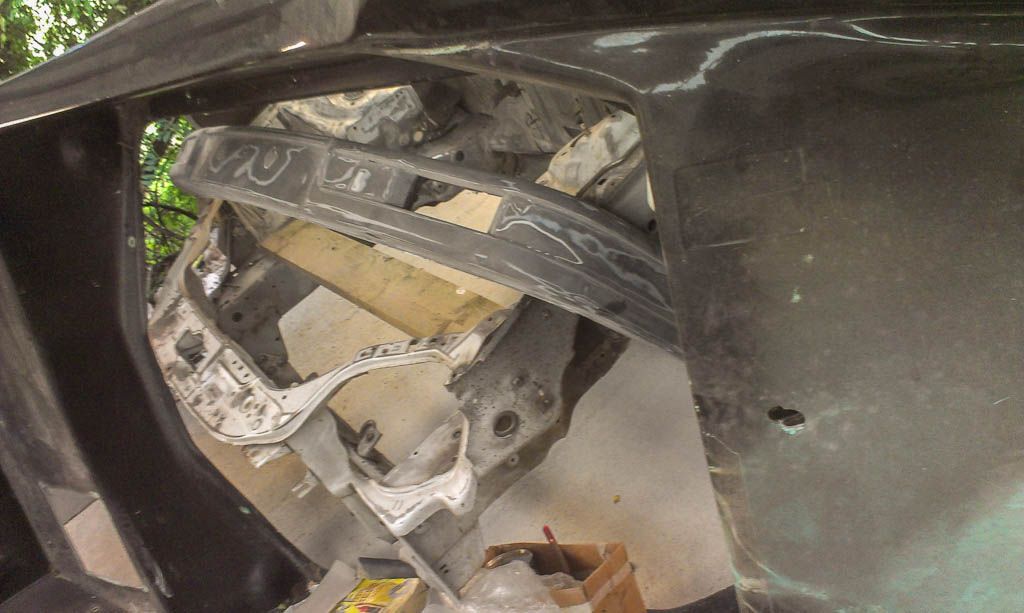
    Front valance & skirts, bumper (and lower apron) ready for primer


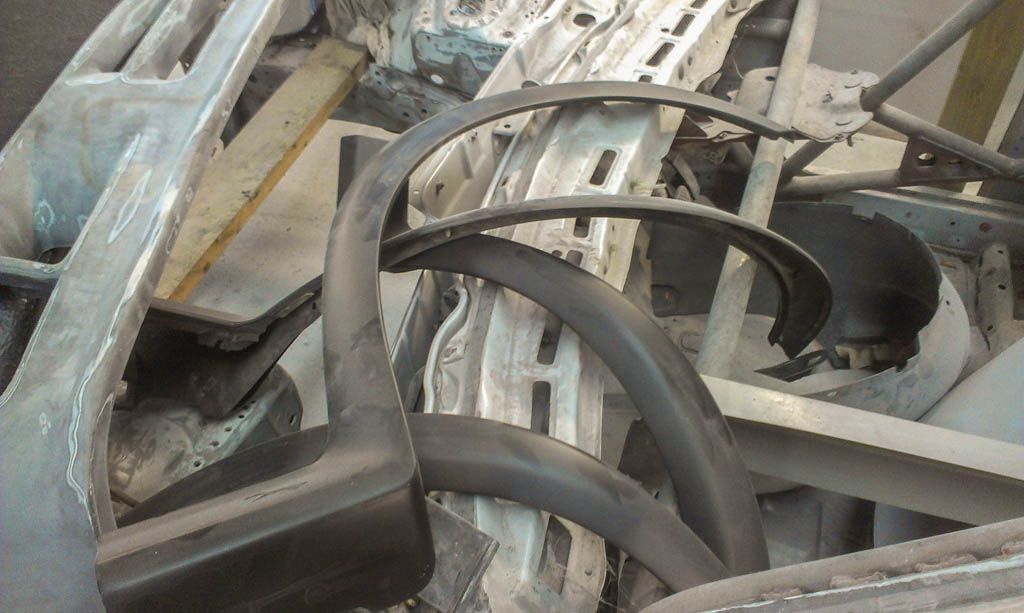
    Arch flares primered


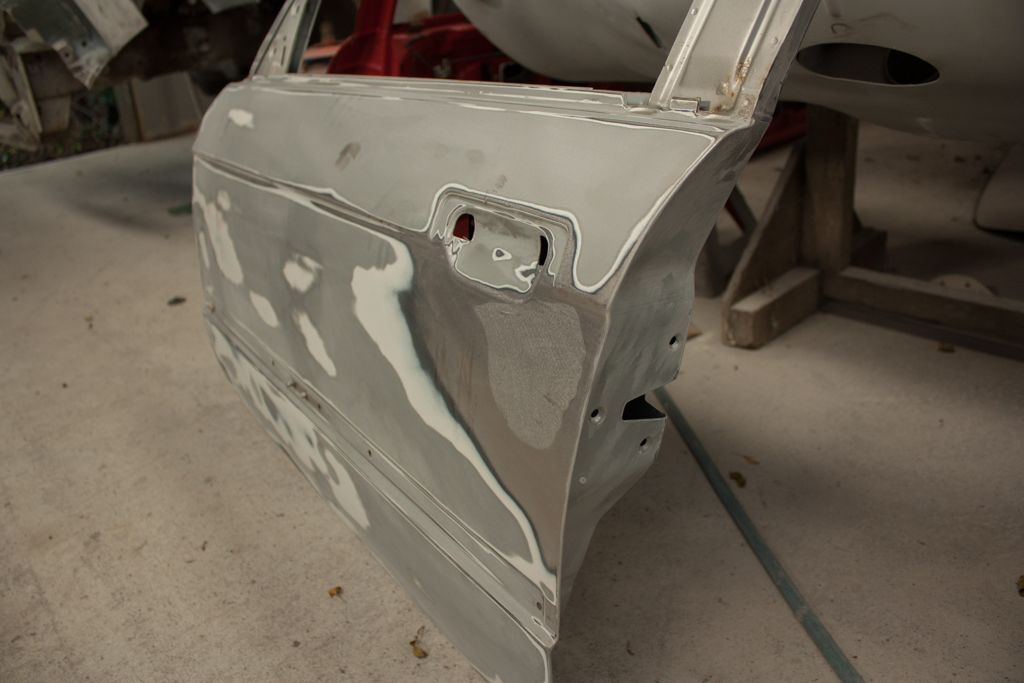
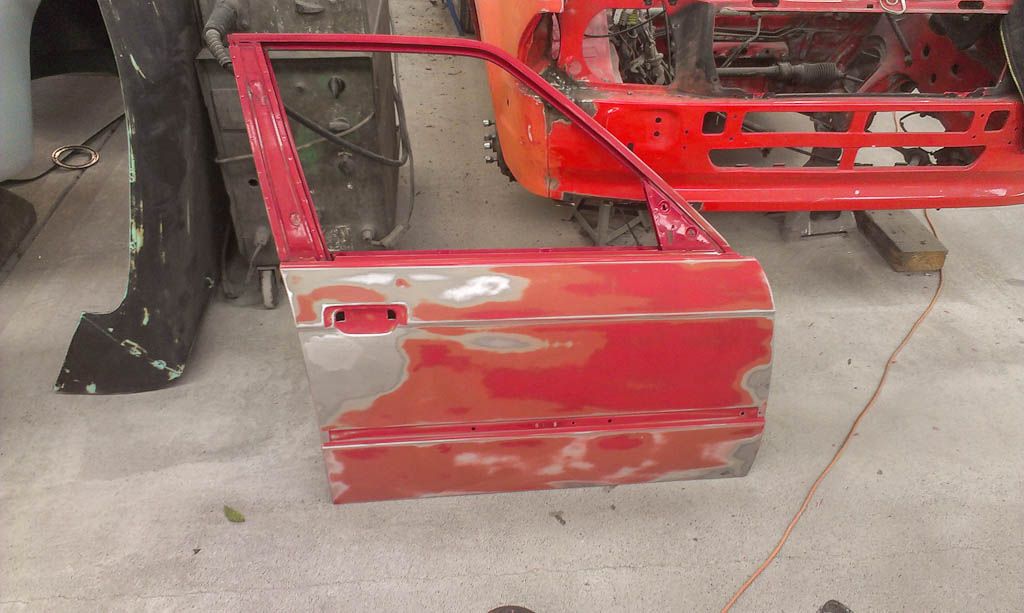
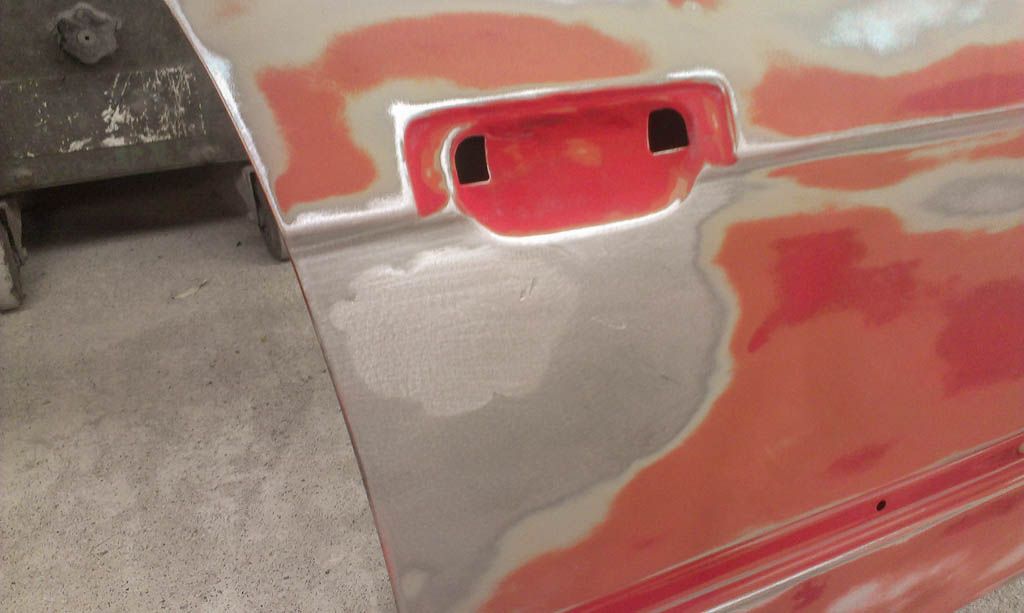
    Both front doors were prepped/being worked on


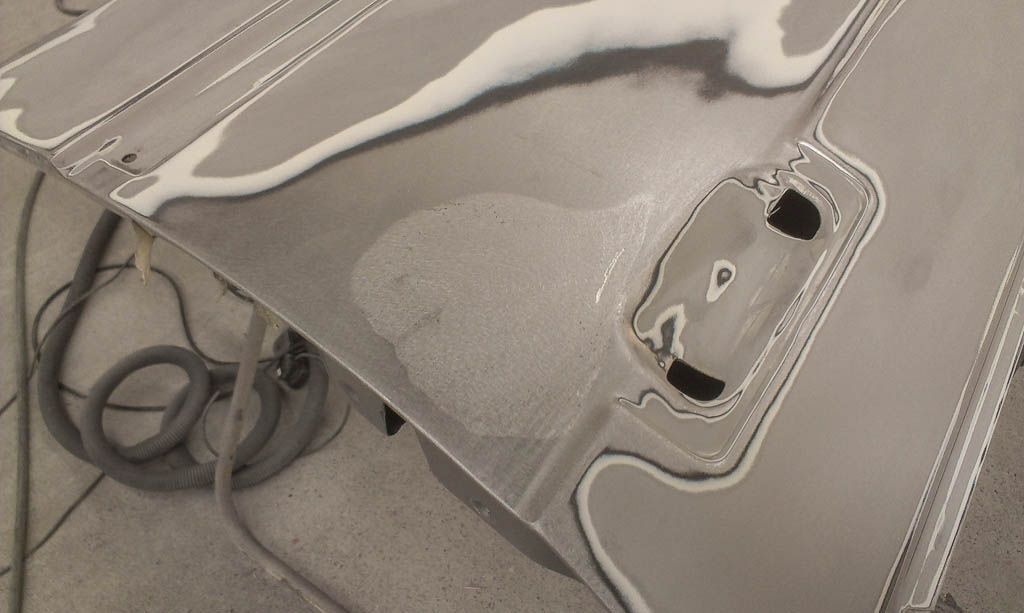
    Some lead-loading they did on the plated up key holes:


    The wings were also lead loaded but he didn't have them there. I can't remember what Marty told me he had done with the bonnet and boot lid. No corners being cut anyway, just how I like it :)

    Forgot my camera, phone had to do, will bring the proper cam next time!

    Leave a comment:


  • Jozi
    replied
    9 Aug


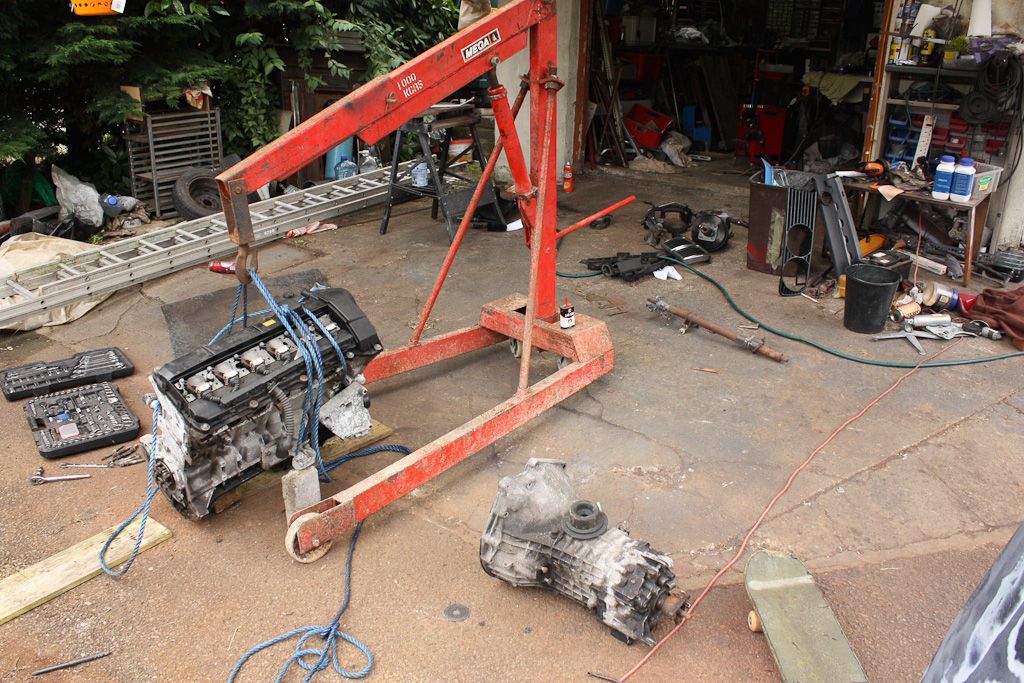
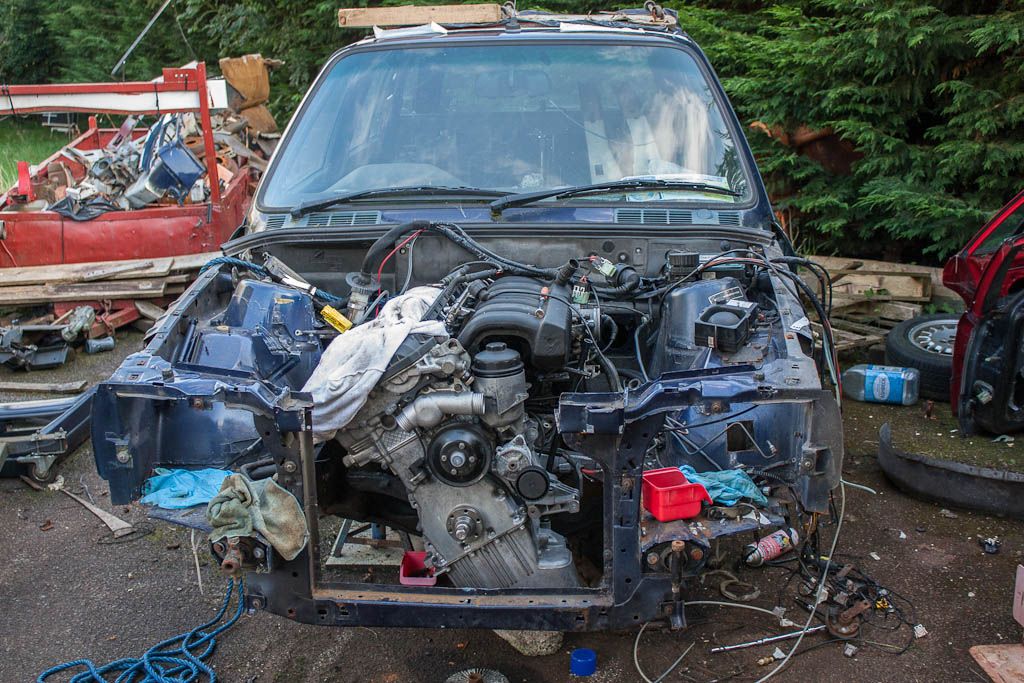
    Finally got the lend of a engine hoist this week and started by pulling the engine from the old shell


    Nothing could just be straight forward with this build The oil filter cap refused to come of, after trying a few different things I eventually wrung the hex nut and proceeded to remove the cap with a little more violence :laughing:
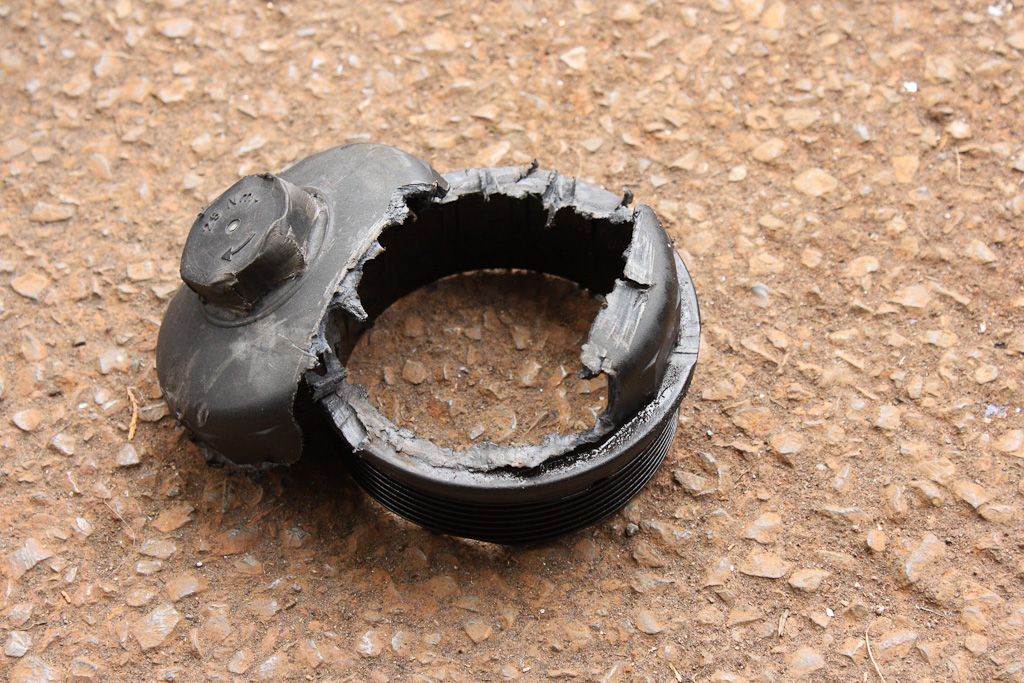
    If anyone has one spare, I'll take it of your hands

    Engine is now back on the stand and I think I'll spend some time cleaning it now and just hope she runs when it all goes in the car.


    23 Sept

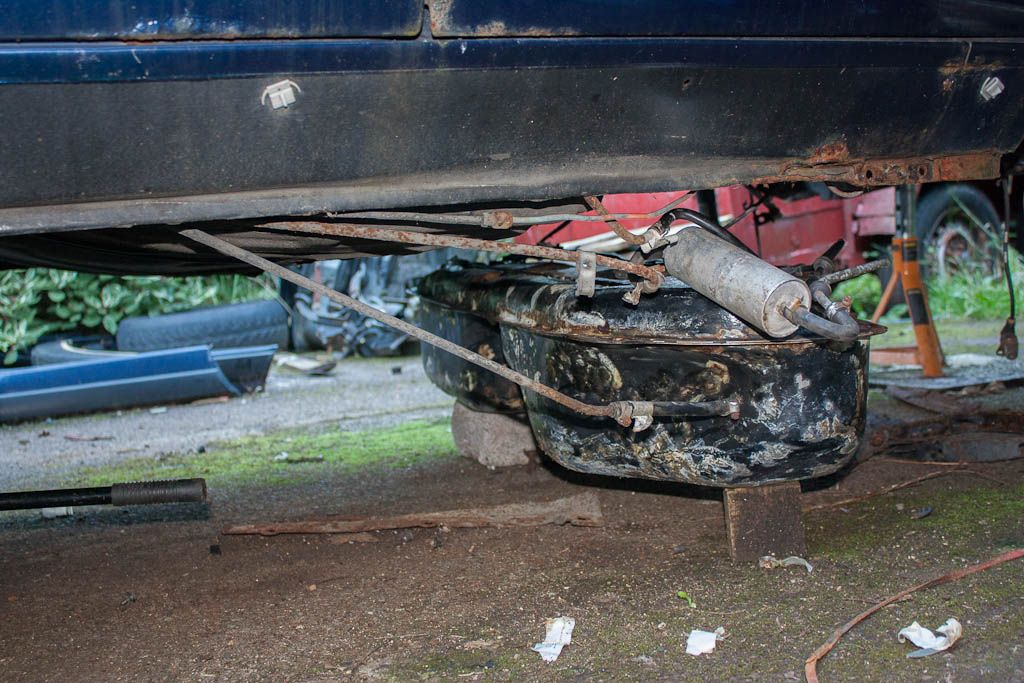
    Few hrs at it again today, got nearly all the plug plugged in and the ECU pulled in under the dash. Had to do a bit of a ghetto setup with the fuel tank, should work though. Just some wires to bolt up (not sure where they go yet), some fuel pipes, oil, alternator + belt and prob a few other things and I can try turn her over :dance:


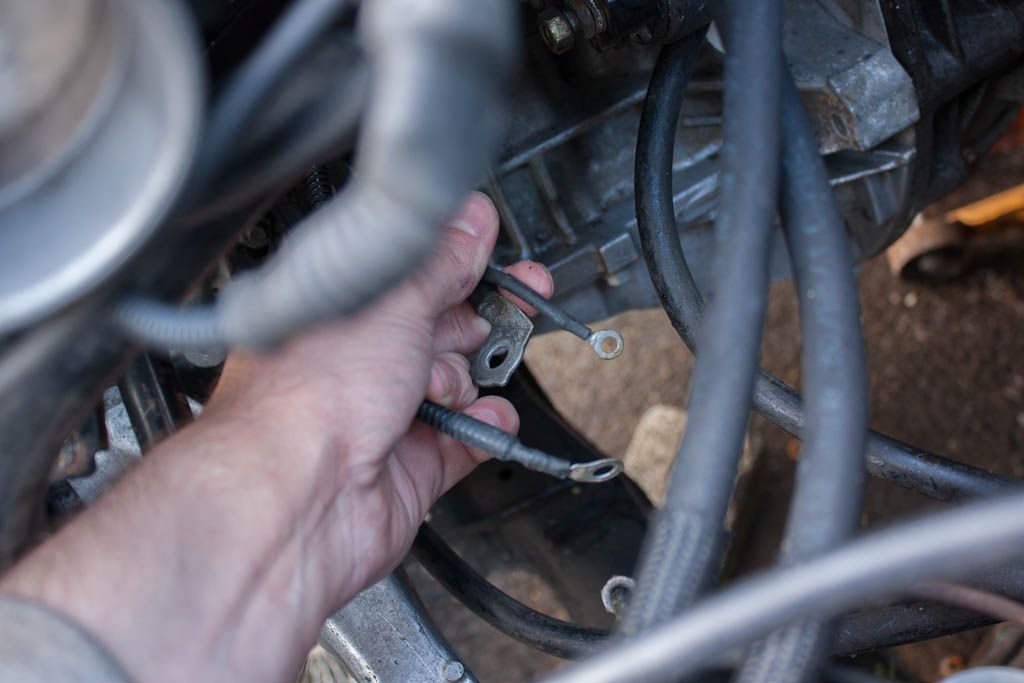
    Anyone know where these wires go?


    Near the ECU side of the loom? Probably to the battery +/- terminals?


    These are near the starter, do all 3 of them go on there or is one for the block or chassis?


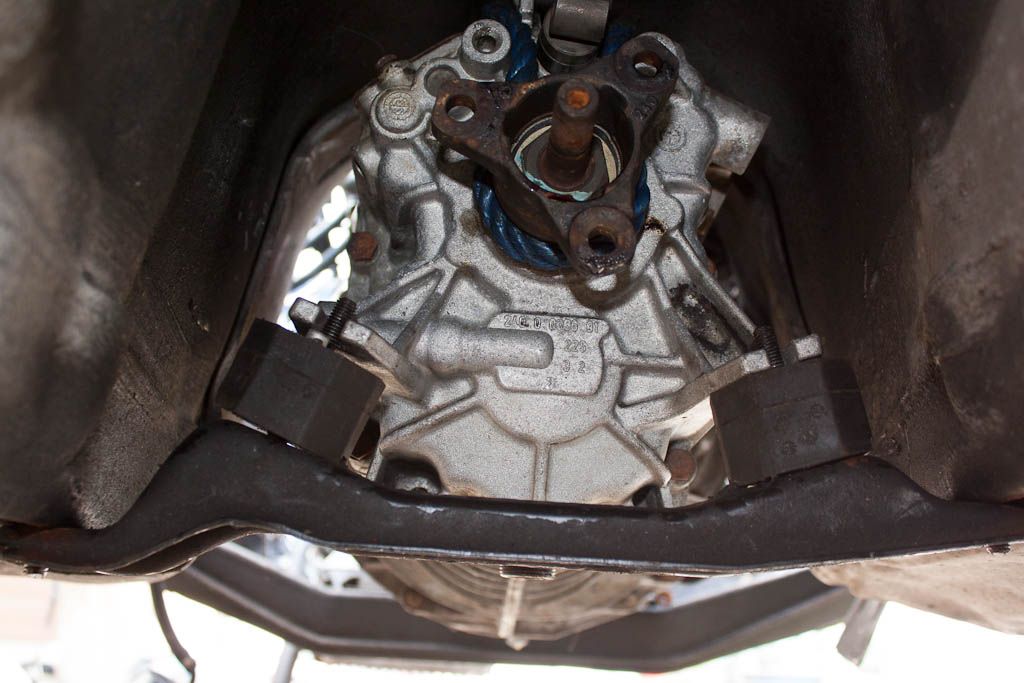
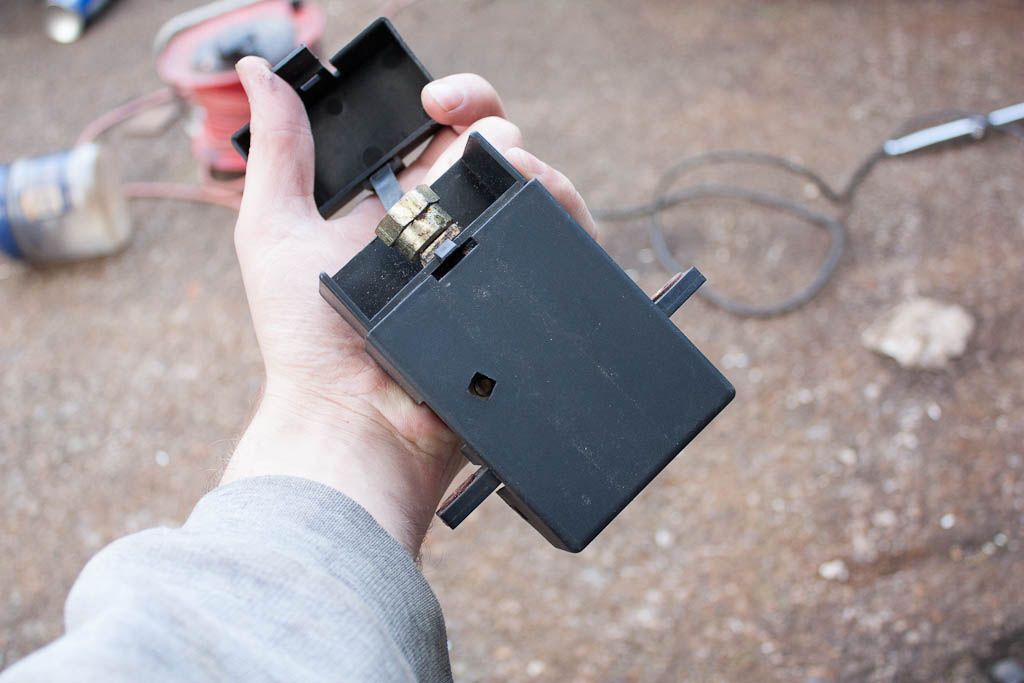
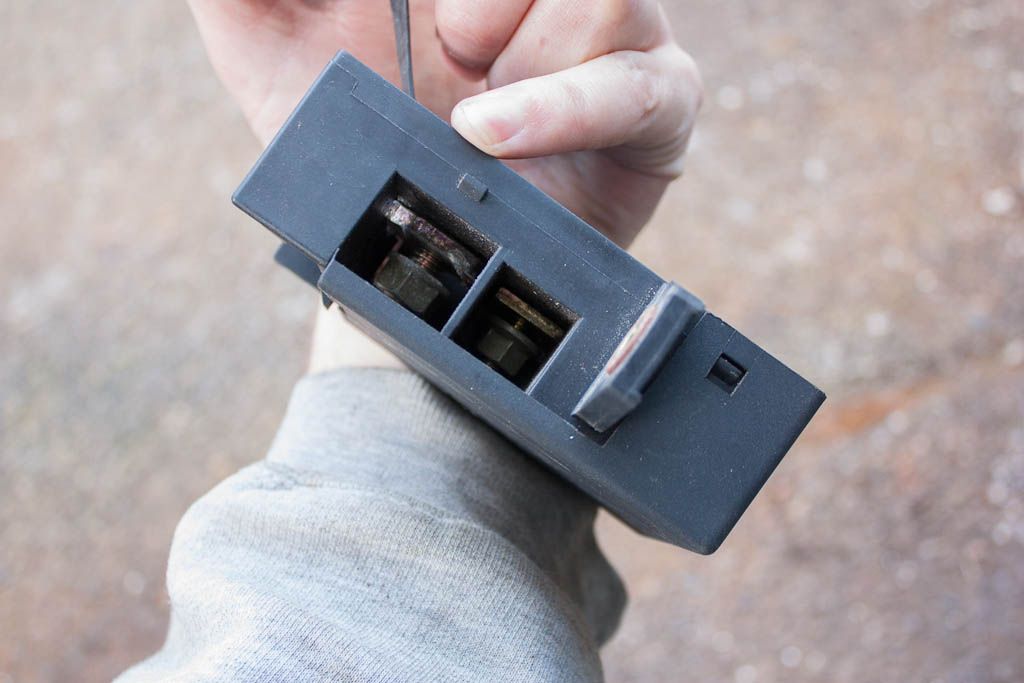
    Is this destined for the bin or am I meant to use it somewhere?


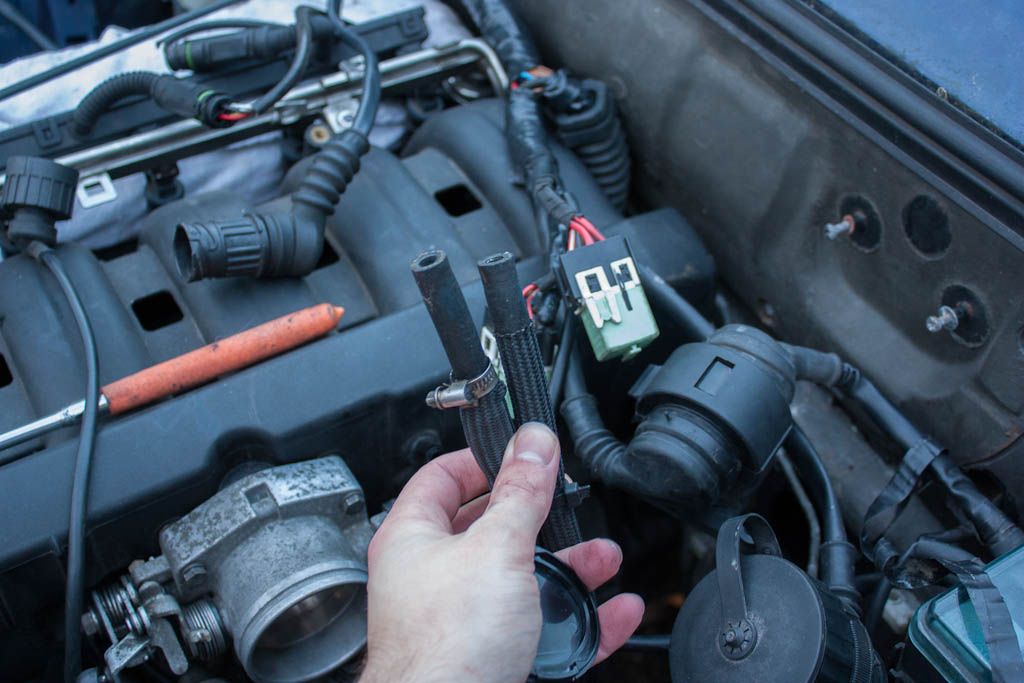
    Which of these is the fuel feed and return?
    Last edited by Jozi; 12-06-2013, 03:41 PM.

    Leave a comment:


  • Jozi
    replied
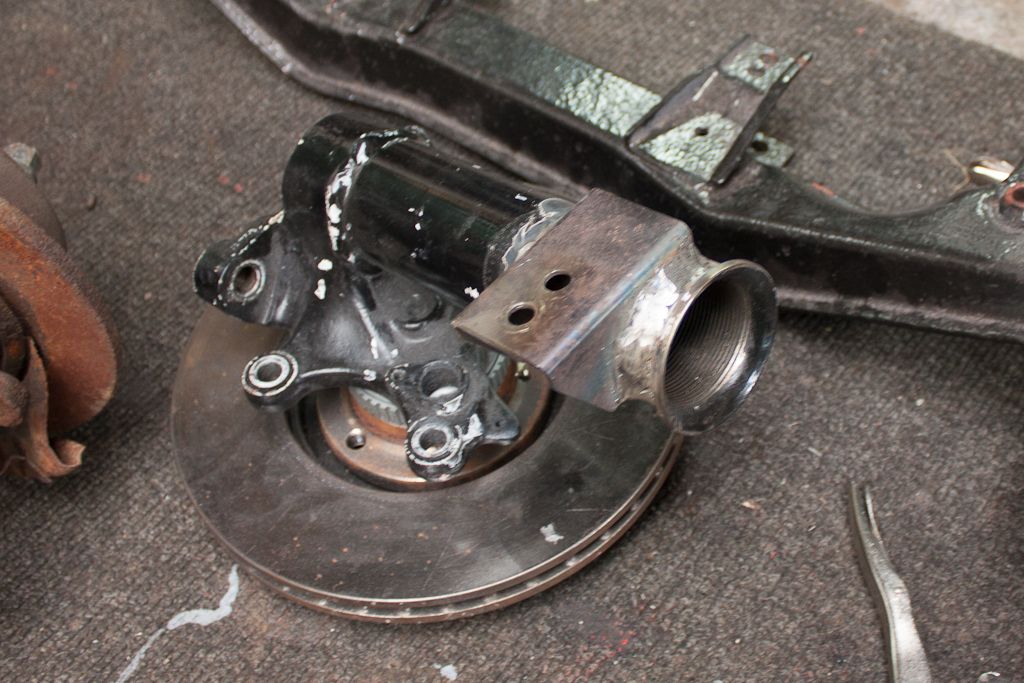
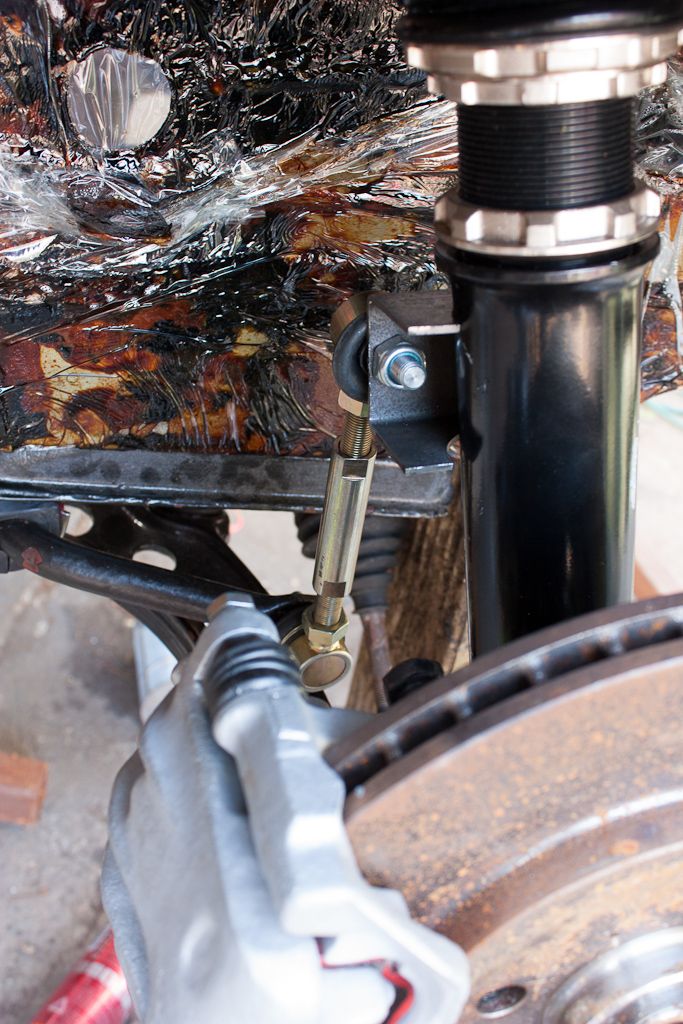
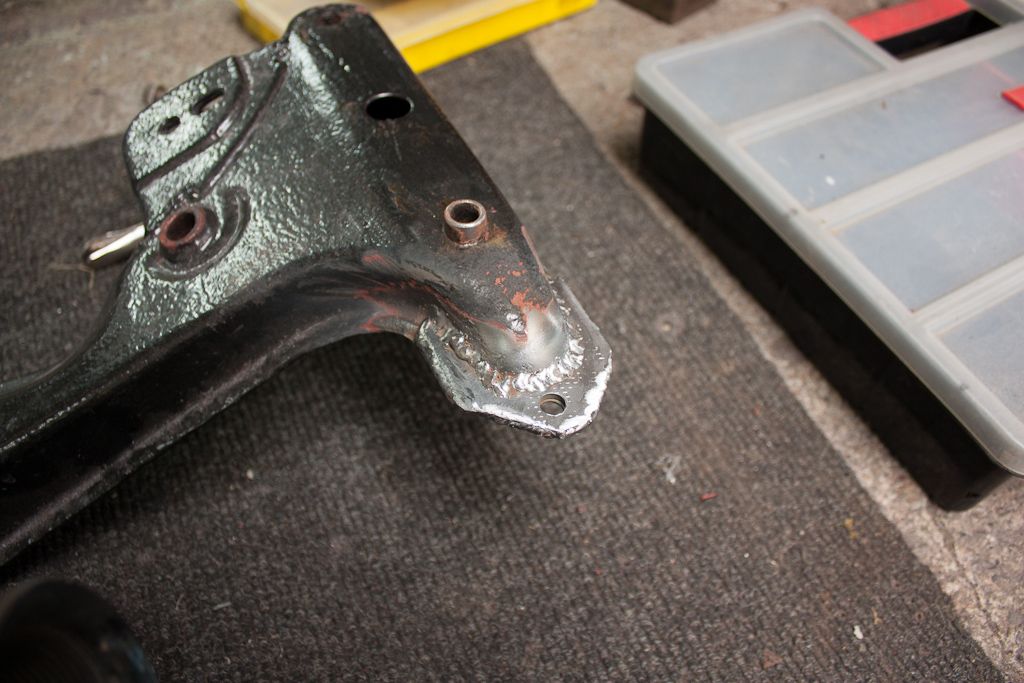
    Pics of mods or improvements I made to various things

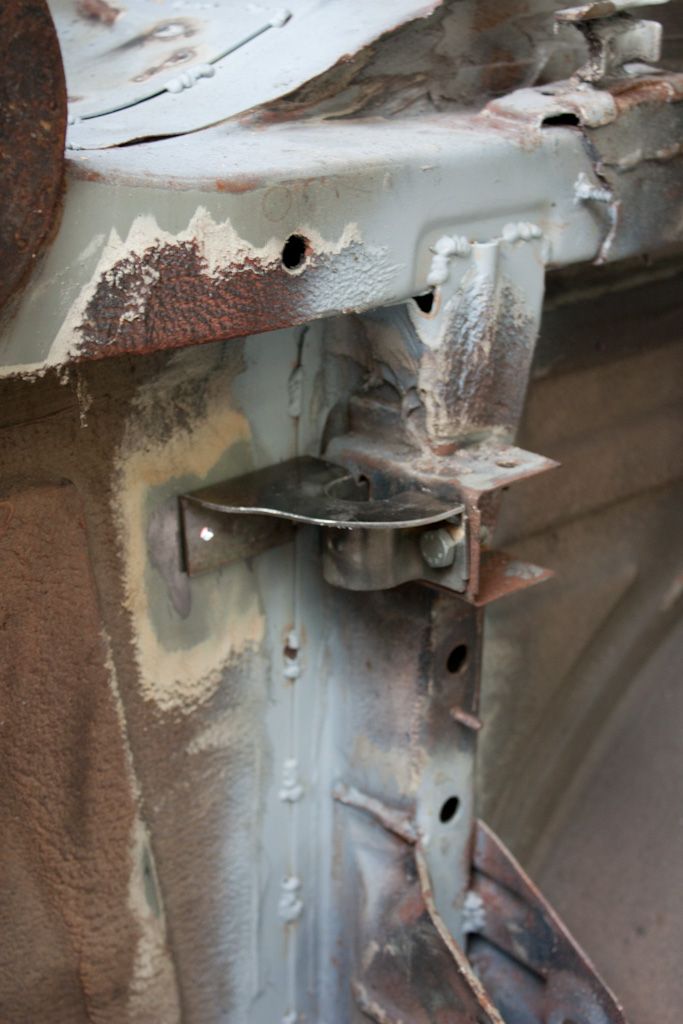
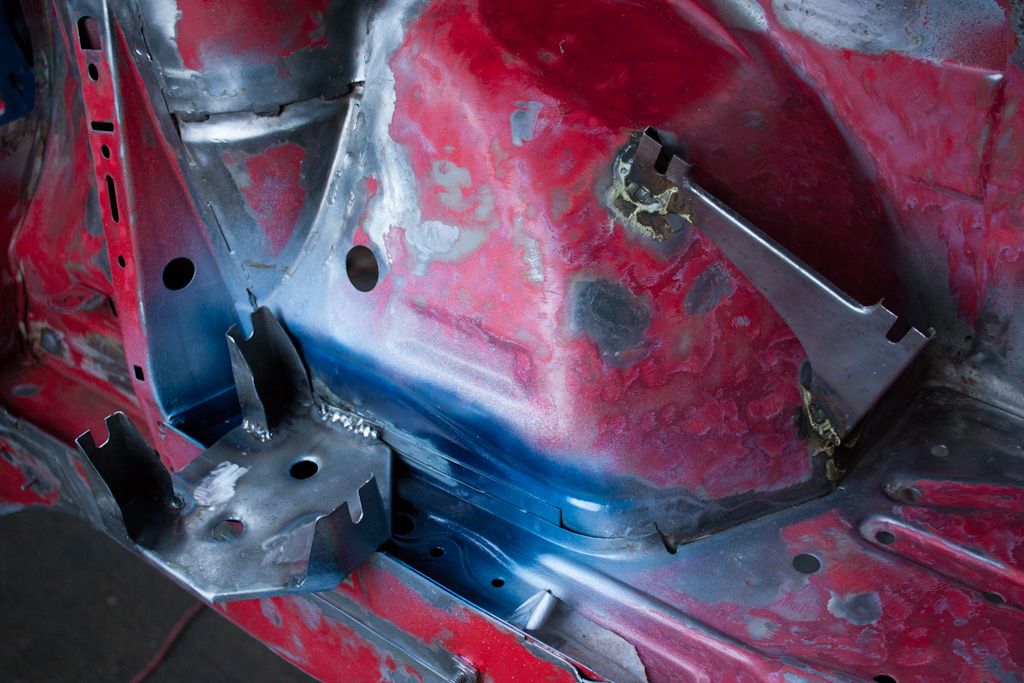
    Rear ARB pickup point reinforcement


    Reinforced rear ARB brackets:


    Front ARB re-located to the strut, similar to the M3, with adjustable front links


    Front ARB pick-up reinforcement


    Also reinforced the engine mounts but can't find pics of this


    Powdercoated, I mean painted parts.... :evil:


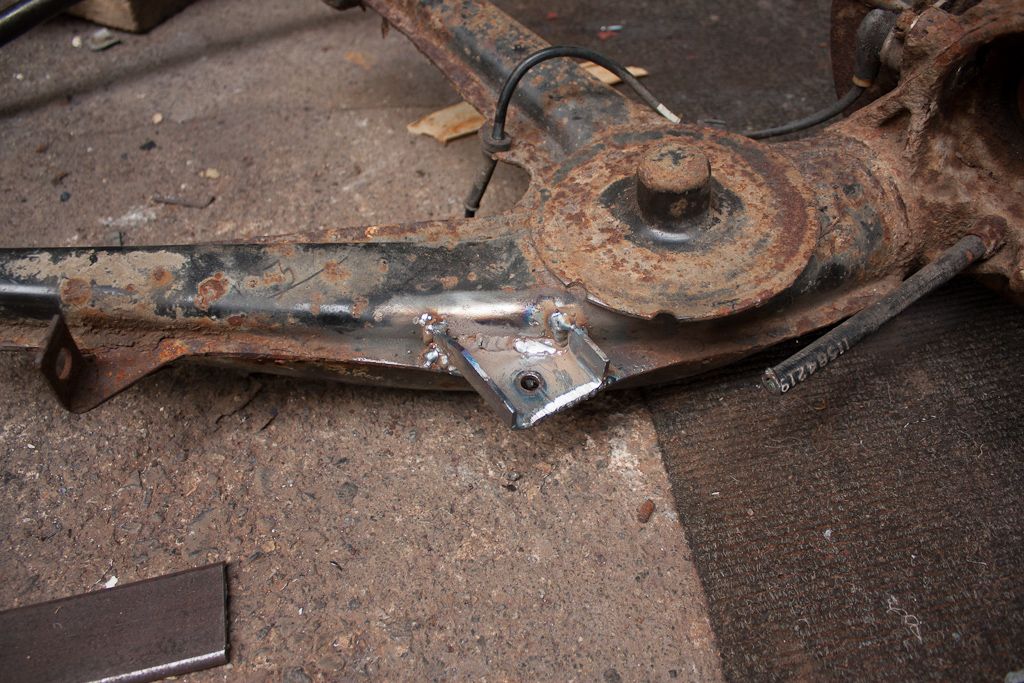
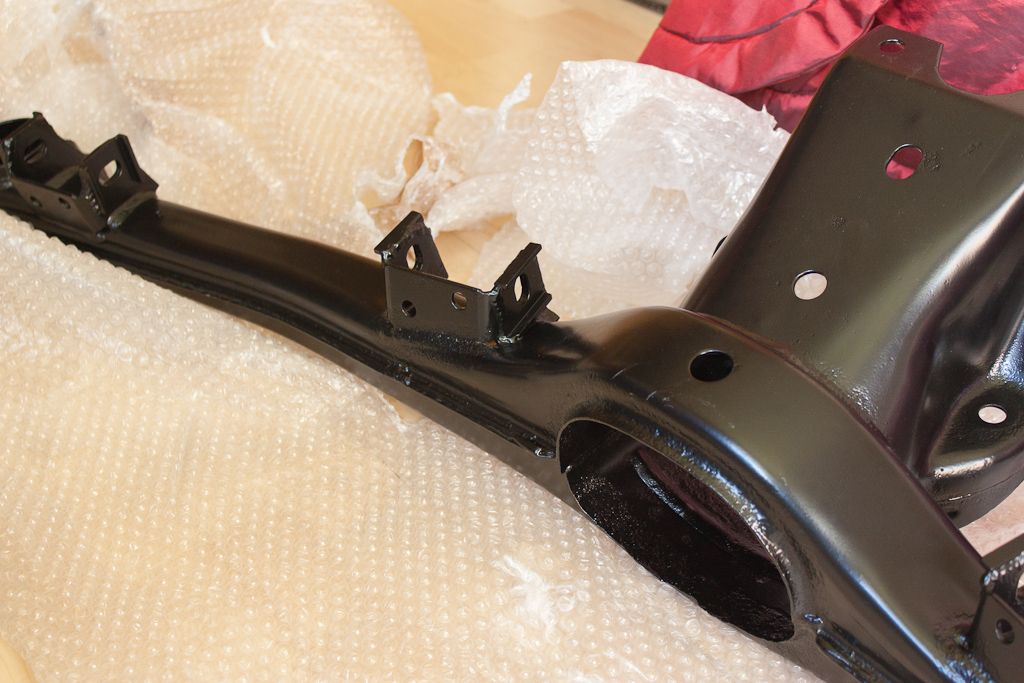
    Rear beam with modified trailing arm mounts for camber and caster adjustment


    M52 airbox bracket and relocated ABS bracket (ignore the bad welding and deox gel)


    Wheels 8-)


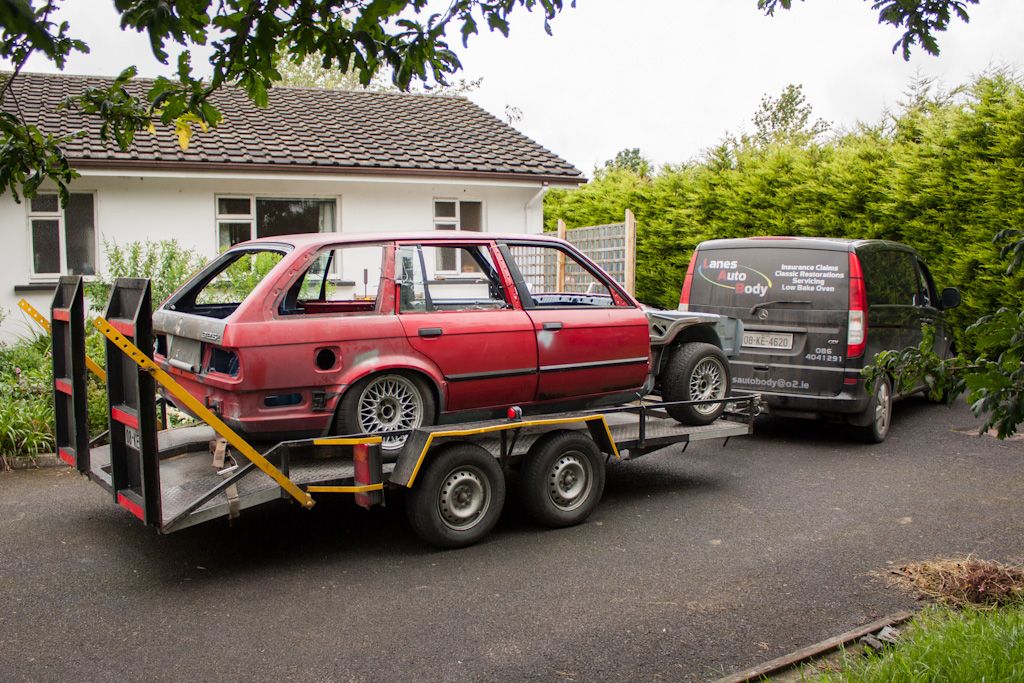
    Have taken a little brake from it since the shell was collected last week, intention is to get started on the engine and getting it ready to go into the shell along with everything else that needs moving over when I get it back from the paint shop.

    Leave a comment:


  • Jozi
    replied
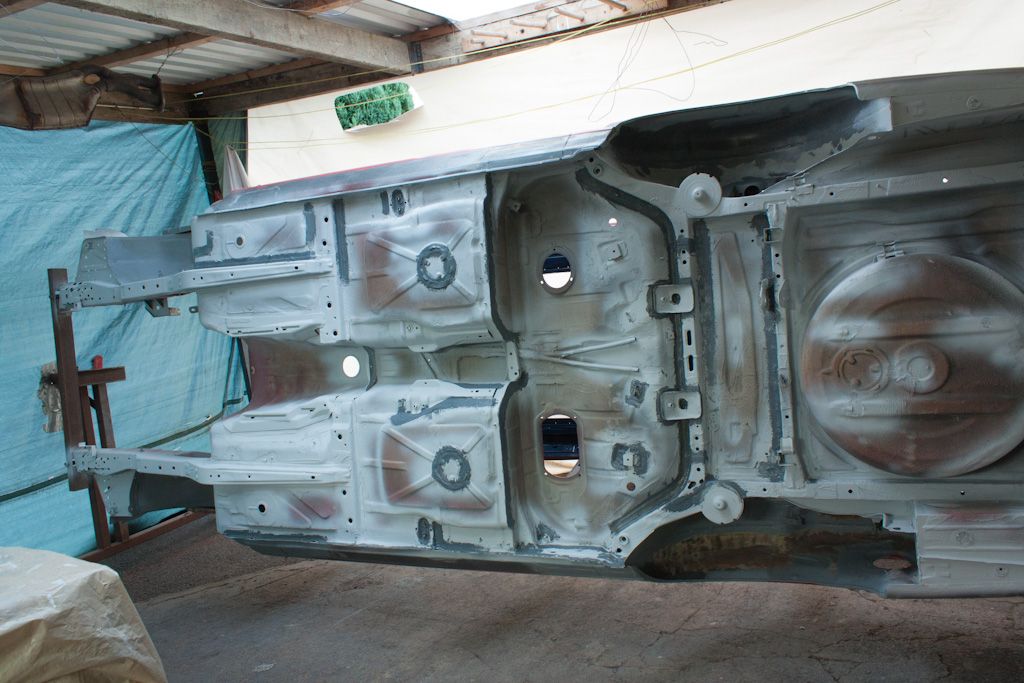
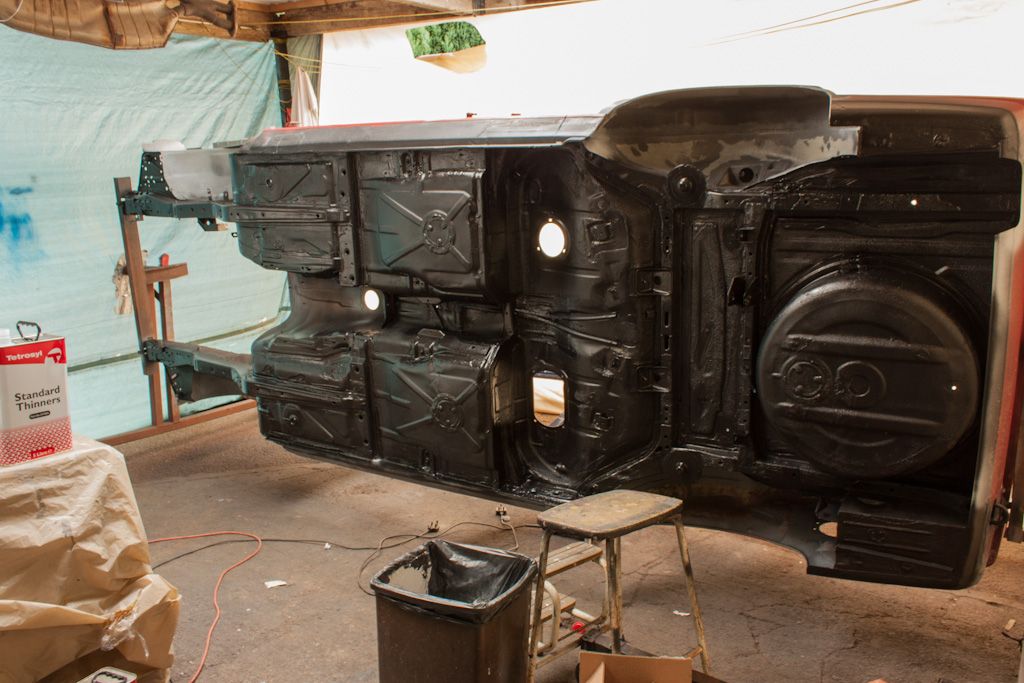
    Underside rust treated/chopped out/etc, primerd and sealed


    And undersealed where needed and painted


    Not 100% happy with the underseal, Marty will be re-applying it where needed while he has it.

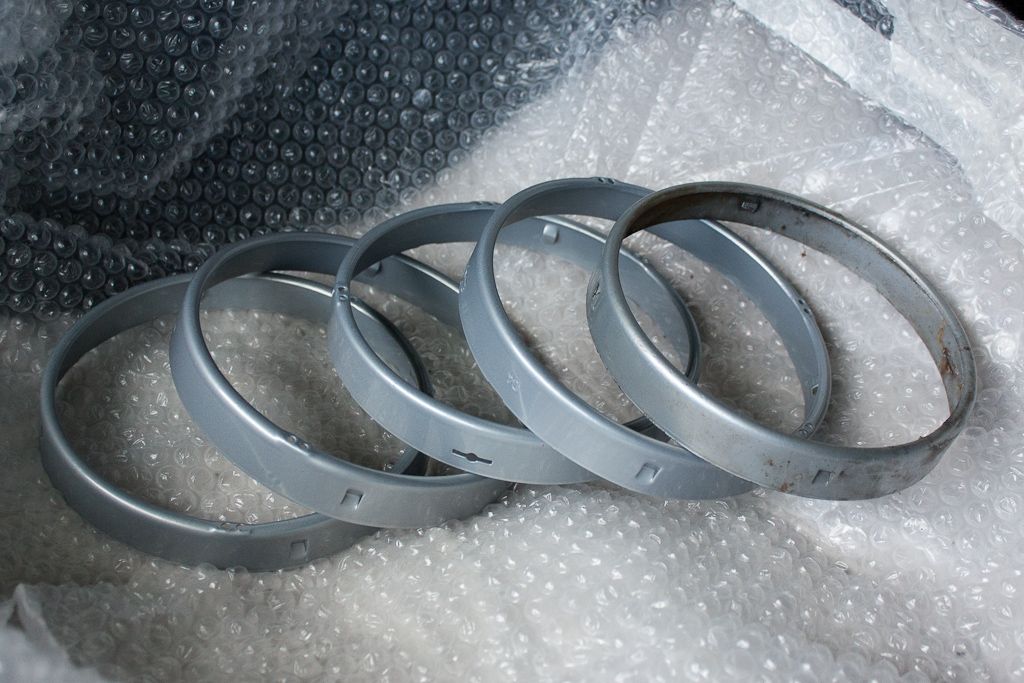
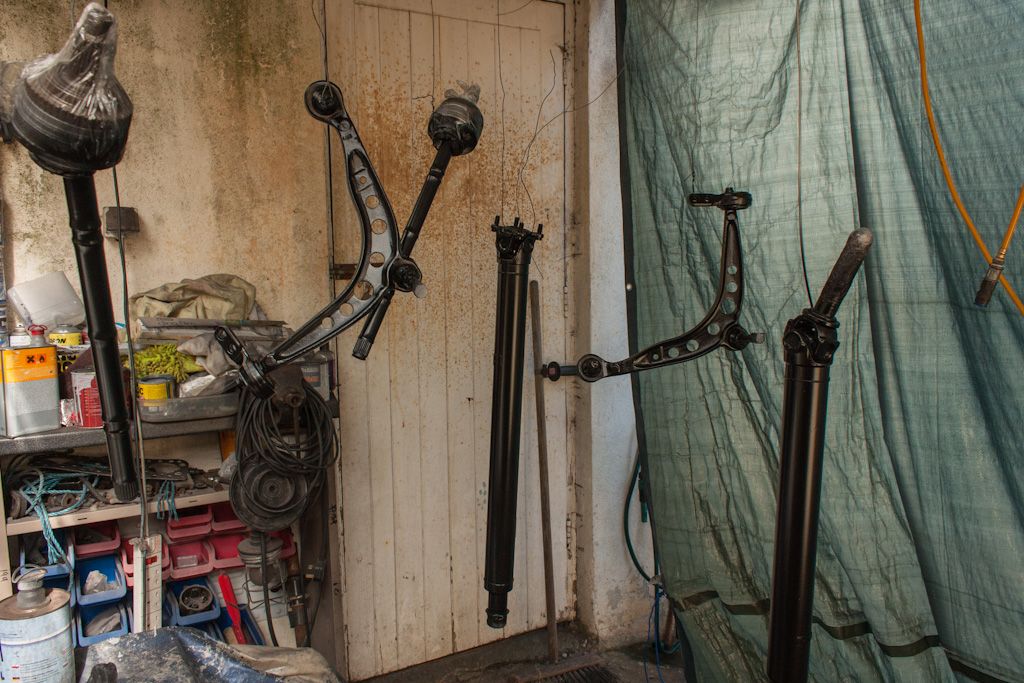
    I had painted the subframes, wishbones and drive/half-shafts with hammerite hmmered stone finish, not happy with the finish though and some parts were sent for powdercoating (and came back painted :evil: ). Paint didn't match so they were re-done but with the paint gun this time.


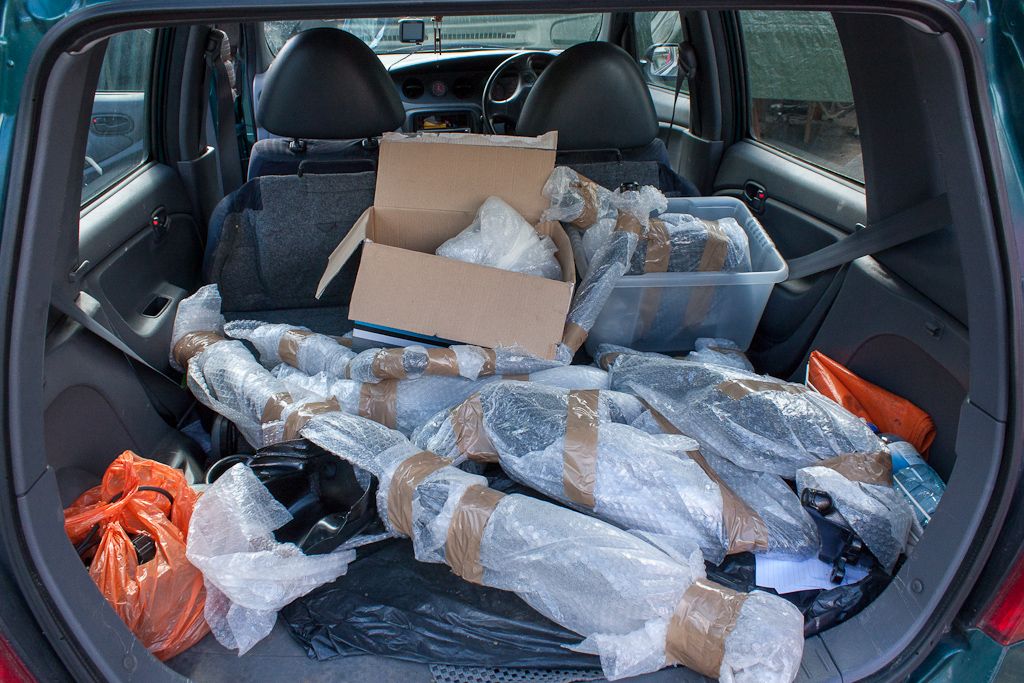
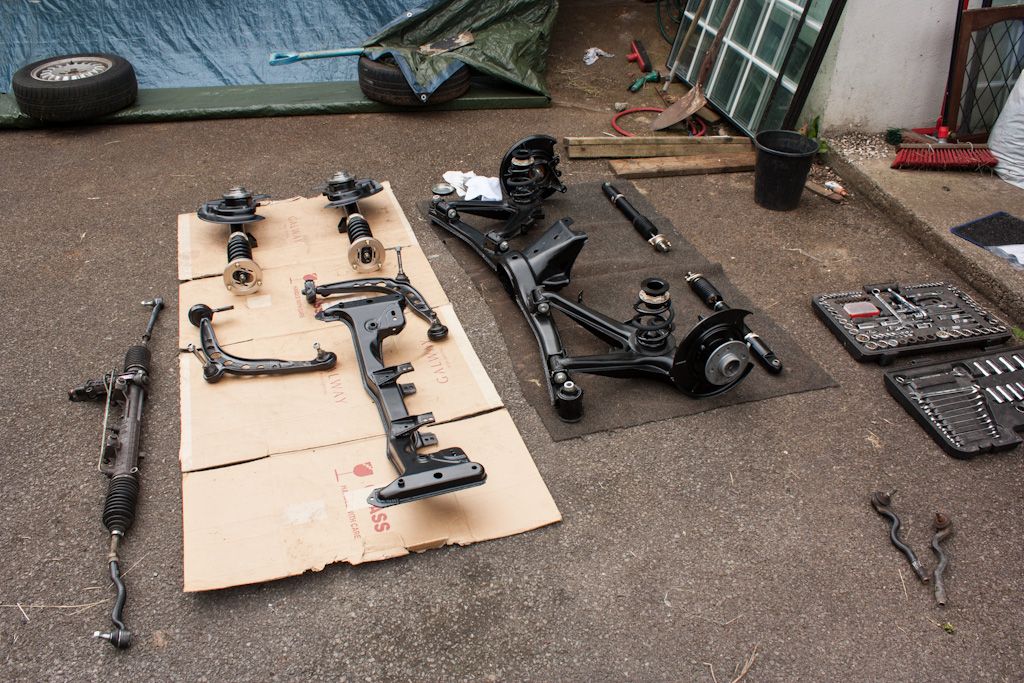
    All the bits going to to get her rolling

    8-)

    And finally a week or so ago - July 2012


    And I've not done anything sice

    Leave a comment:

Working...