-
Thank you! Here is the link http://www.ebay.com/itm/281265467234Leave a comment:
-
Amazing build, kudos! From where did you source the suede for the rear shelf?Leave a comment:
-
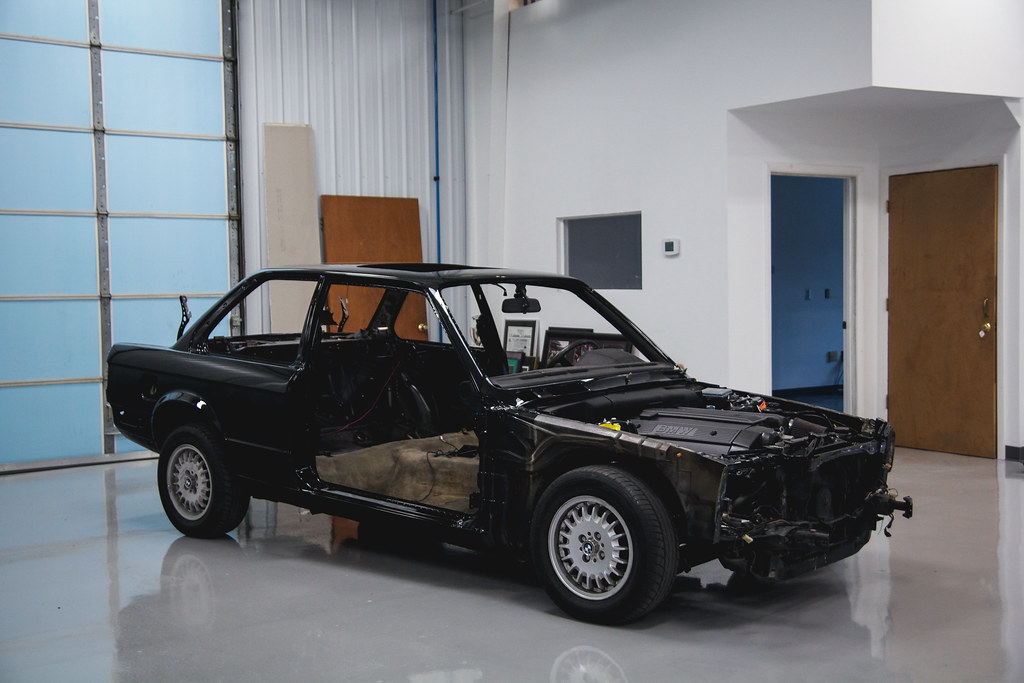
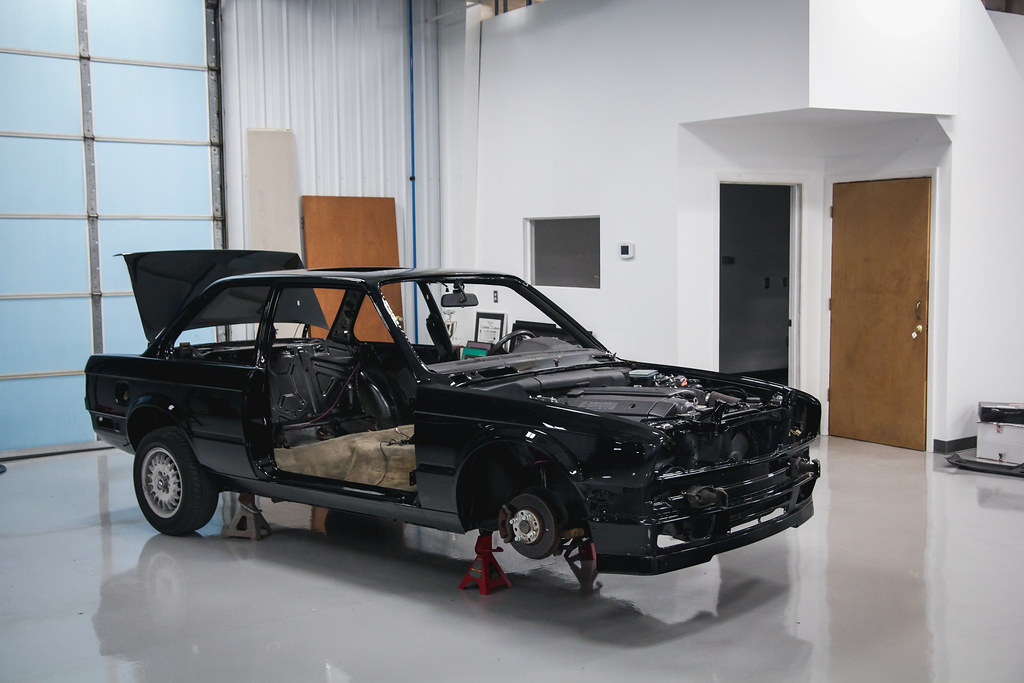
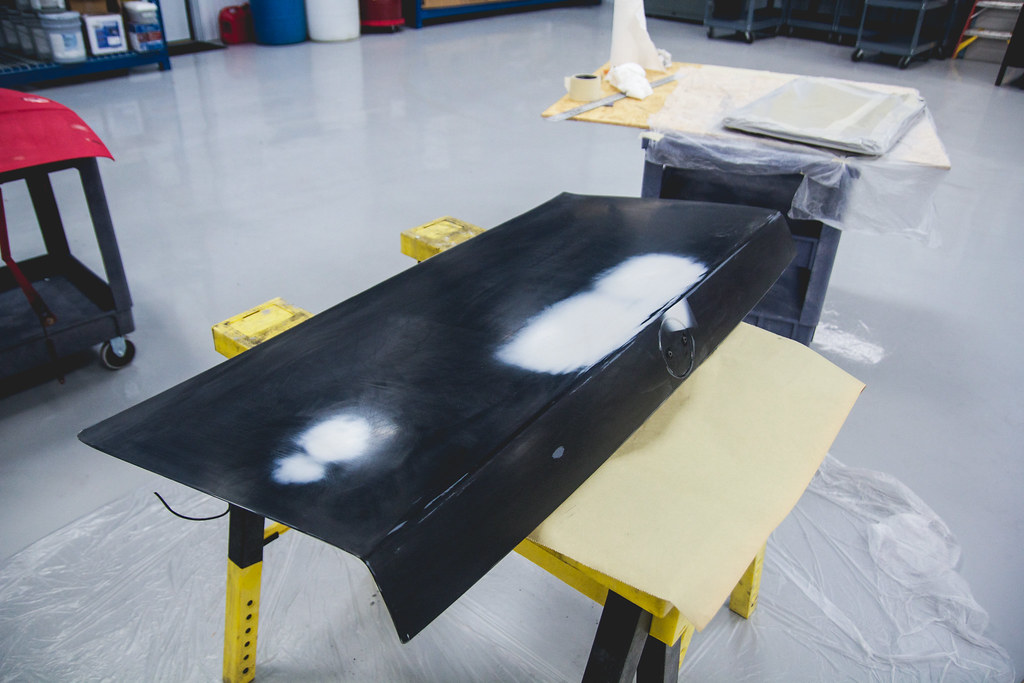
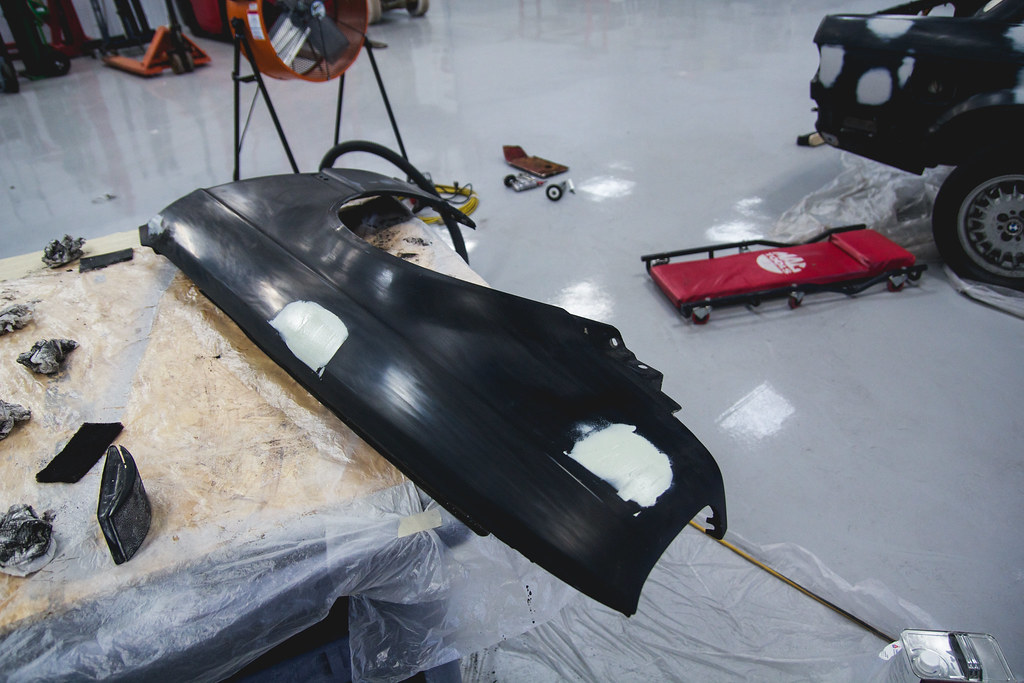
Well this update is long overdue but here it is.
I've been slowly piecing the car back for the past 6 months and by slowly I mean very very slowly. I don't have photos of a lot of little things but I do have photos of the larger stuff done. This is the slow part of the build because now that the paint is so nice I feel bad putting any bad or dirty part back on the car so that has been very time consuming and expensive. Here is a general idea of what I've done for the past couple months and I'll try to post some more photos tomorrow to fill in the gaps.
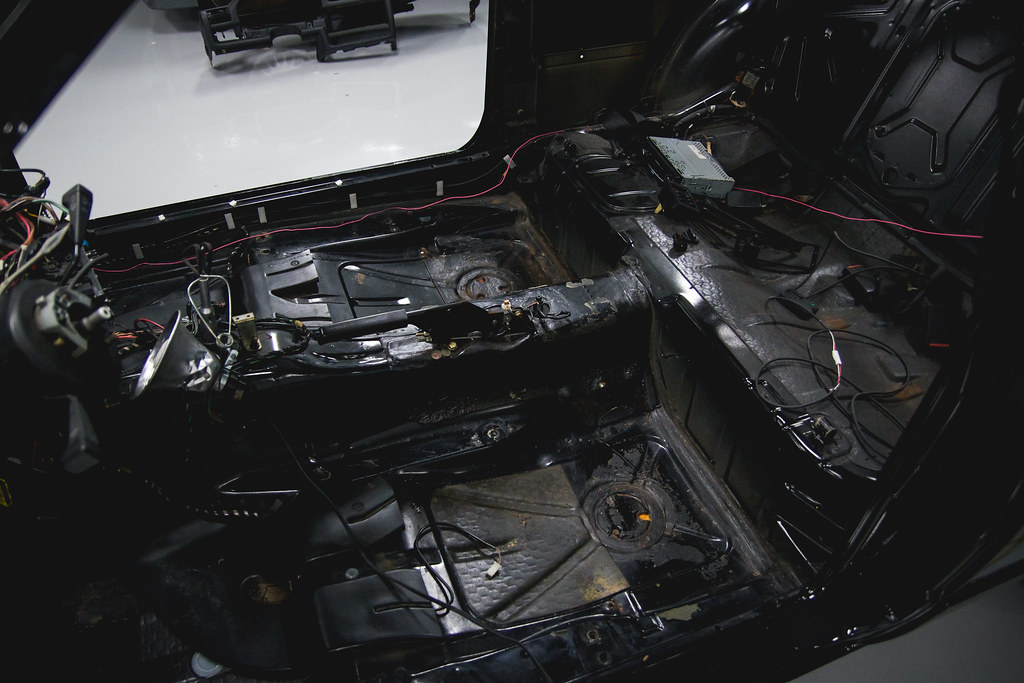
First thing I did since the last update was fix the holes in the floorboard. The PO had "installed" some 5 series seats by simply drilling through the floorboard and and using a bolt through the top and a nut on the bottom. In the process he destroyed the factory mounting locations for the seat rails so I set out to correct that.
Here is a picture of one of the holes.
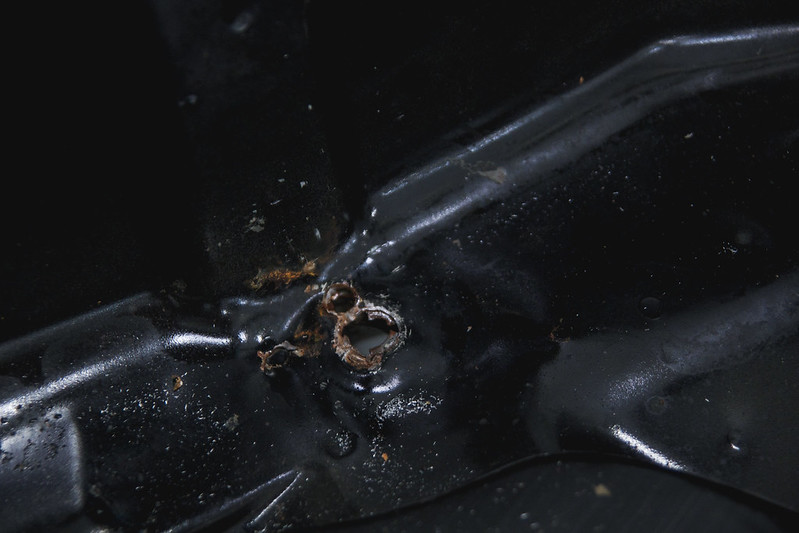 Hole in floorboard (1 of 1) by Dillon Makar, on Flickr
I can't seem to find pictures of how I fixed it but basically cut out the area that had been drilled, welded new metal in, and then welded a bolt where the factory studs are. Here is a photo of the bolt being tacked in. I'll take some photos tomorrow of the finished product.
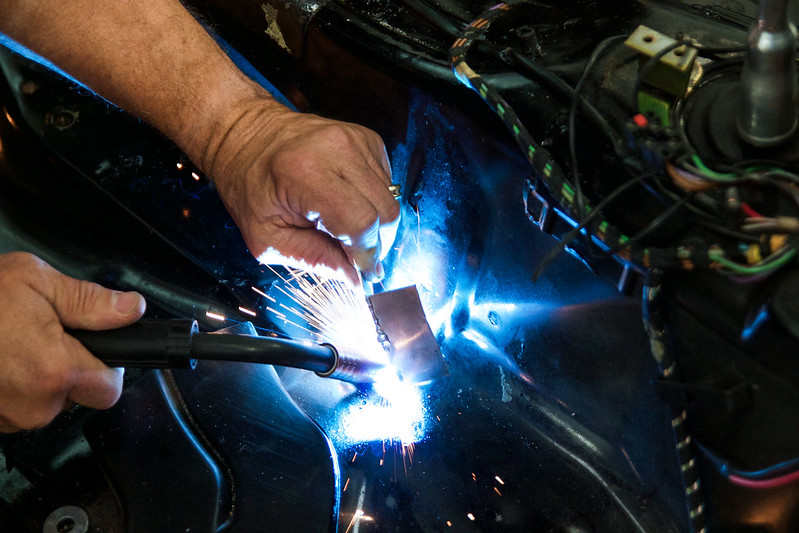 Welding floorboard (1 of 1) by Dillon Makar, on Flickr
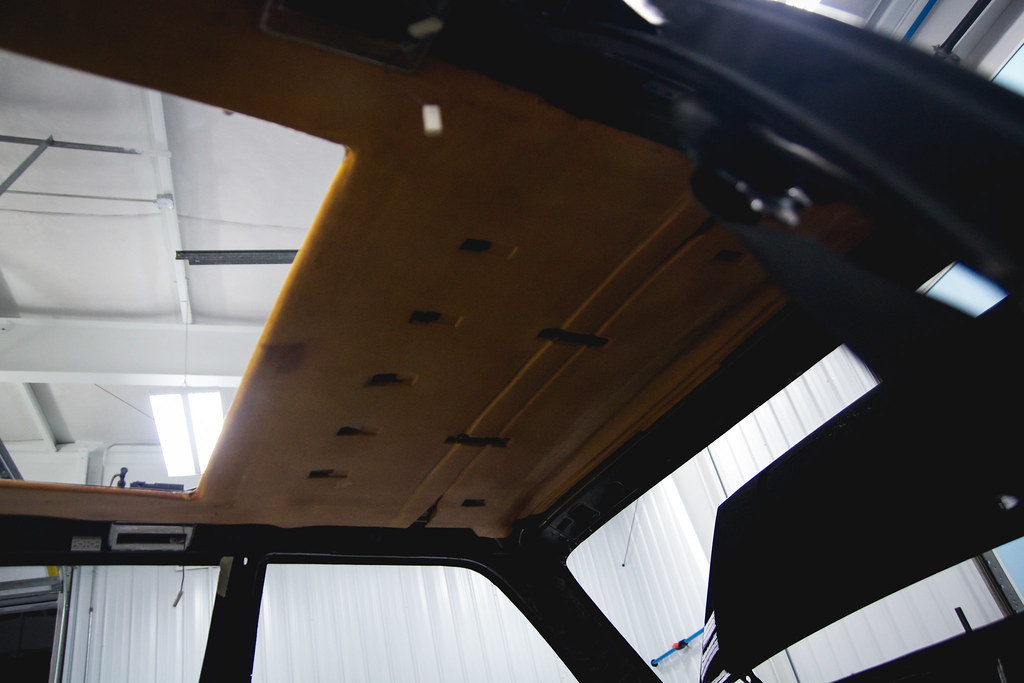
Next up was to install the new suede headliner I had a shop sew up for me. It was pretty straight forward just tedious. Again, can't find photos of the finished product but I'll update the thread tomorrow.
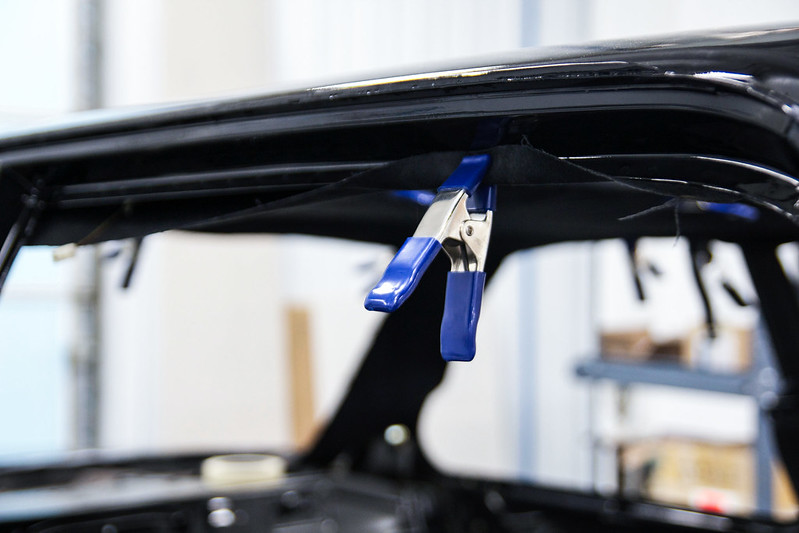 Headliner clamp (1 of 1) by Dillon Makar, on Flickr
My rear quarter window gaskets were quite worn out so I ordered some new ones. Pricy things but they are very nice.
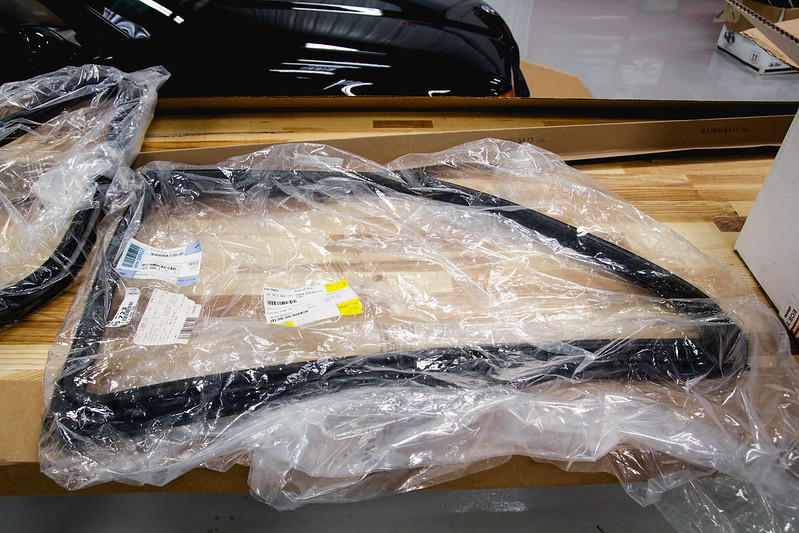 New window gaskets (1 of 1) by Dillon Makar, on Flickr
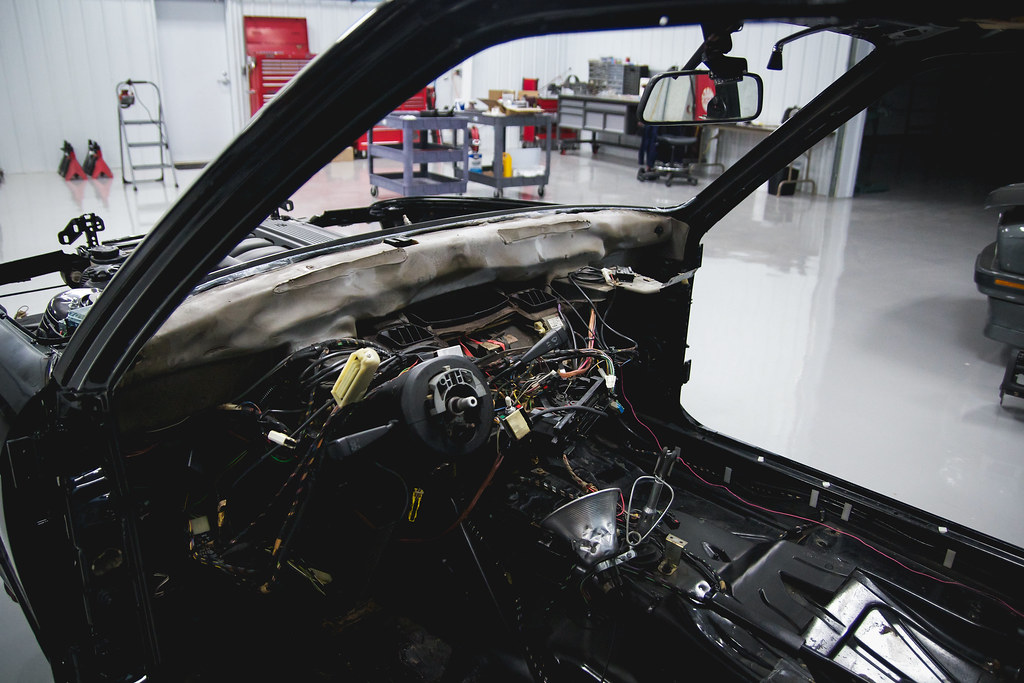
I then installed a crack free dash with the help of a friend. Not nearly as bad as I thought it would be. While the dash was out I untangled all of the wires and fixed all of the PO's half assed wiring. I also installed a new head unit I had laying around which is much nicer than the previous one. Before putting the gauge cluster in I polished the clear plastic cover since it was full of scratches. It came out incredible and looks brand new.
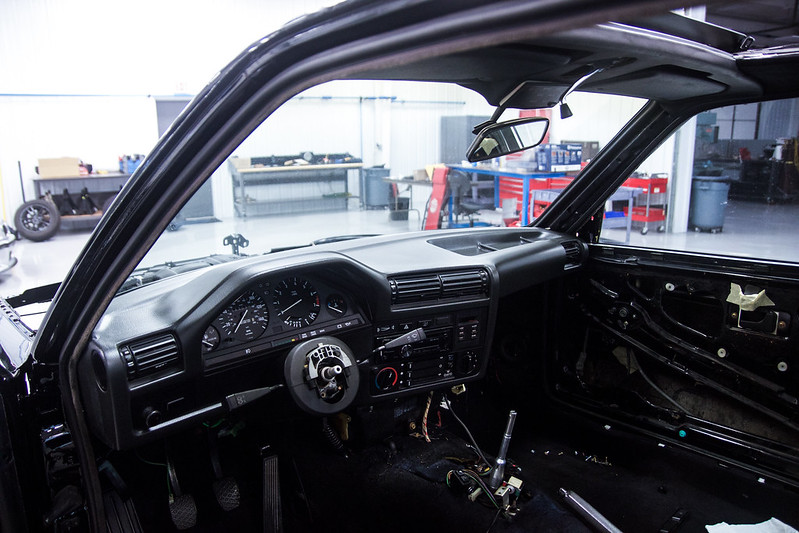 Dash in (1 of 1) by Dillon Makar, on Flickr
Once the dash was in I could go ahead and put the doors on and get them lined up properly. After that I installed the front and rear glass. I have yet to install the lock strips since I don't have the tool and installing by hand is something I will never do again.
 Doors on (1 of 1) by Dillon Makar, on Flickr
My rear parcel shelf was originally tan so I originally decided to dye it black. It sat around for a couple months and had a layer of dust on it so I went to vacuum in before I installed it and vacuum started to suck up the carpet bristles which made it look terrible. On a sudden impulse I just ripped the carpet off of it which left me with this.
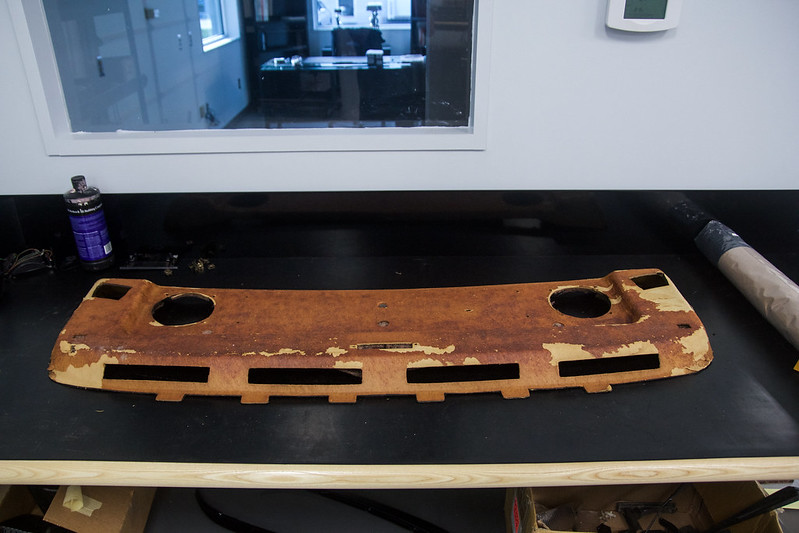 Rear parcel shelf stripped (1 of 1) by Dillon Makar, on Flickr
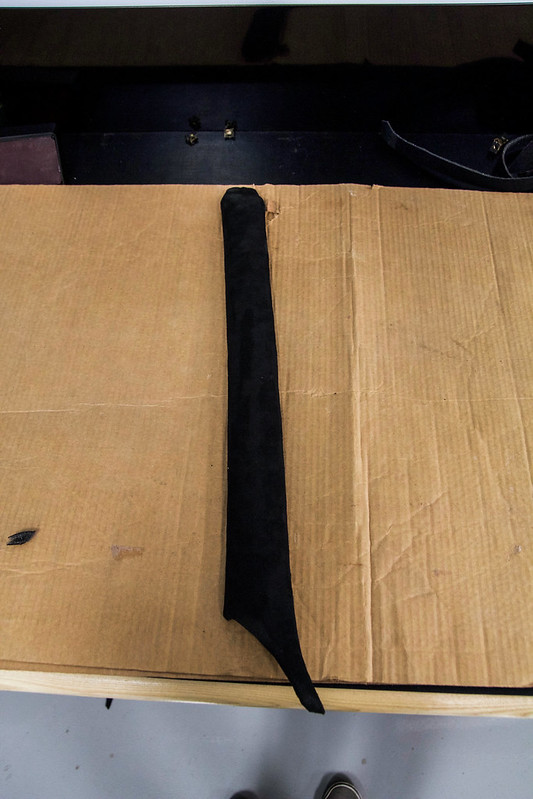
I figured since I had a suede headliner why not have a suede rear parcel shelf. I ordered some foam backed UV protected fabric and got to work. It came out pretty good and I am happy with the result. I need to order and install some new rear speakers since mine are quite old.
 Rear Parcel Shelf Installed (1 of 1) by Dillon Makar, on Flickr
I had a bunch of suede fabric left over and y A Pillar trim had some flaws in the fabric coating so I stripped it off and decided to wrap them in suede. Pretty easy and came out great.
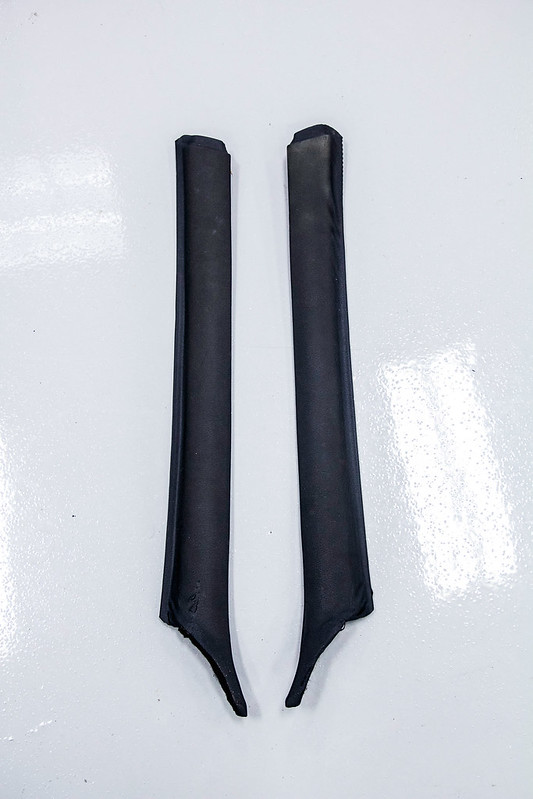 A Pillar Stock (1 of 1) by Dillon Makar, on Flickr
 A Pillar Suede Wrapped (1 of 1) by Dillon Makar, on Flickr
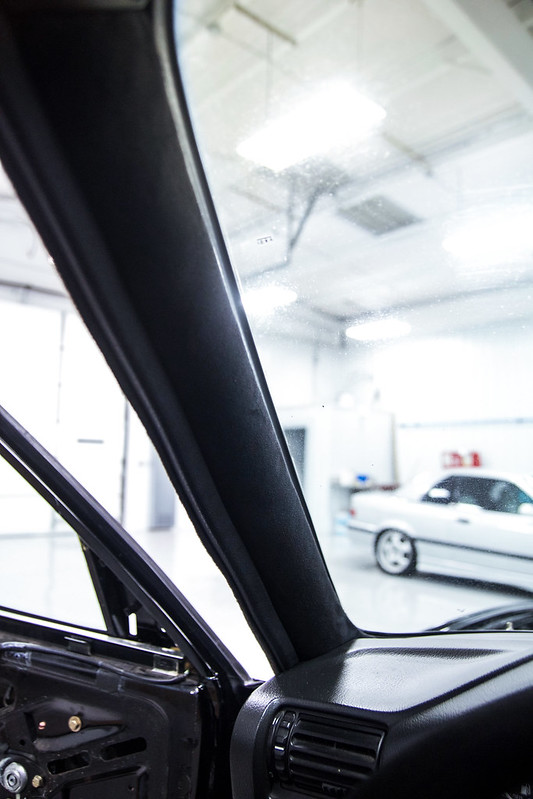 A Pillar Installed (1 of 1) by Dillon Makar, on Flickr
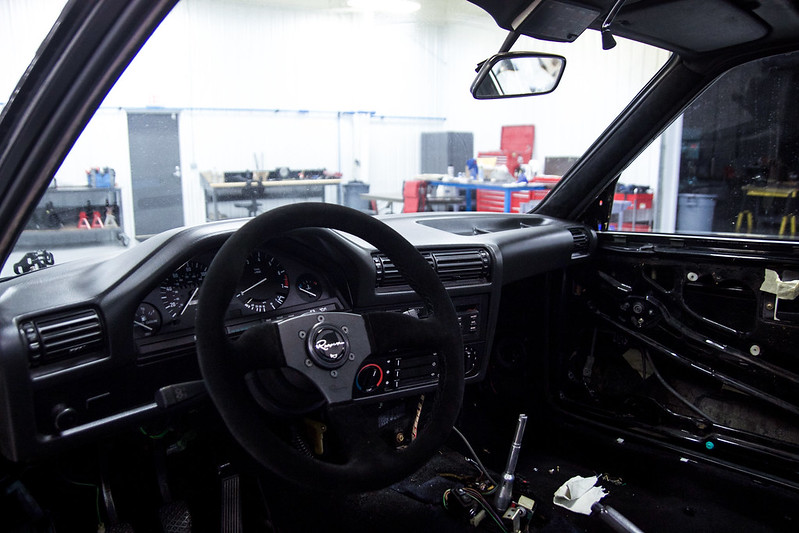
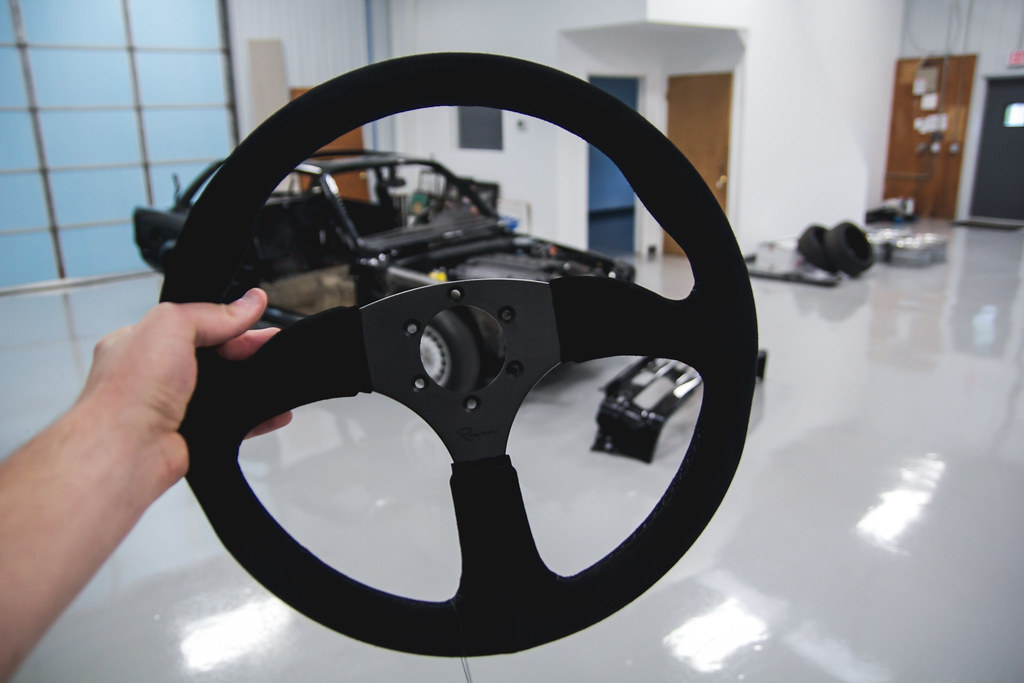
Last but not least I finally installed my renown steering wheel with momo hub that I have had sitting around for months. This thing feels great I highly recommend it.
 Steering wheel installed (1 of 1) by Dillon Makar, on Flickr
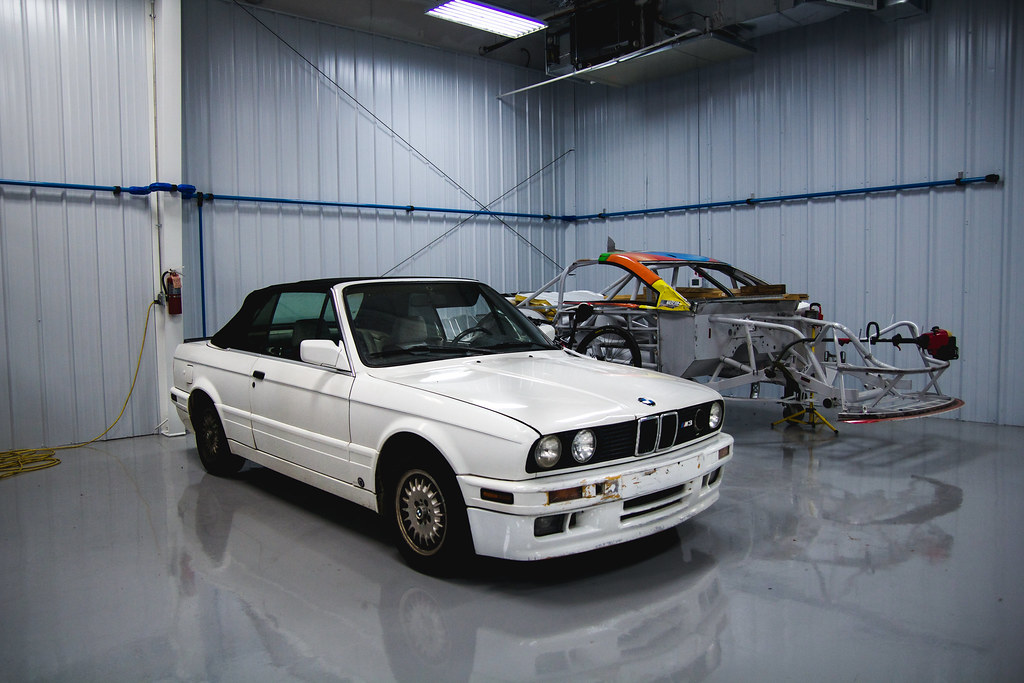
As I said, I have some other updates that I don't have photos of such as dying the carpet, prepping the outside trim for paint, stripping and polishing the bumpers, and my favorite update which is refinishing the wheels. Stay tuned!Leave a comment:
-
Wow! your car is my screen saver at my work computer... :up: :coolphoto: (loving your "Black Limo" :up: )
Leave a comment:
-
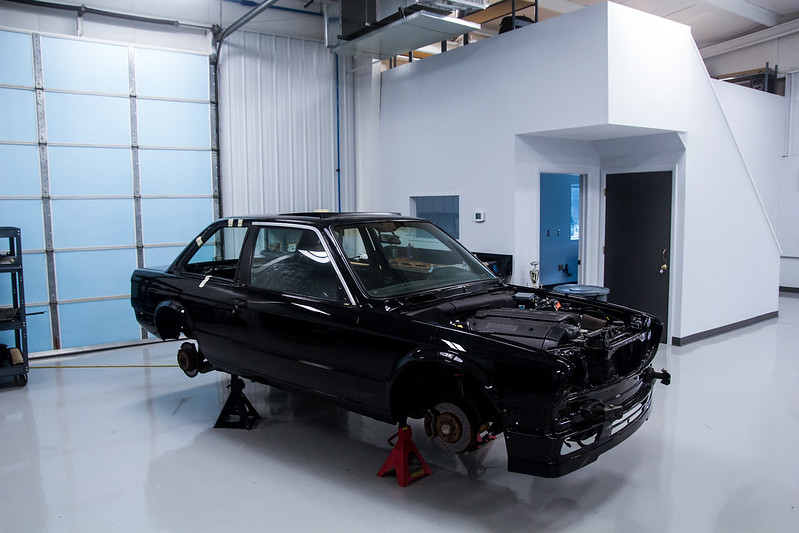
The car is painted!
I finally got the car painted last thursday and got to come home for a little bit to work on it. I have finals next week so I couldn't stay for long but I'll show you guys some pics of the progress I made.
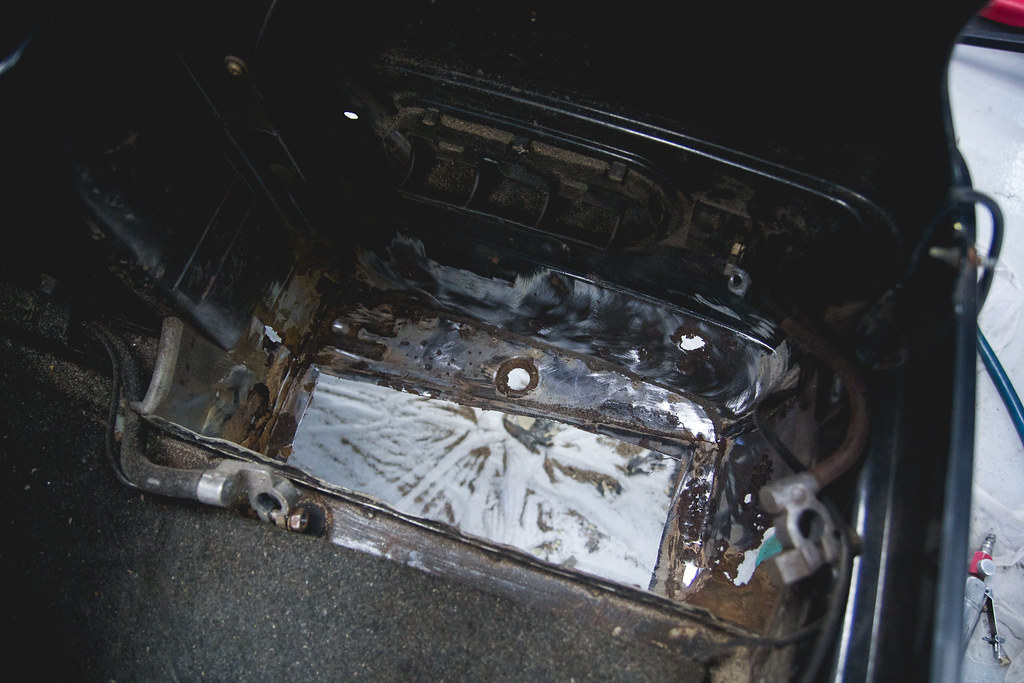
Just to catch up, since I was away at school my Dad finished off the battery tray and the rest of the rust. I don't have any pictures while he was doing it but here is the final result.
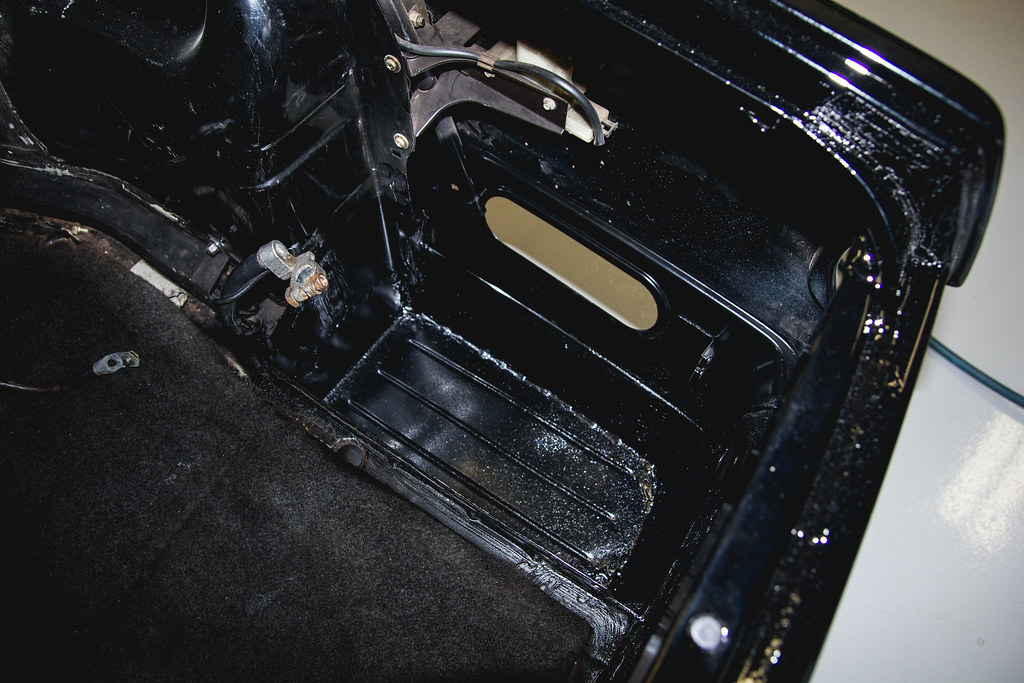 Battery Box Finished (1 of 1) by dillonmakar, on Flickr
 Battery Box Finished Underneath (1 of 1) by dillonmakar, on Flickr
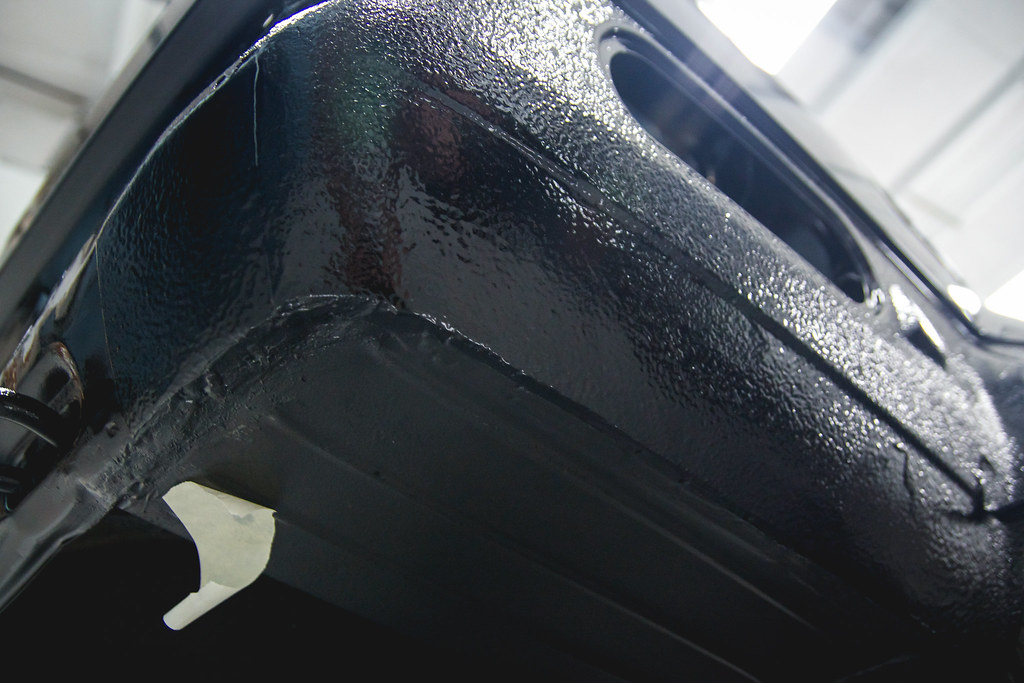
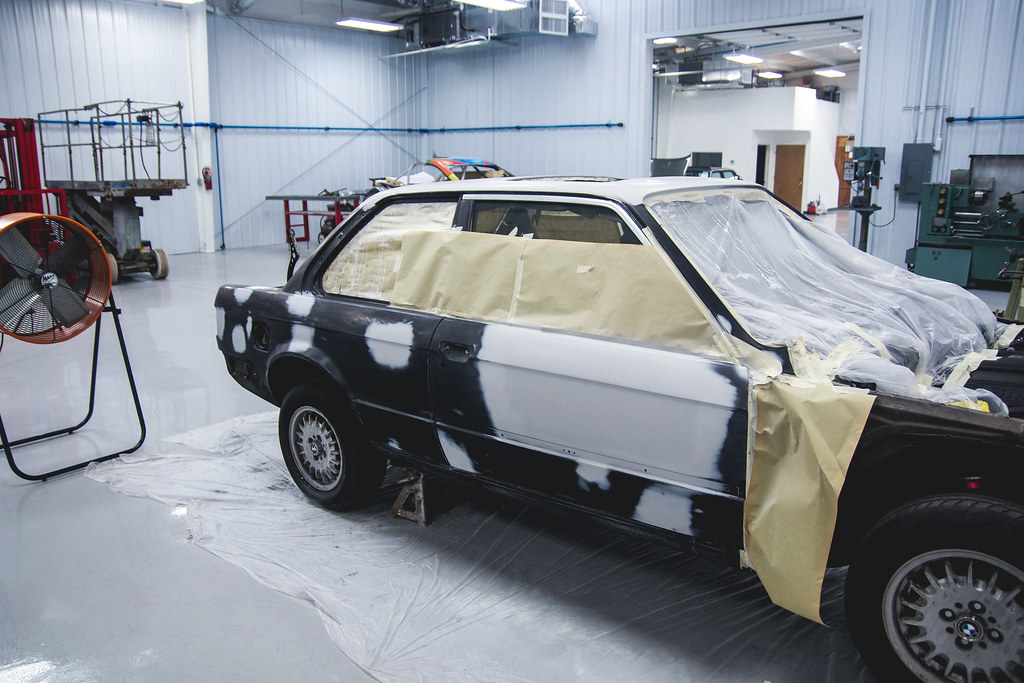
Now, on to the rest of the car. I had the car sprayed with the same color code as schwarz black but I decided to go with a clear coat as well. It turned out amazing and I still haven't done any wet sanding or polishing.
Here is when it first rolled into the shop.
 BMW New Paint (1 of 1) by dillonmakar, on Flickr
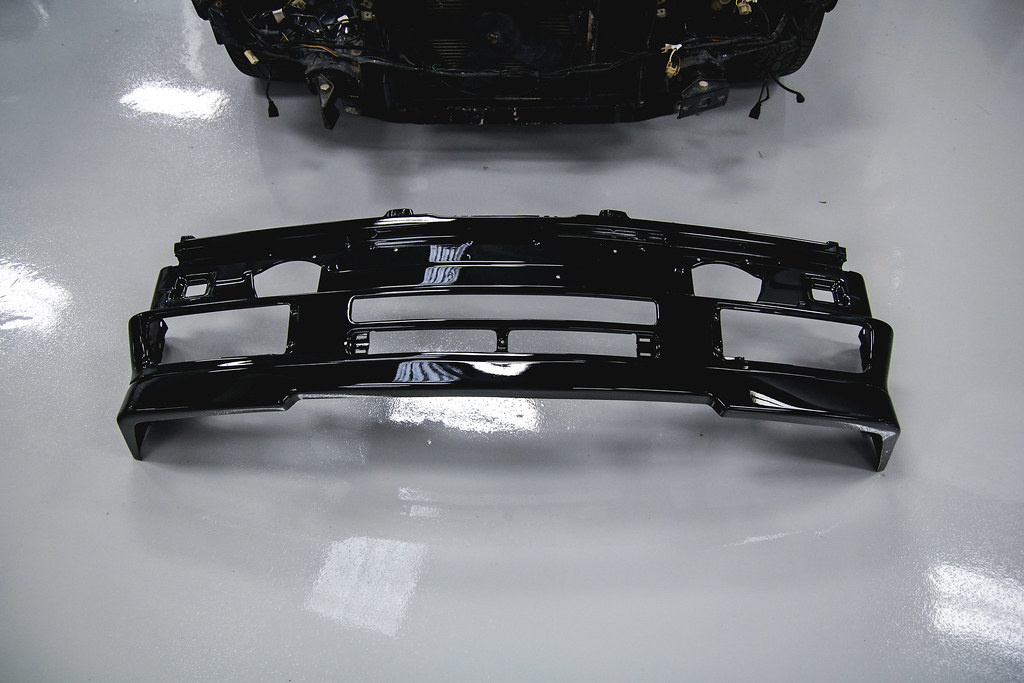 Front Valence Painted (1 of 1) by dillonmakar, on Flickr
 Paint Reflection (1 of 1) by dillonmakar, on Flickr
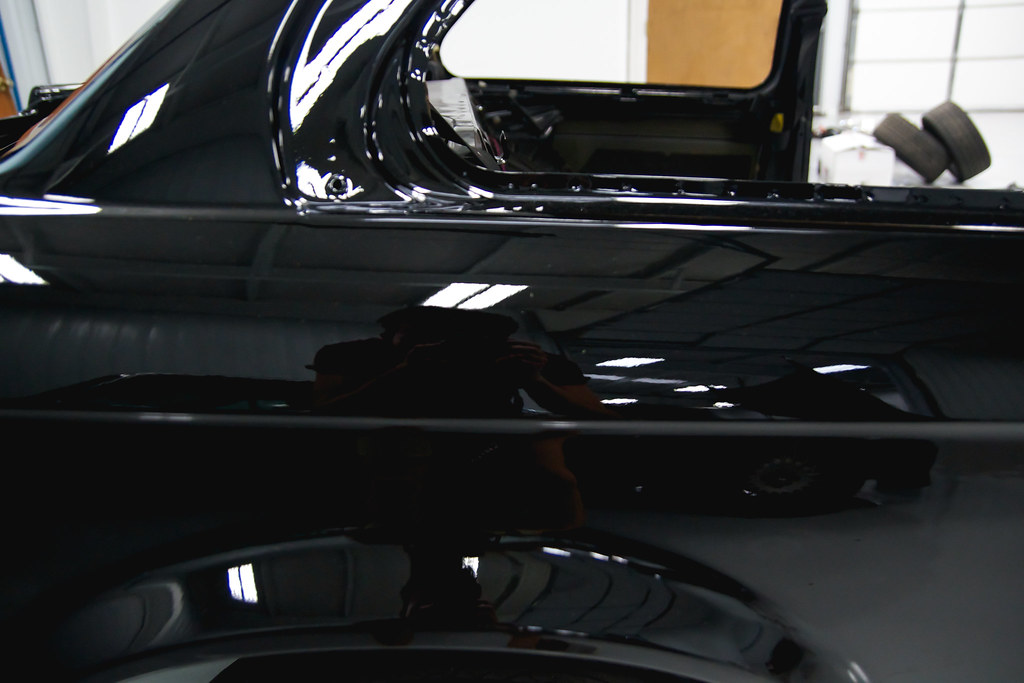
Of course, I threw a couple of the body panels on immediately to get a little grasp of what it will look like when it's back together.
 BMW Fender and Front Valence on (1 of 1) by dillonmakar, on Flickr
Next, I went ahead and pulled out the old cracked dash as well as the carpet and the headliner. I dropped the old headliner off at the upholstery shop so they could use it as a template to cut me a new one. The new headliner will be black suede which should tie in well with the seats. The carpet I pulled was garbage and I bought a blue one the other week in great shape except it's blue. So, next weekend I will be dying that one black.
 BMW Dash Removed (1 of 1) by dillonmakar, on Flickr
 BMW Carpet Removed (1 of 1) by dillonmakar, on Flickr
 BMW Headliner Removed (1 of 1) by dillonmakar, on Flickr
Then, I went to the tire shop and had my current tires dismounted. I'm going to be refinishing the futuras while keeping the original lips and hardware. The lips will be polished and I'm sending out the hardware to be chromed. The faces are going to be brushed with clear over them. I went to start taking them apart and for some reason my socket didn't fit correctly. I bought a 10 point 8mm and 10mm socket from snap on but the socket felt too big and would round off the nut when I tried to take it off. Pretty confused since everywhere online said that was the correct size so I'll be taking them to Ehrlich Wheelworks later this week to try and figure it out and talk about them brushing my faces for me.
 OZ Futura Tire Dismounted (1 of 1) by dillonmakar, on Flickr
 OZ Futura Dirty Bolts (1 of 1) by dillonmakar, on Flickr
Last, but not least my renown steering wheel came in the mail. I'm really pleased with it and it feels great in my hand. Hopefully my momo hub will come in soon as it has been on backorder for almost a month.
 Renown Steering Wheel Unbox (1 of 1) by dillonmakar, on Flickr
Now, the original plan was to have the car done before sowo. Unfortunately, I don't think that will be possible. I can definitely have a finished version by sowo but it wouldn't be as complete as I want it to be and I don't really want to half ass finishing it just for a show. I might get lucky and some how finish it but at this time I'm pretty much expecting it won't be.
School will finally be over this week and I will be home for the summer to work on the car every day which will be nice. Stay tuned for more frequent updates and in the mean time here is a peak of my next project for the summer.
 1992 Mtech 2 Arrived At Shop (1 of 1) by dillonmakar, on Flickr
Leave a comment:
-
Home for easter break so of course I got to work on the car.
I stated earlier that I was 90% done with the sanding. Well, that was a lie I was probably about 75% done. I had some more bondo work to do so I got started on that today.
Did the drivers side door and rear quarter panel and had a lot of little spots on the passenger side pictured below.
 Passenger side full bondo (1 of 1) by dillonmakar, on Flickr
 Drivers side quarter panel bondo (1 of 1) by dillonmakar, on Flickr
 Drivers side door bondo (1 of 1) by dillonmakar, on Flickr
Next, got to work on some more bondo on the trunk lid and a fender.
 Trunk Lid Bondo (1 of 1) by dillonmakar, on Flickr
 Fender Bondo Work (1 of 1) by dillonmakar, on Flickr
Finally, the last piece of the body that needed work and sanding was my hood. I had to use my original black hood on a black convertible that I bought and sold so I grabbed a red hood I had laying around from one of my parts cars and got to sanding and doing a little bondo work.
Sanded down.
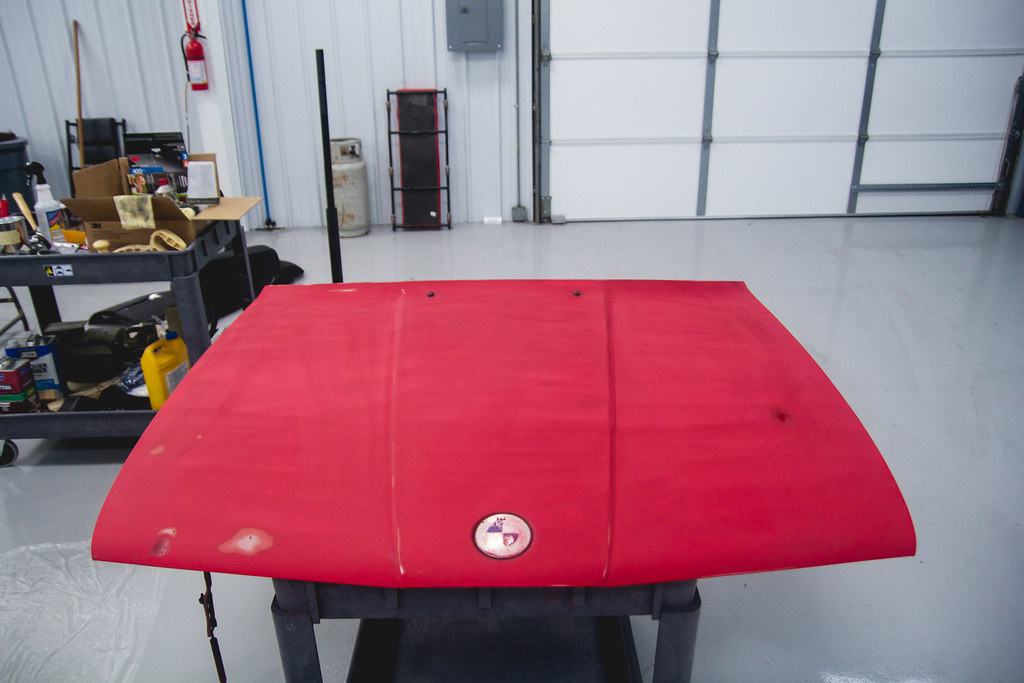 Sanded Red Hood (1 of 1) by dillonmakar, on Flickr
Main dent I had to fill.
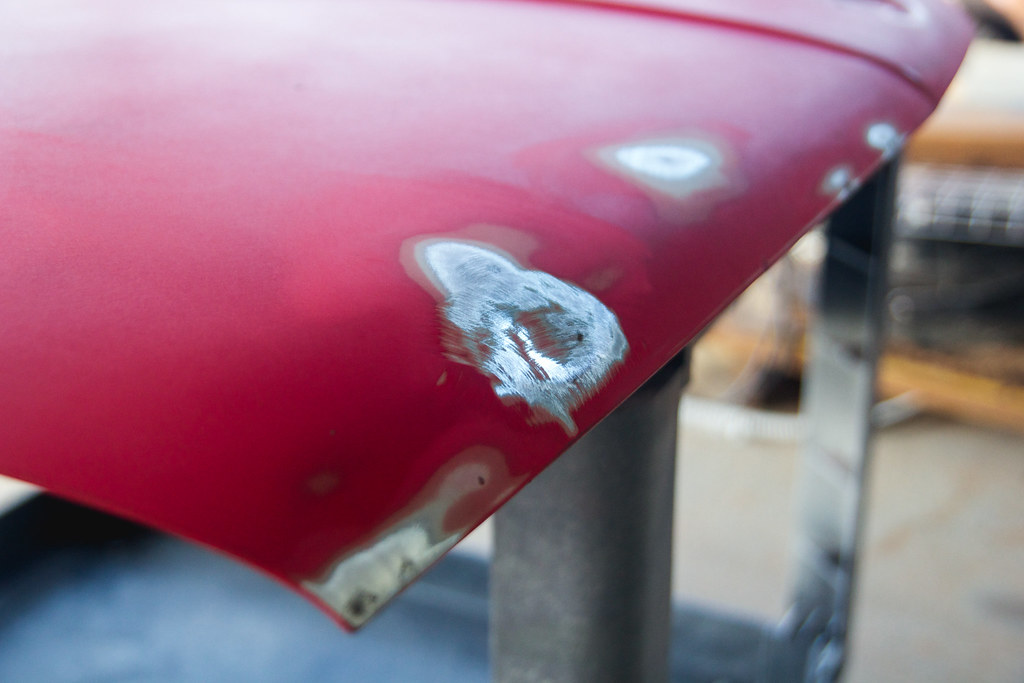 Red Hood Dent (1 of 1) by dillonmakar, on Flickr
Lots of bondo
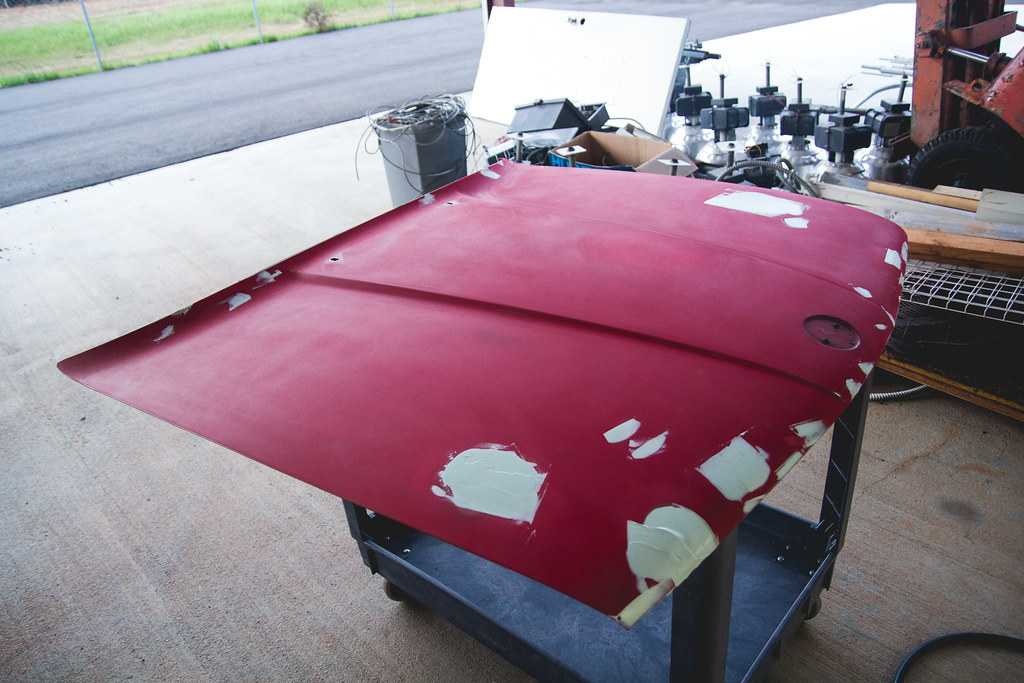 Red Hood Bondo Work (1 of 1) by dillonmakar, on Flickr
Still have to sand down all the bondo but I was tired of that work and moved on to fixing the rust.
First, I started on the rust where the tail light bolts on. First thing first was to cut it out.
 Tail Light Rust Cut Out (1 of 1) by dillonmakar, on Flickr
Cut off a tab from one of my parts cars and got it clamped into place to be welded tomorrow.
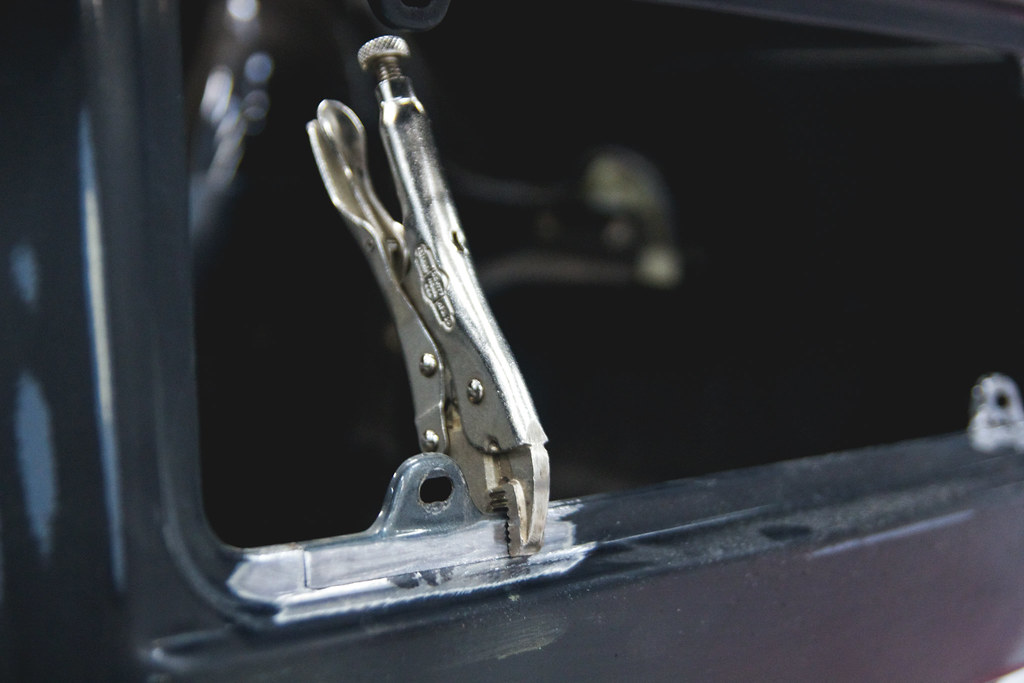 Tail Light Tab Clamped In (1 of 1) by dillonmakar, on Flickr
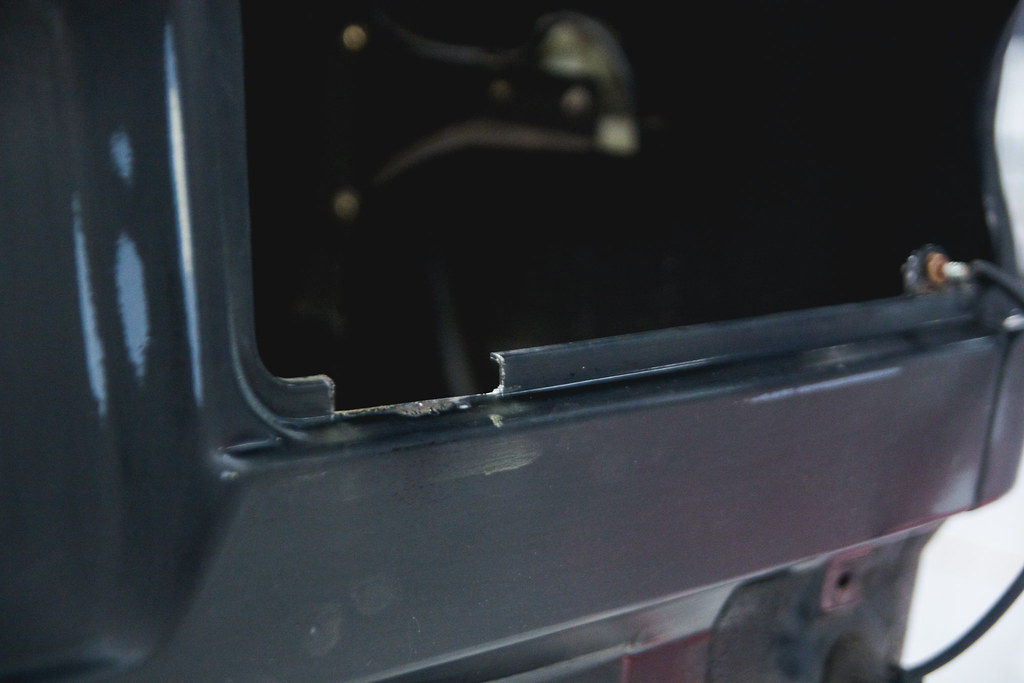
Then I got to work on the worst section which is the battery tray. Started poking around and of course found more rust so it's taking longer than I thought. I got the bottom panel cut out but I still have some more places to remove. I'll finish that up tomorrow as well.
 More Batter Tray Rust (1 of 1) by dillonmakar, on Flickr
That's all I got done today. Not very exciting work but it's got to be done. At this rate I'll be finished up with all the body work and rust repair by sunday probably. After that the updates should get more exciting as it will be going to paint later in the week and then I get to start putting everything back together.Leave a comment:
-
-
i have to say, i very much appreciate that your wheels and tires clearly fit inside your fenders. all the stance-wieners with wheels poking out from there fenders can learn from you.
the car looks fantastic!Leave a comment:
-
Yeah, I know. I accidentally deleted a lot of them and my external hard drive is broken so I have no way of getting them back right now unfortunately. Thanks though!
haha it's pretty great, it's not finished though we have plenty more things to install. and thank you!Leave a comment:
-
Thats like my dream garage. Awesome work, its amazing how far this car has come.Leave a comment:
-
great progress! your flickr doesn't want to load half the pictures now thoughLeave a comment:


 omg.. so freaking clean...


Leave a comment: