-
so what are the plans for the big gap you will have under the bumper? or does that fill up when the rubber parts go around it. Over here if you put euro chromes on a later front end you end up with a big gap to fill. Your bumper brackets confuse me as well. The chrome bumpers over here have these brackets

where yours seem to be a hybrid of s1/s2 ones.. oddLast edited by bangn; 05-23-2016, 10:31 PM.Leave a comment:
-
I'm a couple days behind on my updates and only have pics from a couple days ago but I'll get this thread back up to speed tomorrow.
Last Friday I received some of my trim pieces back from paint and man, they came out fantastic. The color is spot on and exactly what I wanted.
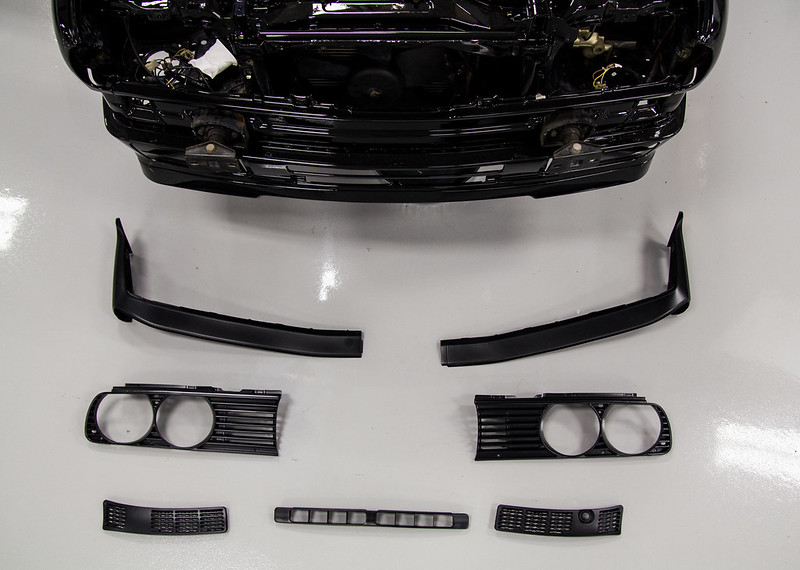
I'm still waiting on over half my other trim pieces but hopefully they will be ready this week.
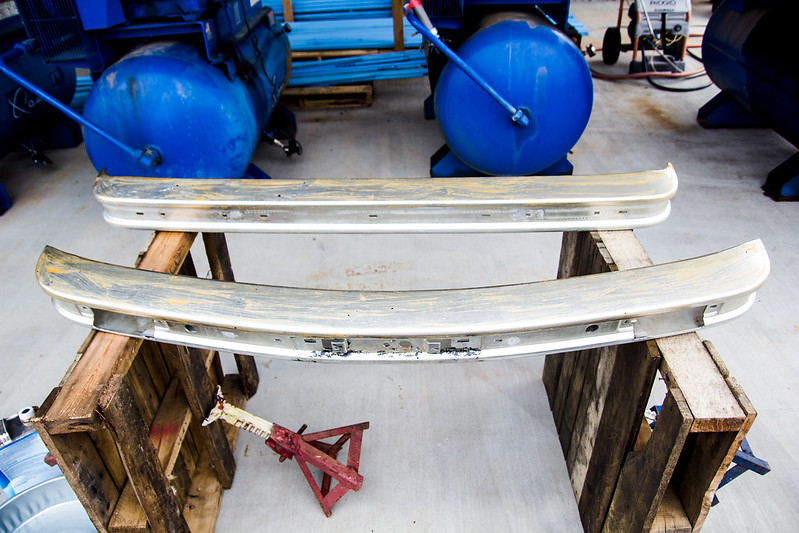
The work on the bumpers continues but I'm on the final stretch. Here is a photo of the bumper sanded down to 180 grit.
I'm much further along on the bumpers but I'll save that update for tomorrow.Leave a comment:
-
haha thanks man, the shop isn't as big as it seems but I have plenty of room.
thanks, I used 3m headliner adhesive.
I'll have to check that out, thanks.
The paint job is my biggest motivator to make sure every other part of the car is nice haha. The guy that sprayed it did a fantastic job and I have a ton of hours into the body work.Leave a comment:
-
go the black!!! most ballsy colour to paint imo! looks like a mint paint job tooLeave a comment:
-
They have leather e-brake handles that fit E30's. I think E36 and E46. I have them in my cars.Leave a comment:
-
Looks awesome so far!! Did you use any specific glue for the suede?Leave a comment:
-
Damn I love your updates and am always so so jealous of your shop space. It seems to be about as big as my local Home Depot except way cleaner and way brighter. I respect that you're not cutting any corners and doing everything very properly, this thing will hold it's value nicely. Keep up the great work :up:Leave a comment:
-
I'm home for summer break so hopefully I will be able to update this often.
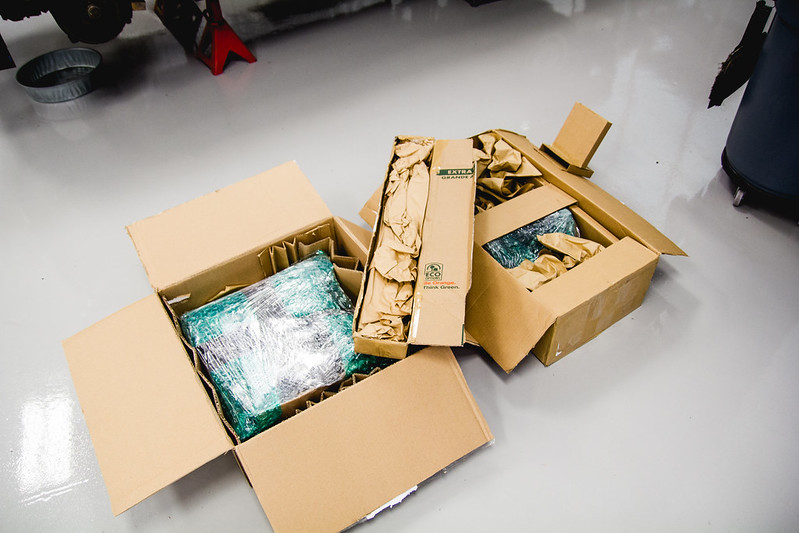
I walked into the shop to the wonderful sight of a couple boxes, filled with some key parts I've been needing including a glove box, knee bolster, front center console, center console, and wind deflector. The center console is brand new from ECS Tuning and the rest are used but in great condition. Here are some photos before I cleaned them.
 BMW Packages (1 of 1) by Dillon Makar, on Flickr
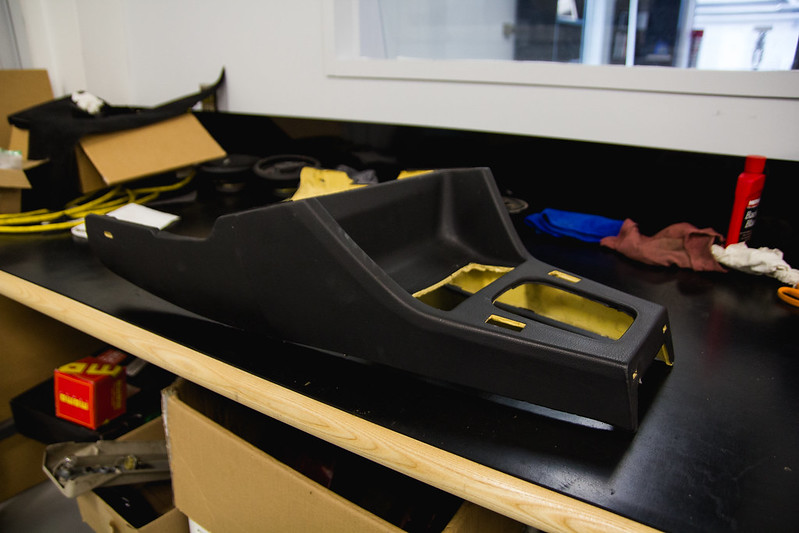 Front Center Console (1 of 1) by Dillon Makar, on Flickr
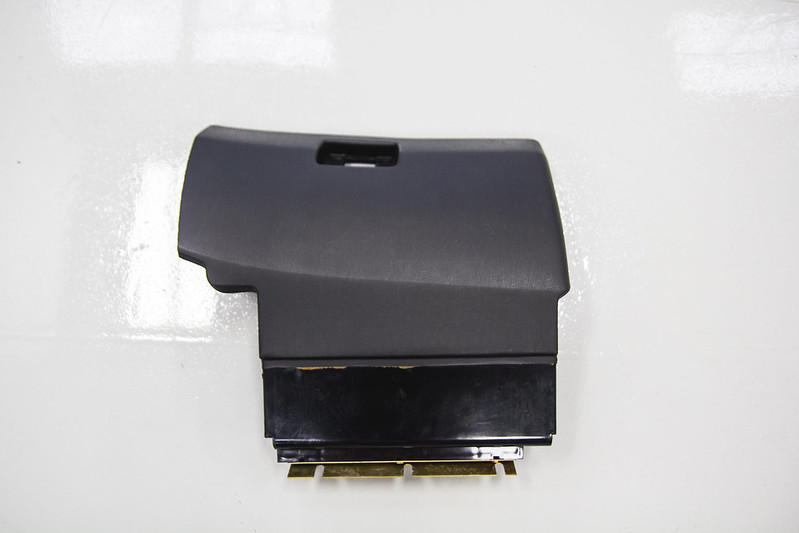 Glove Box (1 of 1) by Dillon Makar, on Flickr
 Knee Bolster (1 of 1) by Dillon Makar, on Flickr
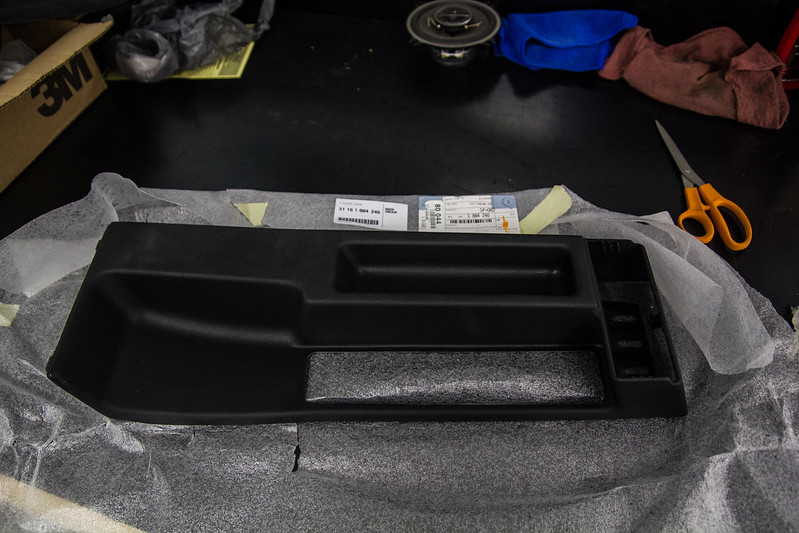 Brand New Center Console (1 of 1) by Dillon Makar, on Flickr
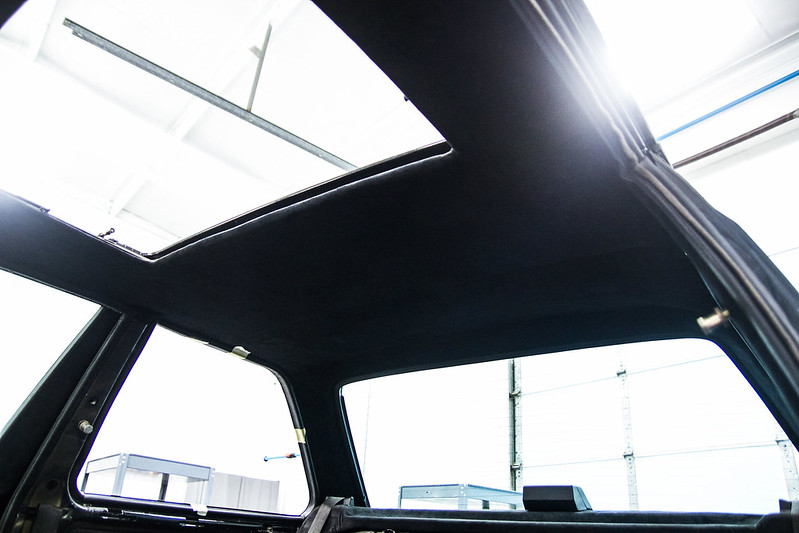
The first thing I installed was the wind deflector so I could install the sunroof. Installation of the sunroof wasn't nearly as bad as I expected which was nice. While I had the sunroof out and painted I ordered a new sunroof gasket and man, those things are expensive. Installed everything and gave the cables some grease and here are the results.
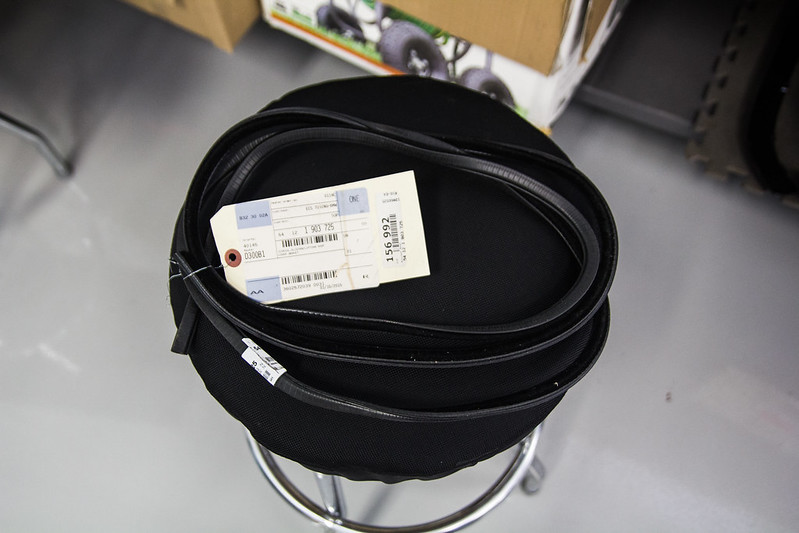 Sun Roof Gasket (1 of 1) by Dillon Makar, on Flickr
 Sun Roof Suede (1 of 1) by Dillon Makar, on Flickr
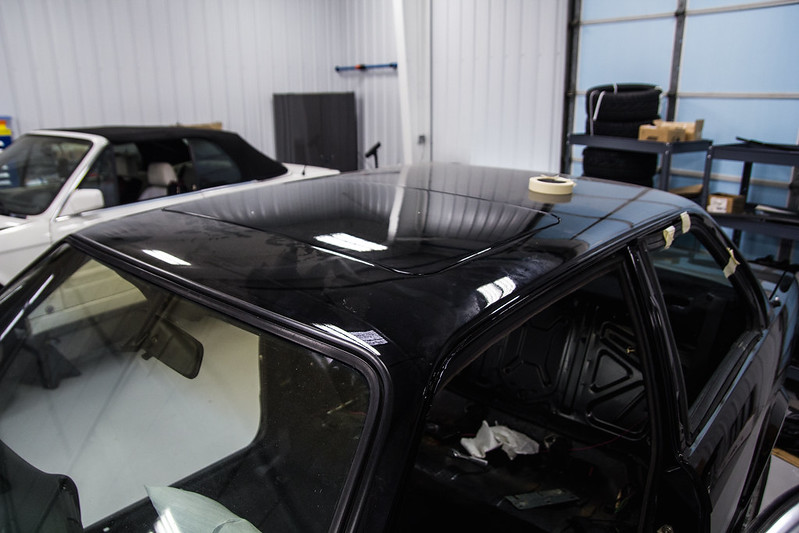 Sun Roof Top View (1 of 1) by Dillon Makar, on Flickr
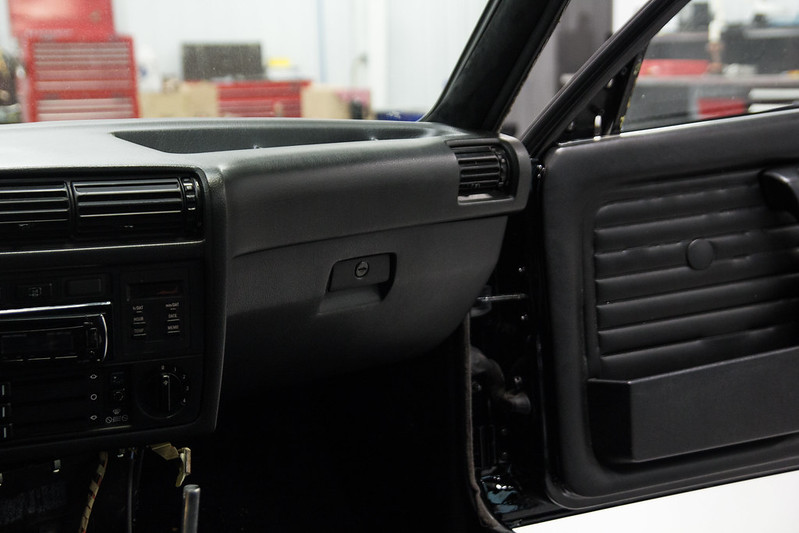
Next up I installed the glovebox. Pretty straight forward and easy.
 Glove Box Installed (1 of 1) by Dillon Makar, on Flickr
Then I installed the center consoles along with my new shifter boot and shift knob. Didn't take a photo of the ebrake boot installed but it's the same leather material as the shift boot. I need to figure out what to do with the ebrake handle as I'm not too fond of the cheap plastic feel of the stock one.
 Center Consoles Installed (1 of 1) by Dillon Makar, on Flickr
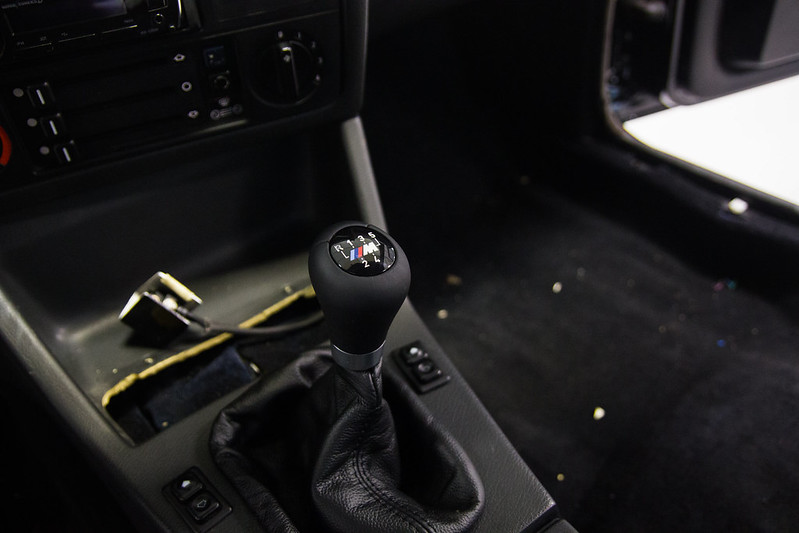 New Shift Knob (1 of 1) by Dillon Makar, on Flickr
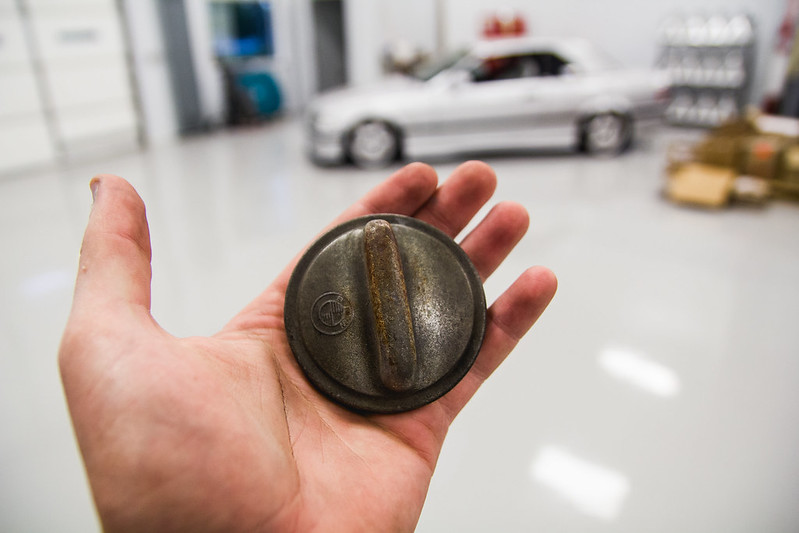
Last thing I did was clean up my gas cap since it was nasty looking. Just threw it in the sand blaster real quick and left the finish as is.
 Dirty Gas Cap (1 of 1) by Dillon Makar, on Flickr
 Cleaned Gas Cap (1 of 1) by Dillon Makar, on Flickr
All of my exterior trim pieces have been getting painted this week so hopefully I'll be able to install a couple of them tonight as well as finish up polishing the bumpers.Leave a comment:
-
I was probably one of the first people to try and polish diving boards back in the day. Sanding is definitely the way to go. That coating is nearly a mm thick if not more. Just make sure to clear it after to protect the finish. Unless youre willing to wet sand and polish those bumpers every so often.Leave a comment:
-
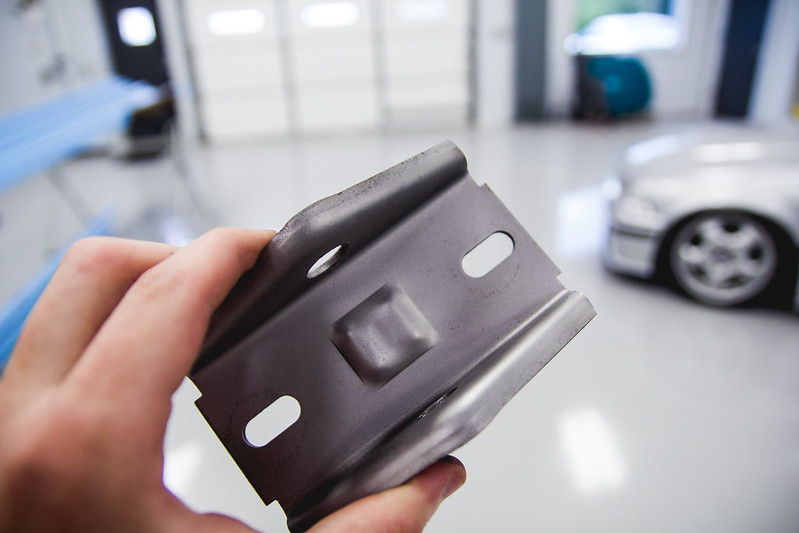
Started off today with painting my bumper brackets that I had sandblasted yesterday. I just used a rustoleum flat black to paint them and they turned out great.
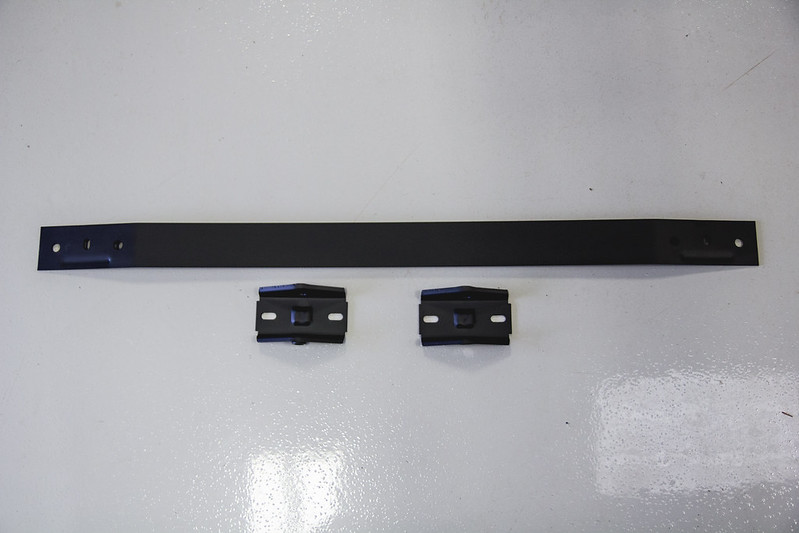 Bumper Brackets Painted (1 of 1) by Dillon Makar, on Flickr
 Bumper Brackets Painted 2 (1 of 1) by Dillon Makar, on Flickr
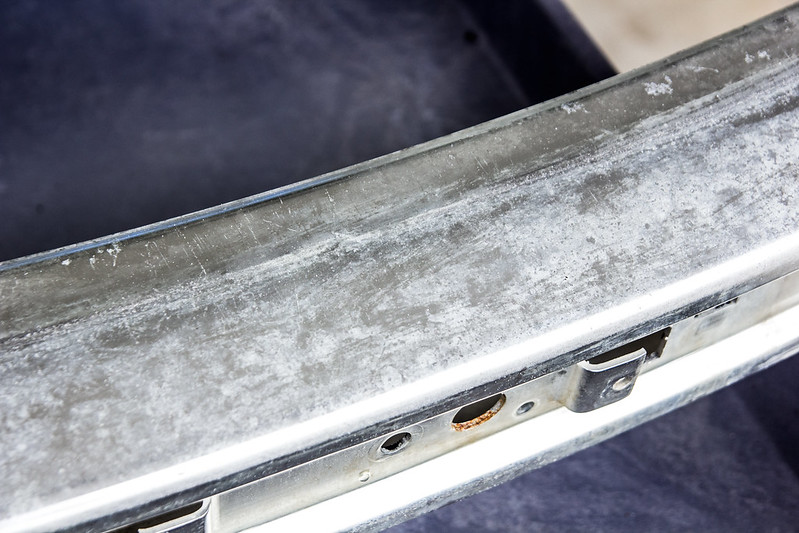
Next on the list was the get to work on the actual bumpers. Everything I read online emphasized getting the "clear" protective coating off of them before attempting to polish. I read that some people had used aircraft stripper to remove the coating so I decided to start off with that. I left the stripper on for about 20 minutes for each coat and would scrub with a wire brush to attempt to remove the coating.
 Bumpers with aircraft stripper (1 of 1) by Dillon Makar, on Flickr
 Bumpers with aircraft stripper close up (1 of 1) by Dillon Makar, on Flickr
Here is the finished result.
 Bumper after stripping (1 of 1) by Dillon Makar, on Flickr
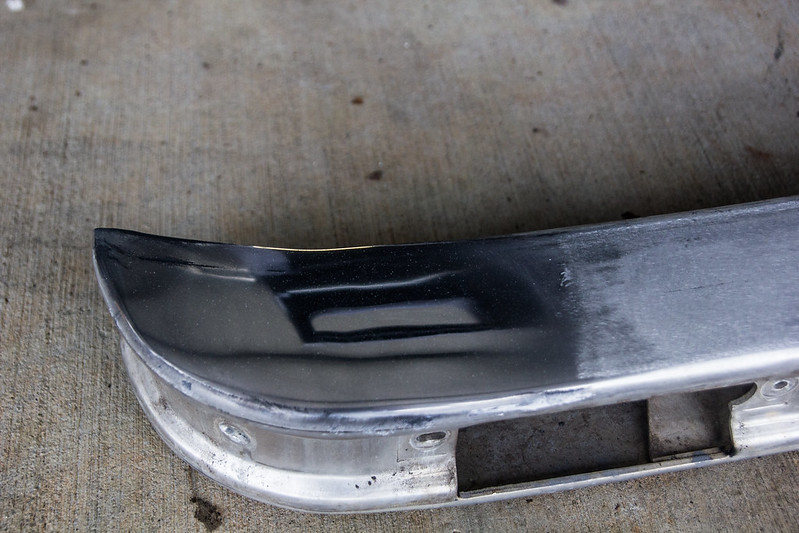
As you can tell, there is still a good amount of coating on the bumpers which was quite disheartening. The next best option was to simply sand the coating off. I first tried to wet sand with 400 grit and that did absolutely nothing. I then went and grabbed a spare bumper I had to use as a test dummy so I didn't mess up my good bumpers. I used various grits with no success so I grabbed a da and some 180 grit and decided to see what it would do. It stripped the coating off pretty easily and even got rid of all the scratches. I then just stepped up grits from 180 to 360 to 600 to 1000 to 1500 to metal polish and here is the result on the test bumper.
 Test Bumper Polish (1 of 1) by Dillon Makar, on Flickr
It came out great for about 5 minutes of sanding and only one quick run with polish. I moved onto my bumpers to start the same process and it did not go as well. For some reason removing the coating on my bumpers was much more difficult. What I accomplished in five minutes on the other bumper took about 30 minutes on the other, just using 180. I had some used 80 grit laying around and tried that but it didn't work much better.
I'm not sure if the aircraft stripper made it harder to get off or if certain year model bumpers had a different amount of coating. Tomorrow I'm going to buy some new 80 grit and see what that does.Leave a comment:
-
Just got home for Easter break so I started messing with the car some.
First order of business was to install a new door hinge on the drivers side since mine had cracked. I grabbed one off a parts car outside and sand blasted it then painted it the factory black. Didn't grab any pics of this since my camera was dead at the time.
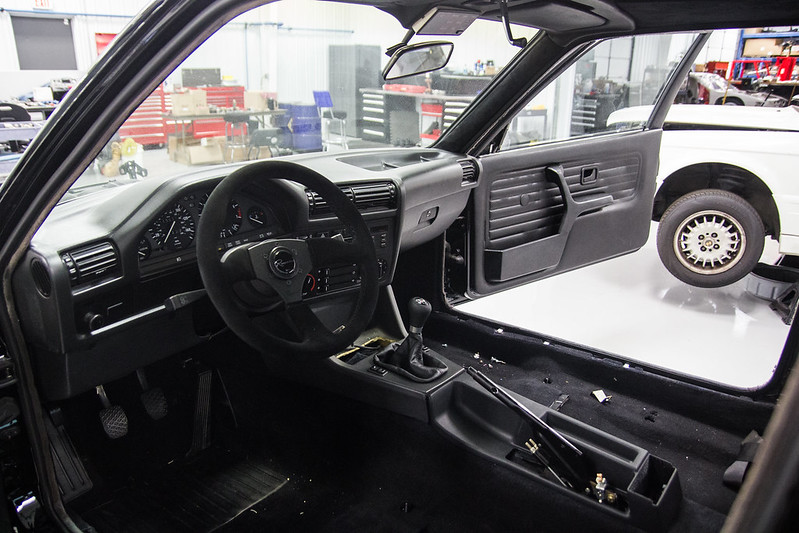
After that I went to install the front door cards. I got a roll of vapor barrier material and cut out a replica of the factory vapor barrier. It turned out very nice and should do the job. Went ahead and installed my door cards which are the cleanest set I have personally seen. They are dirty from sitting in storage for so long but I'll go about cleaning them later when the car is almost finished.
 Door Card Installed (1 of 1) by Dillon Makar, on Flickr
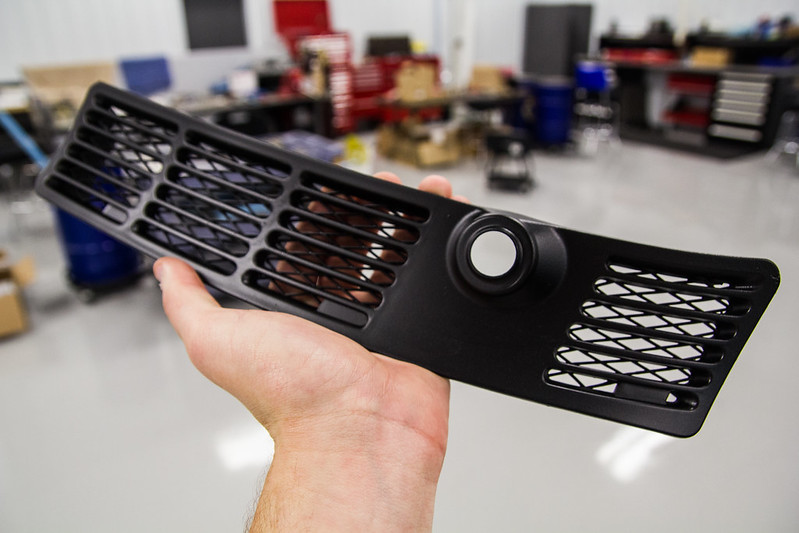
Next, I installed my fog light delete covers that are color matched to the body with new hardware. Still waiting on some hardware to install the brake ducts.
 Fog Light Delete Cover (1 of 1) by Dillon Makar, on Flickr
After that I installed my newly dyed front speaker covers. I used the same spray dye that I used on the carpet and yet again I was quite satisfied with the result.
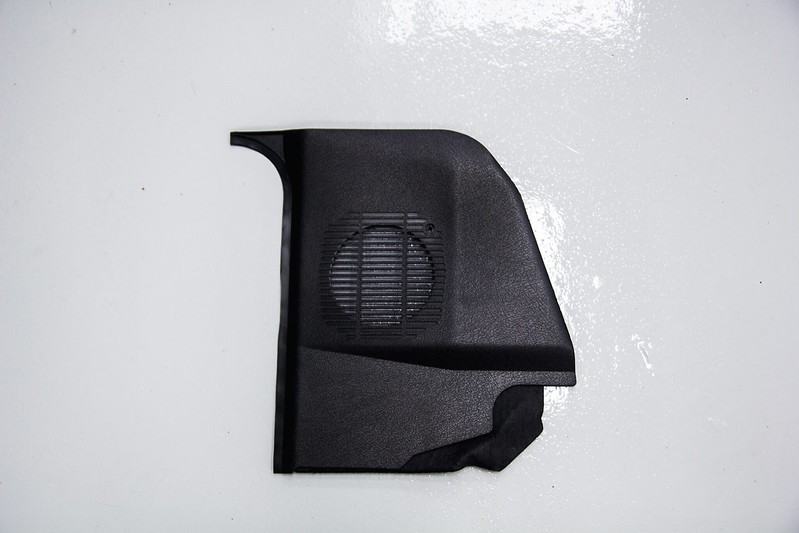 Front speaker cover (1 of 1) by Dillon Makar, on Flickr
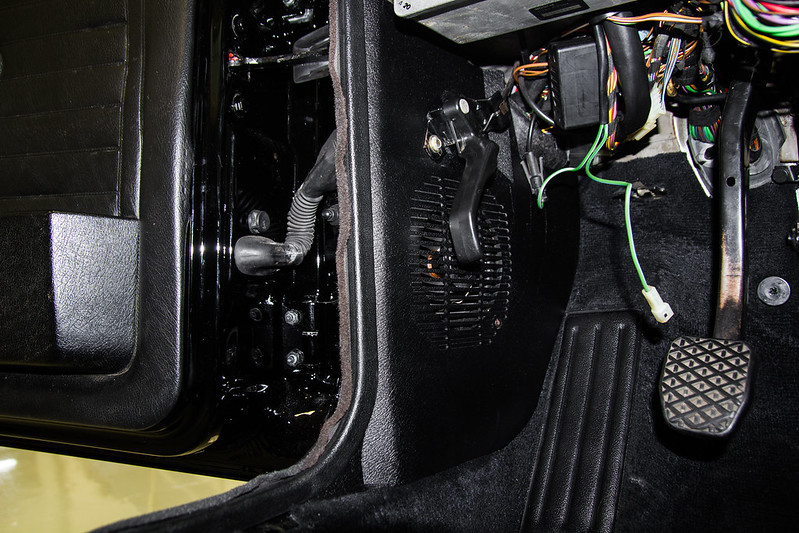 Front Speaker Cover Installed (1 of 1) by Dillon Makar, on Flickr
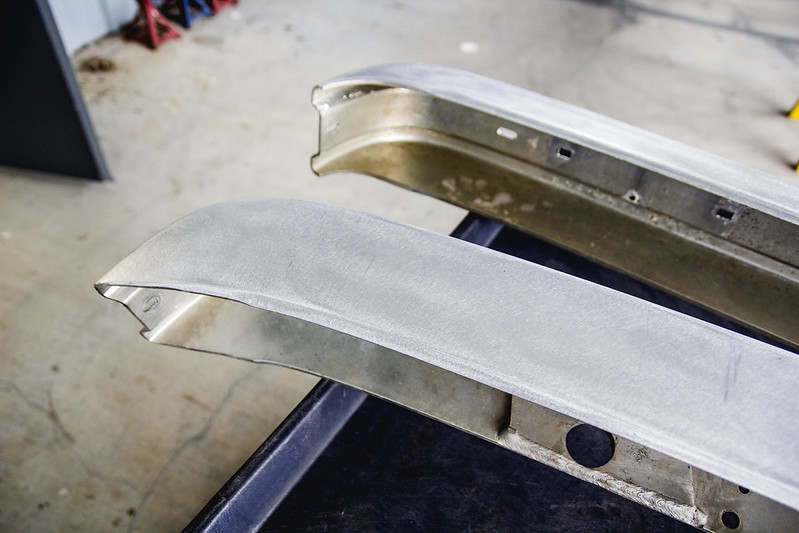
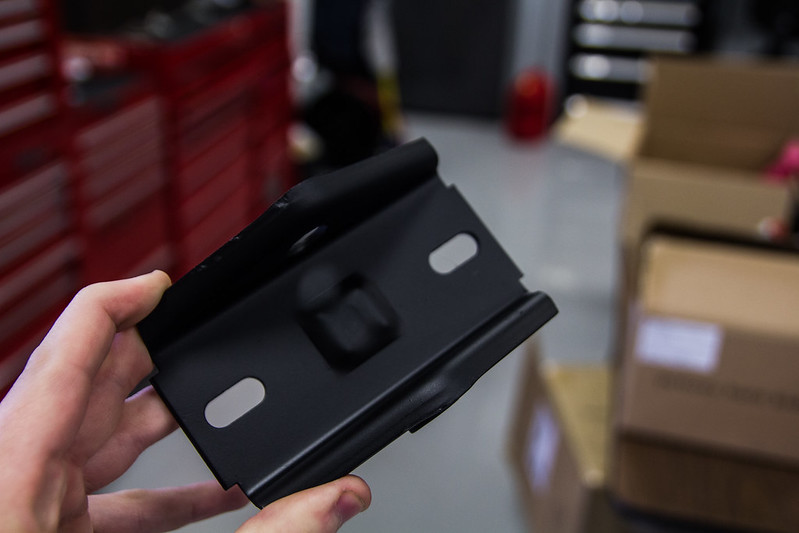
One of the last time consuming projects for the car is restoring the front and rear bumpers. I'm going to strip them down completely so that I can repolish them to their former glory. The first thing I did was remove some of the pieces inside the bumper and clean them up. They were quite dirty and I wanted to make use of our new sand blaster so in they went.
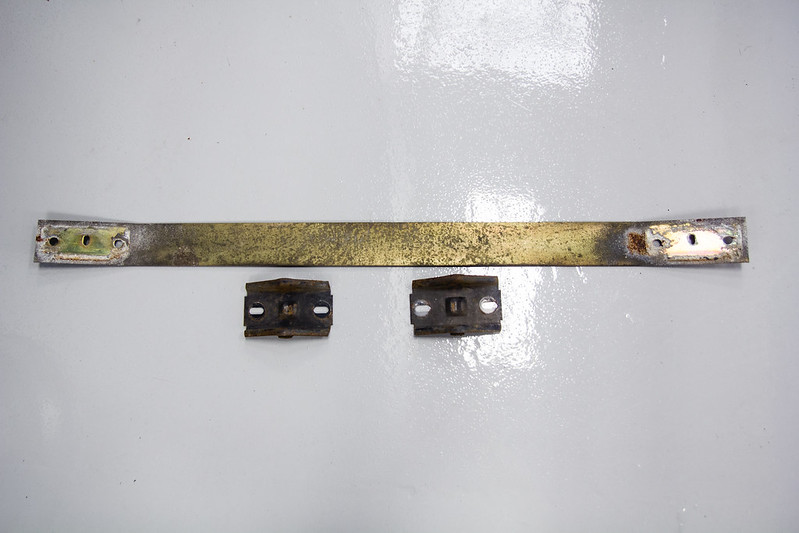 Front Bumper Pieces Before (1 of 1) by Dillon Makar, on Flickr
And there is the result.
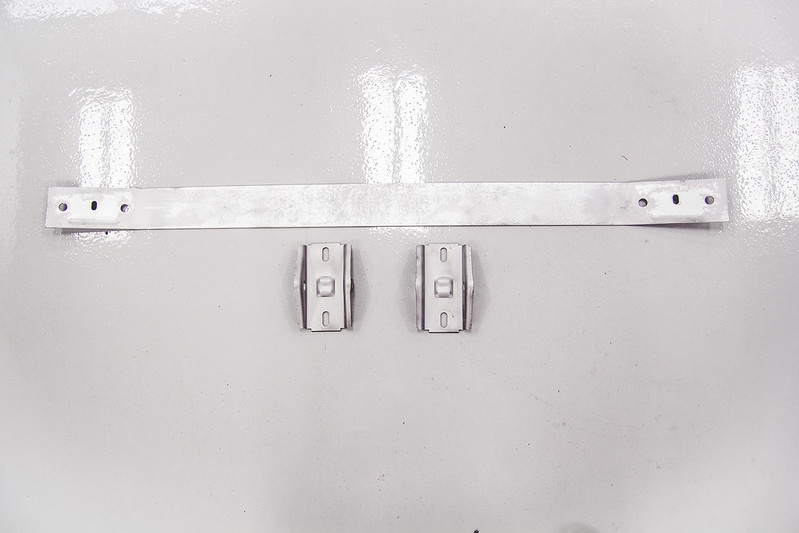 Front Bumper Pieces Sand Blasted (1 of 1) by Dillon Makar, on Flickr
 Front Bumper Pieces Sand Blasted 2 (1 of 1) by Dillon Makar, on Flickr
Tomorrow I'll paint them a flat or satin black to keep them clean.
I'm still waiting on all my trim pieces to be painted so until I get them back I'm at a stand still at a lot of places on the car. I'll be slowly working on the car the next couple days so I should have some more updates for you guys.Leave a comment:
-
I just started refinishing my Futuras the exact same way. ��
Can't wait to see how this turns out.Leave a comment:
-
Some more updates for you guys.
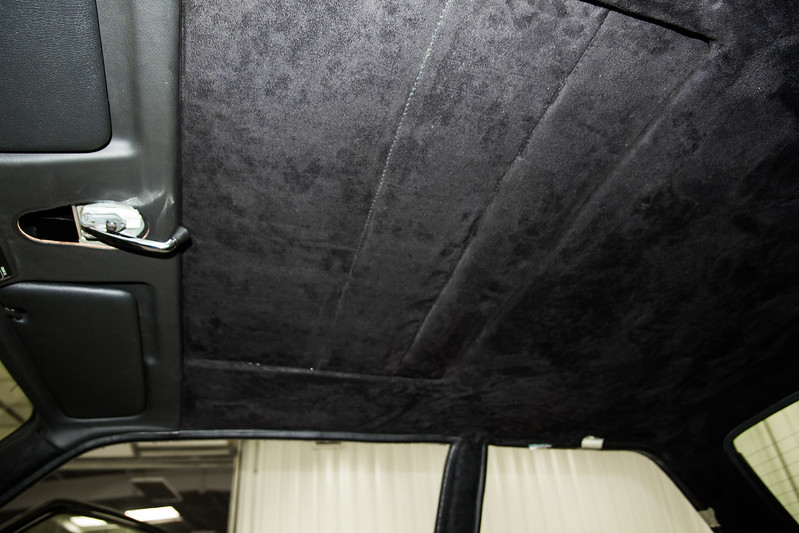
I grabbed some pics of the studs I welded in for the seats as well as the suede headliner. Here they are.
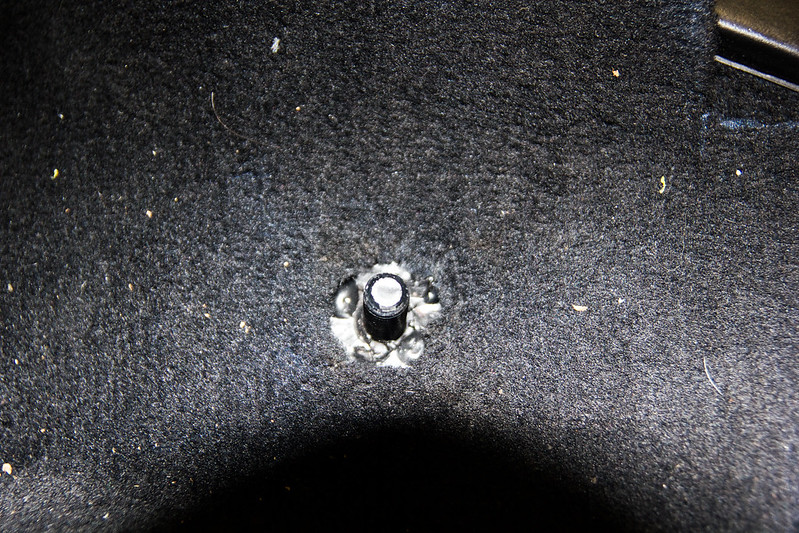 Seat Stud Welded (1 of 1) by Dillon Makar, on Flickr
 Suede Headliner (1 of 1) by Dillon Makar, on Flickr
Today I started with wrapping the B-pillar trim in the suede fabric and putting them on as well as the new window gaskets.
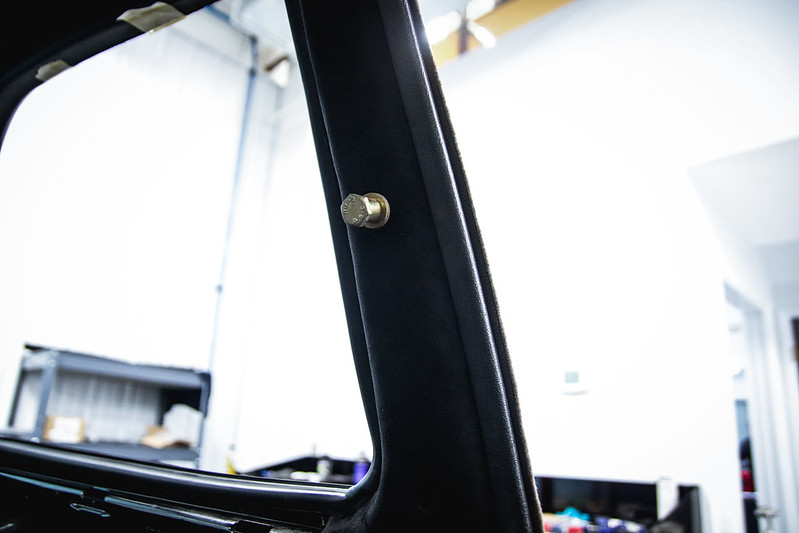 Suede B-Pillar (1 of 1) by Dillon Makar, on Flickr
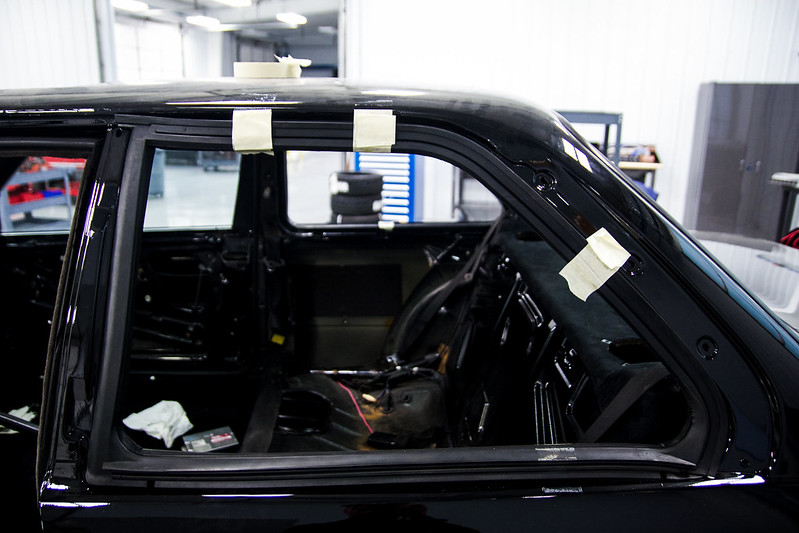 Quarter window gasket installed (1 of 1) by Dillon Makar, on Flickr
Installed the body matched door handles as well as the door locks.
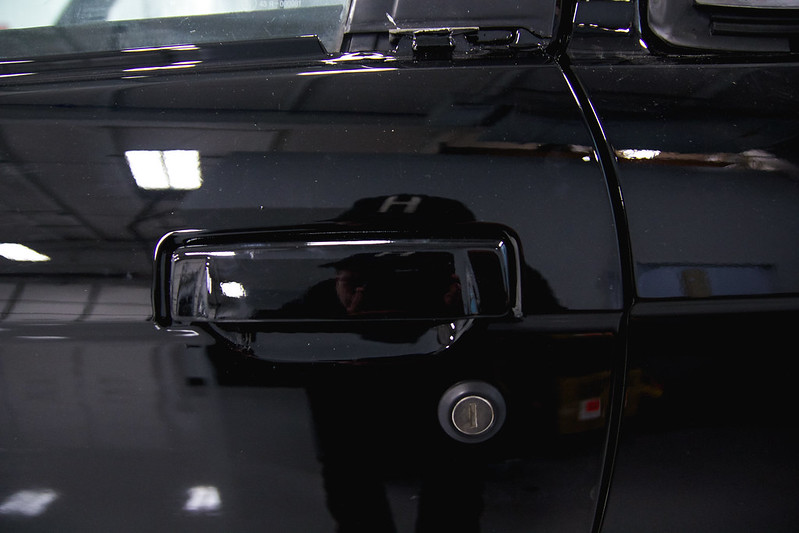 Door handle installed (1 of 1) by Dillon Makar, on Flickr
Here is a teaser of the finished wheels. I probably won't post a full photo of them until I finish the car but you never know.
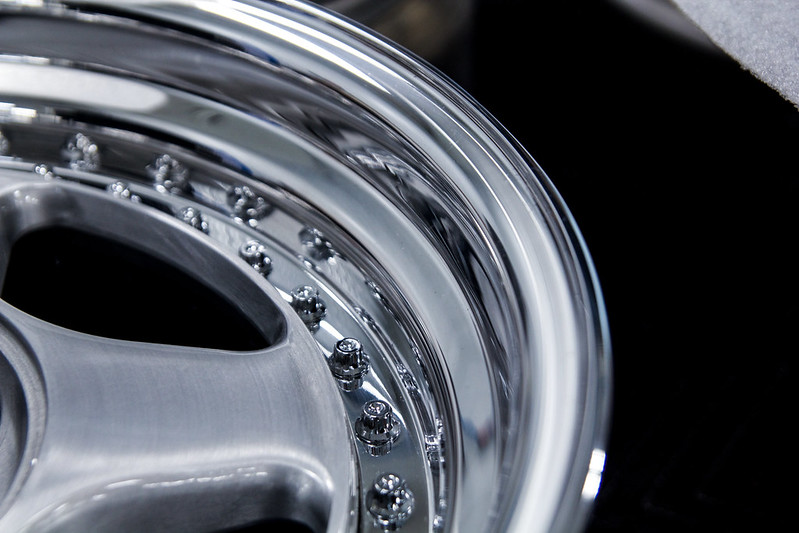 Finished wheels teaser (1 of 1) by Dillon Makar, on Flickr
Picked up a couple needed parts today which included a rear bumper and some material to replace the old plastic vapor barrier that covers the inner doors. Tomorrow I'll get started on stripping and polishing the bumpers as well as installing the new moisture guard material.Last edited by dillon7; 01-06-2016, 06:04 PM.Leave a comment:
-


 omg.. so freaking clean...
Leave a comment: