My turbo 24v alpine coupe

Collapse
X
 
  • Time
  • Show
Clear All
new posts

  • mitchlevy7
    replied
    Kinda Quiet in here

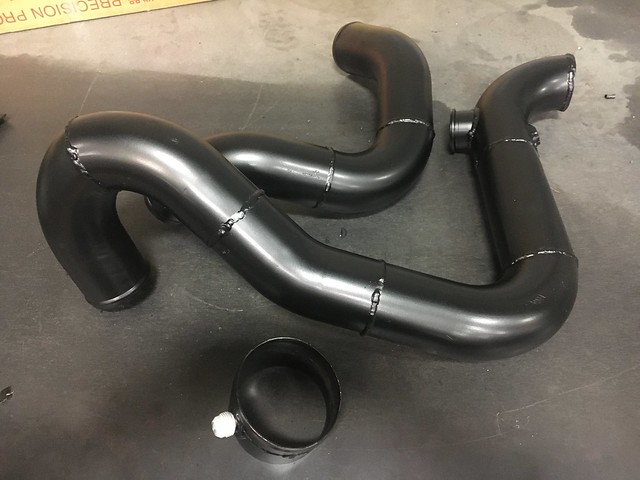
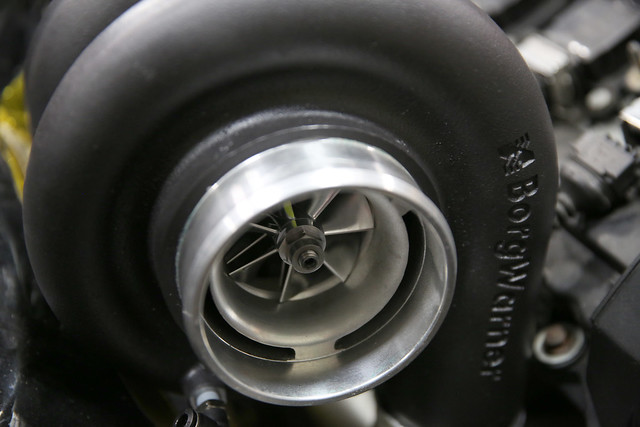
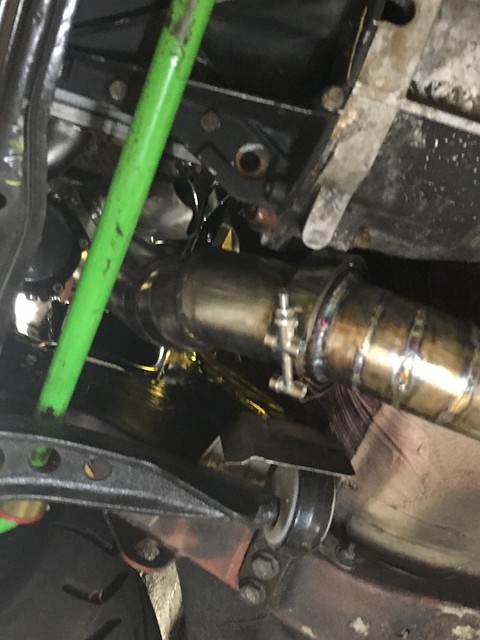
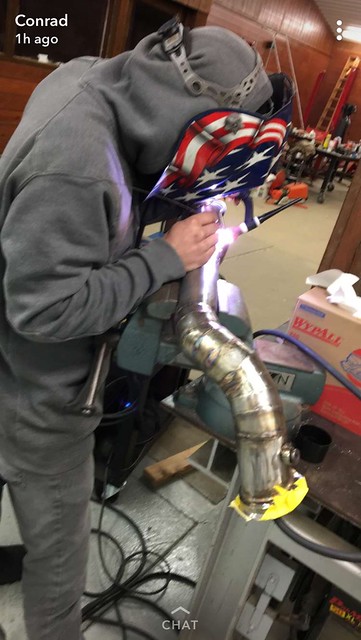
    IMG_0020 by mitchlevy7, on Flickr

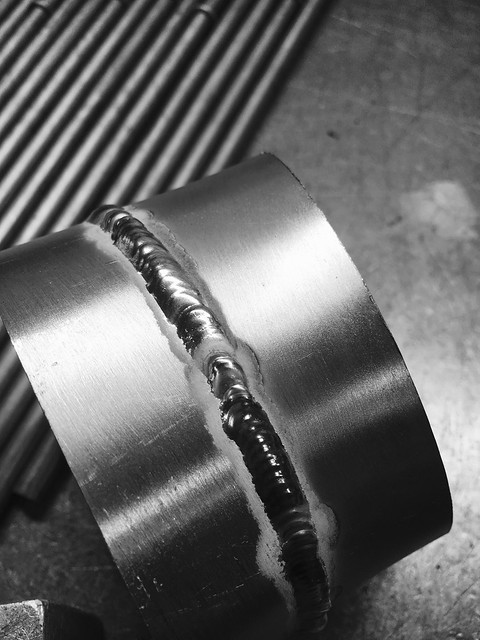
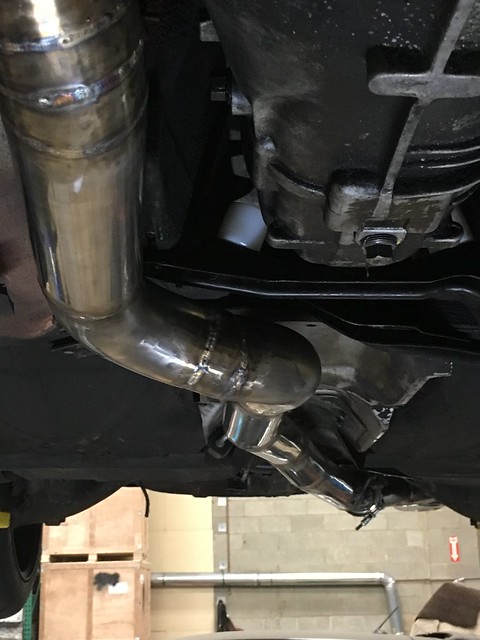
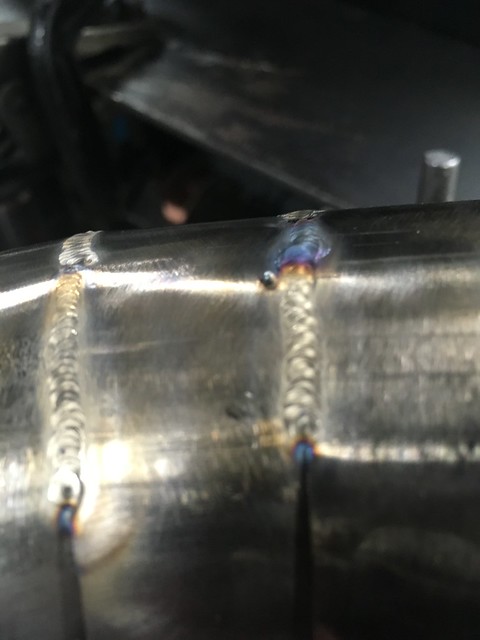
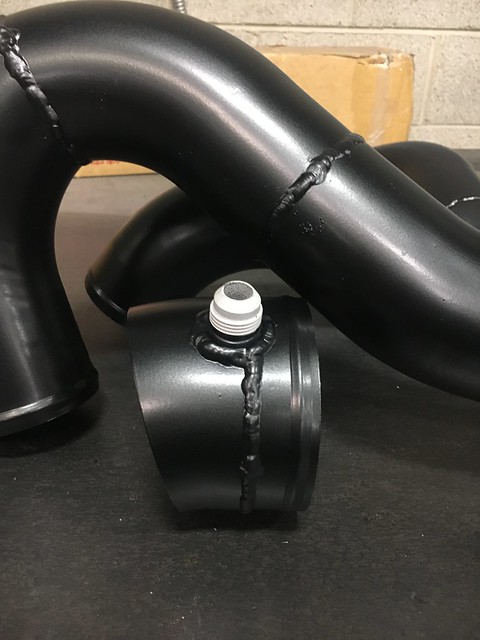
    IMG_0021 by mitchlevy7, on Flickr

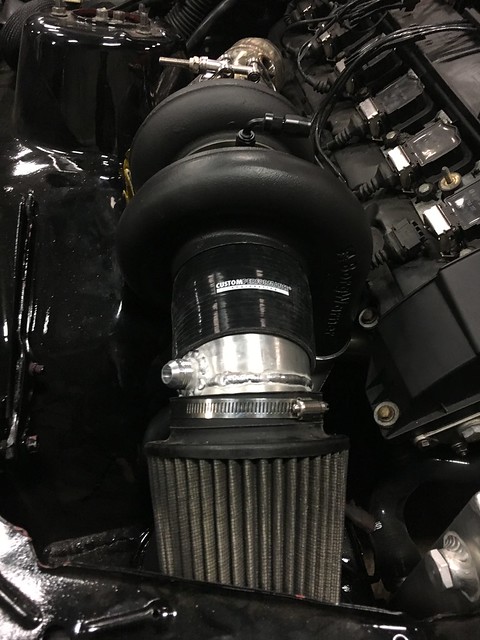
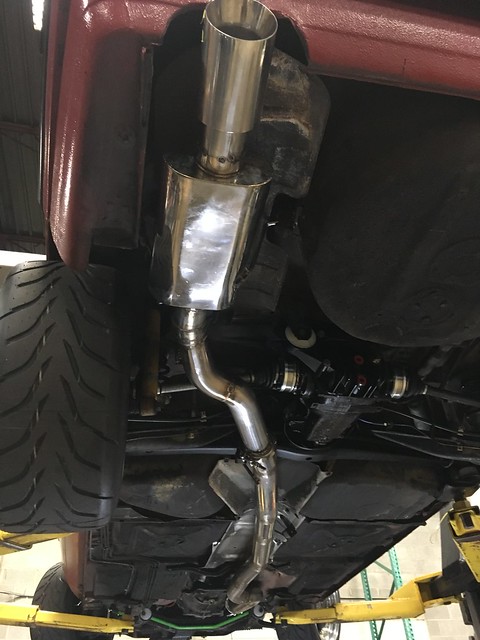
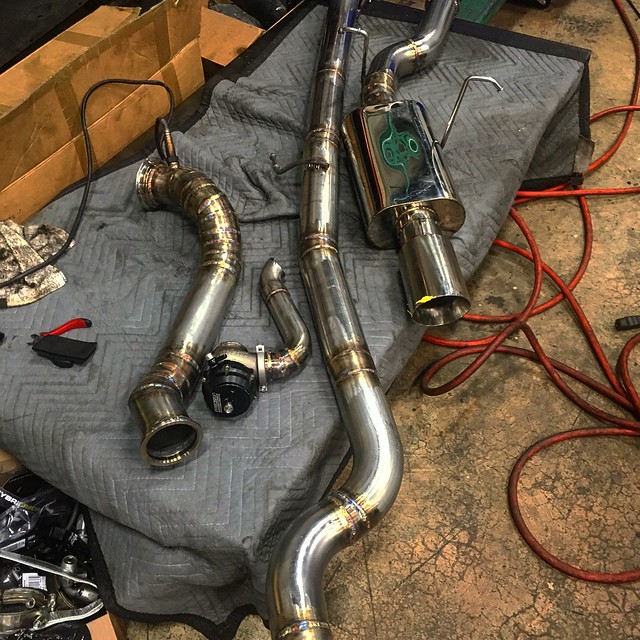
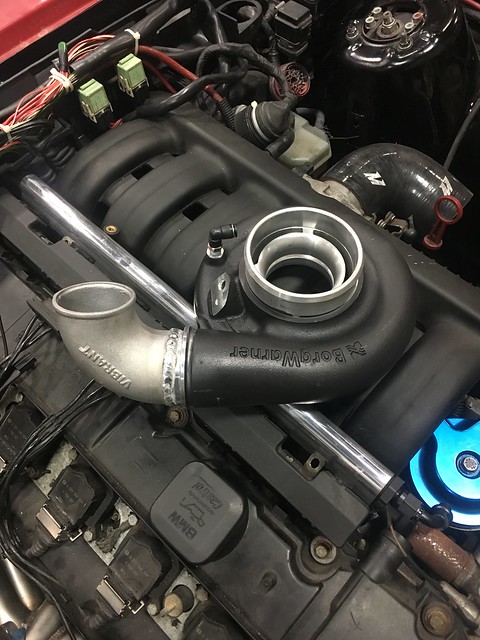
    IMG_0022 by mitchlevy7, on Flickr

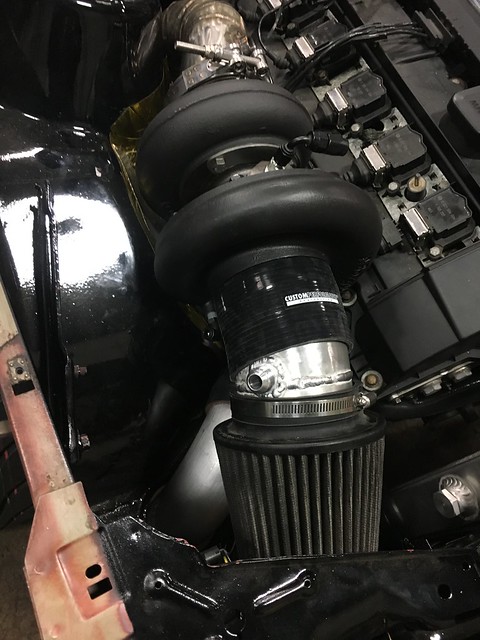
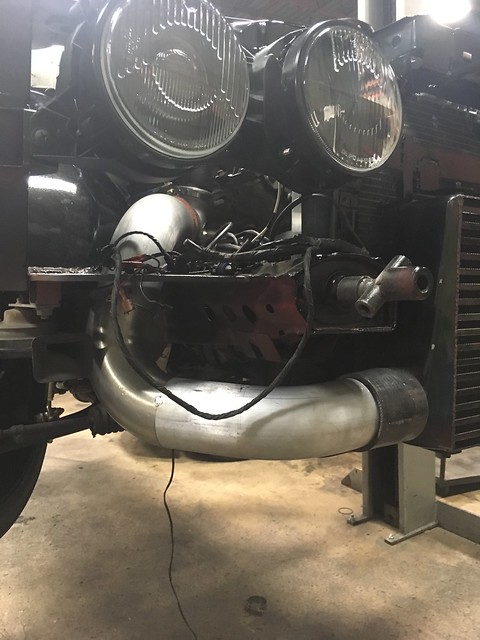
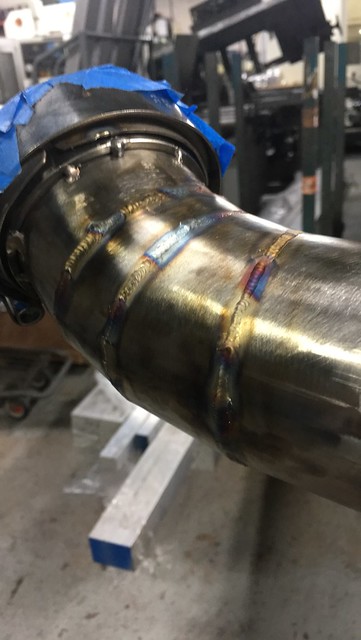
    Pipes are coated. Its flat black but the pics make them look lighter. Elbow is fully welded onto the compressor housing (before was just tacked).

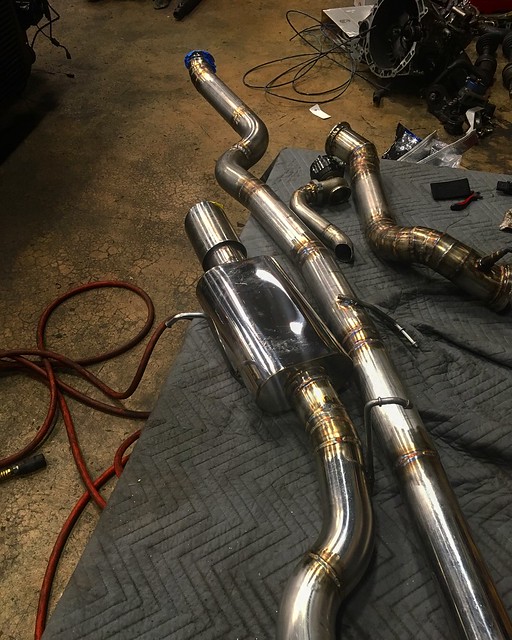
    I don't like how sharp that angle is either but it was needed to get around the tires at full lock.

    Leave a comment:


  • mitchlevy7
    replied
    A few HQ photos of the turbo from yesterday

    1B3A1074 by mitchlevy7, on Flickr

    1B3A1073 by mitchlevy7, on Flickr

    Leave a comment:


  • mitchlevy7
    replied
    Finished the intake last night. Was able to make it from scrap pieces. Luckily the company I work for recently started making 4" intakes so we have 4" aluminum laying around.

    IMG_0001 by mitchlevy7, on Flickr
    IMG_0002 by mitchlevy7, on Flickr
    IMG_0003 by mitchlevy7, on Flickr
    IMG_0004 by mitchlevy7, on Flickr

    Ill admit, theres some welds on there I am proud of, and some that I am not so proud of. This is the 3rd thing I've ever fabbed from aluminum (the first 2 being the charge pipes) so bear with me. The hole saw I used really sucked and made the hole alot bigger than the fitting so there were some gaps to fill. The filter is just for mockup, I have a brand new one ready for it but didn't want to get any aluminum shavings on it. the end on it is also open to get air from behind the headlights. The -10AN fitting is for the catch can system so that it recirculates and the vacuum from the intake pulls on the crankcase.

    Fuel System is next.

    Anybody run an ebay m42/m44 aluminum radiator? I REALLY hate the late model coolant tank and want to use that space for other stuff. I am just worried the decreased length is going to hurt cooling. My other thought was to run an inline coolant filler neck and an overflow tank. I am worried that decreased amount of coolant might hurt cooling... lose lose.

    Leave a comment:


  • mitchlevy7
    replied
    IMG_0926 by mitchlevy7, on Flickr

    Done welding the charge pipes for the most part. Just need to weld in the IAT bung and put some welds on the outside one of the ends because it won't bead roll. Hopefully ill get them powder coated too

    Leave a comment:


  • mitchlevy7
    replied
    Are you saying that so that the sensor doesnt overheat?

    I totally understand where your coming from. However, Bosch suggests that you run the o2 sensor in the hottest place it can take. The sensor im using can handle bursts of 1030 C.

    While I have heard in the past that 6-18" is what is suggested, alot of the OEM's are moving the wideband closer and closer to the turbine housings. On alot of the downpipes I work with at work, we have had no issues running them less than 6" from the housing.

    On the other hand, the farther you have it out, the longer it takes to warm up and the longer the delay is between the exhaust leaving the cylinder and hitting the o2 sensor. This is usually negligible while in boost, but the less mass airflow you have the longer it takes to hit the o2 sensor (generally). Some of the new ecu's I work with compensate for this but my ecu doesn't.

    I wish I was a badass mofo who would put backpressure and EGT sensors in each runner and in the collector and wastegate tube.

    Leave a comment:


  • ba114
    replied
    Looks good!
    I'd be moving that o2 bung a bit further down the dp though...

    Leave a comment:


  • mitchlevy7
    replied
    Installed the exhaust last night. Needs some adjustment but one of the crappy vbands started to strip so the exhaust won't stay in place. Overall pretty happy with it. I hate the m52 valve cover. Excited to get the powdercoated m50/s50 one installed. I also installed the PTC fittings on the wastegate for boost control. Looking into a good heat wrap sleeve for them so they don't melt.

    IMG_0914 by mitchlevy7, on Flickr
    coming down

    IMG_0912 by mitchlevy7, on Flickr

    going back

    IMG_0913 by mitchlevy7, on Flickr

    getting it from behind

    IMG_0911 by mitchlevy7, on Flickr

    Tip isnt final. Its just tacked on right now. I think dual tips will help fill the space better .

    3" in. is a pain on e30's. The exhaust has a tiny bit more ground clearance than the oil pan before the skidplate. I made sure to keep the v-bands away from clearance areas.

    Leave a comment:


  • mitchlevy7
    replied
    Originally posted by 2mAn


    I "had" to go back through the 300+ pictures on a build thread for my old car. I spent weekend mornings with my coffee slowing go back through one page at a time.

    photobucket really screwed everyone because of poor planning on their end. they probably waited too long to fix the problem and then it was out of control

    back OT... that downpipe and exhaust looks BITCHIN!
    Yea. It just sounds like another company got greedy. Good thing theres many others there to take the place. Nobody wants to see all the failures from my alpine car anyway. Every time I look back at the first stages of this project, I cringe.

    Thank you though! I may put it on tonight so I can make sure everything didn't move in welding.

    Leave a comment:


  • 2mAn
    replied
    Originally posted by mitchlevy7
    im not bad with computers, just lazy. lol


    I "had" to go back through the 300+ pictures on a build thread for my old car. I spent weekend mornings with my coffee slowing go back through one page at a time.

    photobucket really screwed everyone because of poor planning on their end. they probably waited too long to fix the problem and then it was out of control

    back OT... that downpipe and exhaust looks BITCHIN!

    Leave a comment:


  • mitchlevy7
    replied
    IMG_0907 by mitchlevy7, on Flickr

    The hot side charge pipe is mostly done too. I am TERRIBLE at tacking aluminum. blew so many holes in it. One of the tacks broke on the hot side too but once thats retacked I can finish welding it.

    Cold side is still being a pain in the ass but I think i got the last piece of the puzzle.

    Leave a comment:


  • mitchlevy7
    replied
    im not bad with computers, just lazy. lol

    Me welding up the downpipe in my super professional welding clothes and invisible welding gloves

    IMG_0814 by mitchlevy7, on Flickr

    IMG_0835 by mitchlevy7, on Flickr

    All of the pieces finished

    IMG_0880 by mitchlevy7, on Flickr

    IMG_0879 by mitchlevy7, on Flickr

    Some of the welds on the midpipe

    IMG_0858 by mitchlevy7, on Flickr

    Leave a comment:


  • Dj Buttchug
    replied
    2nd for flickr. Photobucket sucks

    Leave a comment:


  • 2mAn
    replied
    Originally posted by mitchlevy7
    The fall of photobucket has made me loose any motivation to update the thread at all.
    just start using flickr and then move the pics over. it takes some work, but its worth it

    I really want to see that exhaust! you can even use tapatalk and upload directly

    Leave a comment:


  • mitchlevy7
    replied
    Originally posted by 2mAn
    Your project is taking so long the pics are all now dead and the car still isnt running potstir
    The fall of photobucket has made me loose any motivation to update the thread at all.

    -Exhaust is pretty much done (redone). My dumbass did pie cuts and made the whole thing with a sawzall (didnt have access to the bandsaw). 50 pieces from downpipe to tip. Turned out pretty good though. Full 3" 304ss, tig welded, backpurged, ect. V-band 2 spots. nice little dumptube.

    -oil cooler routing is done. Stupid oil cooler thermostat means 4 more expensive -10 AN hose ends.

    -charge pipes are halfway done. Compressor outlet was too close to the manifold so I did a 90 elbow. Full 3". Having coworkers weld it up so it doesnt look like crap

    -New axles installed, clutch and brakes installed and bled, driveshaft in with new CSB.

    -Tapped the m50 valve cover for PCV

    To do:
    -Finish charge pipes
    -Turbo oil lines
    -Fuel lines and regulator mount
    -catch can lines and mounting
    -install new vanos and check headstuds, install m50 valve cover
    -make 4" intake
    -install roll bar (autopower) and door cards (condor)
    -install seats (corbeau)
    -wire EBCS and fan relay
    -paint front fenders and roll and pull rears
    -install new fuel pump assembly with the old 255
    -tune

    I've been working 6 days a week and spending sundays helping my friend build a cage on his LSX Turbo Syclone and helping him move to his new shop, so time and motivation is scarce.

    Leave a comment:


  • 2mAn
    replied
    Your project is taking so long the pics are all now dead and the car still isnt running potstir

    Leave a comment:

Working...