Announcement

Collapse
No announcement yet.

'86 E30 325i maintenance/restoration/build

Collapse
X
 
  • Filter
  • Time
  • Show
Clear All
new posts

    '86 E30 325i maintenance/restoration/build

    Thought I might make a proper thread for my e30 to track and share it's progress.

    Have owned this car for nearly a year now, and have slowly worked away at it, but the real fun has only just begun....

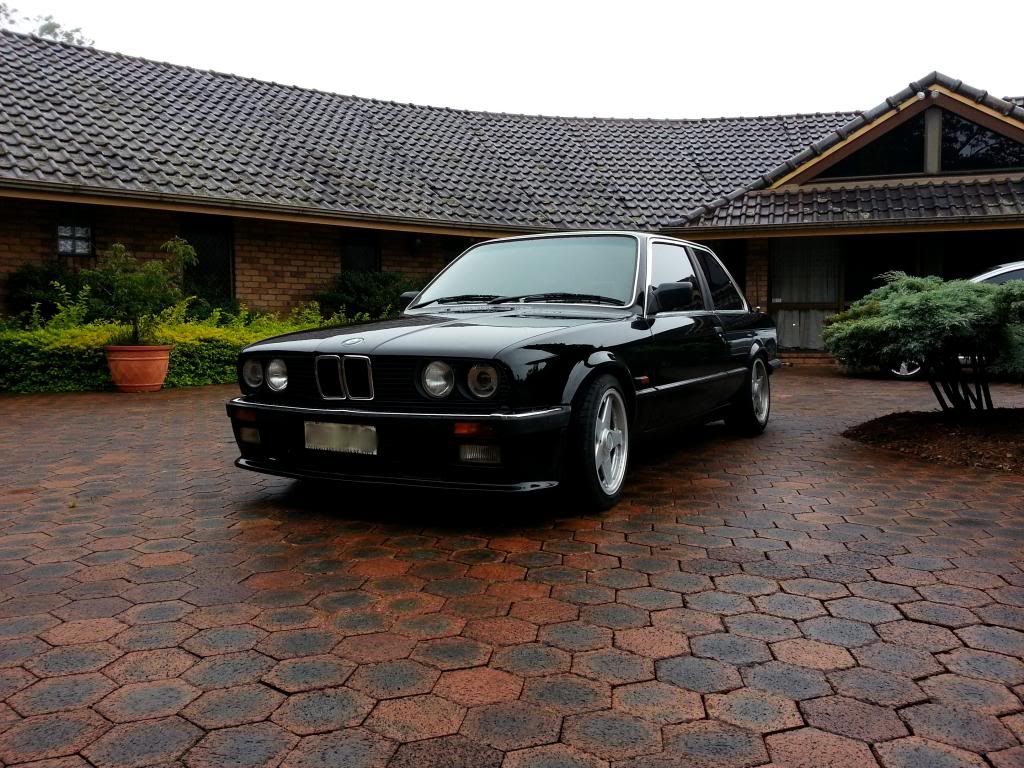
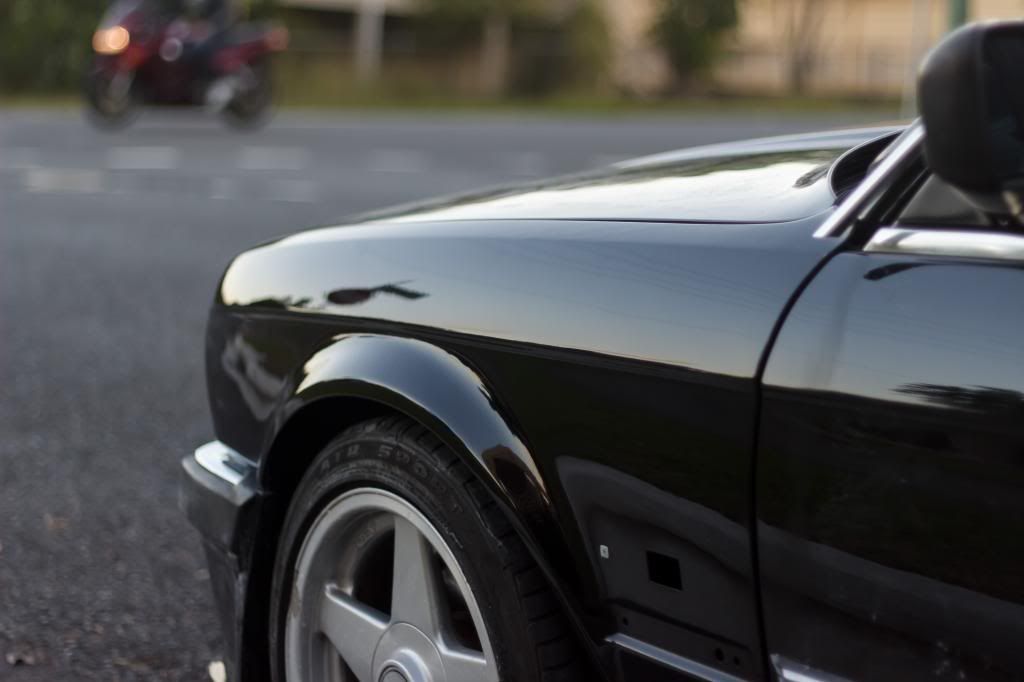
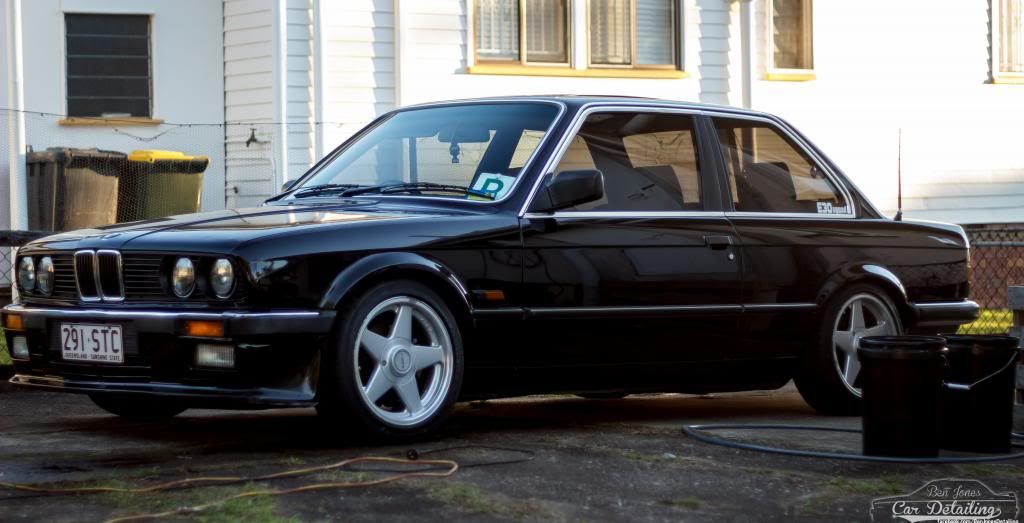
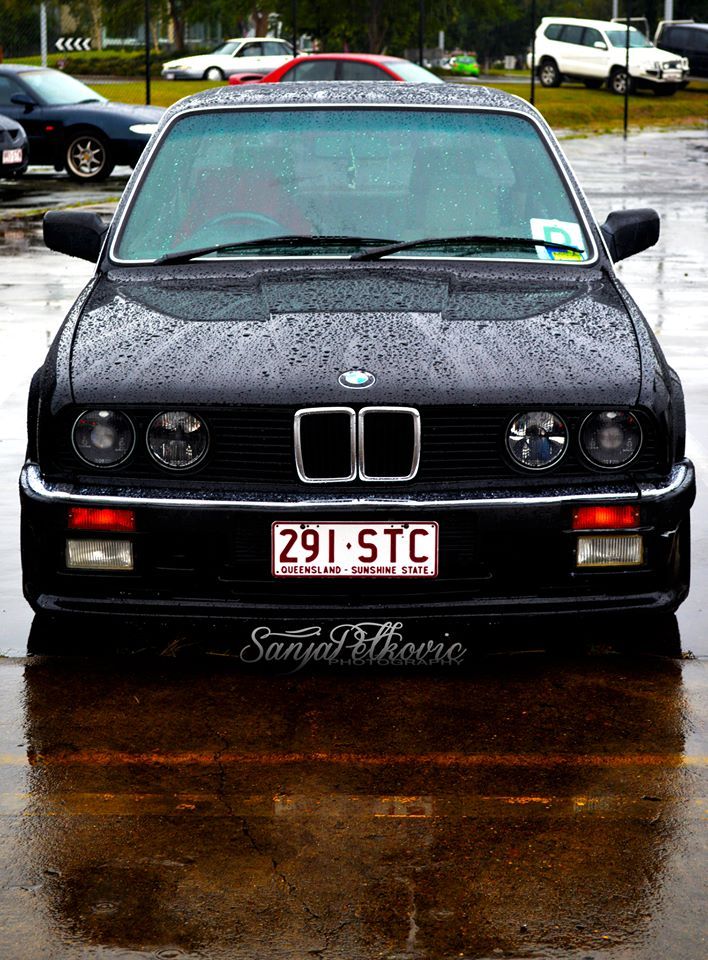
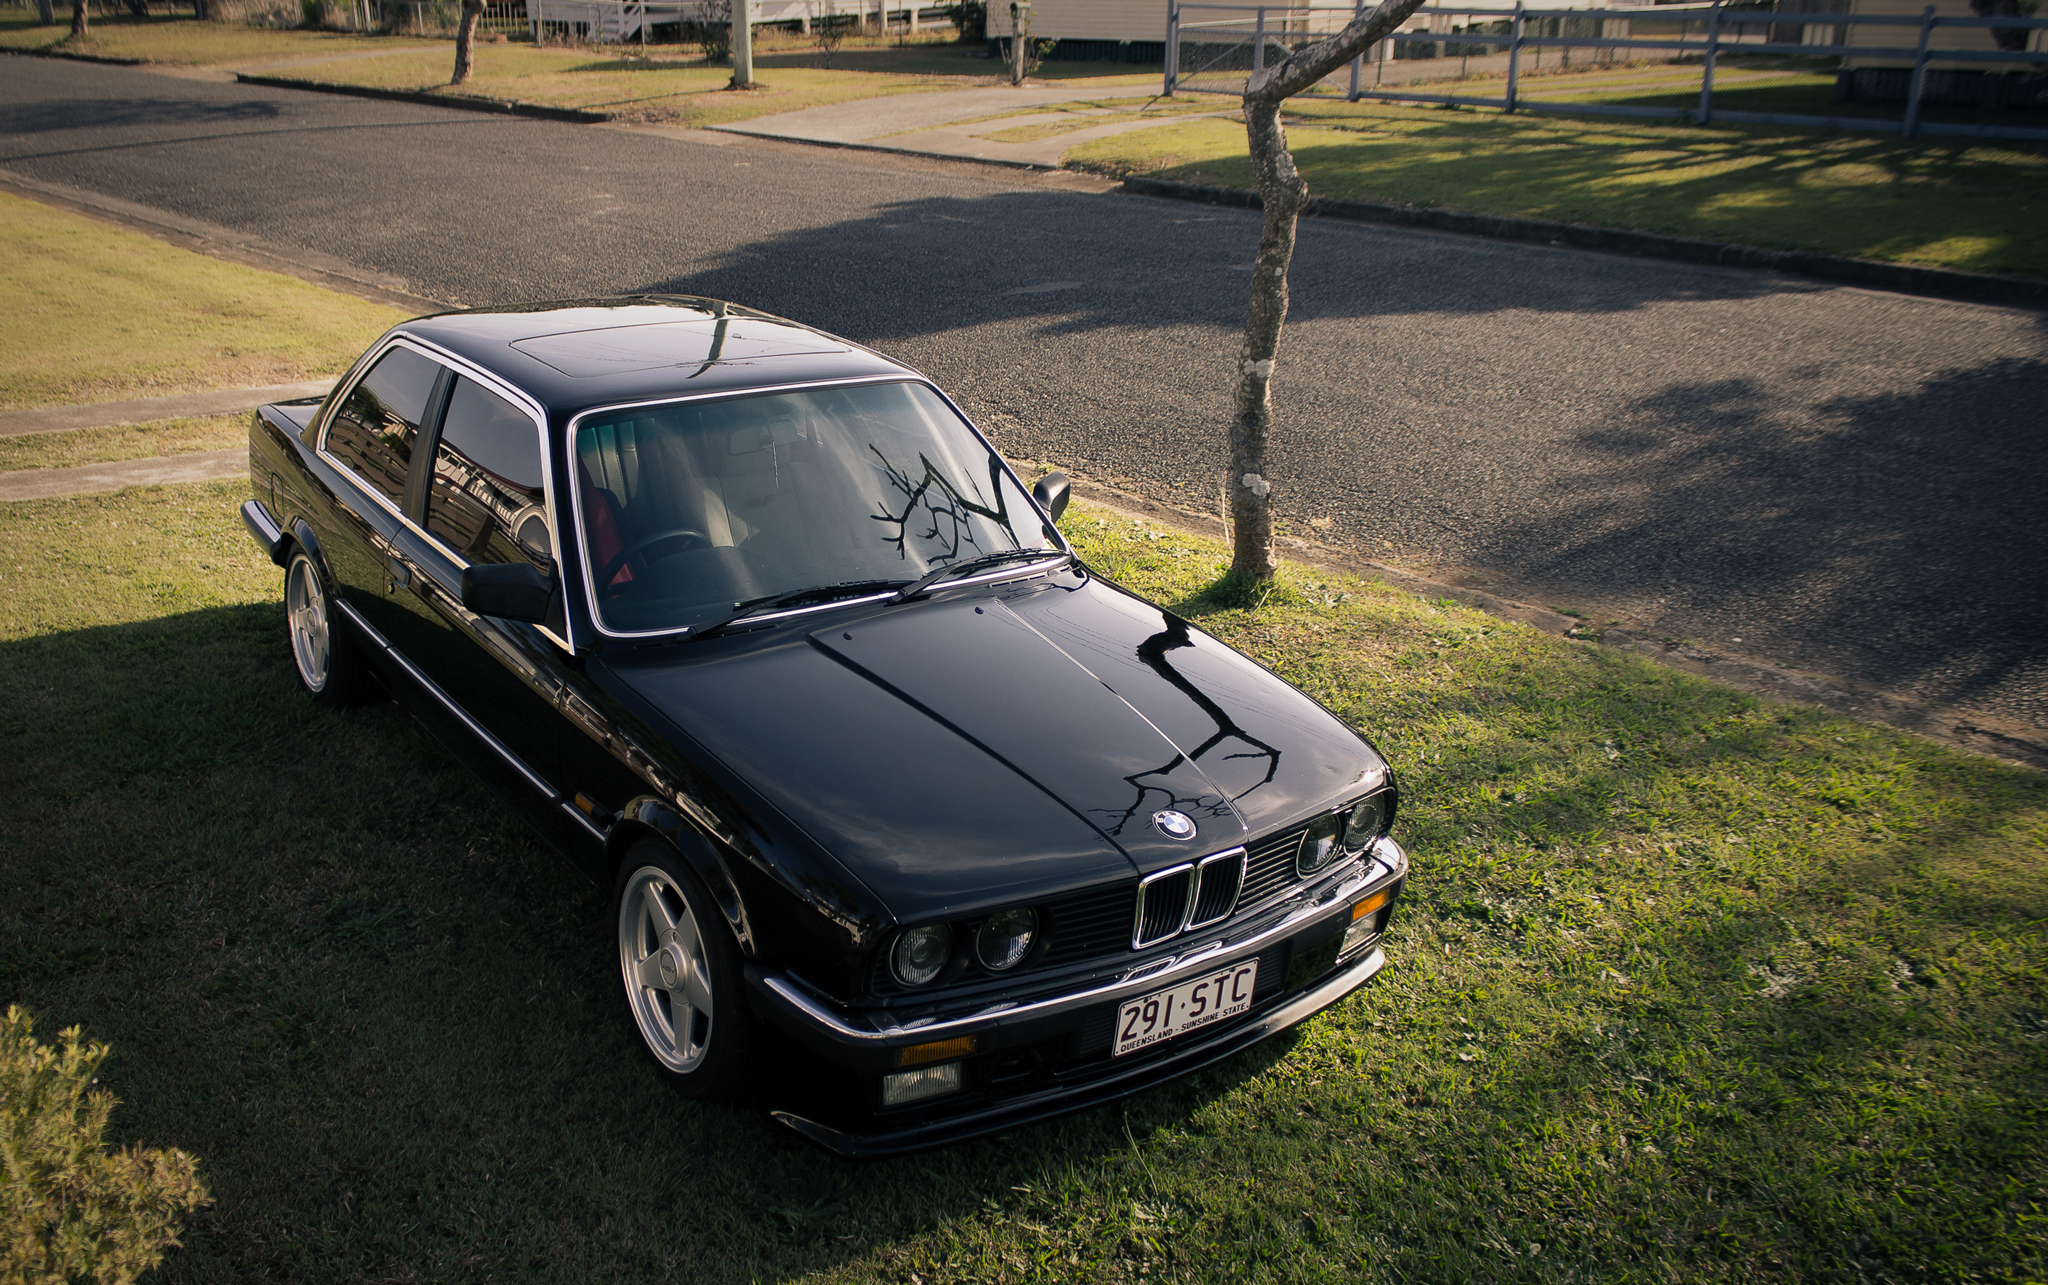
    Have basically copied a small selection of photos and stuff from another thread on another forum to bring us up to date. A few details of the car: It's a 1986 series 1 325i, imported from the UK back in 99. Came with fresh paint, schrick 288 cam, 19lb injectors and a whole bunch of dodgy things I'm still finding every time I work on it...

    The day I flew down to Sydney and bought it..


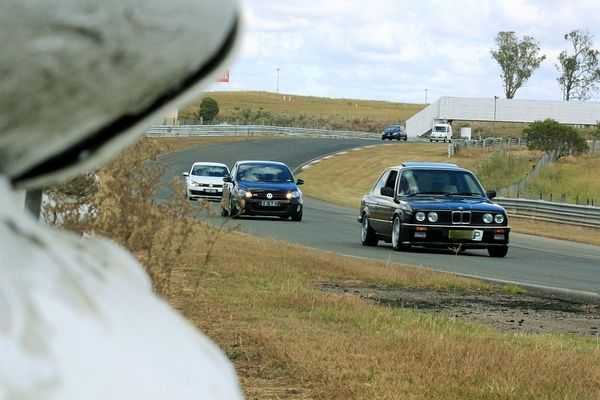
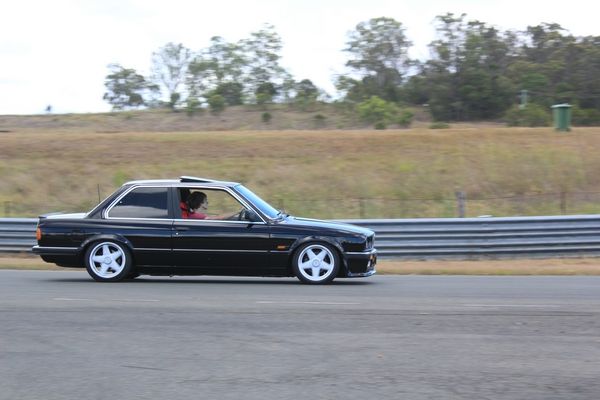
    Took it to the track


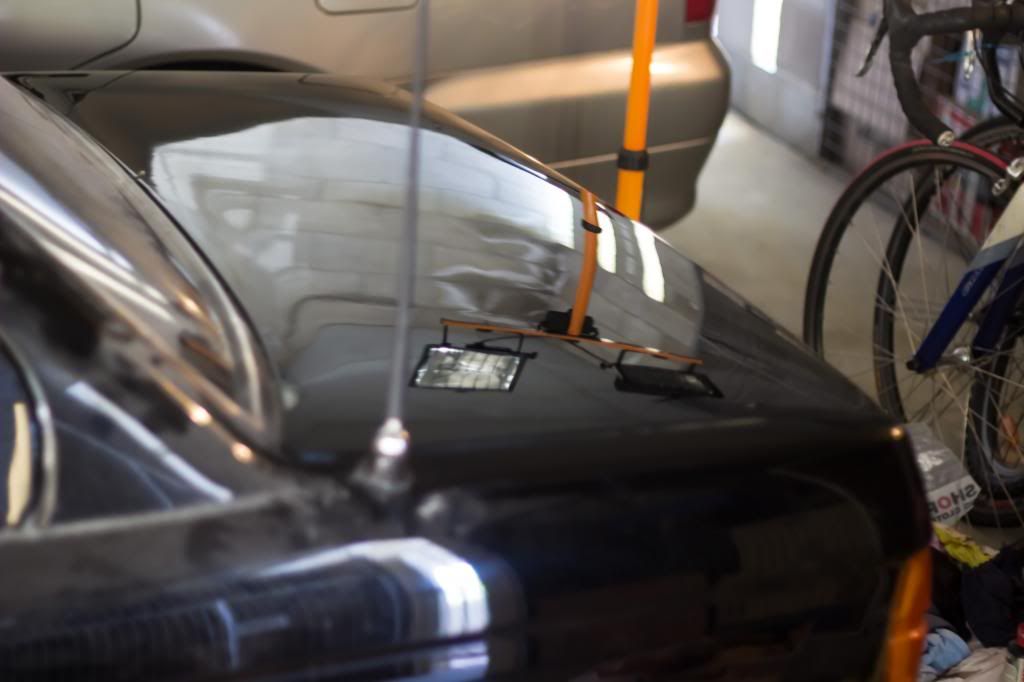
    Fixed a few little things, got QLD rwc and rego


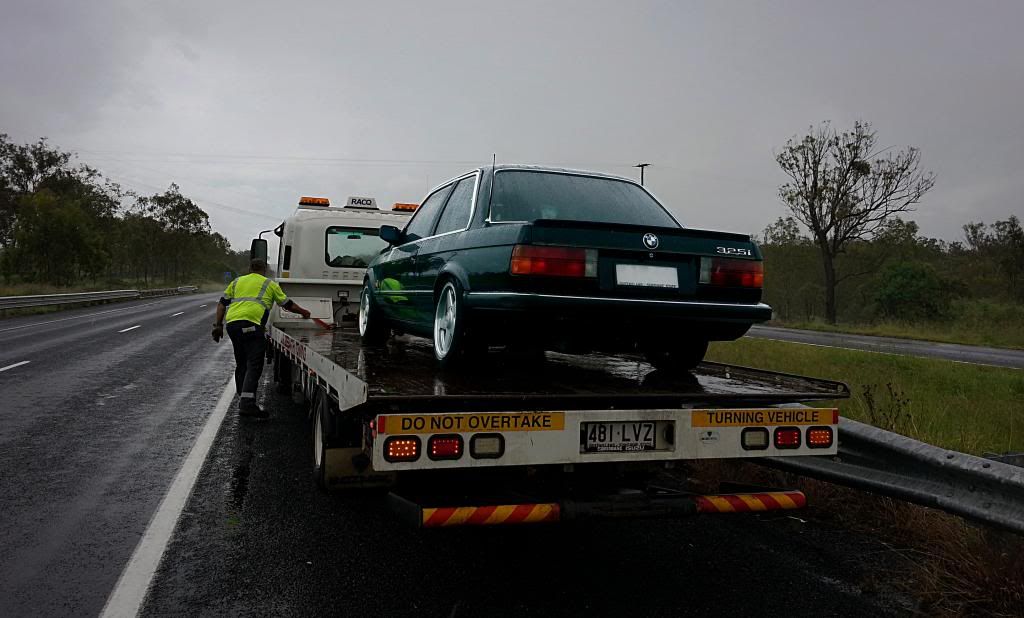
    First breakdown, when the ecu died


    Fixed that up and hit the track again, more bad luck...


    Picked up a fender from a mate


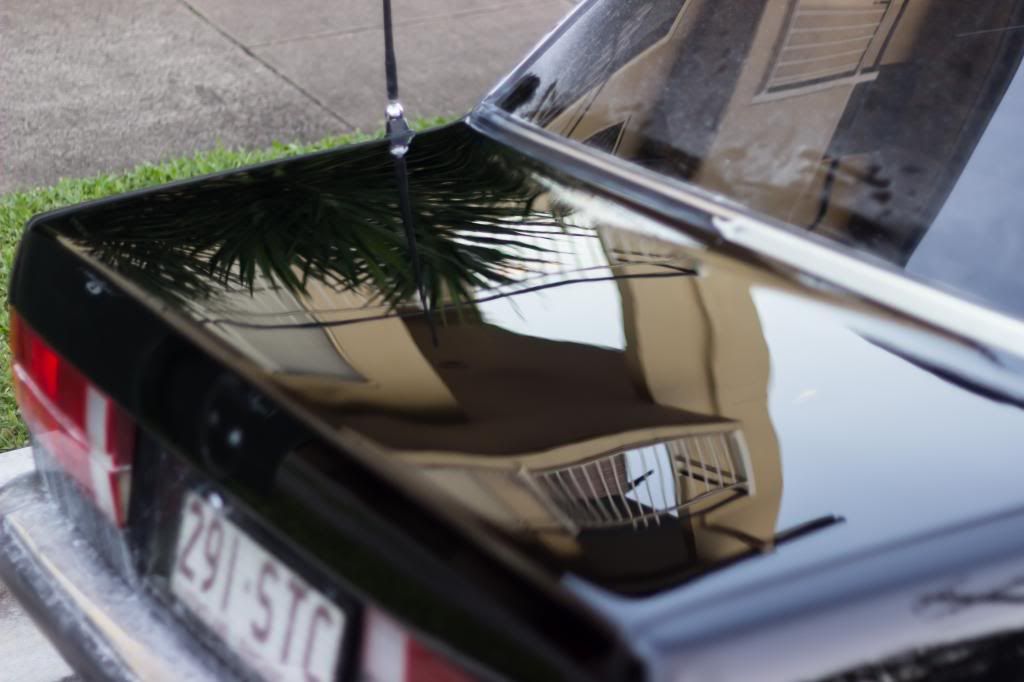
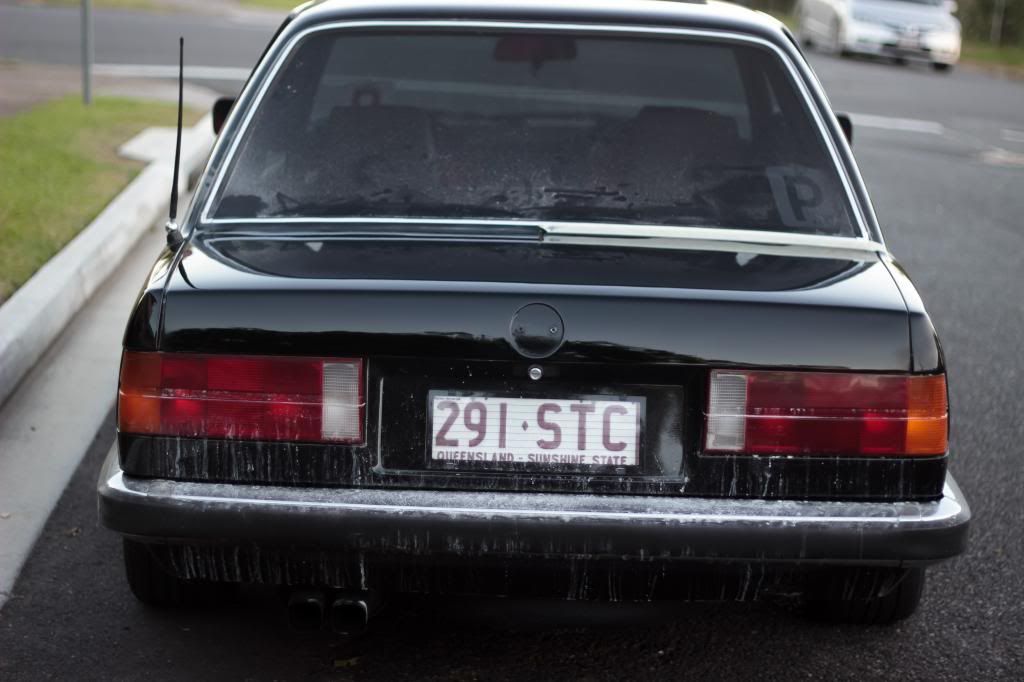
    Painted it up along with a spoilerless bootlid


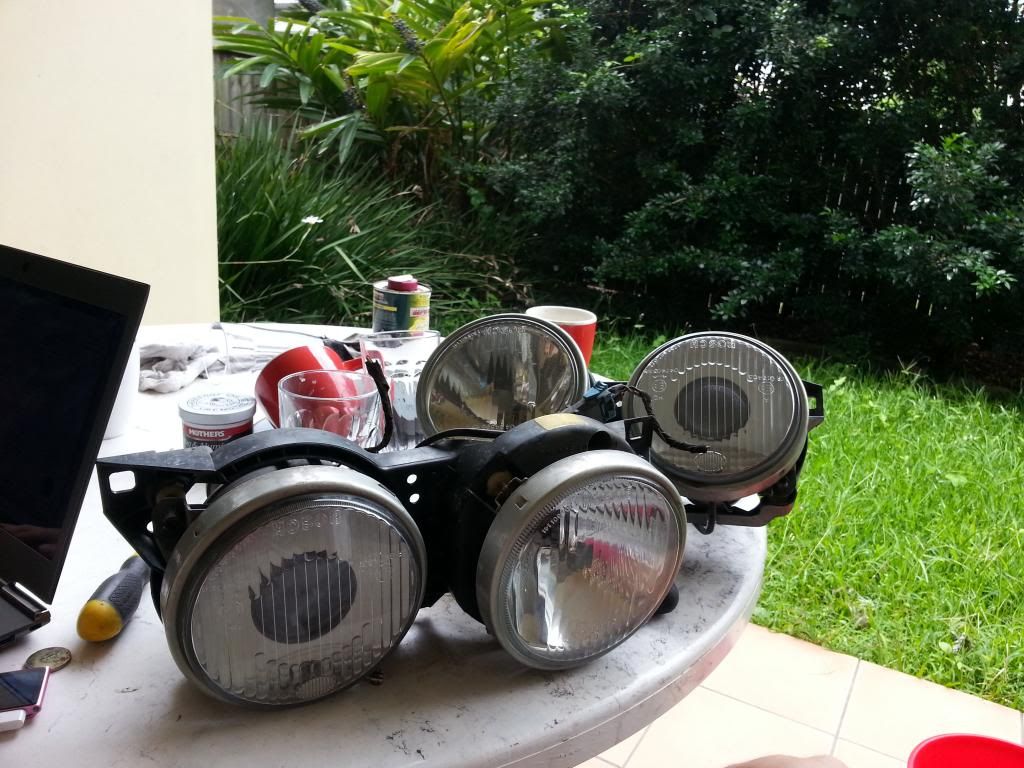
    Picked up some headlights as left one was also fucked in the crash
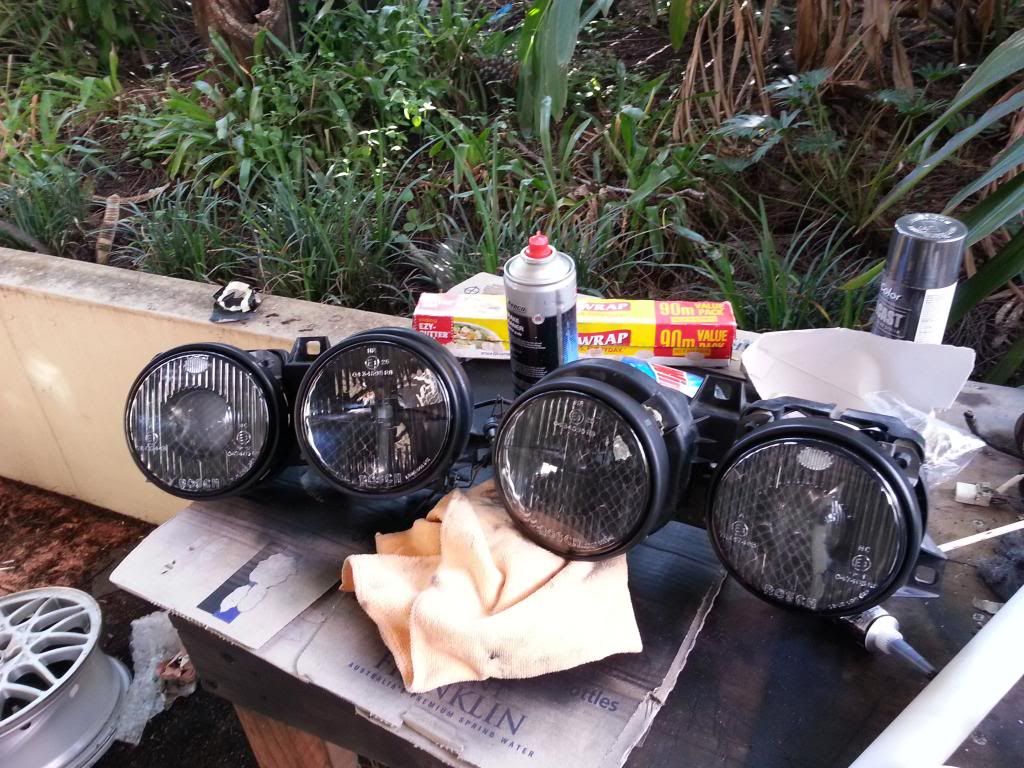

    Smoked them


    Wetsanded and buffed the panels I sprayed


    Took it to All Stars show


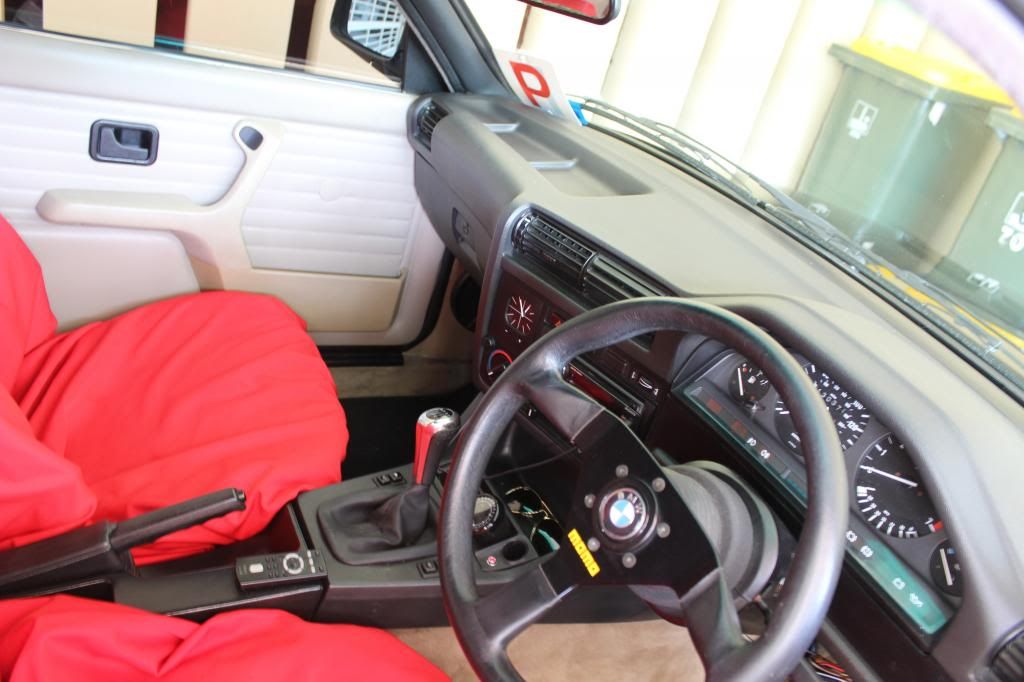
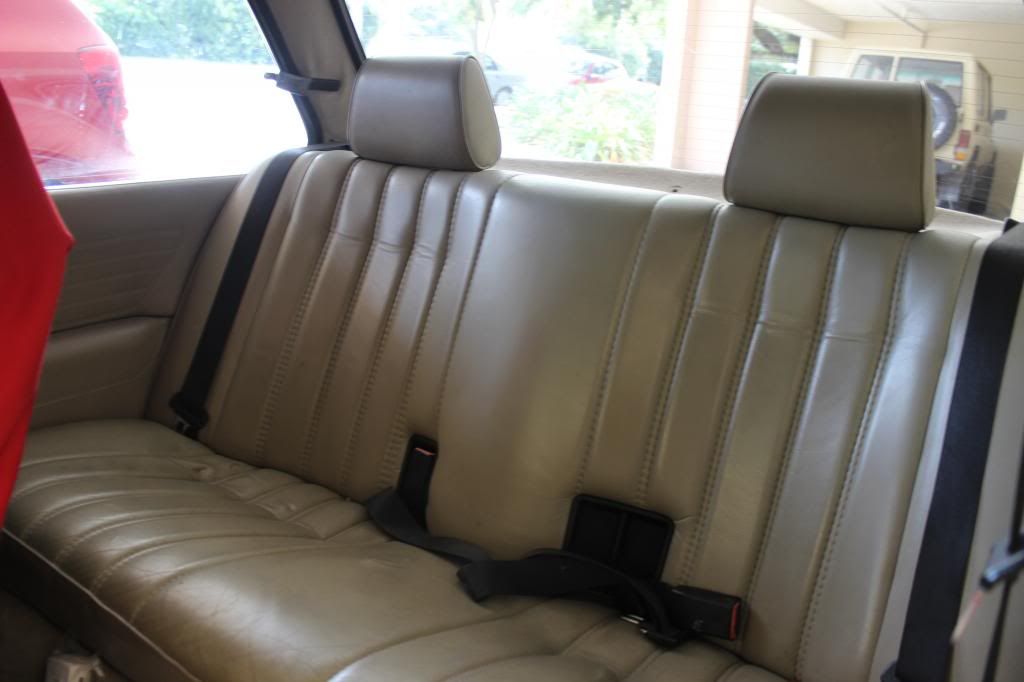
    Random interior shots (interior is about to get a lot of work, but these are a good before reference))


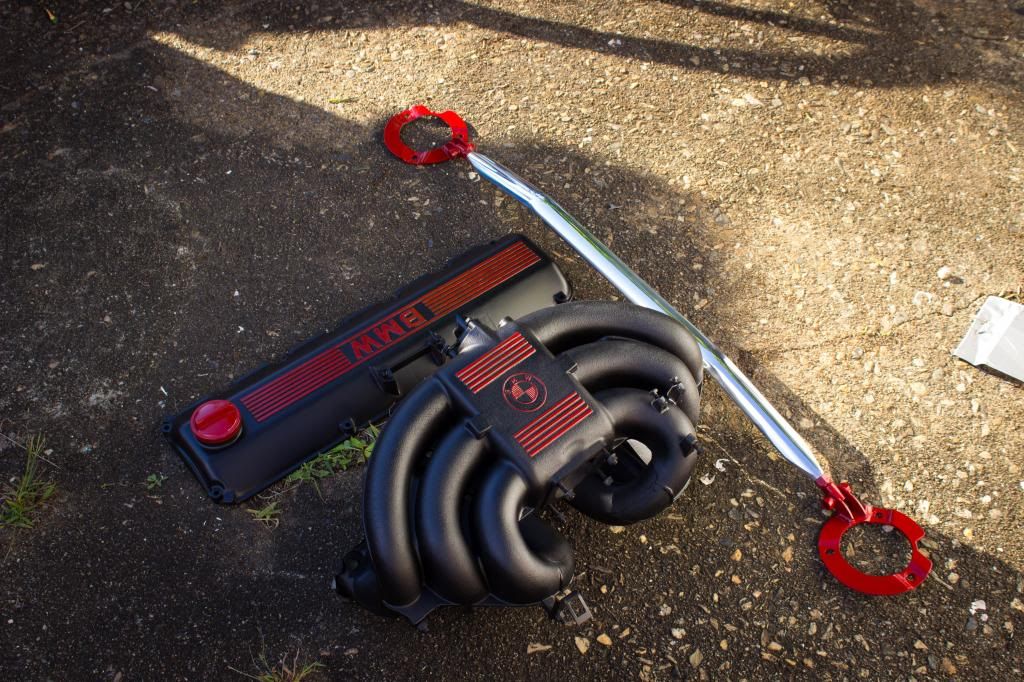
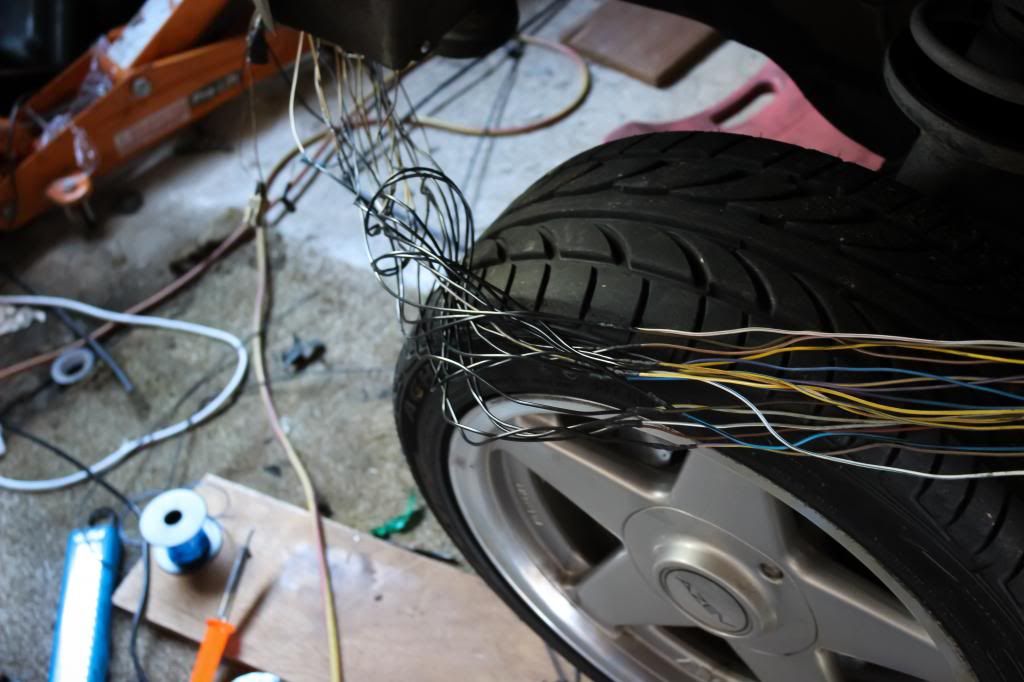
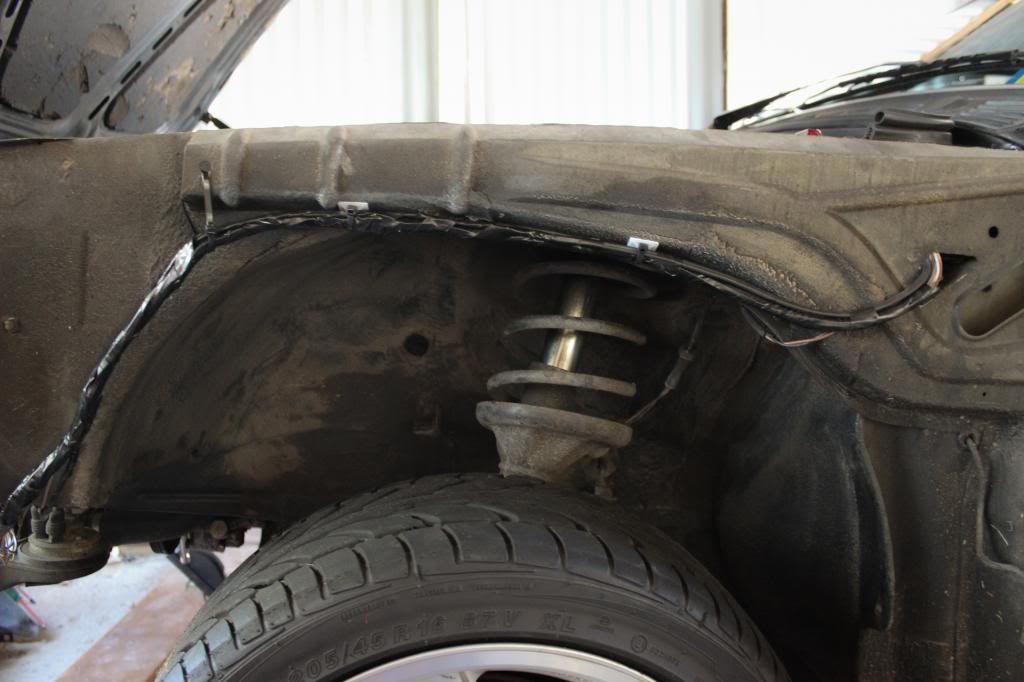
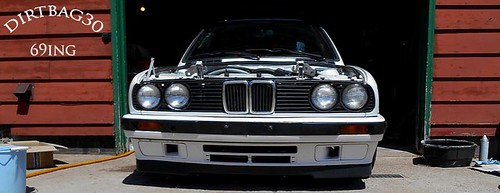
    Starter motor died, so pulled some stuff apart, fixed some stuff, deleted ABS, replaced the started motor, replaced some gaskets, adjusted valve clearances, cleaned and painted some bits, tucked some wires


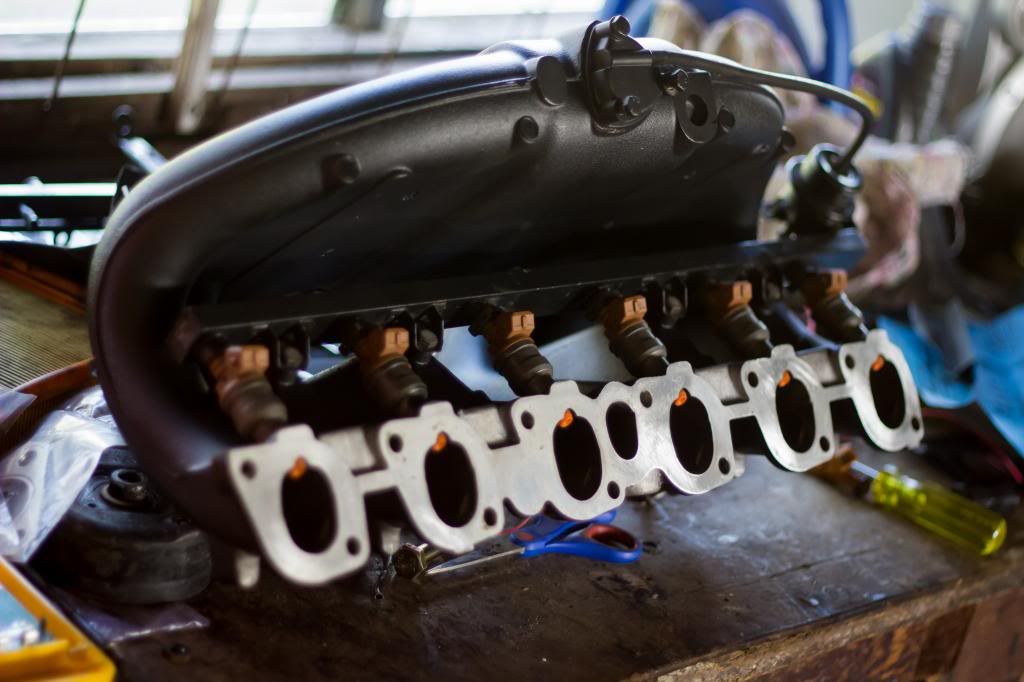
    Put in some recoed injectors from a golf VR6


    Sound clip


    Completely rewired to central locking as it never worked and I gave up trying to find the problem, fitted new actutors and installed remote central locking.


    #2
    And that basically brings us up to now... I'll try and keep this updated and it will flow much nicer.

    Half of my shed is literally full of new bits and pieces ready to be put into the car, but I won't give it all away just yet, you can watch as it comes.

    So for a fair while I've been having random intermittent complete loss of power, from the original pump cutting out. 700hp+ capable Bosch 044 seemed to fix that up for a while ;) Ran new wiring, fuel hoses and made a custom bracket to fit it, didn't take any photos of it mounted though


    Even after replacing the fuel pump though, the car still has some intermittent problems, which are definintely electrical. I've spent way too much time trying to figure it out with no luck, and have been wanting to tune the car anyway as it's definintely not making nearly as much power as it should, so **** it, I'm replacing everything engine related that's electrical and am finally putting it on Megasquirt 2 standalone.

    First step was to assemble the JimStim (which basically simulates your engine, for testing the ms2) to get a bit of practice soldering circuit boards with my new soldering station.


    Then it was onto the MS2 itself..


    Ignition mod kits mounted on heatsink (this has been tidied up since, and more jumpers added for other things, but only underside photo I have)


    Initial testing, plugged into the laptop... and it works! No smoke or anything, success.


    Finished up and put into the case, internal serial to USB converter mounted and wired up


    I'm not just building an ECU and new wiring harness though...

    Once I got the ECU built, I put the car back in the shed, jack it up, put it on stands and removed the front end and bonnet, to make some more room.

    Mechanical fan is being scrapped, low profile 16" electrical SPAL will be taking it's place ;)


    Distributor also went straight in the bin.


    Pulled the radiator, fan and pretty much all the pulleys on the front


    As my car is an early mode 325i, it uses 2 sensors on the flywheel instead of a single crank position sensor. Unfortunately you can't set ms2 up to work off that signal, so the crank pulled with teeth, crank position sensor and crank position sensor bracket from a late model have to be fitted. While I was at it, I also replaced the power steering pulley with a spare one I luckily had, as the one on the was bent as **** and was wobbling something hectic.


    Pulled the timing covers off and noticed the upper one was broken... find more dodgy **** on it every time I pull it apart.


    Posted up in an e30 parts ground on facebook, and picked another one up within an hour of realizing the original was broken... the internet is such a great place.

    Since I'm not running a distributor anymore, I decided to blank the original distrubitor hole off and try to keep it looking oem. Got a piece of thin plate and cut it out with my plasma cutter (was my first time using the plasma cutter, so it came out rough as hell, but did the job). Then I just jbwelded it to the timing cover, and ground it down to fit with a die grinder. Turned out pretty nice I think, not perfect, but not something most people will be looking at anyway, and certainly cleaner than most ways of doing it


    Not back at work for another week or so, so can expect much more to be done in the next few days ;)

    Comment


      #3
      That's real nice. well done.

      edit: you can get a more minimal cover by using one off an l-jet 323i
      cars beep boop

      Comment


        #4
        Originally posted by kronus View Post
        That's real nice. well done.

        edit: you can get a more minimal cover by using one off an l-jet 323i
        Thanks for that. Did not know that! That would have saved a lot of time.. Ohwell, the one I made is on now so probably will stay there for quite some time.

        Today I put the timing covers and pulleys on, with new belts


        Mounted the 16" SPAL electric fan


        Mounted the coilpack


        And made some custom spark plug leads, as the old ones weren't the right length, and had the wrong style connectors on them. Used a 8.5mm MSD Streetfire kit, was much easier than I expected... Thought about running flashy MSD coils and red wires, but decided to try and keep it more oem looking. This coilpack is nearly as powerful, and looks like it could be stock to the untrained eye.


        Cut to length, ends crimped on with included crimper


        Modified the stock wire cover to put the wires in the other way, put some labels on the wires and put the ends on


        Only thing I would have done differently, and might change if I can be bothered, is white on black labels instead of black on yellow, they stand out a little too much for my liking. All in all, pretty happy with how it turned out though. When I clean up the rest of the engine bay it should look pretty neat ;)

        Comment


          #5
          you need some elbow grease on the various fluid tanks :p

          is that a intensive wash tank in there, actually? don't see those in the states much.
          cars beep boop

          Comment


            #6
            Haha actually pretty much everything in the engine bay needs a bit of a clean, most of it is pretty nasty.

            It is an intensive wash tank I believe, not that it works. All of the tanks on the right side will have to be relocated/deleted soon anyway to make room for some fun stuff... ;)

            Comment


              #7
              oh, for the koala, right
              cars beep boop

              Comment


                #8
                Exactly, they need somewhere nice and warm to sleep. Might be able to fit two in if I'm lucky

                Comment


                  #9
                  good looking ride..
                  wonderful job on the coils timing cover and plug wires.

                  puzzled that you have the intensive wash tank but not the headlamp washers / headlamp cleaning system? i know the intensive wash stuff was for the windshield, but I thought the system had both intensive wash and headlamp cleaning..
                  Last edited by bradnic; 12-30-2013, 08:50 PM.
                  I BUY/SELL REFURBISHED CM5907s & CM5908s

                  HOWTOs:
                  DB vert plastic bumpers
                  OEM Keys
                  MTech1 docs

                  88 ix Lach/Card
                  91 ic Calypso 3.1
                  86 Cosmo 2.7

                  OEM+ or bust!


                  reelizmpro: I will always be an e30 guy.. I still do all of my own labor
                  TrentW: There's just something so right about a well-built M20 in an E30
                  e30m3s54turbo: I save my money for tuner parts.

                  Comment


                    #10
                    Thanks!

                    The car may very well have had the headlight washers at one stage, it seems to have been very well optioned. The intensive wash tank wasn't hooked up to anything when I bought it, so who knows what previous owners have done to it. I don't think the headlights that came on the car were the originals, and they had hids crudely retrofitted which I was very happy to get rid of...

                    Sent from my GT-I9305T using Tapatalk 2

                    Comment


                      #11
                      gotcha. check your wiper stalk too. it should have a button on the end and an "S" on top. that activates the intensive cleaning stuff.

                      I BUY/SELL REFURBISHED CM5907s & CM5908s

                      HOWTOs:
                      DB vert plastic bumpers
                      OEM Keys
                      MTech1 docs

                      88 ix Lach/Card
                      91 ic Calypso 3.1
                      86 Cosmo 2.7

                      OEM+ or bust!


                      reelizmpro: I will always be an e30 guy.. I still do all of my own labor
                      TrentW: There's just something so right about a well-built M20 in an E30
                      e30m3s54turbo: I save my money for tuner parts.

                      Comment


                        #12
                        also just fyi head over to bmwarchive.org and plug the last 7 of your VIN. it will tell you build date, color, and factory options your car came with.
                        I BUY/SELL REFURBISHED CM5907s & CM5908s

                        HOWTOs:
                        DB vert plastic bumpers
                        OEM Keys
                        MTech1 docs

                        88 ix Lach/Card
                        91 ic Calypso 3.1
                        86 Cosmo 2.7

                        OEM+ or bust!


                        reelizmpro: I will always be an e30 guy.. I still do all of my own labor
                        TrentW: There's just something so right about a well-built M20 in an E30
                        e30m3s54turbo: I save my money for tuner parts.

                        Comment


                          #13
                          Seems I got a bit carried away and skipped photos of a lot, theres a very large chunk of work missing (probably the most time consuming part of the standalone converision) but I made a complete new wiring harness, all covered in Raychem dr-25 and tucked away neatly.

                          Then wired up some relays and mounted the ecu and some fuses.


                          Bonnet back on, going for a few quick laps around the block to see if everything works. Fired up first try and even on the base tune for a different motor I got from a mate, pulled so nice ;)


                          Put more of the front on and some interior and took it for its first proper drive last night to the euro meet. Didn't miss a beat. Had it plugged into the laptop, datalogging, and played with the tune a bit on the way there and back. Is driving very nicely! Still a few things to tweak, like cold idle and such, and no doubt can get more power out of it, but I'm still a very happy boy.

                          So after taking it out for the first time in months, I put it straight back in the shed and decided to get stuck into the suspension. Really hoping to make halfway hangs, which is quickly approaching, so am getting stuck in.

                          Now, I have a lot more stuff to do in the rear, you'll see in time, but I don't have time to get it done before halfway hangs, so I'm just throwing the coilovers in for now.

                          Out with the old (already had koni adjustable sport shocks which was a surprise, would be happy to sell them if anyone wants them ;))


                          In with the new. This ground control stuff is great stuff. They basically put a kit togethor with eibach springs in whatever spring rate you like, with koni adjustable shocks valved to match the springs. Then some nice adjusters and such, and some beautiful billet shock mounts.


                          Also got this out to start work on the front suspension

                          Comment


                            #14
                            great job. i wish i could paint parts and make it match that well.


                            i have no idea what i am doing with my life

                            Comment


                              #15
                              Very cool. Keep it up!

                              Comment

                              Working...
                              X