
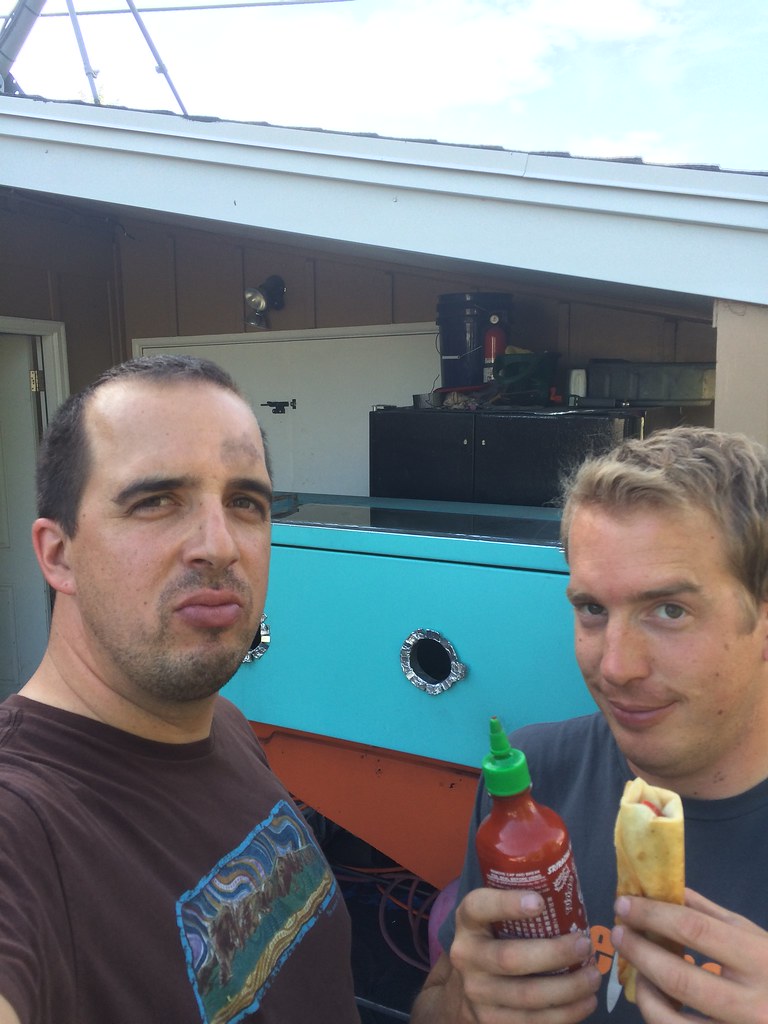
Aw shoot, hoping you'd go for the kids just so I could watch a 4 year old with a sand blaster go nuts. You're welcome to come do it yourself if you show up with a 100# bag of $8 silica sand from Home Depot (only place I've found it) and some powder or I could do it for a pretty fair price. Subframe would take 3-4 total hours tops.
-
-
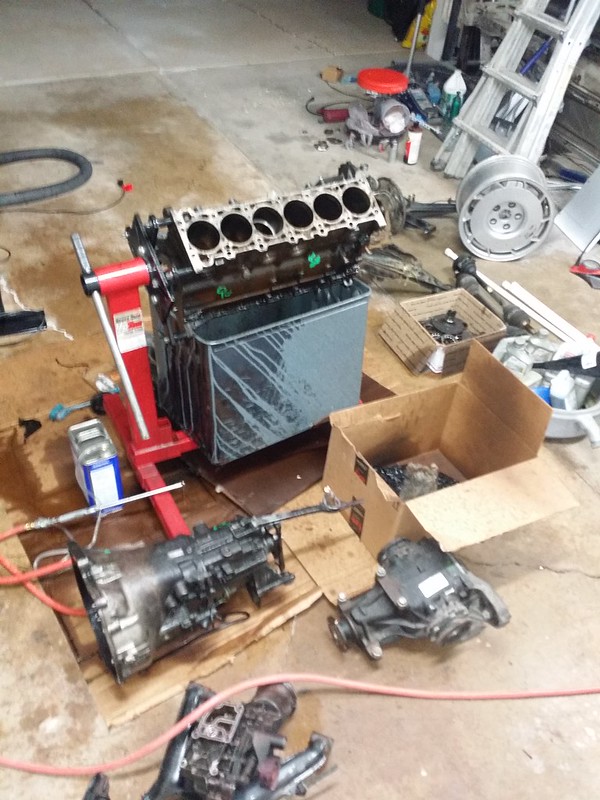
Nothing too much to update. Just degreasing all the things.
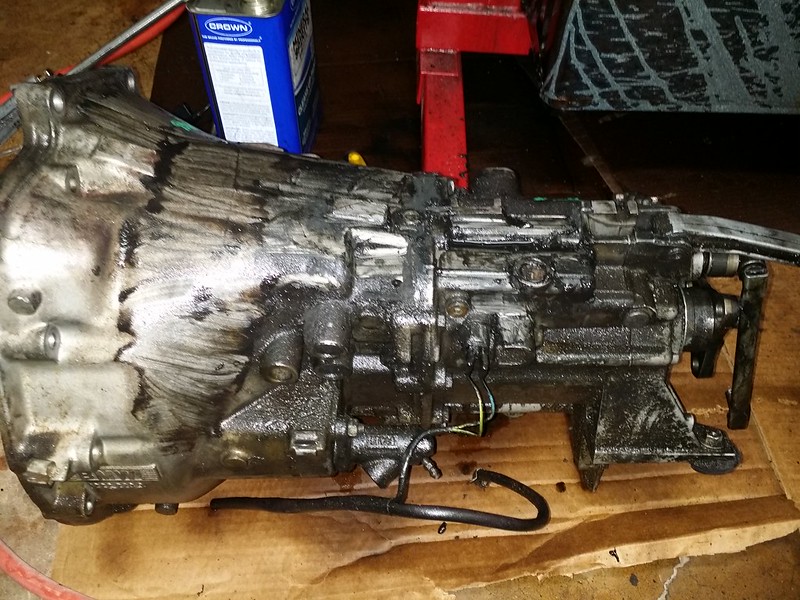
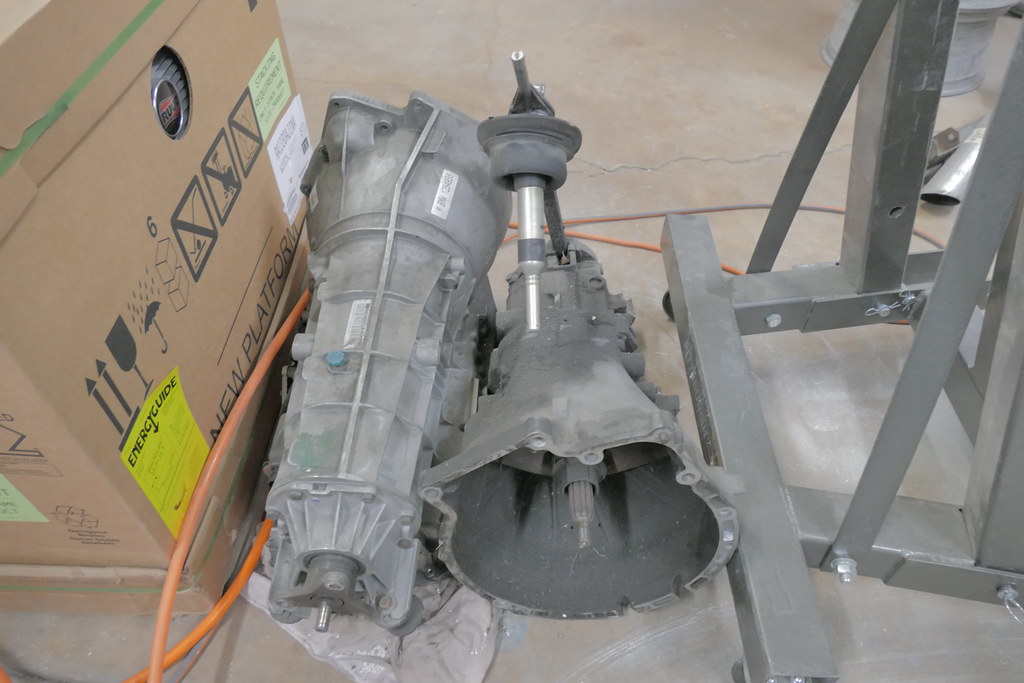
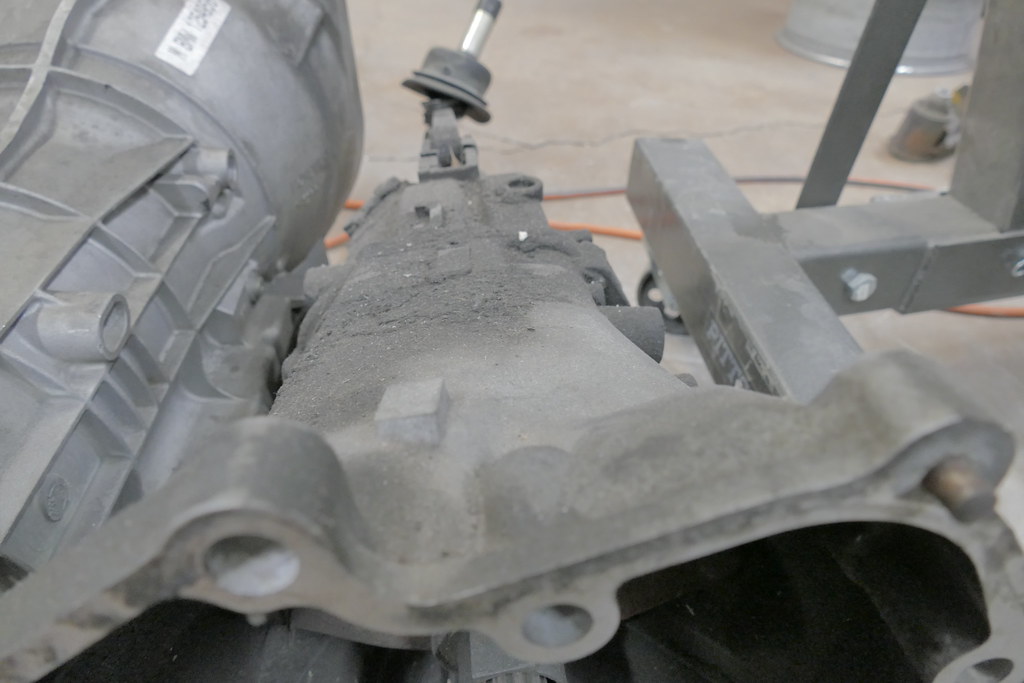
Trans almost done, need to pressure wash inside the bell housing
Using a siphon gun with low odor mineral spirits, then alcohol, then comes paint. At a certain point they'll all just get pressure washed because PSI is awesome.
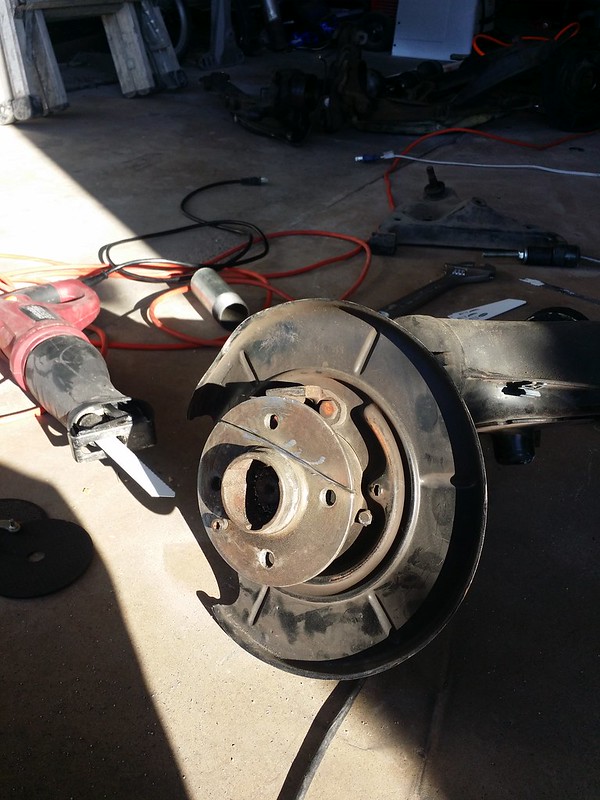
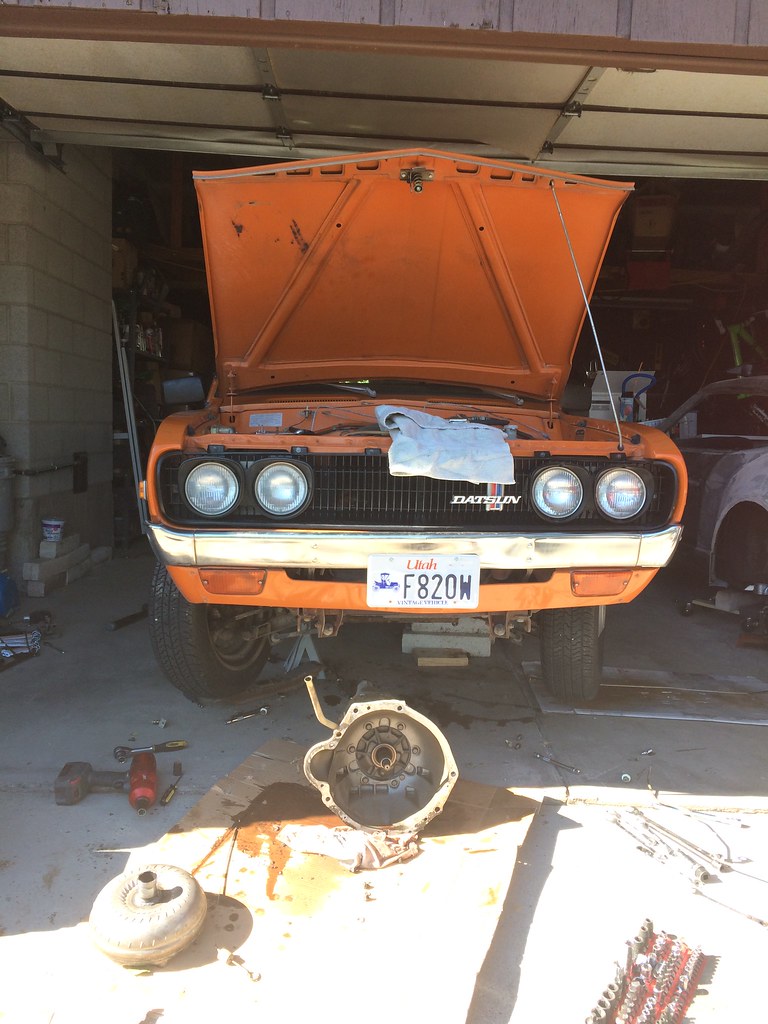
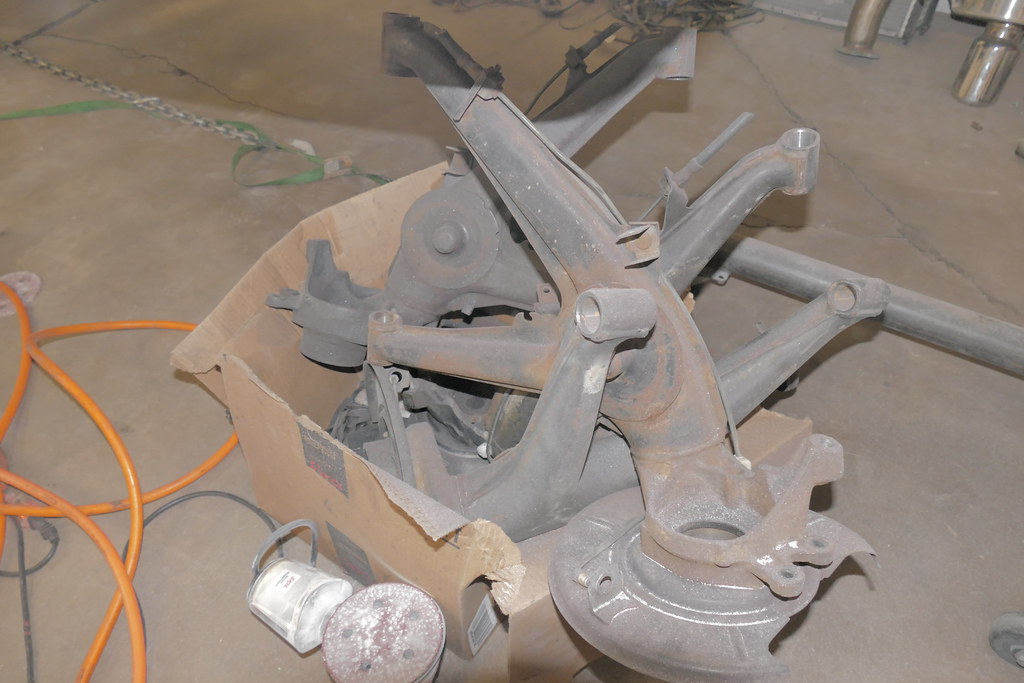
Brother in law came up for our fam's to hang out. Work got done. This lock ring and nuts was completely rust-fused to the hub. Chop chop
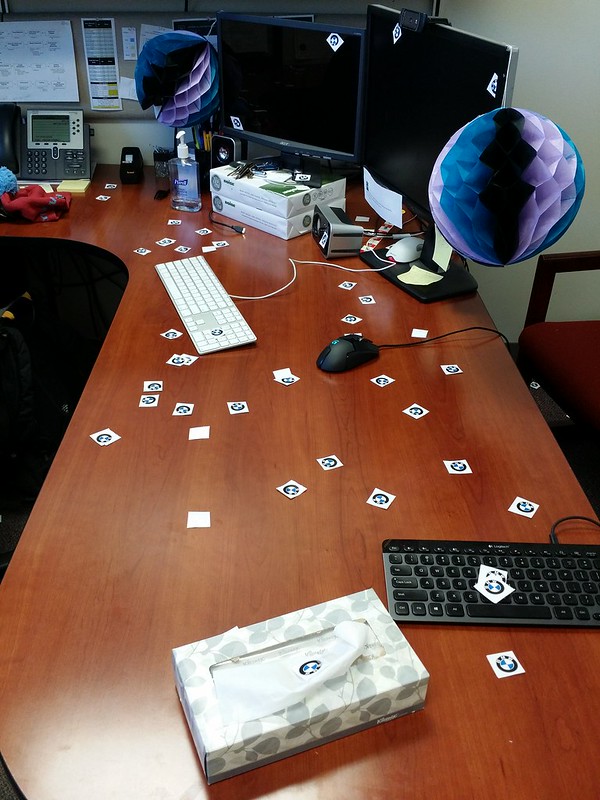
Work mates birthday Bimmered my office. They're everywhere, including under my keyboard and mouse...and phone...wondered why those didn't work...
I am now the paper roundel king.
2015 BMW Calendar
Comment
-
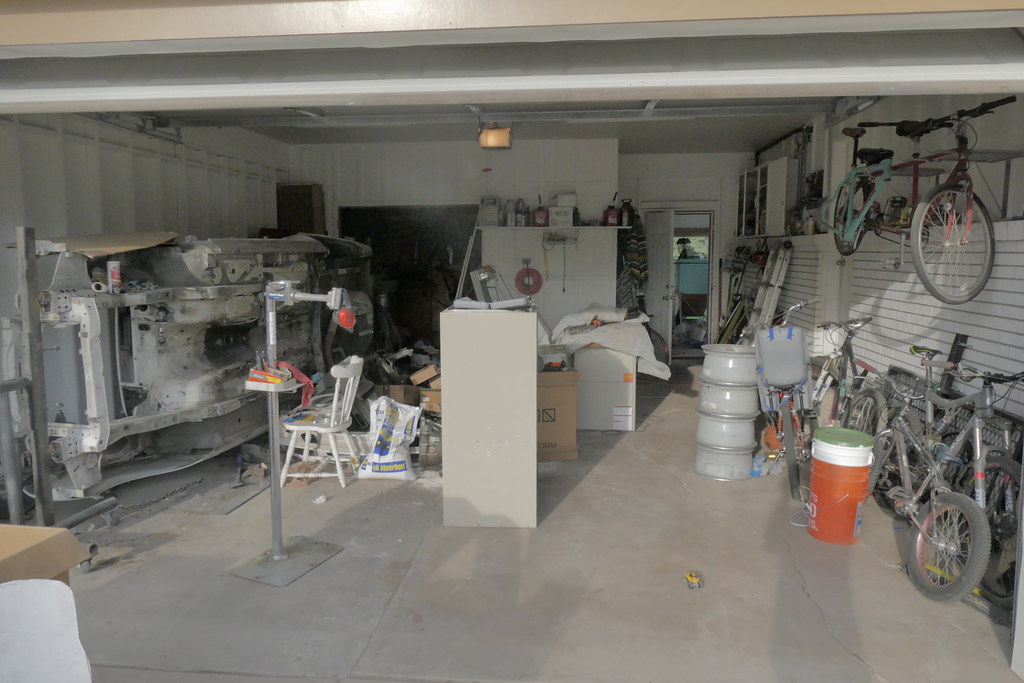
Well, no more work on the car, just infrastructure to work on parts, I guess.
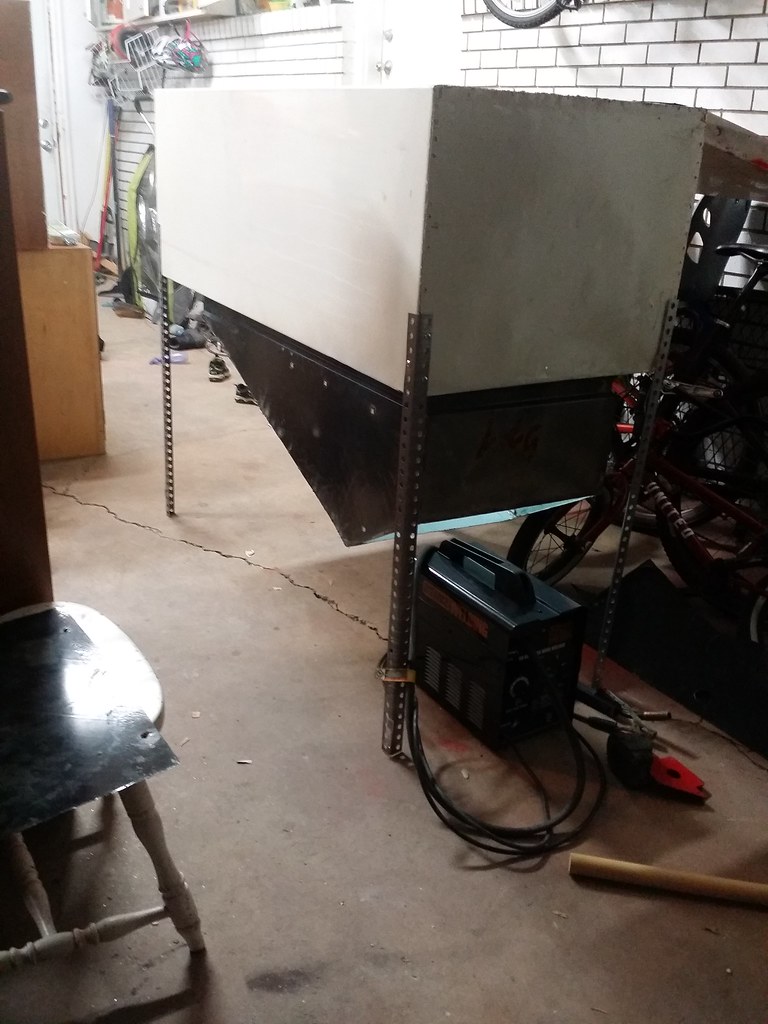
The single-door 50s fridge was set aside for being slightly too small for the powder coating oven, so I decided to repurpose it yet again to be a blasting cabinet. The pvc-frame "tent" wasn't cutting it, too messy. It did exhaust the dust pretty well though.
The inner and outer tubs that bolted together, sandwhiching the fridge insulation:
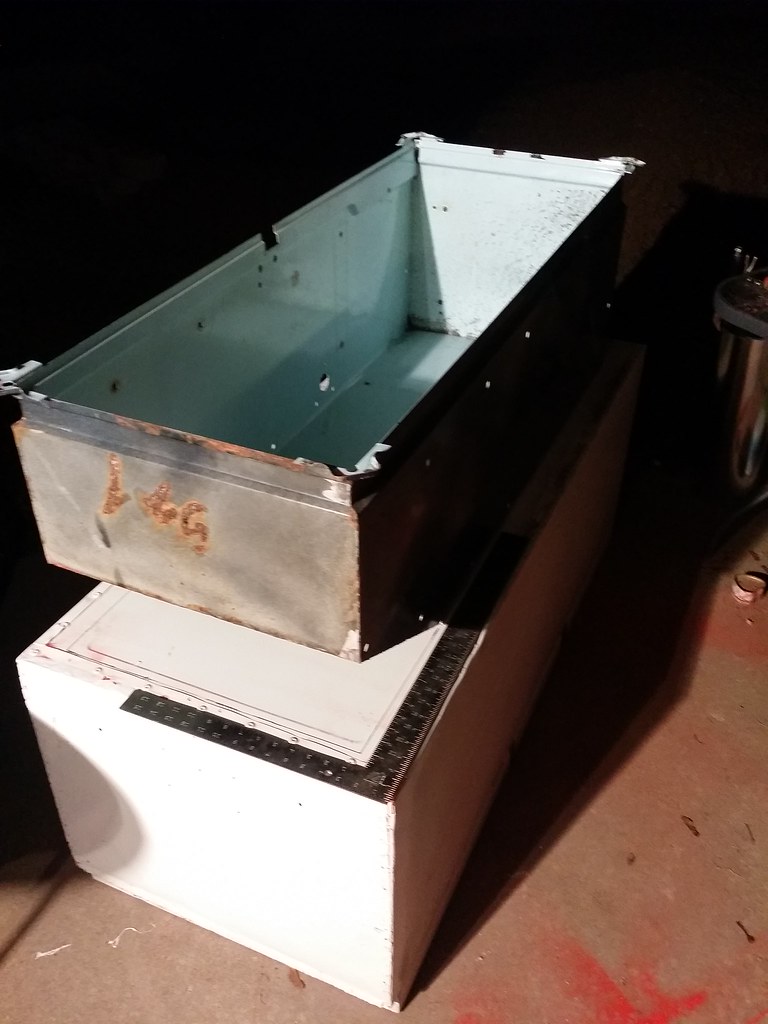
My wife and I went back and forth on what might work and we settled on the idea that we'd set the fridge on it's back so that the single door opened up and away from you, and the inner tub would set inside the hole.
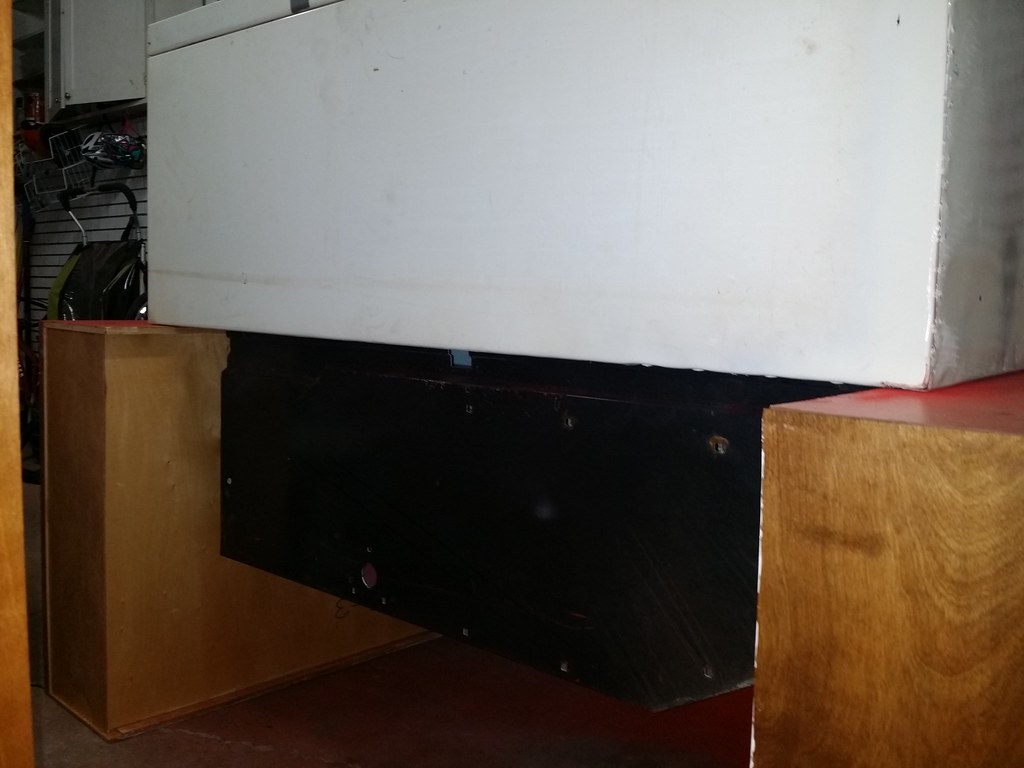
In order to have the sand fall down through a screen and into a bucket I needed some angle.
By cutting out a triangular piece from each side of the inner tub and welding the bottom up along that angle, I had my slope.
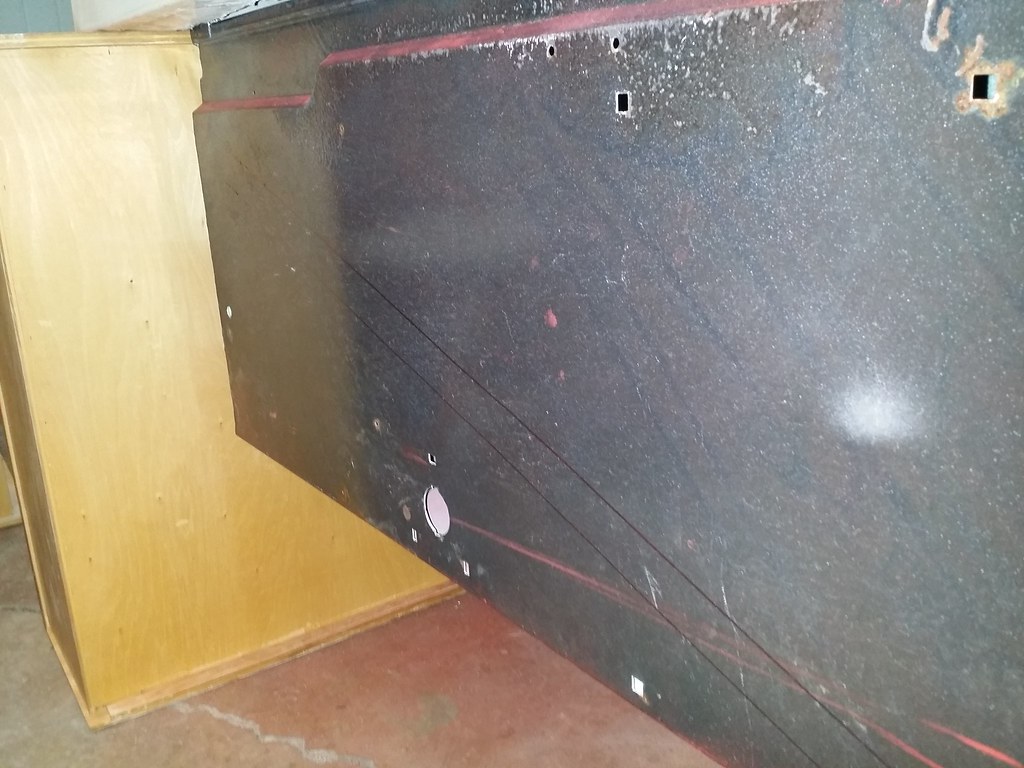
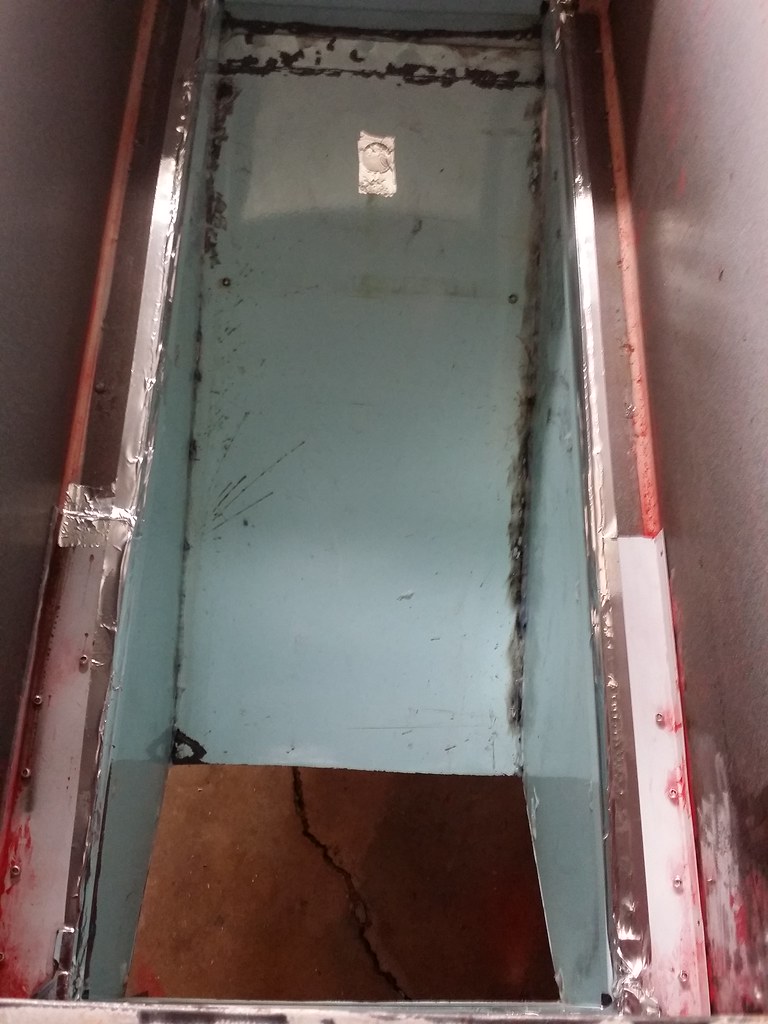
Then I silicone'd the holes that were all over the inner tub for the fridge's plastic trim to attach to and taped off the gap between the two tubs with aluminum tape, then duct tape, which holds up pretty well to blasting. I may have to add some angled pieces later to cover the gaps if it wears out too quickly.
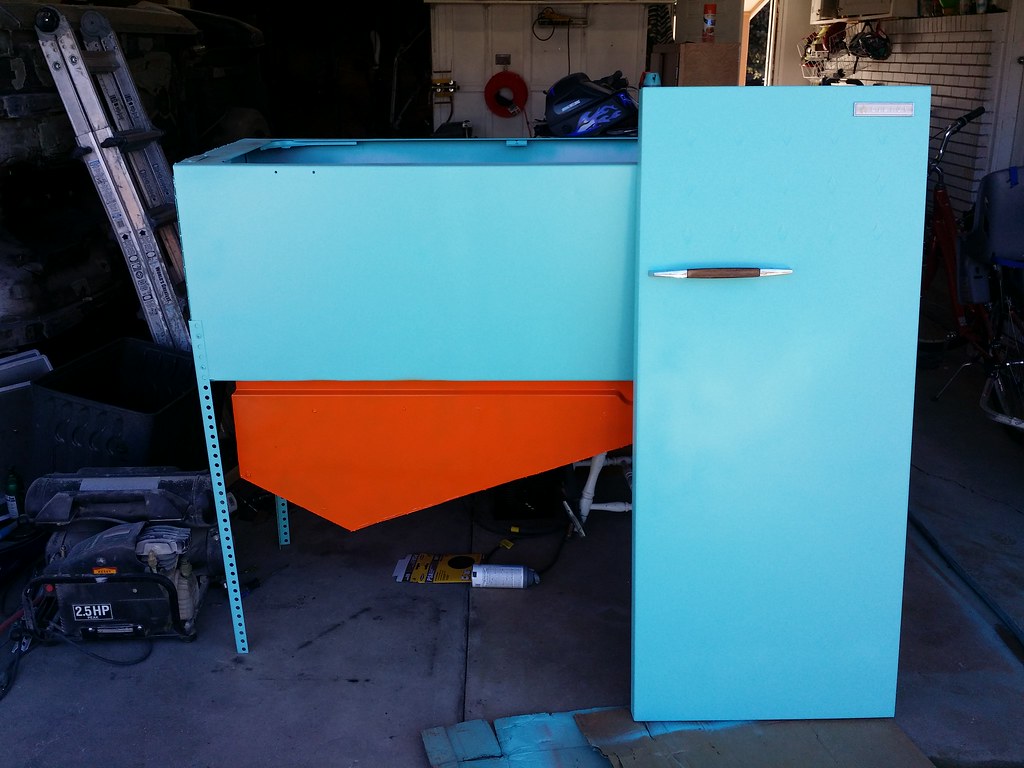
My wife said "if it's going to be in my yard, I want it to be pretty." Lucky for her Lowes has paint with such names as "Dark Palomino" (orange) and "Koi Pond" (sea foam green).
Sanded the sucker down and painted it up.
Next up is relocating the hinges a bit so I can use a thin door seal along the cabinet door edge, cut some holes for dust vent vacuum line and sand hose line, as well as rig up some screen into a 5-gal bucket lid so it screens the media as I go.
I just bought some pvc pipe flange, elbow, and pipe to go into a bucket filled partly with water. The pvc pipe feeds into one hole in the top of the bucket and has a tube glued to the lid that empties the dust just above the water line, trapping the dust. A shop vac is then attached to the other hole in the lid to provide the vacuum.
Show don't tell

Three leftover oven grills fit perfectly inside the cabinet so I'm stoked on that. Waiting for parts from Lowes now...the fresh bags of blast media are burning holes in their buckets, I want more of this:
Comment
-
nice work!Comment
-
Well, the cabinet is about finished. I added a baffle inside to better direct the sand, and stuck some velcro to a piece of tarp to keep the sand running from the square hole of the cabinet into the round bucket lid hole. This thing evacs dust pretty well! The water was just black black black from teh coal slag dust. That stuff eats through paint so much better than the medium grid silica sand. I did the whole front subframe in like 15 minutes.

Going to play around with some different media types this weekend and get everything I'd like to do ready for media blasting.
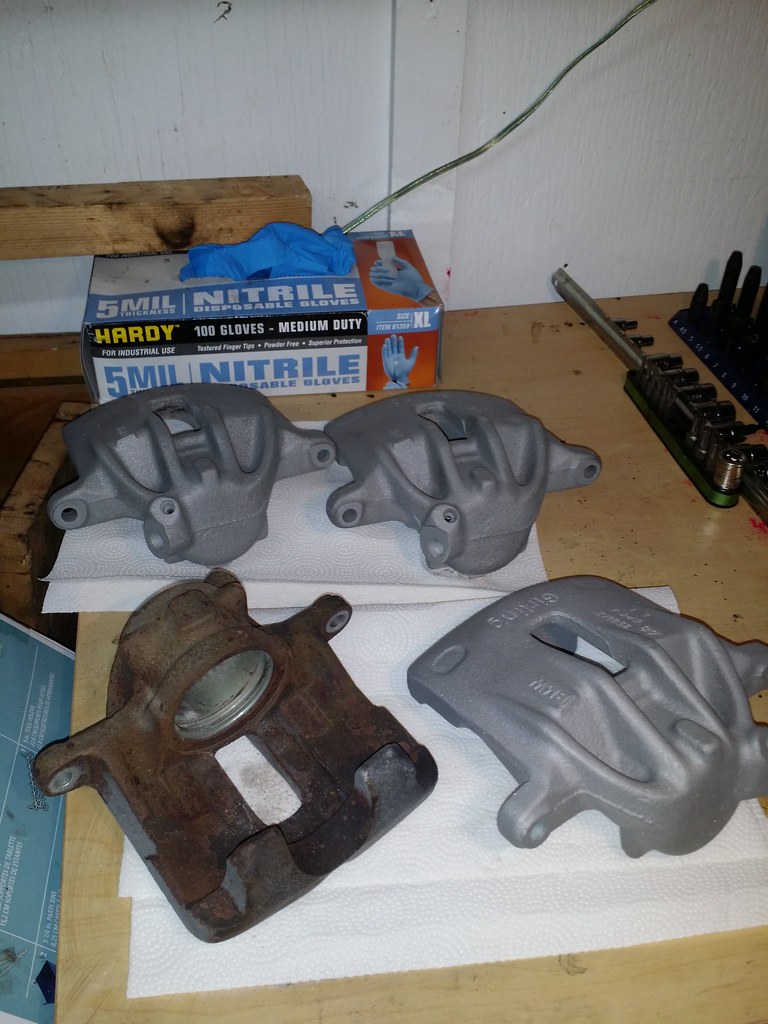
In the mean time I've lined up a few jobs from people nearby: A set of valve covers from a '56 ford Fairlane, some Audi A4 calipers, and a set of 18" wheels. Time to get my own stuff going and make the mistakes on it!Comment
-
Oh snap! That cabinet looks awesome man.
1989 Coupe build thread: http://www.r3vlimited.com/board/showthread.php?t=312012
IG: @mitchlikesbikesComment
-
Comment
-
Well, been busy getting busy with a new job at a technical college, which is totally rad, as I'm no surrounded by Lincoln Electric's regional training facility, a machine shop, a composites lab, and automotive tech classrooms, which are filled with tool pr0n.
Brother came by to see my new house for the first time. He has a couple of sexy 911s, stripped '88 and RSR clone '97
 Untitled by Brad Buccambuso, on Flickr
Also picked up this '74 620 from an estate sale in Idaho. 31k miles, 3 speed auto. Rule #1, no autos. 5 speed from a 280zx inc. At brother in law's house. We didn't finish by the wife-set time deadline so he graciously worked on it over the next two weeks, completing the swap while I rode to work. We're an hour away from each other. I also found out that L18 engine's are 5-bolt flywheels after pulling what I thought was everything I needed out of a newer Datsun pickup...nope nope nope. Found the uber rare 240mm 5-bolt flywheel with clutch and PP from an old timer in Arizona who talked my ear off about carbs and valve lash on the L18 for 2 hours. Good times.
 Untitled by Brad Buccambuso, on Flickr
 by Brad Buccambuso, on Flickr
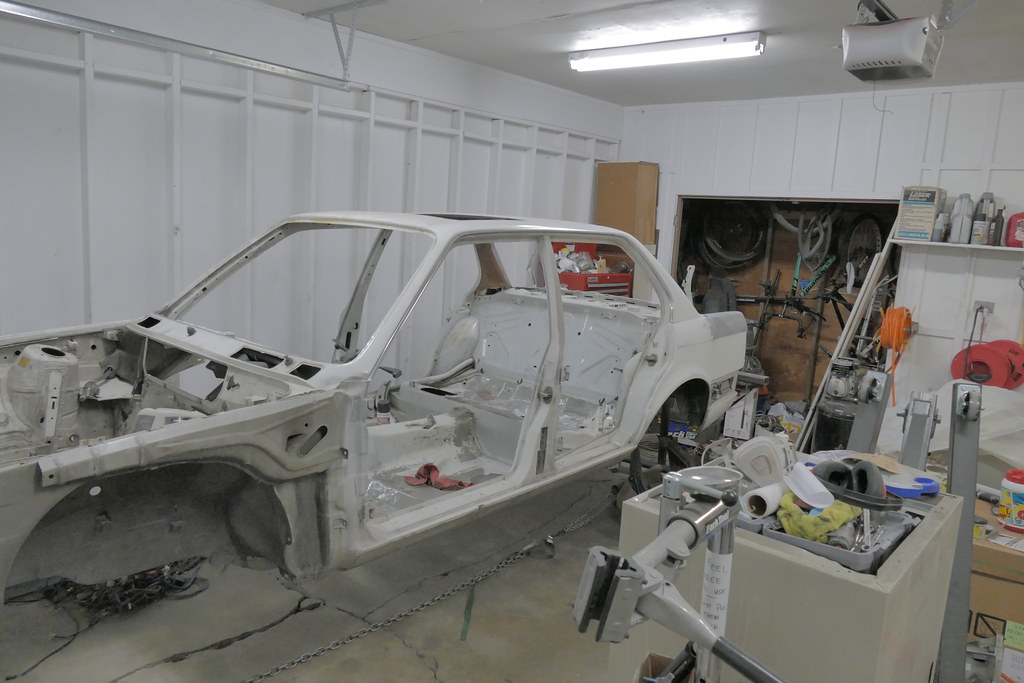
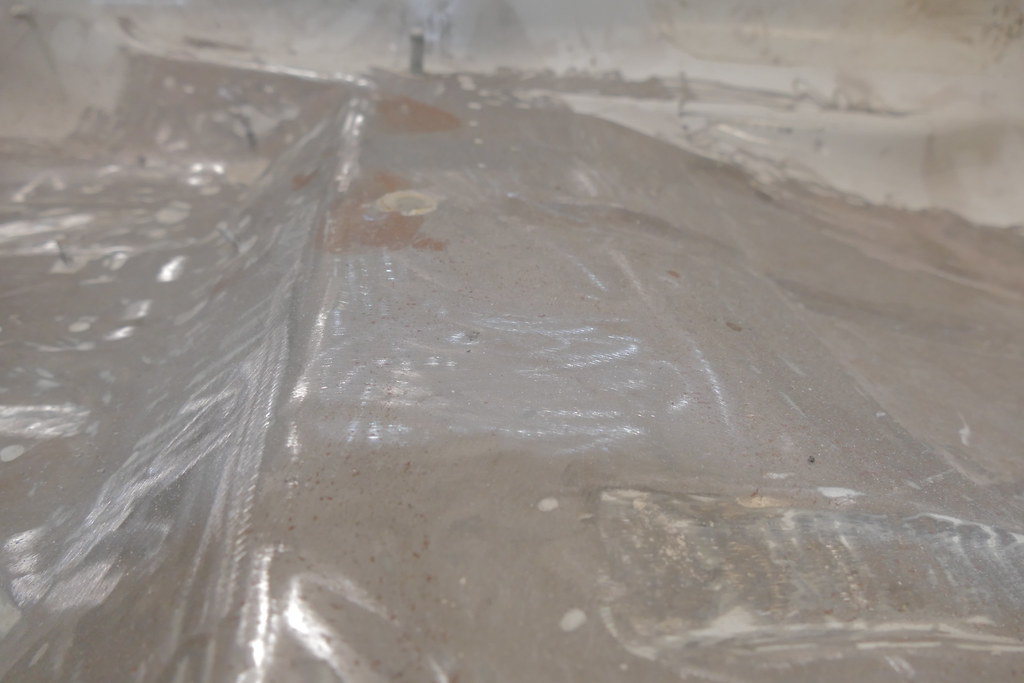
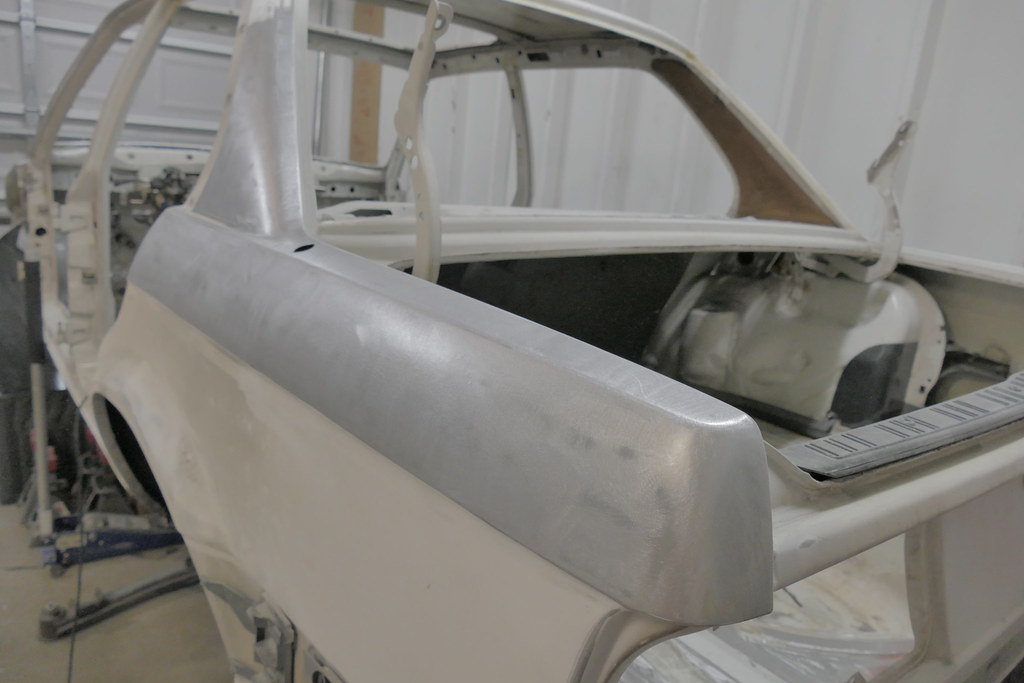
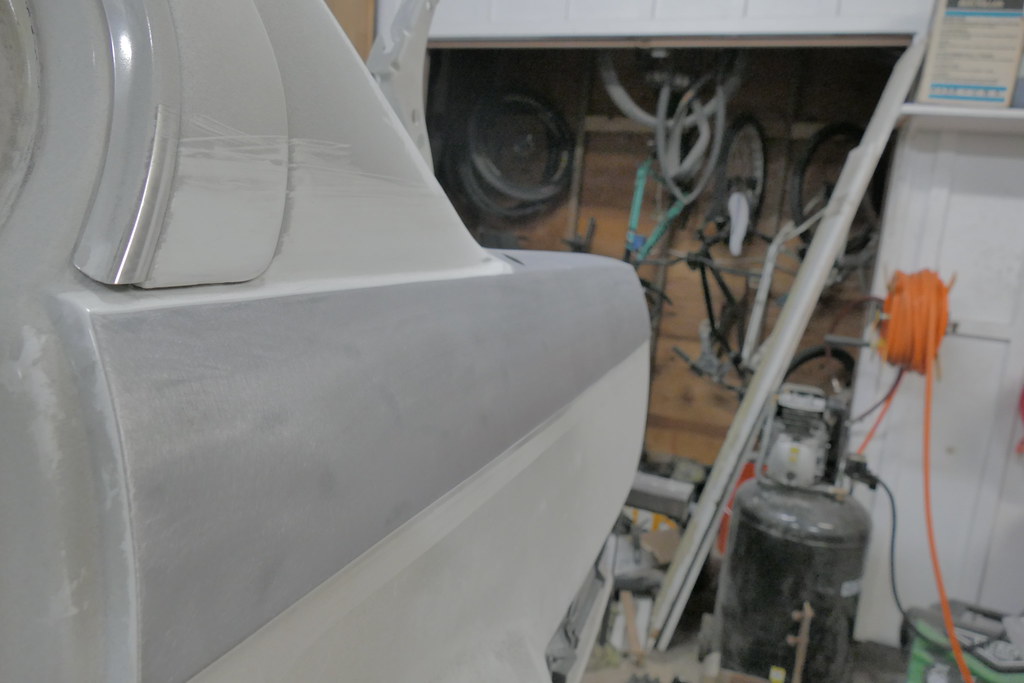
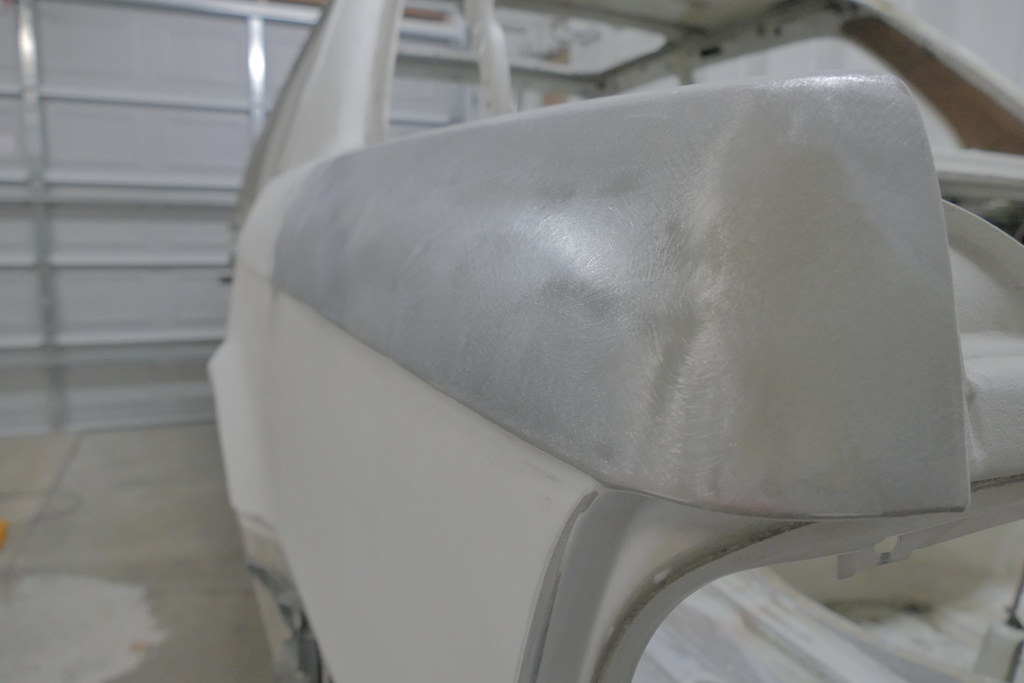
Did some work with the DA, taking down a thick respray, the factory clear, base, and primer. This takes fuggin forever...I dream of aircraft stripper (tune in for that later!)
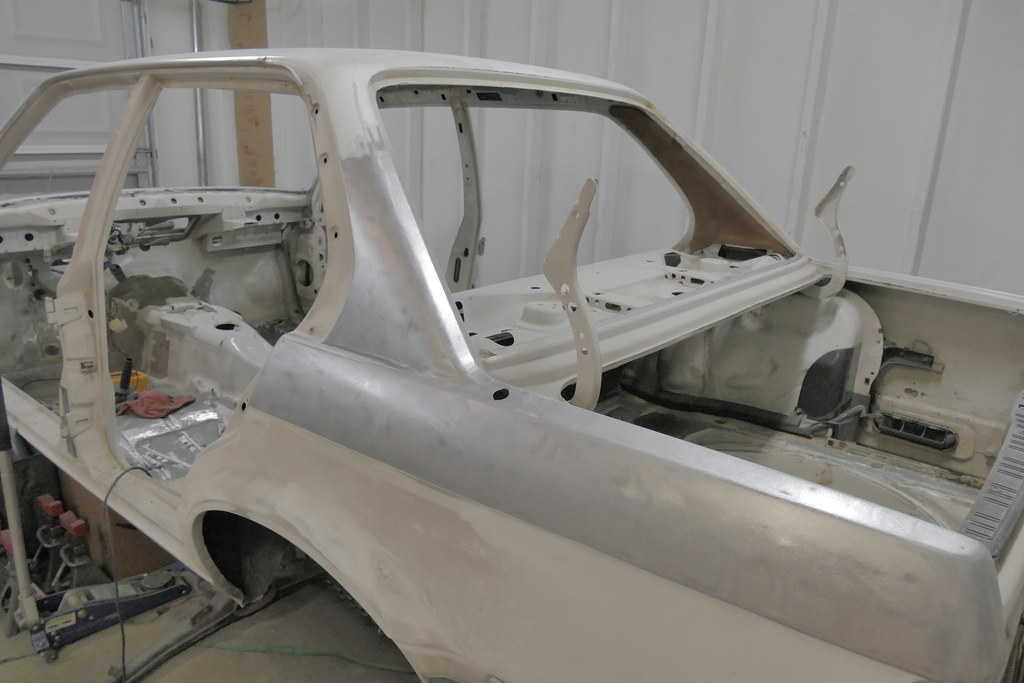
Organized this mess yesterday. This is at the 50% done level, but I was determined to wheel the rotisserie out for some sunshine and sanding.
 P1010035 by Brad Buccambuso, on Flickr
 P1010070 by Brad Buccambuso, on Flickr
The horizontal bar of the rotisserie hits the base to prevent it from rotating past 90. It did as we wheeled it out, and I didn't have the pins in...fack. Toasted my only perfect fender and luckily the rear quarter only got a minor scratch.:hitler:
 P1010041 by Brad Buccambuso, on Flickr
 P1010044 by Brad Buccambuso, on Flickr
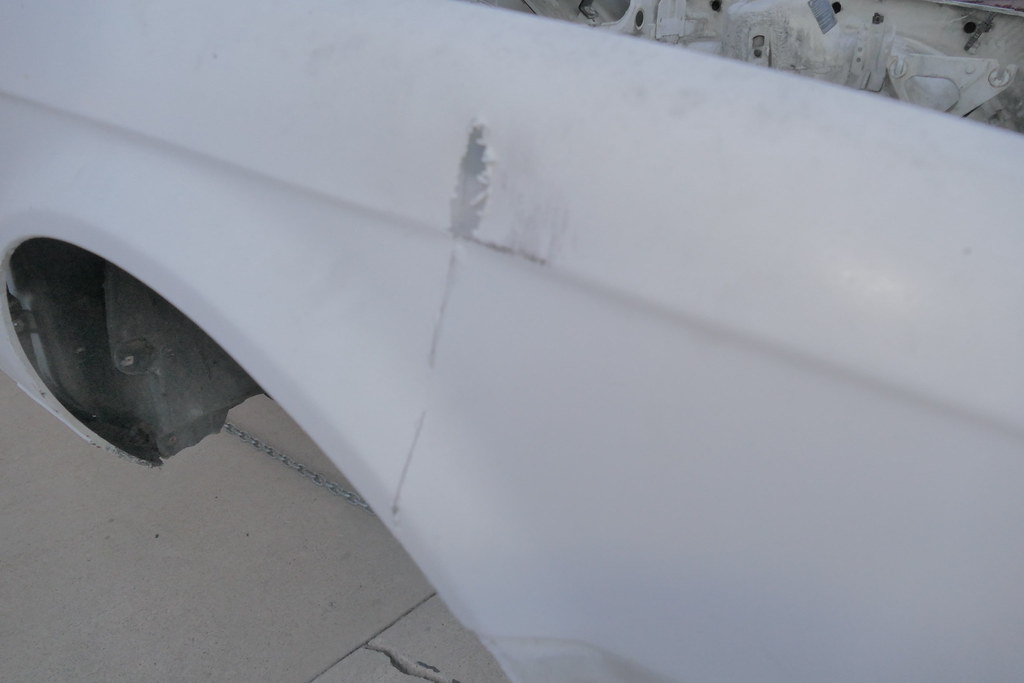
Took 8 months for this to form...shoulda put down some light etching primer knowing I would take this long to get to paint.
 P1010048 by Brad Buccambuso, on Flickr
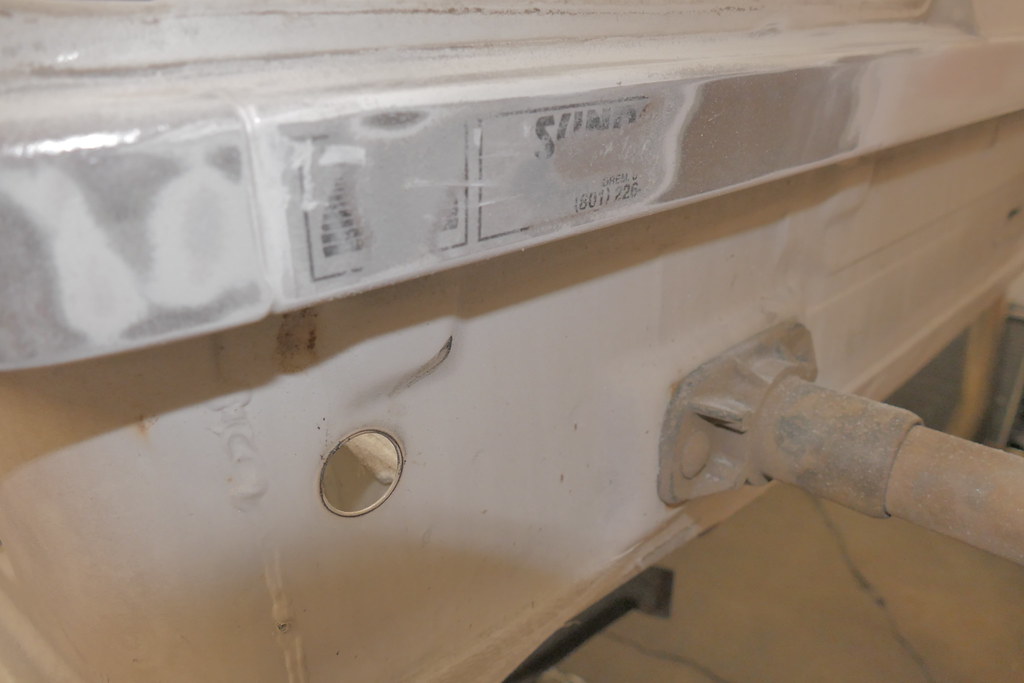
Some PO decided to respray without even taking this sticker off. Bravo PO, bravo.
 P1010052 by Brad Buccambuso, on Flickr
Respray white vs alpinaweiß II
 P1010065 by Brad Buccambuso, on Flickr
[ P1010045 by Brad Buccambuso, on Flickr
 P1010087 by Brad Buccambuso, on Flickr
 P1010085 by Brad Buccambuso, on Flickr
 P1010084 by Brad Buccambuso, on Flickr
Free aluminum?
 P1010077 by Brad Buccambuso, on Flickr
 P1010080 by Brad Buccambuso, on Flickr
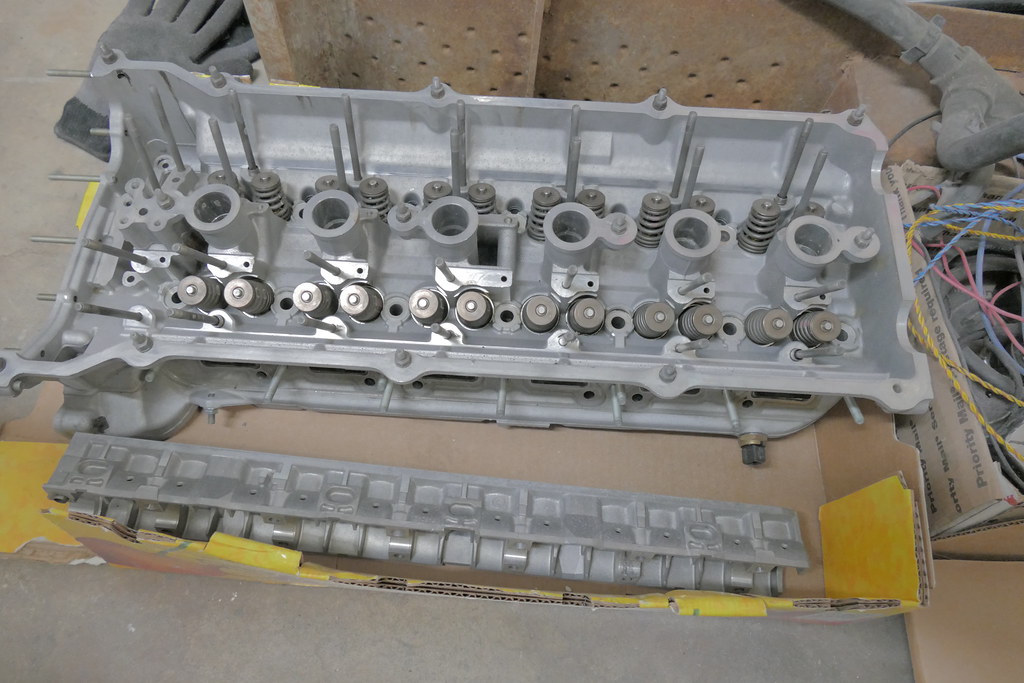
Kid was giving away his m54 head, auto trans, and a G250. I'll try and sell the auto and now I've got a spare G250, wishing I had one good ZF310.
 P1010071 by Brad Buccambuso, on Flickr
Just playing around with manual focus on the new work camera. Lumix FZ1000
 P1010075 by Brad Buccambuso, on Flickr
Excited to get my RTA reinforcements in and welded this week. Been blasting for people a ton lately from bikes to old Ford valve covers.
 P1010054 by Brad Buccambuso, on Flickr
 Untitled by Brad Buccambuso, on Flickr
Paint thinner and wire wheel
 by Brad Buccambuso, on Flickr
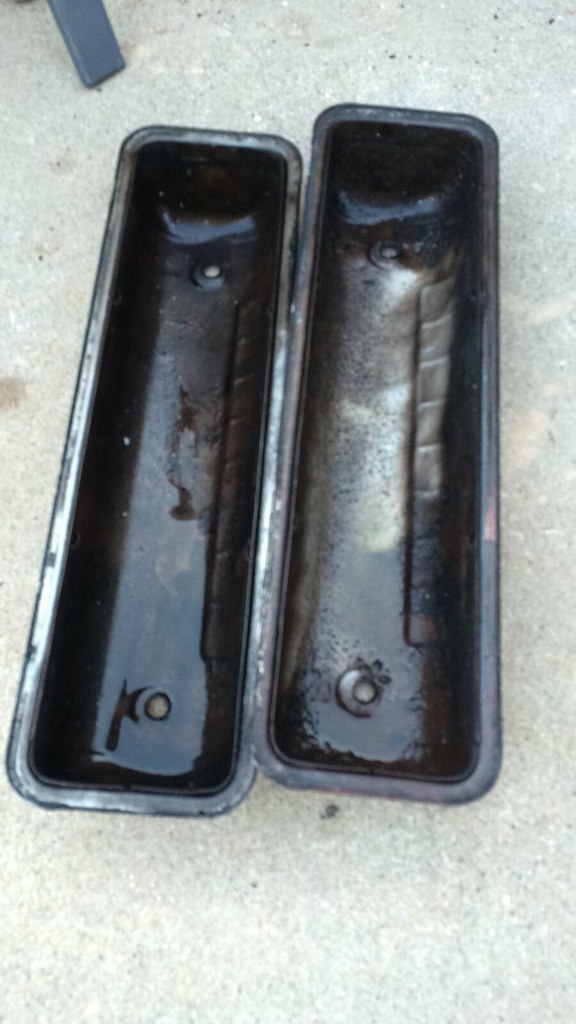
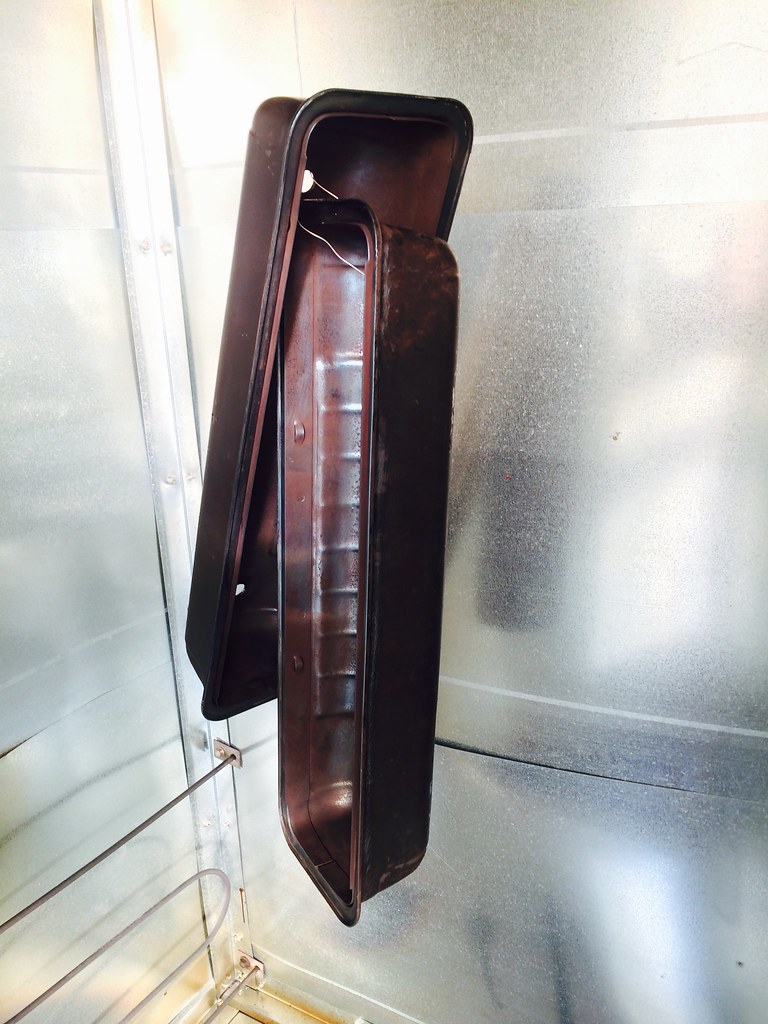
Since these had an inner and outer shell, there was oil between the two layers of metal, which I tried to get out with high pressure alcohol blasting, but ultimately, they went in the oven at 500 deg for two hours and smoked like a betch for the entire time.
 by Brad Buccambuso, on Flickr
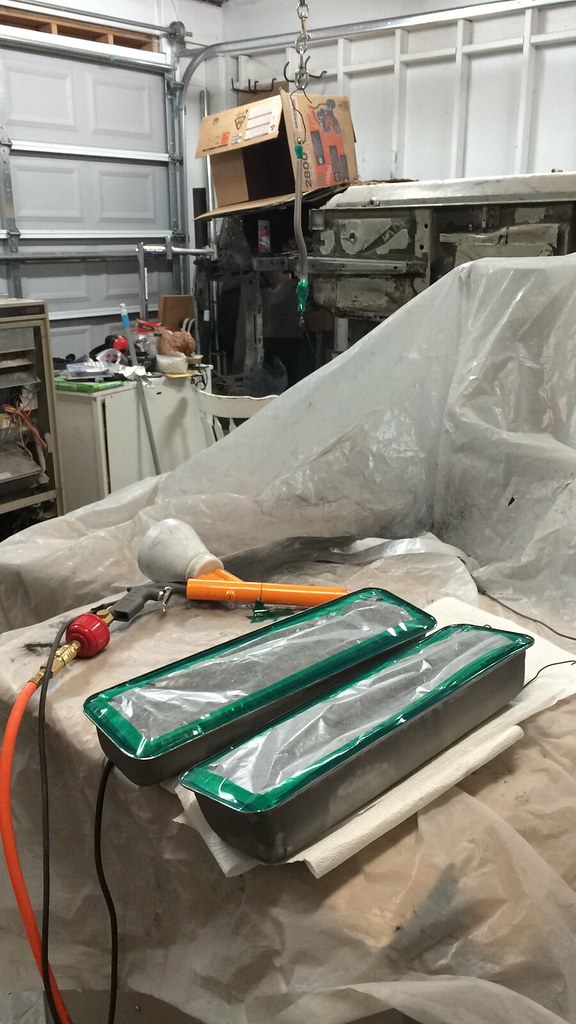
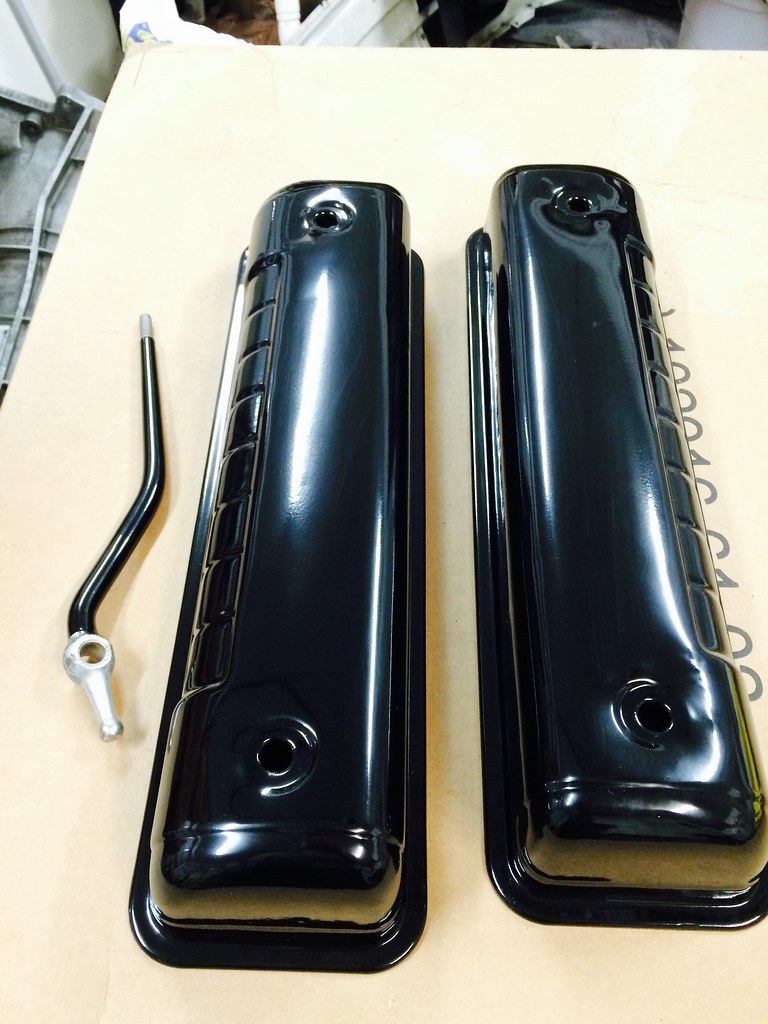
Then blasted the tops only with the bottoms taped up to make sure no sand got in between those layers and put some Prismatic gloss black on them and a Datsun 280z shifter.
 Untitled by Brad Buccambuso, on Flickr
 by Brad Buccambuso, on Flickr
 by Brad Buccambuso, on Flickr
280z front cross member in superchrome for my brother in law. Uploading a few more coating pics and I have a ton of cool colors coming in for my own car (Bianchi celeste green, canon grey, sky blue, orange, and a ton of clear.
 Untitled by Brad Buccambuso, on Flickr
Going to blast and coat these in Porsche silver and gloss black after the suspension gets all the Garagistic goodies and coated who knows what color.
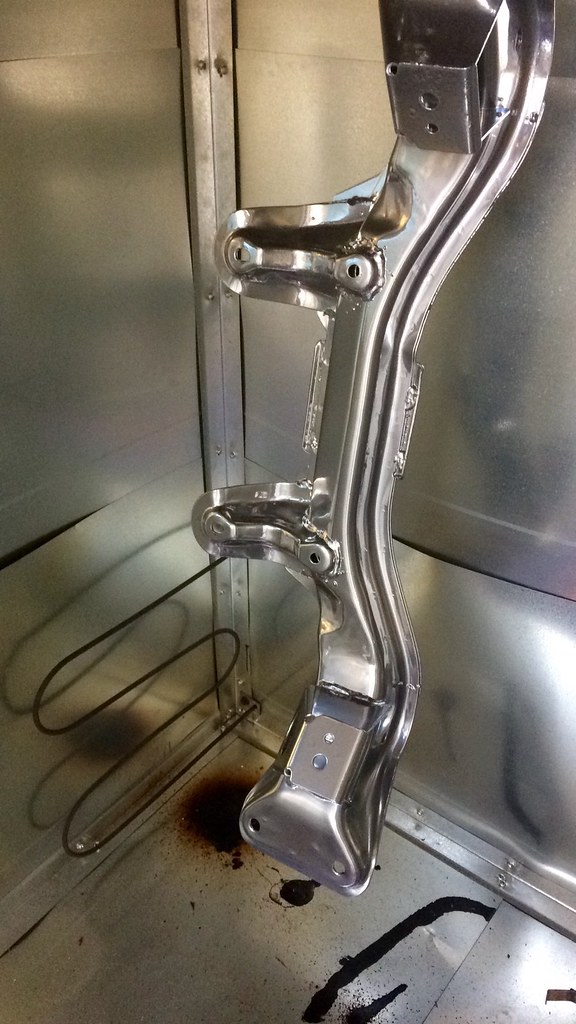
Blasted e30 subframe, welding in Garagistic subframe reinforcements and coating for a local e30 nut. This is my first attempt at TIG, and the plates need more chamfer...so hard welding straight on top of the plates. So much heeeeet
 Untitled by Brad Buccambuso, on Flickr
 P1010056 by Brad Buccambuso, on Flickr
Last edited by eduTechnic; 07-08-2015, 06:36 AM.
P1010056 by Brad Buccambuso, on Flickr
Last edited by eduTechnic; 07-08-2015, 06:36 AM.Comment
-
sweet, sub'd!Comment
-
Comment
-
-
Comment
-
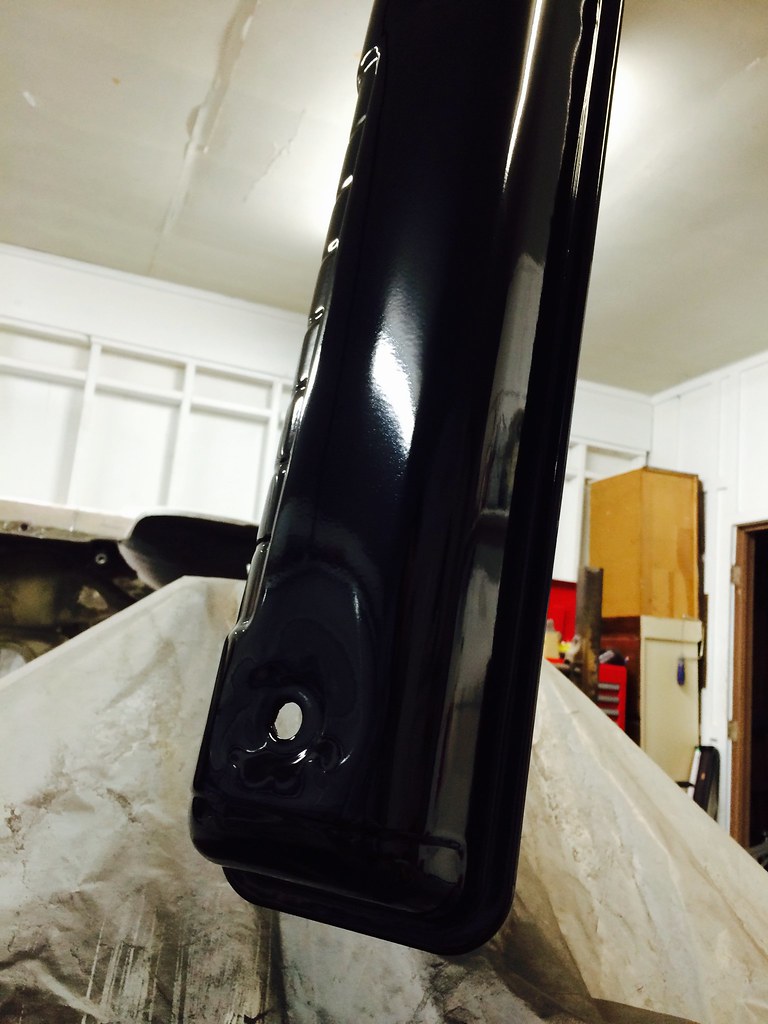
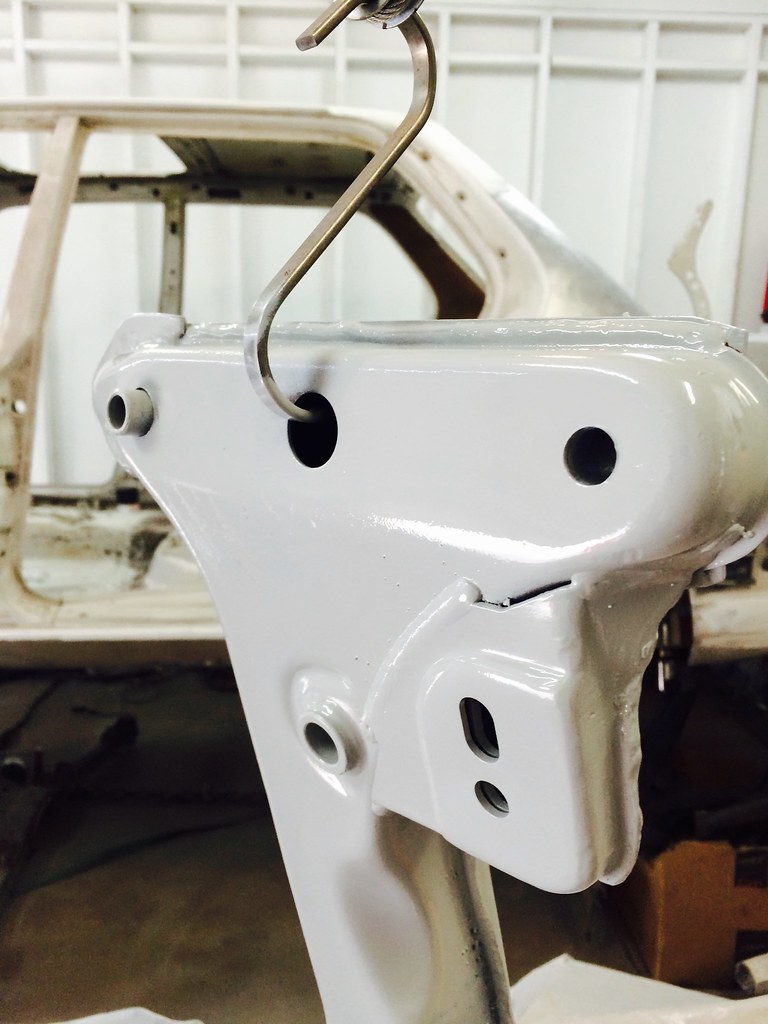
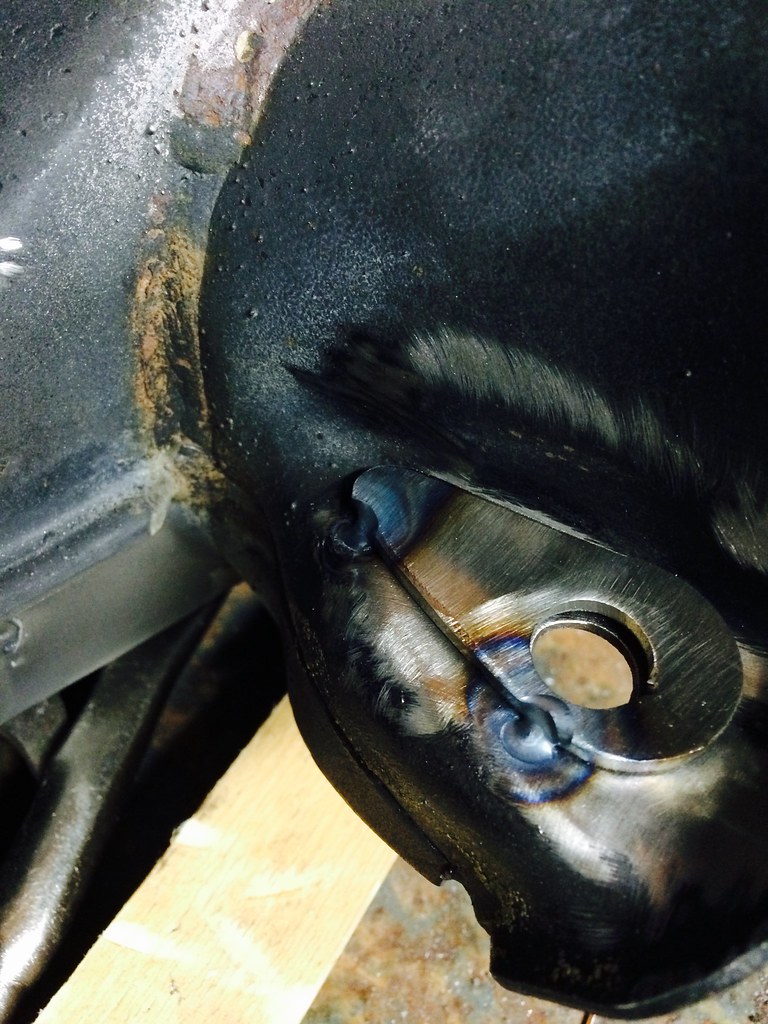
Welded in Garagistic subframe reinforcements for a local e30 nut. Tried out some epoxy primer for the first time and gloss black. I put the primer on lightly, since my HF gun isn't the best. I hot flocked the gloss black at 250 deg but should have waited until the part was even hotter so the black flowed out a bit more.
Looks baller after I smoothed out the welds (since they're not pro).
Epoxy primer:
Gloss Black

I feel a little burnt out after all the fitting, welding, grinding, and coating, (plus I'm a total pansy) buuuut it's time to do the same damn thing to my front and rear subframes. Sigh, the quest for speed.
Now if I could only choose a subframe color:
Gloss Black | Cannon Grey | Celeste Green (Would look dope next to orange even though it's under the car) | International Orange | Flat Grey or gasp, white.


Comment
-
It's been a productive couple of days with my wife and kids out of town. Starting to get a little better with the TIG, but still over welding everything a bit.
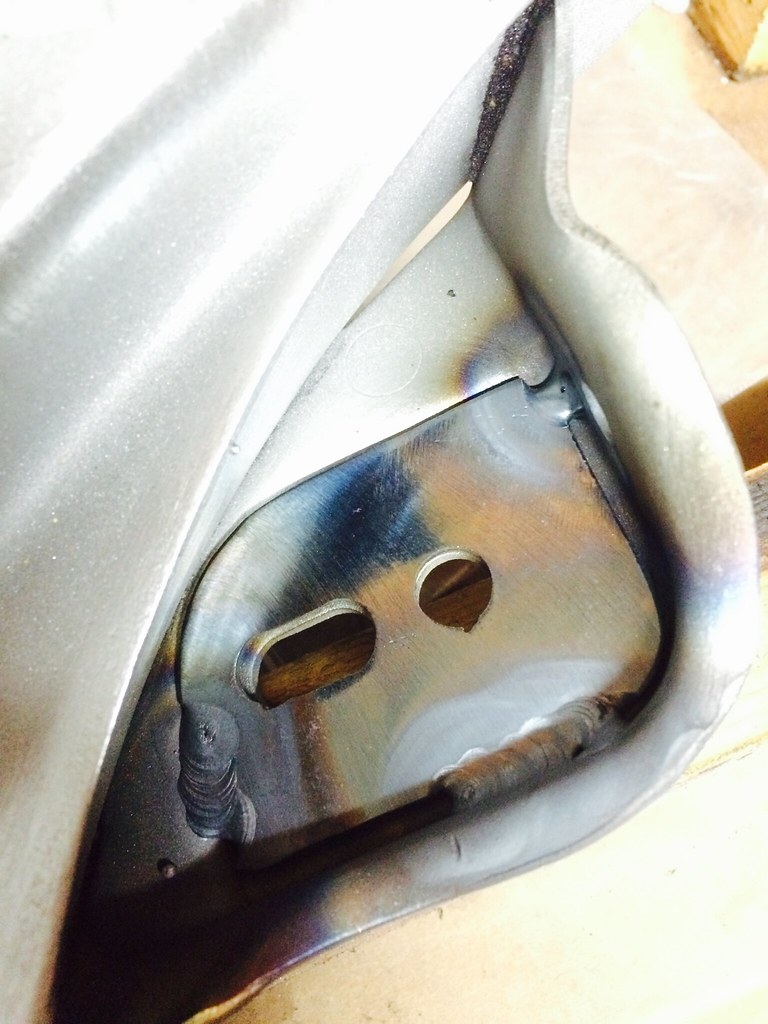
First up tonight was the rear subframe. I have two from the two cars I'm combining. One is completely broken up at the upper diff mounting area. The other is cracking pretty significantly.
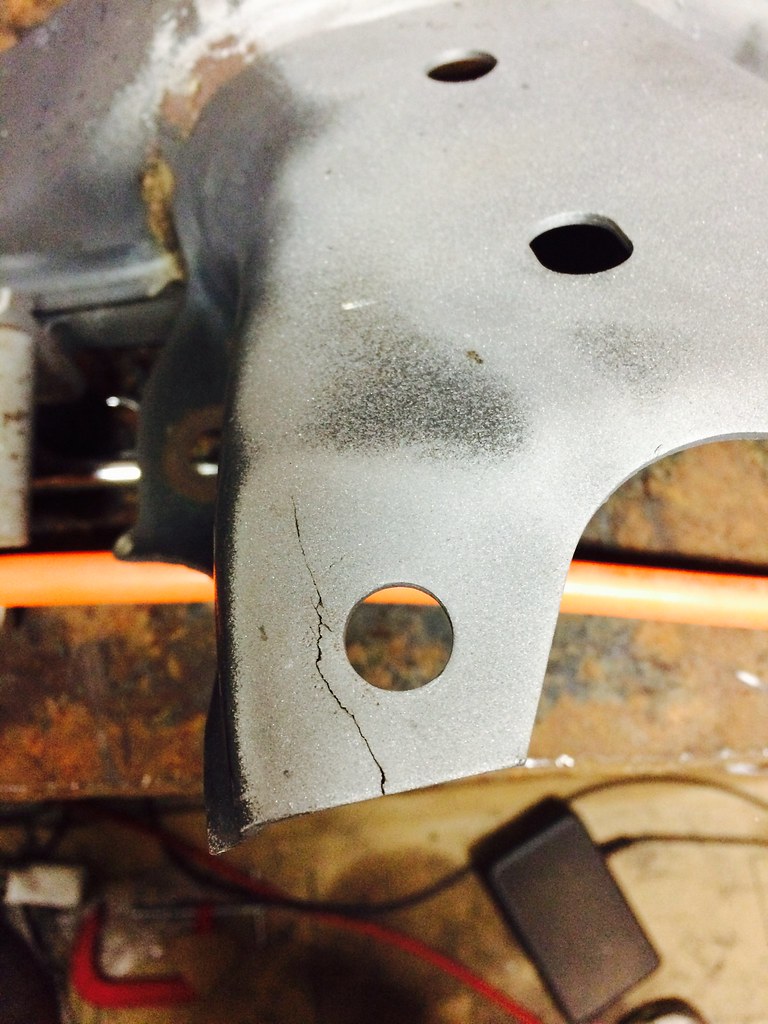

According to the internet (well, and the welding instructors here at work), first drill out the end of the cracks to relieve them, then groove the cracks for penetration. If you're new here, drill a few extra speed holes.
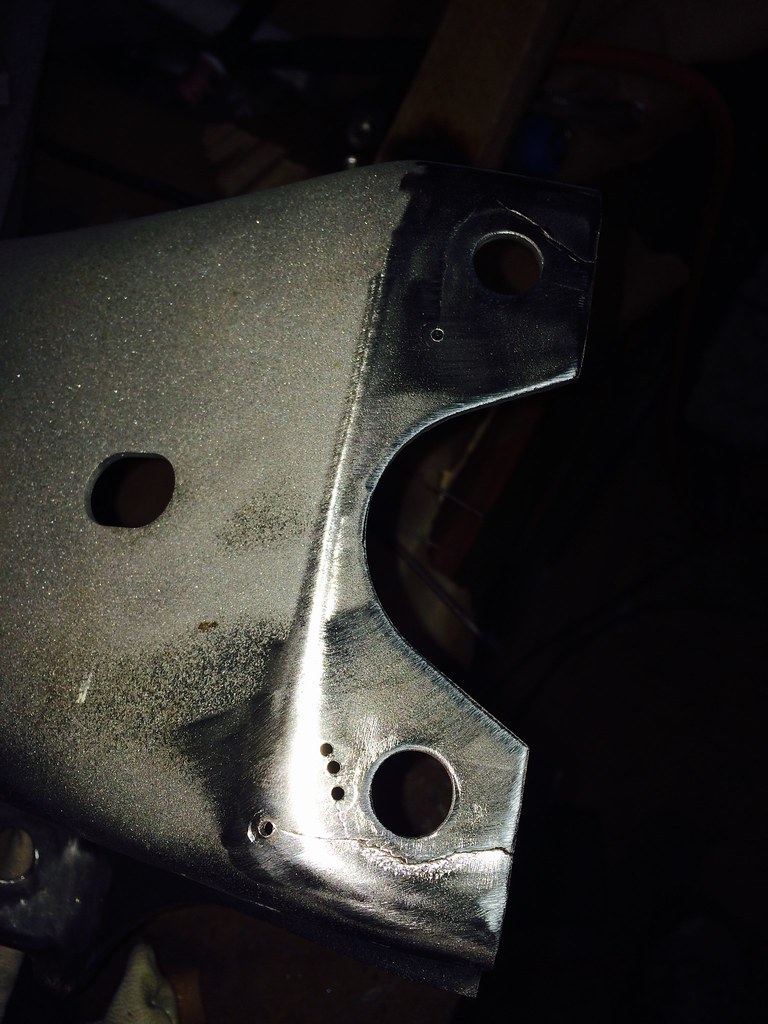
Crank up some heat (used 120A) and lay some bead

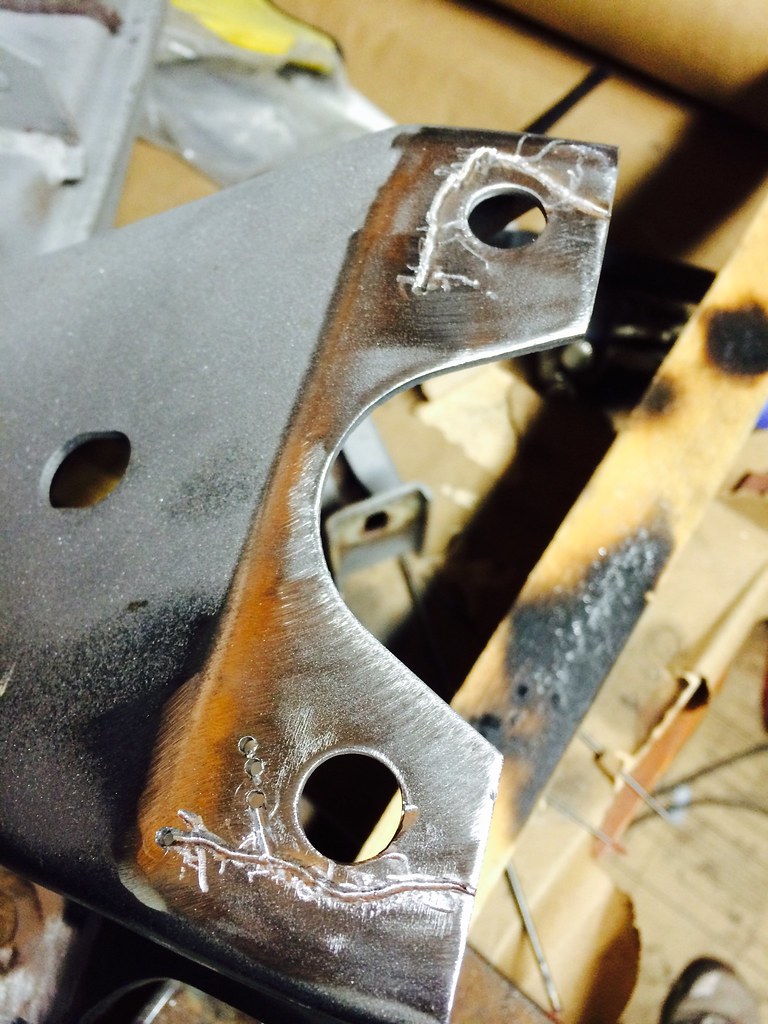
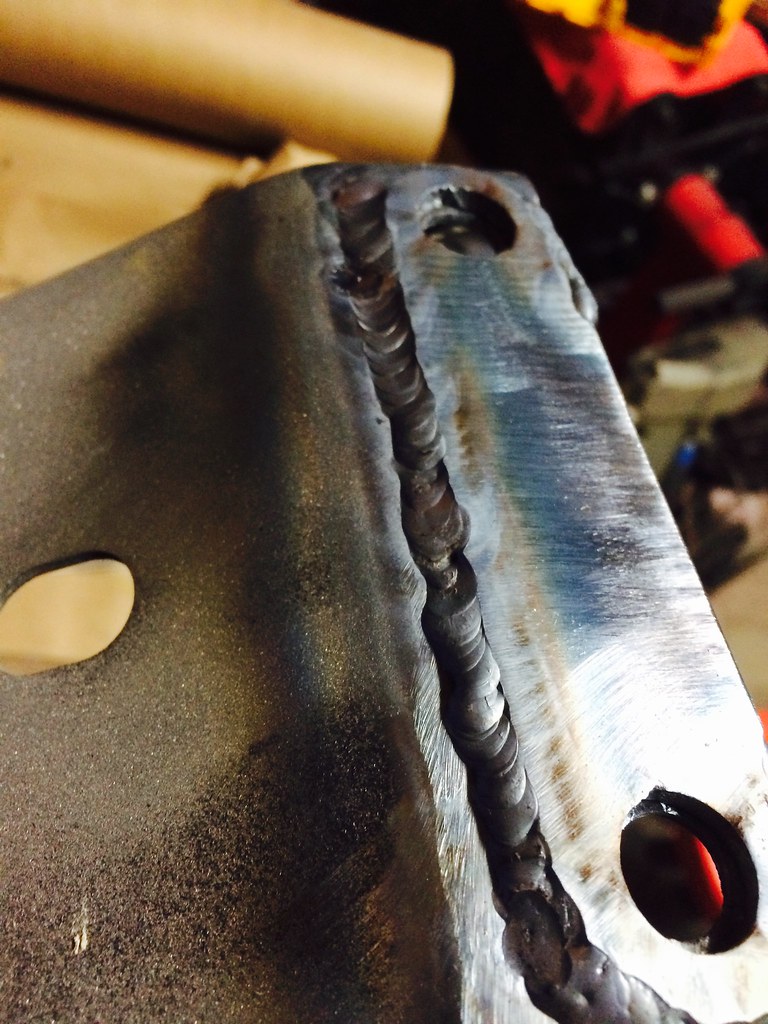
Ground it smooth again, then cleaned up the Garagistic reinforcements and tacked em in with a quick 160A pulse.
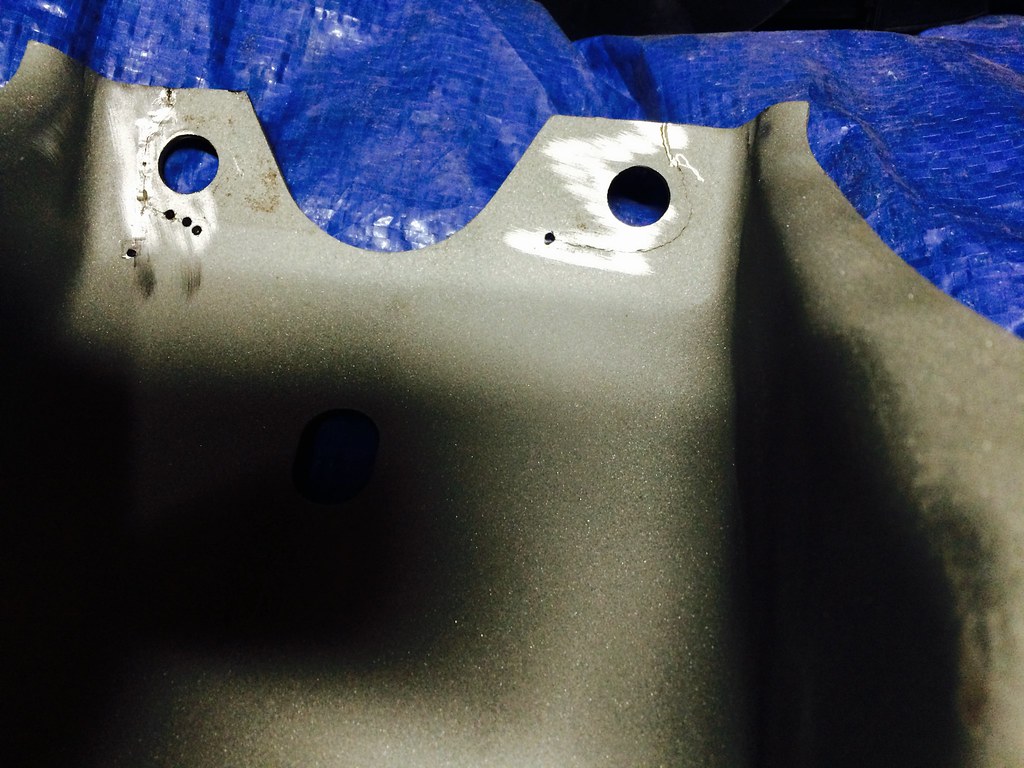
Weld it all in. Practiced pulsing from this video by Welder Series, which I need to practice more to reduce all the heat I'm putting into things; Turned out so so, but I'm sure it's stronger than before.
All in all, pretty happy with it. Off to the cabinet for to finish up blasting, then epoxy primer and topComment
-
Definitely Celeste Green, because racecar.Comment

Comment