Announcement

Collapse
No announcement yet.

phenryiv1's 1989 325iC Project - SETA 2.7i Swap Complete and Running!

Collapse
X
 
  • Filter
  • Time
  • Show
Clear All
new posts

  • phenryiv1
    replied
    So some small updates.

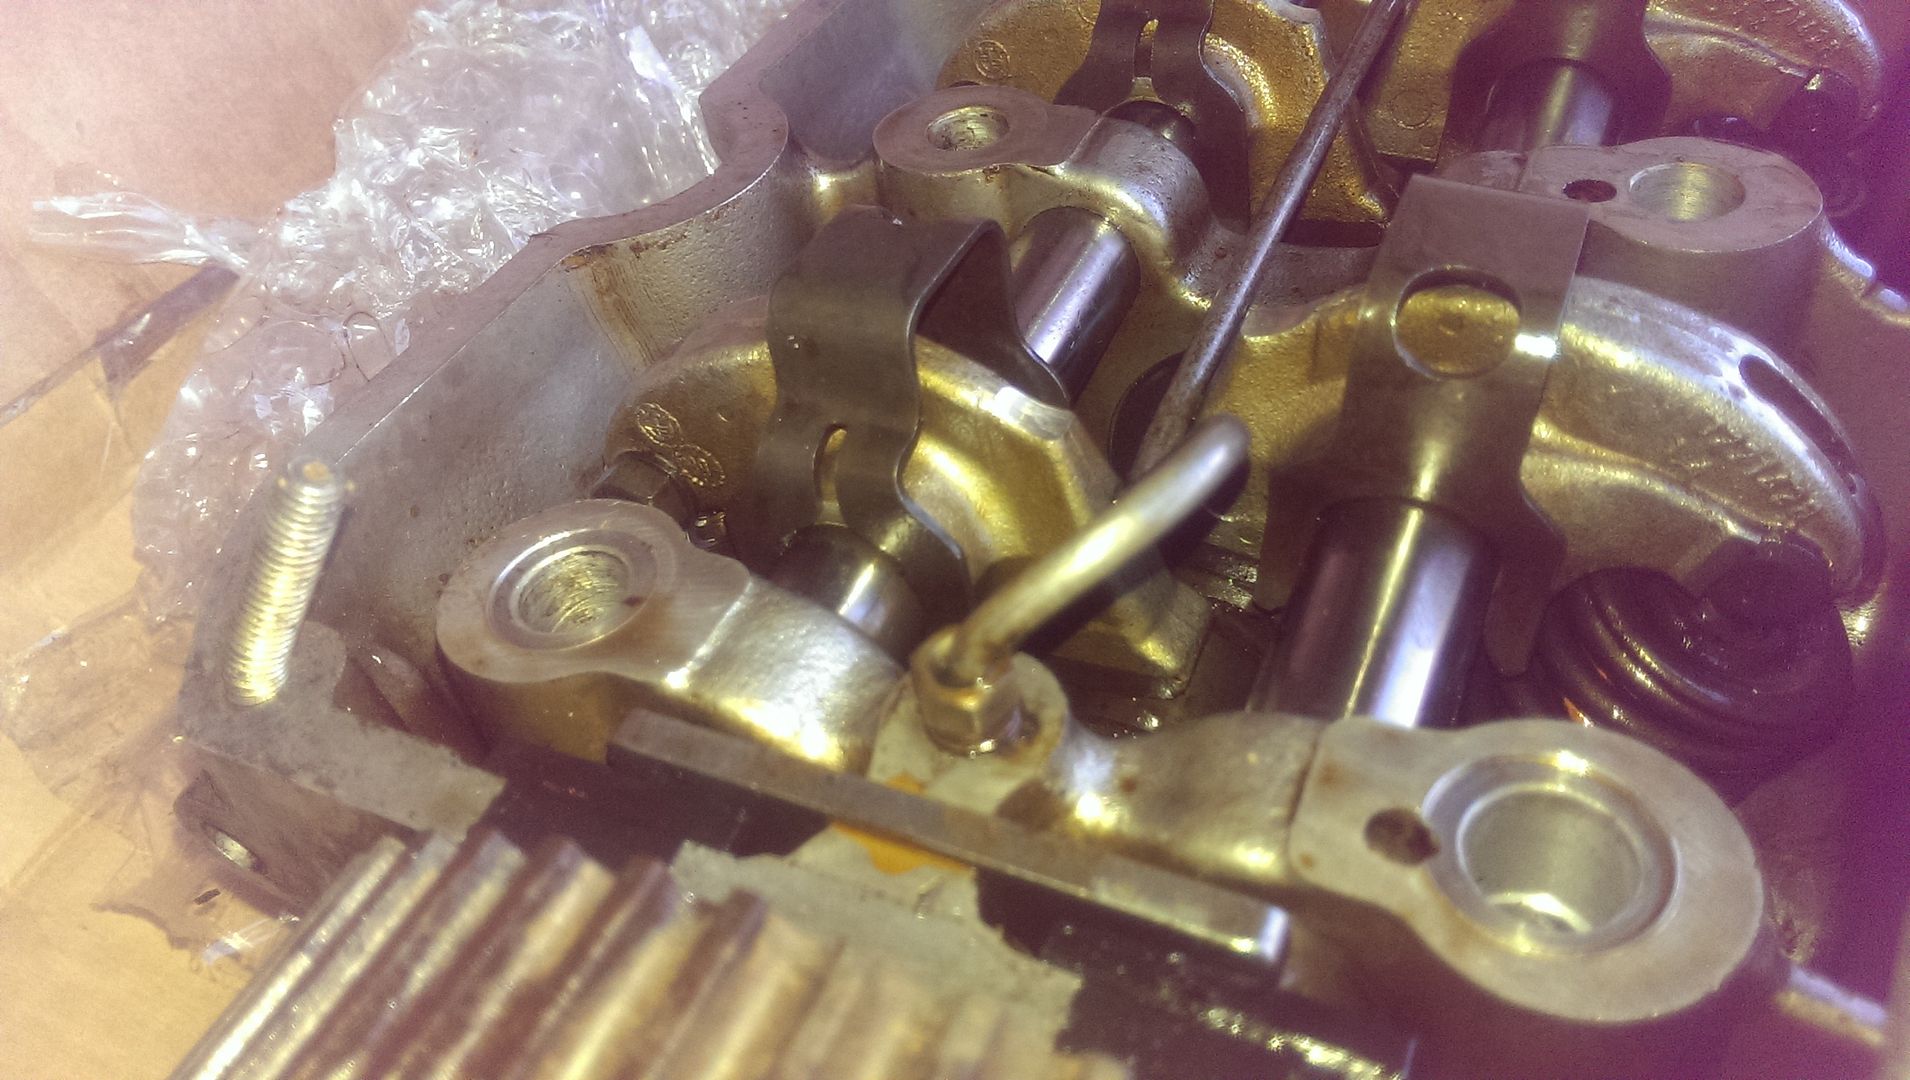
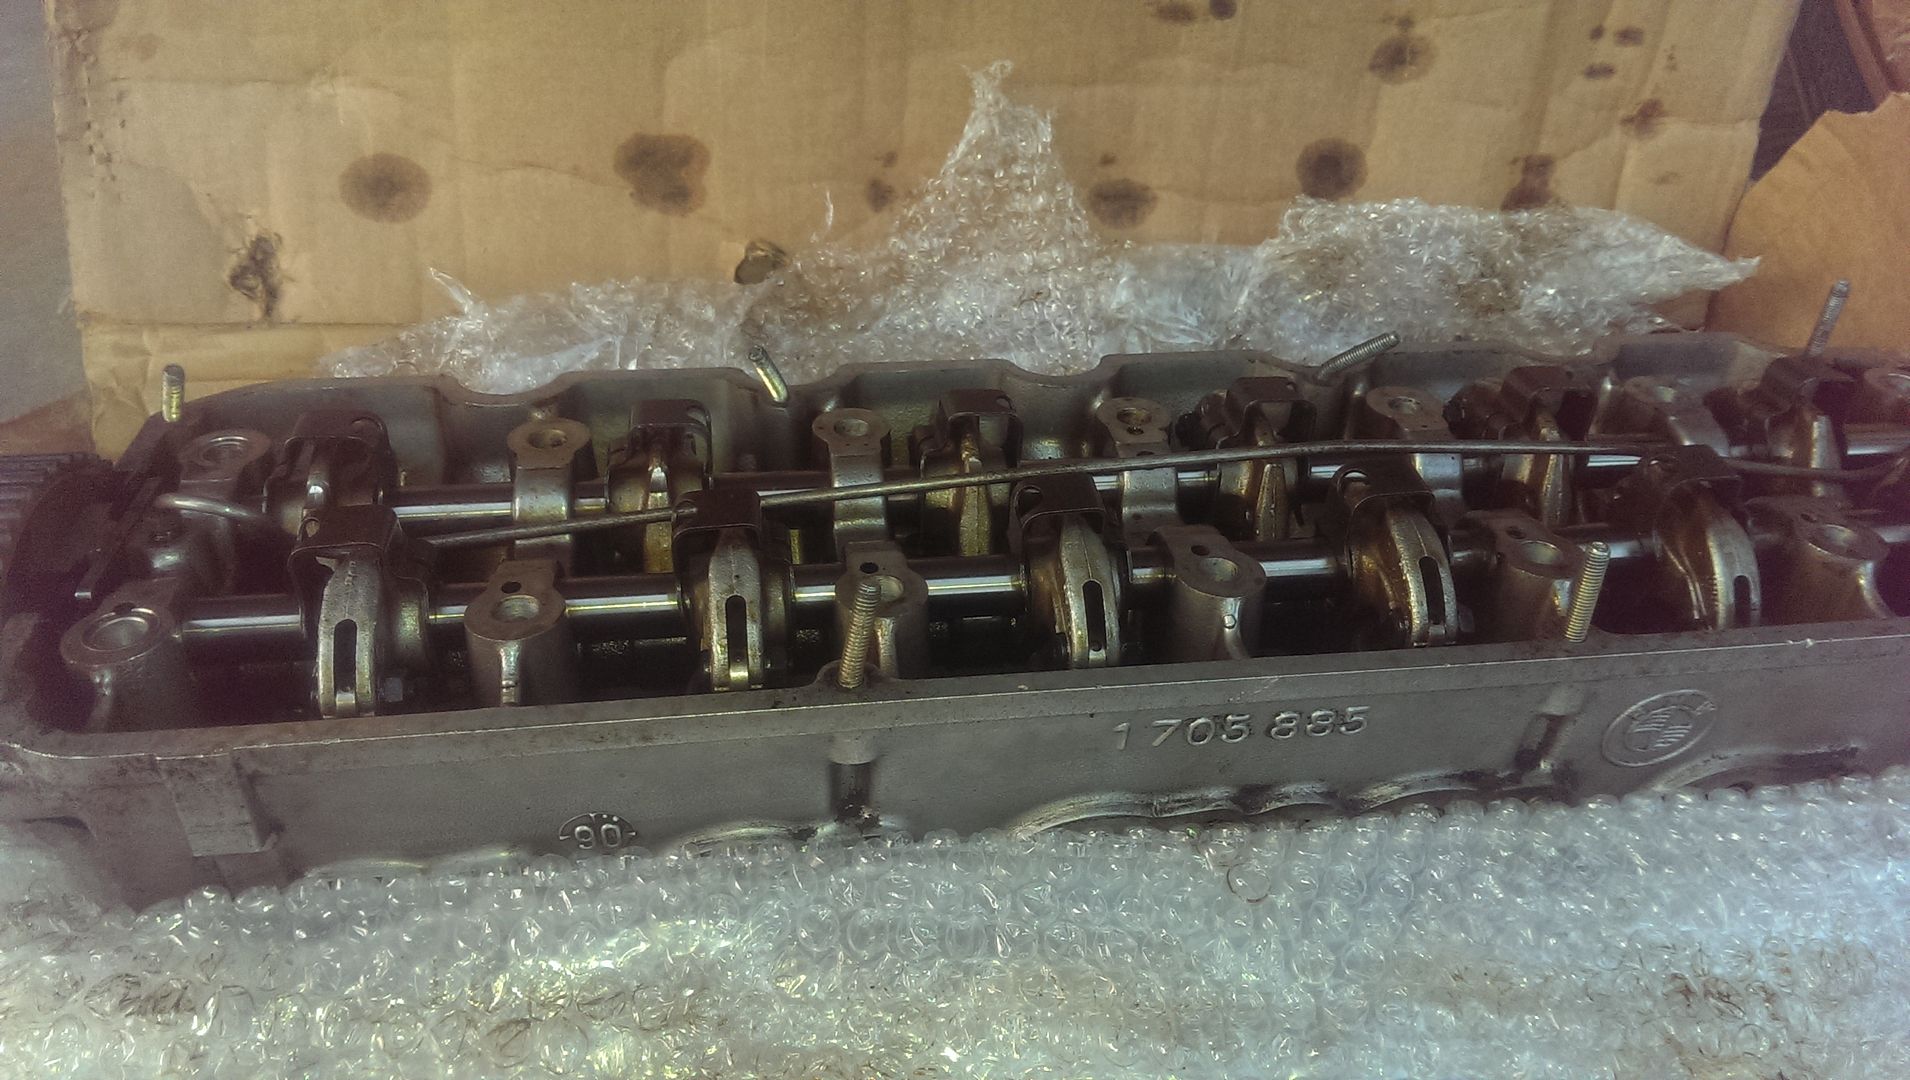
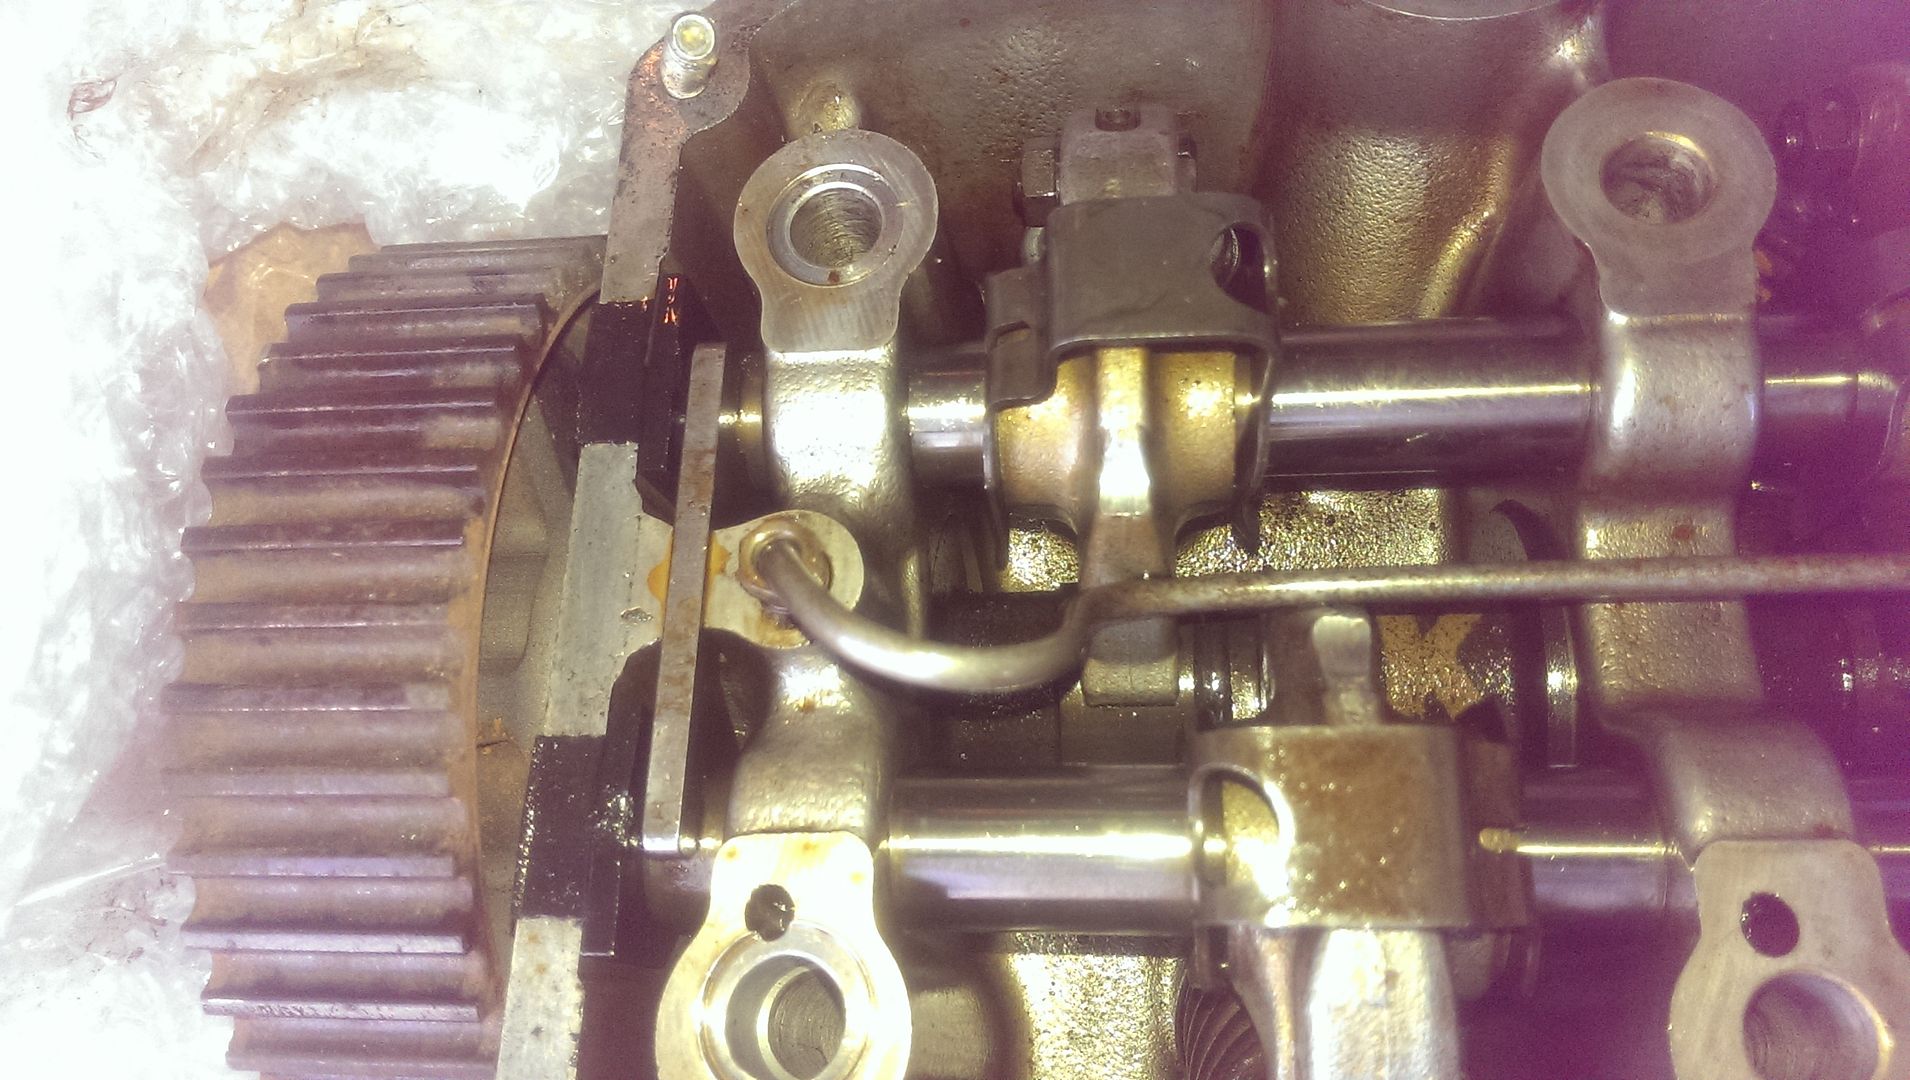
    Still undecided on what to do about the motor. Simce compression was good I am still considering building the current B25 bottom end, but havng the SuperETA B27 in the garage is tempting. In the meantime I picked up a NOS BNIB Schrick 272 cam from a local (dirty30). I had planned to get a regrind but it was local and the price was good, and in the process I met Ryan's brother Jeremy, who is a cool guy with his own shop and a very nice S-swapped e30 track car.

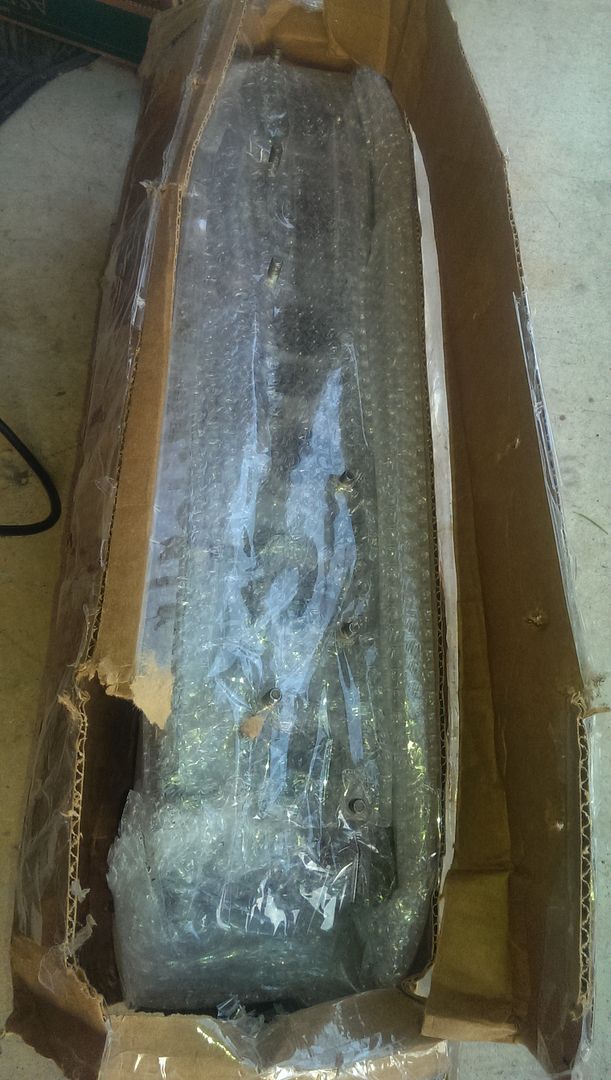
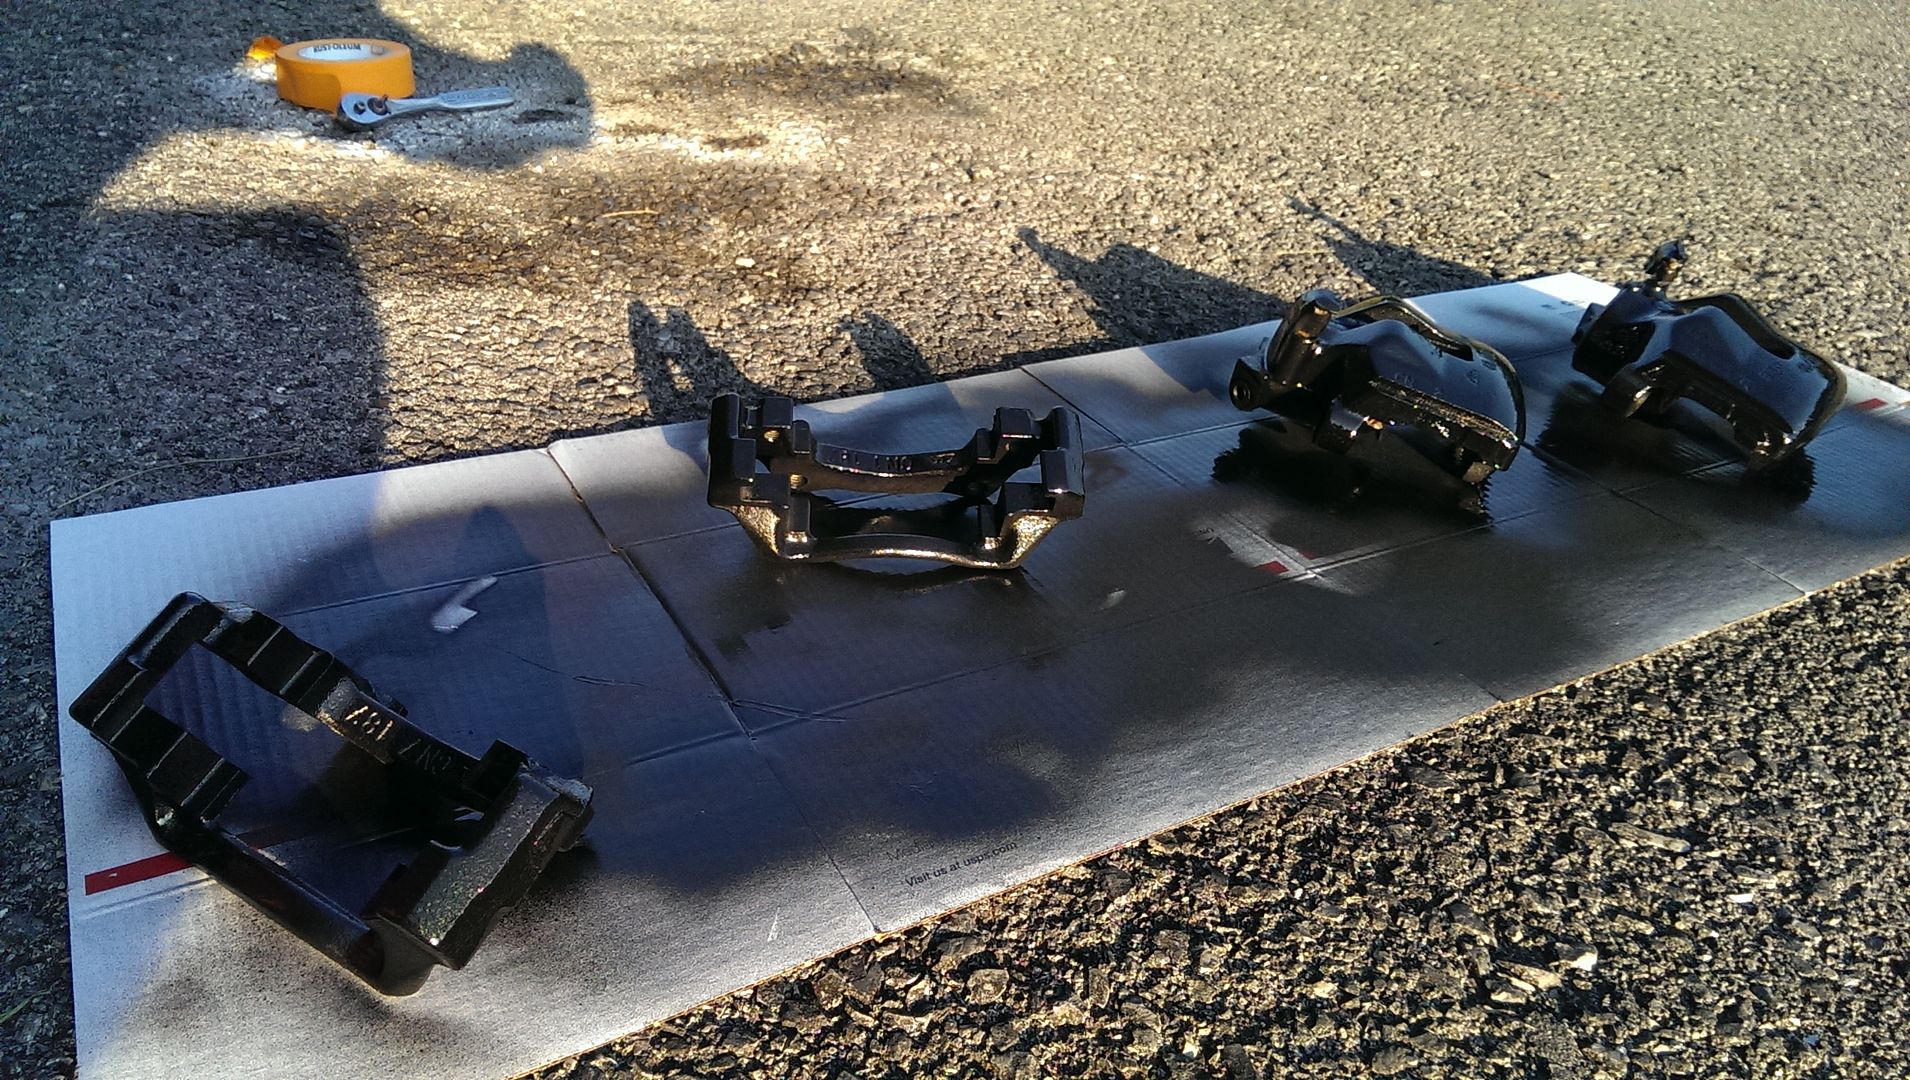
    I also picked up a set of powdercoated door handles and a powdercoated valve cover. Nothing that I NEEDED, but I snagged them anyway.


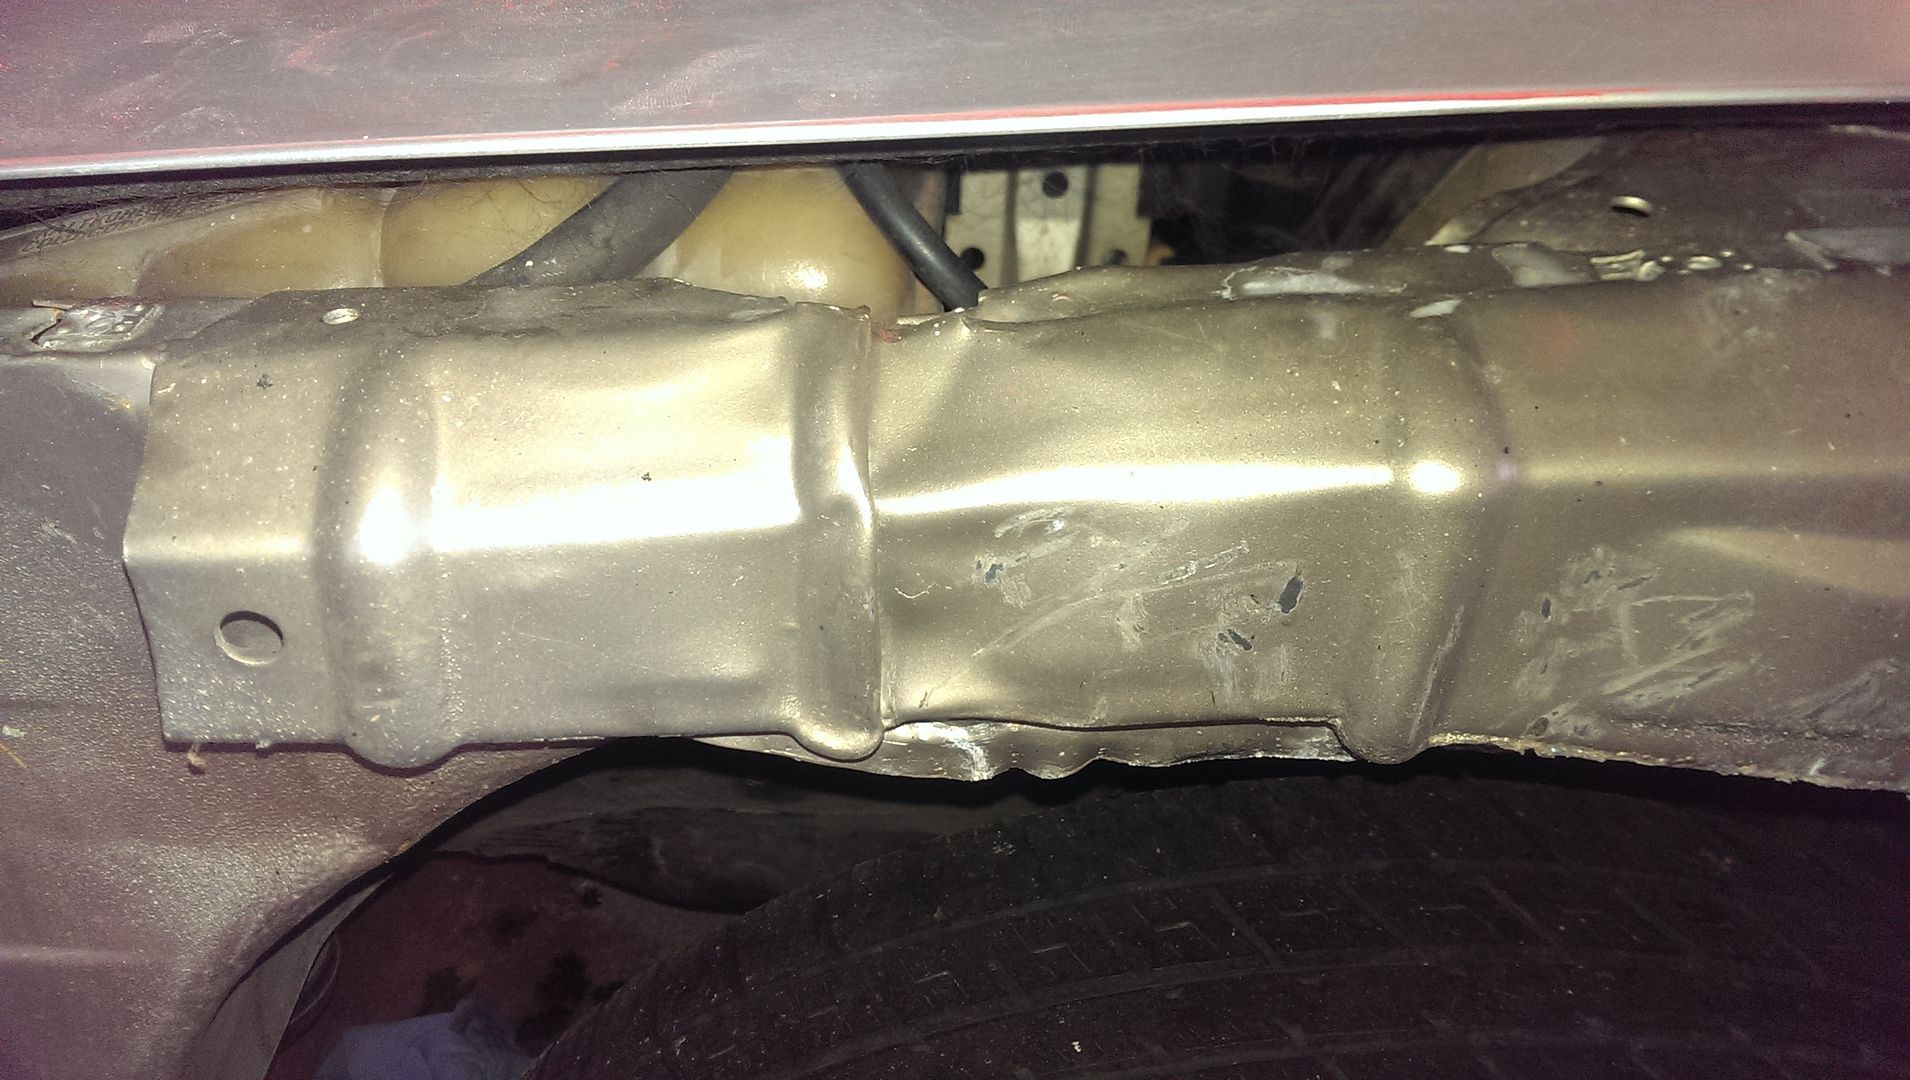
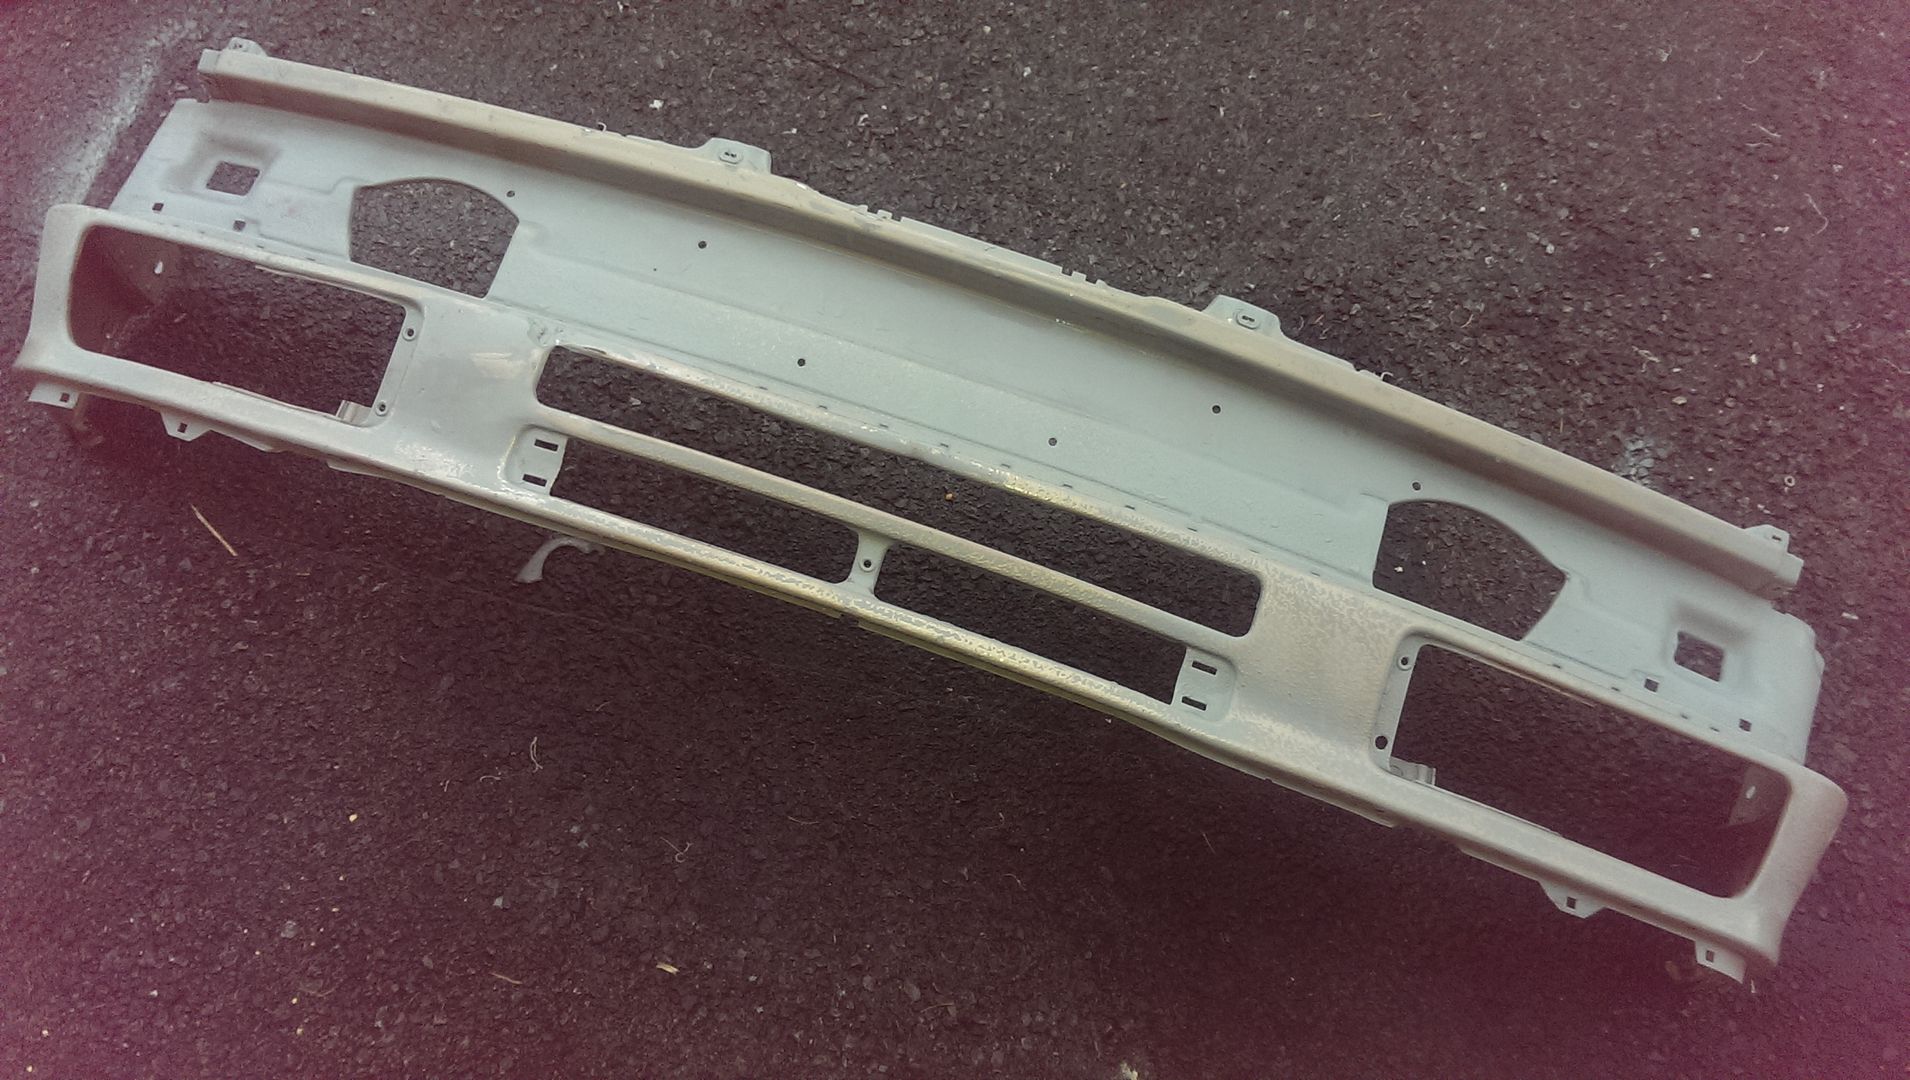
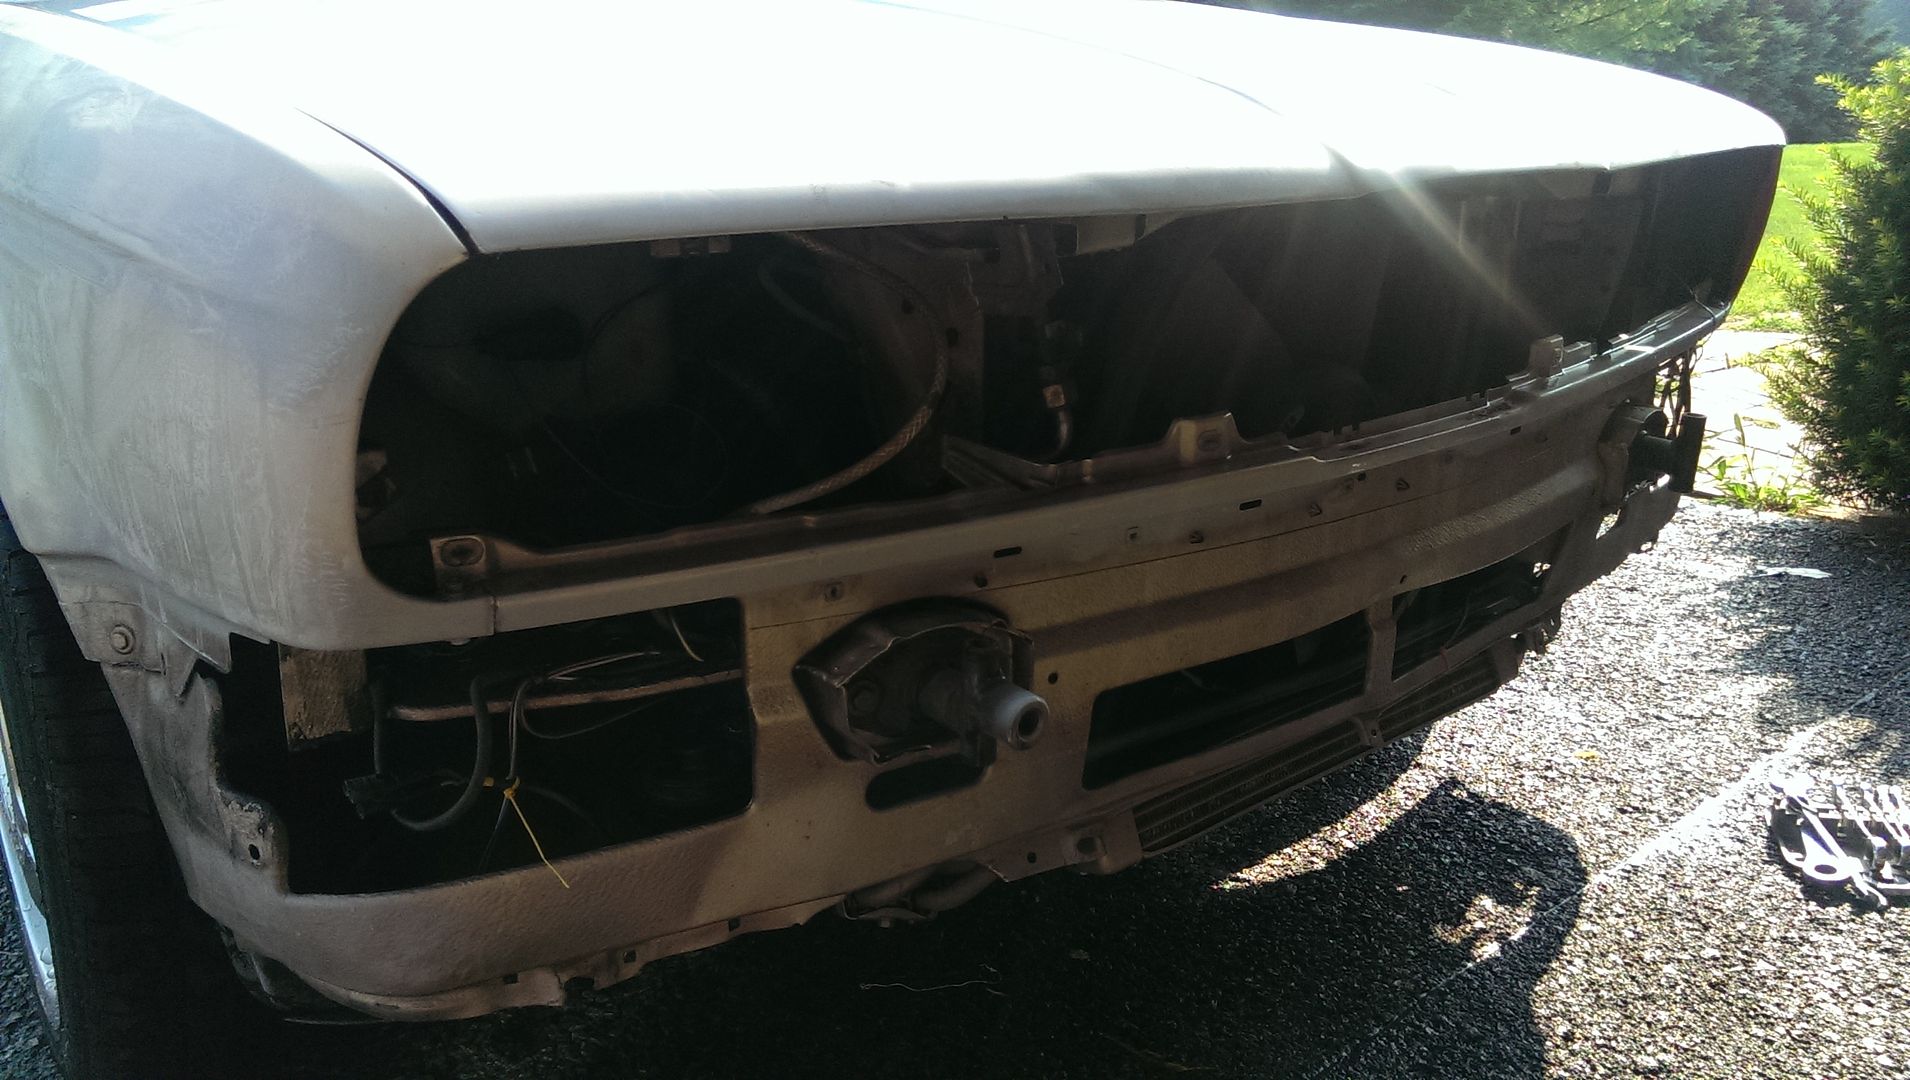
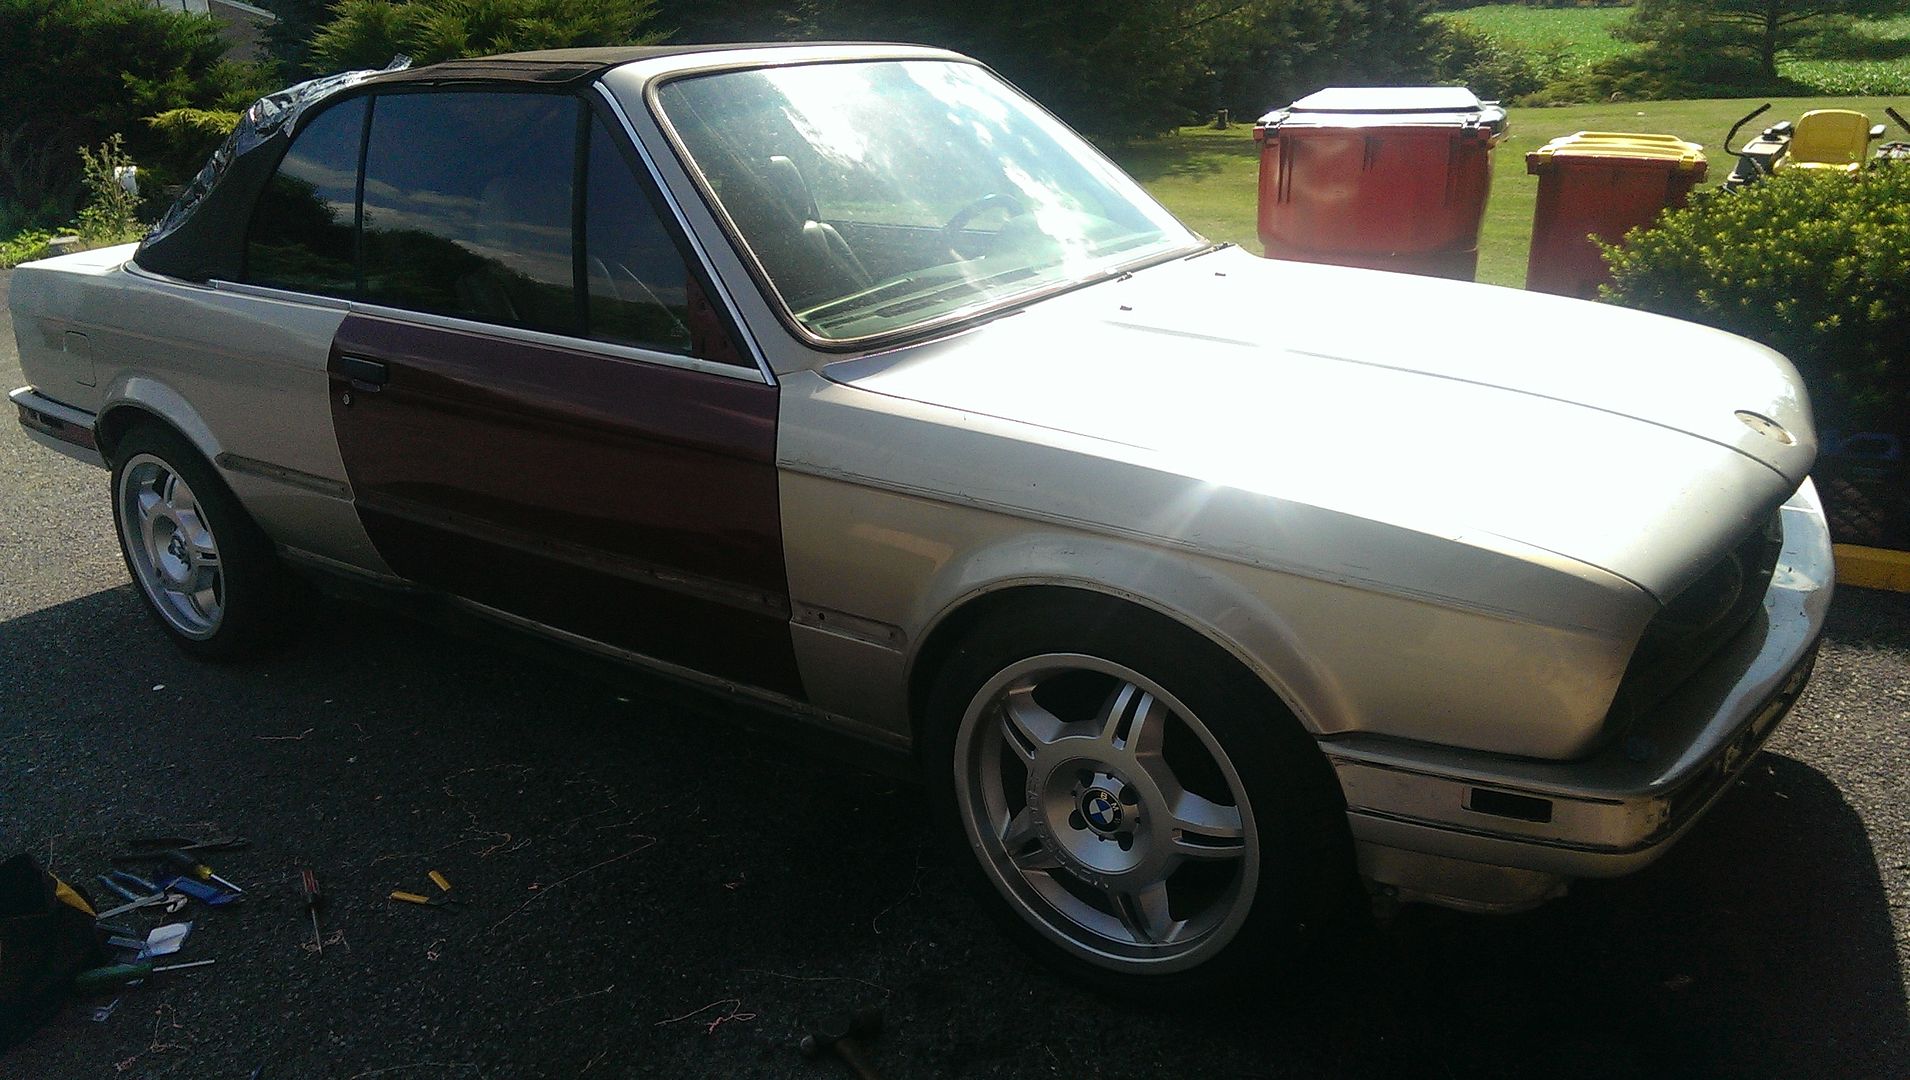
    I took some better pictures of the damage to the left front- the damage that was concealed by the replacement fender:


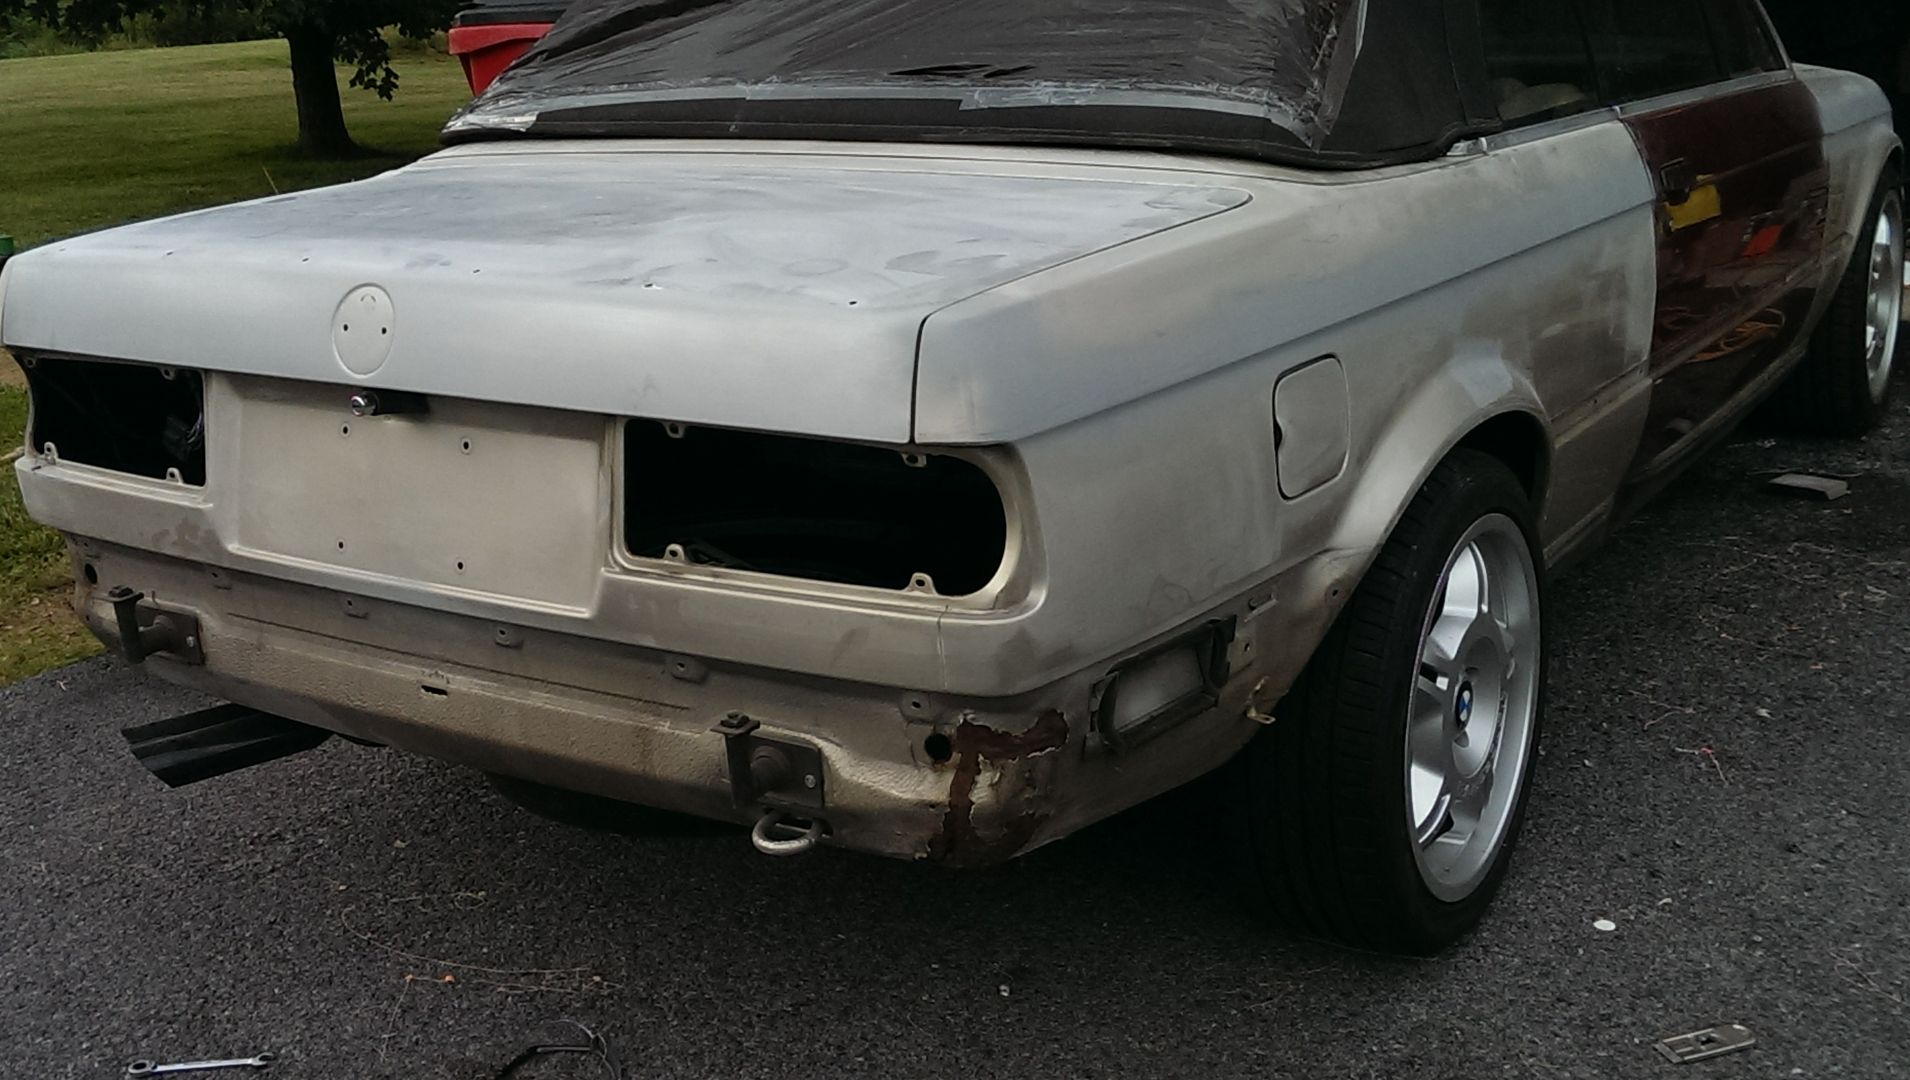
    I also started the rust remediation on the rear of the car using POR-15 and fiberglass mesh. I went to town with the grinder, wire wheel, and sandpaper, then started applying POR-15, using POR-15-impregnated fiberglass mesh to fill some holes. I let it cure for several days and will be starting the next few coats, then roughing them up and priming the area.


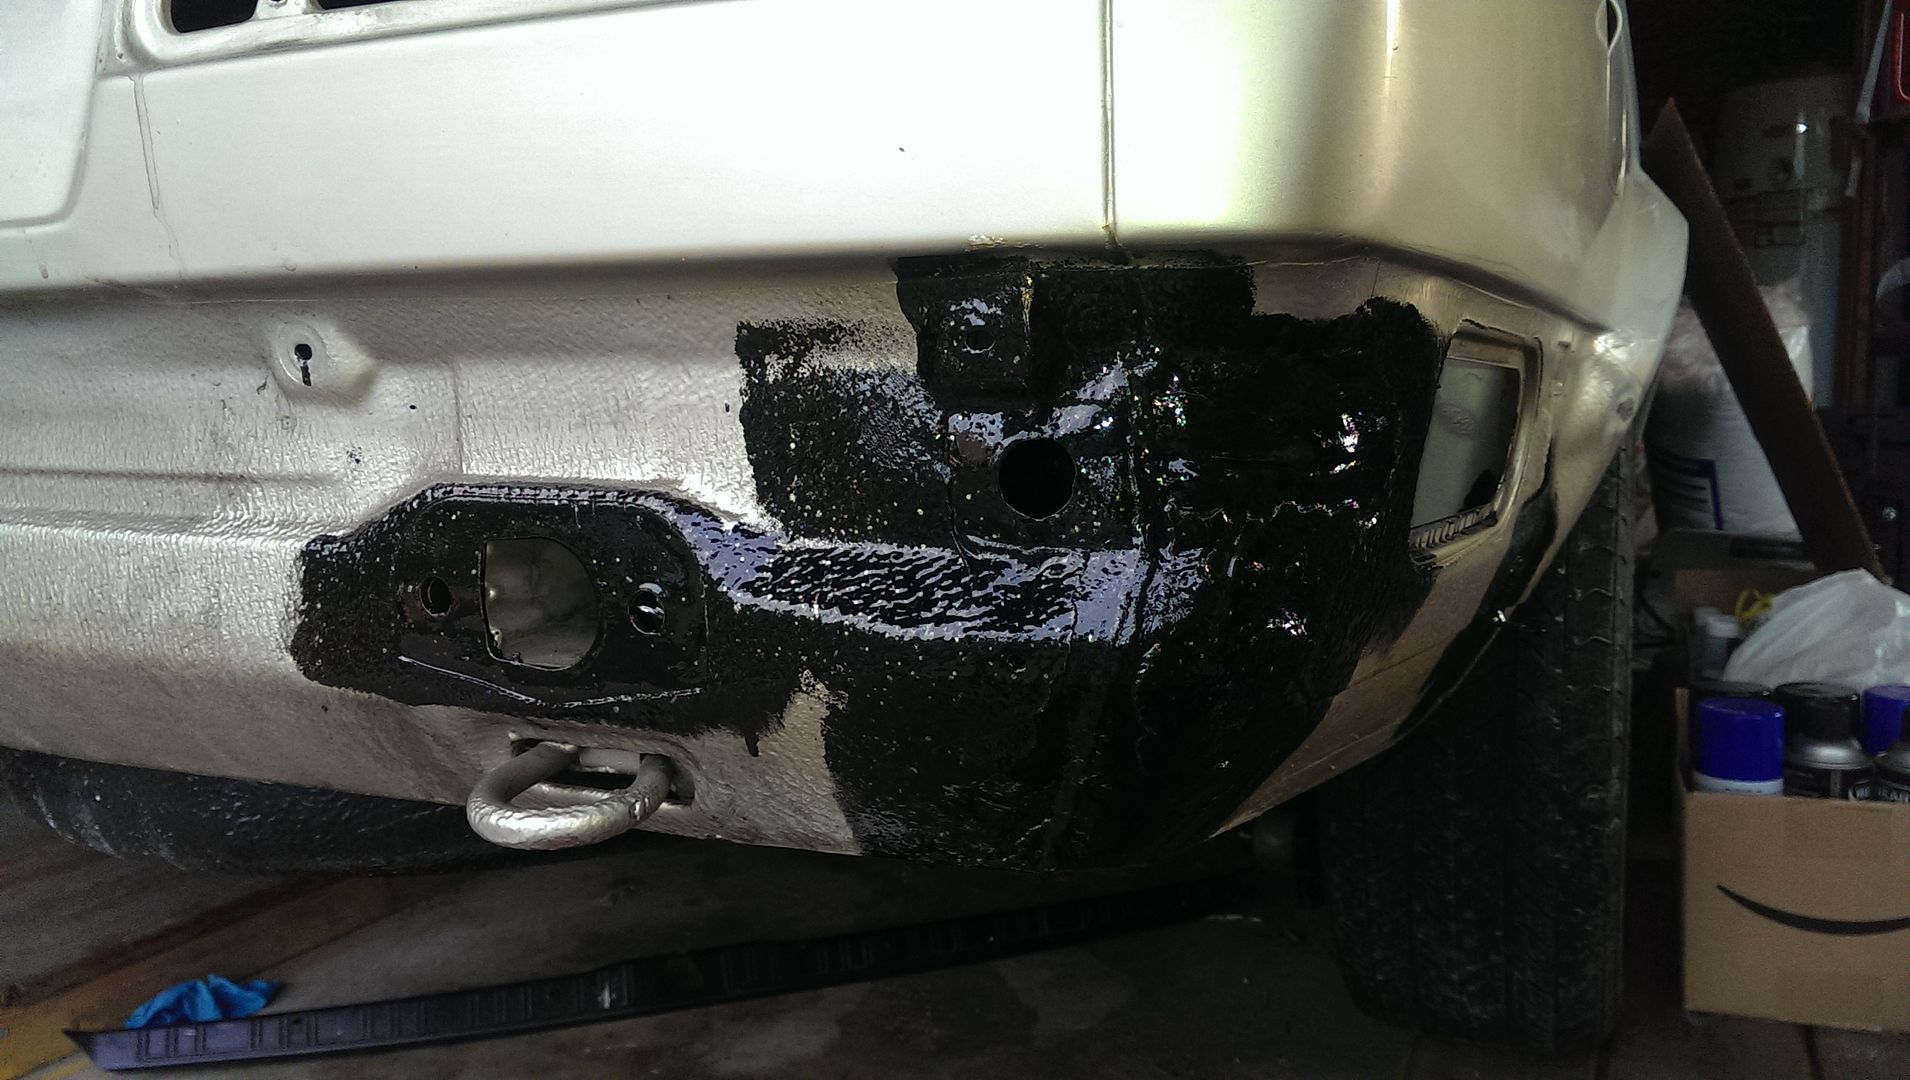
    Most of this will be covered by the rear apron and taillights anyway, but I still want it to be somewhat presentable. I did a ton of POR-15 application on the inside of the trunk, "battery" area (no battery there due to it being a convertible), and the corresponding area on the driver's side.

    Leave a comment:


  • phenryiv1
    replied
    Originally posted by 95maxrider View Post
    You should post up a pic of your low-ridin' friend chilin' in your driveway
    Friends don't let friends drive an e28 as a RallyX car...but then the friend does it anyway and busts shit up, the first guy lets the unwise friend have the e28 towed by AAA to his driveway where it sits and pisses off the homeowner's association until it gets fixed.


    Some better pictures of the damage to the front area behind the fender:


    And the fender, after sanding:


    Late valance being cleaned up:


    Also, saw this (parking lot):

    Leave a comment:


  • 95maxrider
    replied
    You should post up a pic of your low-ridin' friend chilin' in your driveway

    Leave a comment:


  • phenryiv1
    replied
    Originally posted by codyep3 View Post
    give us some feedback on these. I have been "eye-balling" them for my vert.
    Quality looks good. In reality, Condit mounts for the motor would probably have been fine butI thought that I'd switch things up on this build. If I dislike them, moving to the Fodor m20 mounts is a quick fix.

    I will report back when I have them in the car.

    Leave a comment:


  • Mr. Tasty
    replied
    Originally posted by phenryiv1 View Post


    give us some feedback on these. I have been "eye-balling" them for my vert.

    Leave a comment:


  • phenryiv1
    replied
    Not much new...

    Pulled apart the SETA B27 to see that the TB had broken at some point in the past. Not too bad:


    Also picked up some G-Man motor mounts. I loved the solid Condor mounts for my racecar but I wanted something softer for the street. These looked promising so I snagged a pair.

    Leave a comment:


  • phenryiv1
    replied
    More sanding:


    Early valance removed:


    Cold compression numbers:

    Leave a comment:


  • phenryiv1
    replied
    Parking this...

    Leave a comment:


  • phenryiv1
    replied
    Originally posted by Bmwb View Post
    I like it- thank you!

    Leave a comment:


  • Bmwb
    replied
    here is a pic of my cabrio Le Mans Blue

    Leave a comment:


  • phenryiv1
    replied
    Short update:

    So the prep for paint continues, though slowly. I made some progress in terms of cleaning up the body work but I am not very good at it. The last time (when I prepped my truck) it took several weekends and I had few interruptions. This time around I am in the middle of a full kitchen remodel, plus it is summer so I have normal household things going on- mowing, trimming, etc. I did get some work done this weekend, so at this rate the car SHOULD go to paint in November 2015.

    I got the rest of the body trim removed and pulled the door panels to make it easier to properly paint the jambs. I also finally re-connected the passenger door wiring. It had all been cut by the previous owner when they installed the red door and I had been putting off the repair for as long as possible. Given that the windows may need to work for the painting and/or top replacement, I bit the bullet and wired up the door.

    Unfortunately, I was too pressed for time to do the job RIGHT, since every wire needed to be extended for a proper solder job so I made due with barrel connectors for the time being. When I do re-assembly after paint I will probably do the proper wiring.

    So I also got on the block sanding, more pin stripe removal, use of filler primer, and the initial rust repair of the lower body. Right now I am still in the removal of the large chunks and getting to clean metal for the use of POR15 but I am making progress. Removing the rubbery undercoating is proving to be the biggest headache in that process.

    So all that said, a few pictures:


    Leave a comment:


  • 95maxrider
    replied
    That's a big ol' box of fail on the shipping....for shame.

    Leave a comment:


  • phenryiv1
    replied
    So a few updates...

    Rather than deal with a machine shop to rebuild one of the 885 heads that I have around, I opted to buy a recently-rebuilt one form her eon R3V. The head looked good in pictures and the price seemed fair, so I bought it. I emailed a pre-paid shipping label to the seller and awaited the arrival. 2 days later it arrived, but it looked like one of the old American Tourister ads come to life. The packing material was beat to hell and the intake/exhaust/VC studs had pierced the packaging. Who knows if the valves were bent (my guess would be "yes" but I have not yet checked). All of the VC studs were bent, the oiling rail was destroyed, and the head is now a great big "unknown" as far as usability. So basically, money completely wasted as I STILL have to have the head checked and potentially re-worked at a machine shop.


    While I have nothing better to do, I did decide to paint the remanufactured calipers that I found in my parts stash. I took them apart, cleaned and masked them, and hit them with some gloss black Caliper paint:


    I also scored a really nice e34 toolkit and a passenger side fog light. I had a good driver's side fog and a bad passenger one. This set was the opposite so I have a matching pair, plus a busted pair for spare parts.


    Still working on prepping the car for paint but time has been short lately so it may be another couple of weeks before it goes to the paint shop.

    Leave a comment:


  • phenryiv1
    replied
    Originally posted by dugly52 View Post
    Great build! You're trucking though everything.

    Also, great little tip on the trim pieces in the dishwasher. Definitely will be using that :)
    The dishwasher does a good job of de-greasing everything for paint. Much easier than hand-washing everything.

    Leave a comment:


  • dugly52
    replied
    Great build! You're trucking though everything.

    Also, great little tip on the trim pieces in the dishwasher. Definitely will be using that :)

    Leave a comment:

Working...
X