
Damn. Is there anything on this car that's not custom? Awesome build :)
Sent from my iPhone using Tapatalk
-
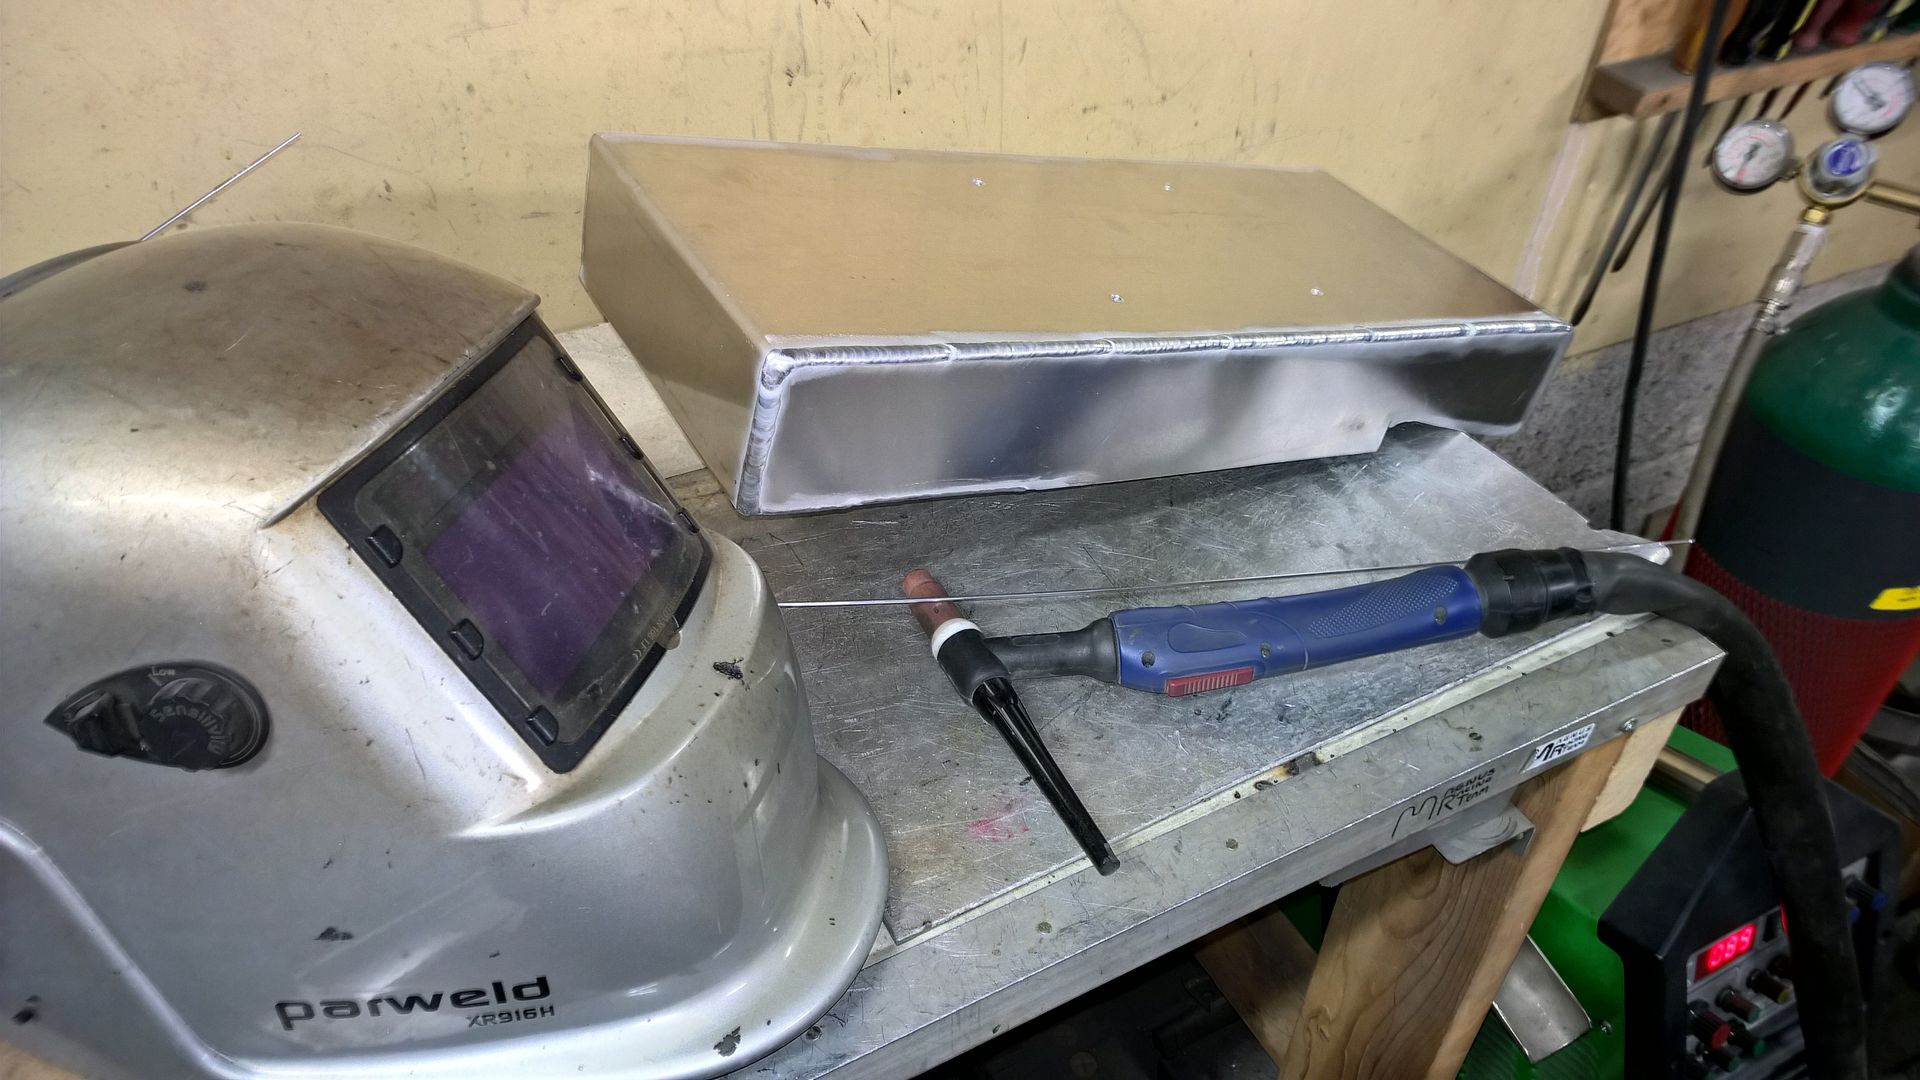
Stainless steel oil intake screen, not yet welded, custom made of course:

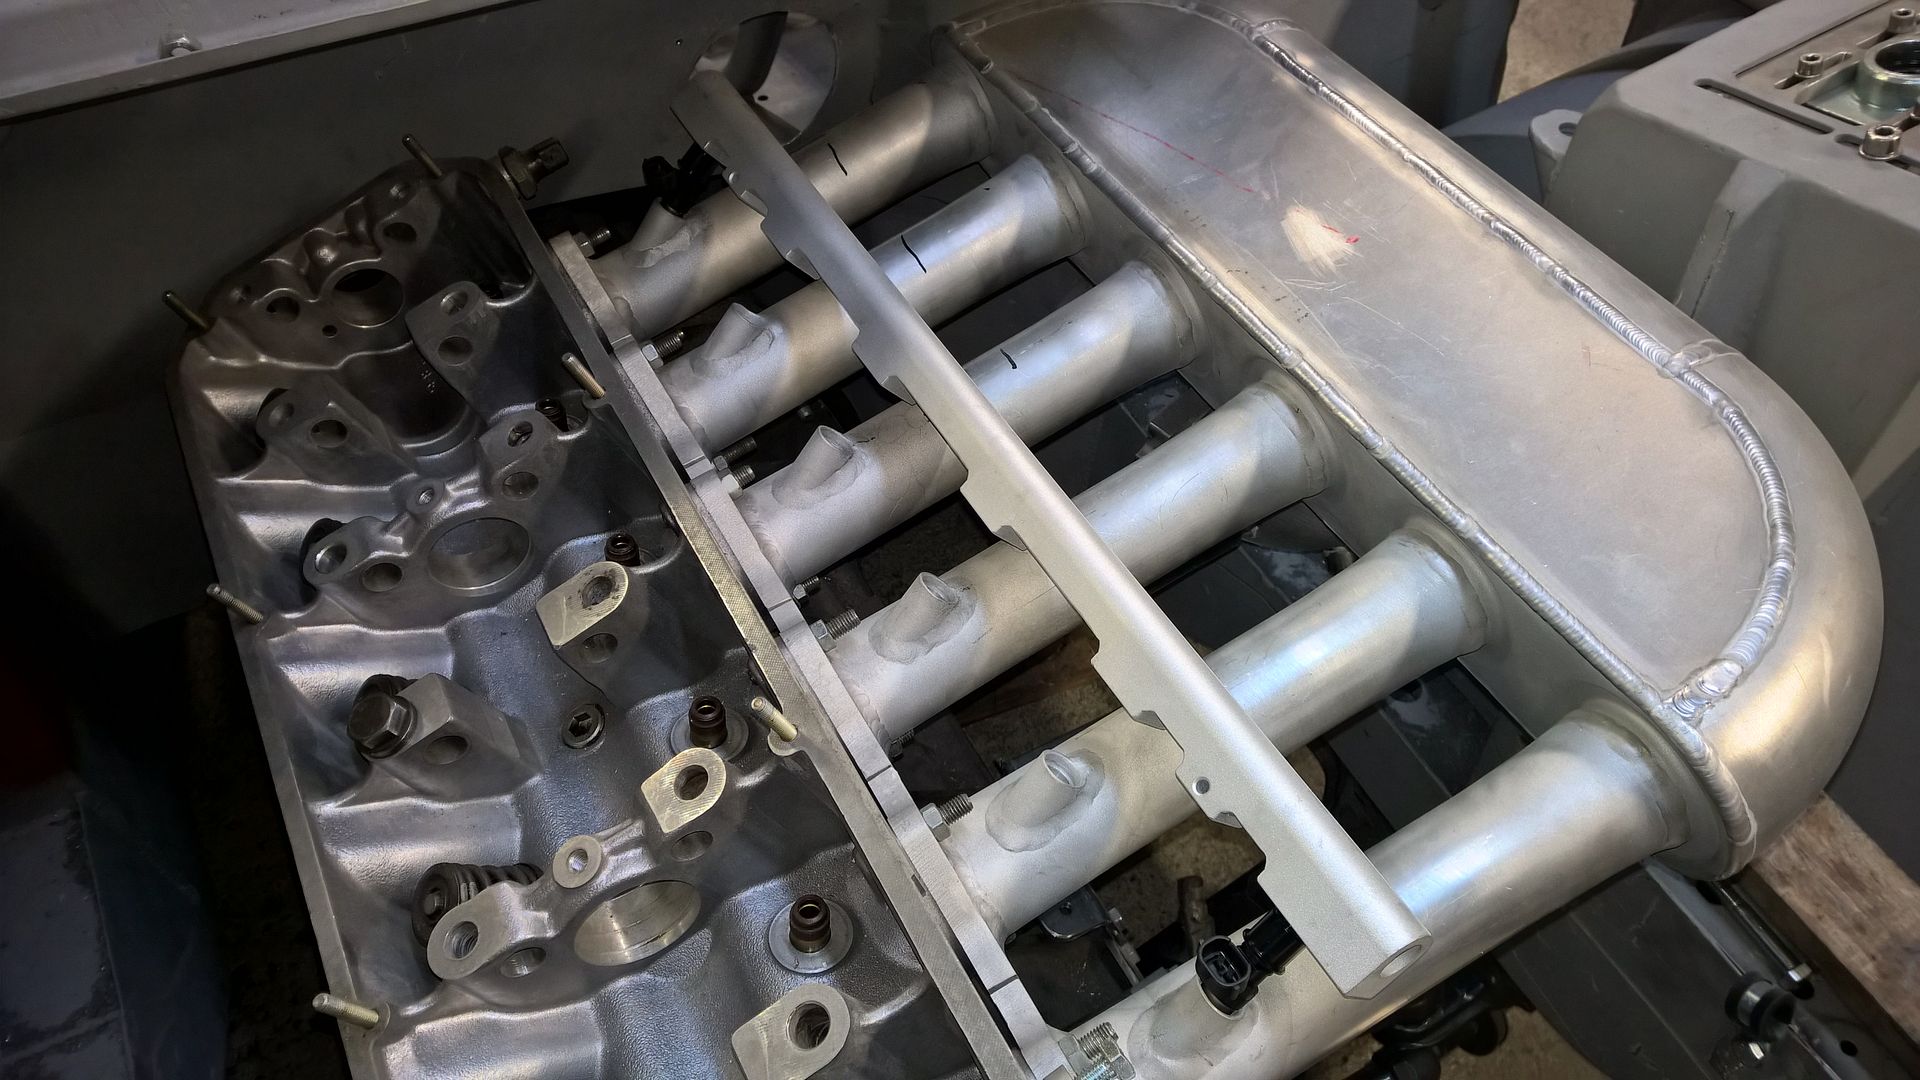
Aluminum fuel rail, not yet anodized, custom made of course:
Leave a comment:
-
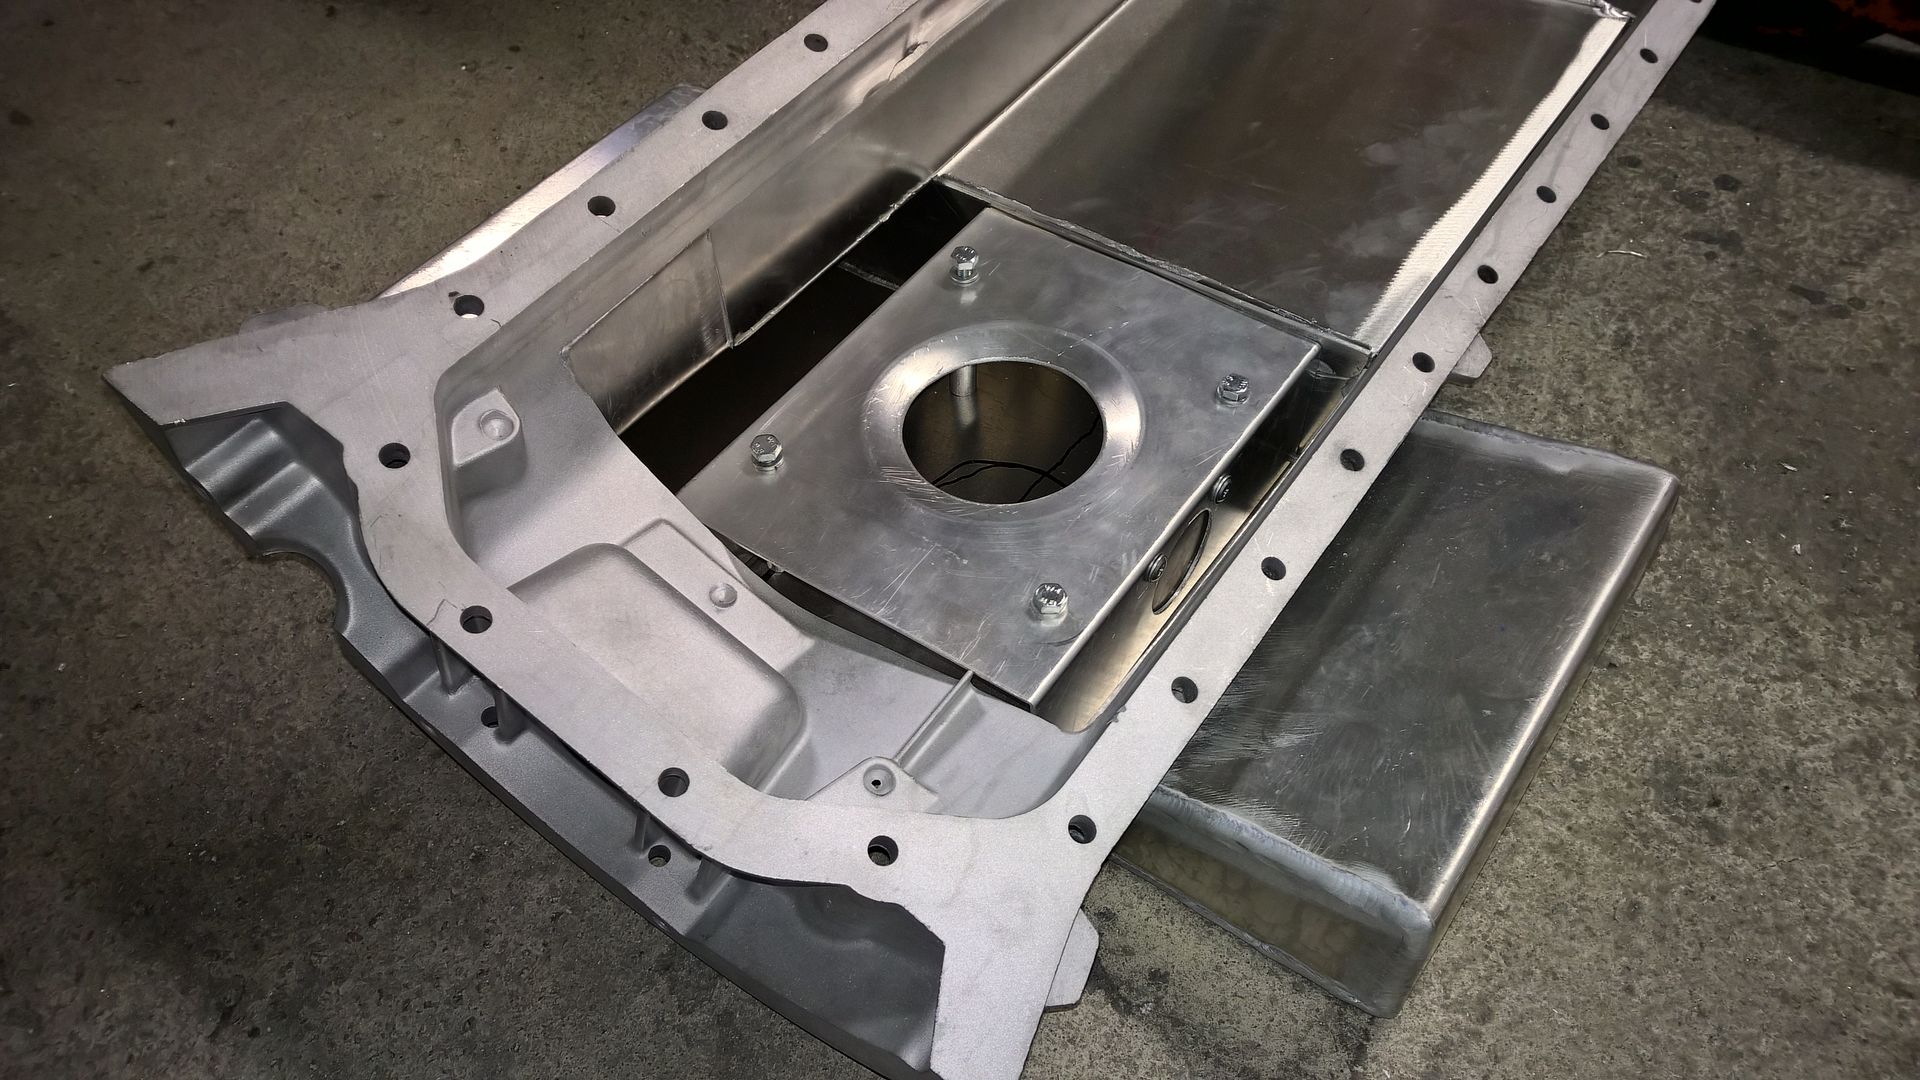
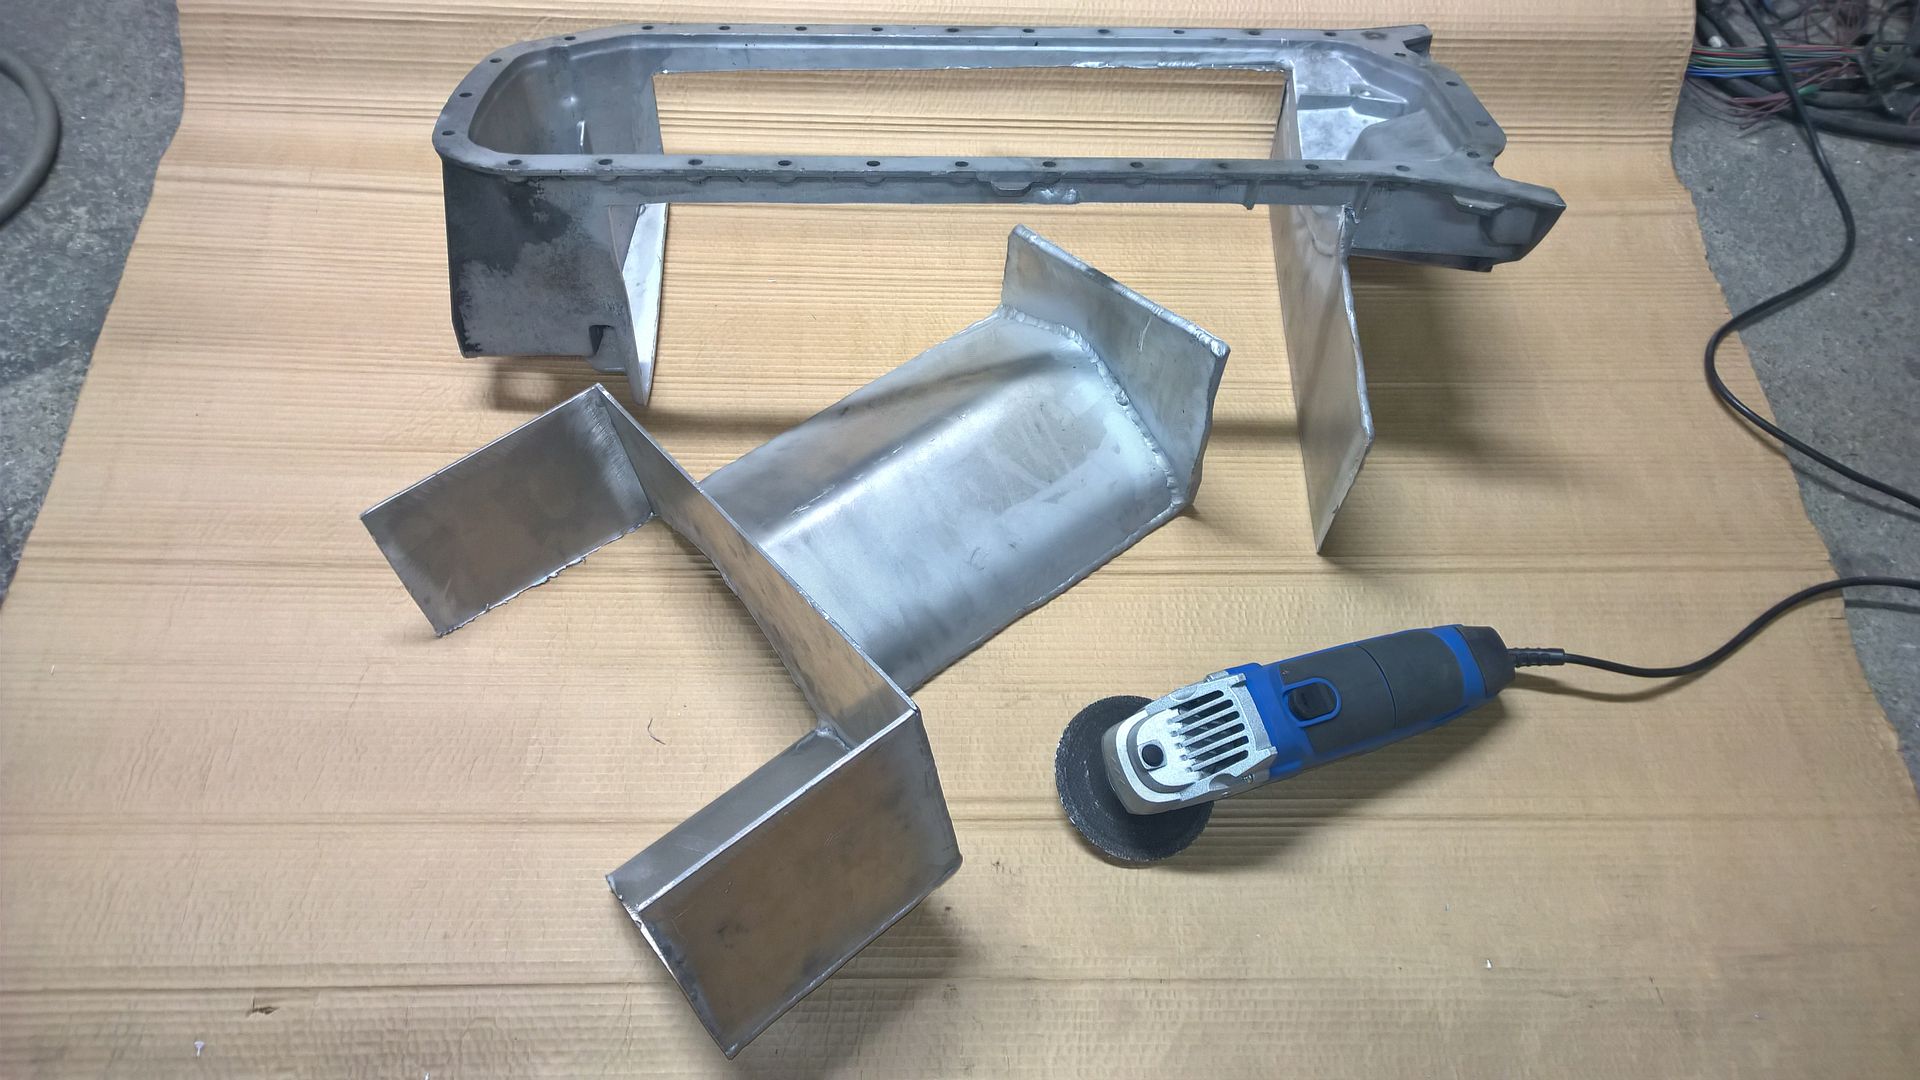
Oil pan project:
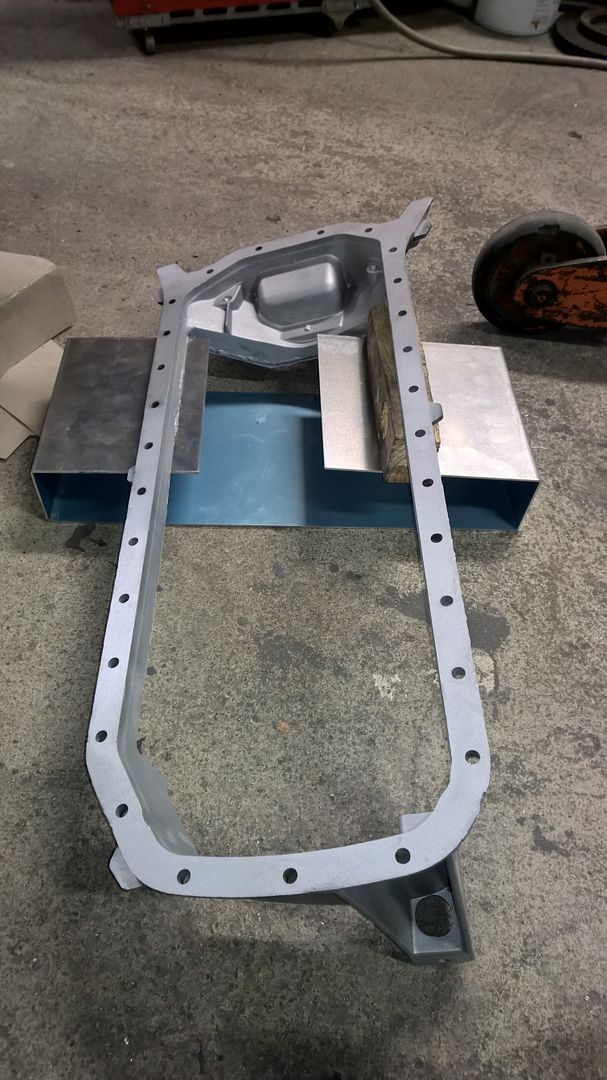
Front sump is only to clear oil pump:
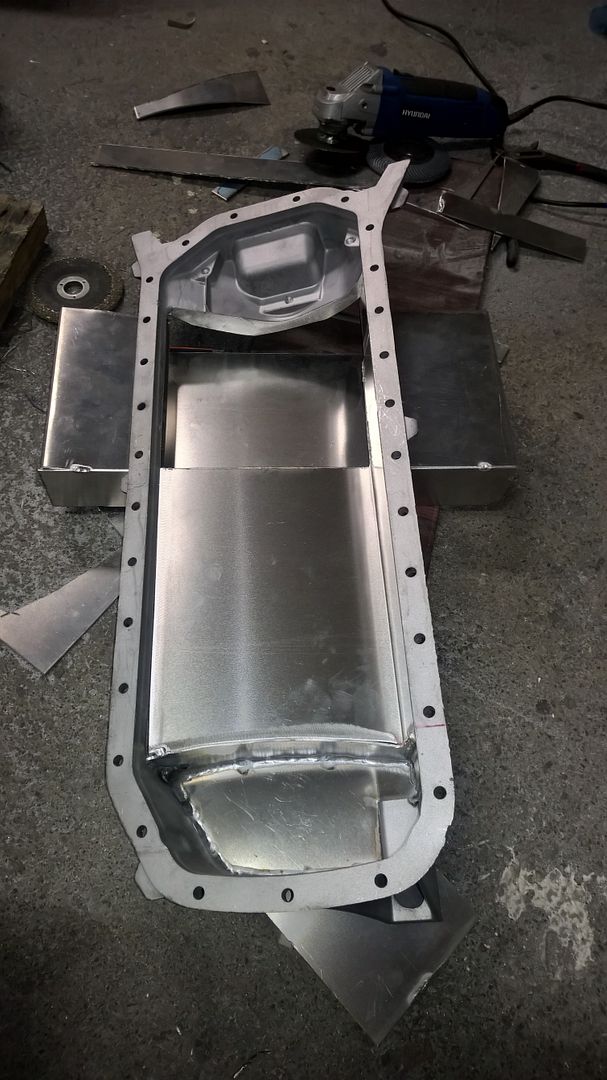
Long welds:
Oil pan baffle with trapdoors, screws are only temporary, those will be replaced with rivets:

Assembly taking shape:
Leave a comment:
-
-
...Not again
Reason? I managed to change the engine position after modifying steering rack mounts, so when I renewed engine mounts I positioned it as low as possible and even further back. Besides the welds looked terrible now that I've learned to TIG somehow Upcoming version will be looking quite different.
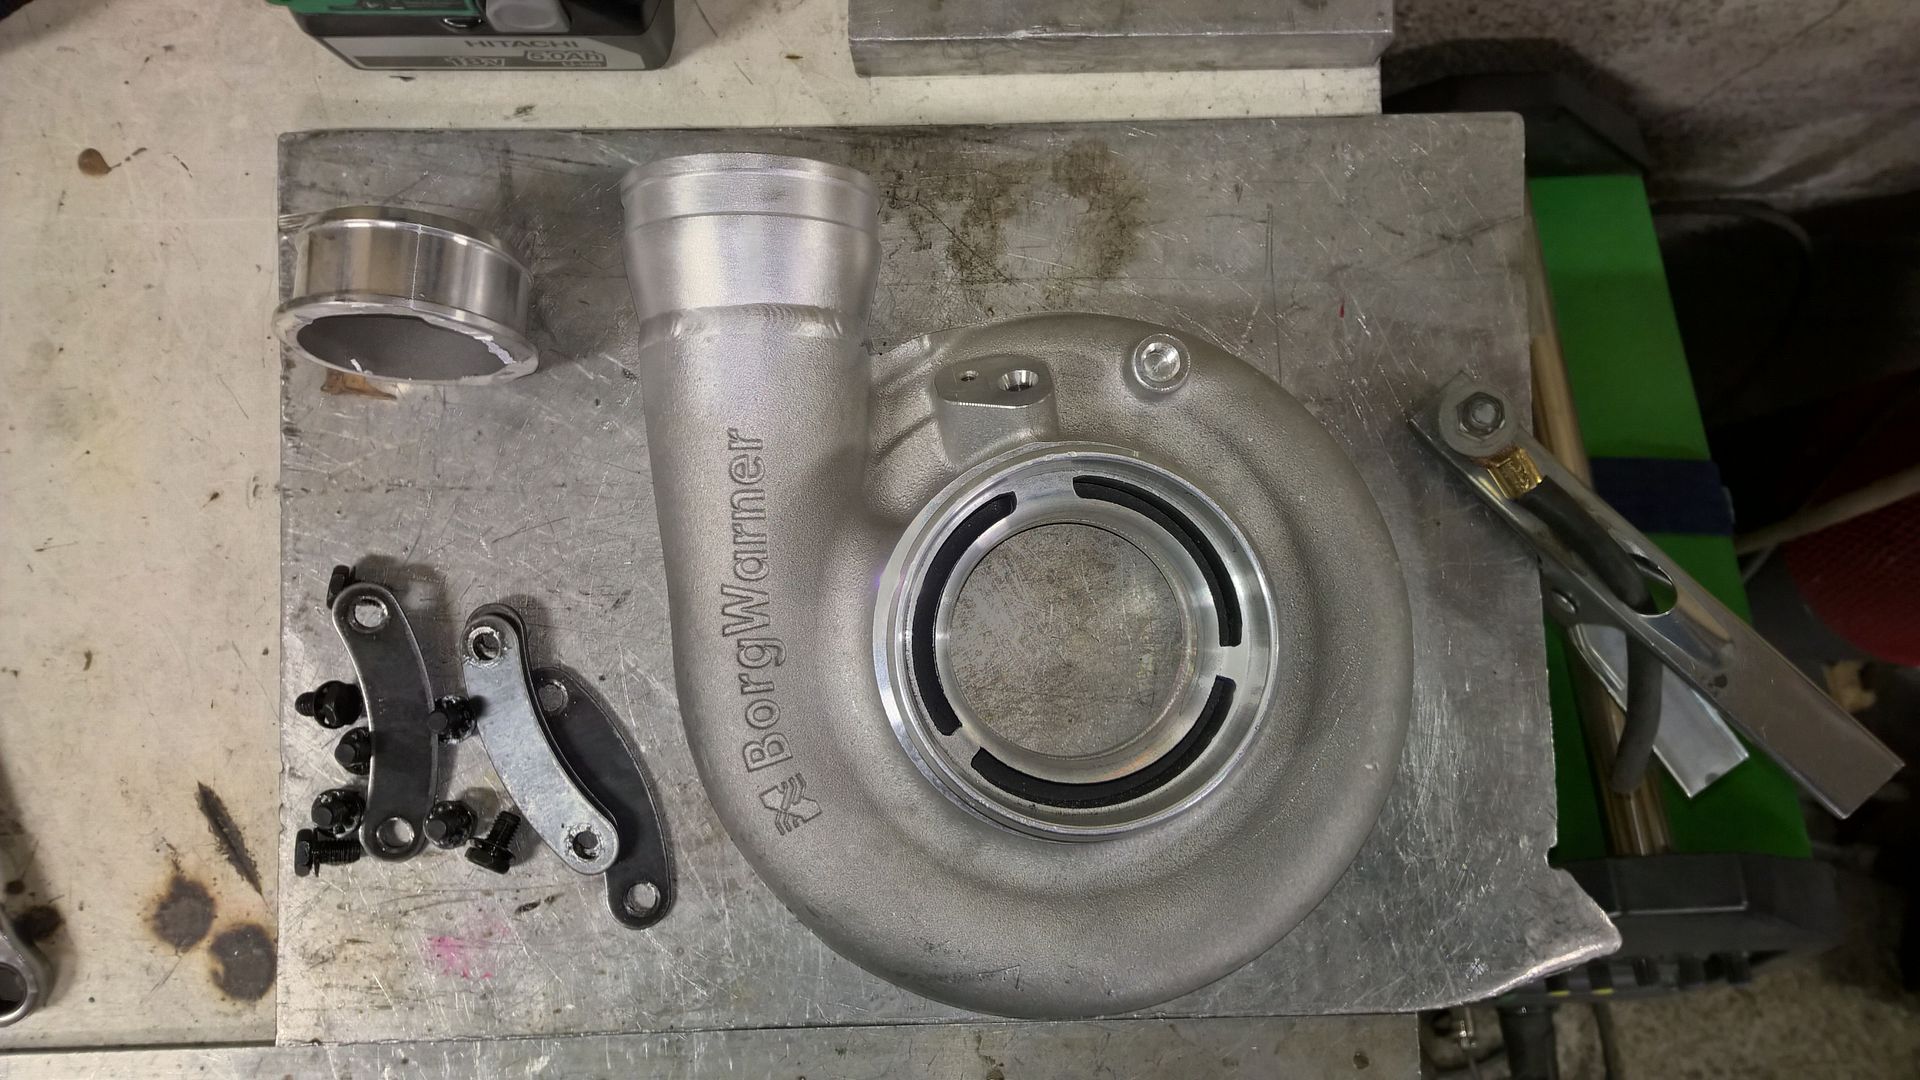
Now that I got the taste of cutting I cut the comp housing outlet too:
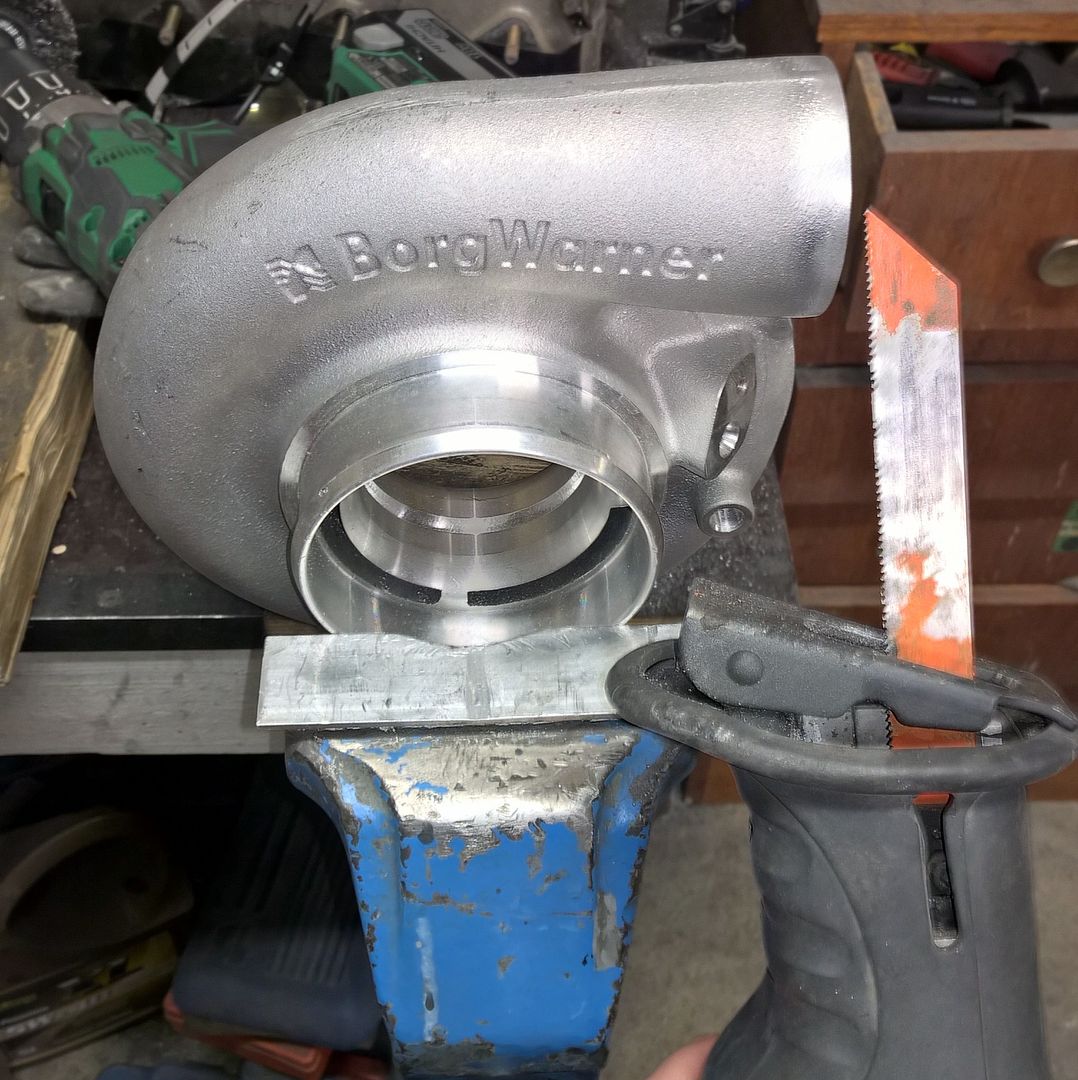
To change it to this:
Few Finnish fellows were inquiring M20/M30 cam sensor covers from us as we had made some 3D printed prototypes earlier (in co-operation with Juuso's Garage), these anodized aluminum versions are about to arrive soon:

Leave a comment:
-
-
-
I had some struggle machining the oil pump back plate manually, I did two versions which didn't turn out too good. I also tried a shortcut welding a sleeve into the orginal cast cover.. Because of the high Mg content welds won't hold even if they would look good, here's the result of light hammering, crispy:
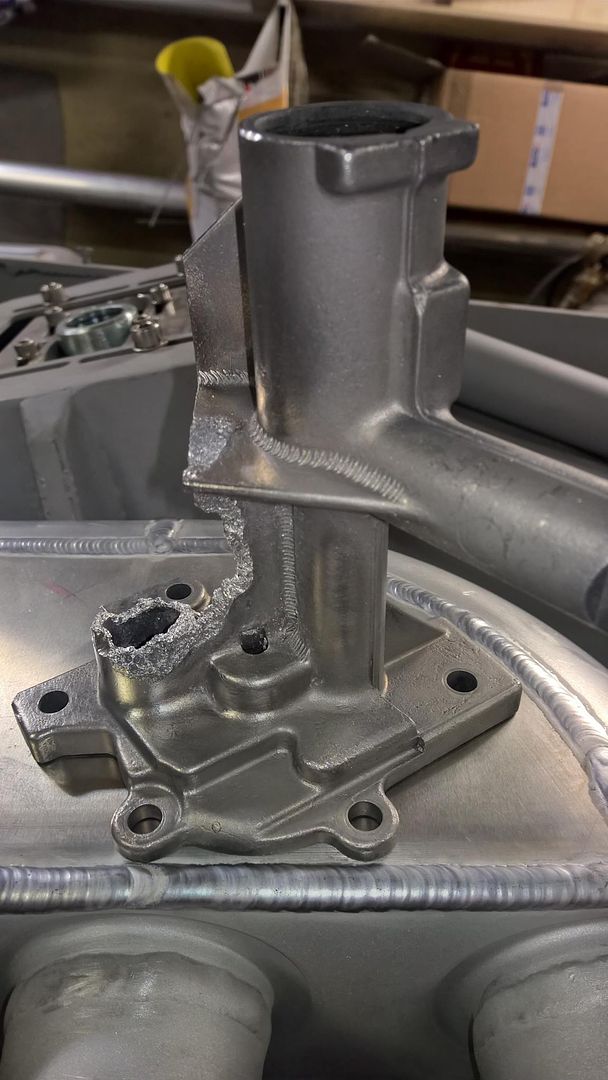
It was time to start over, I did some changes to model and discarded the idea of a water jet cut blank because of it's ridiculous price. I happened to find a company which would machine the part for me very cheap with their 5-axis machine. I just confirmed it fits by 3D printing a mockup:

The final part (made of AW-7075) should arrive in three weeks :)Leave a comment:
-
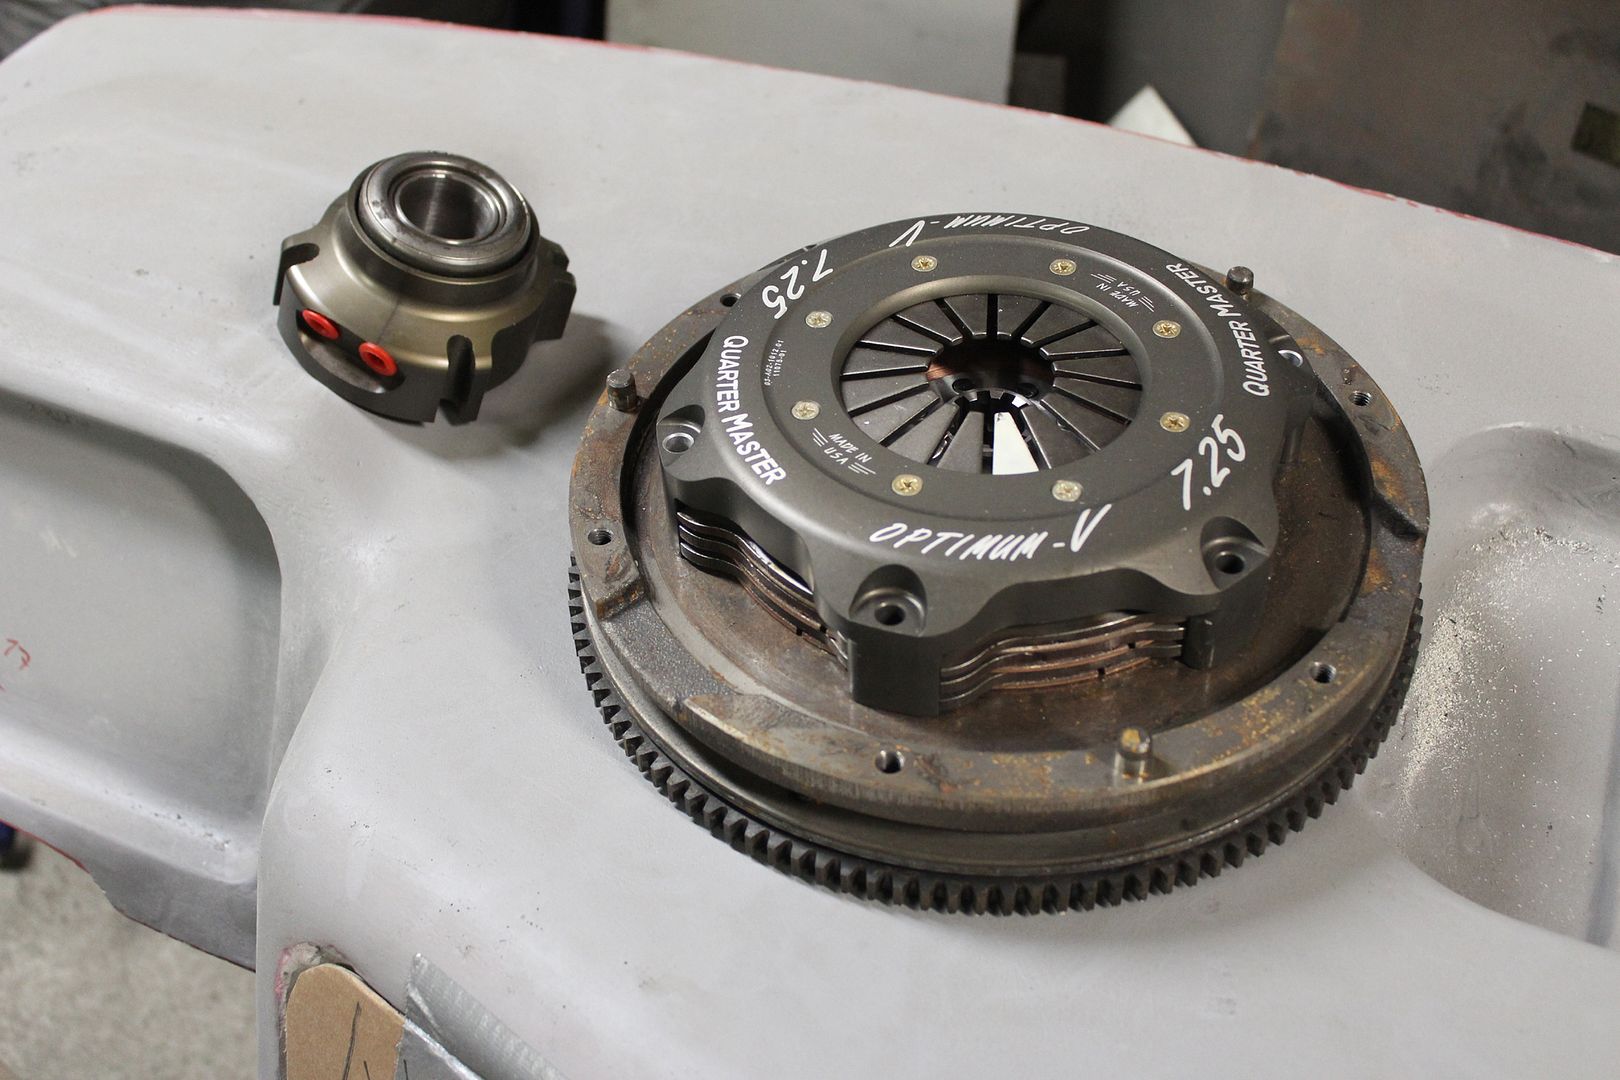
Clutch setup arrived, probably not going to use twin mass flywheel :o
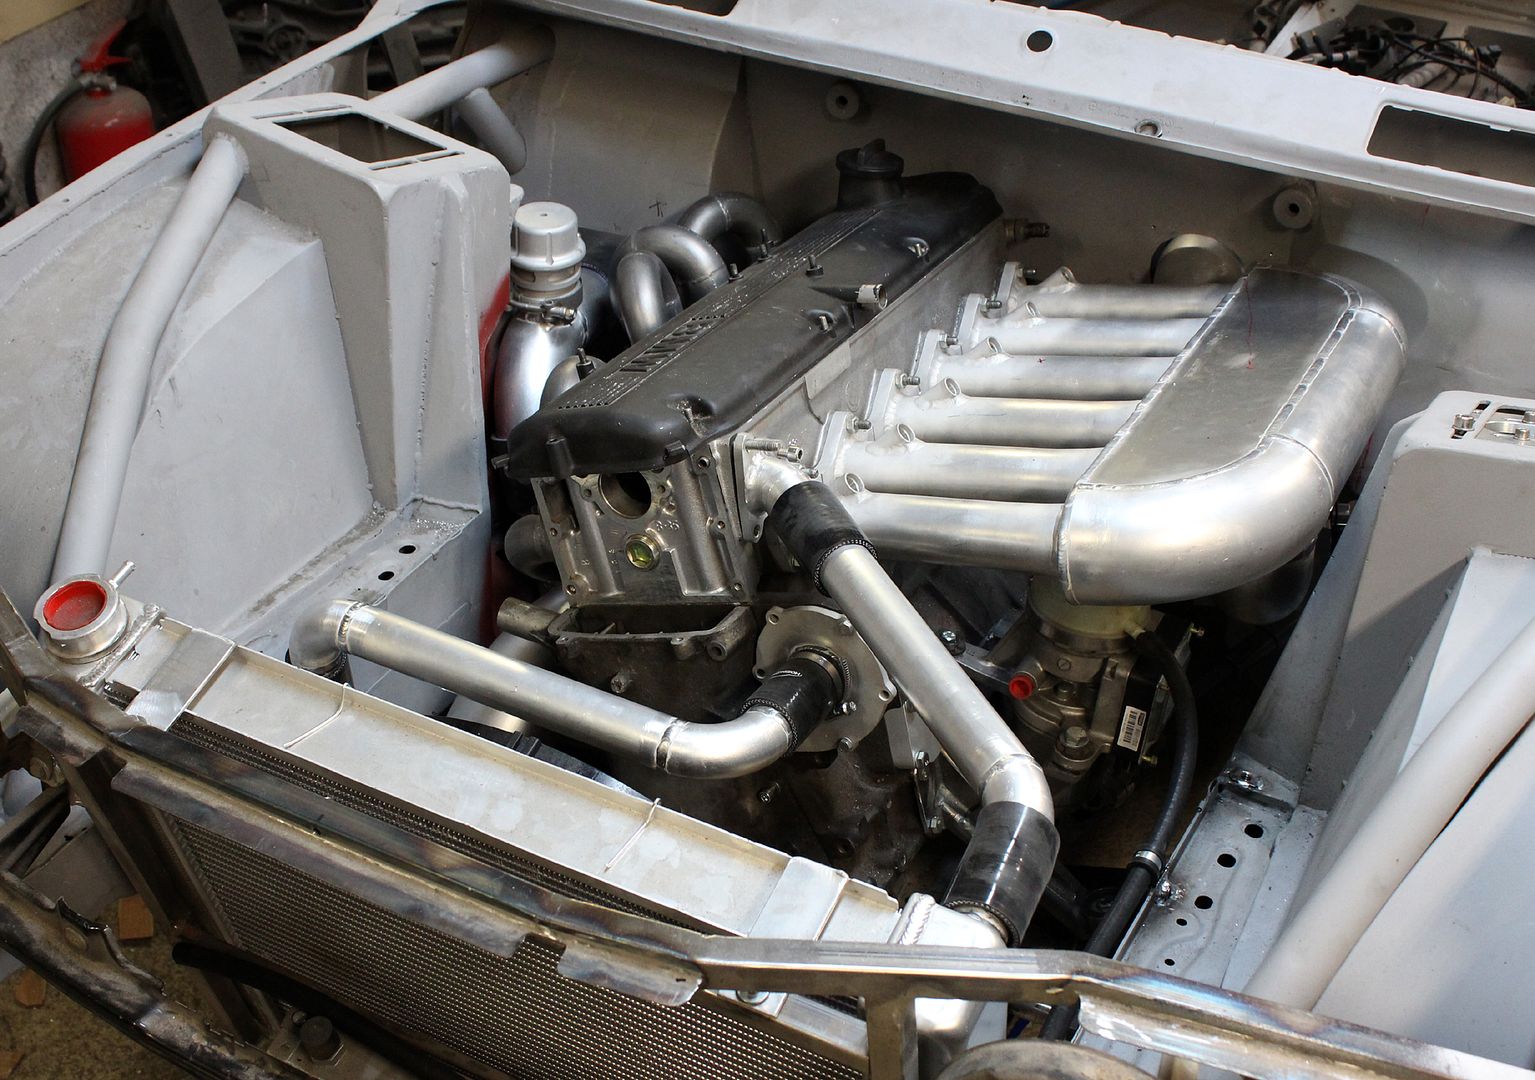
Now that I also got silicone hoses I continued welding, first mounted a throttle body:
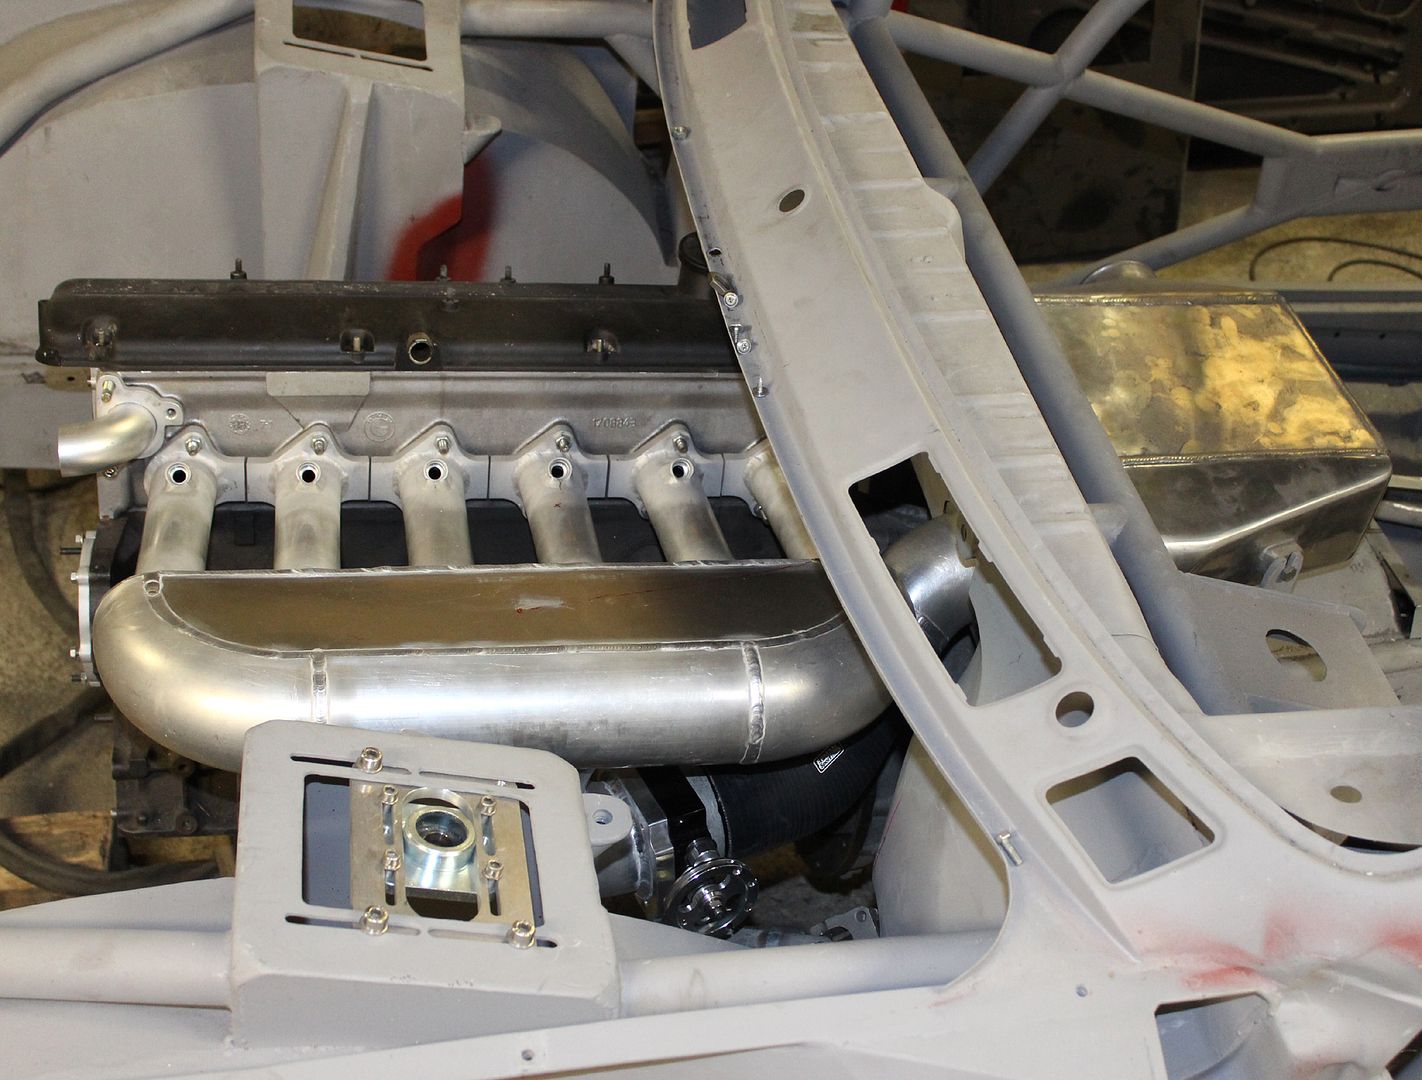
Then the other side, that's the only place where I was able to mount blow off valve:
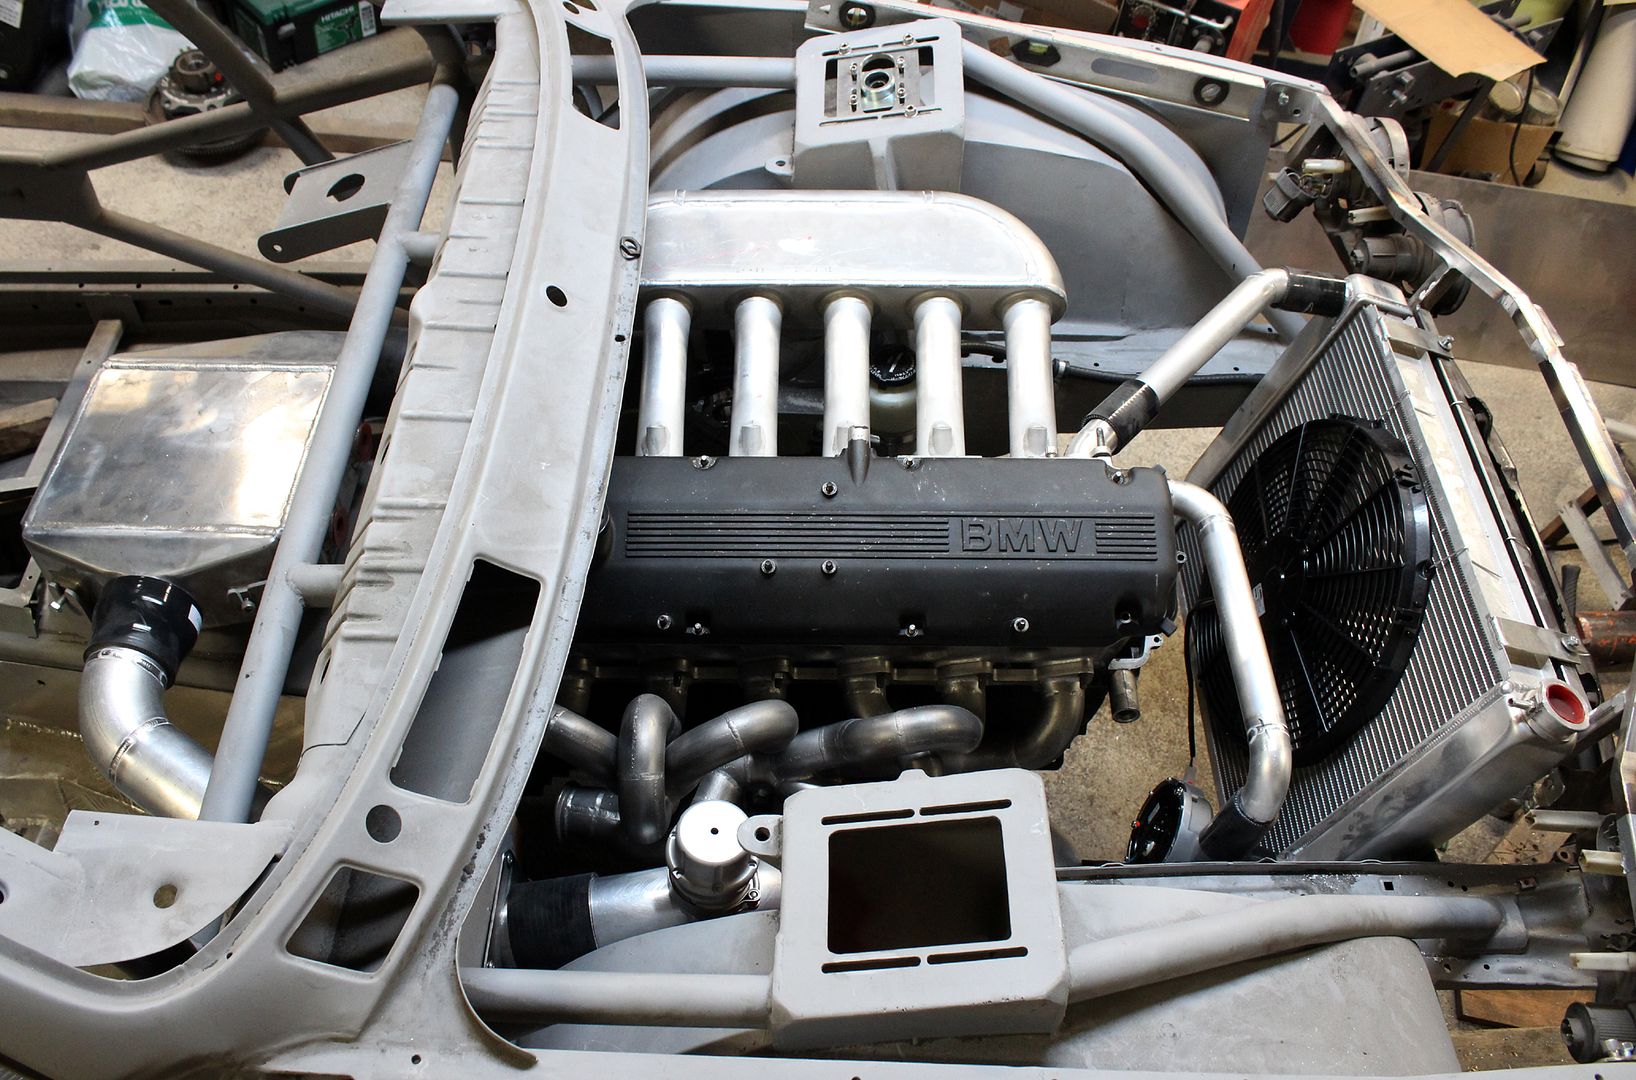
Some coolant pipes and new mounts for the power steering pump:
Leave a comment:
-
Radiator connects between the return line and pump, pump is on the cold side pushing coolant to the block. Thermostat and engine's internal circulation is replaced with variable pump rpm in ewp applications.Leave a comment:
-
-
It's remote Davies Craig EWP150, feed goes to that big flange where the orginal pump supposed to be and return is in cylinder head front corner + back of the head.Leave a comment:
-
Is your electric water pump remote? Where will you connect the feed and return on the engine?Leave a comment:


Leave a comment: