-
If you have changed the posts per page from the default yes that won't line up for you, sorry. -
very pretty.... lot's of eewws and aaaahhhhs. this one is gonna be so clean, feel like i'd be afraid to drive it.Leave a comment:
-
That blows. I just bought a new unit for a customer's car, and to my surprise, it came with the spacer. Couldn't find a part number for it anywhere, though.Leave a comment:
-
As far as I know the spacers, be it aluminum or steel, are long since ENDED. No longer available.Leave a comment:
-
You wouldn't happen to have a part number for the spacer for the iX booster? I've got a couple E34 V8 boosters with no spacer and I'd like to have it.Leave a comment:
-
-
Page 21 shows when the engine went in. I think that may be what you're looking for.Leave a comment:
-
Do you have a full shot of the engine bay with the M54 in place?
Not sure that we've seen this yet.Leave a comment:
-
OK so this evening I decided to make my way back around to the brake booster snafu. After making some preliminary measurements I decided to go ahead and remove the booster and flip the angled aluminum bracket to see what kind of room that would make me.
While I was at it I went ahead and modified the intake manifold, shaving off 2 nubs I would not need along with a small part of the vacuum cap wall.
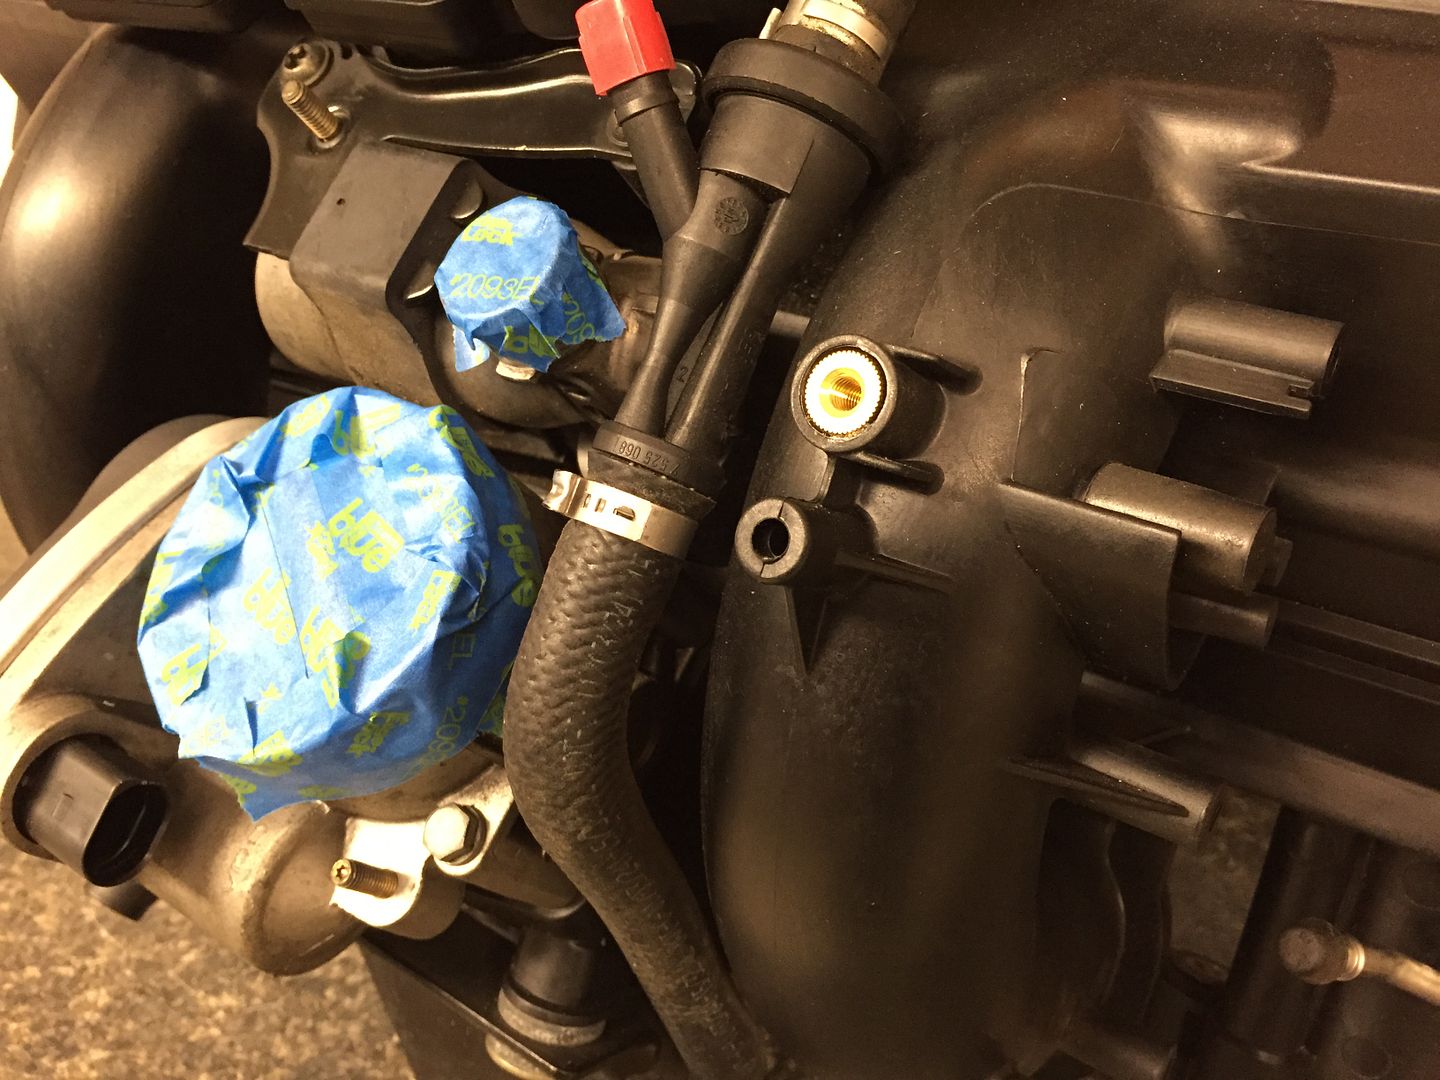
I'll go back and smooth the finish out more once I've finalized everything.
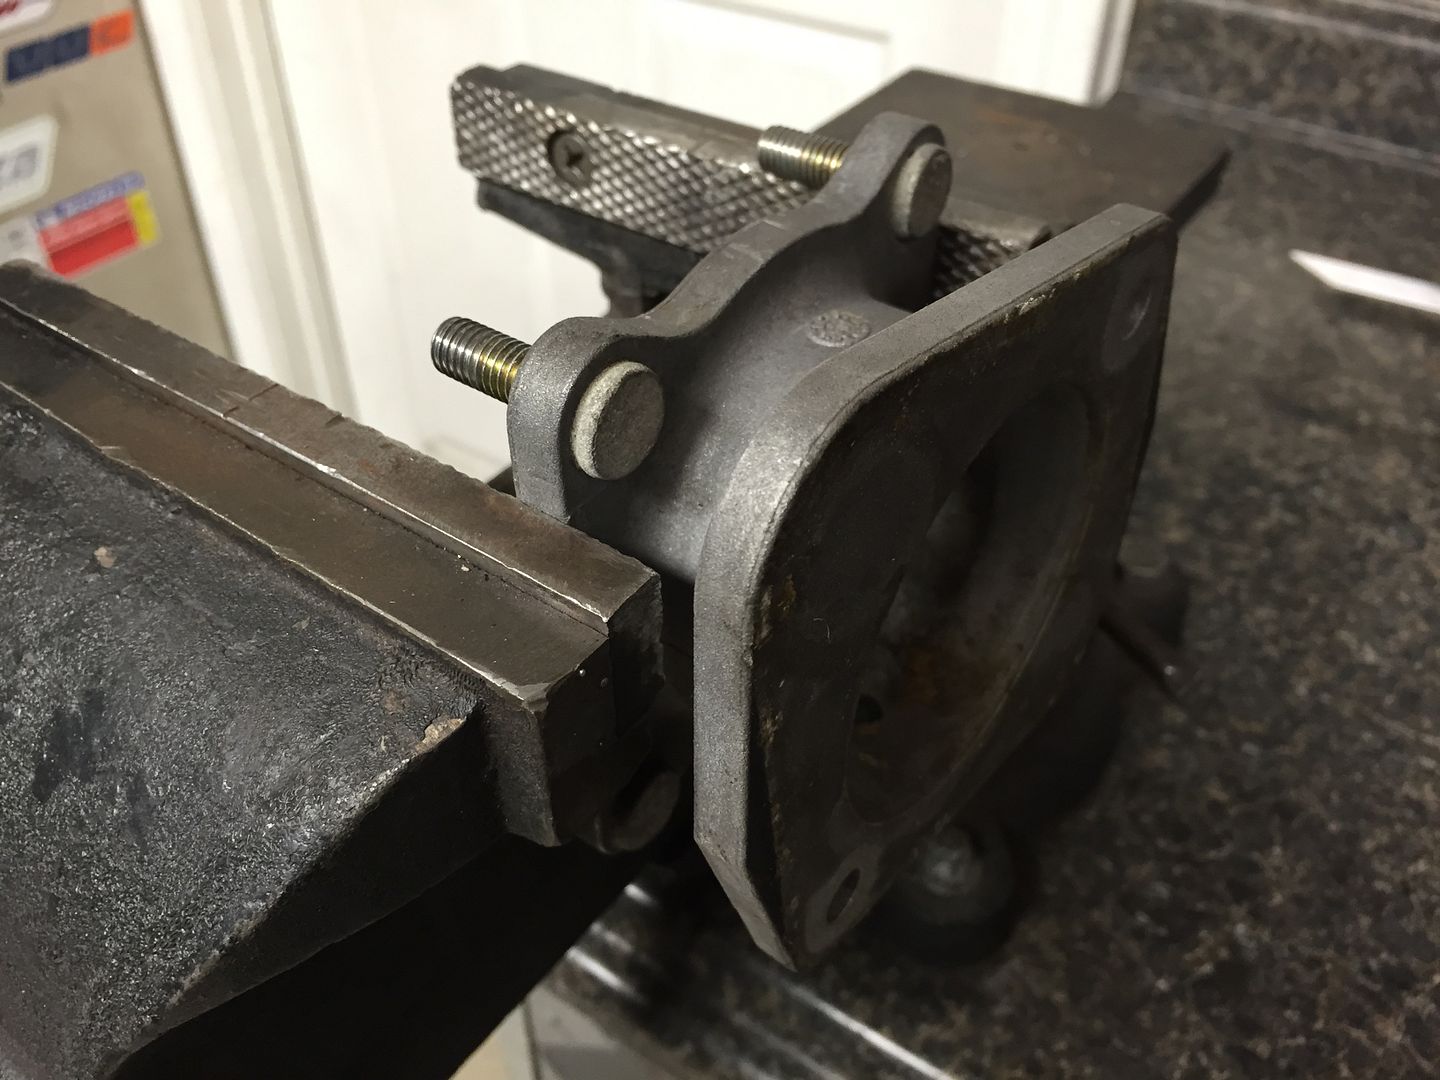
I measured the adapter and found a side to side difference of 3mm, which I would incorporate into the shortened adapter while right side up. I put the adapter in the vice and proceeded to cut it in half and sectioned out a portion of the middle to bring the booster closer to the firewall. I also made sure to mirror the 3mm angle, and actually stepped it up to a 4mm angle in final form.
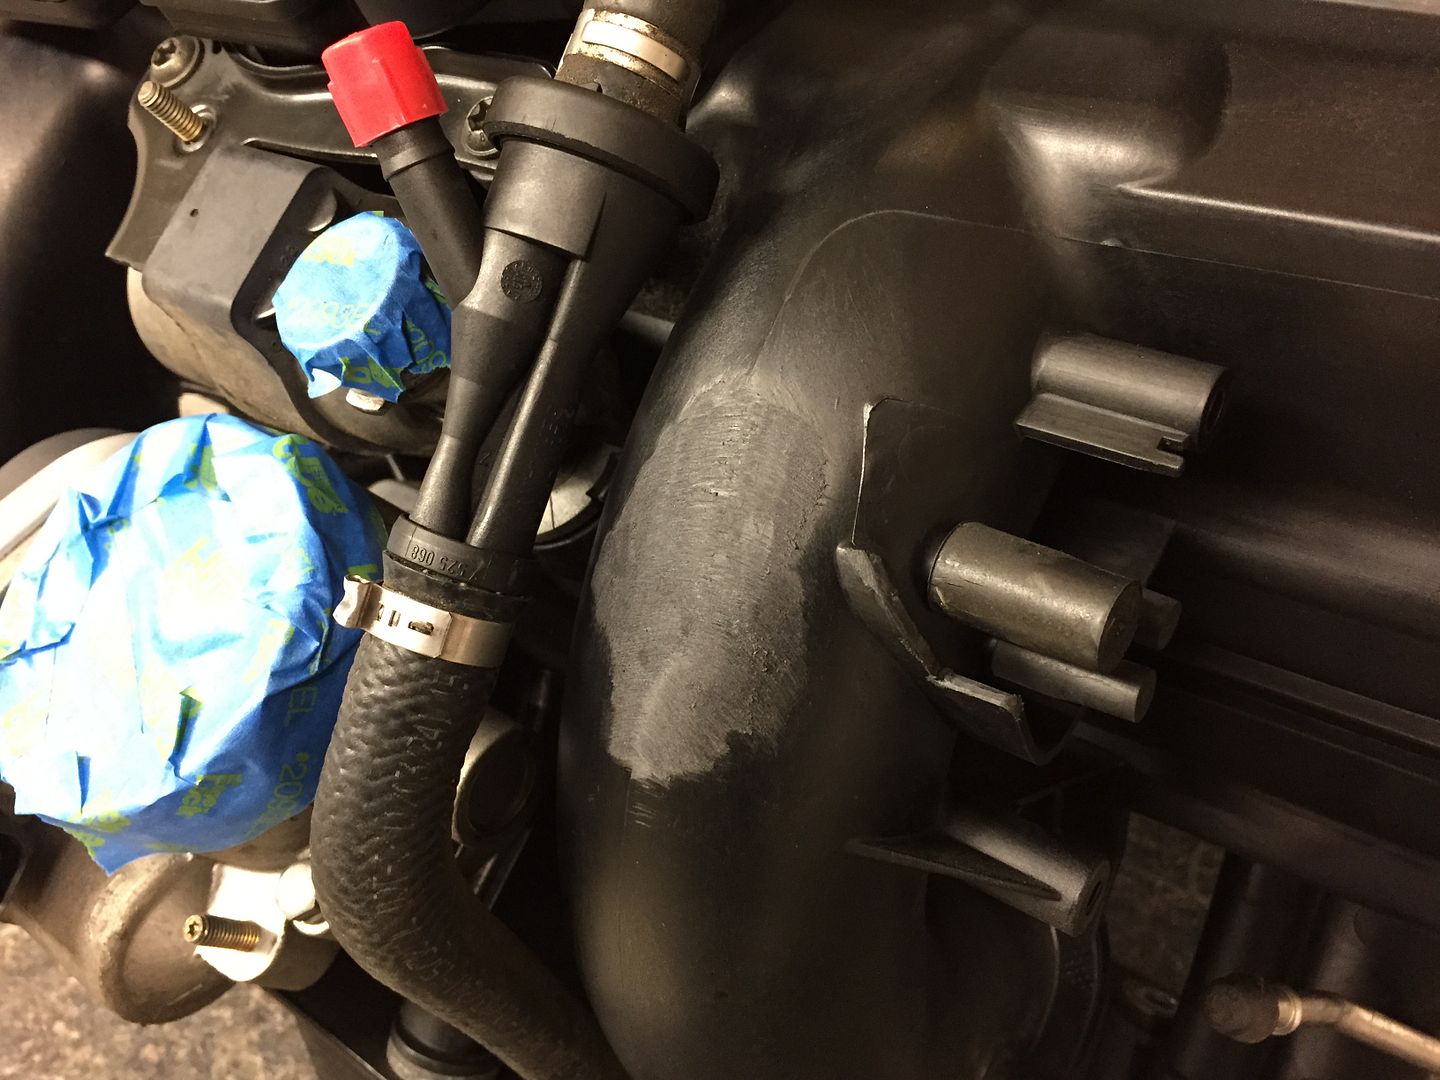
Booster is pulled back close to 3/4", and angled much closer to the strut tower. As the firewall and or inner structure is also at an angle it becomes a net loss and the booster/master down visually point straight forward.
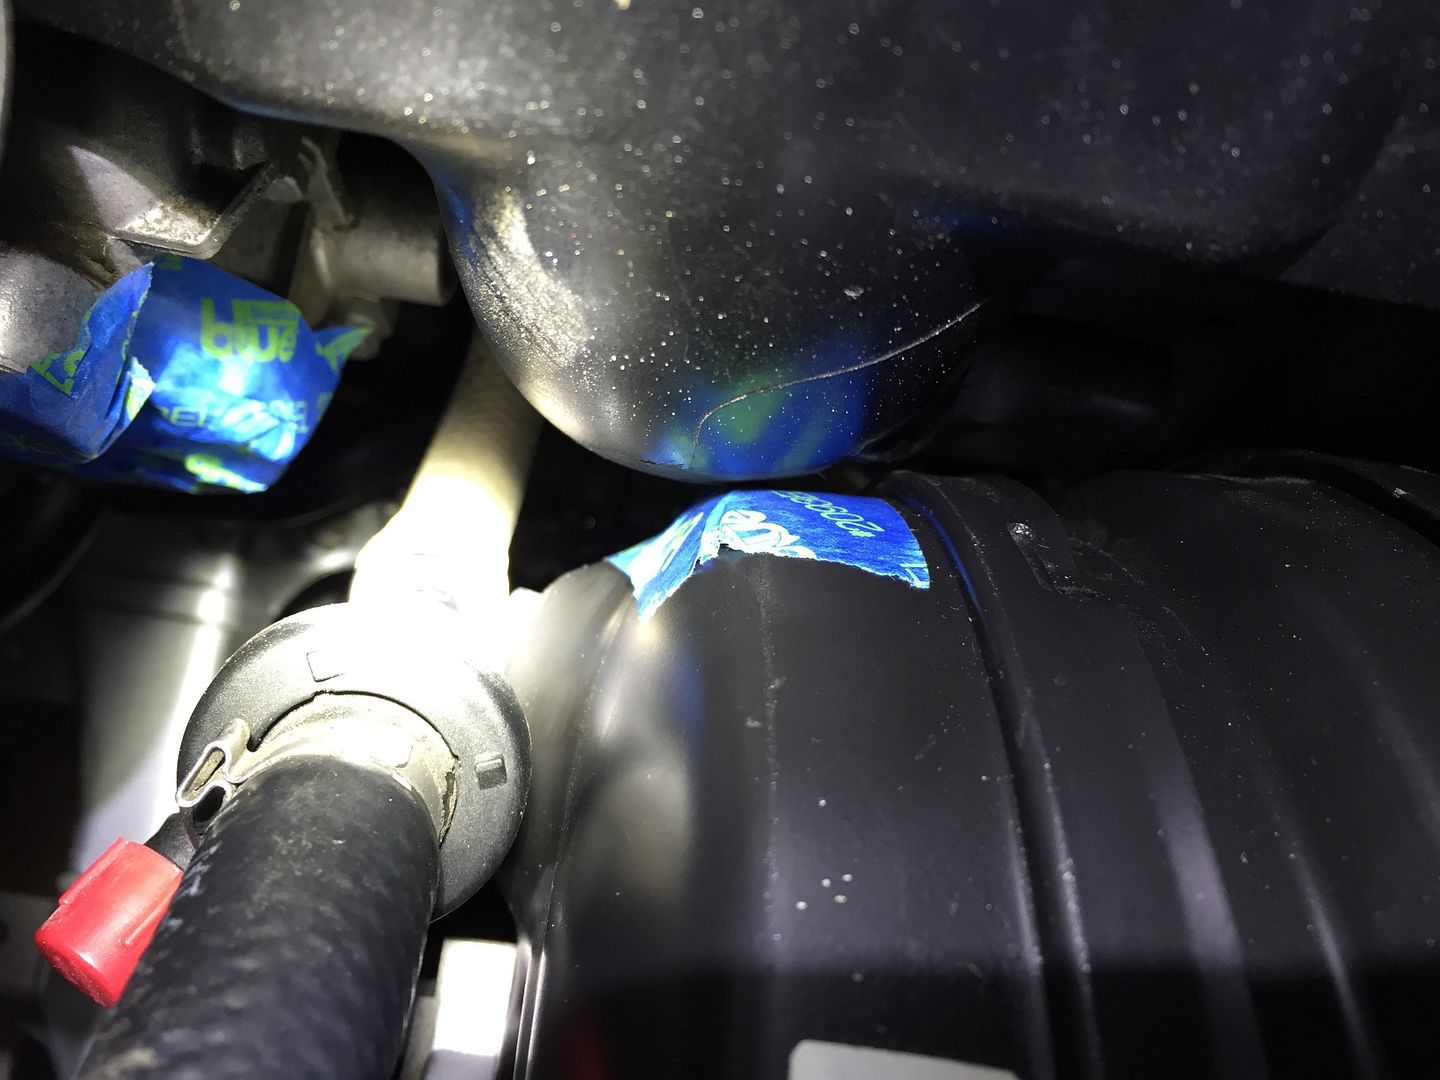
Test fit of the booster, manifold with the adapter taped together:

Clearance of about 1mm. Not much. But its a start. I shortened and angled the adapter as much as possible while still being able to attach a nut to the shortened studs so I'm going to get it TIG welded together tomorrow.
I'd like a little more clearance, so I can either massage the booster a little in that spot, or shim the drivers side engine mount to find that room.Leave a comment:
-
This dude^^^ polishes and waxes his fuel tank! Amazing attention to detail, sir. On another note, I appreciate your public service announcement about not messing with your seat belts.
But as someone who would like to upgrade his belts, what sort of shop is qualified to do this?Leave a comment:
-
Here is the link to the seatbelt material I used:
http://www.amazon.com/gp/product/B00...ilpage_o02_s00
I cannot stress enough though, so not venture down that road unless you are SURE you know what you are doing. Seat belts are a vital safety system and they should not be altered without care.
Today was another one of those assorted odd jobs days where I didn't take many pictures.
I got the best pair of used B-Pillar interior trims that I could find installed on the car. Each is missing a half inch of plastic above the little hook, but with the black alcantara headliner behind it honestly.. you are hard pressed to notice looking right at them. Its a shame I can't get them new but it is what it is.
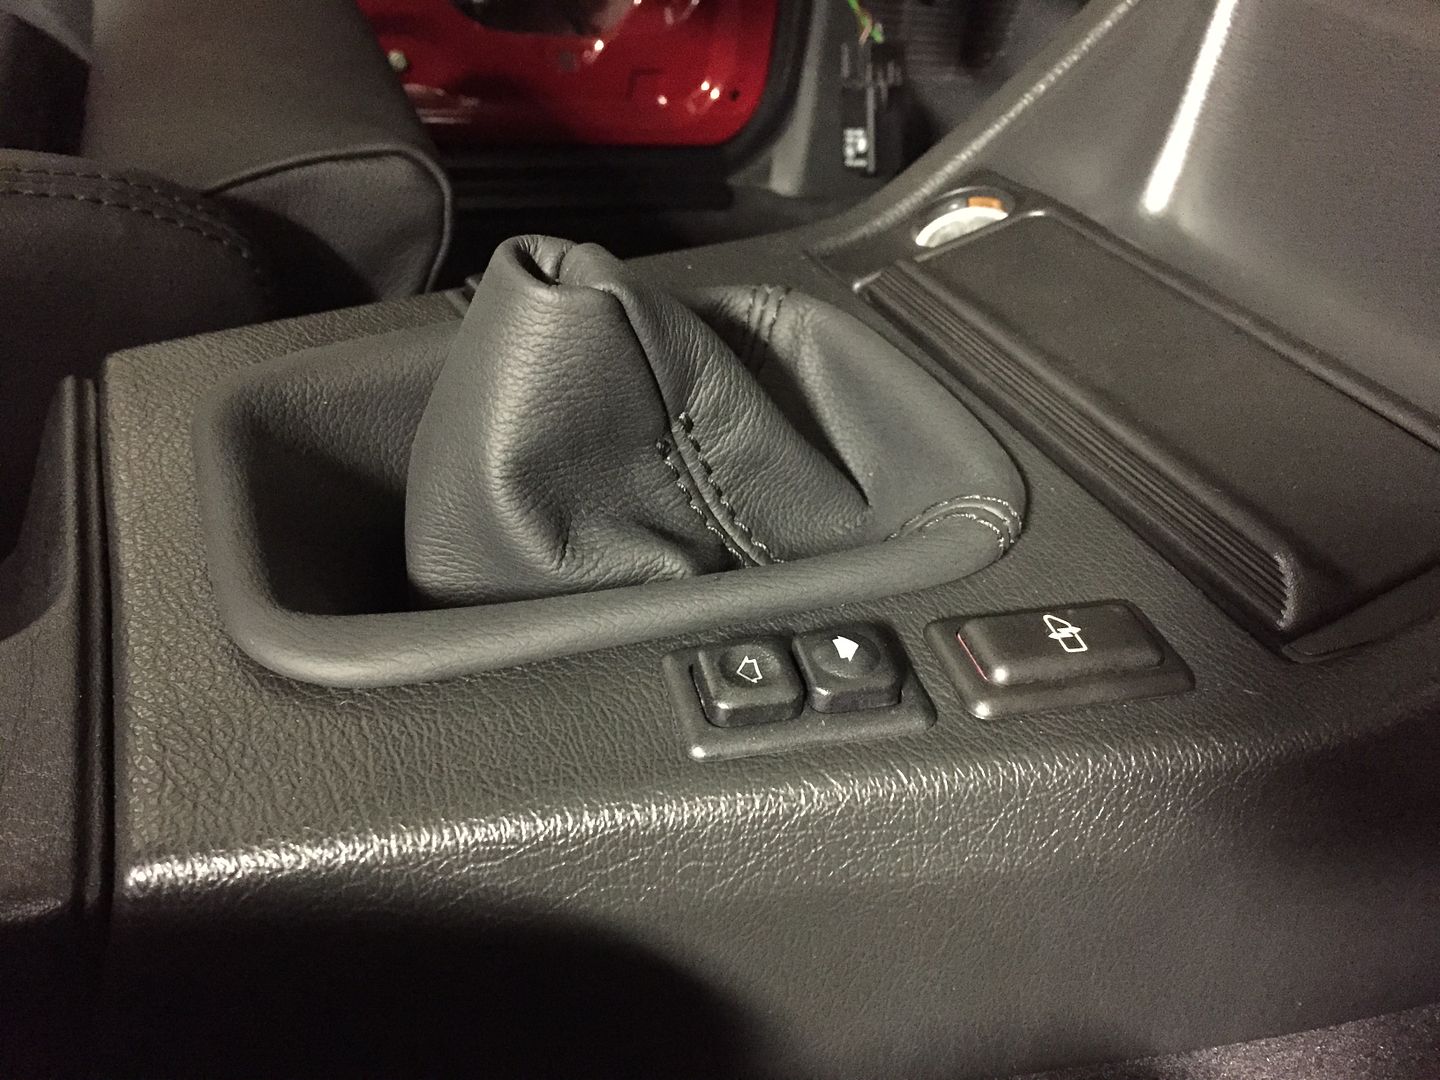
I got the parking brake and shift boots installed.
I got the new coolant expansion tank installed, not plumbed up yet though.
I replaced both short hard lines and the brass tee under the car because they were too excessively corroded for this build. I also installed the UUC stainless steel flexible lines awaiting the subframe install.

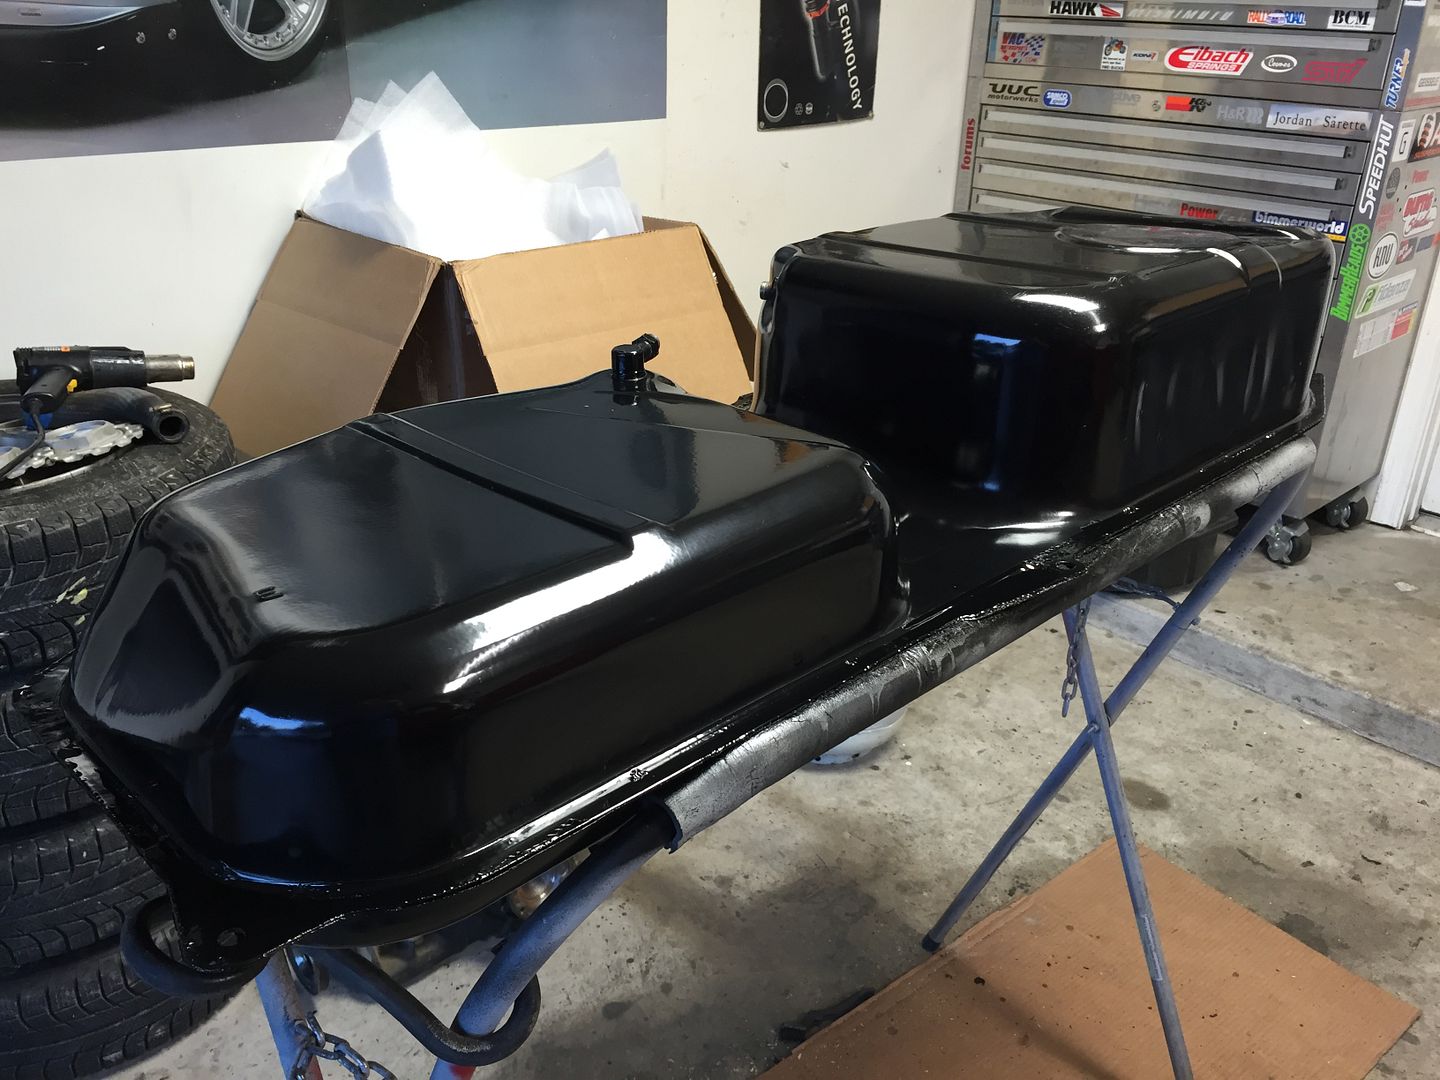
The task that took the longest today, by far.... was cleaning the fuel tank. I wish I had taken a before picture because the tank was so so dirty and the entirety of the bottom and sides was covered with thick cosmoline. The interior of the tank itself is thankfully spotless, I was concerned there could be some rust in there not knowing how long the car sat but I got a small gift here.
I started with basic purple power cleaning with a stiff brush to remove the actual dirt, then moved to a plastic scraper and lacquer thinner to lift the cosmoline off. The lacquer thinner does flatten the paint a bit, so I then cut & buffed the tank and finished it up with a nice coat of wax.
Leave a comment:
-
-
I haven't skipped one page of this build. Very nice
Sent from my iPhone using TapatalkLeave a comment:
-
I was actually going to suggest the 944 booster. I prefer them over the ix booster for swaps anyways. Lovely build man. I'm in the process of building a sedan for a customer that is following the same path as yours. I come here for inspiration haha. 👍Leave a comment:


Leave a comment: