-
Todays Project: Vacuum line inspection and replacement
Started with a whole S38 -
 S38 Vacuum Lines-3 by Nick Butler, on Flickr
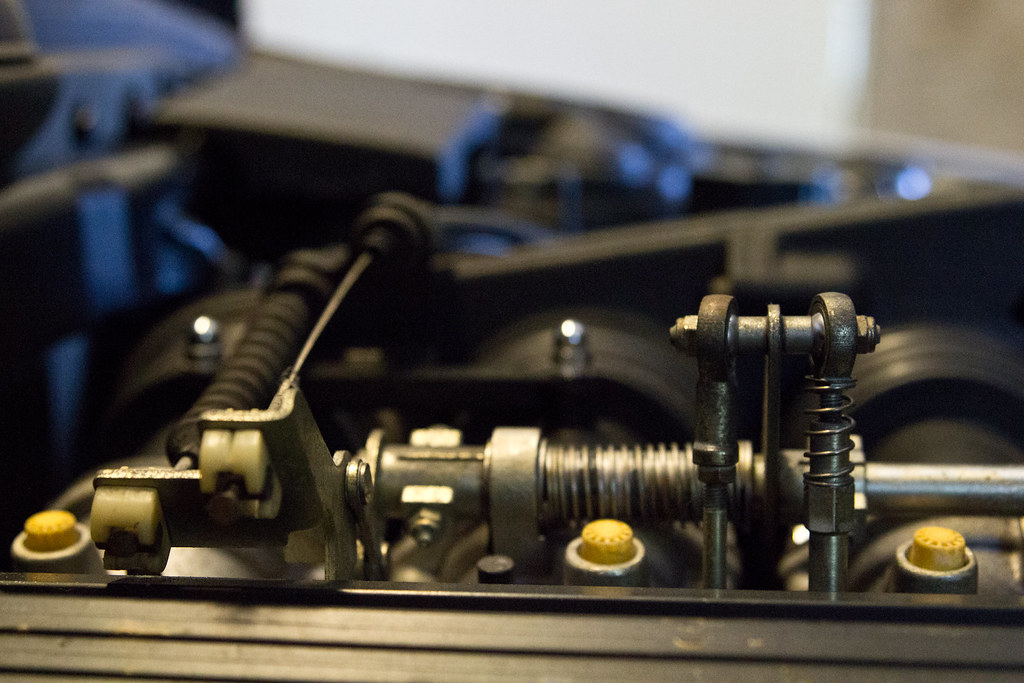 S38 Vacuum Lines-2 by Nick Butler, on Flickr
Got the intake plenum off -
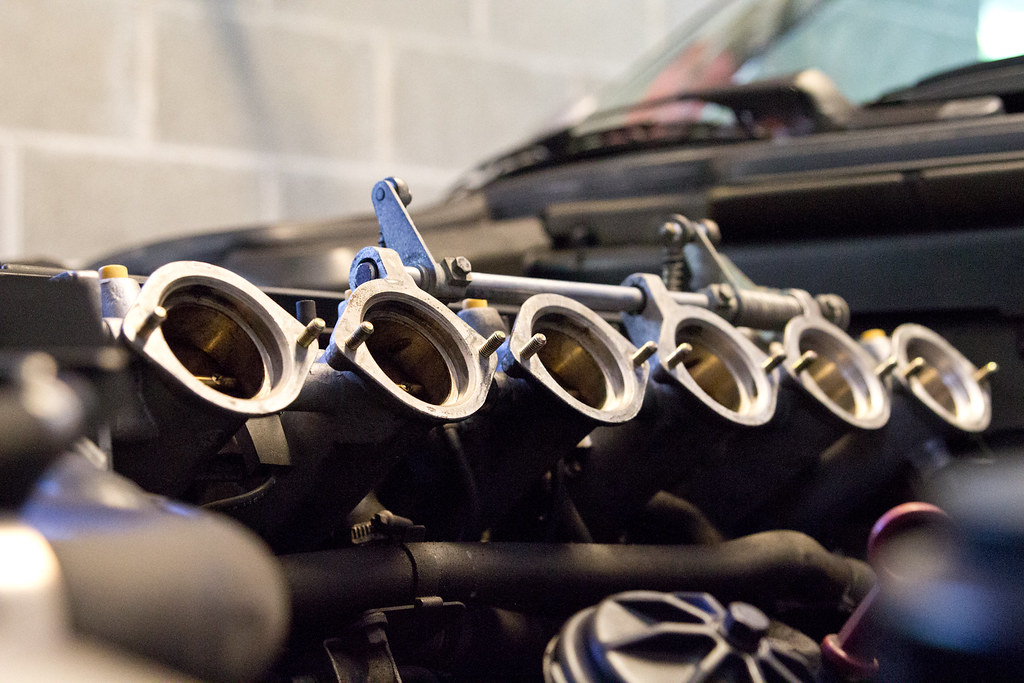 S38 Vacuum Lines-5 by Nick Butler, on Flickr
 S38 Vacuum Lines-6 by Nick Butler, on Flickr
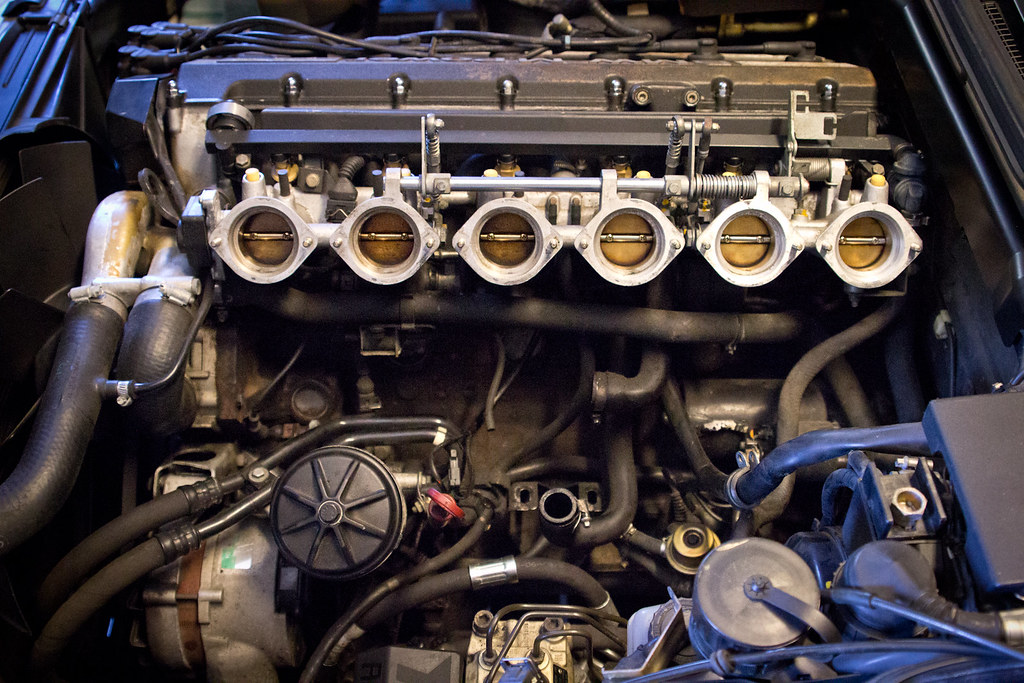 S38 Vacuum Lines-7 by Nick Butler, on Flickr
Ummm, that looks broken. Yup. valve cover to intake vent tube. Ran to the dealer who happened to have one in stock! Lucky me.
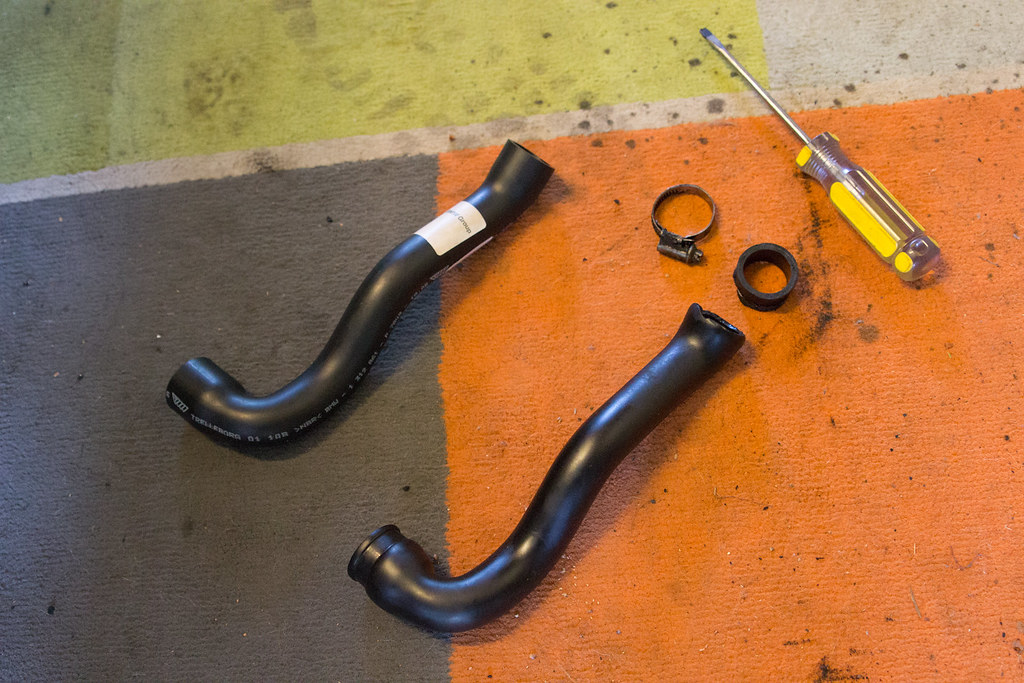 S38 Vacuum Lines-8 by Nick Butler, on Flickr
Got her all buttoned up again. I scrubbed a lot of shit while I was in there. Many years of gunk and dust on everything. No pics of the cleaning but everything looks good, even if its out of sight!
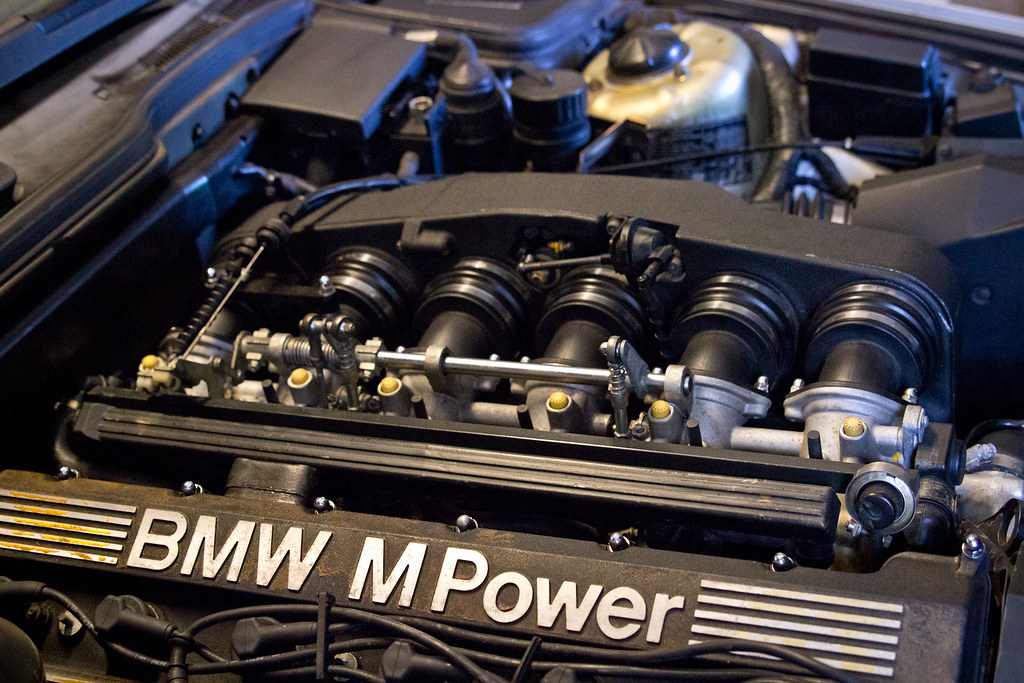 S38 Vacuum Lines-9 by Nick Butler, on Flickr
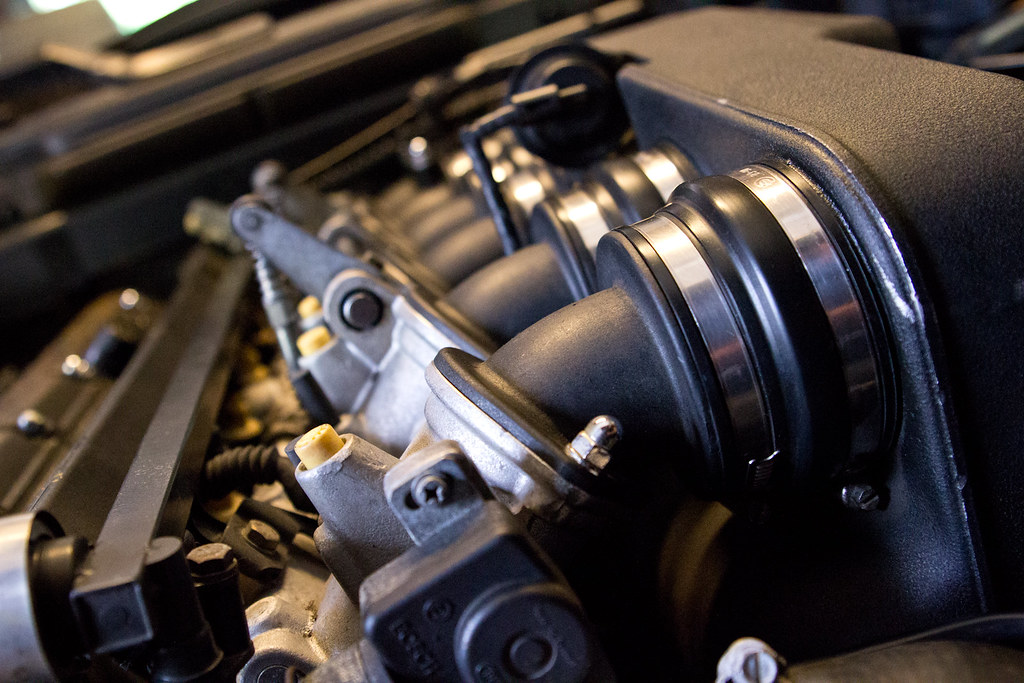 S38 Vacuum Lines-10 by Nick Butler, on Flickr
So, the point of todays work was to solve for any potential vacuum leaks. I have assumed that I have a leak somewhere because the intake actuator valve doesn't do its test at start up. This usually points to a vacuum leak, since the part is vacuum powered, or so I understand. Well, after all that work and my actuator still did not do its self test cycle... Bummed about that! Two probable outcomes - I didnt find the vacuum leak or its due to another issue somewhere else.
video of the actuator test cycle here:
There was some good news! My AC started working just after completing this work. I have a strange suspicion that the ripped vent pipe might have been involved but I can't make the connection. Anyway, I was happy with that.
More soon!Leave a comment:
-
Finally, a fuel door!
This stupid thing was wedged under the passenger seat. I found it during the cleaning phases. I bought a new OEM hinge and proceeded with some OCD and pics.
Inspect the old hinge
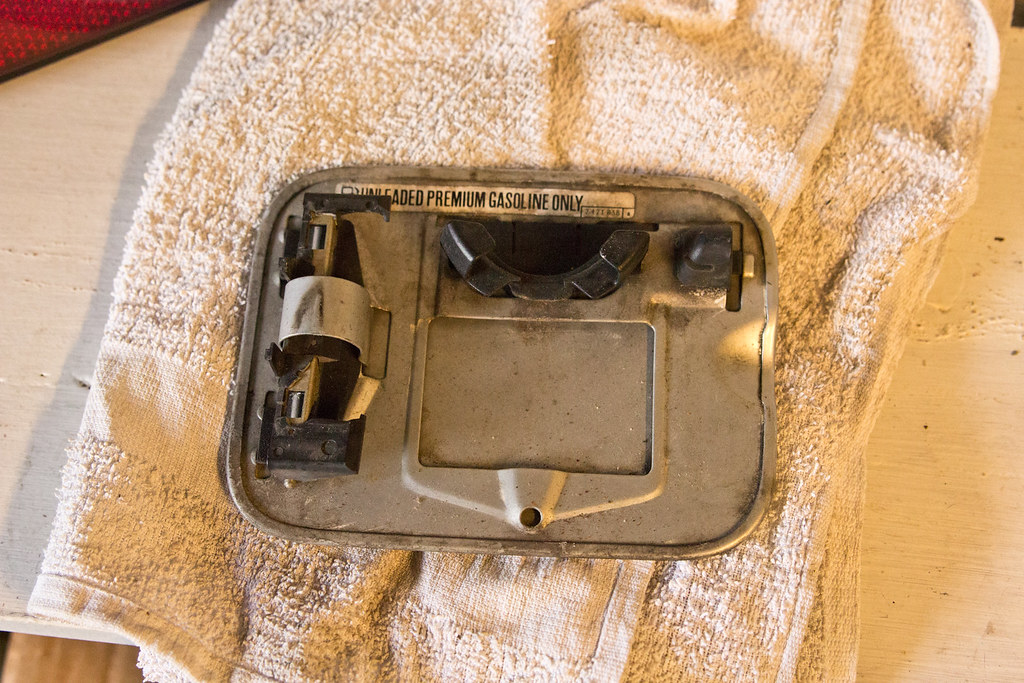 FuelDoor-1 by Nick Butler, on Flickr
Pop off the hing and compare to the new piece. Yep.. something tells me this one 100% broken. I suppose thats why it has been floating around in the backseat of the car for god knows how long.
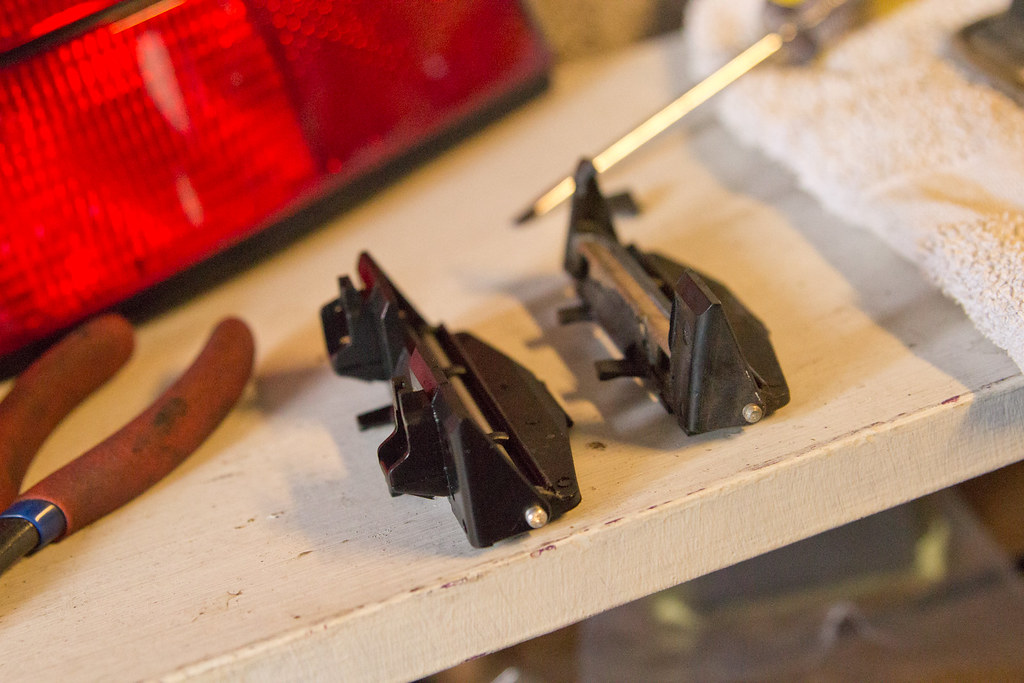 FuelDoor-2 by Nick Butler, on Flickr
Degreaser and some soap to the rescue!
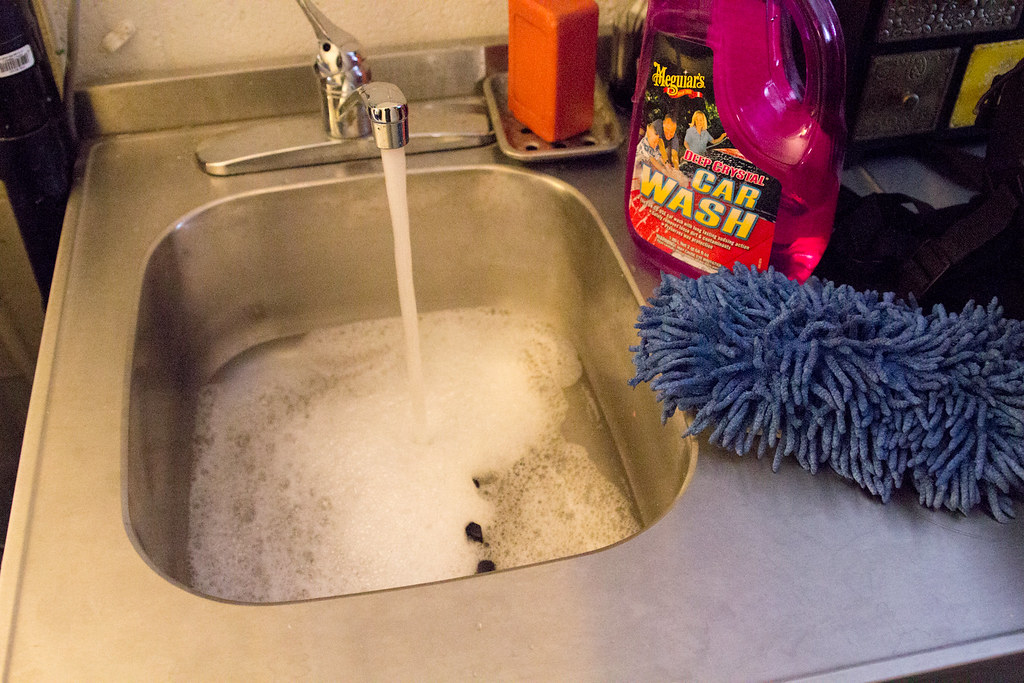 FuelDoor-3 by Nick Butler, on Flickr
It cleaned up perfectly. Now ready for install.
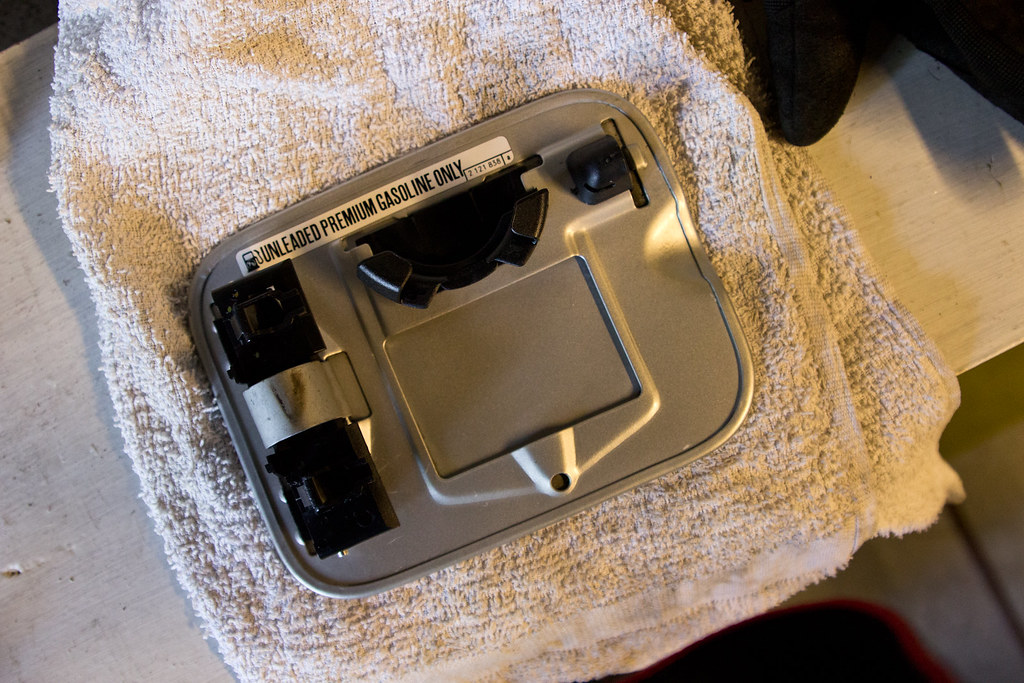 FuelDoor-4 by Nick Butler, on Flickr
YEESSS! So satisfying. I've been dying inside every time I see the passenger side of the car, until now.
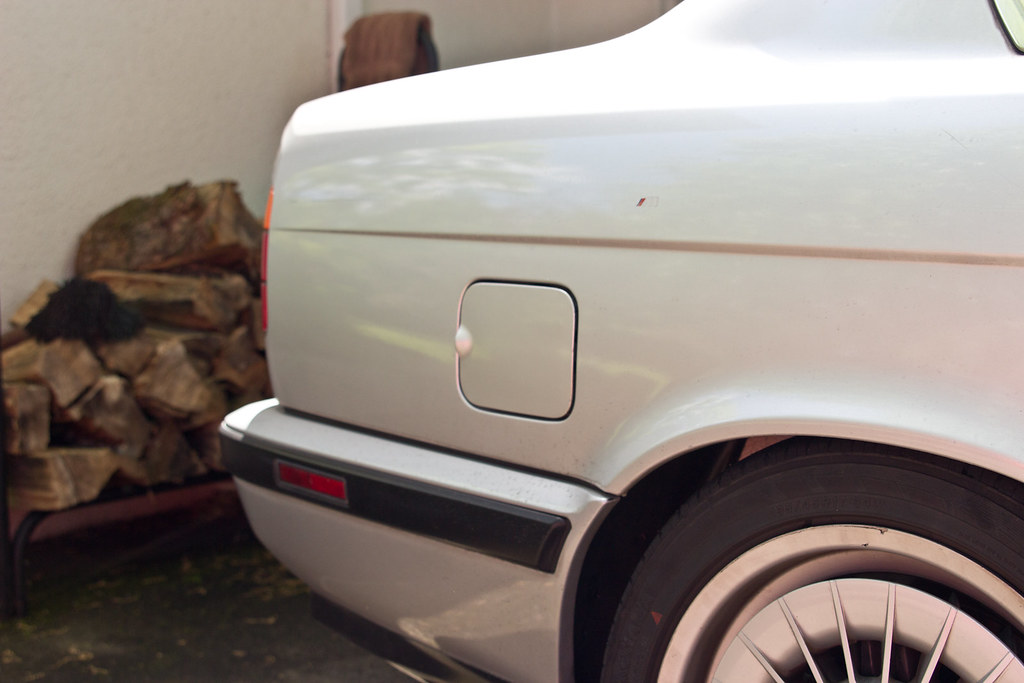 FuelDoor-5 by Nick Butler, on Flickr
Cheers!Leave a comment:
-
For real? That looks great. Looks like how I image 18's. Very nice. I want (need?) the M tech mirrors.Leave a comment:
-
Installed correctly my green 750il bushings lasted 8k.
I did see a year of autoxing though... https://youtu.be/qcLDhmbJaOILeave a comment:
-
Fuck yes. Love to see builds like this. Sometimes some serious cleaning goes a LONG way. Keep it up!Leave a comment:
-
-
Nope, just an 335i :devil: Didn't we already go over this? Jump back a few pages - I posted pics for you. Even better, lets meet up and I'll introduce you to the cars.
Also, I've been slowy buy surely reading through your build thread. OMG, you are a crazy man. I'll post when I get caught up to current times.
Another Nick! Thanks. I'm glad you think so! Its been a fucking lot of work.
Thanks dudeLeave a comment:
-
Amazing work. I love seeing cars come back from the dead like this. You did a fantastic job cleaning her up. That pinstripe is screaming to come off. It's grunt work, but will be worth the effort for sure.
Keep it up!Leave a comment:
-
-
19's!?! What!? No way. lol
Idk what to do with the pin stripe.. I thought it would come off with the porter cable but its stronger than I anticipated. Rubbing compound would prob do the trick, yea?
I really like the turbines actually! I would like to have a set of Throwing stars to switch em out with down the road. Or a set of RC300s but thats prob a ways out ;DLeave a comment:
-


Leave a comment: