If this is your first visit, be sure to
check out the FAQ by clicking the
link above. You may have to register
before you can post: click the register link above to proceed. To start viewing messages,
select the forum that you want to visit from the selection below.
My e30 Project... Mtech II sedan, Jlines, Vaders, M50 and much more...
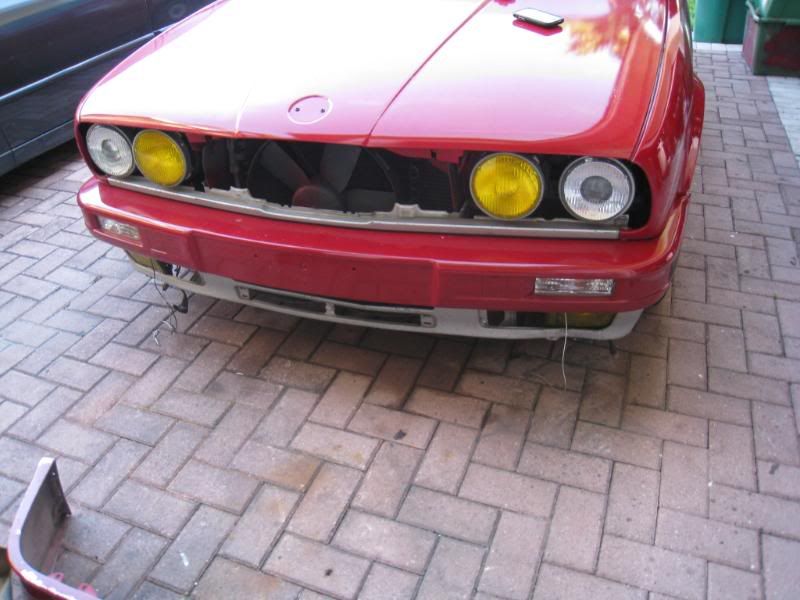
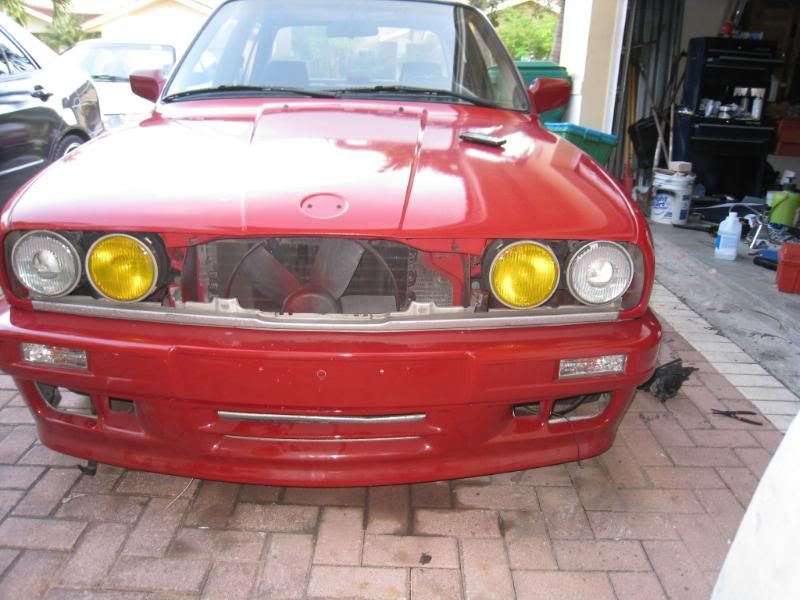
It lines up pretty well, but I adjusted the bumper and it fit better
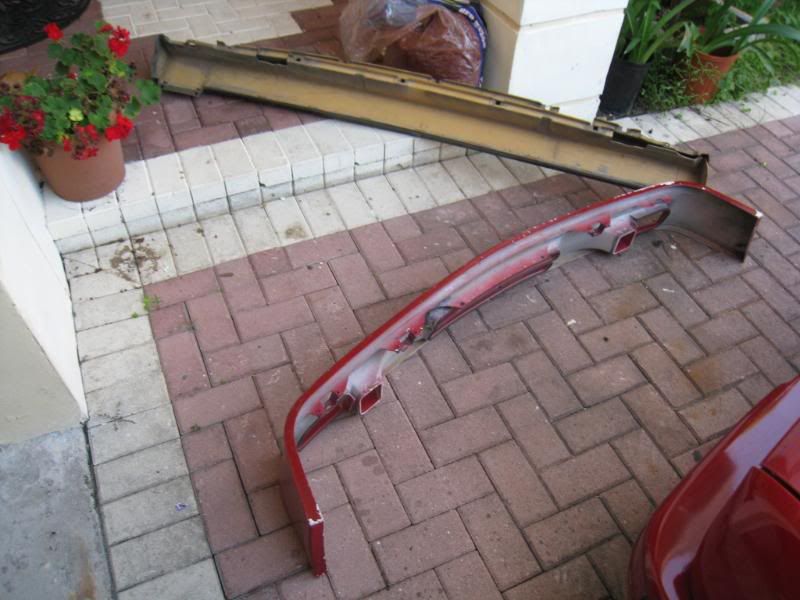
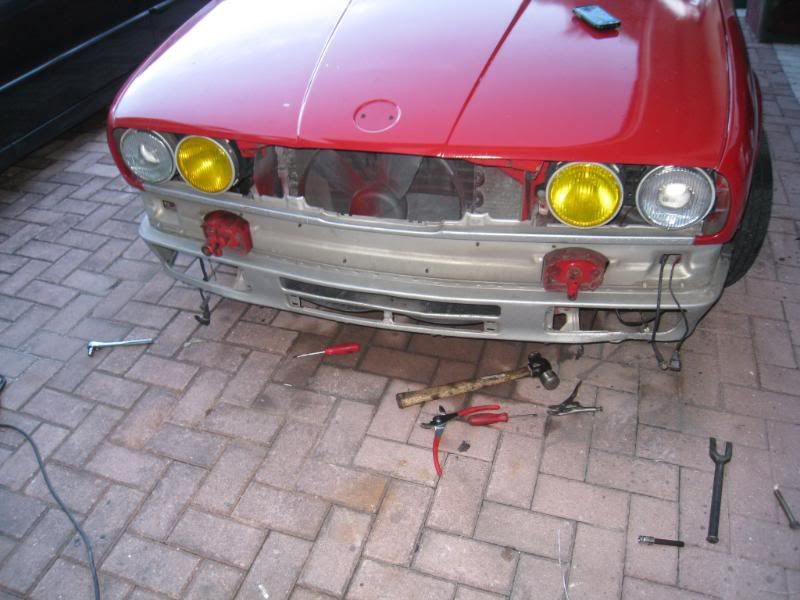
Remove front bumper and get it ready for paint
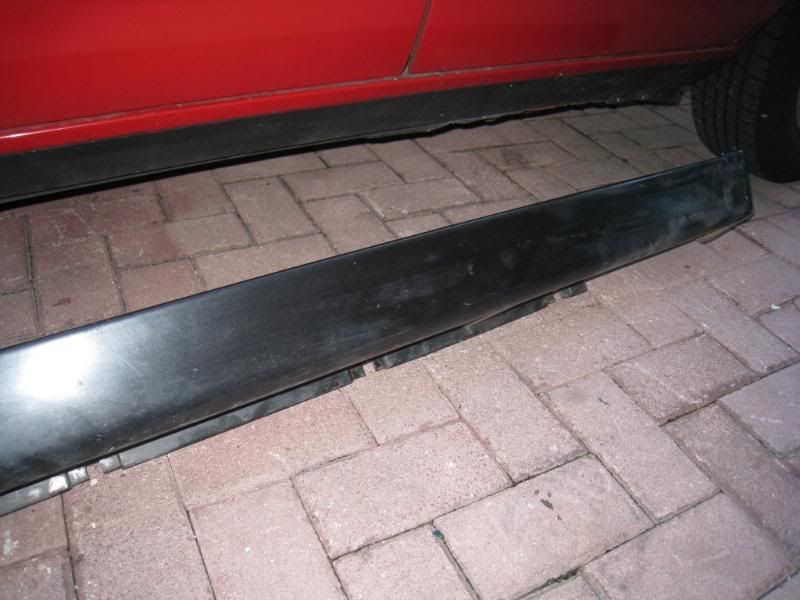
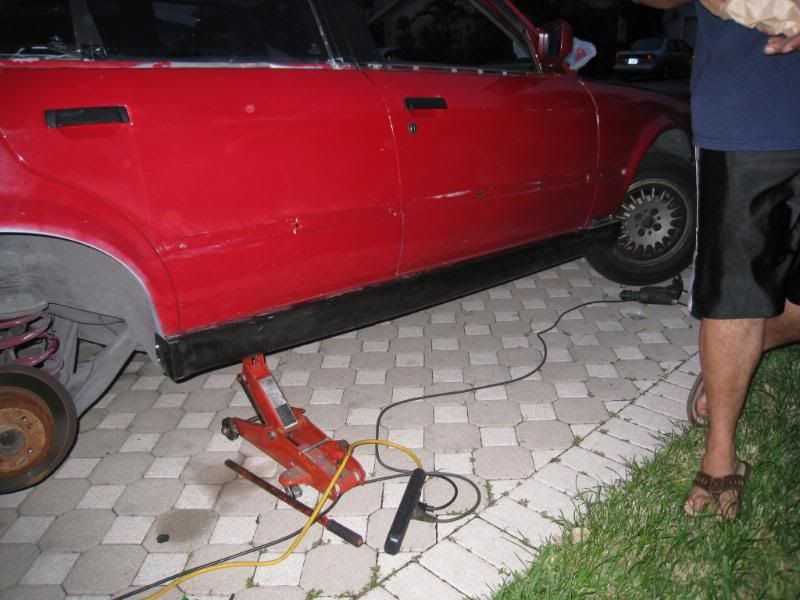
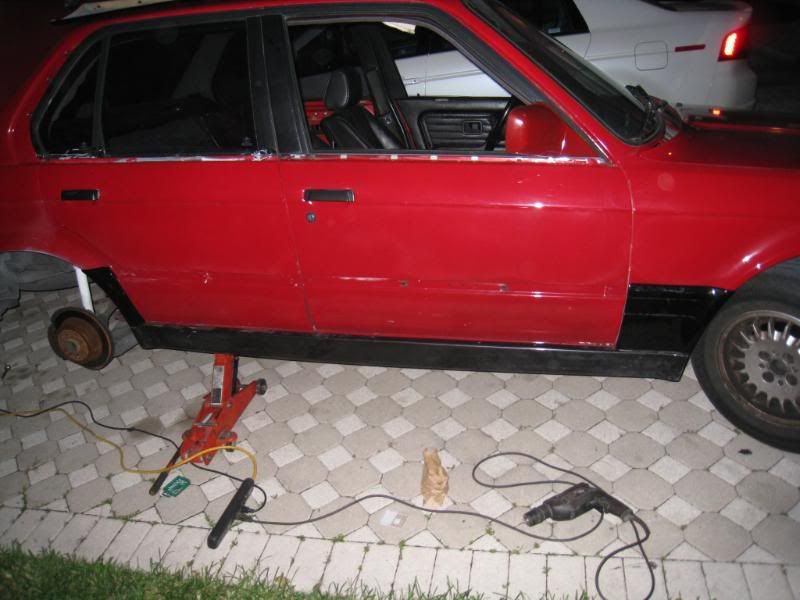
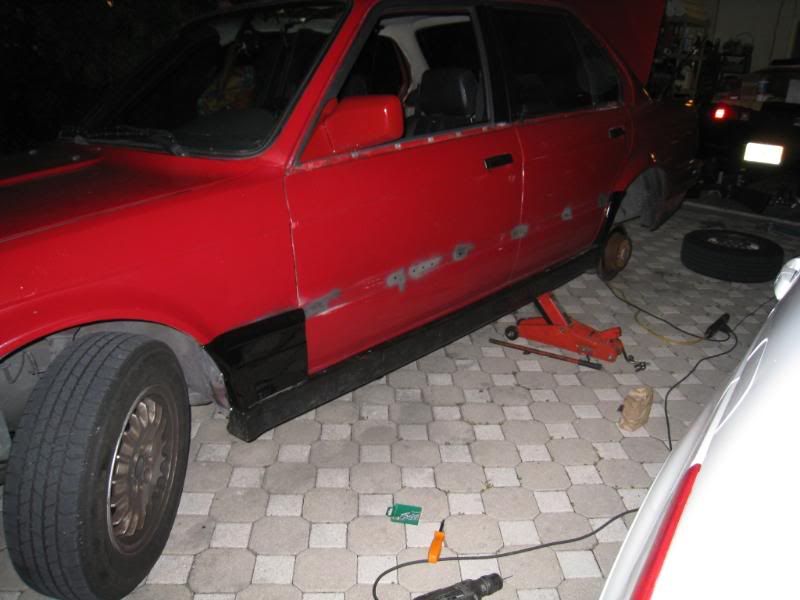
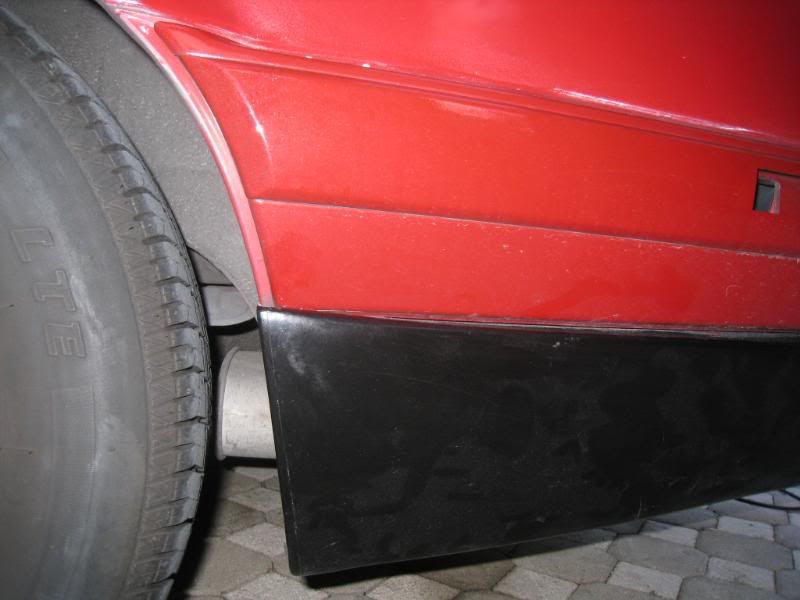
Time to mount the side skirts
Skirts mounted
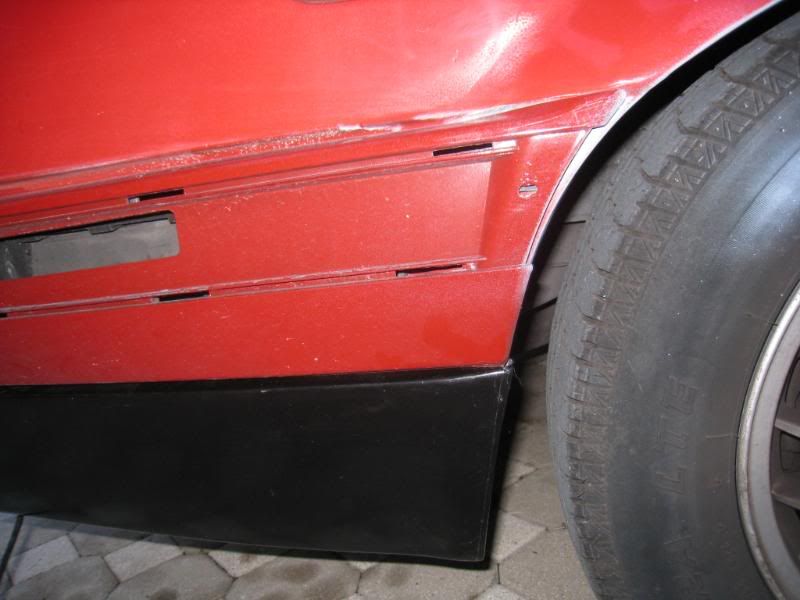
M Tech pods mounted and holes drilled.
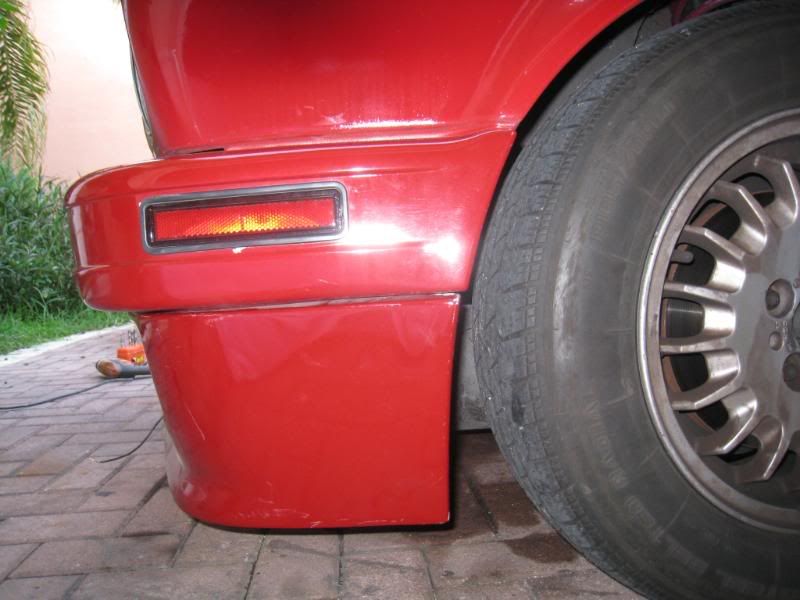
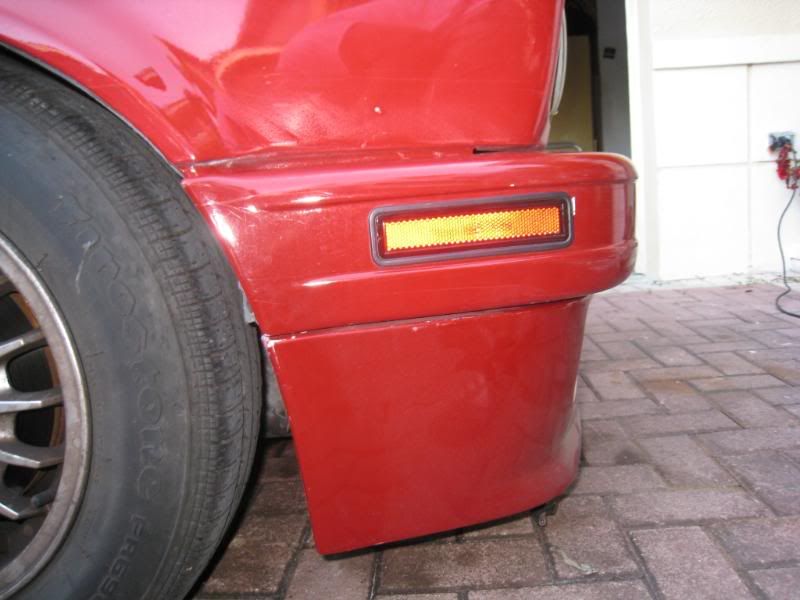
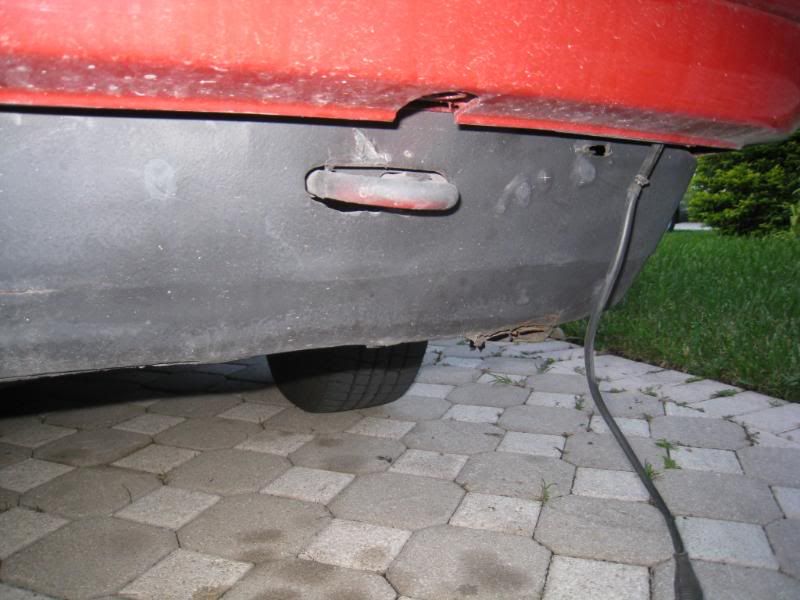
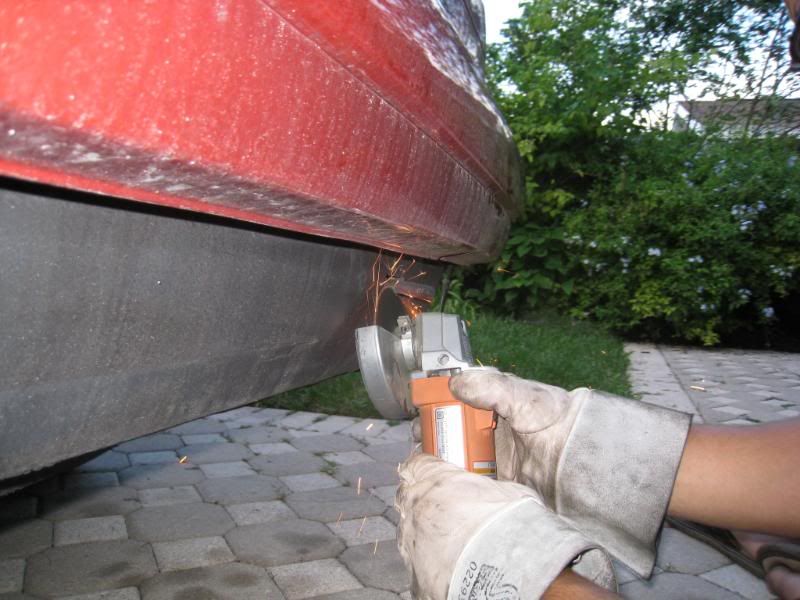
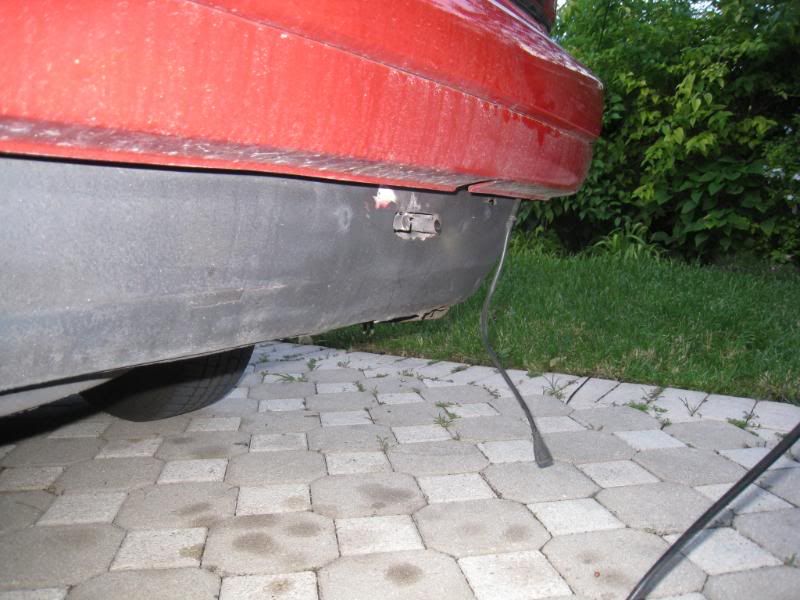
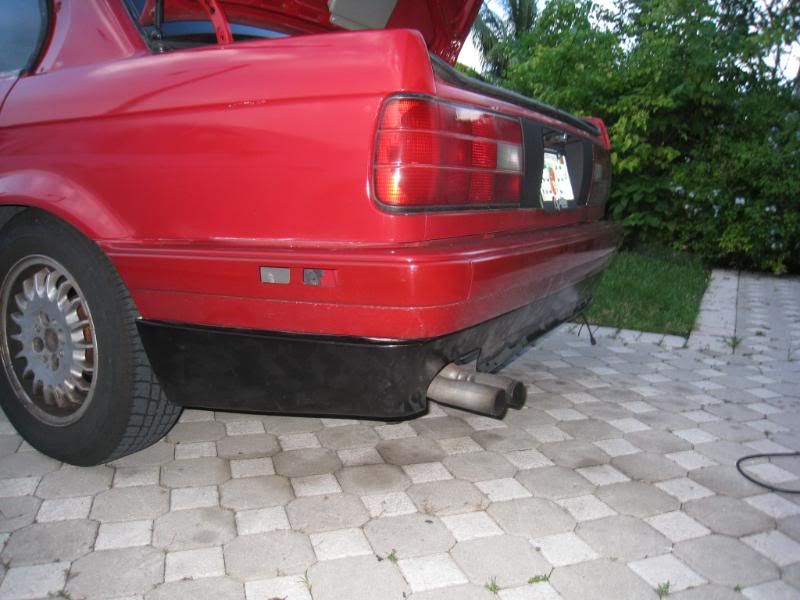
Now mounting the rep rear valence
The damn tow hook kept getting in the way
Off with it
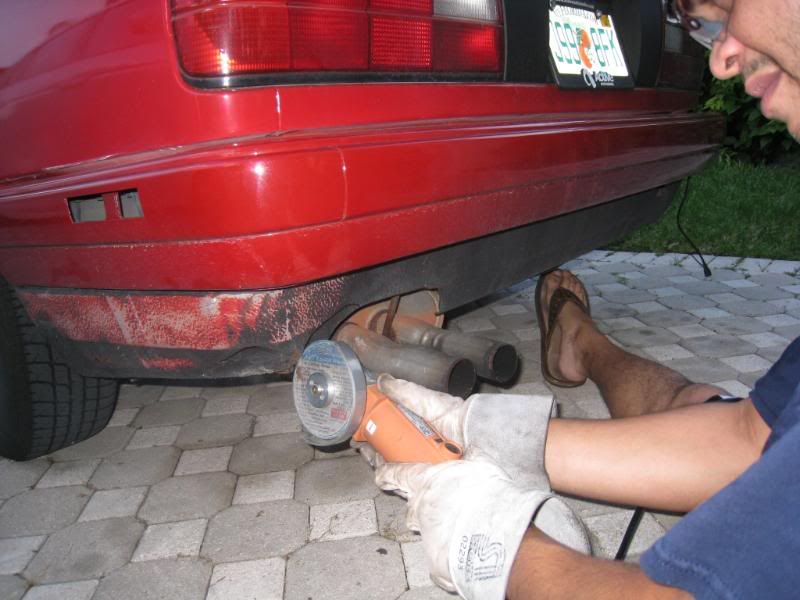
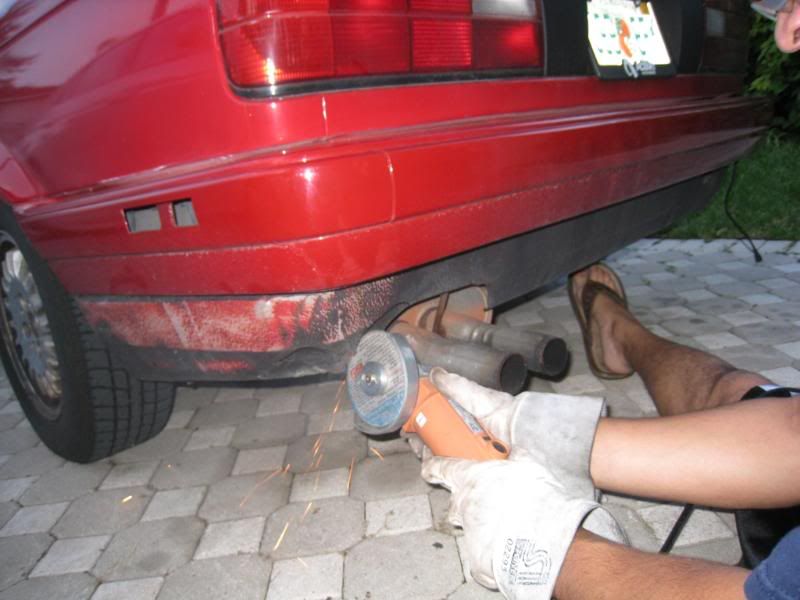
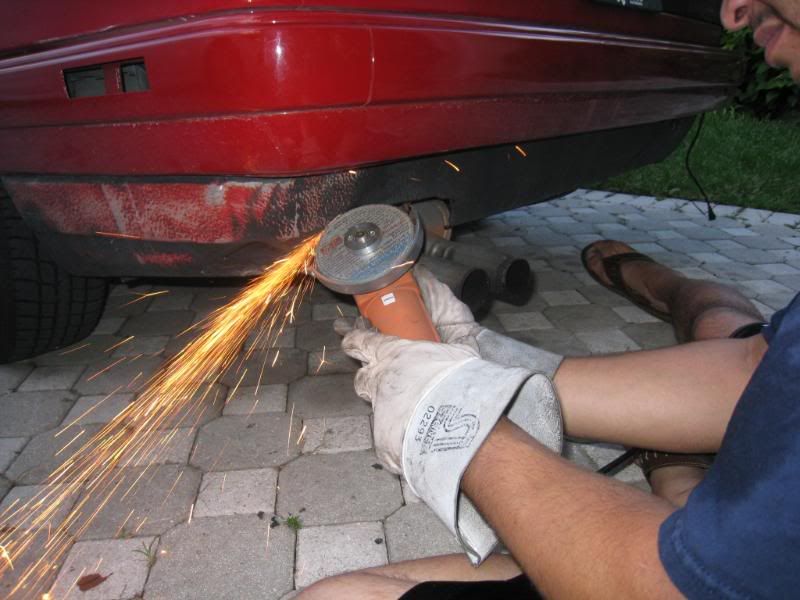
Also something that annoys me a lot is when you put the rear valence on, part of the factory valence shows. So I cut that out also
Crappy pics but it fits well
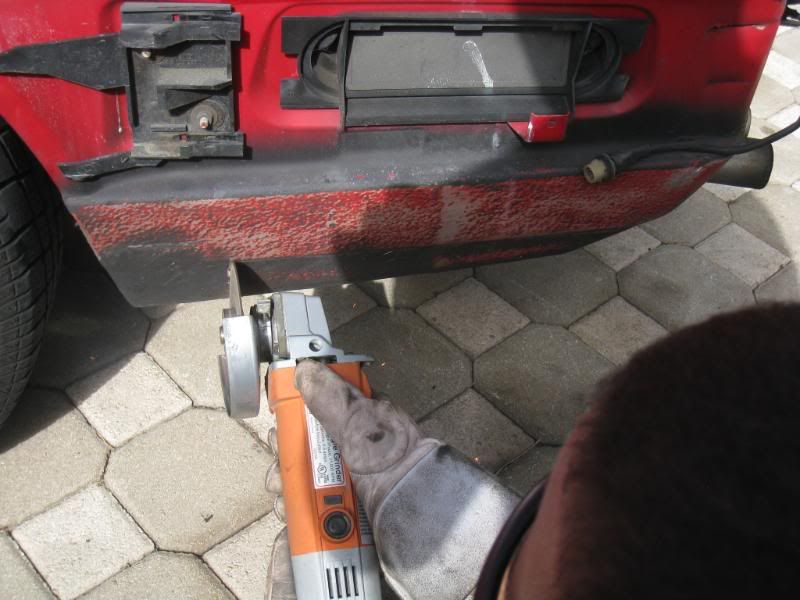
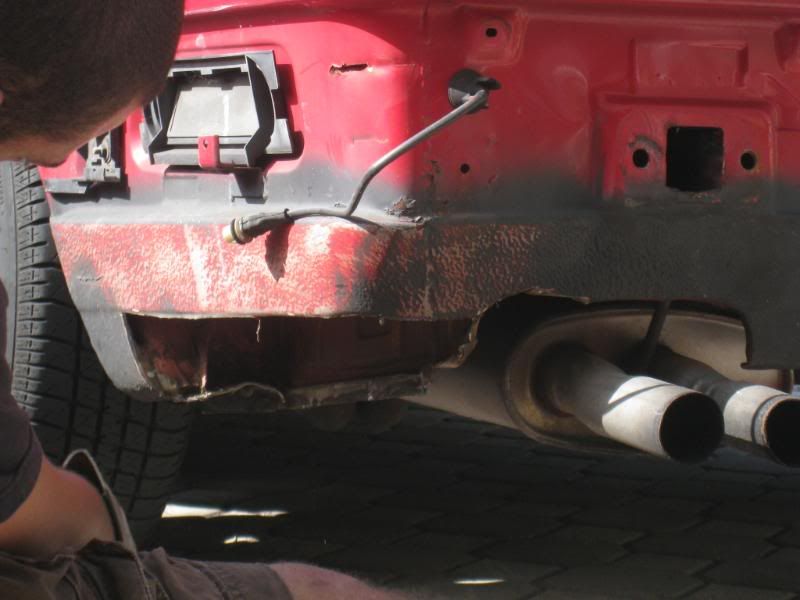
Now to the really long and hard part.
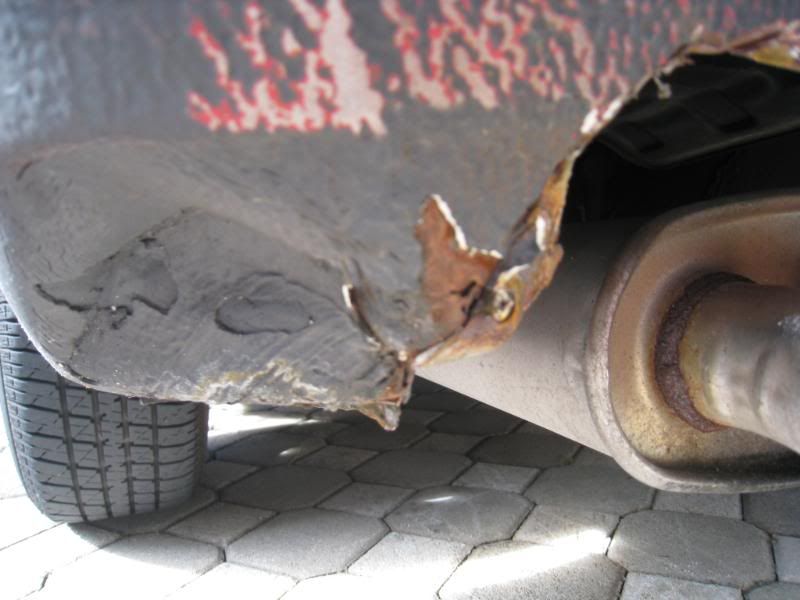
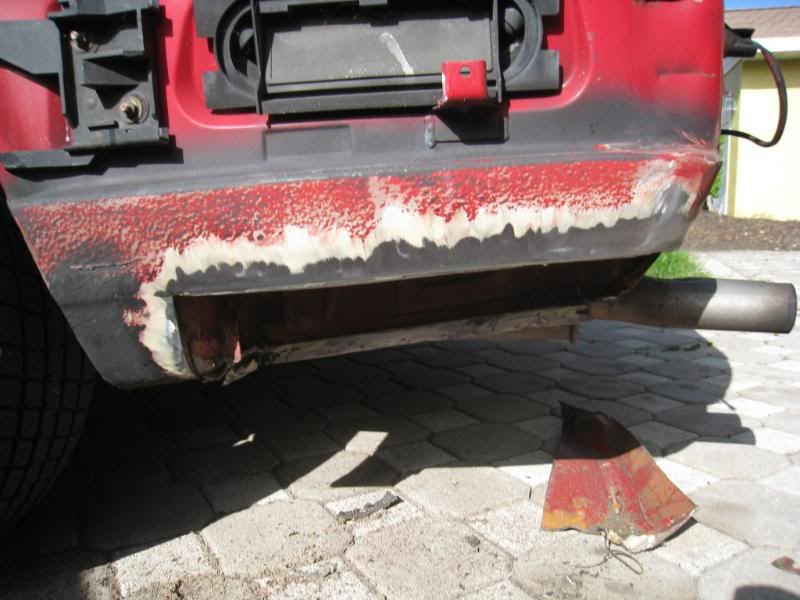
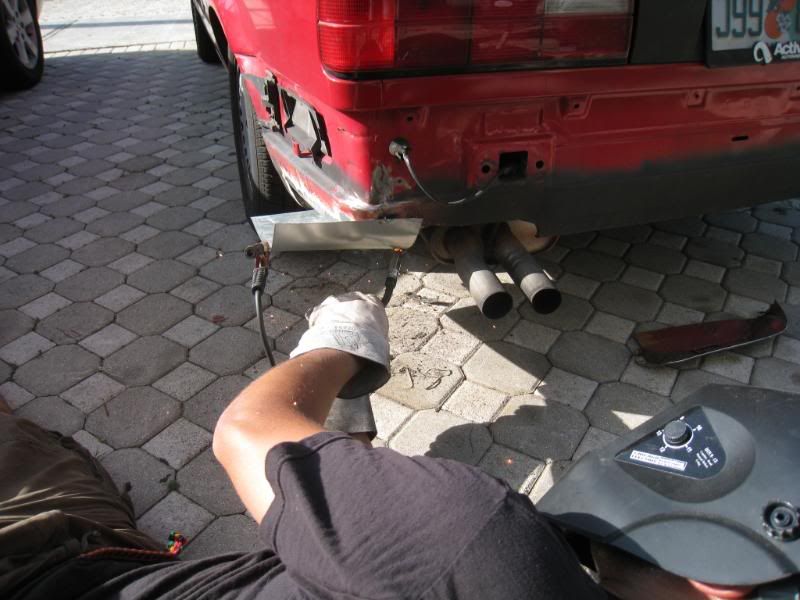
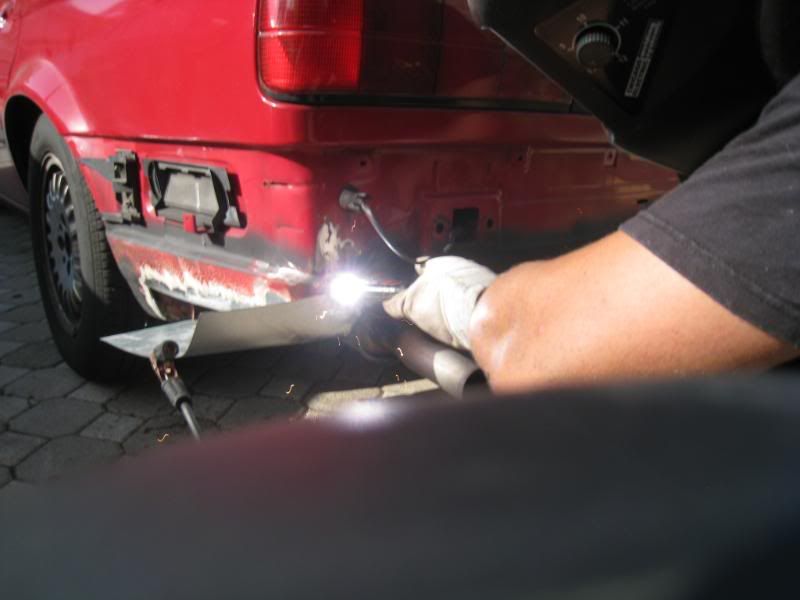
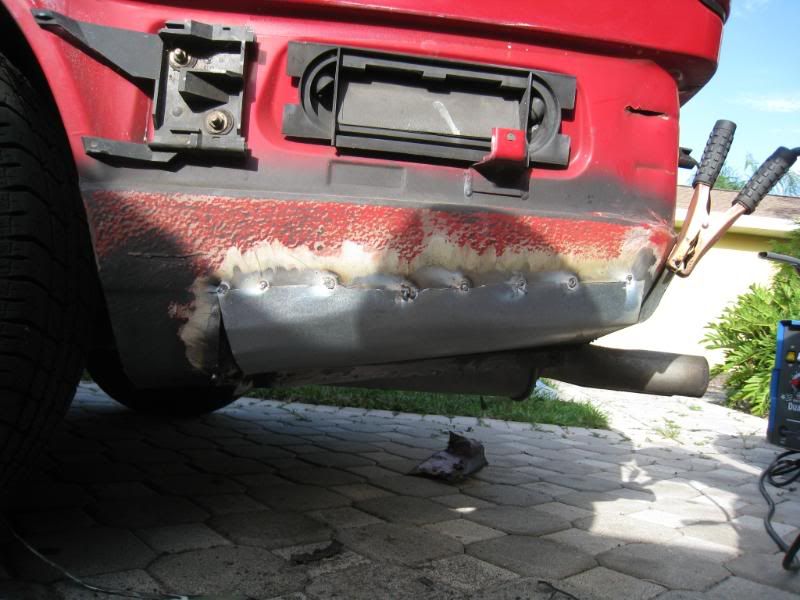
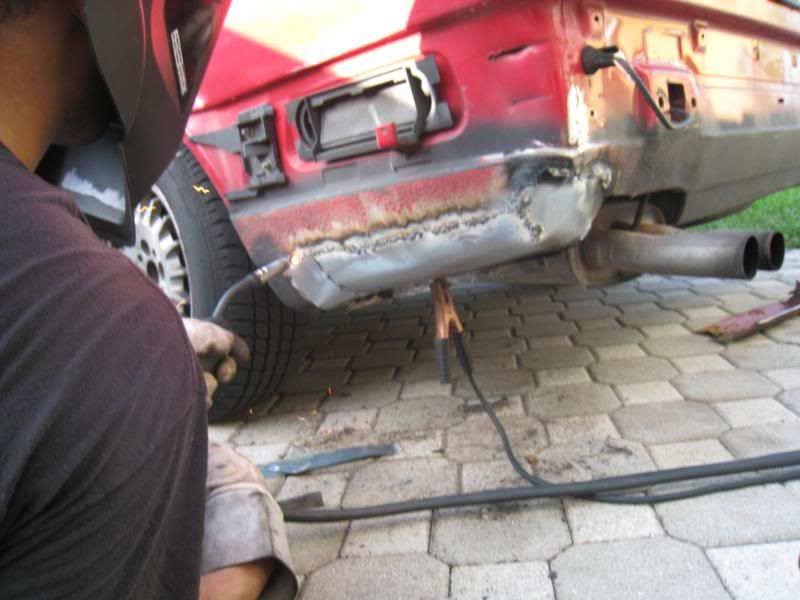
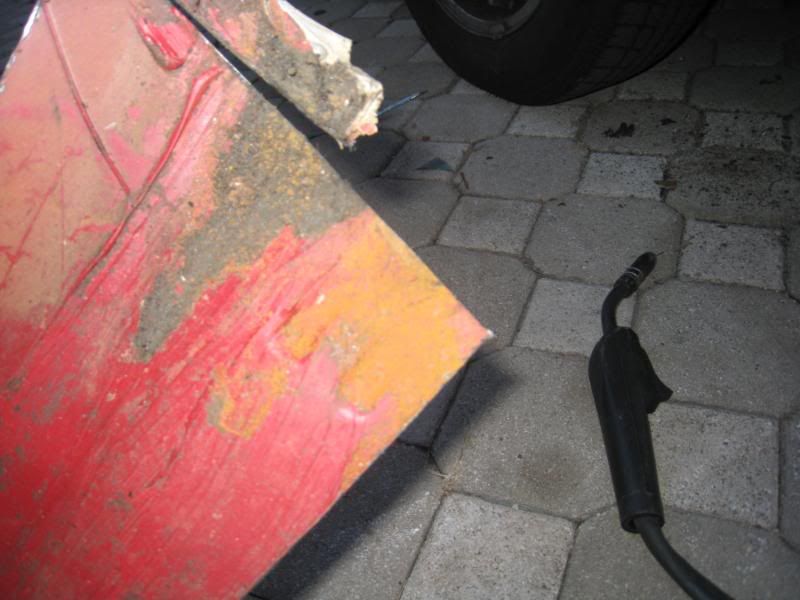
I had some rust on both sides of my rear quarter panels. Since it is areas that you don’t see, I decided to fix them my self. Well my friend did all the work, he knows how to weld better than I do and he has the welder.
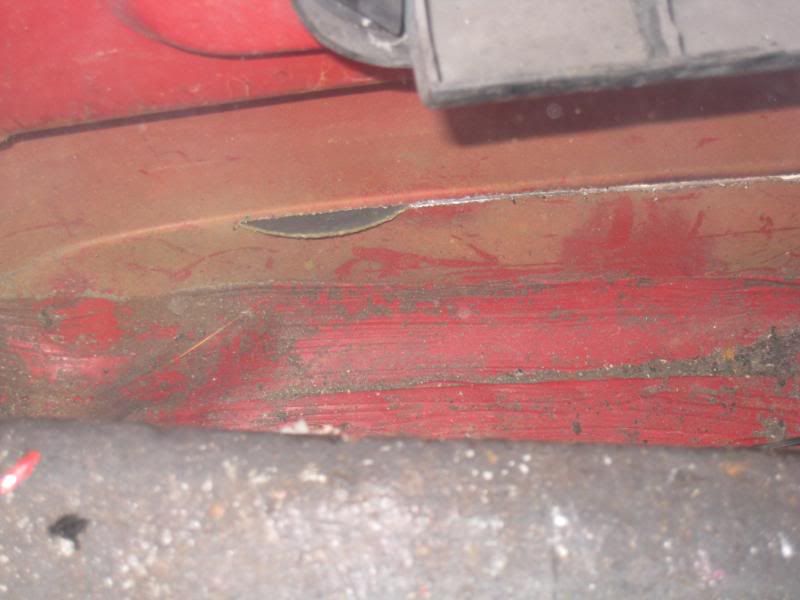
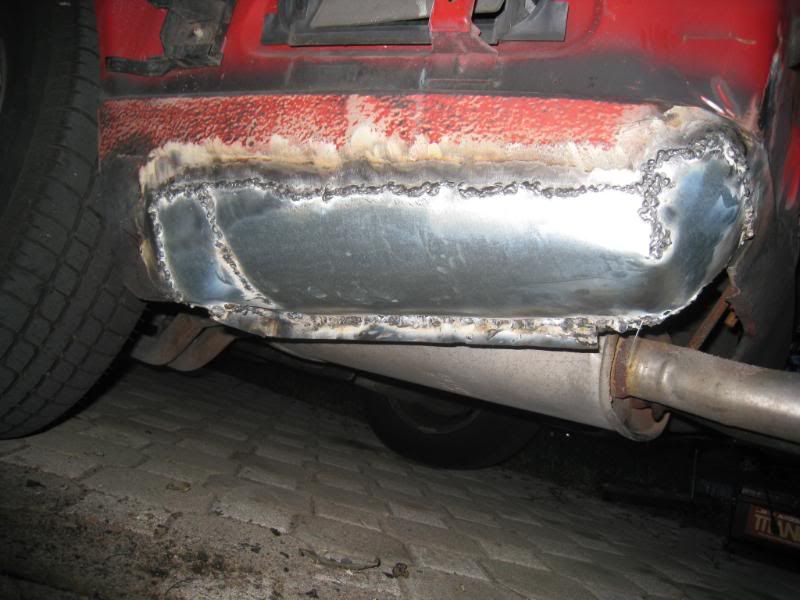
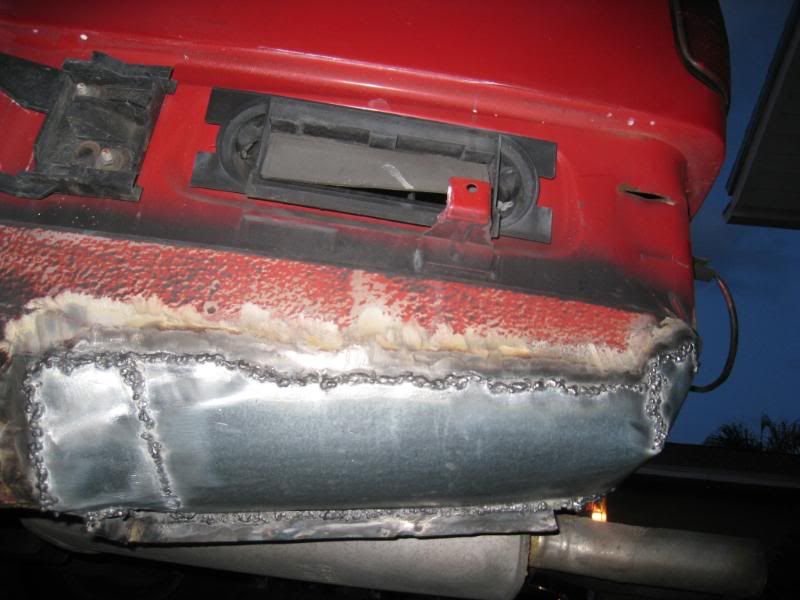
Over all we only got once side done, but I think it came out well for the first time ever doing anything like that, and only the welding material he had already and a $12.00 sheet of steel at Home Depot. They are areas covered by the rear lip, so we were not too interested in making it so pretty, just to fix the rust.
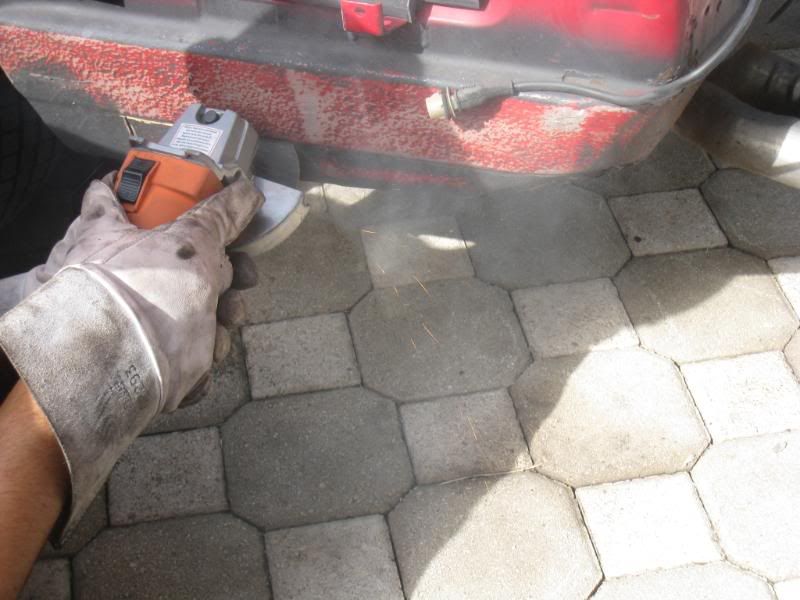
The driver side is the only side today. I have a test on Thursday, but I am not studing on weds, that should be the worse side, the passenger side.
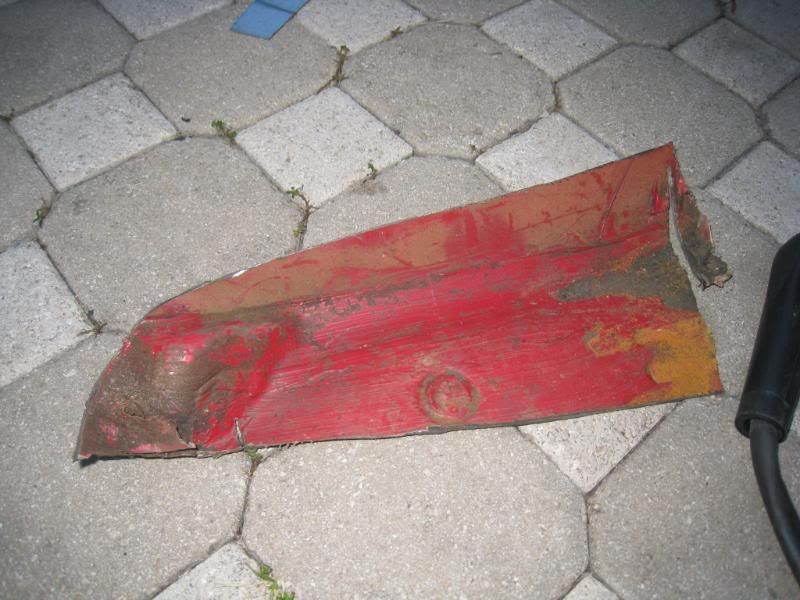
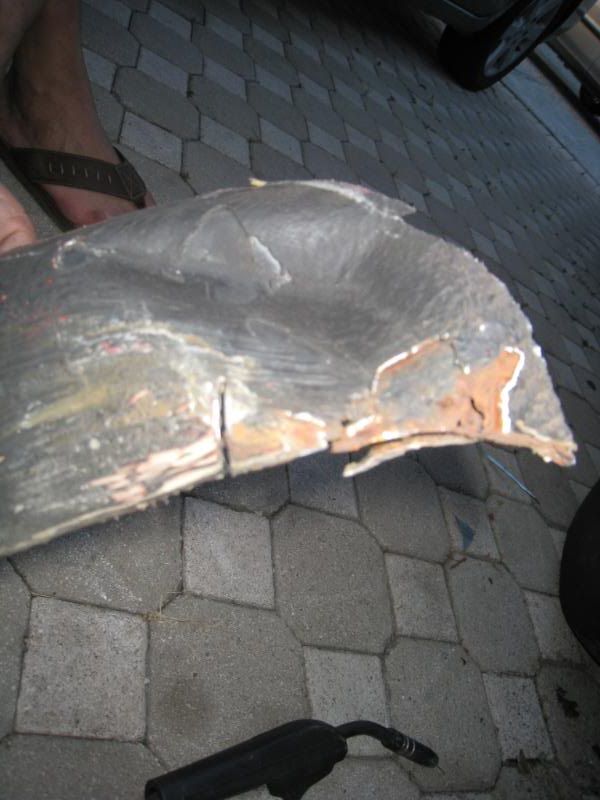
Mark and cut It had water trapped in little crevices. We have not hat rain for over a week
Cut out
Sanded the area with the glue stuff
Started welding, but first we got a measured piece. Spot welded in place
The piece we removed
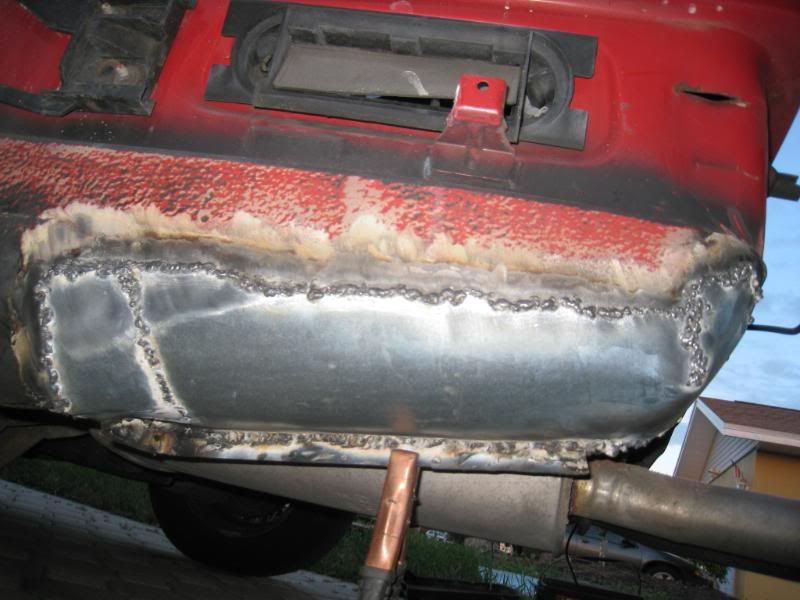
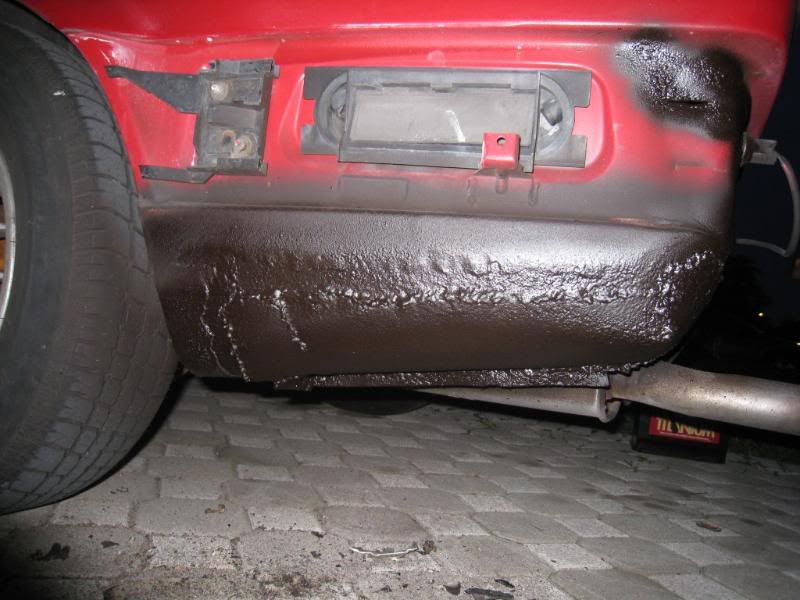
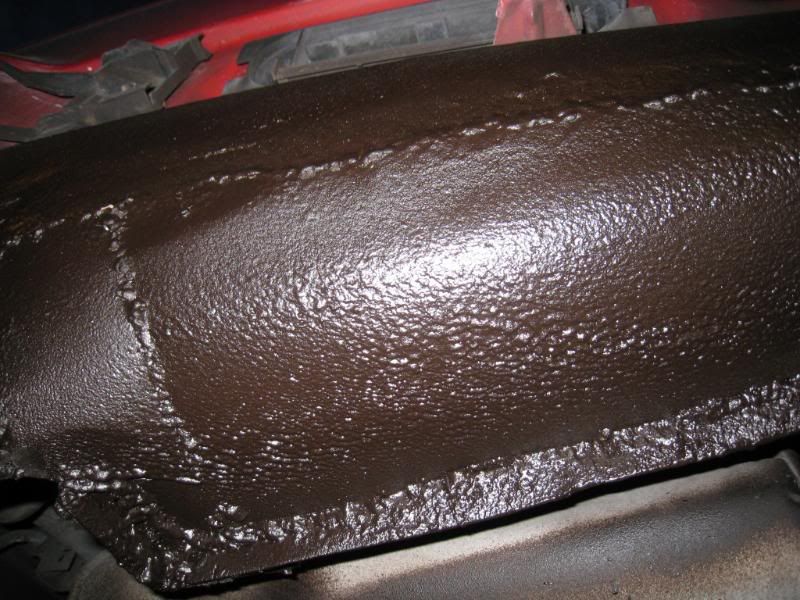
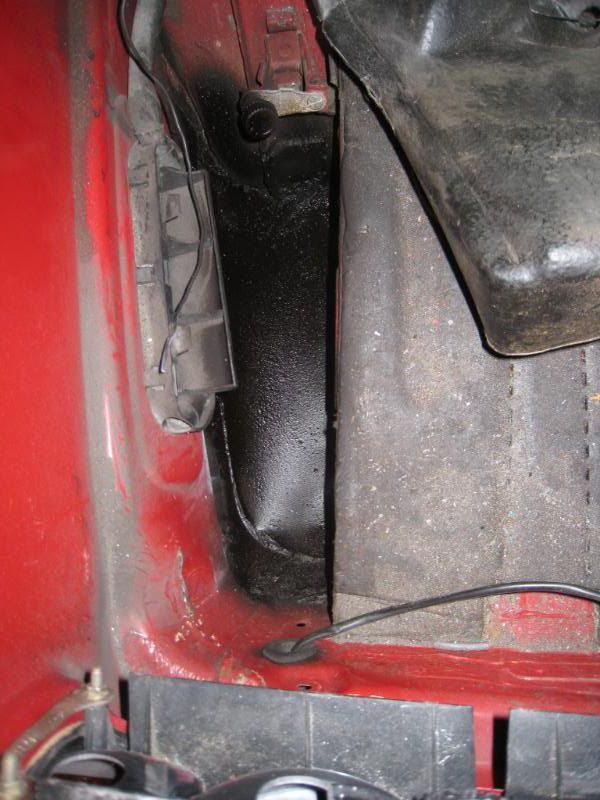
All welded up I sprayed rubberized undercoating on them to hwlp prevent rust in the future
Great work. I wish I was as productive when it came to getting my car done.
But when I painted my bottlecaps I removed the masking tape before the clear coat dried, to avoid making a sharp edge where the two colours met.
Did yours turn out ok?
Well as I mentioned earlier I purchased some J Line wheels for my e30. I like the wheels, but when I got them the finish on the face was a little under par. They seem to have been painted before, but it was old and faded. I decided to take it into my own hands.
Start off with the wheel
Take a bunch of pieces of tape, around 3-4 inches long and lay them out. I did this twice, and it covered the whole wheel
Here is how it should look
You should put a little of the tape of the face and cut it off. This gives it the closest taping you can get.
This is how it looks
On this specific wheel I decided to do the rear. I chose this because the back is polished.
Now the initial taping is done. Next put the second layer of tape, and the newspaper.
All the wheels are done.
Normally you can sand the wheel in the beginning, but since I have a lip I wanted to wait till the paper was on it to not sand the lip
Use 220 grit paper
Then go on to 400 grit
Now clean the face with alcohol, or paint thinner. This take away the dust, and grease from your fingers.
All clean
Now time for Primer. Usually I would use primer where you have to mix and use the gun. That is so complicated, and I hate cleaning the gun. I decided to use automotive primer in a can. You can get this at any automotive paint supplies place. If you use cheap primer it will ruin the finish. If you use cheap primer and automotive paint out of the gun the reducer in the paint will eat away the cheap primer.
This means you can use cheap primer if you use spray paint to do the face.
If you use automotive paint, you need automotive grade primer.
Front and rear of wheel primed
The other three sanded and ready for primer
All the wheels primed
I sanded the wheels lightly
Supplies I used, and needed to put the base coat
Mixing the paint. The ratio on this paint is 2 parts paint, one part reducer
One wheel painted
A comparison of one wheel gold to primed
Second wheel
Third wheel
Last wheel
Time for clear. This is the clear I used. Not the best quality, but it gets the job done.
One wheel cleared
All the wheels done
Time to remove the tape and paper. Wait until the paint is dry.
Only mishap. A little of my paint came off. I touched it up, and now is perfect.
Finished wheel


Leave a comment: