-
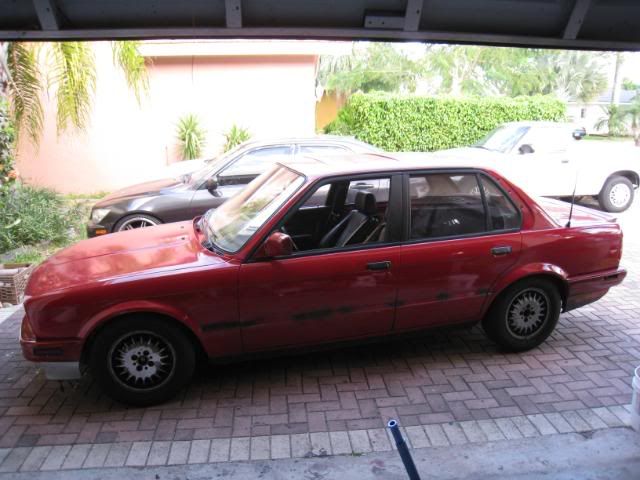
Okay, i got quite a lot done today. It is starting to look like a car again.
Let me tell you it is a bitch to get the dash in. My brother and I finally got it in. Only took us about 15 mins, but that was 15 mins in hell.
Dash in, but not bolted down

I couldnt figure out where this connector went. Any ideas?


I decided to run the RCA's for the amp while the carpet was out

Running it behind everything

Steering wheel in, radio/ a/c controls in, and headlight switch in

I am routing the rear speaker wires under the carpet with the facotory wires. It is the bronze color wire

Also the other side and Blue RCA cables

Got the evap all done and panels all back on

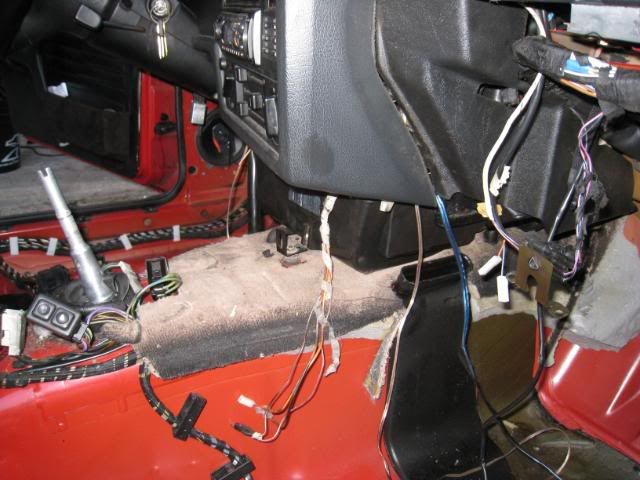
These wires were loose when I took out the dash, Also have no idea where they go?

New carpet to go in


Vacuum bare floor one final time

Carpet in

I am lucky my cutting measurements were correct. The centre console fits perfect.


With my last two glove boxes I hade problems with them not opening. I think it figured it out. The metal where it locks to seems to be bent.
I took apart the lock to test it

Bent Metal

I think I got it

Works fine
Closed

Open

Seats go back in


Rear centre console in

Painted kick panel speaker covers

Parts still needed


And the head liner.
Besides the back seats this is all I will be doing with the interior until the car gets painted.Last edited by motorsports_3; 03-27-2008, 03:49 PM.Leave a comment:
-
I got a little done today.
My work area. I needed a DIY and music, so with no ECU, the notebook did the job

Begin Dash removal

I couldnt take pics through out the process, as I was doing this on my own.
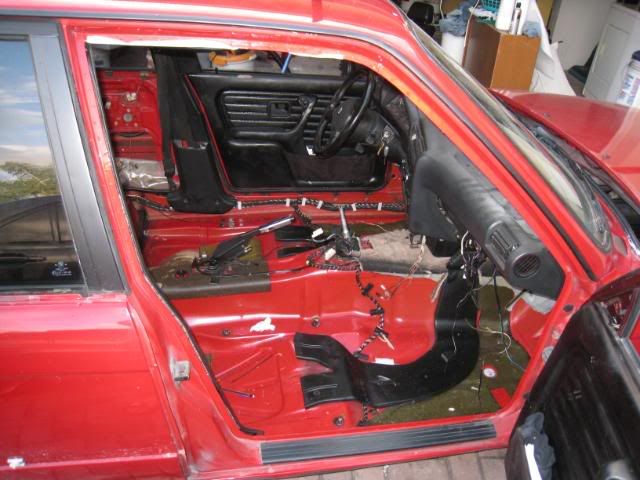
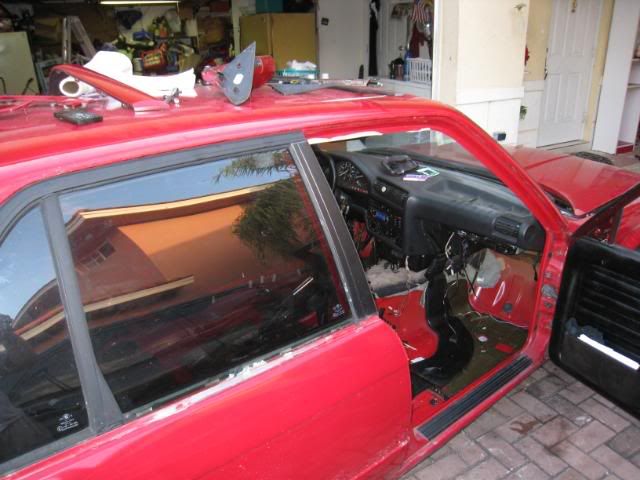
Dash removed


I am not going to lie, I am kind of scared to put it back togehter. Look at all those wires!!!!
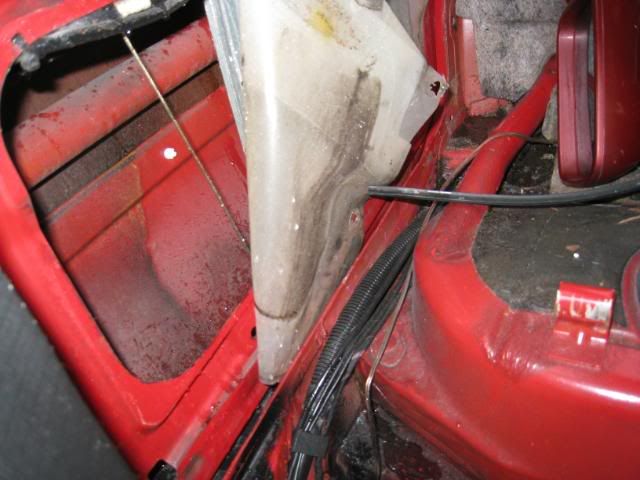
Now to remove the evaporator

After pulling all the wires back and playing for like 10 mins with it, I got it out

Big POS on the floor

The Evaps cubby hole

I also cleaned off more carpet to the point where I think it is okay now. I will just trim the new one accordinly


Dont mess with me while working on my car
Security will get you

I now had to take a break to goto school, and for Brown to deliver my Evaporator
When I got home I decided to try and restore my old faded dash. Someone on the boards told me to use olive oil. You tell me if it worked :pimpin:

Tada!

My new (pre owned) evaporator


The cubby hole again

Got it in the same way i got it out

Screw it tight

Tighten the fittings

Thats is for today. I also now know what I need to finish the int. Here goes- Black Headliner, with peice up front
- OBC
- Driver side B pillar cover
- Front and Rear Centre Consoles
I think that it is...
One of the next things to do is to take the windshield and rear window off. That will be fun...Leave a comment:
-
There you go! Good luck.Leave a comment:
-
-
Pull the dash, then it's easy to get the whole assembly out to fix it. I imagine it'd be a PITA to get the vents unhooked with the dash in place.Leave a comment:
-
Here is another small update.
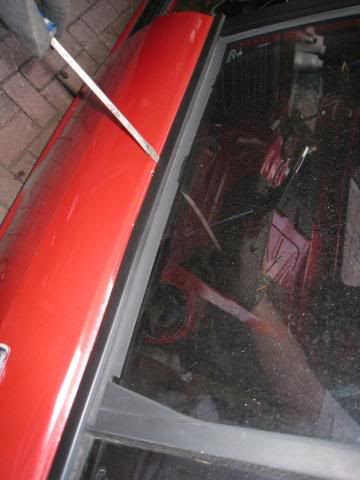
I had some water leaking in and wanted to make sure it was nothing major.
I sprayed the car down and checked
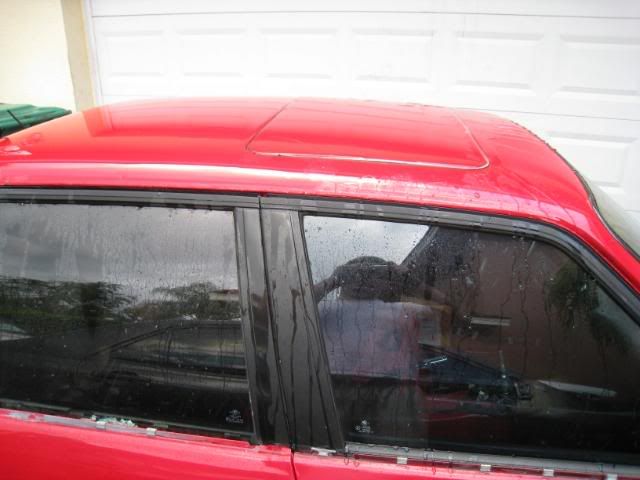
Turned out it cam from the back door with no gaskets

No big deal
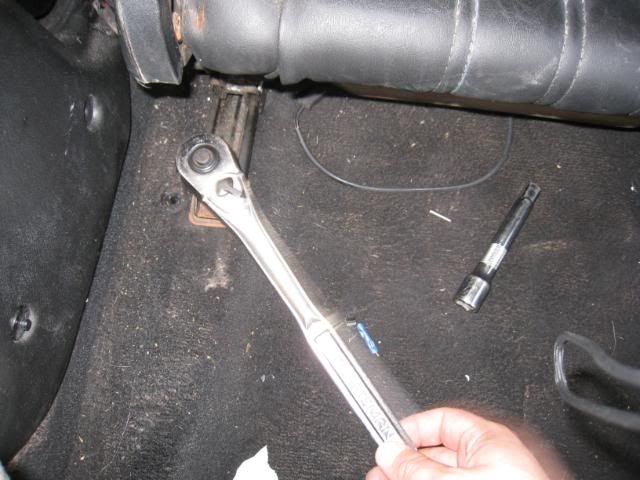
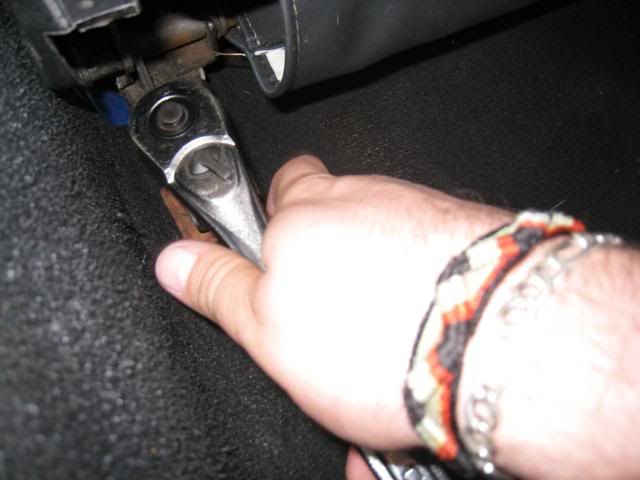
Try two for the evaporator


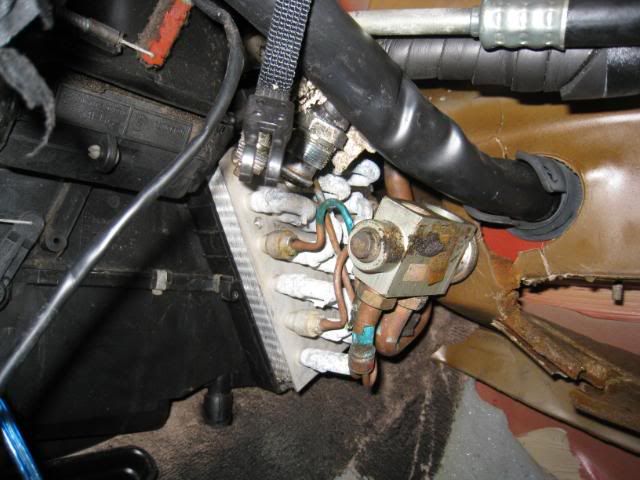
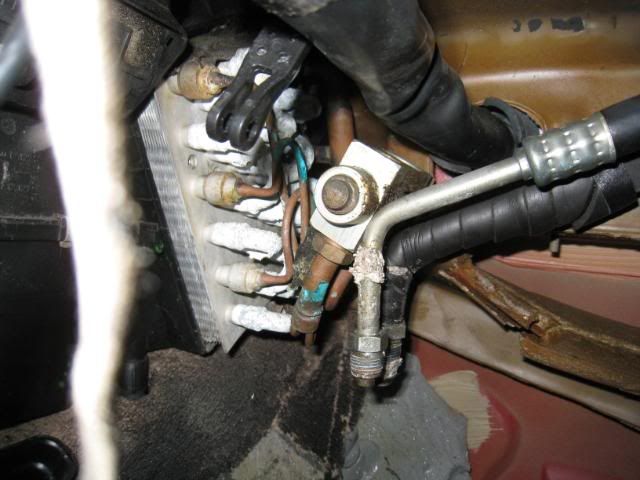
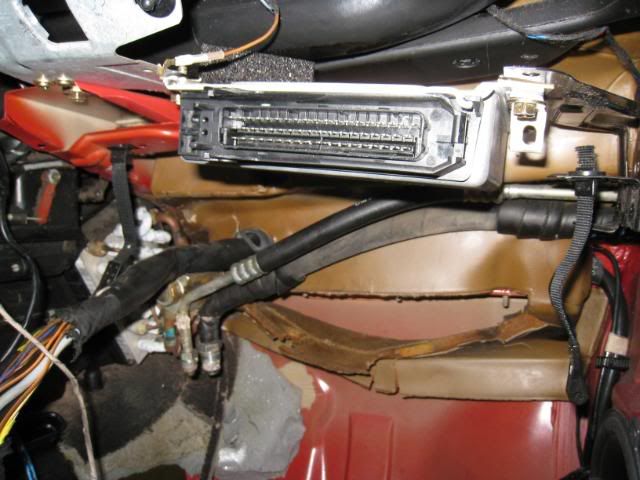
I still could not get the damn thing out. I unplugged the ecu and stilll had no luck. The big ECU wire harness is in the way. Any ideas guys?
Thats it for today. It was going to pour and I had to stop

Leave a comment:
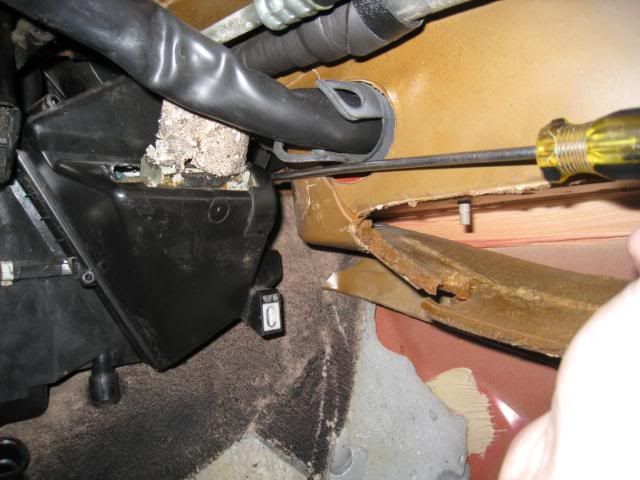
-
yeah, heater core has to come out.. or leave that chunk under there and cut the new one to fit.Leave a comment:
-
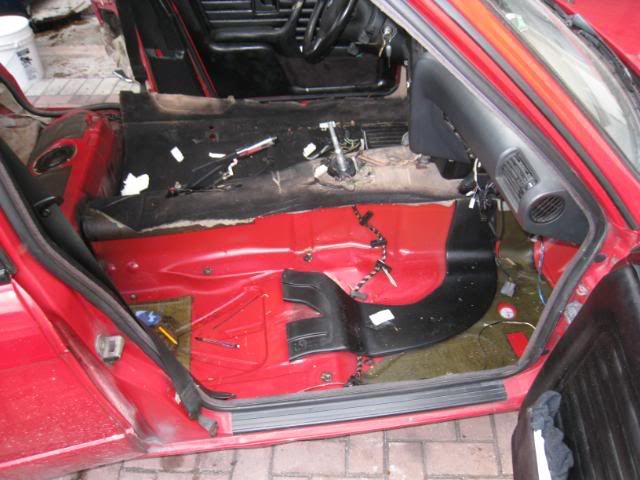
Here is a small update. I got stuck on the carpet removal. Besides that it went pretty smooth. I got tired early, so more tomorrow.
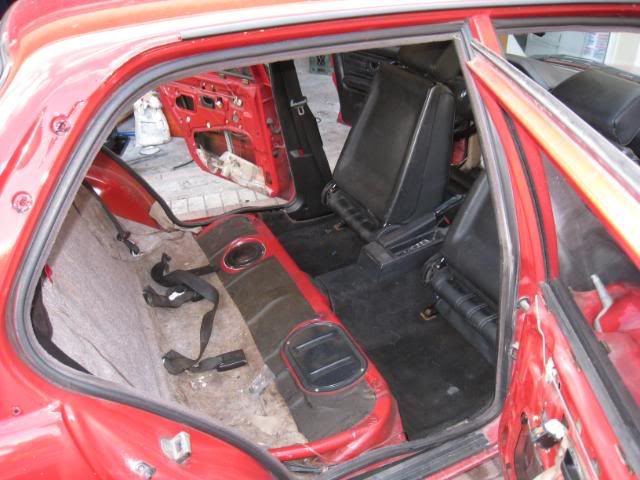
How it looked prior to today

The Interior


Clean it up a bit
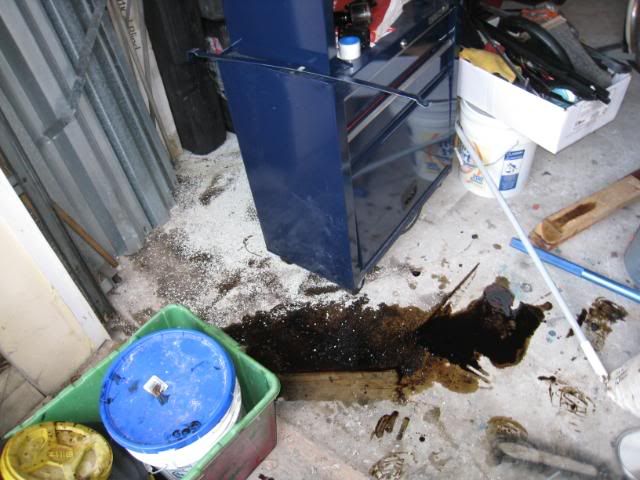
Oil Spill in the Garage FTL
Removing front seats
My camera bat had dies here so I missed a few steps
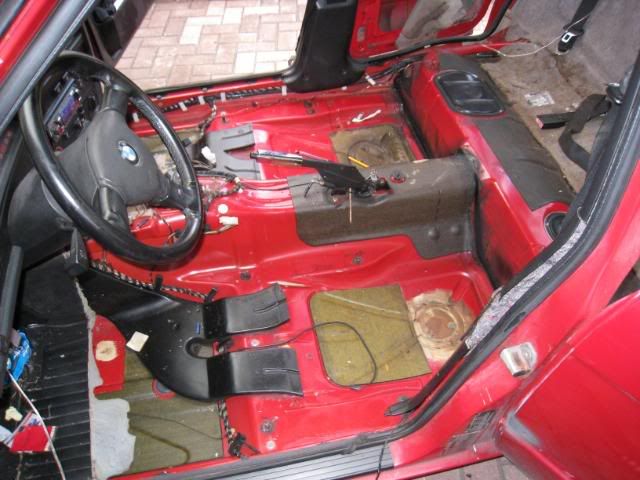
Seats out
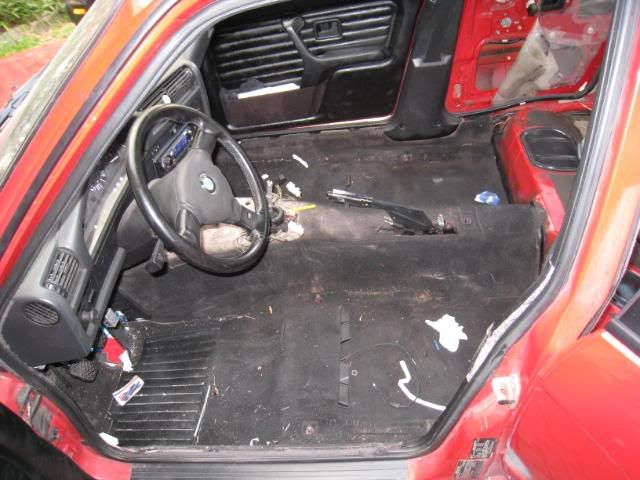
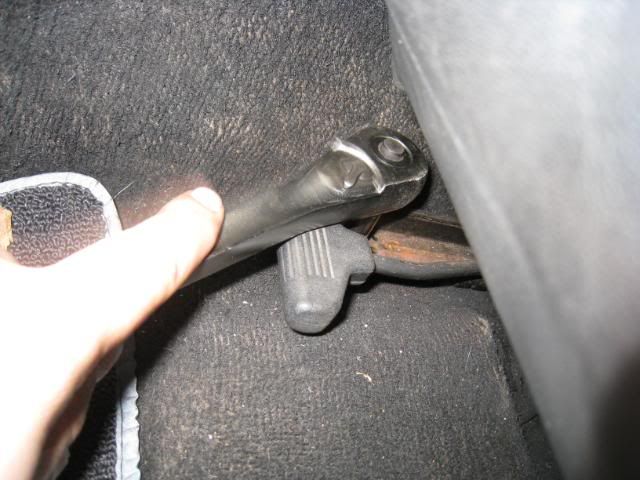
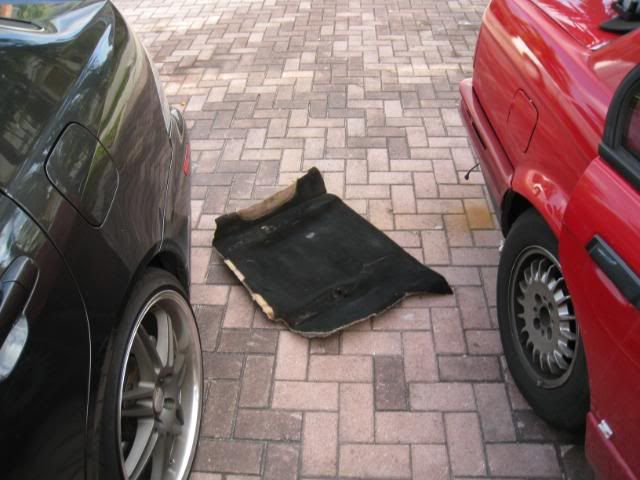
Carpet coming out


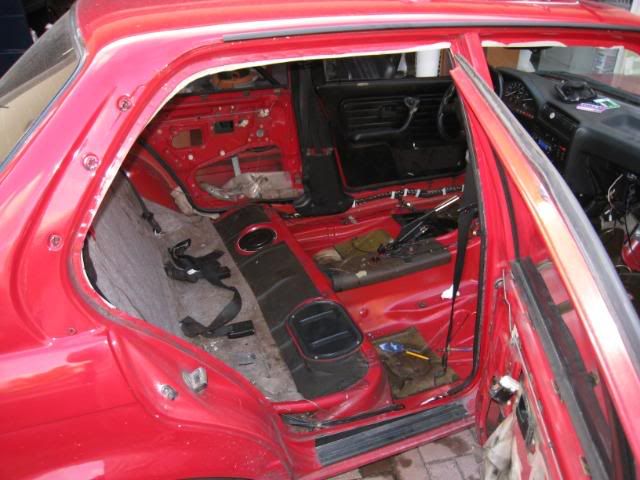
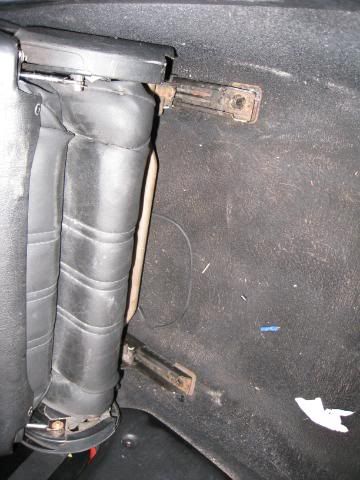
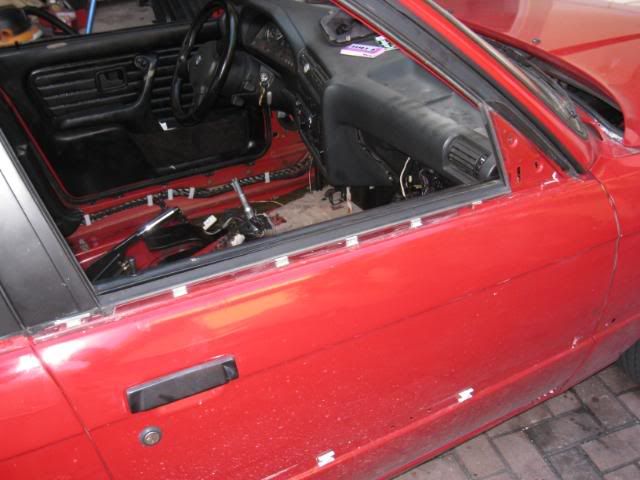
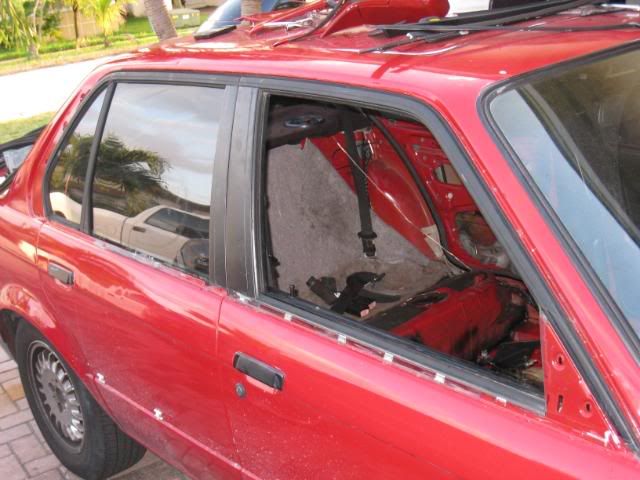
Removing the garbage window trim
Trim Removed


Thats it for today. I cant figure ut how to finish getting the carpet out. I think I need to remove the evaporator and that dash. Does anyone know how to finish this off?
Thanks...Leave a comment:
-
Amazing work and Good Luck!
Excellent thread where to get inspiration.Leave a comment:
-
All the work looks great. Keep up the work. I know what you mean about trying to stay on budget I am trying to stay on budget with my 87is. Keep up the great work and keep us posted with updates.Leave a comment:
-
Very nice project! Man you are doing SO much work! There is only ONE thing I noticed you haven't done yet, it's some what surprising that you haven't actually. You know all the nice black vinyl paint you have? You should take some of that to the middle of your steering wheel, it looks great when it's done right! But other than that I am blown away at how much work you're putting into this project! It looks awesome!

Leave a comment:
-
i thought those plates are where the ball sensor for the door lock overides when you get in to an accident. that vinyl paint sucts. you'd be better off covering the door card and pulls. go for the 7 series look. and don't forget to paint the brake light cover. i've found that black shoe polish cleans up faded interior plastic like the ashtray or seatbelts witould loseing the rough factory finish. did it about a year ago and it still looks good.Leave a comment:


Leave a comment: