-
HA. yeah you should have seen the gaskets on my front timing cover...the water pump side gasket was totally rotted onto the block... -
-
Jon, do you have a pic of the oil filter housing gasket? i want to take mine off, but im not sure if i have the gasket sitting in my pile of new parts. i didnt know if came off that easy, i mite as well pull it and clean it up! PS: your block is looking minty fresh!Leave a comment:
-
Ok, got some better pictures.
Looks like there will be a little bit of compression!!!


I took the oil filter housing off to have part of it welded up. I should get it back either Wednesday or Thursday, I will post pictures of it when I get it back.
JonLeave a comment:
-
Who likes updates? I know I do.
First, rod bearing clearances:
1 - 0.025 mm
2 - 0.025 mm
3 - 0.028 mm
4 - 0.028 mm
5 - 0.025 mm
6 - 0.022 mm
Ok, had to order new piston rings and rod bolts, got the wrong ones from WorldPac, so I had to get them from the dealer. Ouch. Rings - 198 bucks, Bolts - 50 bucks (or so). Didn't make me too happy, until I put them in.
Here are some crappy pictures, I will take some with a camera tomorrow.
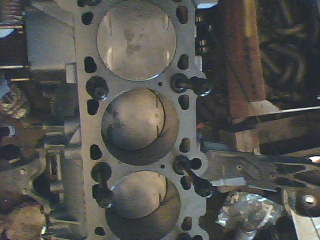
Pistons IN!!!:
Deck Clearance (-0.031"):
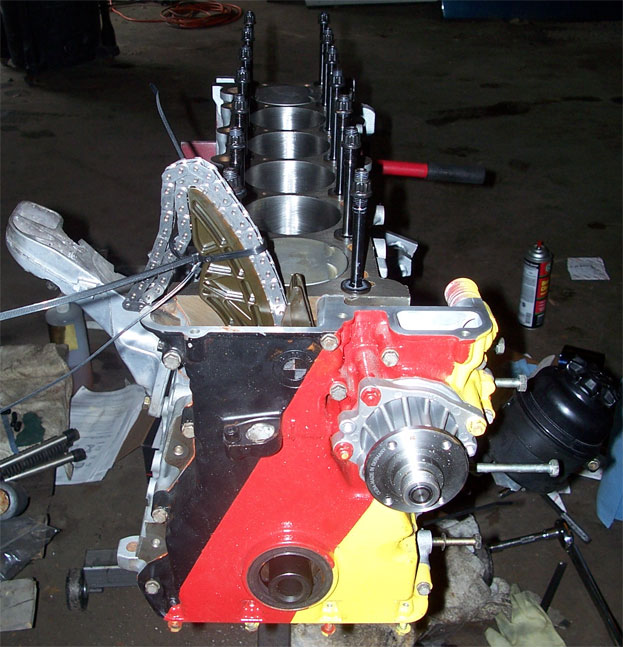
Front timing cover and water pump bolted on:
Here is some useful information for everyone (excerpt from my post on BF.c):
Here is some info on the motor:
Combustion chamber VOL: 32 CC's
Deck Clearance: -0.031" (piston sticks out of the deck for a negative value)
Single Cylinder VOL: 475.5 CC's
Ok, if my calculations are correct these should be my options on HG's and what those HG's would make my CR:
0.098" HG = 12.5:1 CR
0.120" HG = 11.7:1 CR
0.140" HG = 11.1:1 CR
Who thinks they know what HG I will be choosing? ;-)Leave a comment:
-
Haha, tell me how it works out, I really wish I could have had the ability to say that I had a 2.9, but shit happens.Leave a comment:
-
Time for another update!
I finally get to finish the bottom end next week when I get my rods back from the machine shop. A few of my buddies decided it would be funny to keep my rods at the shop for a week before telling me that they can't machine them, but they were able to point me to a guy that does EXCELLENT work and is highly recommended. I also have my ARP main studs coming on either Tuesday or Wednesday.
On to the pictures!
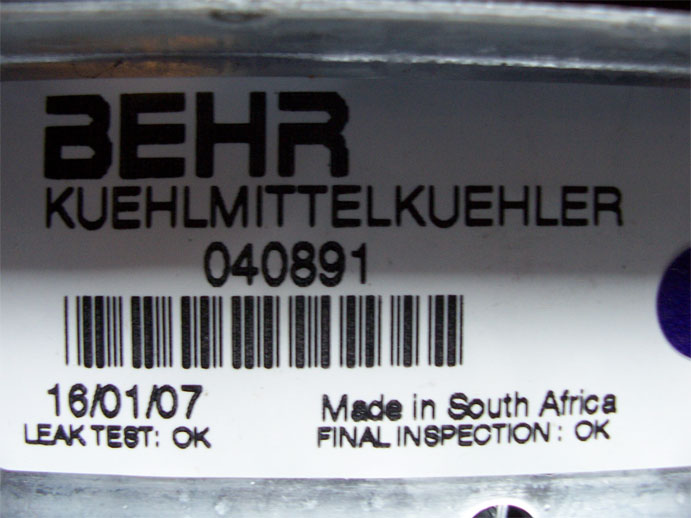
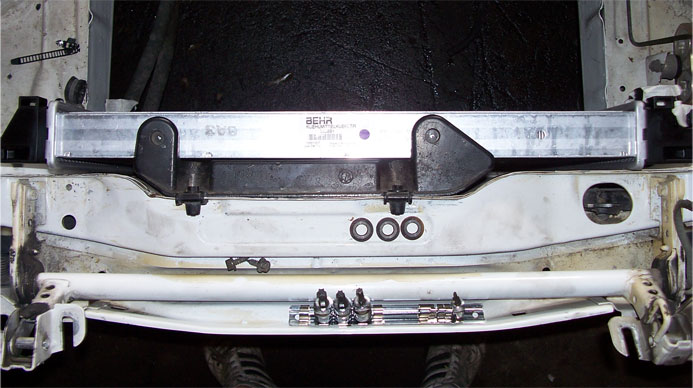
S54 radiator from an MZ3 Coupe:
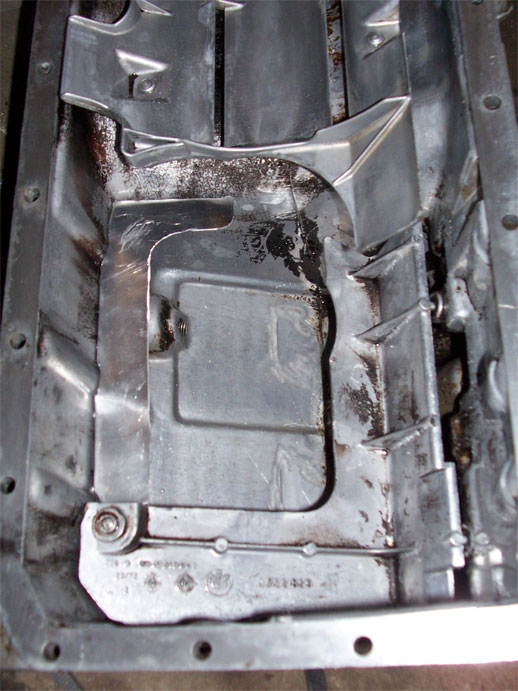
My oil pan baffle that I made today:

Now it's time to wait, again, for more stuff.
Hopefully I will be able to buy my head gasket this week and put everything, minus a cam, together.
JonLeave a comment:
-
-
I drilled through the sprocket. I managed to line up the hole on the nut and the hole in the sprocket and ran a wire through there.Leave a comment:
-
Was enjoying all the work till I saw the safety wire on the nut. You should have used a proper safety wire tool and drill out the sprocket. You might loose that wire into the pan.
Very nice project.Leave a comment:
-
haha, that's funny. it looks almost in the same position/place that I have mine.
nah, I'm not knife edging the crank. Maybe when/if I have to do a tear down I will take it to have it done.
I try to work on it everyday, but that tends to not happen sometimes.Leave a comment:
-
Very nice dohc project. Are you knife edging the crank? Just wondering after your comment about the crank weight.
Sorry about your last car. The alpine looks great though. Just like mine..
Leave a comment:
-
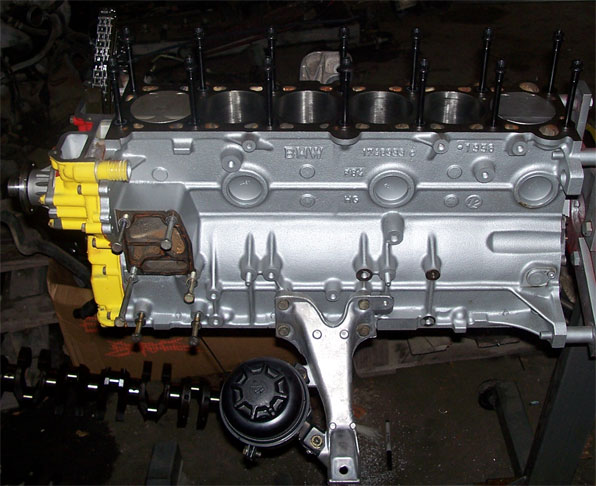
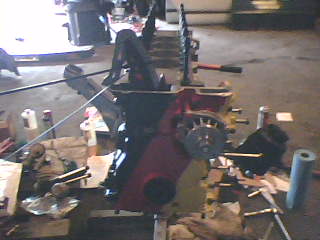
OK, time for another update.
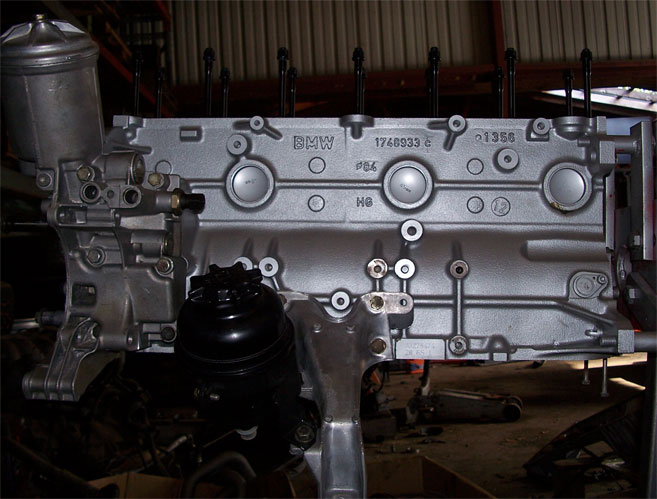
Just a few pics of the block now:


Got my head assembled (finally, took BMW 2 weeks to get me my retainers) minus a few things:
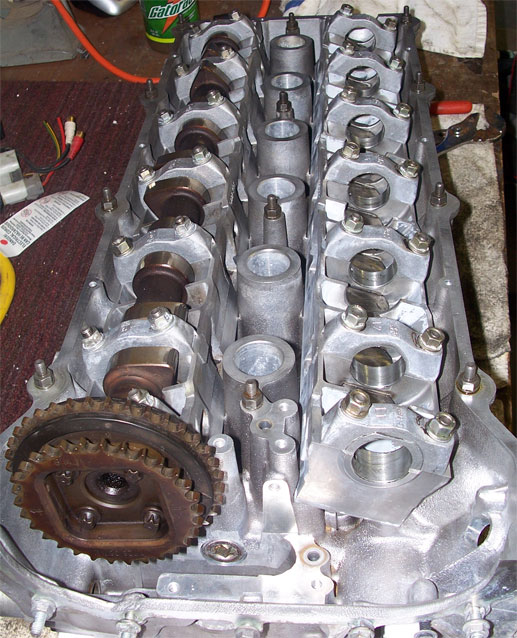
Oil pump nut safety tied:

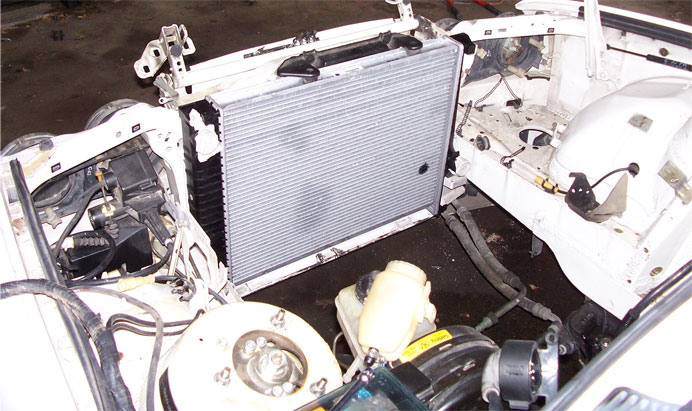
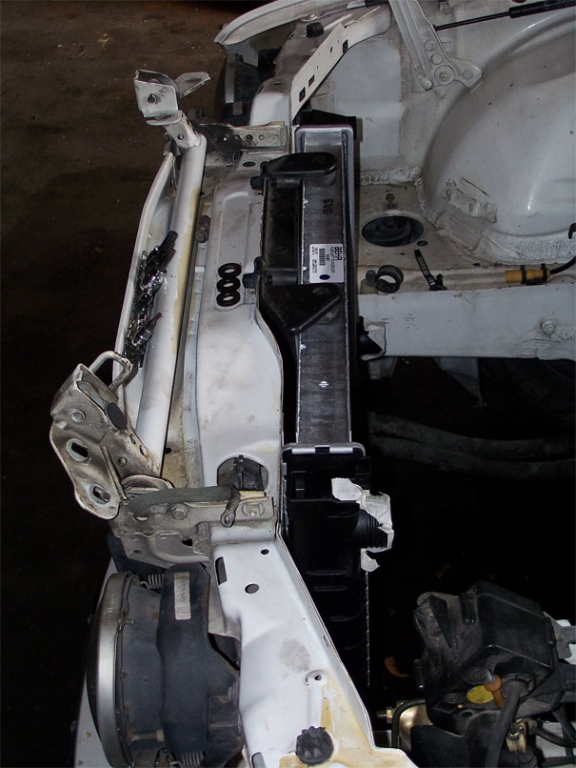
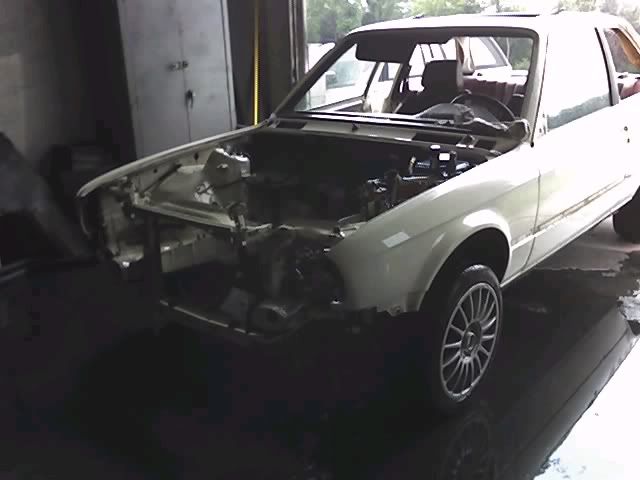
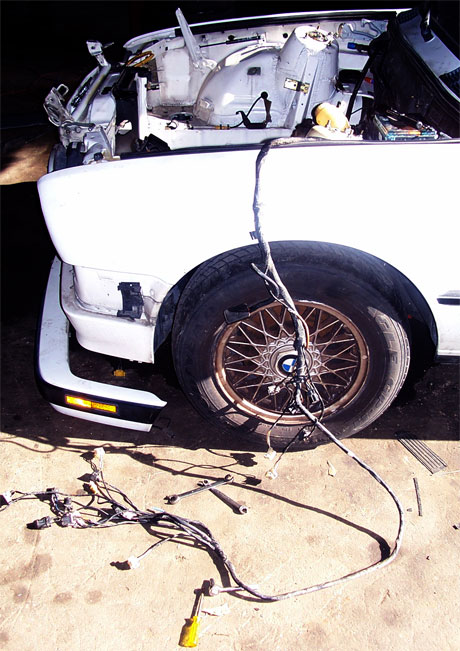
Few pics of the work I've done to the engine bay:
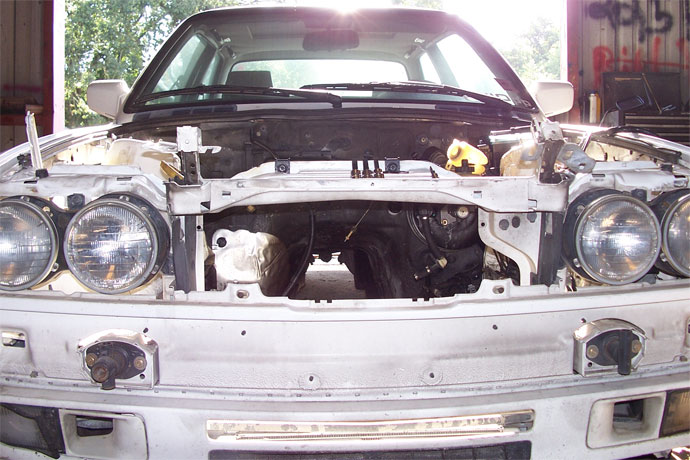

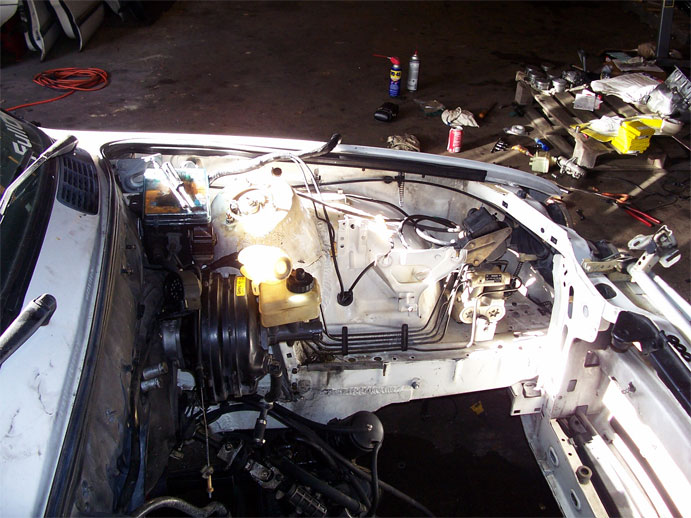

I wonder why I may have pulled the wiring harness out of the engine bay?

I'll have a few more tomorrow (hopefully) of my new radiator.
JonLeave a comment:
-
Just an FYI: if you replace wrist pin bushings on a connecting rod, you have to take the wrist pin and rods to a machine shop for them hone\bore out the bushing to fit the wrist pin.Leave a comment:
-
Update:
Set my piston ring gaps.
1st ring: 0.013-0.0135" across the whole motor.
2nd ring: 0.014-0.0145" across the whole motor.
Oil Ring: 0.0165" all the way across.
I used a set of calipers to set where the ring sat in the bore and to make sure it sat level so that I could get a good gap to measure.
Also, I was able to balance my pistons and rods thanks to a coworker allowing me to finally use his triple beam balancer.

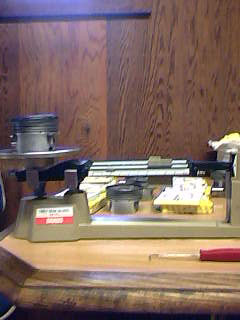
Sorry for the crappy cell phone pics. I didn't take my digital camera with me.
The scale is SUPER accurate. It had marks down to the 1/10 gram, and if it ended up between 1/10th's, then I would try and get it to the half way point and say 0.05 or so.
I only had one piston that was really far off. But even then it was only out by like 2.5 grams which wasn't hard for me to take up.
I first weighed all the pistons, wrote down their weights, and then balanced everything to the lightest piston. They all ended up being balanced to 472.00 grams.
I also did the rods. I did them the same way as the pistons, just with a little bit of a difference. But needless to say, they are all within 0.05 grams of each other.
So, tomorrow I am going to be throwing the pistons and rods together and then checking my rod bearing clearances. Once those check out, I will be replacing the rod bolts with the news ones sitting in my parts pile, throwing the piston rings on, and then throwing the whole assemblies into the bottom end. Then it's all down hill from there.
JonLeave a comment:


Leave a comment: