
+1 on face angle.
your build is amazing btw.
________
Michigan Medical Marijuana Dispensaries
-
-
Ok, goody goody picture time!
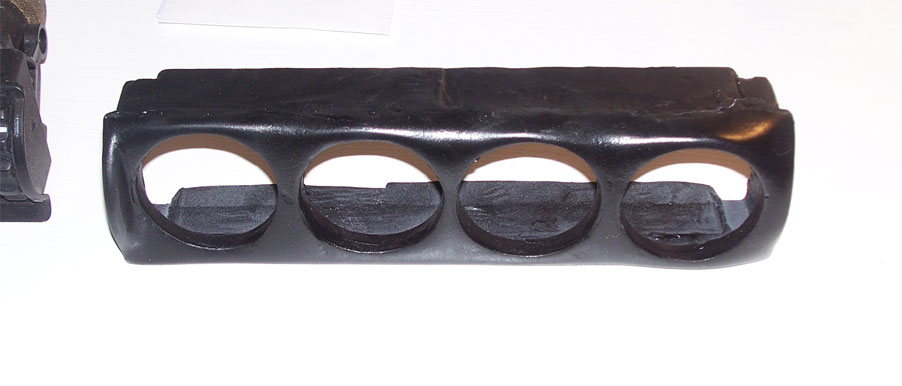


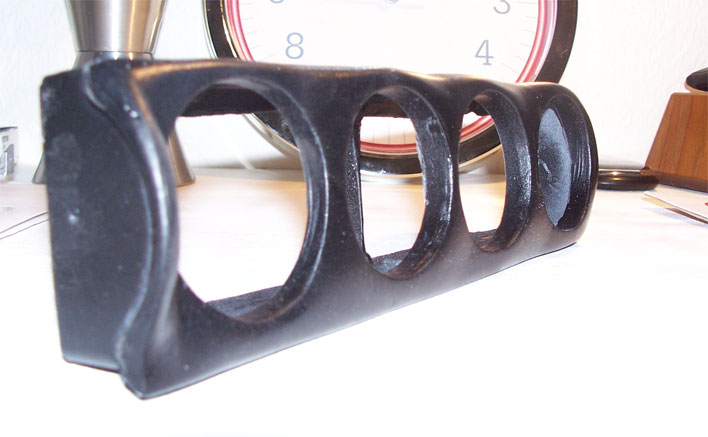
Since I know that a lot of people don't like the thought of losing their center vents, I have decided that I will make a few of these:


I'm not sure how many I will make yet. I will be offering them in the two gauge setup and the 4 gauge setup. I'm not sure on the pricing yet, I will figure that out once I actually finish the 2 gauge cluster and see how difficult it will be compared to the 4 gauge.Leave a comment:
-
There really isn't a need for the cam fixture tool. Get the no. 1 cylinder lobes to point in and up (like this: / \) and put a flat edge on the back of the cams on the square block. If you can get that flat, then your cam timing will be where it should be for stock.
Also, I have something interesting I have been working on that I may be offering to people in different variations. There will be pics in here in an hour or so.Leave a comment:
-
Camshafts installing
Good job with the engine!! I am rebuilding my S50 also. I just have the ports polished & flow branch, and getting ready to put everthing back together.
Did you use the BMW camshaft holding fixture when you install camshafts? If yes, where did you get it?
Did you change the cam timing on yours?
ThanksLeave a comment:
-
-
-
-
I used ARP Main Studs, so I didn't have to deal with the bolts. The studs are supposed to be tighten, final torque, to 60-ft lbs. I started with 20 ft lbs, let it sit for a few hours, then on to 40, let it sit, and finally torqued to 60 ft lbs. I let it sit for a while after that and checked the torque on everything. If you start in the middle/one end of the crank, you will find that you have to go back to where you started and retorque those bolts/nuts.
With the piston balancing, I used a very accurate scale to weigh everything. After the first round of weighing, you will find that the lightest piston is the weight that you want to use for all of them. What I did, and I was told to do by my machine shop, was to take a big drill bit, and carefully drill into the bottom (inside) of the piston. Make sure you go slowly and spread it out. I started in the middle and worked my way towards the outside of the pistons. This is all done "underneath" the wrist pin. I took my pistons and showed what I had done to my machinist and he said that I did a pretty good job of spreading out where I removed the material from. I had him recheck everything and he said that I got the weights closer than he normally does. He gets them to within 2 grams of each other (all american stuff) and I got them within 1/10 of a gram.
Hope that helps.Leave a comment:
-
Great thread, especially the details about the engine build. It's very helpful to have some photos to refer to.
I just realized last night that there's no way I'm going to be able to press the wrist pins through the new bushings...there's a .4mm difference!
Can you elaborate or provide a reference on your piston balancing procedure?
When you tightened the main caps down, did you use the "20nM, then 50*" method, or did you tighten to a specific torque value?
I need to start taking pictures of my build.
TIA.Leave a comment:
-
See previous pages.
Well, I found someone local to me that had an Eastwood fender roller. I rented it from him and it worked like a charm!
Before:
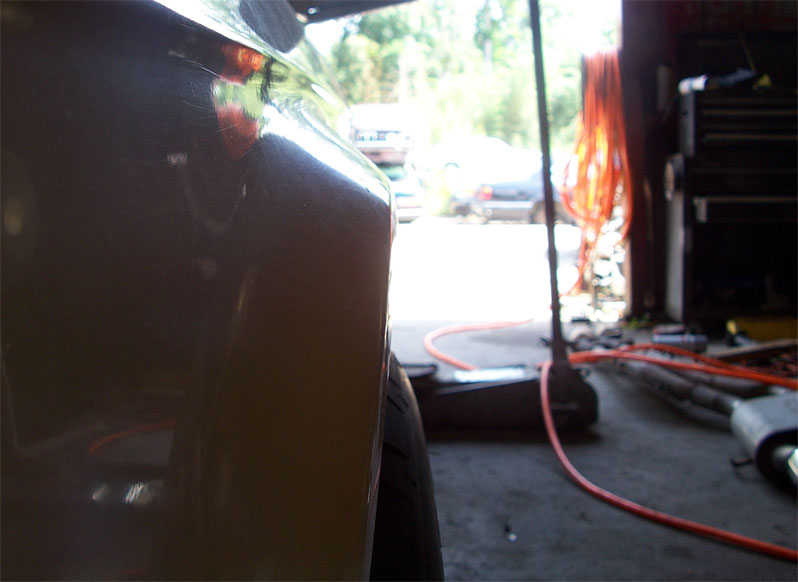
After:
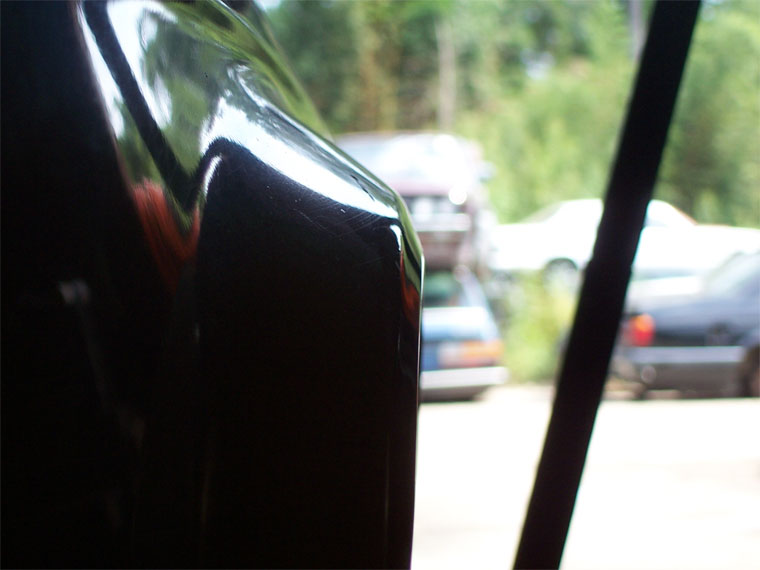

It will definitely give me a little "cushion" once the suspension is fully settled and the car actually has full weight on it.
JonLeave a comment:
-
The anti-rattle clips?
Yea, I have them sitting next to my tool box right now. But, I won't be able to if I throw the Style 5's that I am hoping to put on just due to backspacing limits.Leave a comment:
-
nice build, your going to run the caliper springs right? i noticed you dont have any installed...Leave a comment:


Leave a comment: