

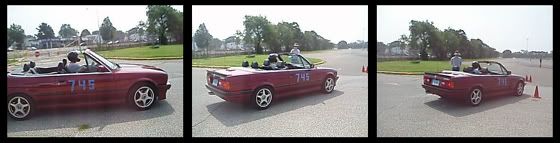
Well folks this will be the thread that will track the progress of my e30 Vert rebuild/restore. The car has been dubbed the "Red Oktober" as it was a never ending search for the car, which finally ended, much like in the movie.
I picked the car up from Vlad, or rather he delivered it to me. Thanks VLAD! (thread here: http://www.r3vlimited.com/board/show...highlight=vlad) Thanks to Levent for checking it out for me as well!
The sunday after delievery the car was washed and put in the garage where it sat for the next 2 weeks.
After briefly going over the car, I decided that it was best to start my work on the car with the interior and work my way out, since the car does run, although it needs a tune up and exhaust fixed.
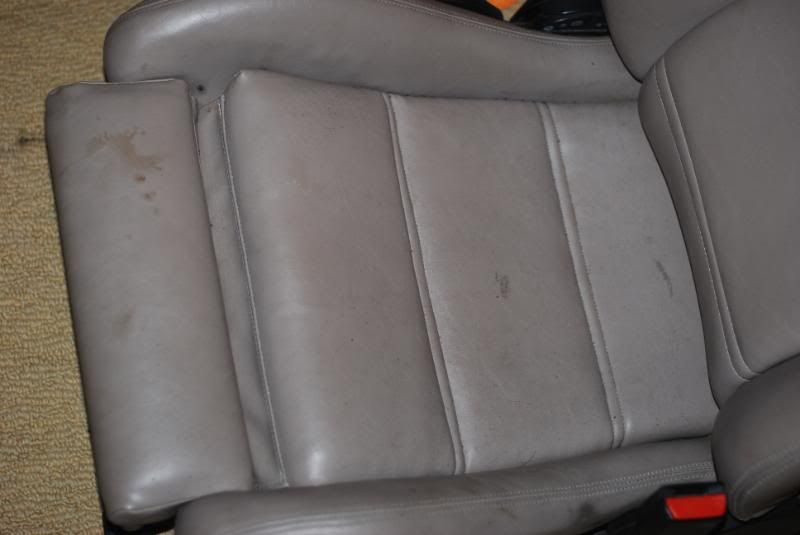
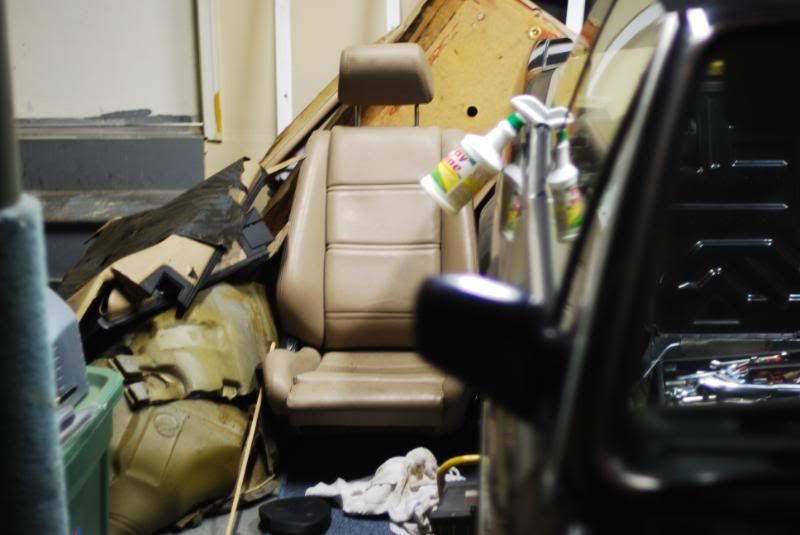
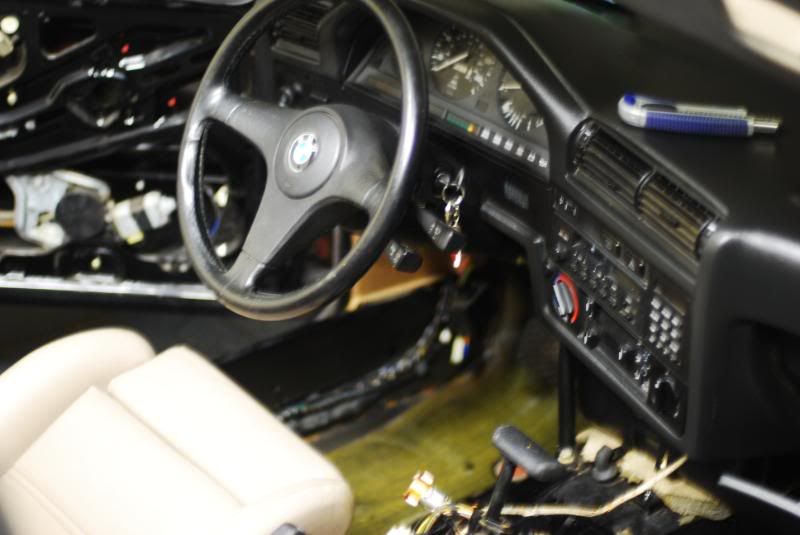
Getting down to the interior I knew the entire thing had to go (Vlad told me prior)...and OUT they came. I sourced a tan sports interior and promptly picked up the seats which were recovered (pictures coming). As the seats came out it was clear that the owner of the car, prior to Vlad did not take care of this car at ALL, but after 20 years.
Nonetheless, we press-on.
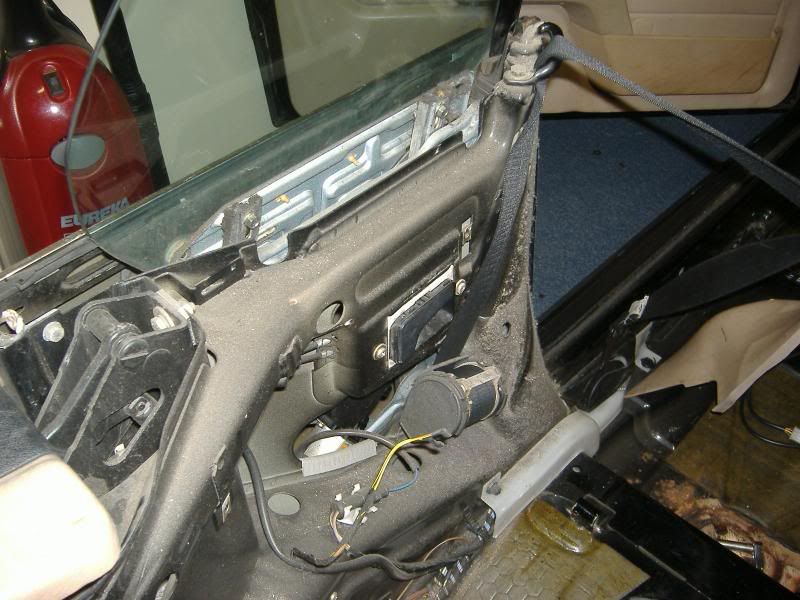
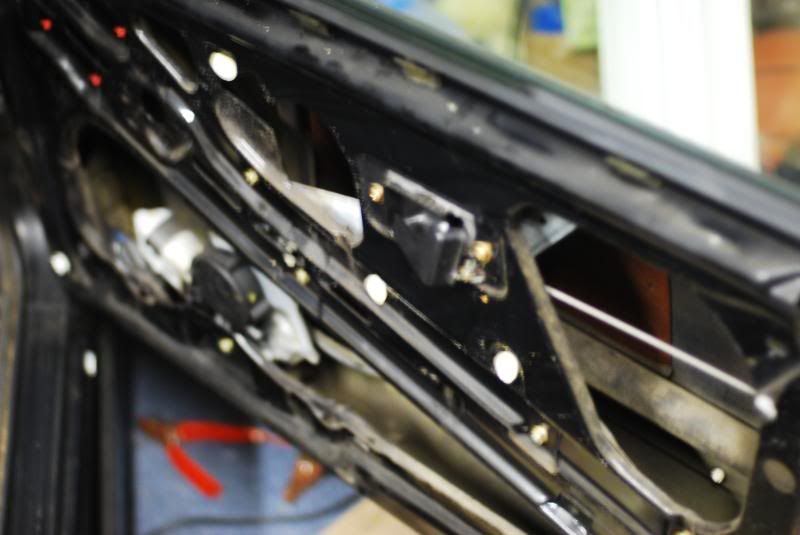
Well now I attack the center console and carpet, figuring if I'm going to do this right, lets see what is under this bad boy.
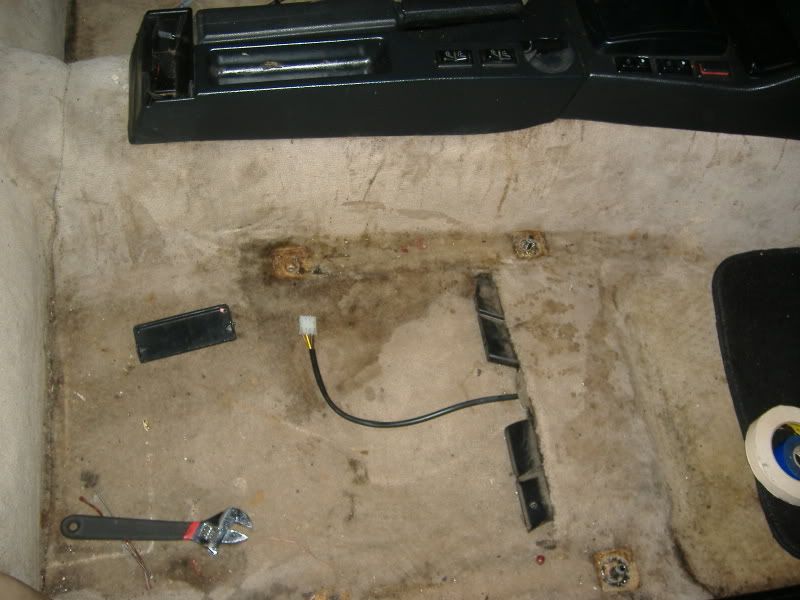
Center Console Out:
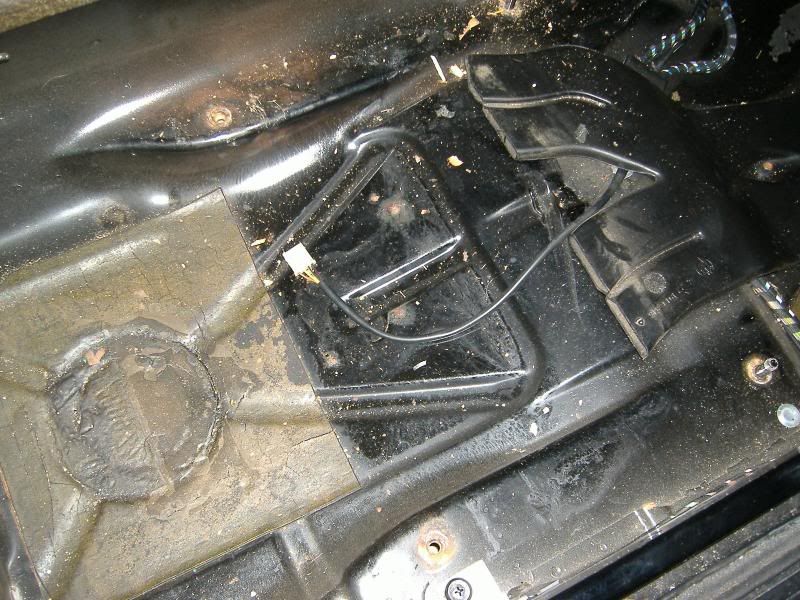
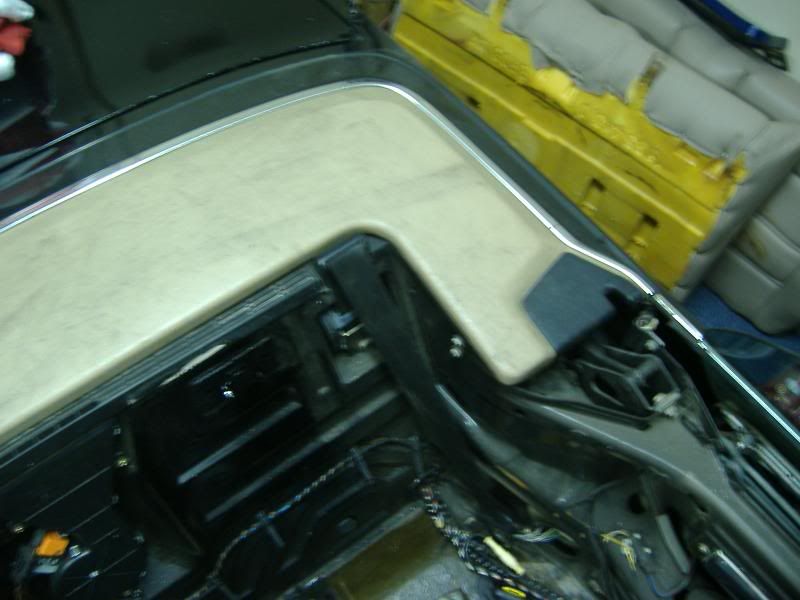
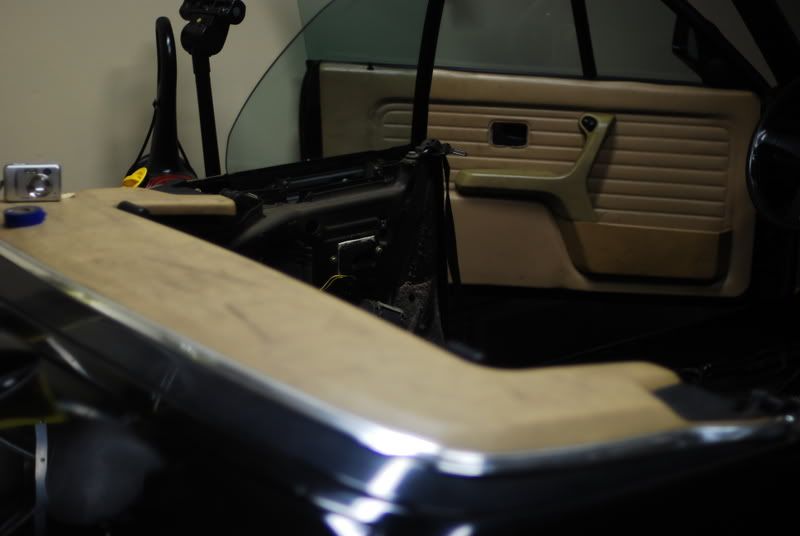
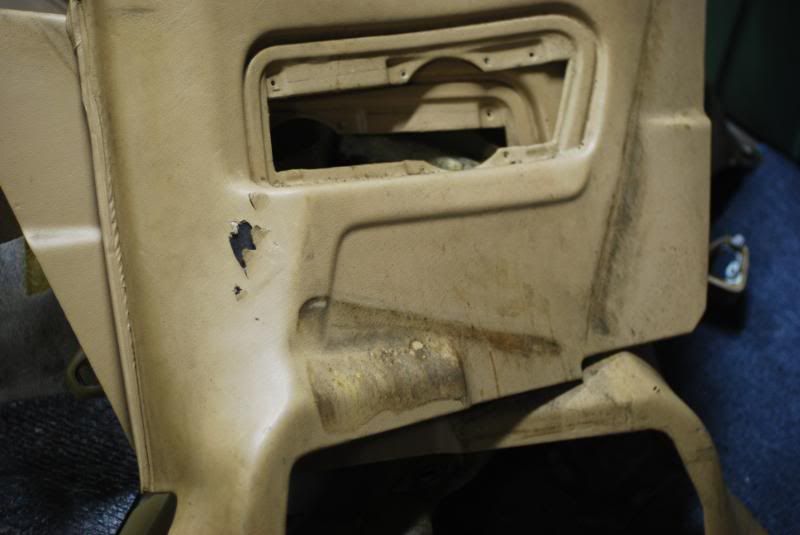
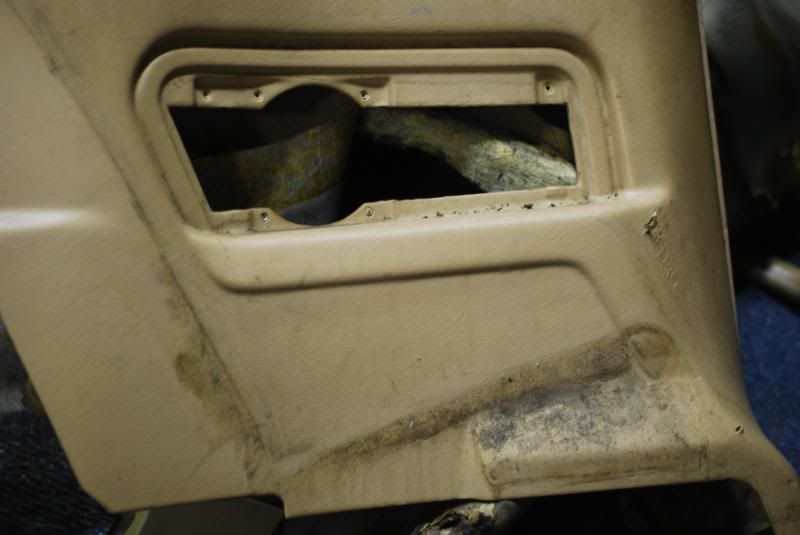
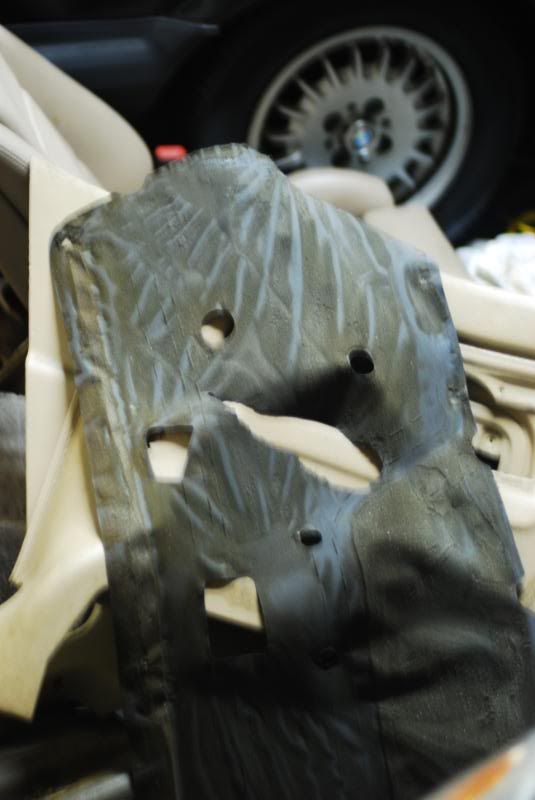
Not wanting to take out the heater core (box), I made some cuts in the carpet to help with ease of removement (is that a word?)...oh well out the carpet came as well as the rear panels, and what did we find?...you guessed it ANTIFREEZE, guess I should have just pulled that core..oh well.
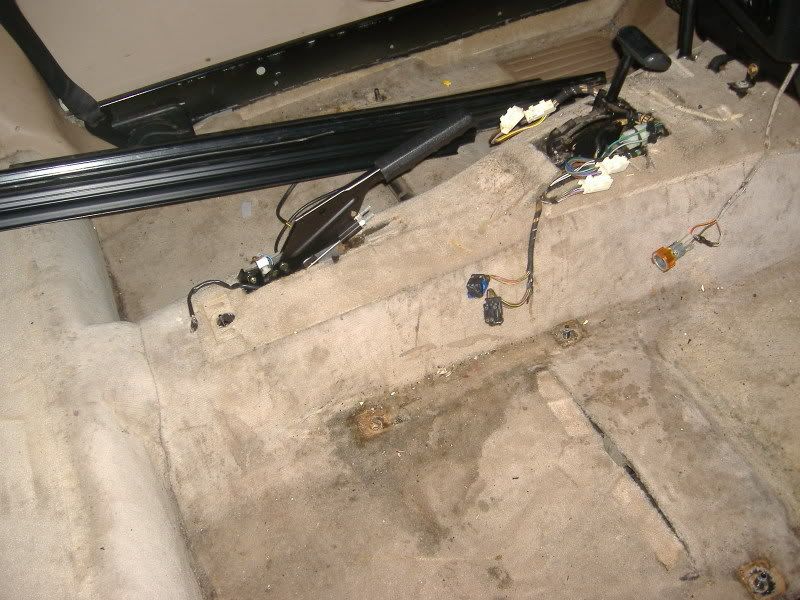
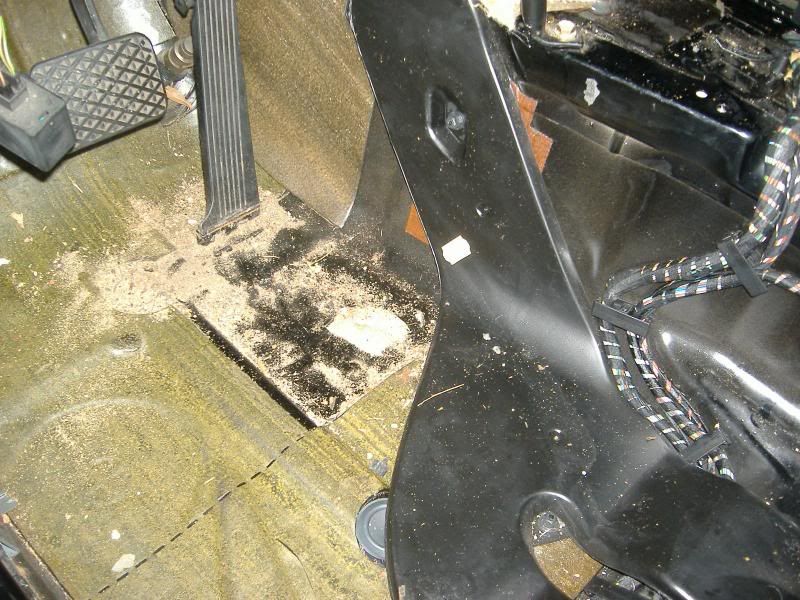
Here are some pictures after pulling out the carpet and panels...and what you see on the driver's side is dirt/dust caked on.
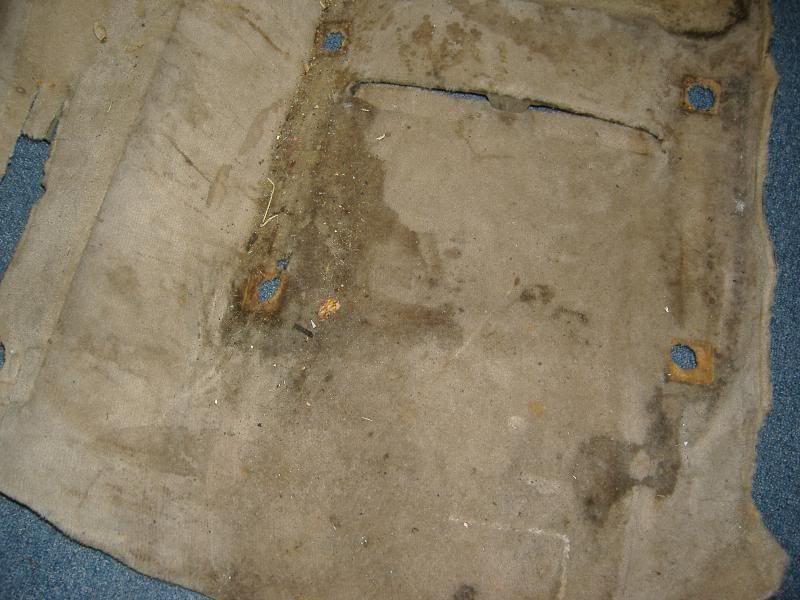
Carpet out:
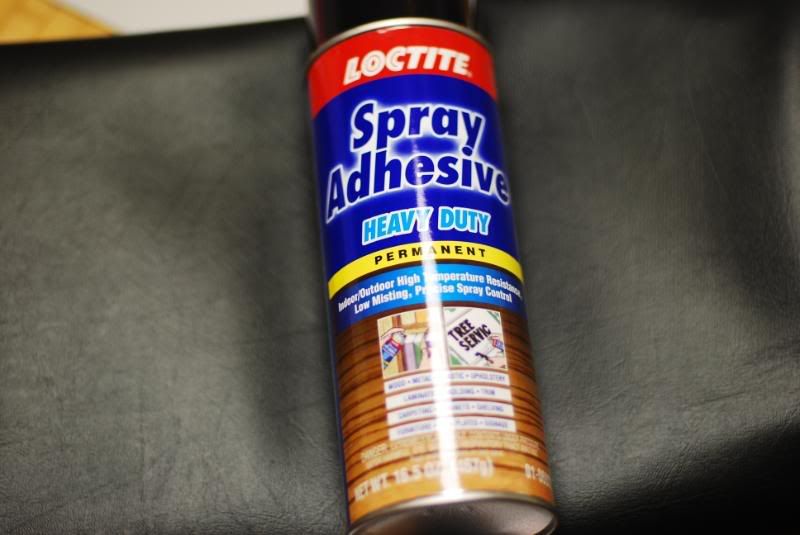
So the weapon of choice for the crud is:
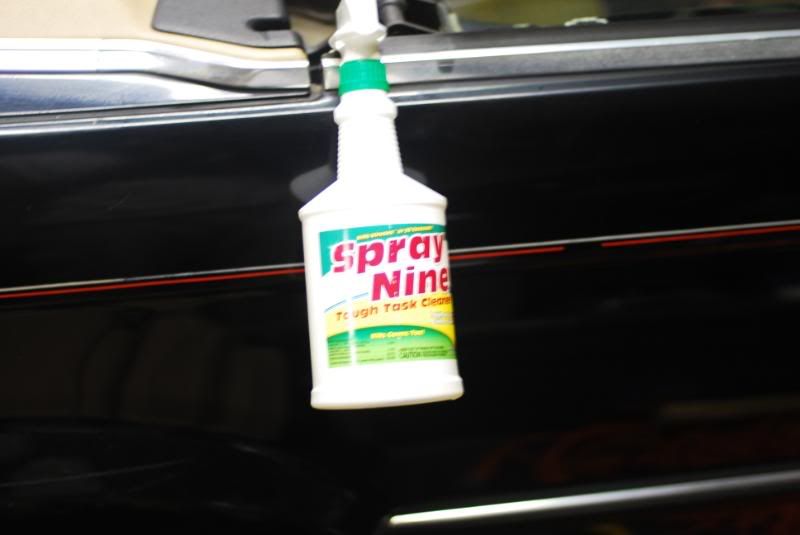
Spray nine is awesome (thanks L for the recommendation) and not as abrasive as Simple Green
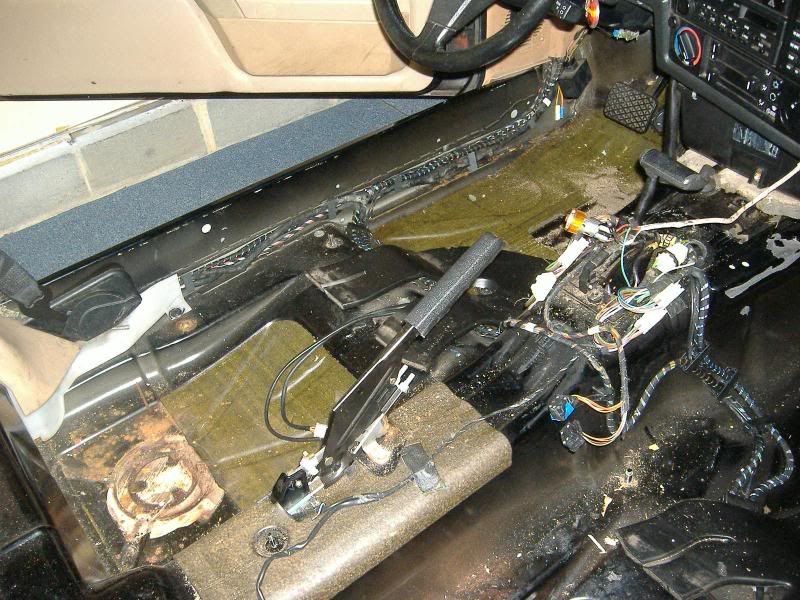
See how dirty this thing was
After Cleaning:

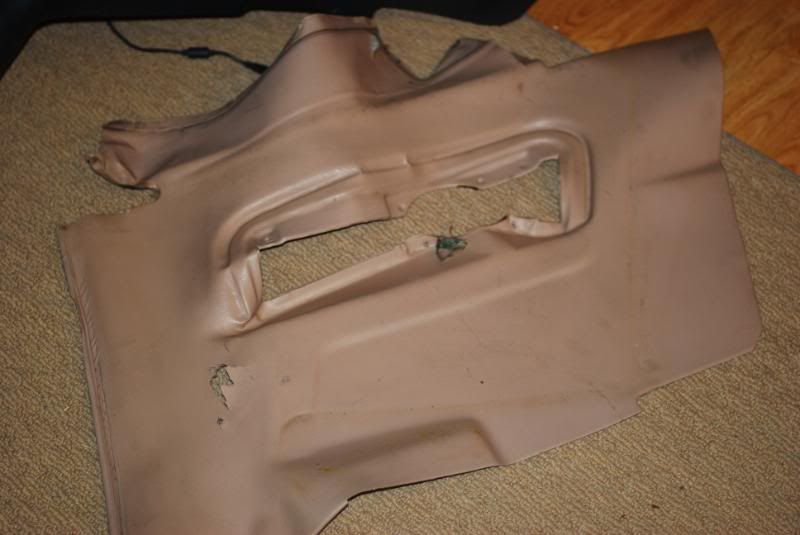
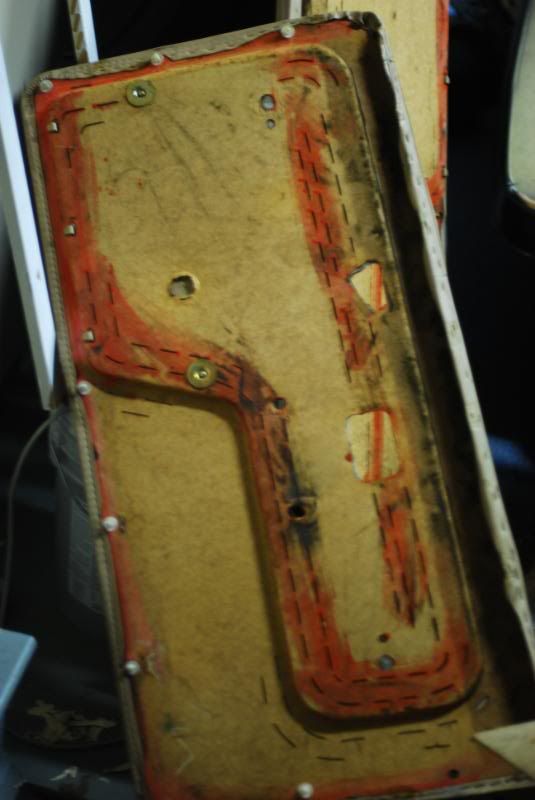
Soft top cover
Before:
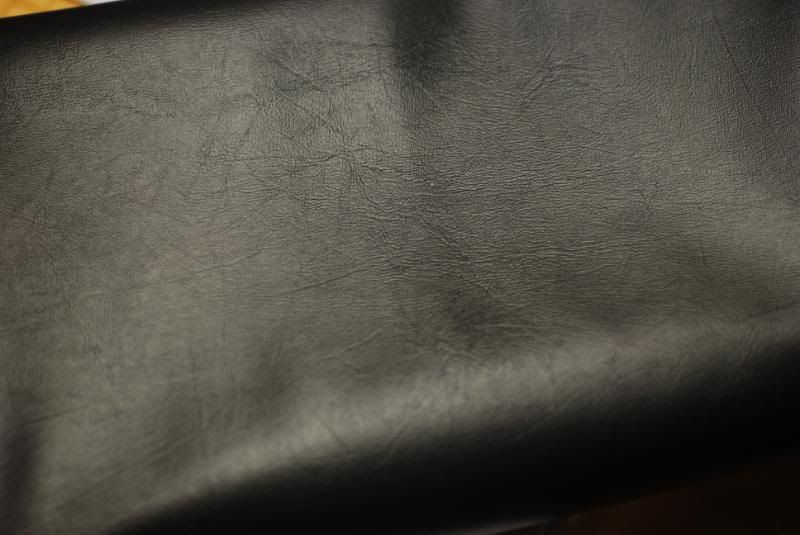
After:
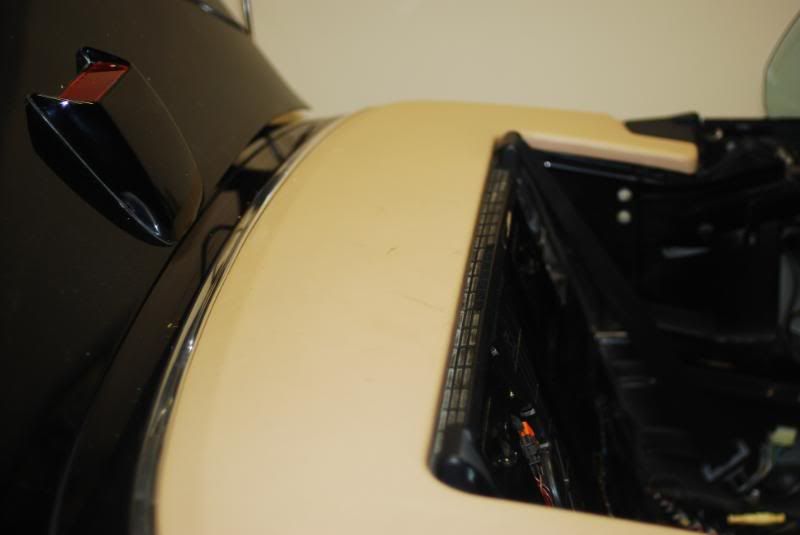
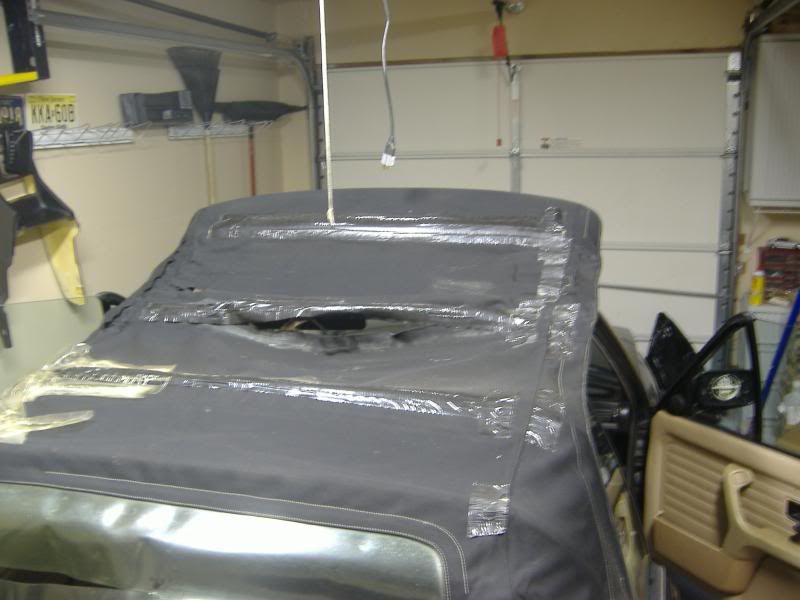
Speaking of softop, I neglected to say that I had pulled the hardtop off at this point and she's sitting in the garage, she needs some TLC, and a new headliner, but I'll tackle that later....so here is the condition of the softtop.
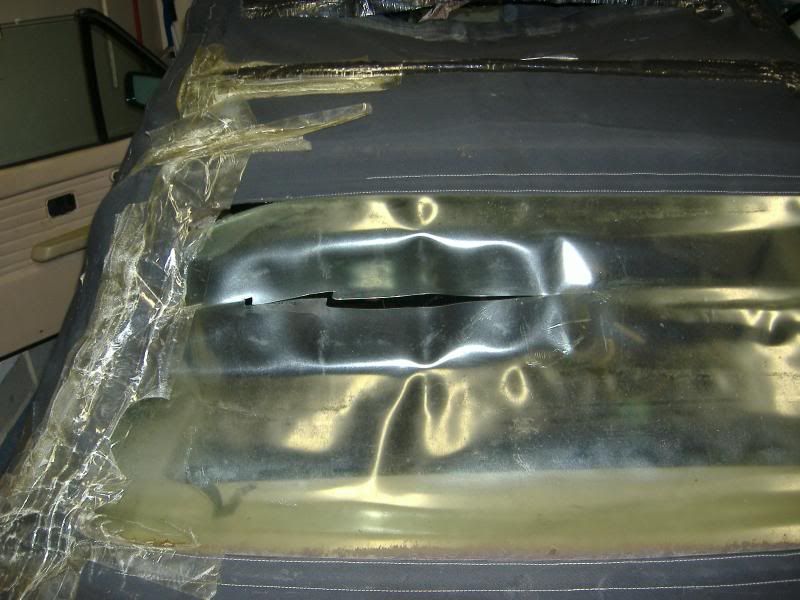
so while pulling it out, I got distracted by the wife and here is the result::?
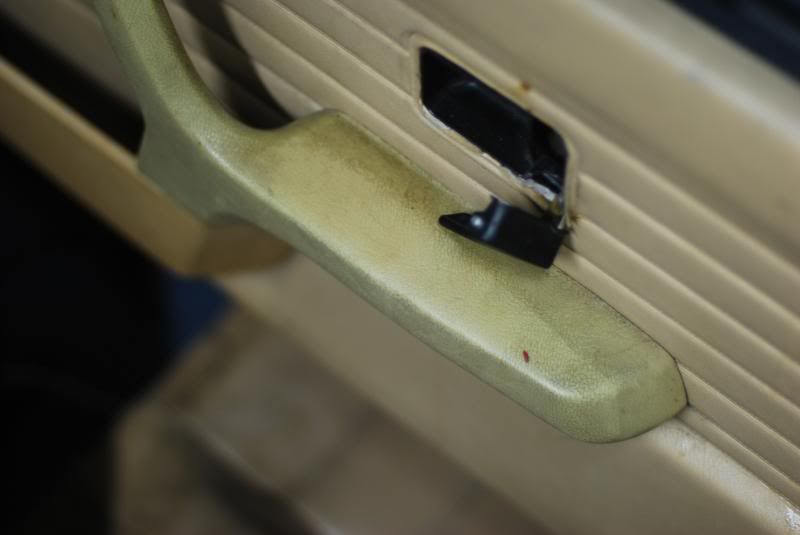
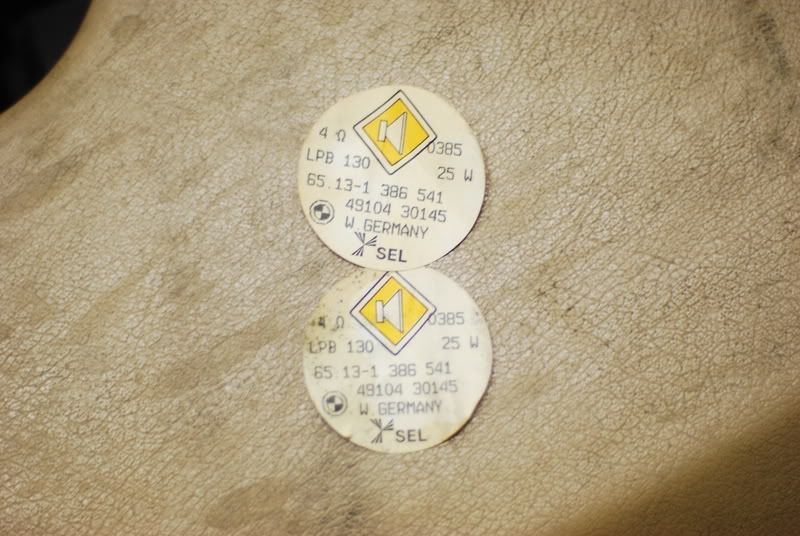
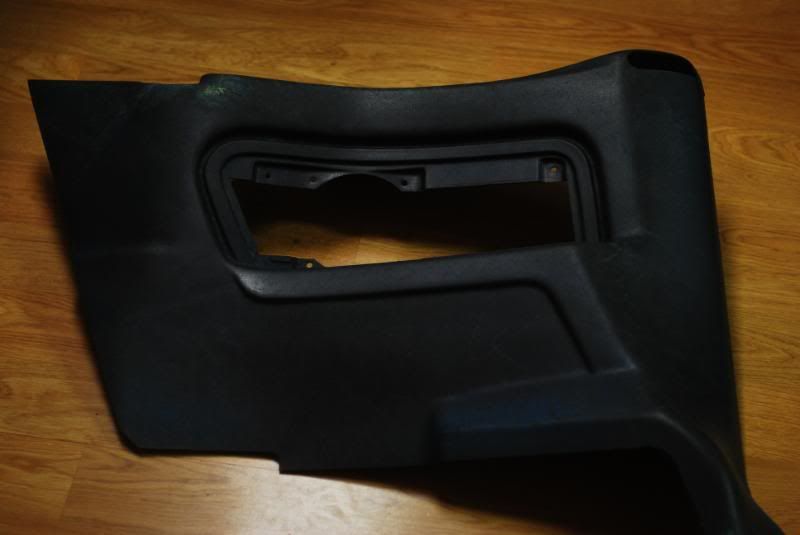
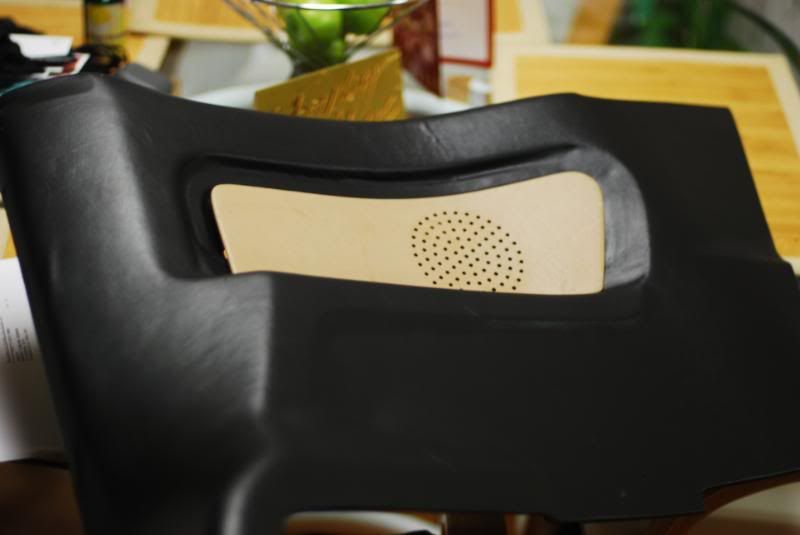
Found these when I took off the side panels
 :hitler:
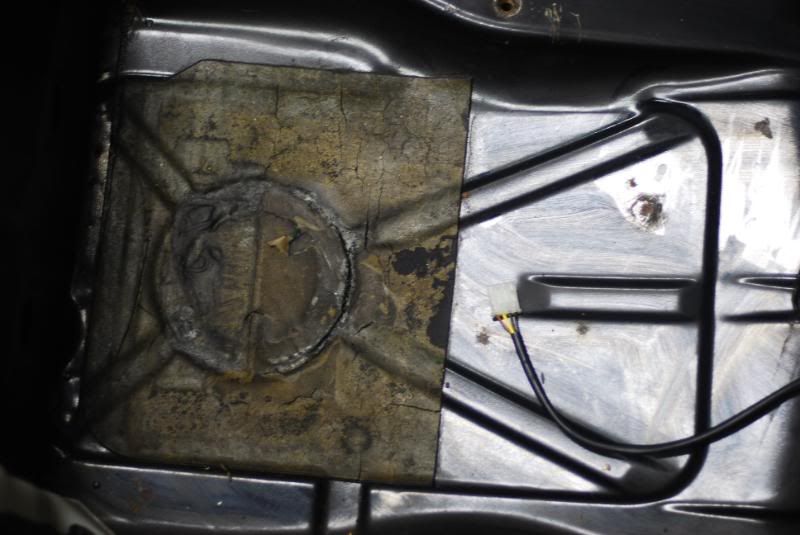
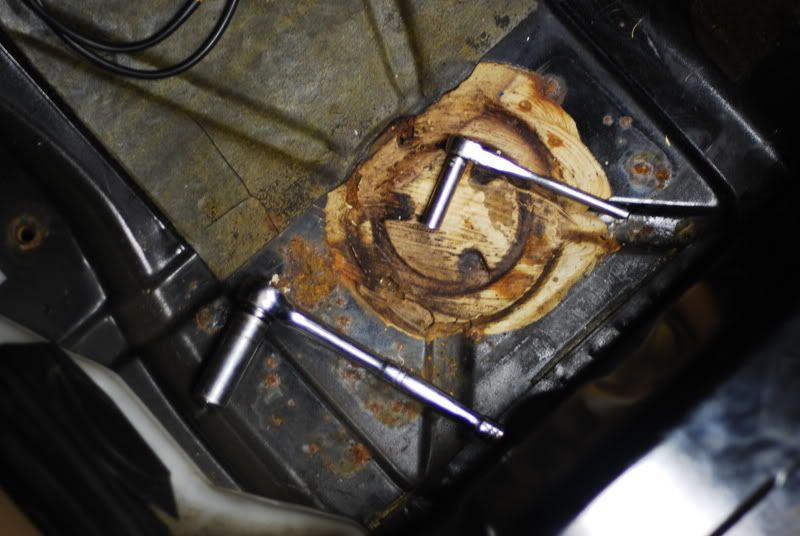
And I did find some rust underneath the driver's seat, but I should be able to fix that easily:
I think I've got a top sourced, so I'm on that as well....well more to come thats all I've got for now :dot:
I picked the car up from Vlad, or rather he delivered it to me. Thanks VLAD! (thread here: http://www.r3vlimited.com/board/show...highlight=vlad) Thanks to Levent for checking it out for me as well!
The sunday after delievery the car was washed and put in the garage where it sat for the next 2 weeks.
After briefly going over the car, I decided that it was best to start my work on the car with the interior and work my way out, since the car does run, although it needs a tune up and exhaust fixed.
Getting down to the interior I knew the entire thing had to go (Vlad told me prior)...and OUT they came. I sourced a tan sports interior and promptly picked up the seats which were recovered (pictures coming). As the seats came out it was clear that the owner of the car, prior to Vlad did not take care of this car at ALL, but after 20 years.
Nonetheless, we press-on.
Well now I attack the center console and carpet, figuring if I'm going to do this right, lets see what is under this bad boy.
Center Console Out:
Not wanting to take out the heater core (box), I made some cuts in the carpet to help with ease of removement (is that a word?)...oh well out the carpet came as well as the rear panels, and what did we find?...you guessed it ANTIFREEZE, guess I should have just pulled that core..oh well.
Here are some pictures after pulling out the carpet and panels...and what you see on the driver's side is dirt/dust caked on.
Carpet out:
So the weapon of choice for the crud is:
Spray nine is awesome (thanks L for the recommendation) and not as abrasive as Simple Green
See how dirty this thing was
After Cleaning:
Soft top cover
Before:
After:
Speaking of softop, I neglected to say that I had pulled the hardtop off at this point and she's sitting in the garage, she needs some TLC, and a new headliner, but I'll tackle that later....so here is the condition of the softtop.
so while pulling it out, I got distracted by the wife and here is the result::?
Found these when I took off the side panels
:hitler:And I did find some rust underneath the driver's seat, but I should be able to fix that easily:
I think I've got a top sourced, so I'm on that as well....well more to come thats all I've got for now :dot:


Comment