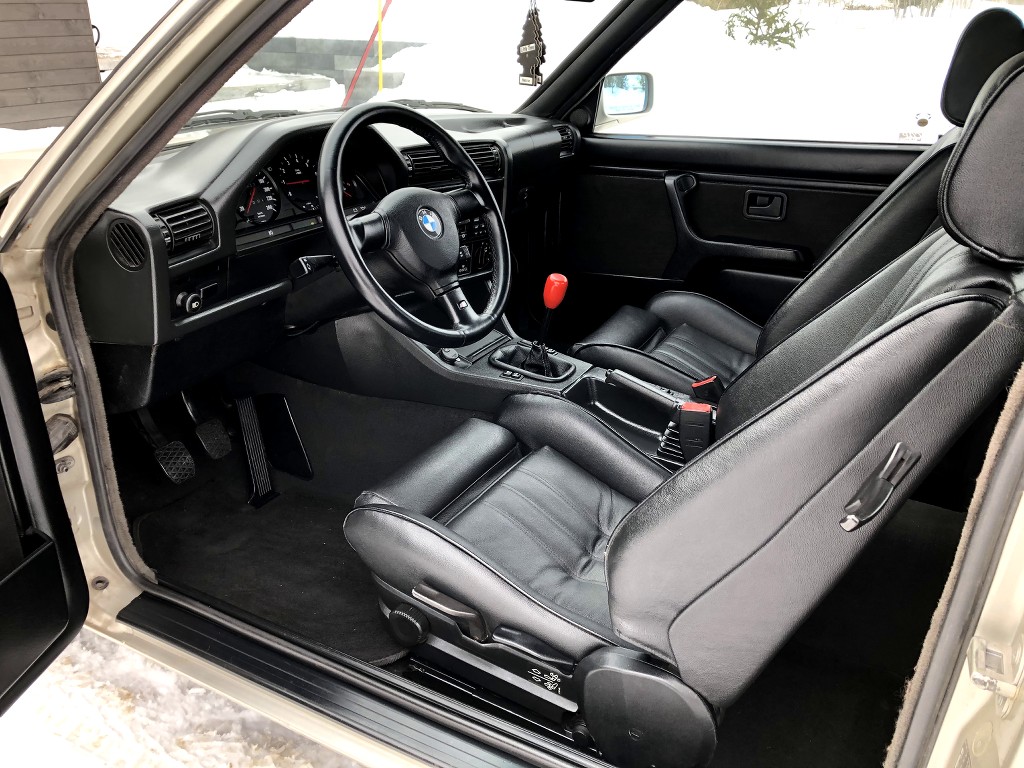
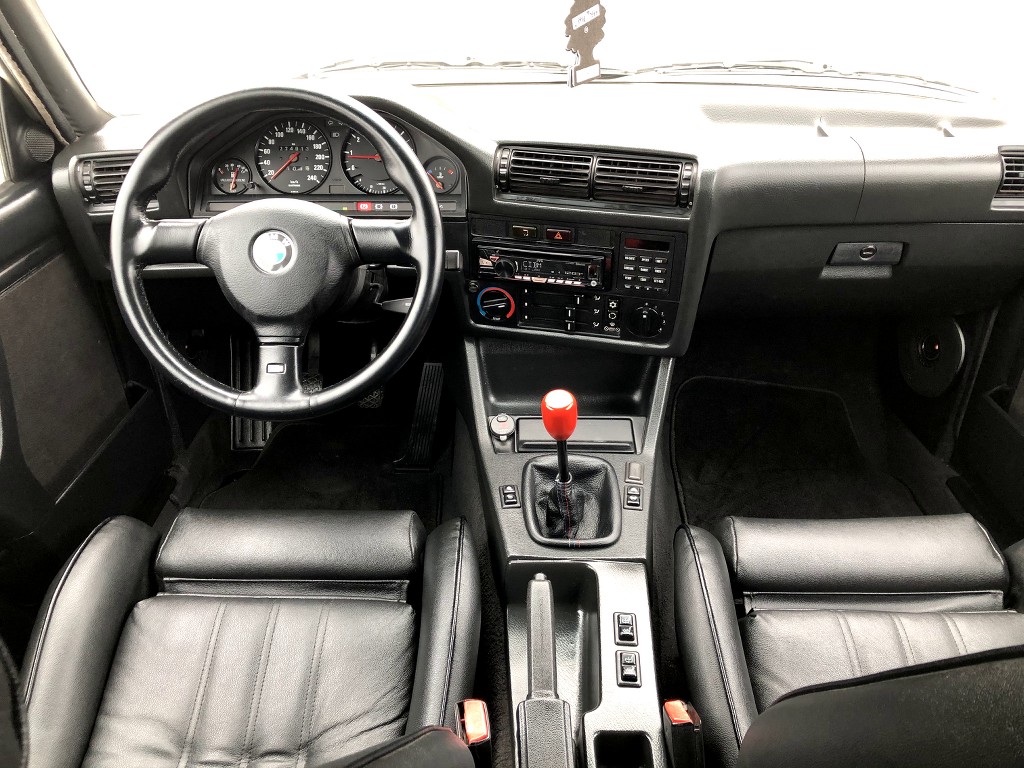
1990 325is oem+ Now turbo (Video)

Collapse
X
 
  • Time
  • Show
Clear All
new posts

  • Iloveboost
    replied
    little update for today !

    at first, as someone ask about the ''dye' for the steering wheel, here it it
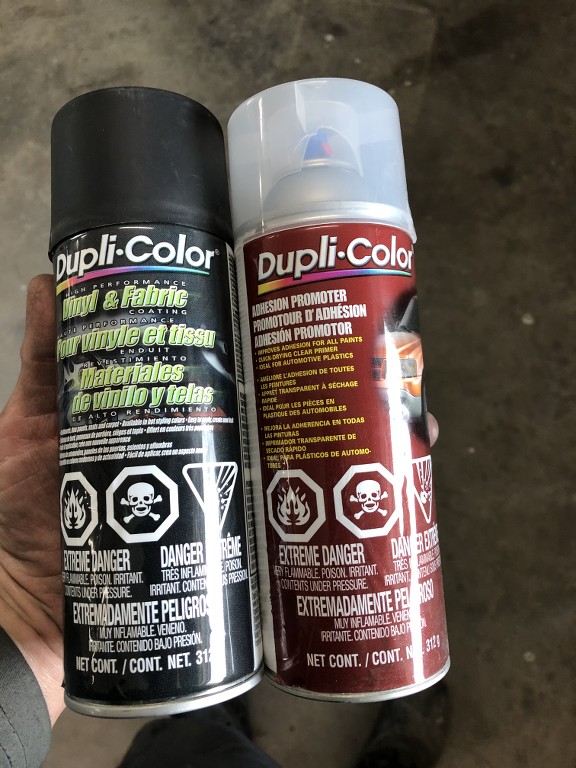


    i do not expect long life result with the product but i give it a try !


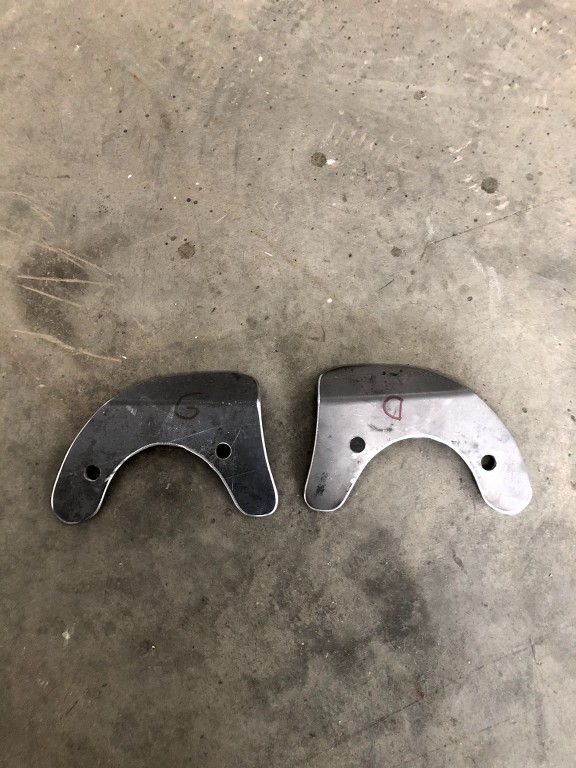
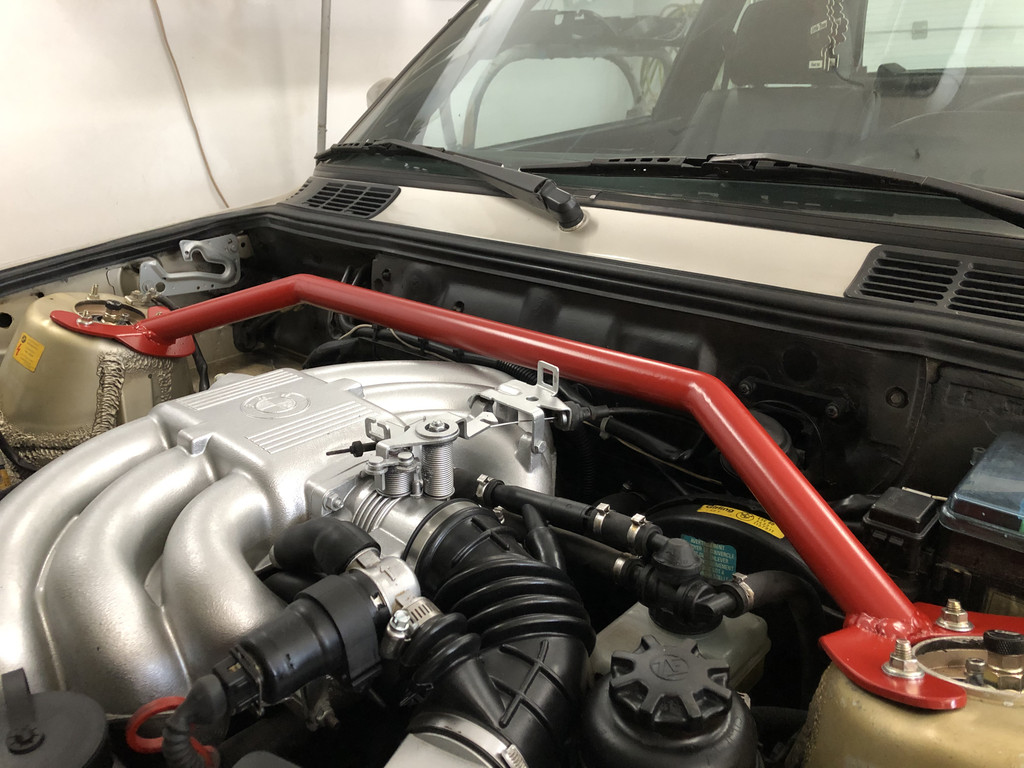
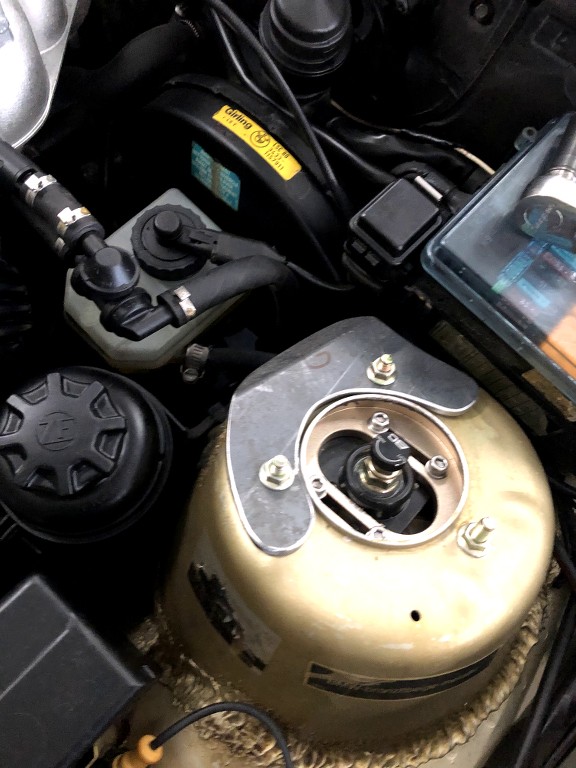
    in the last few days i made myself a front strut bar . i know they not cost much but for me ( canadian dollar) it most likely about 160-180$ for the basic one like garagistic. so i made one for about 25$ paint include.
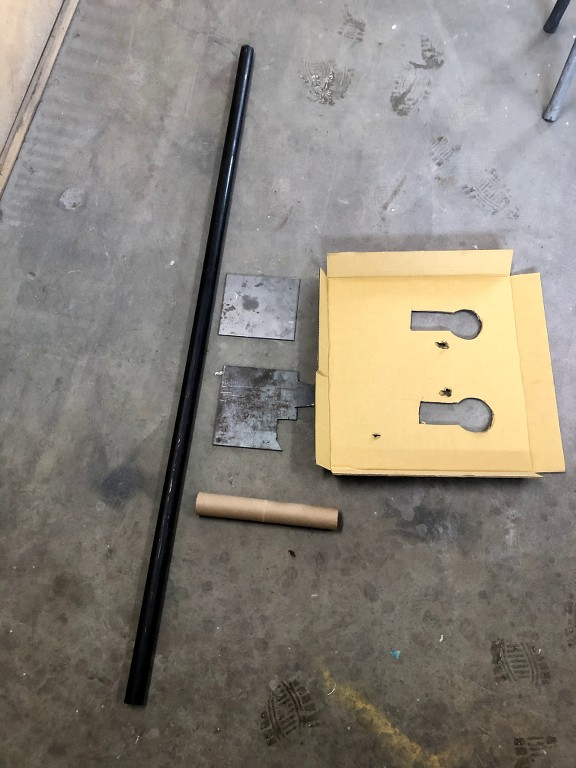


    still working with cardboard for the template hahaha!!
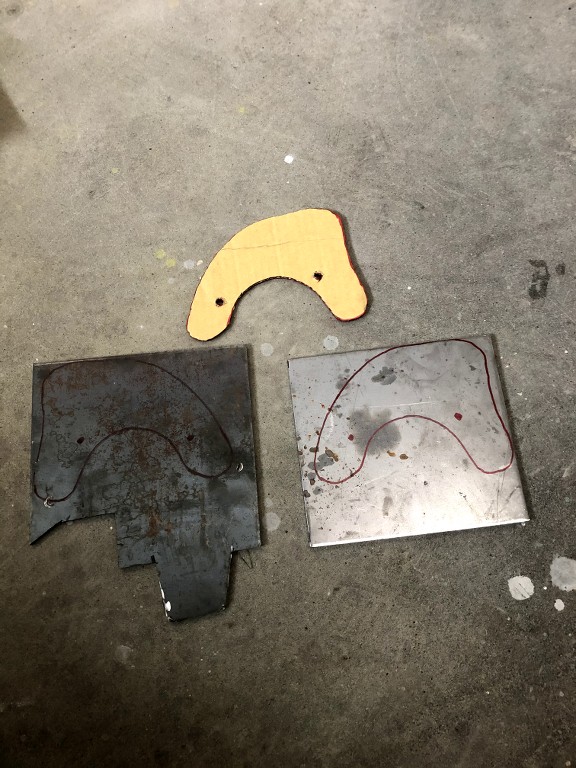


    the grinder do nut cut like a plasma cutter so the first result is little rought,
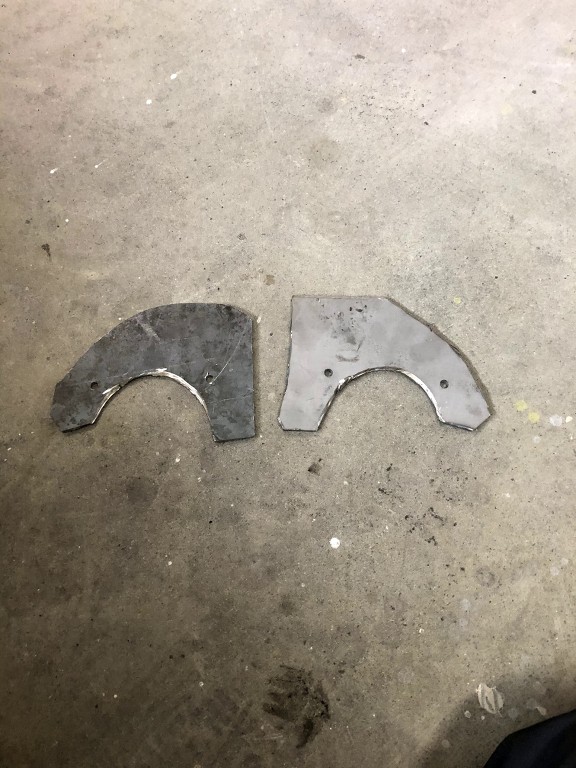


    i bolt them together to trim it as 2 identical pieces
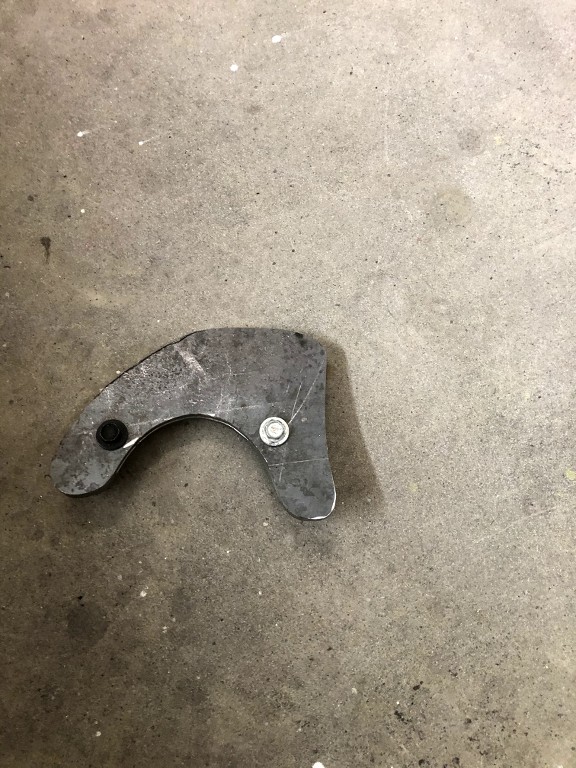


    then bolt them in place and start working on the tubing.


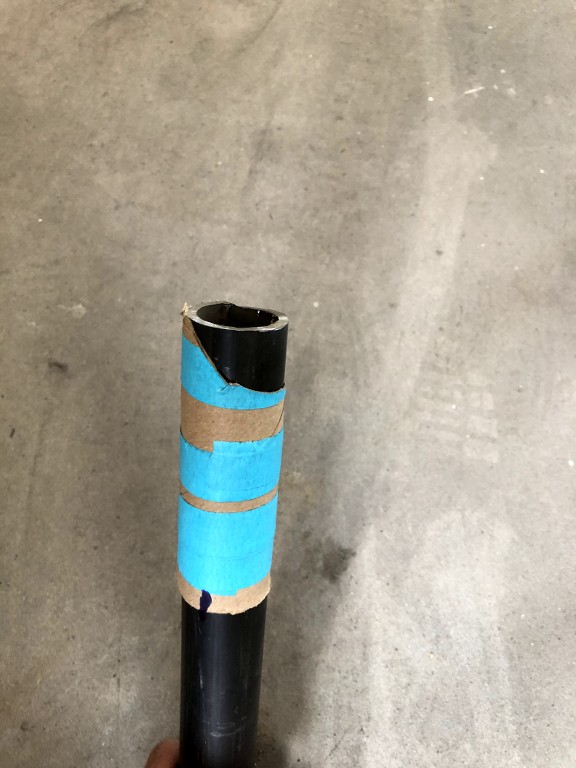
    to bend the tube, i went the easy way since i do not have mendrel bent machine at home lol...
    make a groove about 1/2 deep of the tube , it was very easy to bend ( welding back when achieve the good angle)


    for the end of the tube, to fit on the top plate , i still go for the easy way since i am not so good with guess and imagine wich angle to cut..
    cardboard template level 2 !
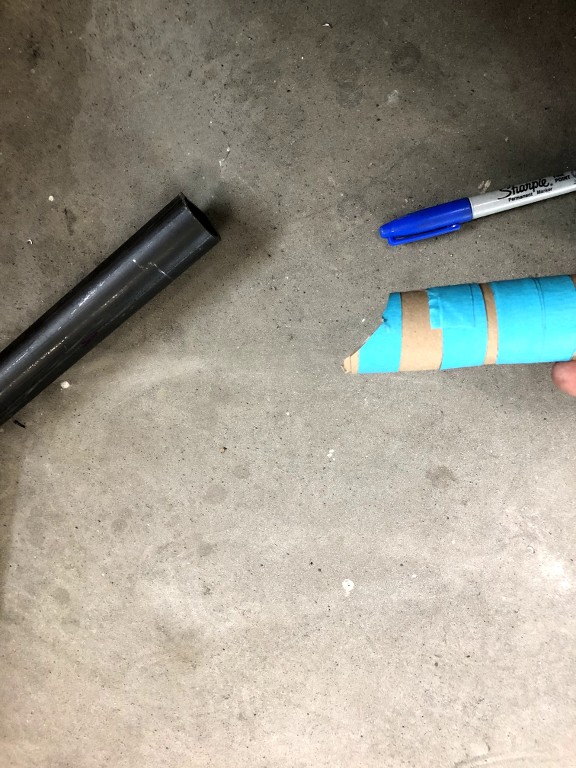


    it work perfectly! nice snug fit
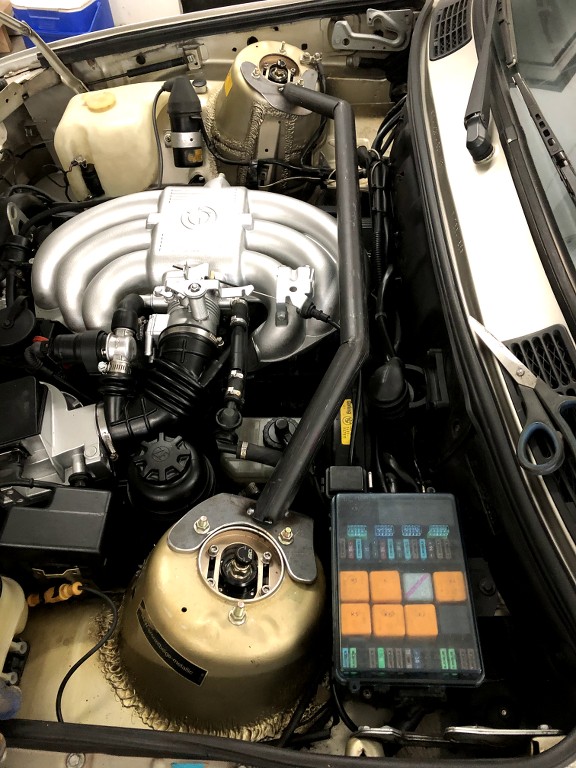

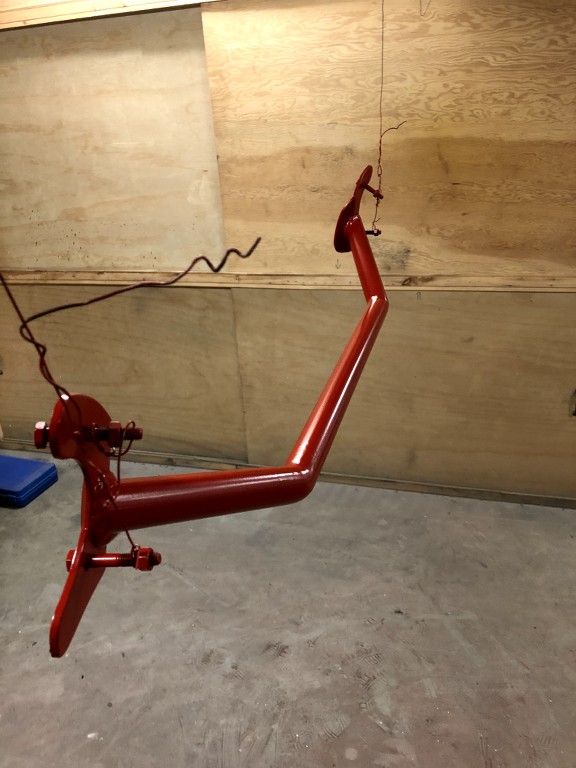
    tack everything in place, then remove it to finish the welding and prep it for paint.
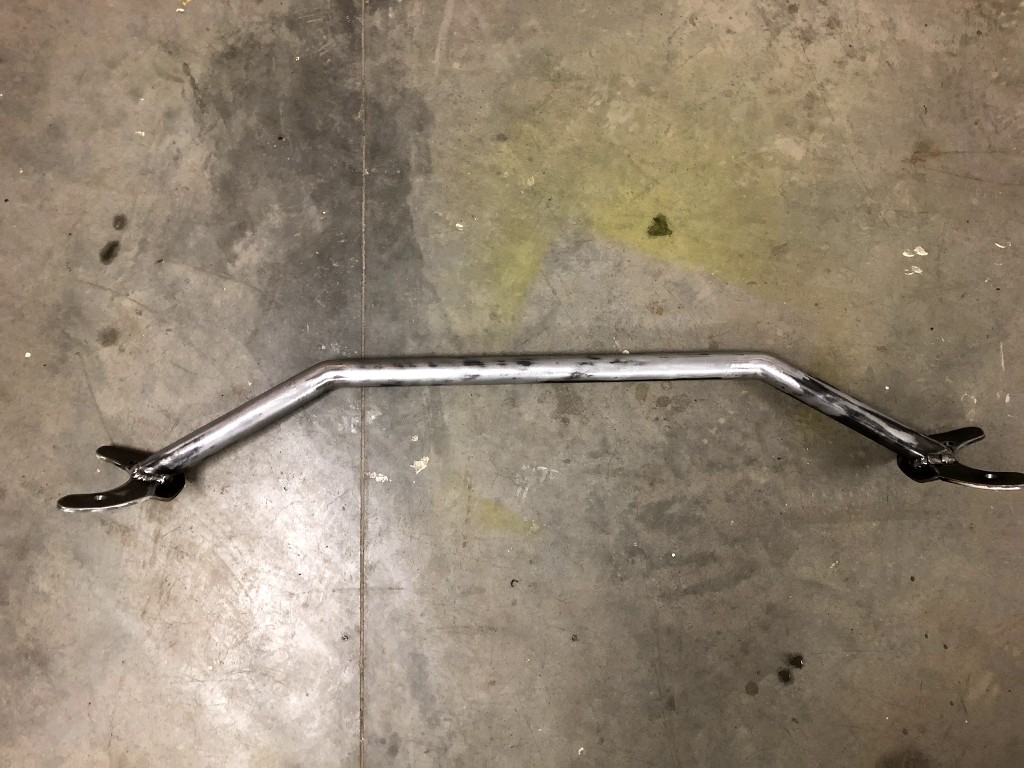


    i have paint it red with MATTE clearcoat ( same as the rear one )


    install it
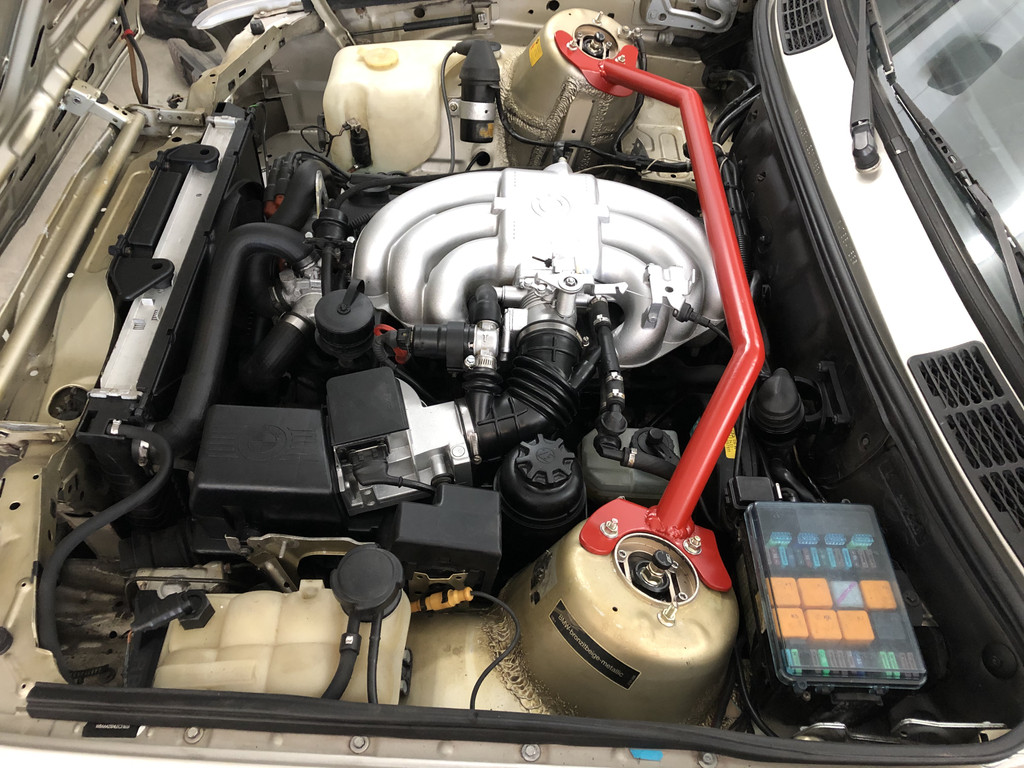


    pretty proud of the result !

    the weld are sure not TIG , but should be strong enough !

    this is 3.5hours godd invested !

    Leave a comment:


  • Iloveboost
    replied
    Originally posted by Cablanedo
    This build is something else. The detail like everyone else is saying is great and I’ve been following you since day one!! I just love the commitment you have to fixing everything little thing that’s not up to your standards with the car. Really inspirational. Anyway, looking forward to more updates
    WoW thanks man , this is really fun to read ! It mean you don’t just look at the picture but you also read !

    i do my best for this car and it is great that you guys appreciate the good work !

    Leave a comment:


  • Cablanedo
    replied
    This build is something else. The detail like everyone else is saying is great and I’ve been following you since day one!! I just love the commitment you have to fixing everything little thing that’s not up to your standards with the car. Really inspirational. Anyway, looking forward to more updates

    Leave a comment:


  • Northern
    replied
    Would you mind sharing which products you used for adhesion promoter and dye for the steering wheel?
    Mine looks like your "before" picture!

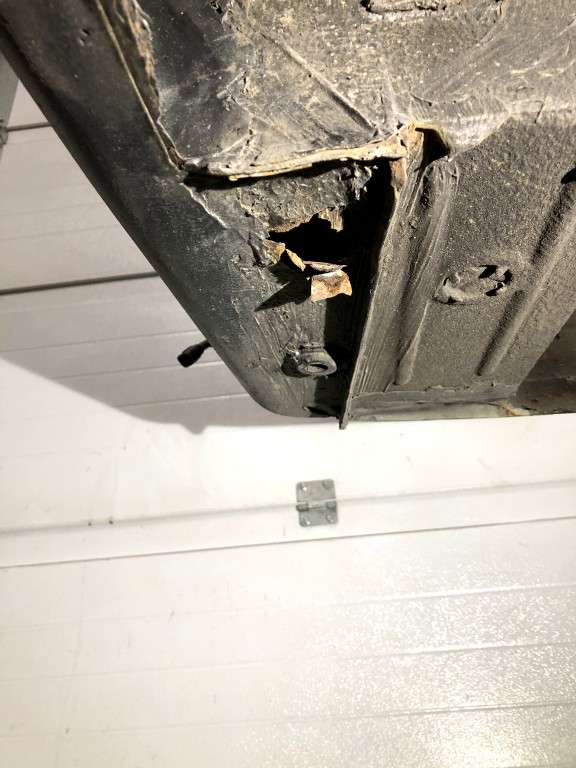
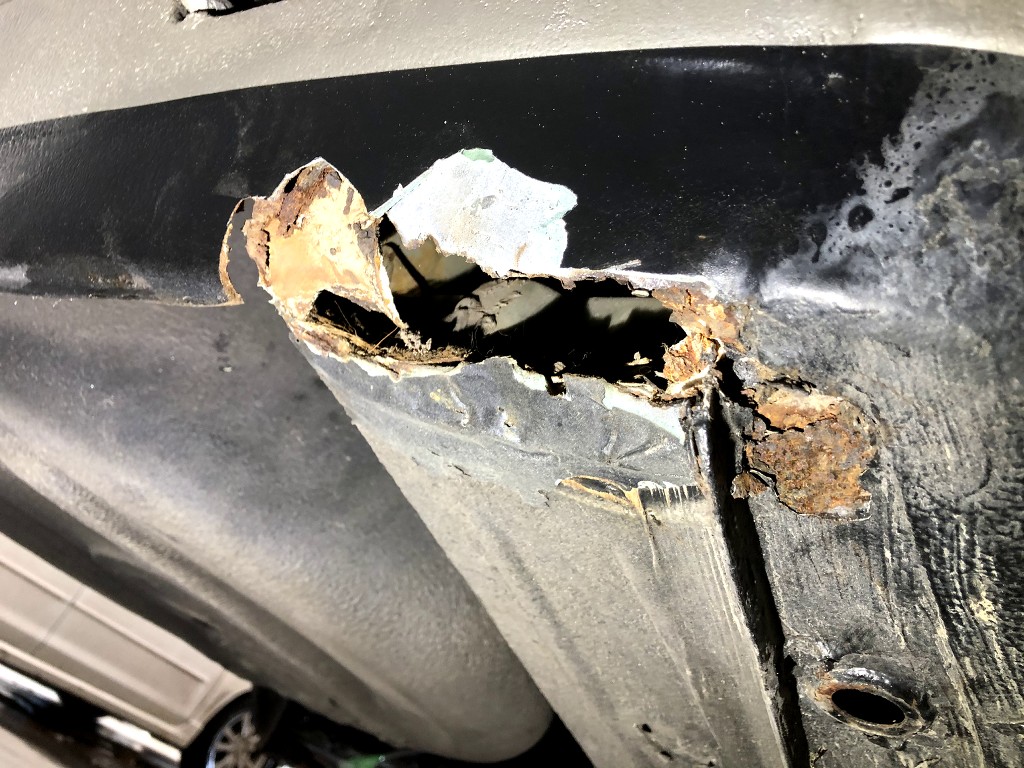
    Your rust repair looks amazing! You give me motivation for my rusty jack points/trunk pockets

    Leave a comment:


  • Iloveboost
    replied
    Thanks !
    In the winter i have plenful of Time .
    most of it i spend it on the ´30 !

    that why it seem to go relatively fast with the build...
    when the spring will kick in ... I will not have much time to work on it so I give a go on the last stretch !

    Leave a comment:


  • Pootis
    replied
    The amount of progress you make in between updates makes me feel bad about myself.

    Leave a comment:


  • efficient
    replied
    maybe the speakers you have to adjust the settings.

    Leave a comment:


  • Iloveboost
    replied
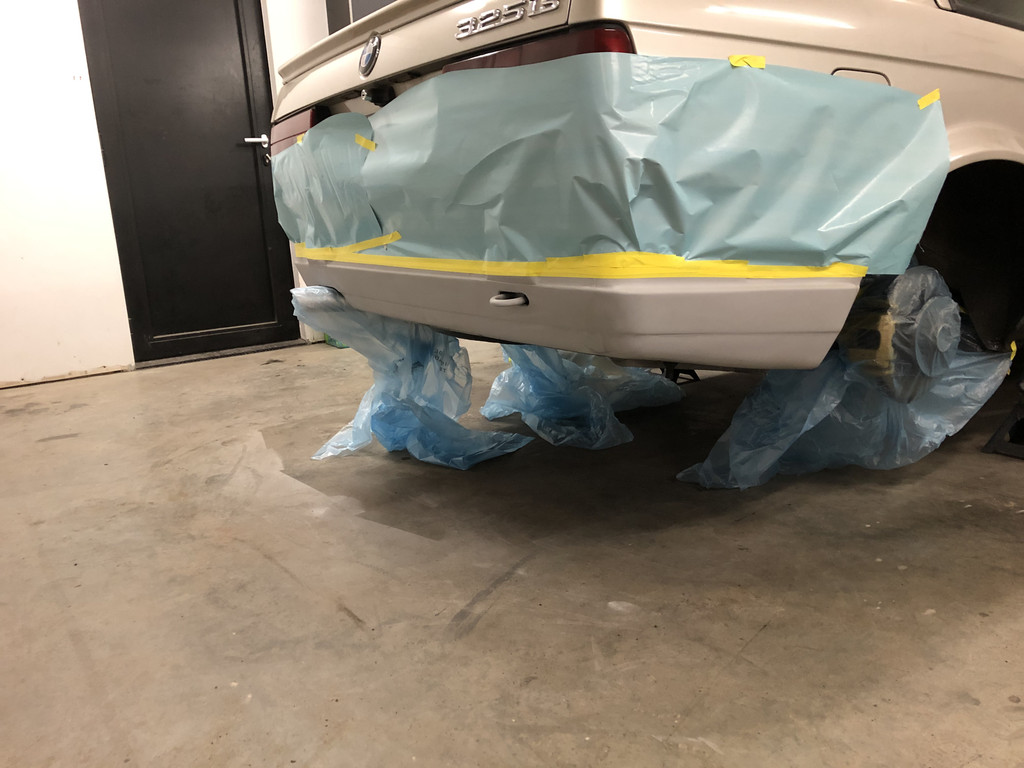
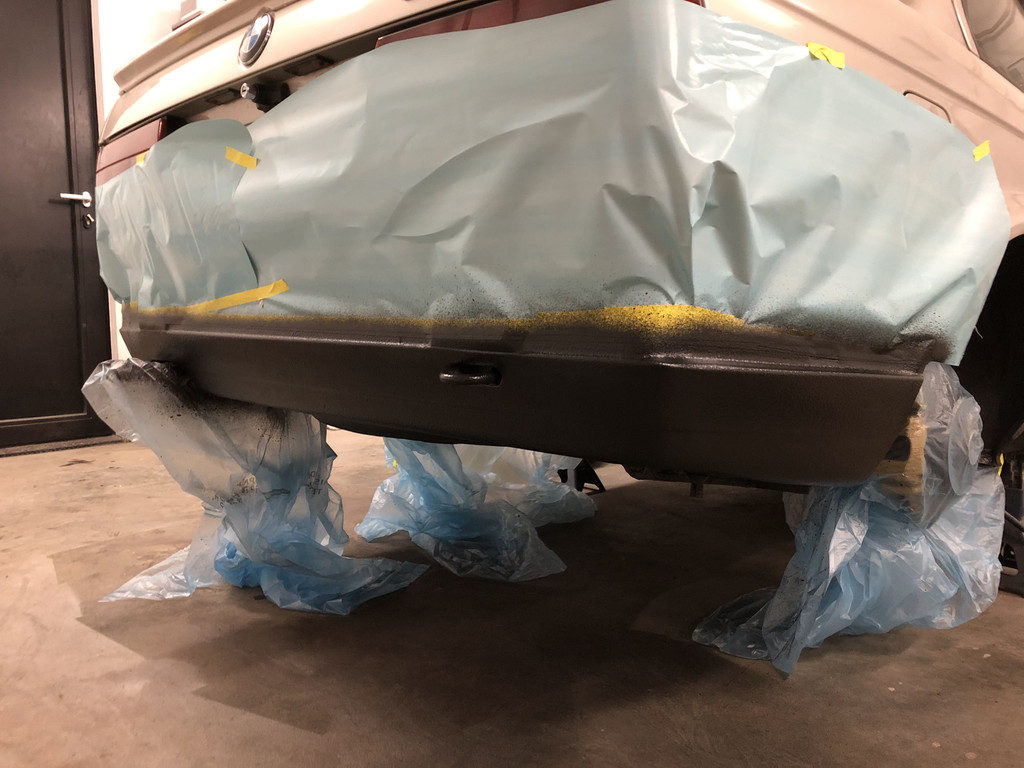
    little update for the e30 !

    i have paint the rear valence and put back on the car the rear bumper, pluggin the tailight and position marker.


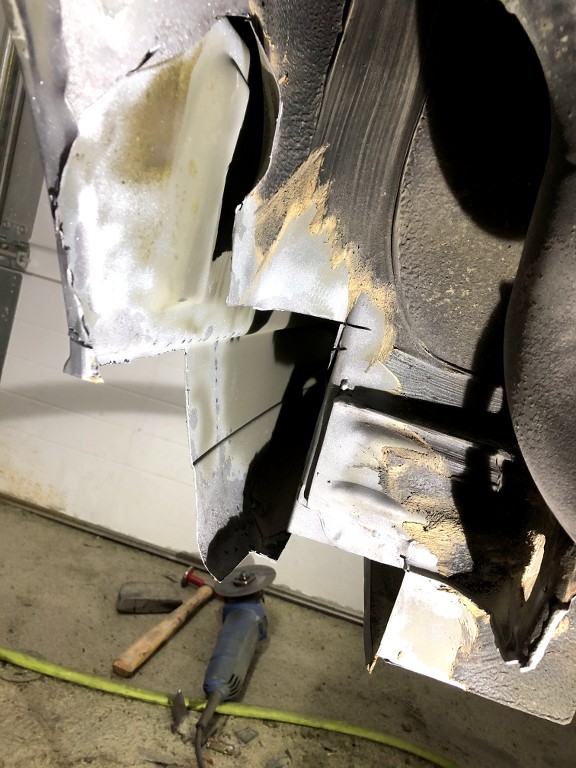
    remember that rear section ?? haha


    paint match is not 100% and the result is not perfect to , but there is no more rust and it look pretty clean nonetheless |!


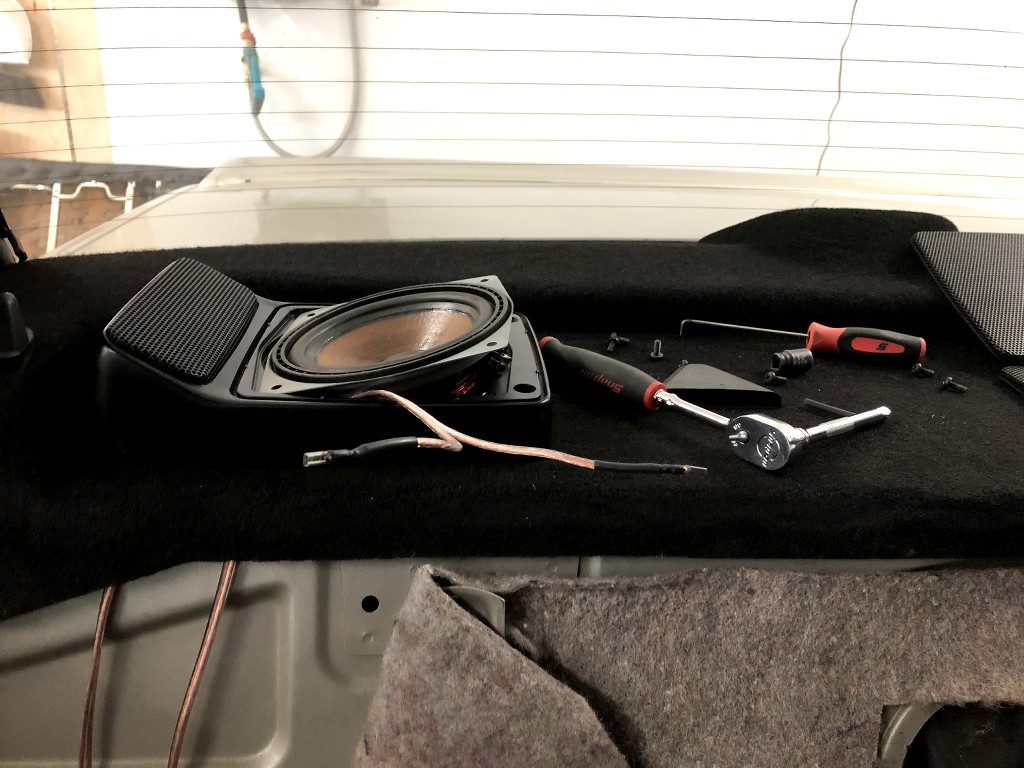
    i have put new head unit. since i dont want to mess with the oem premium sound system wiring, i pass all 4 speaker/tweeter new wire.
    also install new front speaker 6.5'' infinity. ( not very happy with the result. i should have buy 5.25 instead of the 6.5 ) ( instalation was PITA.) in the future i will change them and buy new kickpanel to go back with oem look...


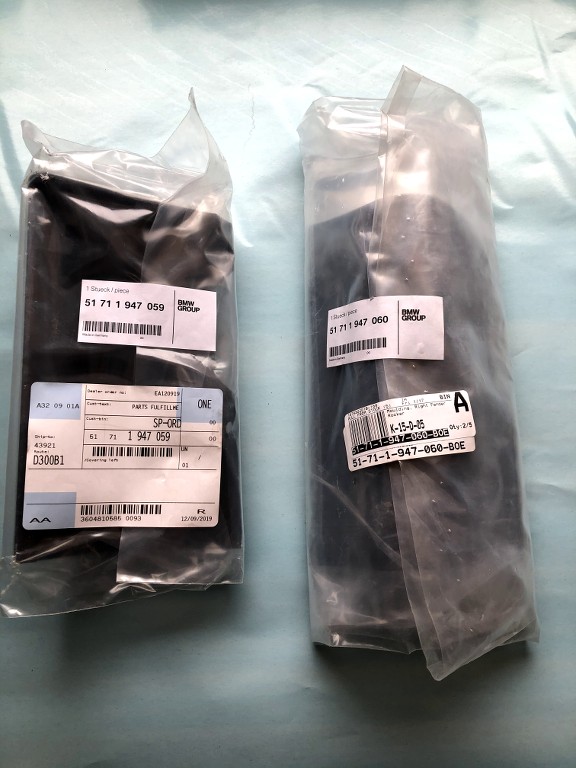
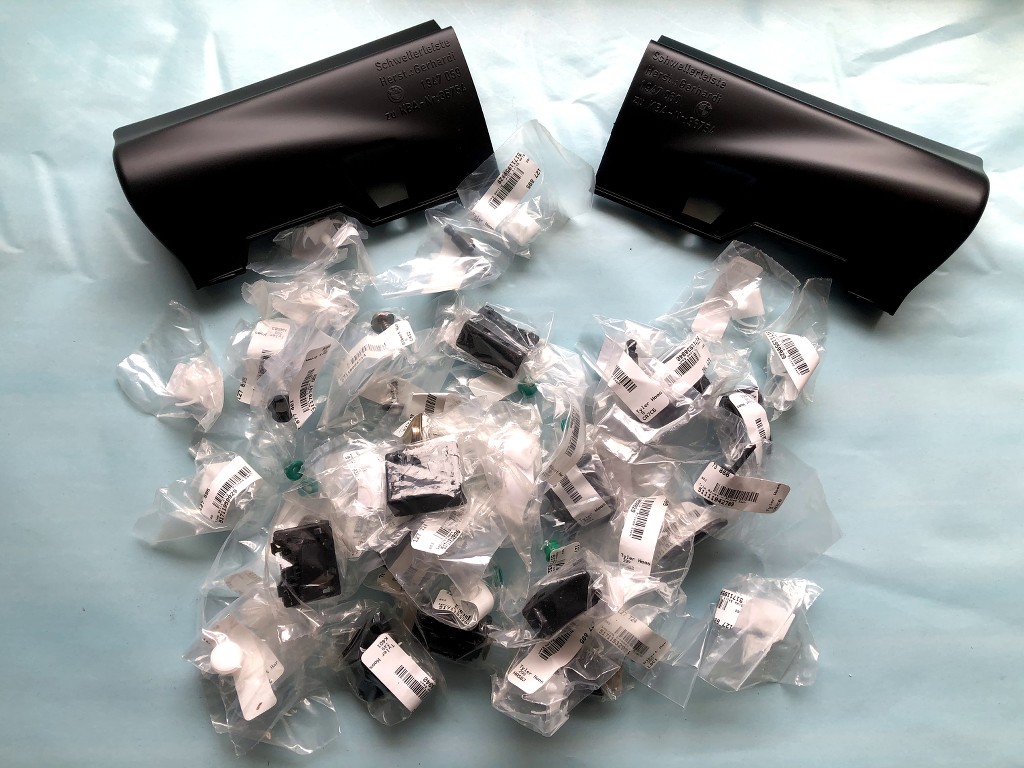
    today i receive something i wanted for a long time.
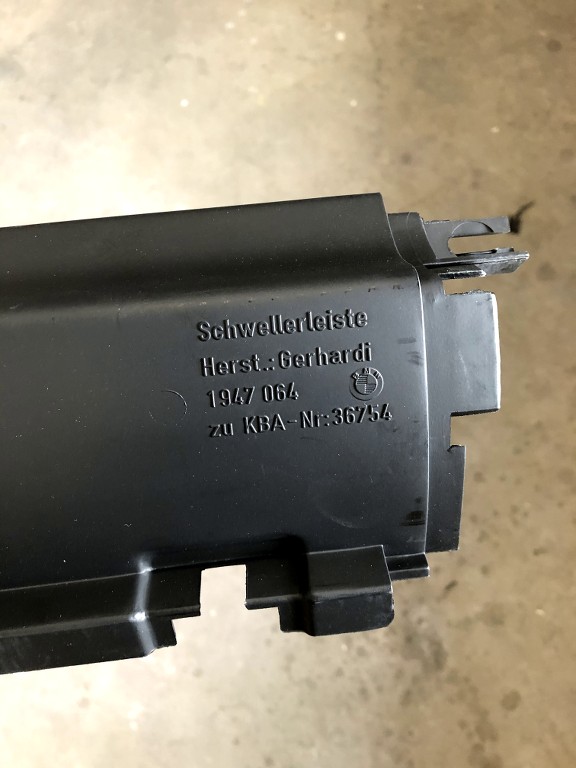
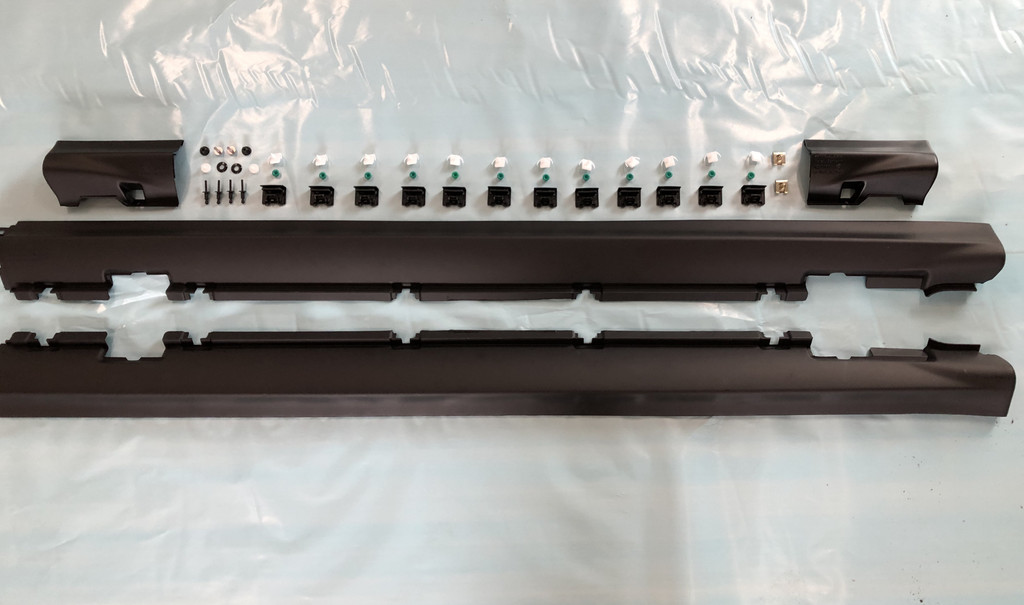
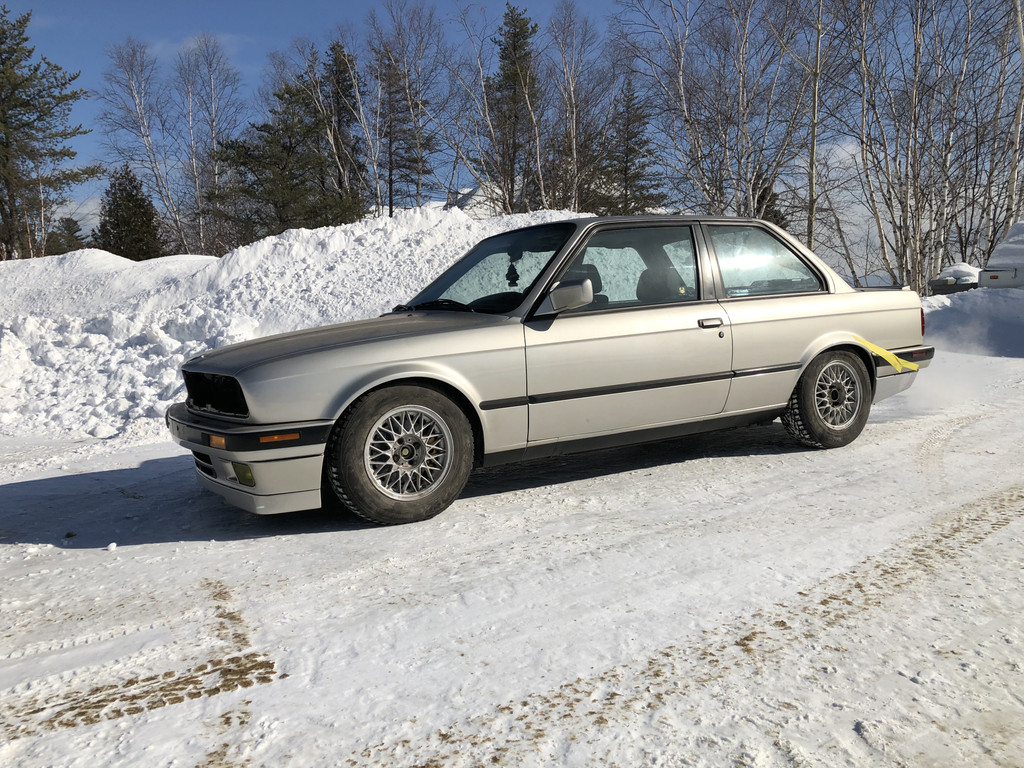
    OEM IS sideskirt

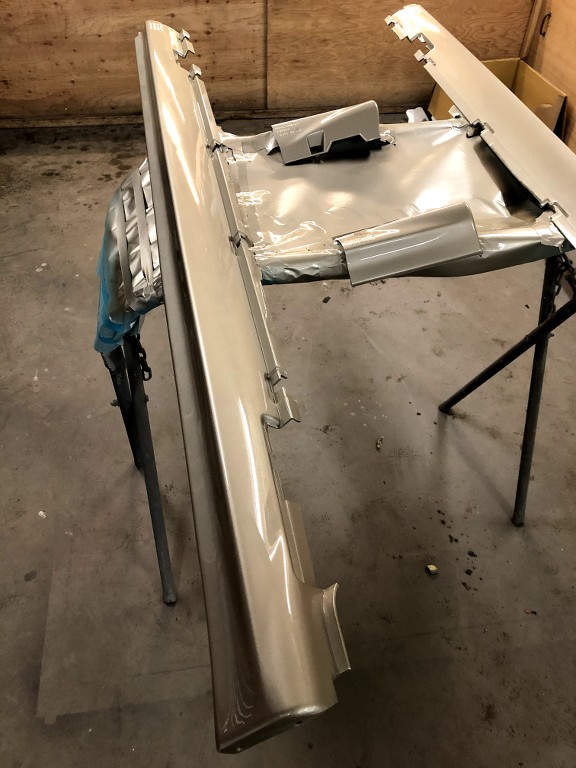
    i have pre-install them .
    prep-it
    sealed-it
    and paint it


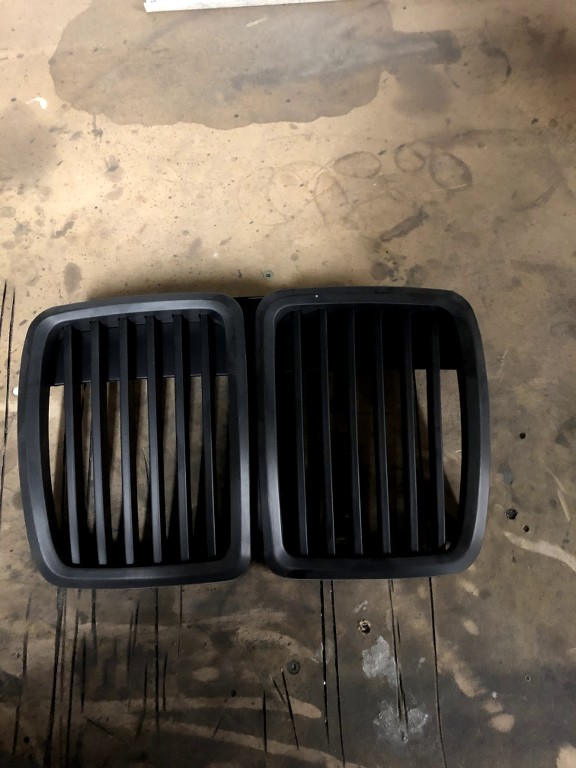
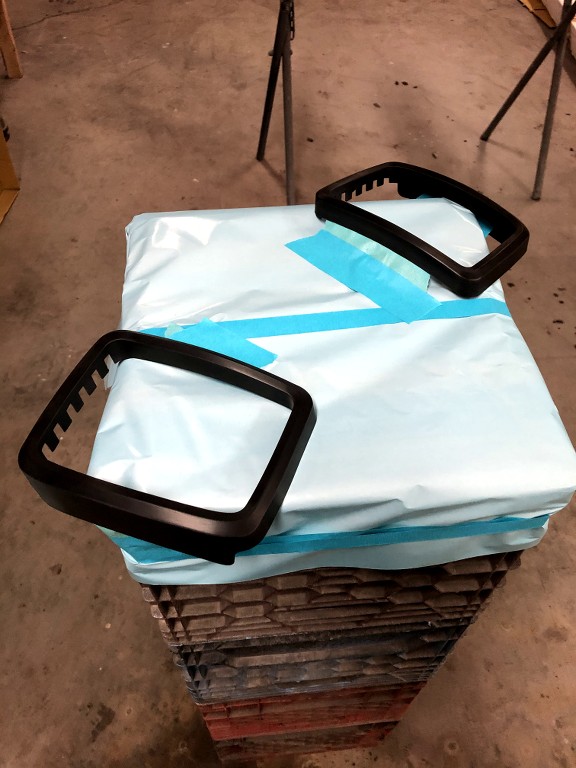
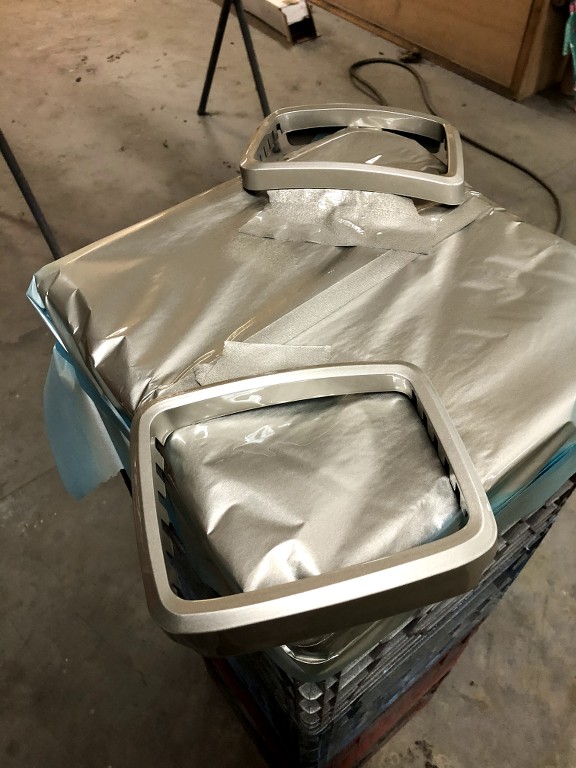
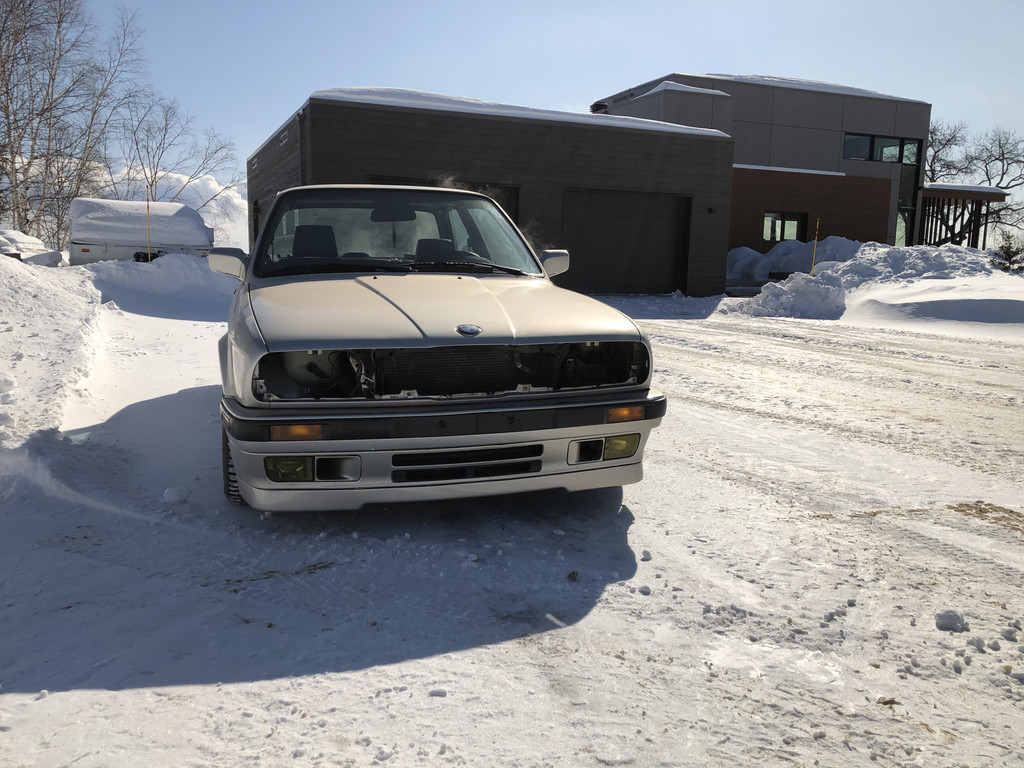
    i have also receive my new front grill.


    but i was not sure about the black grill. so i want to try somthing .

    color match grill bezel?!
    i give it a try !


    cant wait to but back on the car the sideskirt !!!

    Leave a comment:


  • Iloveboost
    replied
    Thanks !

    cardboard is the best/economical to make te place for steel plate !

    For the gravel guard , it’s spray can one .
    i use « proform » branded spray can .
    you can surely find it to your local part store .
    make sure to buy « paintable » one !

    Leave a comment:


  • Tzantushka
    replied
    Awesome work.

    I love your CAD work on the rust repairs.
    (Cardboard Aided Design) :)

    Leave a comment:


  • finnmole
    replied
    What product did you use for the gravel guard? I hope it's just a rattle can as I'm trying to choose something from Canadian Tire. The look you achieved is great

    Leave a comment:


  • Iloveboost
    replied
    i been busy in the past few days. but work is going good on the e30!
    i made some final thing before get the car back on wheel.

    - adjust the diff oil
    -engine oil change
    -oil brake flush + bleeding
    -put the wheel on
    -test drive it !


    it is so good to see the car back on the ground, and drive it ( only 1 KM ) but it was a blast haha !!

    i put back the car in the garage, wash it ouside and under the car ( dont want my brand new suspention/direction coponent to get dirty haha)

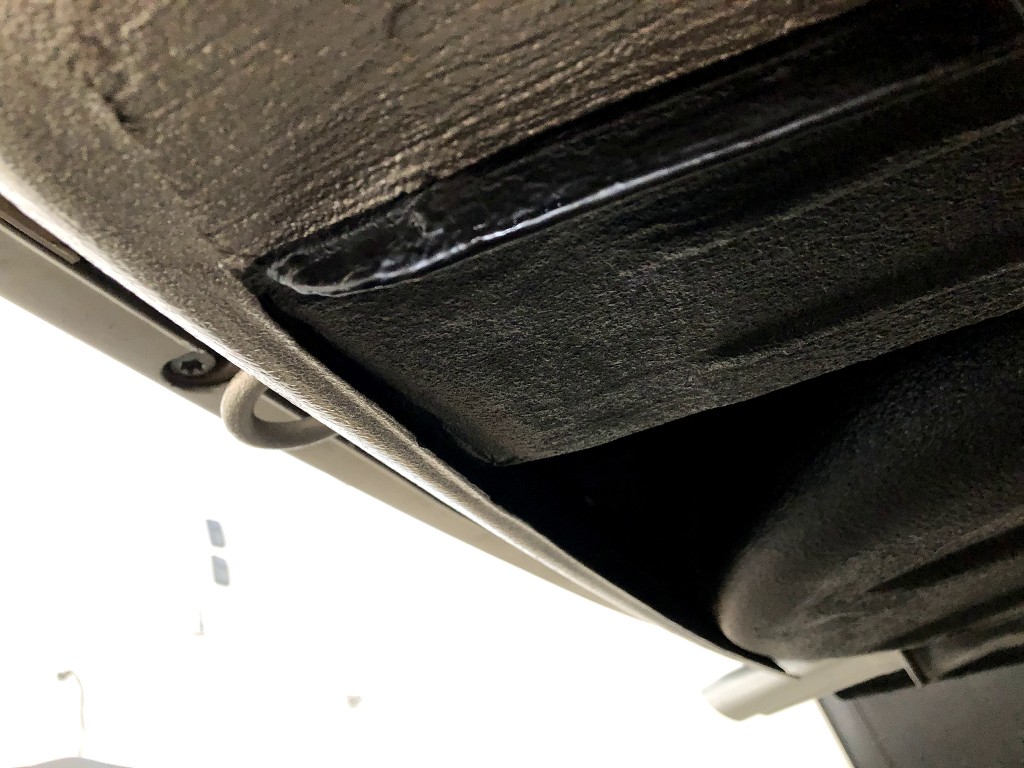
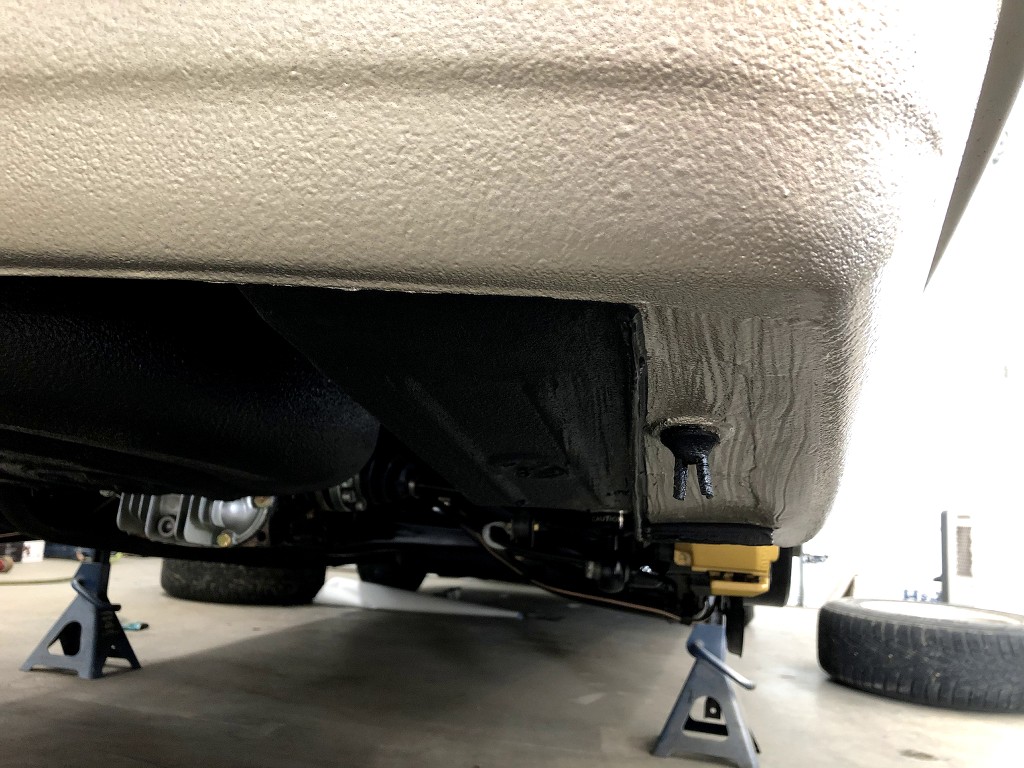
    jack up the rear and prep it for the paint

    sand the primer and shoot the gravel guard for an OEm look


    i will paint it thsi week.

    i have on the mail :

    new gront grill
    new depot smiley headlight
    new oem IS side skirt

    i cant wait to receive/paint/install my side skirt.!! it fit so well the car and make the look of the car more ''complete''

    Leave a comment:


  • Iloveboost
    replied
    Thanks everybody !
    im pleased that you appreciate my work !

    for the valve cover I use VHT wrinkle black paint. For those who don’t know , it’s a little tricky paint but anybody can have the same result than mine .

    for the intake ... nothing special here . Since i just wanted to make the engine bay clean looking . I do not remove it .
    i have remove the intake box, IAC, rubber tube , than put aluminium paper all around the intake and directly spray it .
    I have use normal silver spray can paint .

    little trick here , aluminum paper is great to mask thing where there are plenty of complicated thing like the engine bay .
    instead of masking tape , the aluminium paper can ben remove in second ! when you tape every hose and wire one by one it a real pita to remove the tape ..!


    For my past IX , it was very clean on The exterior but less clean underneath. Water came Inside by one of many hole the floor has.... engine was little rough too .. I sell it because of that ..

    my 325is now was way cleaner than my past ix and now , my IS are very clean no rust no hole :)

    Leave a comment:


  • Conrad311
    replied
    That engine bay looks great! I'm also curious what paints you used?

    If you don't have it already you should get the 3 piece hood insulation. The one piece always droops and rubs a bright spot onto the intake. wouldn't want to wreck that paint :)

    And seriously that iX is beautiful! I don't think you're allowed to call it a beater, way too nice.

    Leave a comment:


  • rzerob
    replied
    Subscribed. How have I missed this thread. Great job OP. Keep up the good work.

    Leave a comment:

Working...