

Looking good. You have really done some excellent fabrication.
I really like the picture of it on jackstands in the cleaned up garage.
MJ
-
The rear strut brace looks awesome, given it sounds like you have limited tooling. Wish I had to patience, tooling and skill to paint as well as you do. I've got a few things on the back burner waiting for paint.Leave a comment:
-
This is awesome - really appreciate the detailed posts and all of the photos.Leave a comment:
-
I feel your pain man. I'm not really sure what drives up replies. I get very few on my own but I am also not dropping as big of updates as you are. Can't wait to see this thing finished up looks awesome. What wheels are you running?Leave a comment:
-
another day , another update !
i wish this thread have been more replied than this,
maybe it's because my english is hard to read ?? i am french, i do my best !!
sometime i would write more to explain more in detail but i am very limited in my global english so i skip to the essential..
anyway here is the update for the past few days
i have finish to paint the back of the headlight area
its not a perfect job , when ill pull the motor out ( next winter ) i will do a better paint job since i plan to change de color
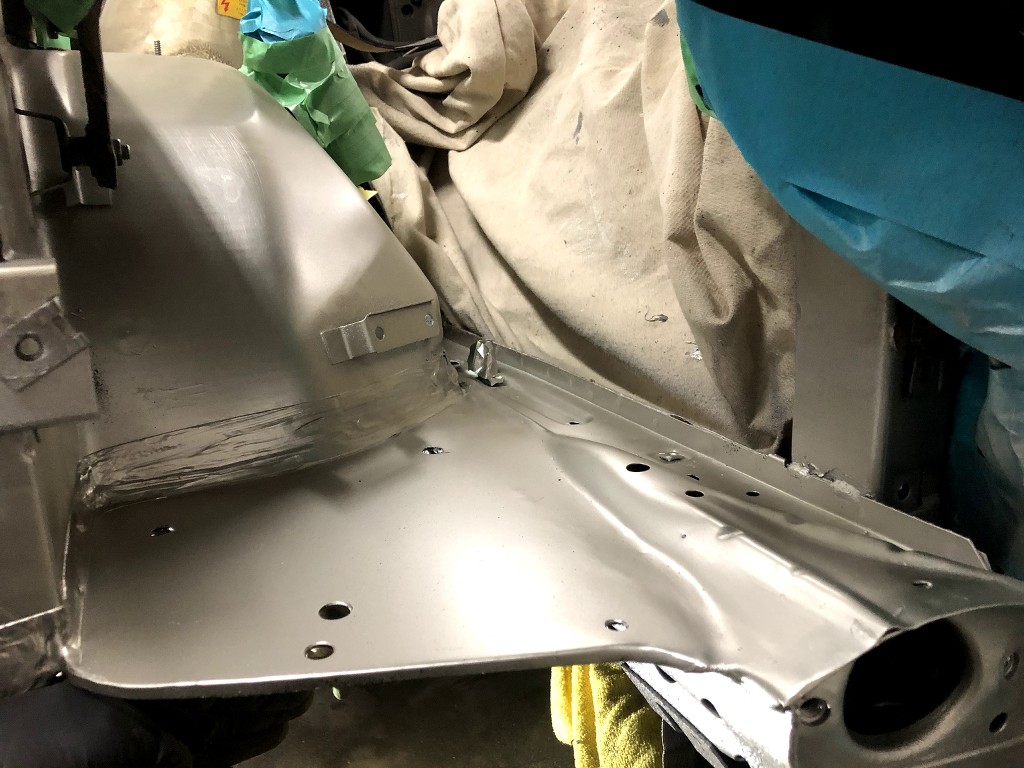
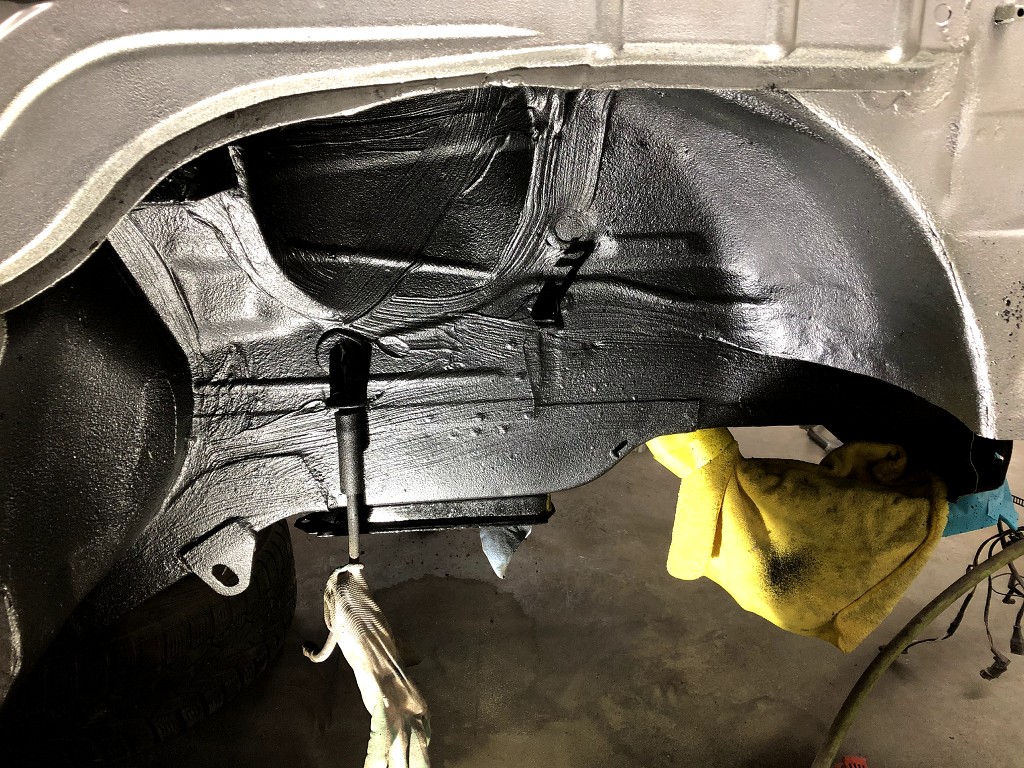
im glad it came out great !
i have put back on the car all the front mecanical
press the CAB with my universal press system
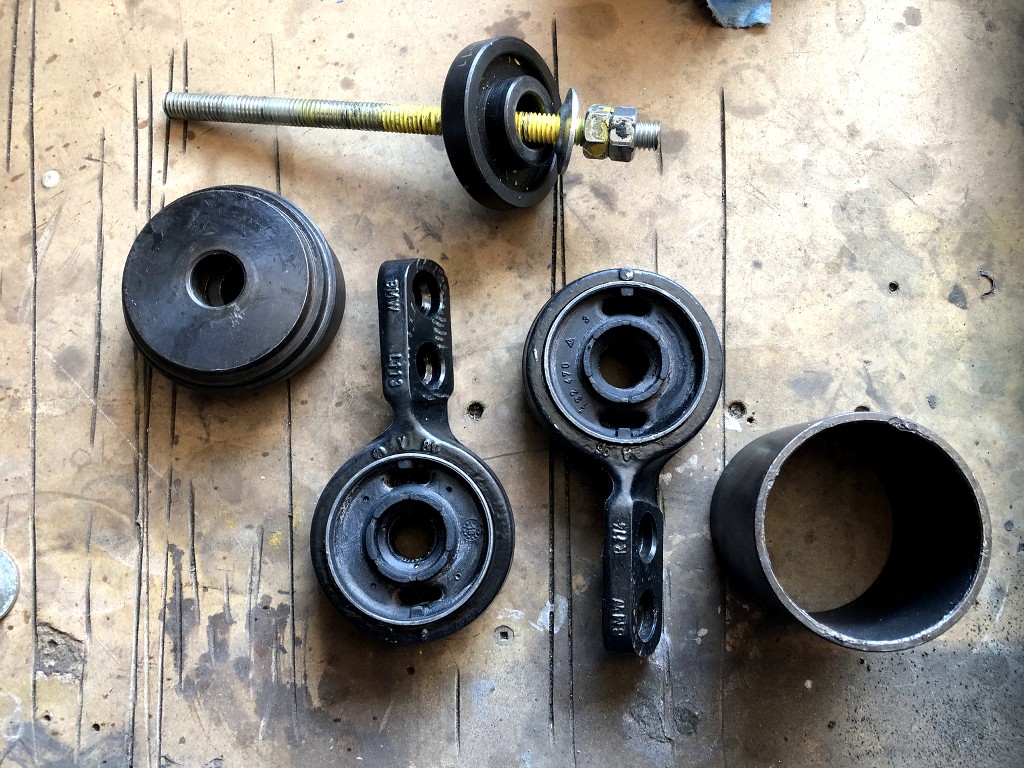
press the lollip on the control arm the redneck way haha!
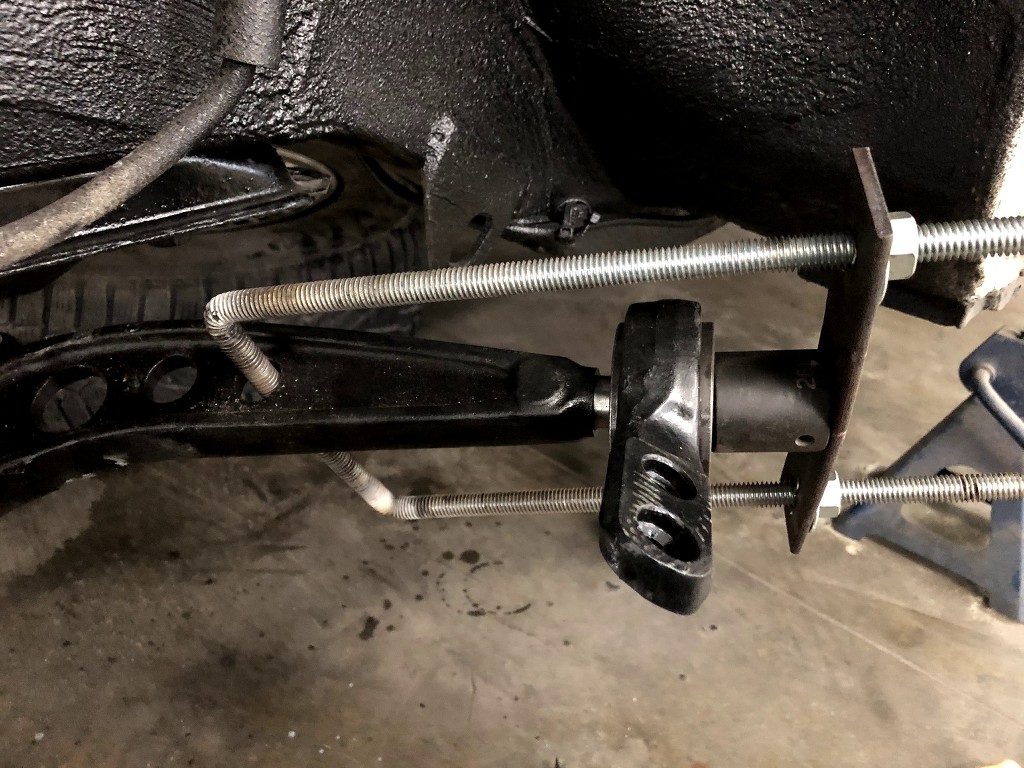

it need so much tool...
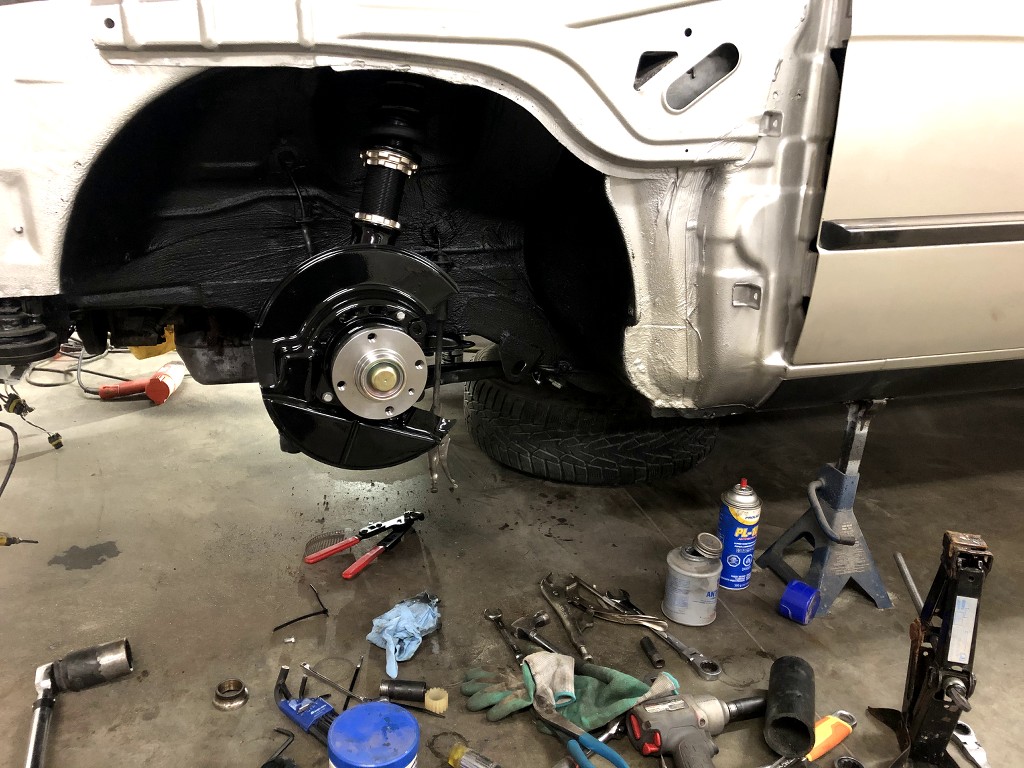
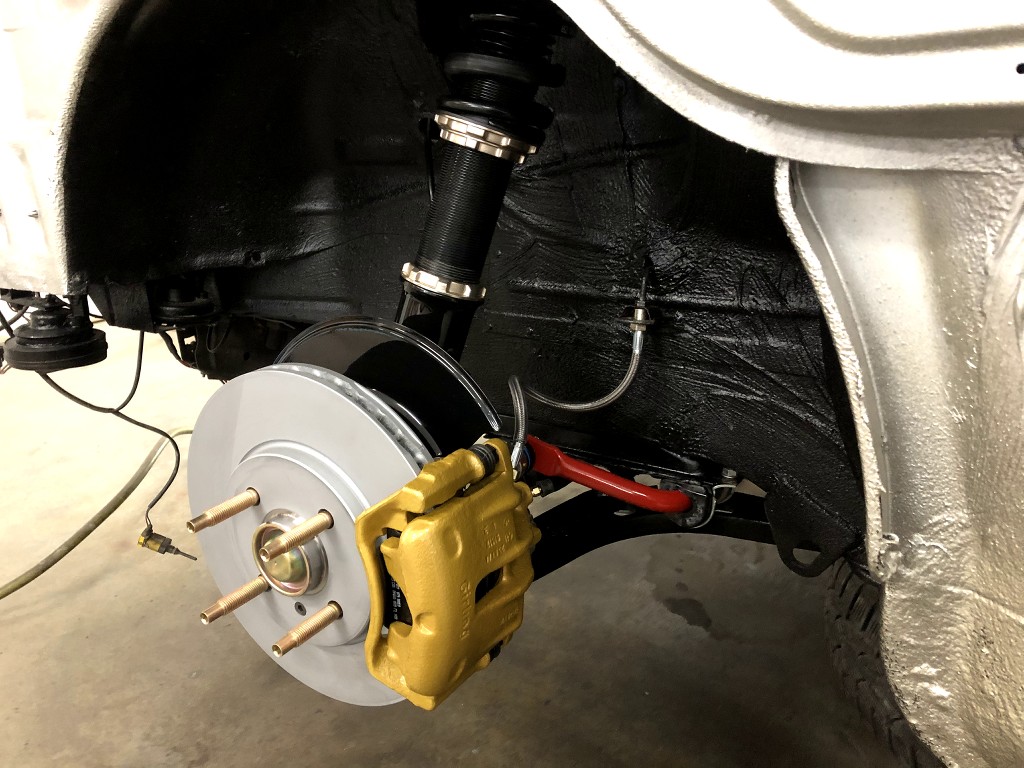
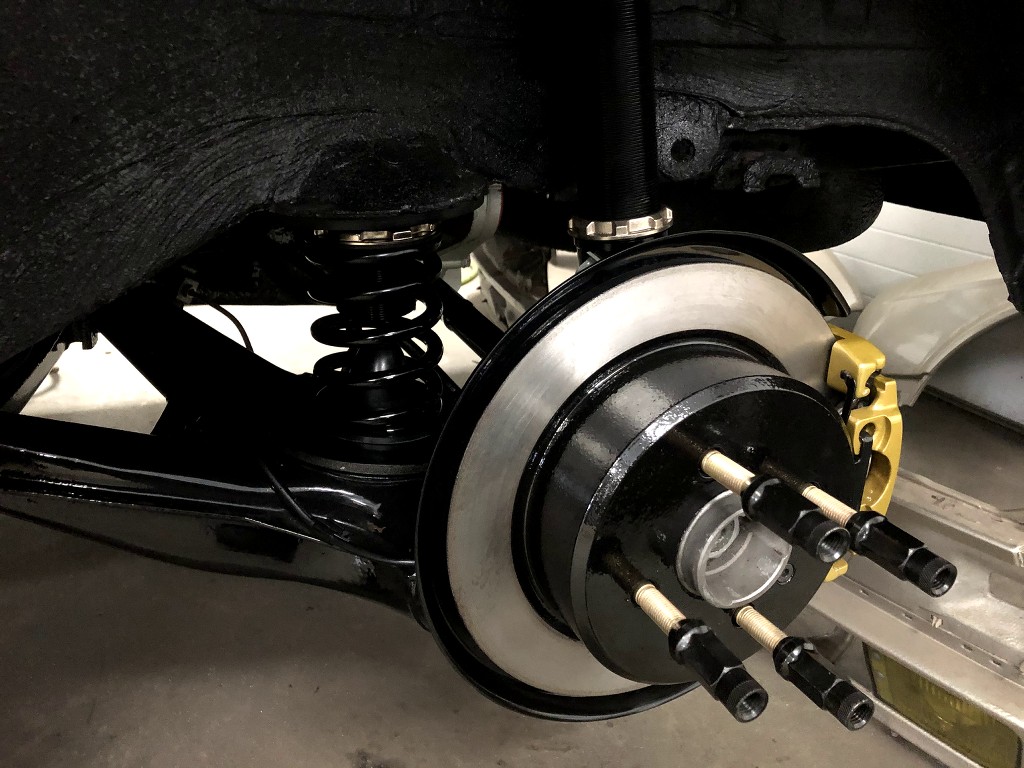
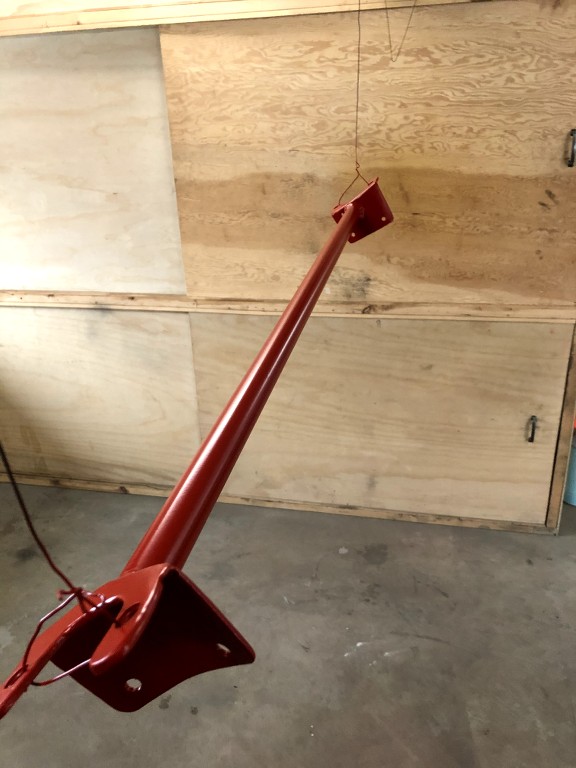
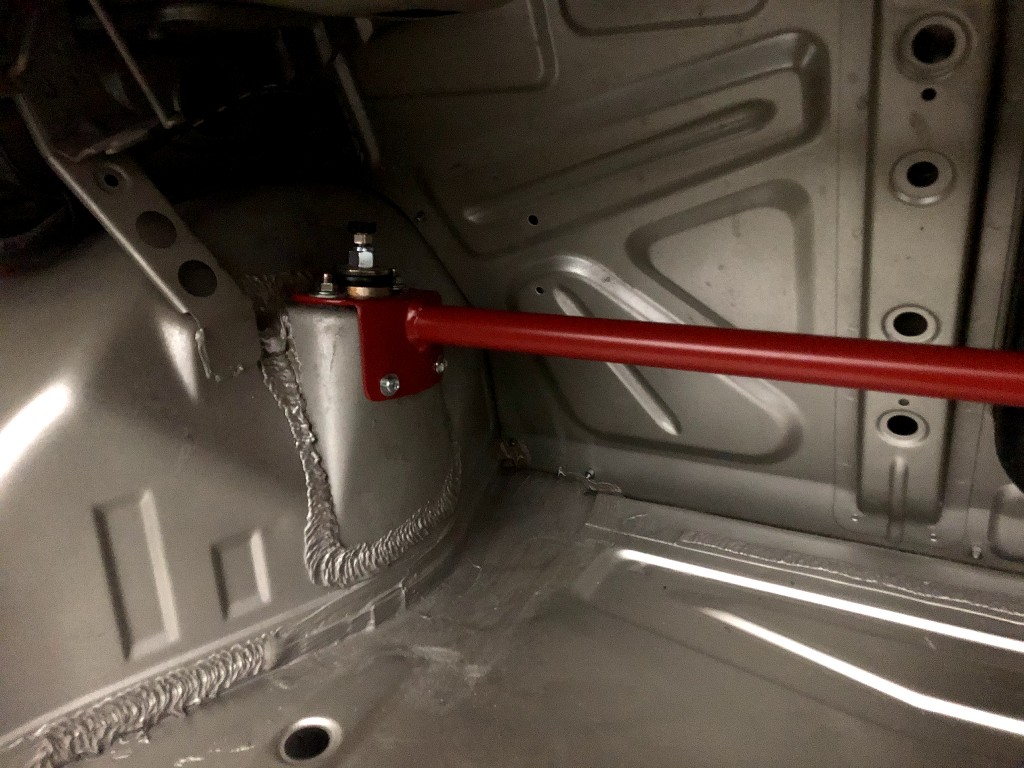
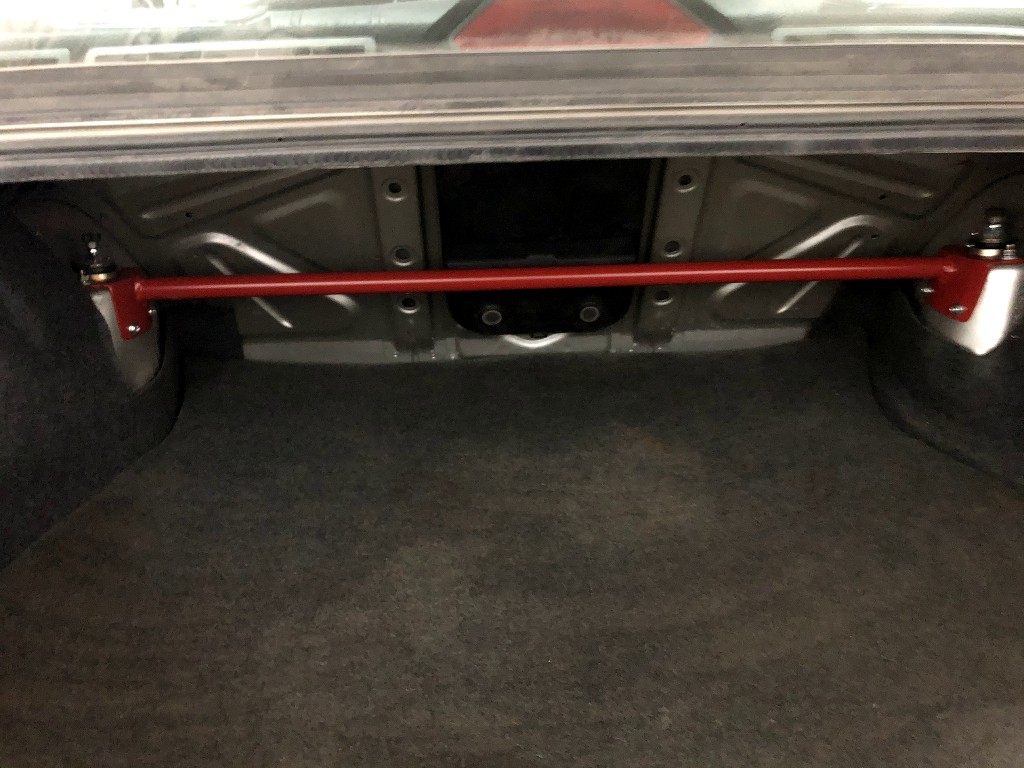
then, since i try to save money here and there , i build myselft a rear strut bar. i dont mind to have one perfect looking since it is in the trunk..
i have hard time doing it , only have a welder and grinder.. it took me few hours, its not perfect bu it should do the job.
i paint it red with mat clearcoat.
i know they are cheap, but it cost me about 15$ to make and paint it.. cant be cheaper!!
then i step to do some body work to my front lip.
it was in very bad shape. lot of cracked spot and mutiple craked layer of paint.
i have to ''plastic weld'' the craks, then melt some steel reinforcement in the back,
''weld'' the outside then finish it with body filler and hight build primer
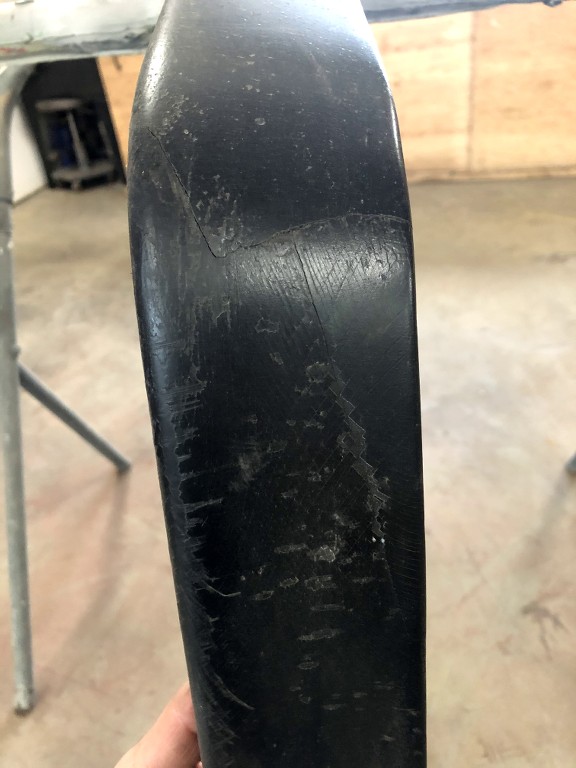
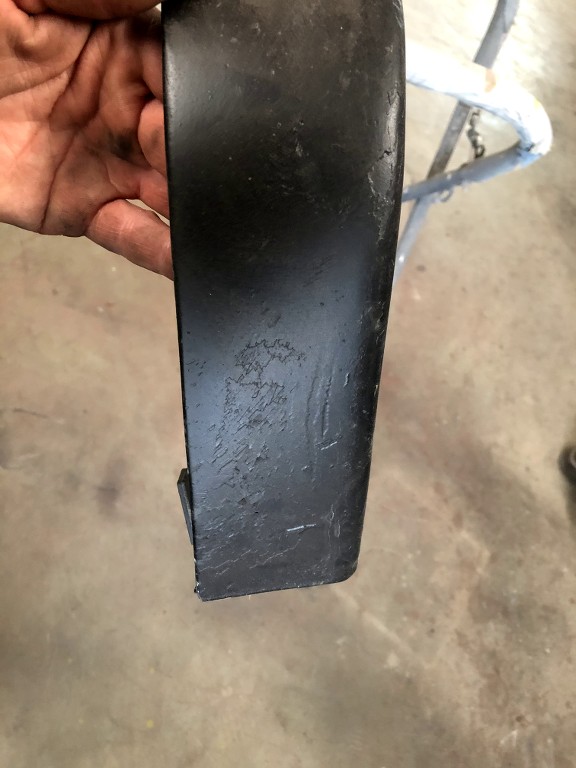
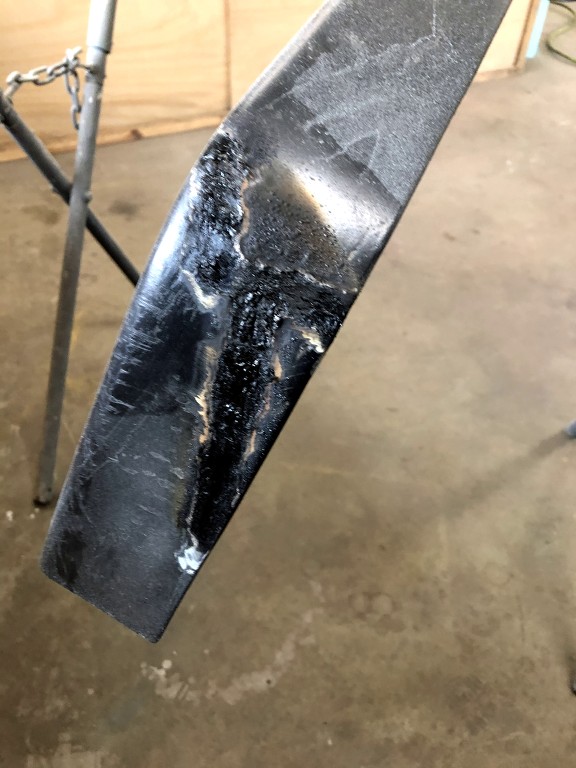
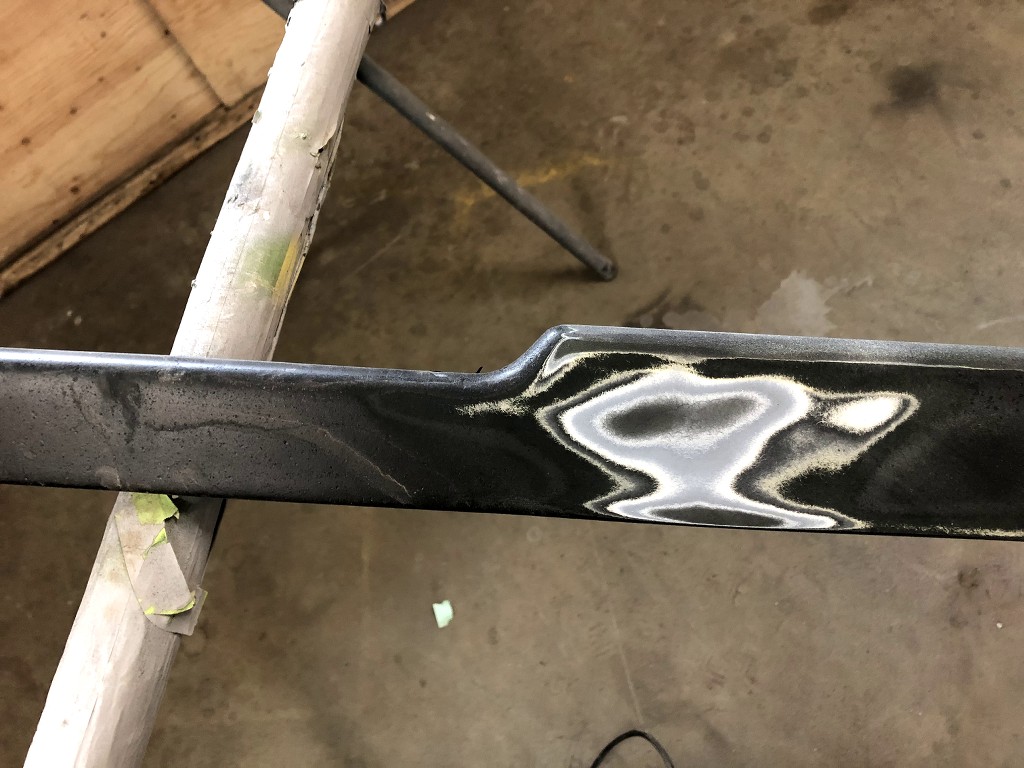
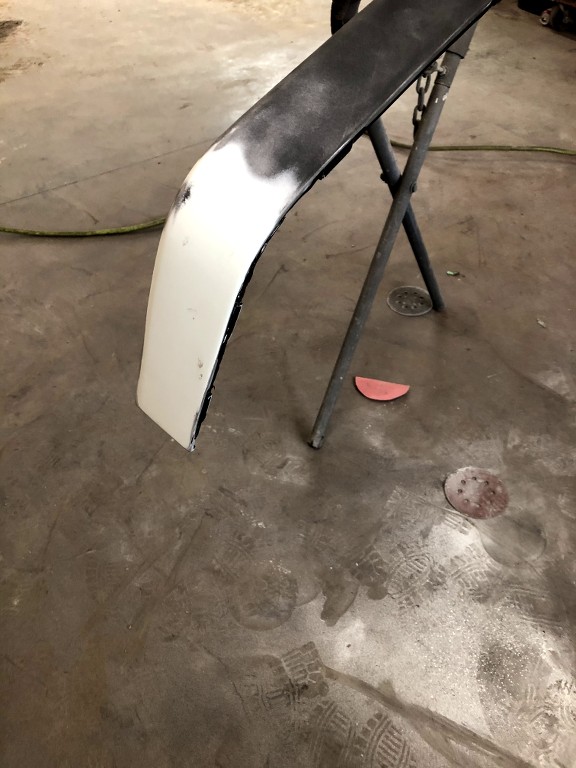
after that was the time for my rear spoiler who was in very bad shape too.. i think this is a common issue with theses ??
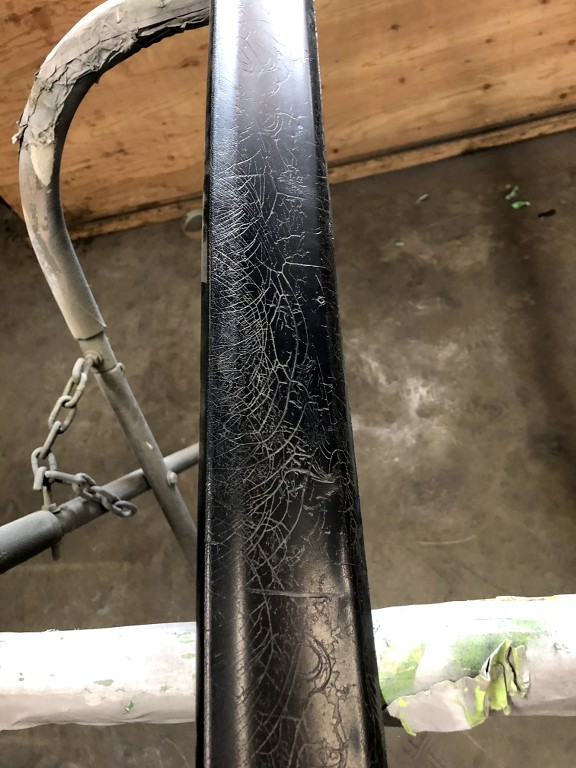
i sanded both the spoiler and the front lip to its bare material to be sure i got it smooth enough.
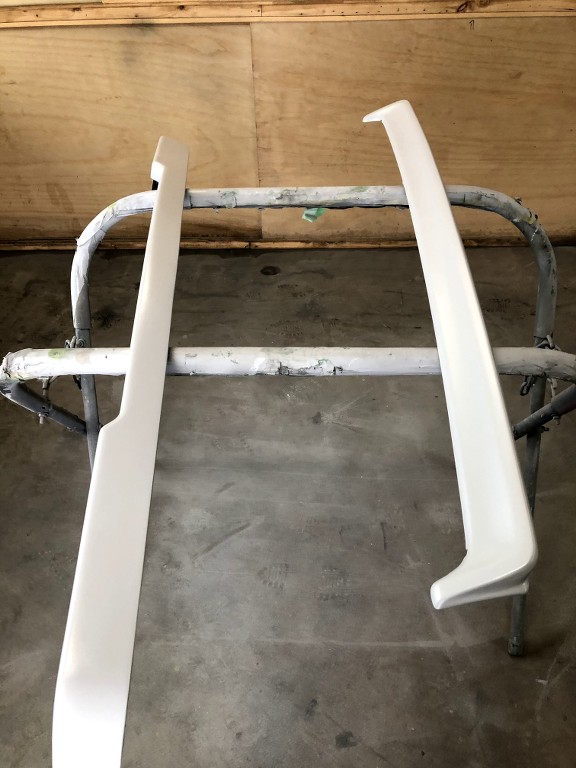
and after that , i take some time to clean de garage a bit and give the car a little rince.
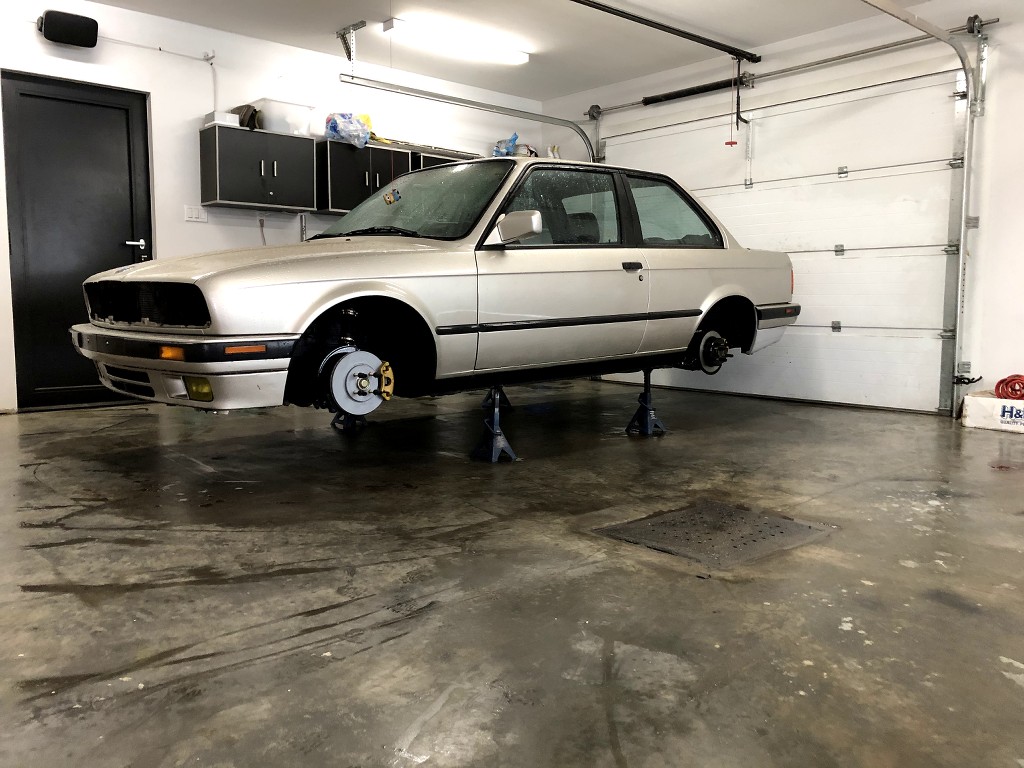
project is going good !
i kind of have finish the big work on it for this winter.
before the spring, i need to :
buy new headlight
buy IS sideskirt
clean the engine bay
bleed the brakes
buy wheel and tire
tint the yellow flasher on the taillight
and few little things here and there
i think its all. !
at this point , i spent almost 250+ hours on that car. it crazy how much time it need to makde these car in good condition !
but , i dont complain, i love doing it !Leave a comment:
-
another update for the E30 ! work going good . i'm happy with the result !
this week , i have receive my BC coilover.
since the E30 comunity love them, i baught them. seem to be good for the price !
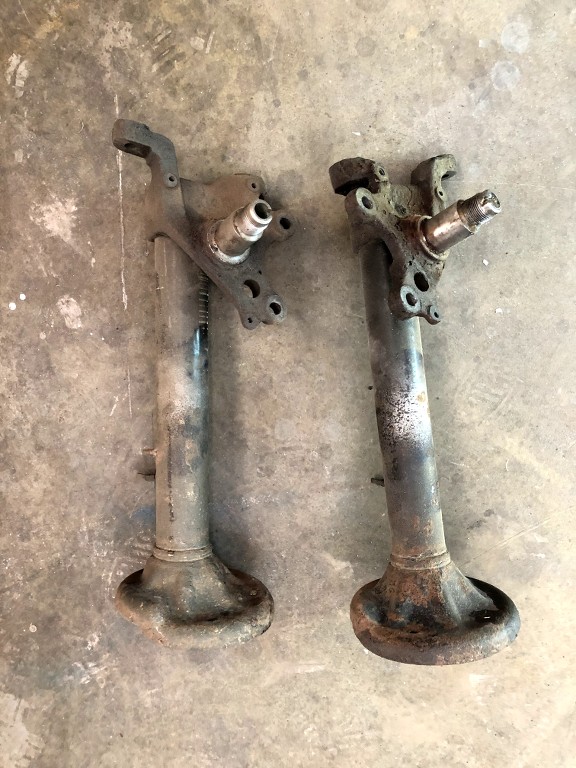
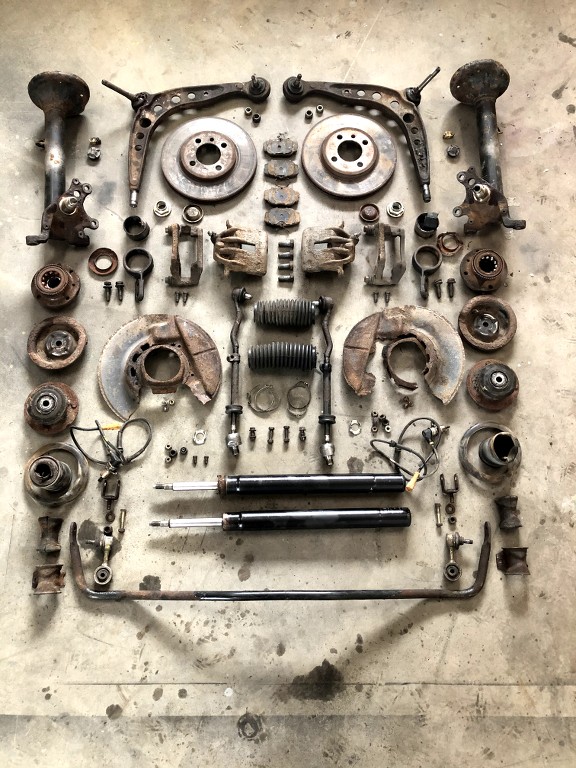
here is my old suspension setup.
( 4 blown shock with old coilrping drop + rear top place broken in 2 )
no hard to beat haha !
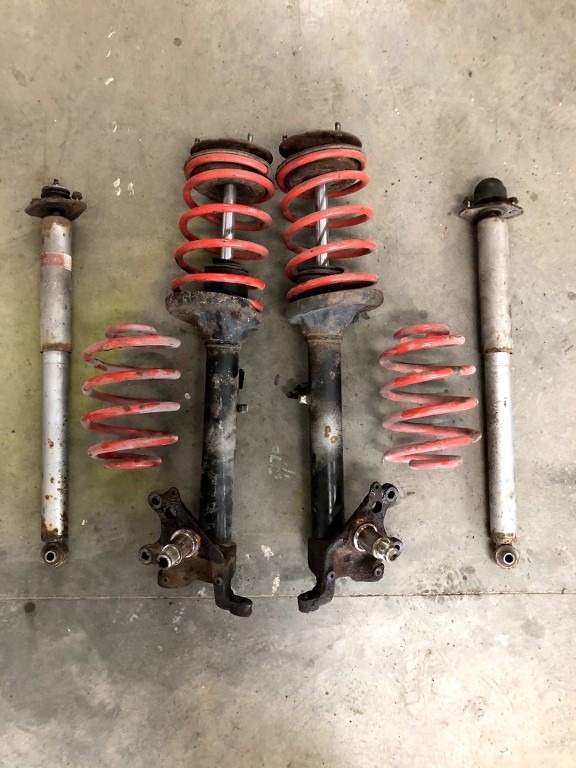
and the fresh new coilover system
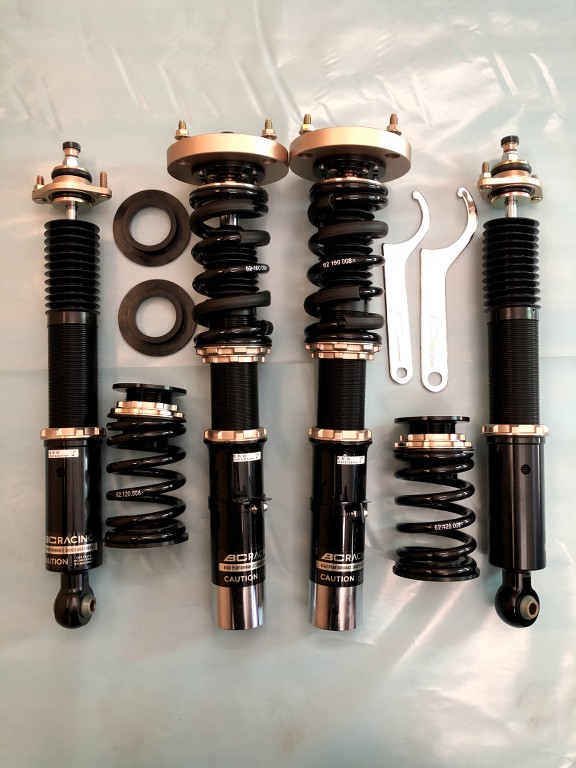
i do not loose any time and have already weld it to the oem spindle
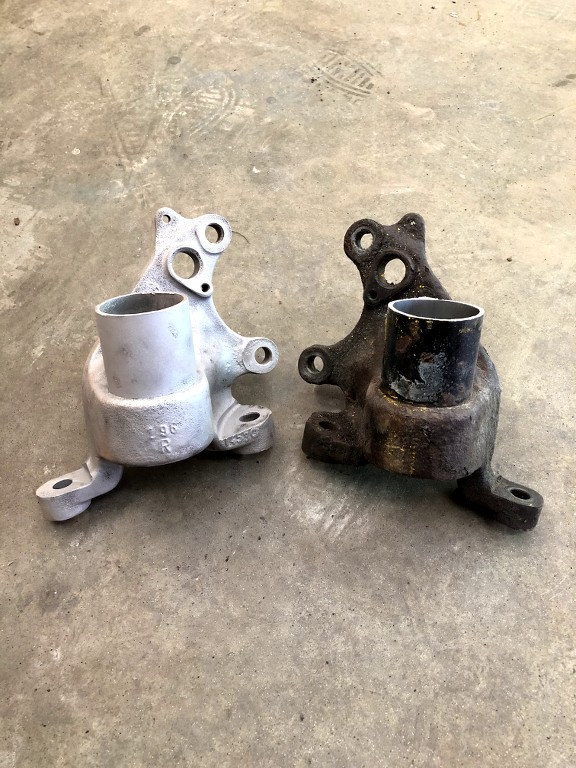
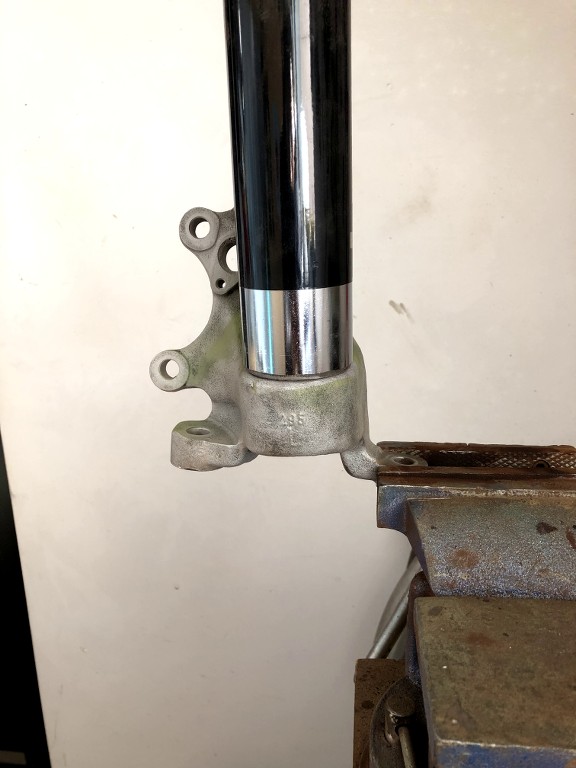
i cut them and let 50 mm as BC recommand. the BC base fit tight on the oem strut.
i makde a little V groove one the Base to have better penetration with the weld. before welding i also torch blow the whole thing to make it very hot and have better weld.
after the weld, i paint the new spindle assembly to match the rest of the coilover
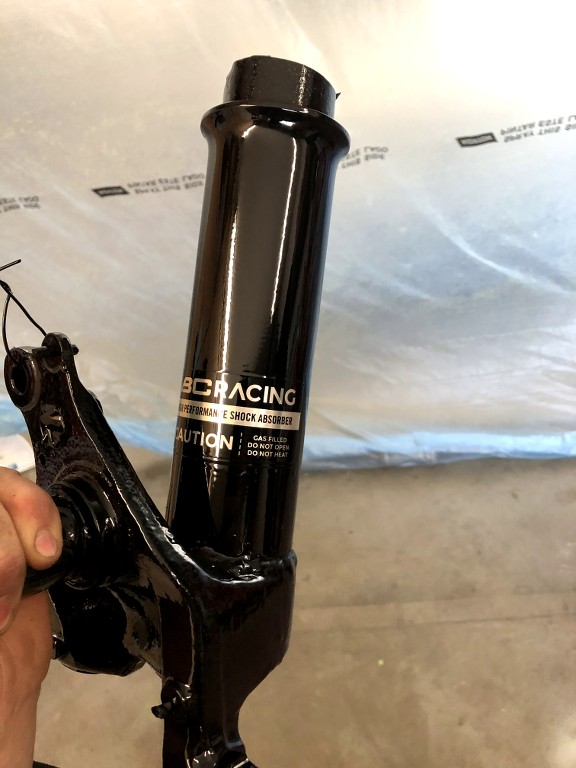
finally finish to receive and refurbish all my front suspension coponent.
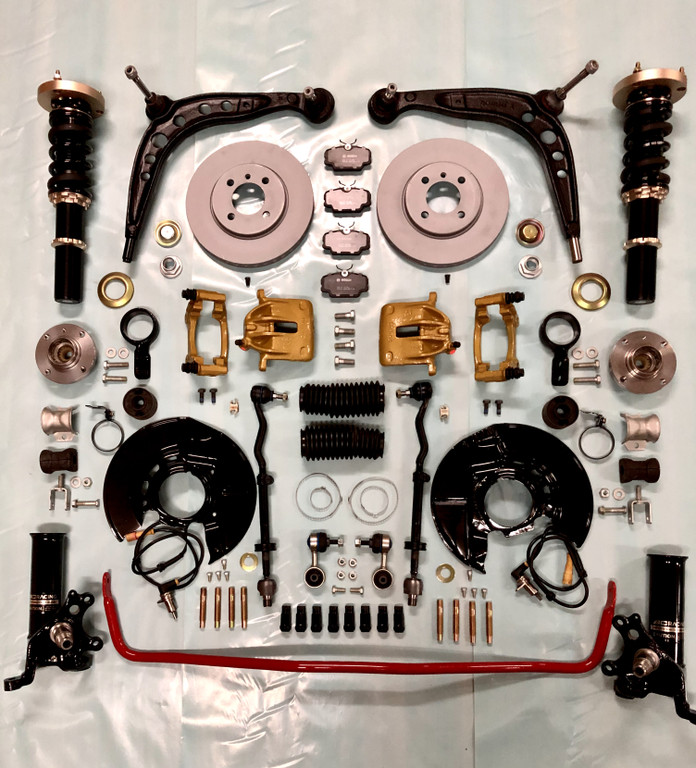
rebuilt girling caliper
new lemforder CAB
new lemforder control arm R+L
new tie rod assembly R+L lemforder
New coilover
new SKF wheel hub assembly R+L
new bolt
new oem dust cap ( bearing )R+L
new bolt cap oem R+L( hub bolt cap )
new lemforder link kit R+L
new lemforder sway bushing R+L
new bosh brake pad R+L
new zimmerman disk R+L
new wheel stud conversion
and so ..
i think the car will drive crazy after the rebuilt !
then i attack the last rust spot ( i hope) for this year .
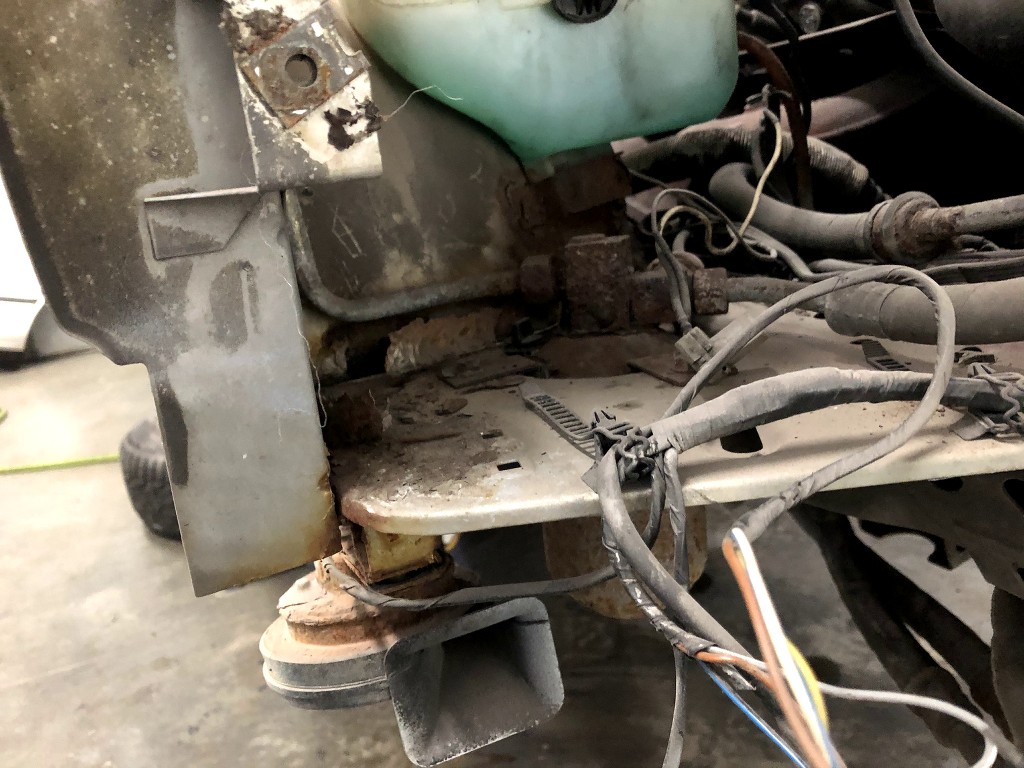
have to make room to work propely,
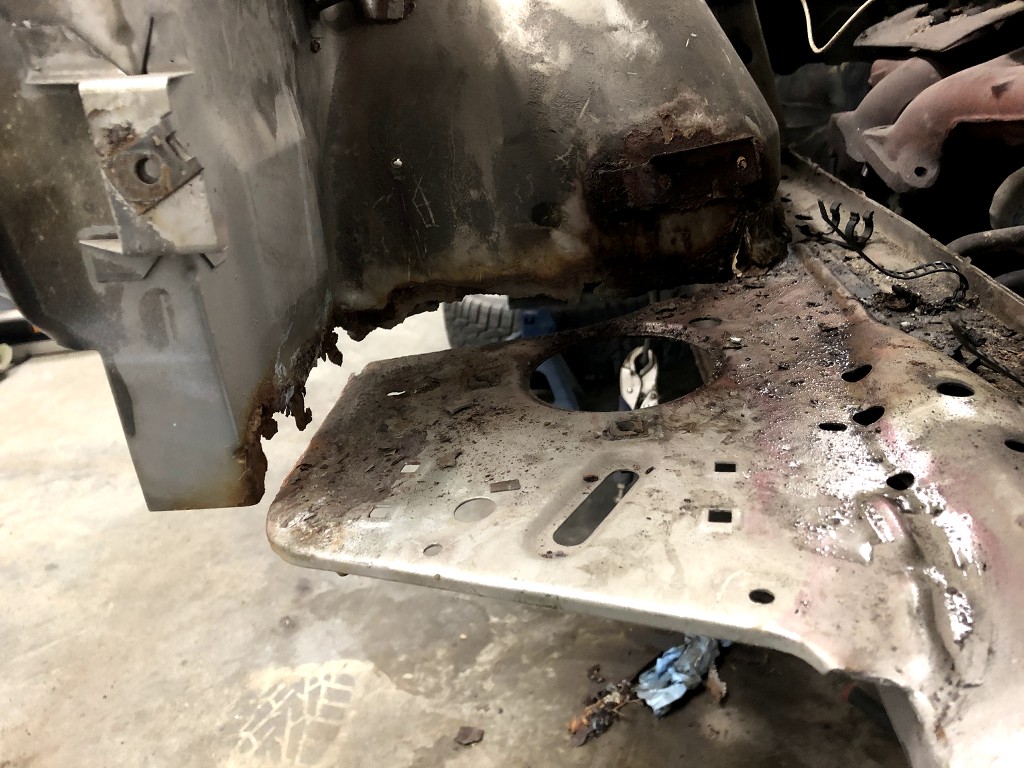
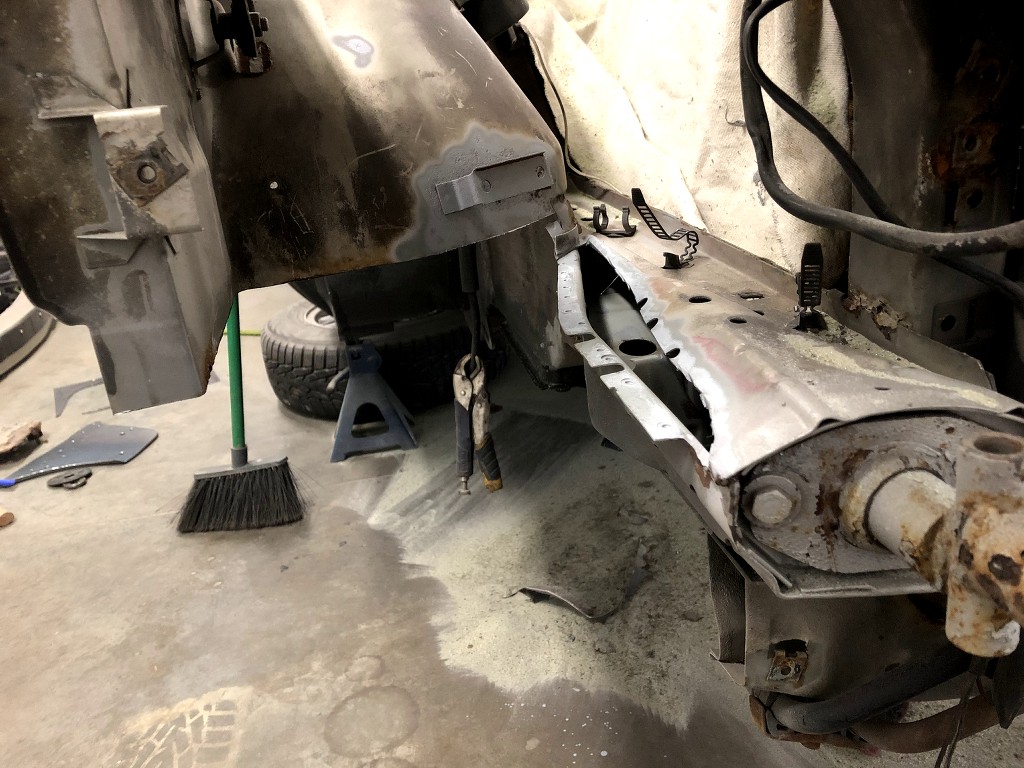
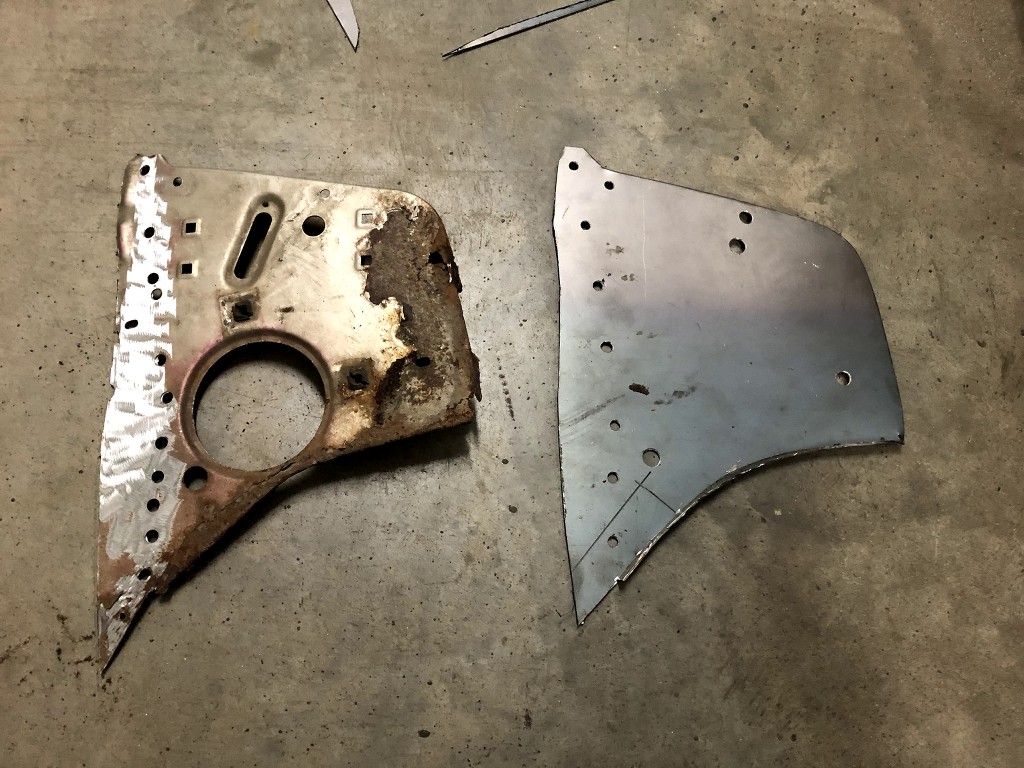
i use 1/16 thick steel because this part is part of the frame rail, so i want it solid
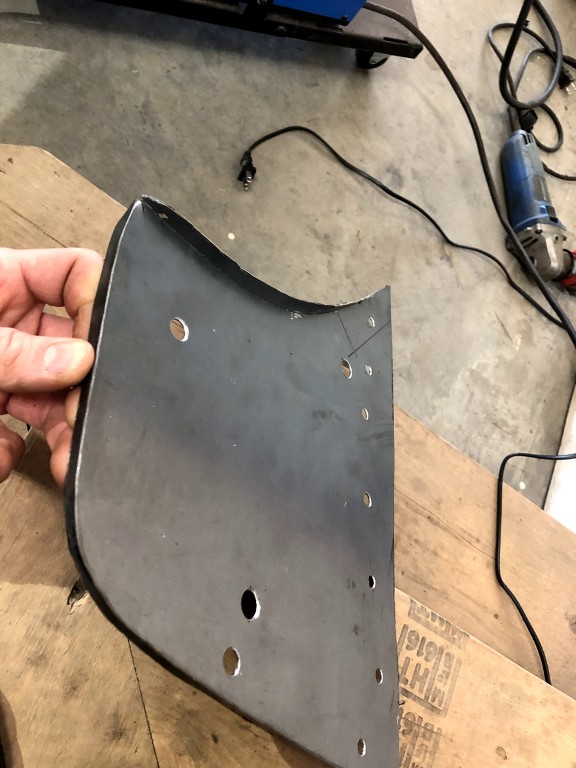
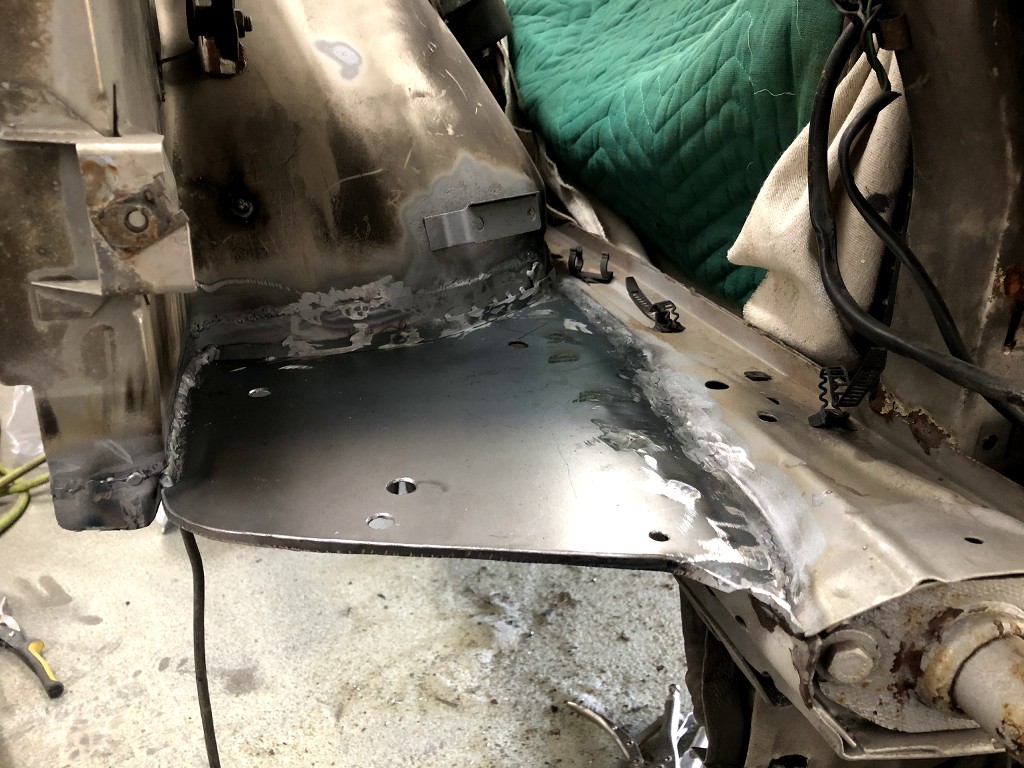
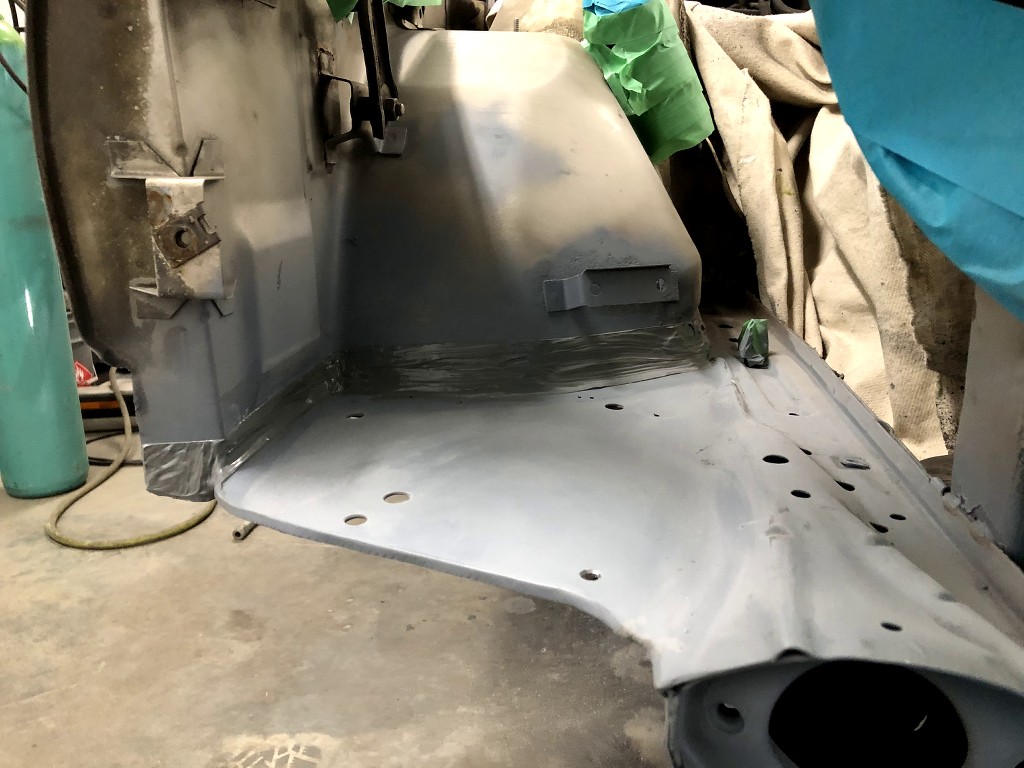
im here at the moment. it need to be paint . and after that i put back on the car all the front coponent.Leave a comment:
-
Keep up the hard work! You are inspiring me to take on my rust areas myselfLeave a comment:
-
i have take a look to your picutre build on instagram, it look interesting ! do you have a build thread here on the board ??
I have give the front caliper the love they needed haha !
they were very rusted and even one was seize.. amazing that i didnt notice while i drove the car last time.. the car was braking perfectly... the both inner cylinder have some thick oily gunk inside.. anyway ,
i have all dismentle it
grind it with wire wheel
sandblast
and paint.
it turn out great! i love the result!
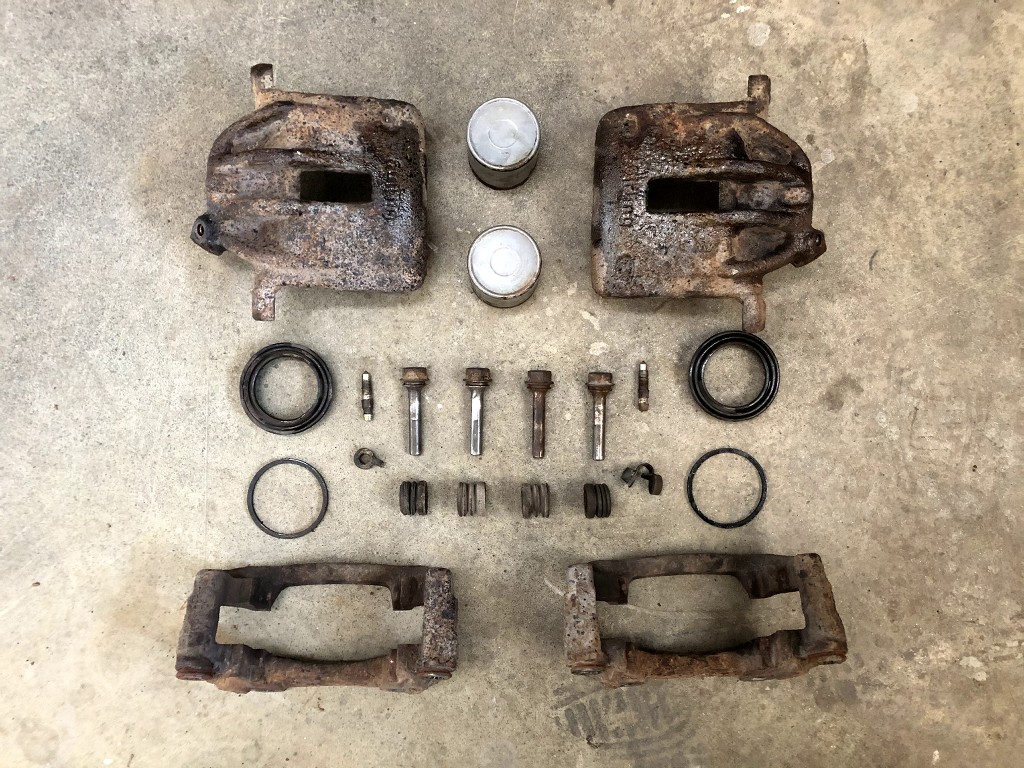
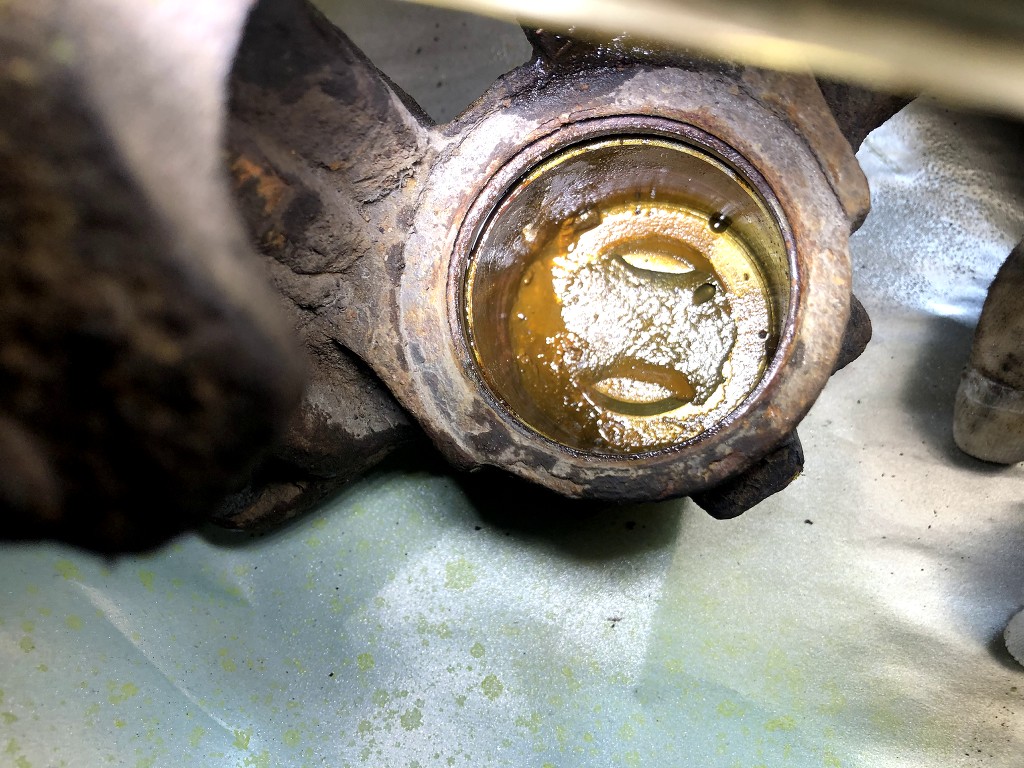
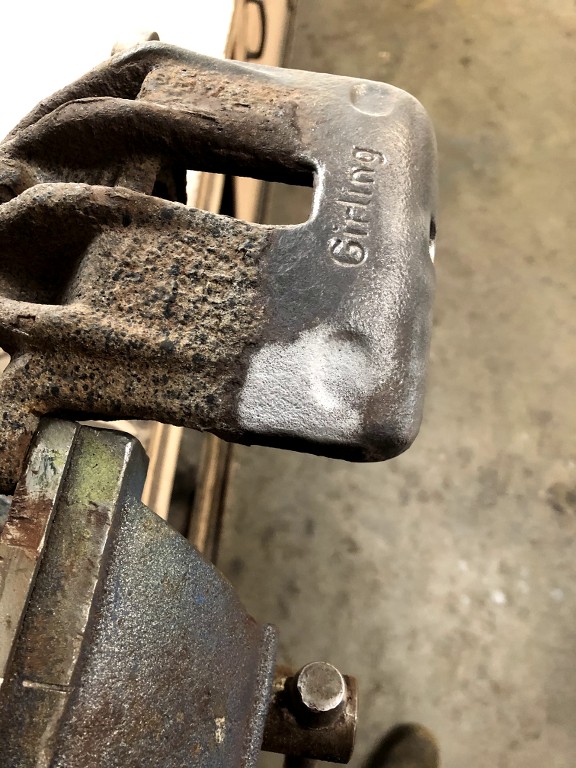
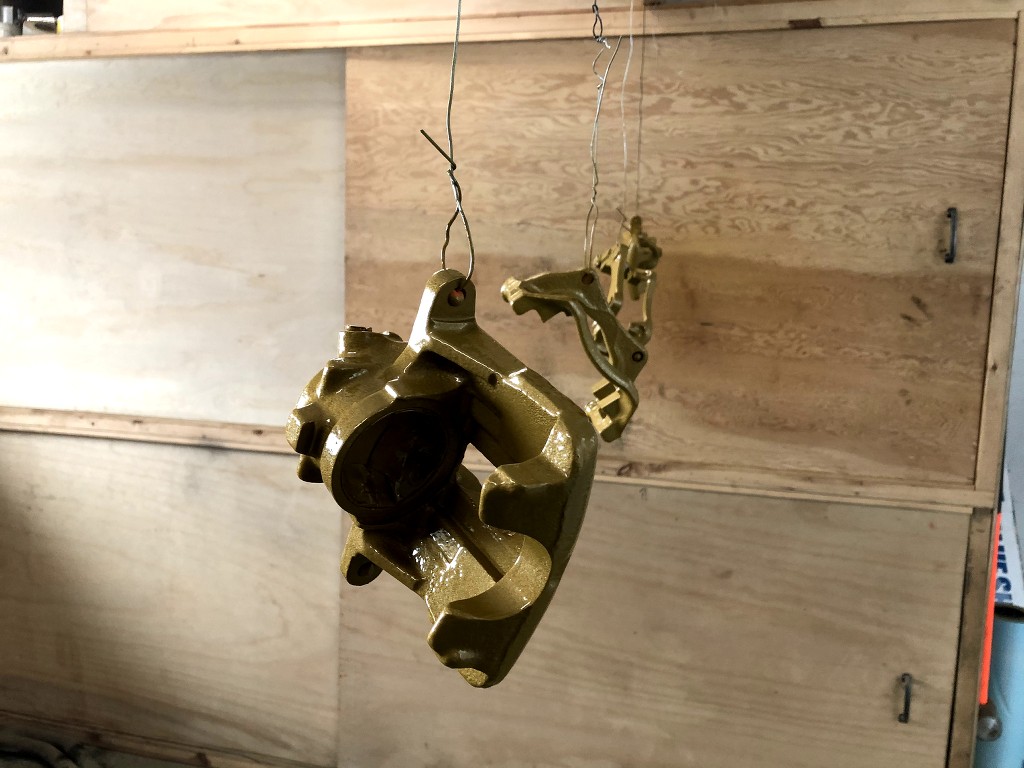
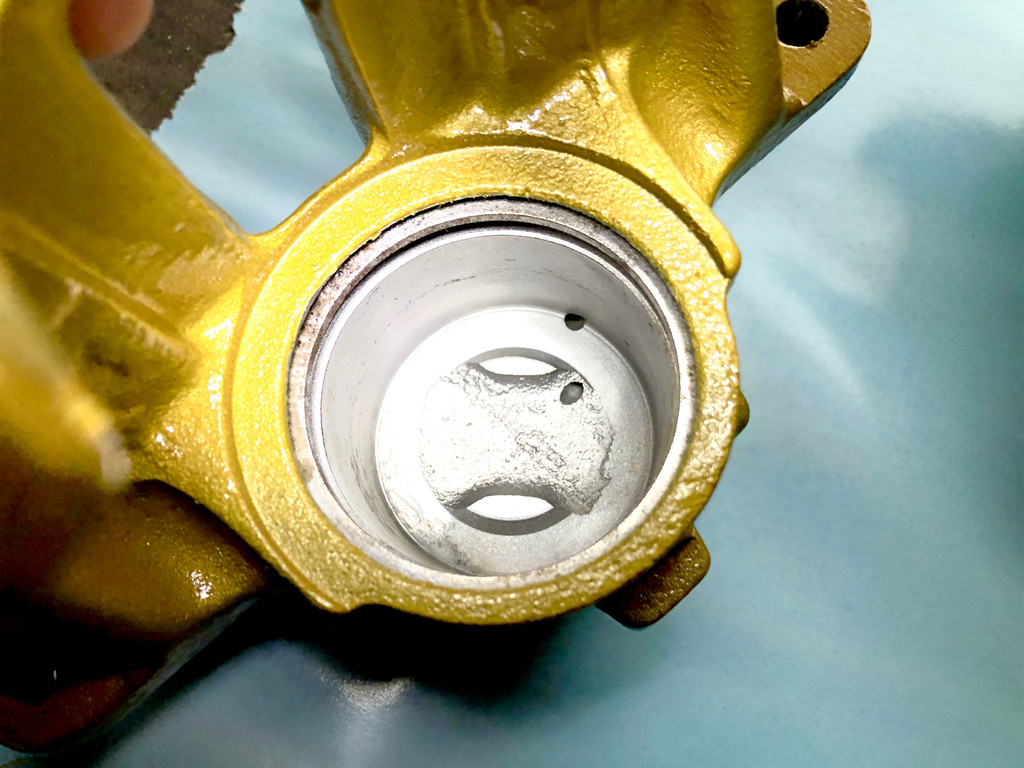
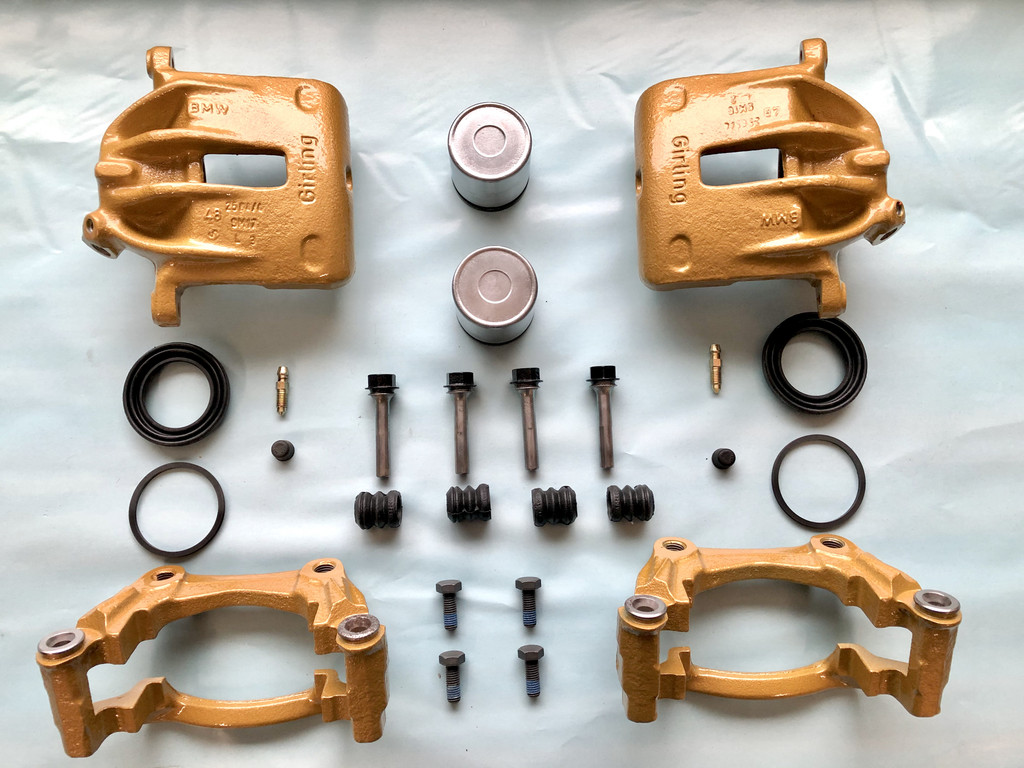
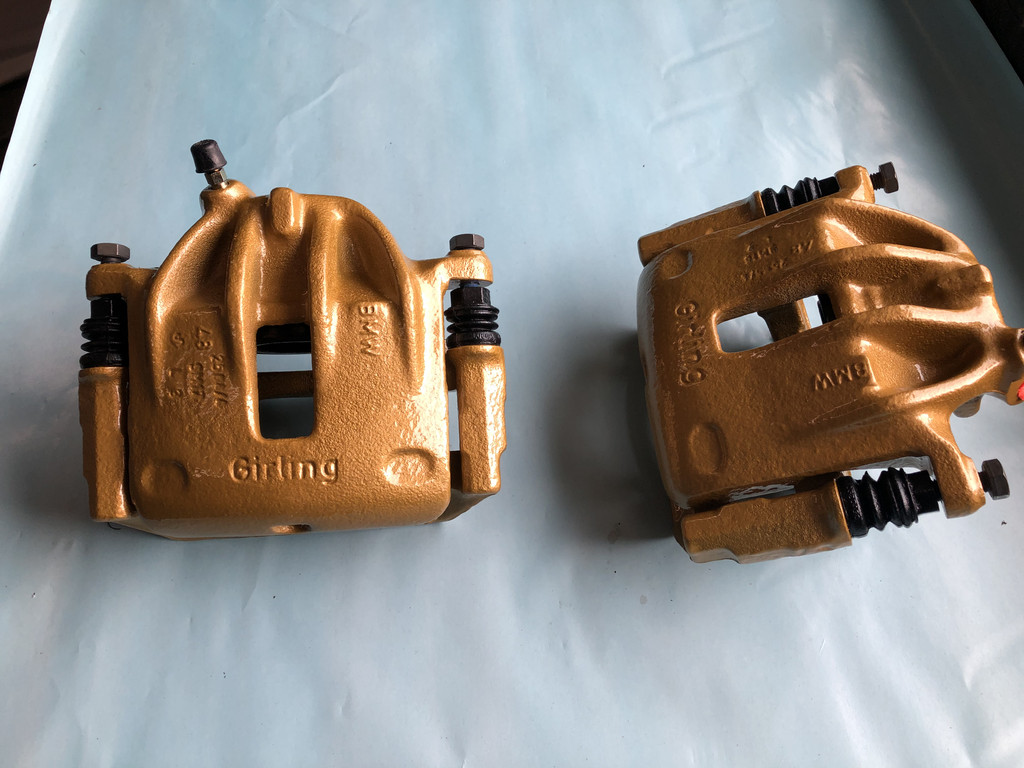
i know that gold caliper is not the best looking color for a bronzit car color, but i planned to paint the car to a darker color maybe dark cherry..
my front backing plate were..... total scrap!
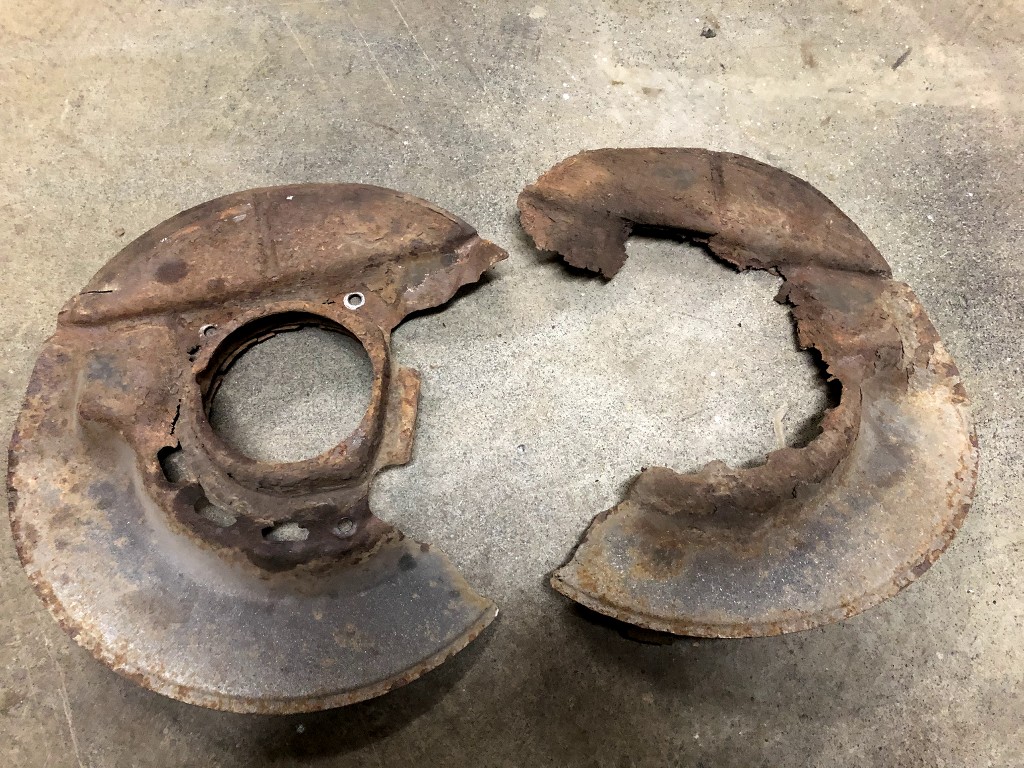
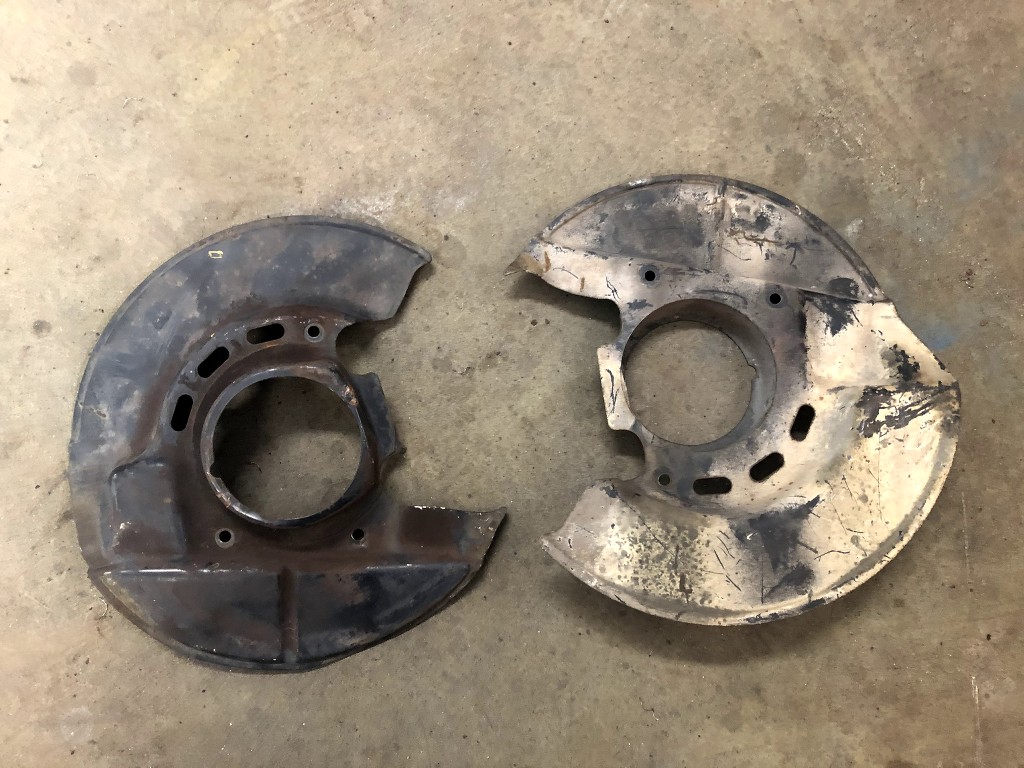
i baught here to a REV member, 2 backing plate . clever guy who accept to ship it to quebec , canada.
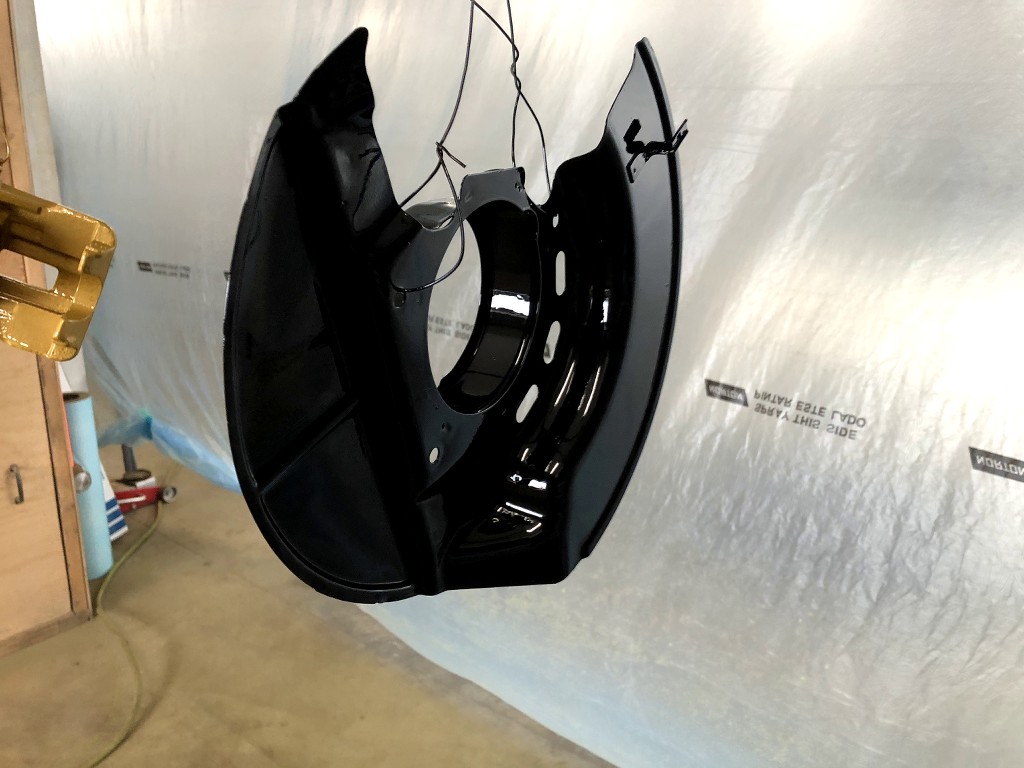
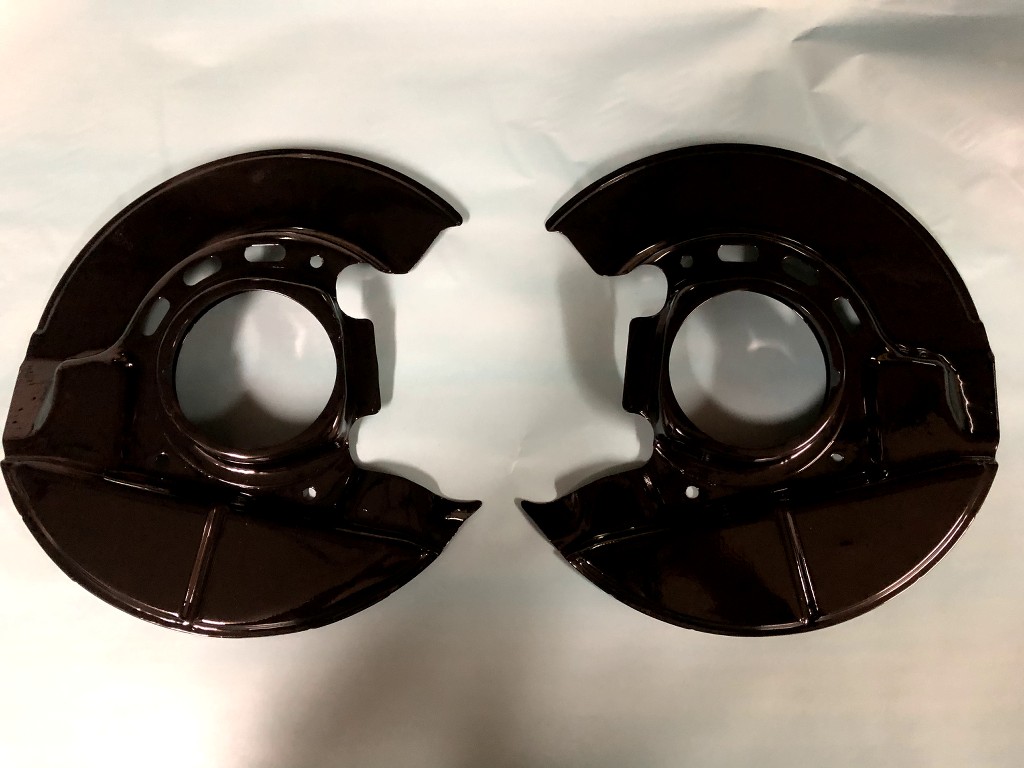
the backplate he send me was in overall condtion 8/10. i just sand it, little sandblast and paint it black
the next thing will be to weld on my coilover that i'm about to receive .
here is the picture of my interior Done.
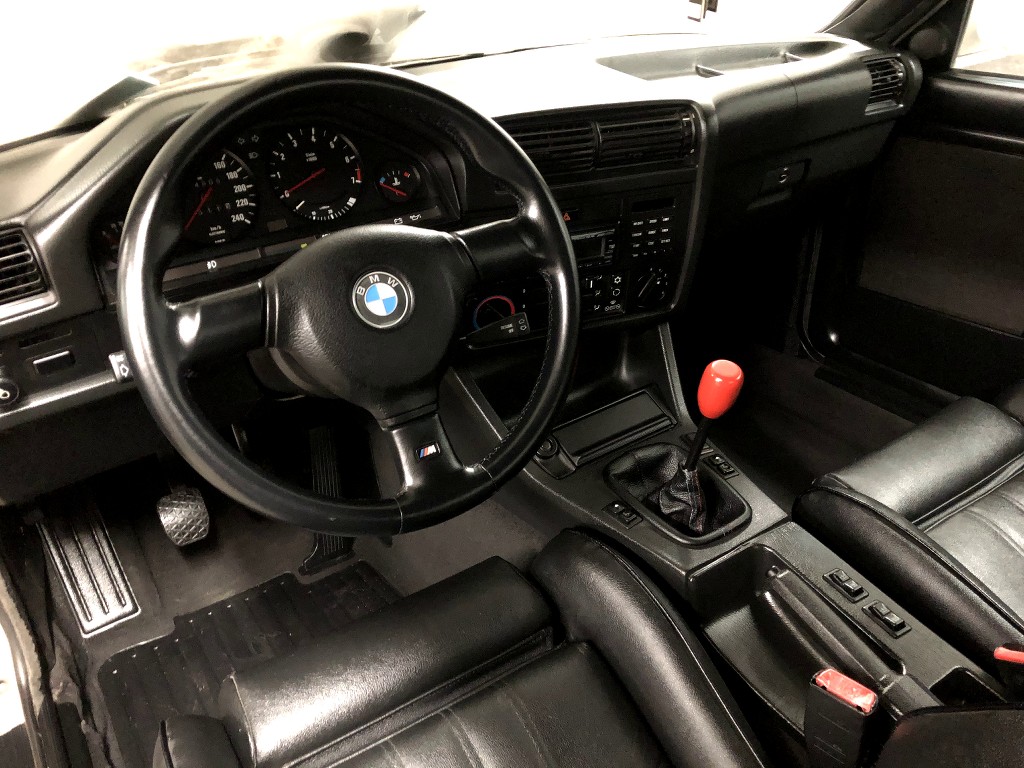
i love the way the shifter look ! i sure prefer the look of the solid mount from garagistic since the rod is thicker, but the one i have made cost me nothing to do .. and it kind a look more oldschool !
what you think about it ??!!Leave a comment:
-
Love this thread!
I think your rust repairs came out great. I'm in the process of fixing some of the same areas on my car and will also do a suspension/undercarriage overhaul like you just did :-)
Leave a comment:
-
wow ! thanks everyone for the encouragement !
its good to see people appreciate the good work !
things going well on the E30 !
here is the update
the final look of the rear wheel well repair. to be honest, i was expecting a better result.. but atlest, i know now that the job is well done.
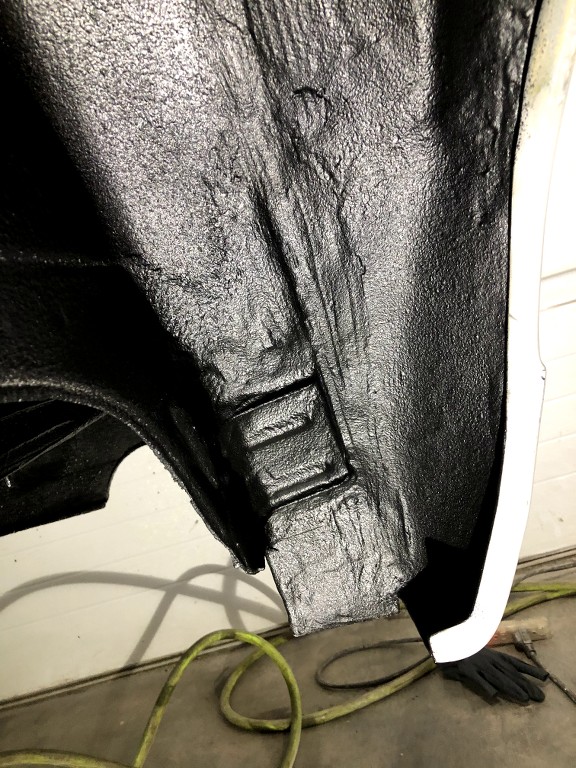
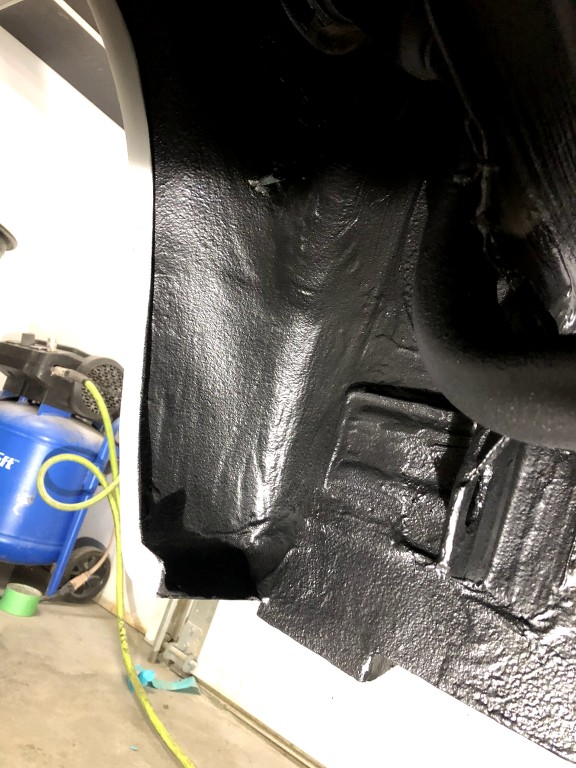
i have removed all the sound deadening in the trunk. it crazy how much weight i remove.. 53 pound !!! only in the trunk.
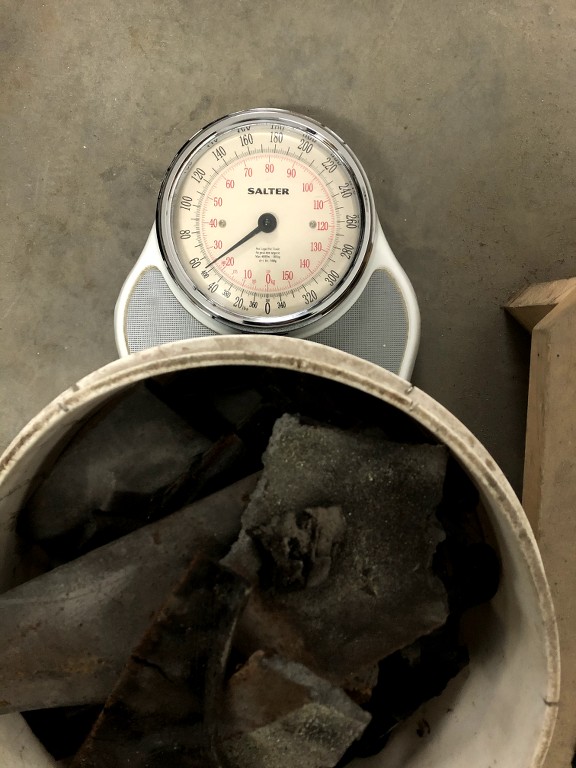
then i cleaned up everything, remove some surface rust and redo some join here and there and give the inside trunk a fresh coat of paint.
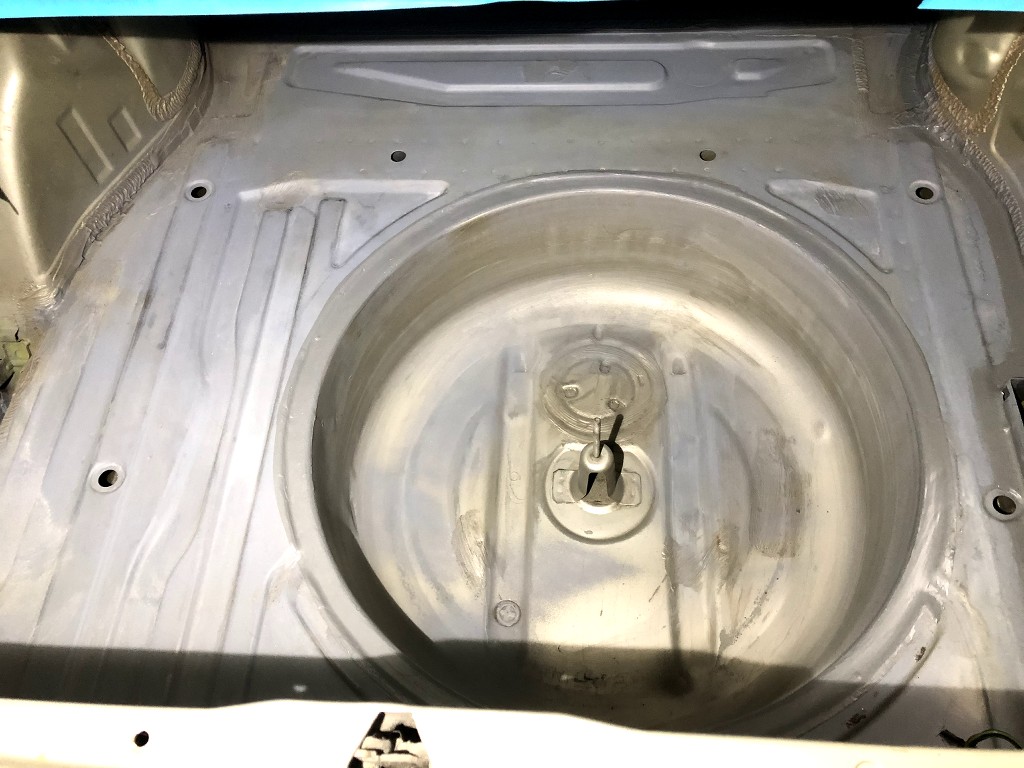
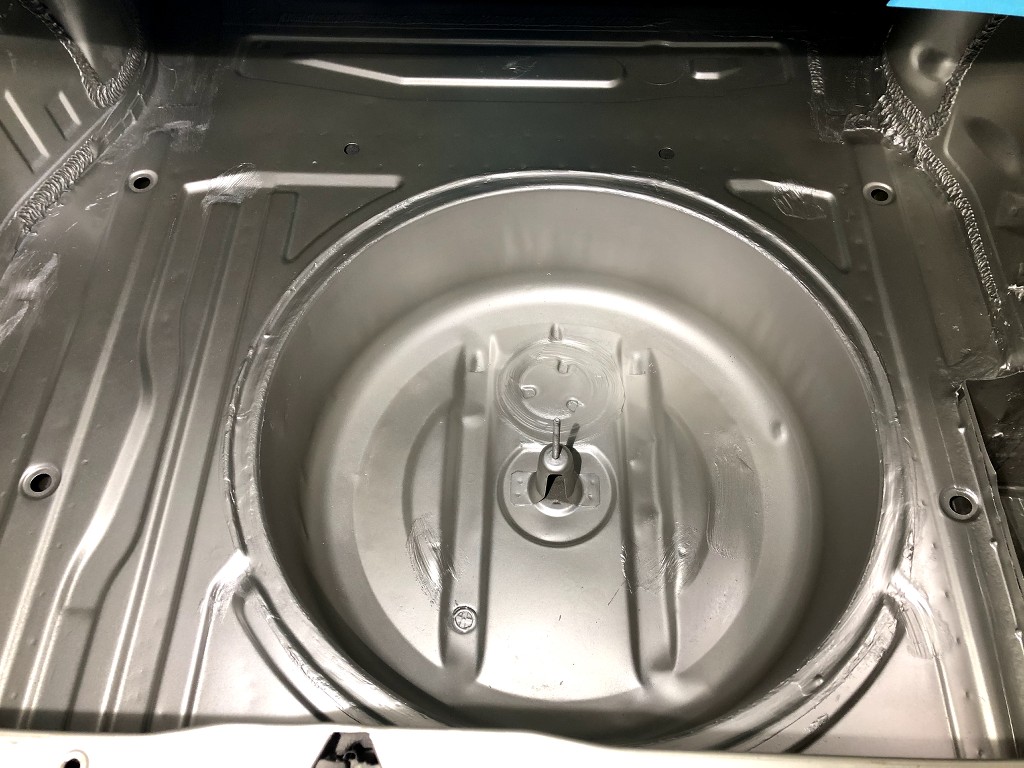
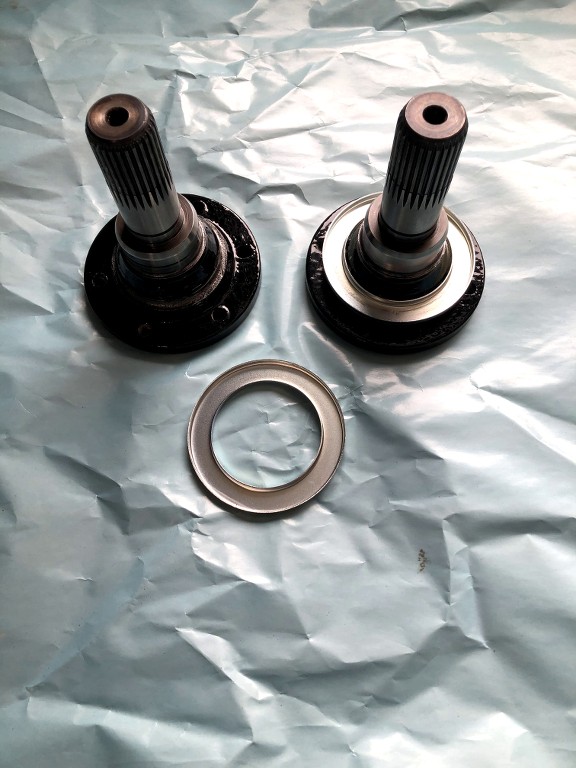
i finally reveive the dust plate for the output shaft and install it,
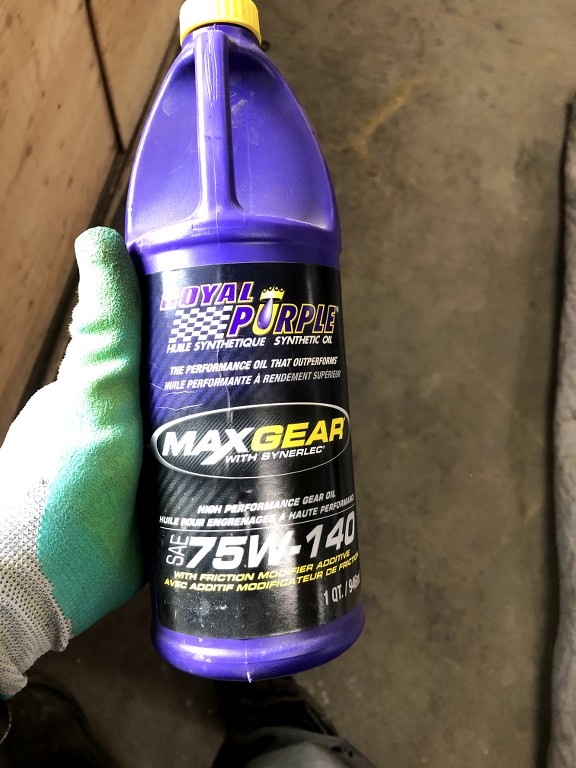
then fill the diff with royal purple diff oil
(anybody have comments about this oil ? good/bad ??)
refresh some part while i have it on my hand .
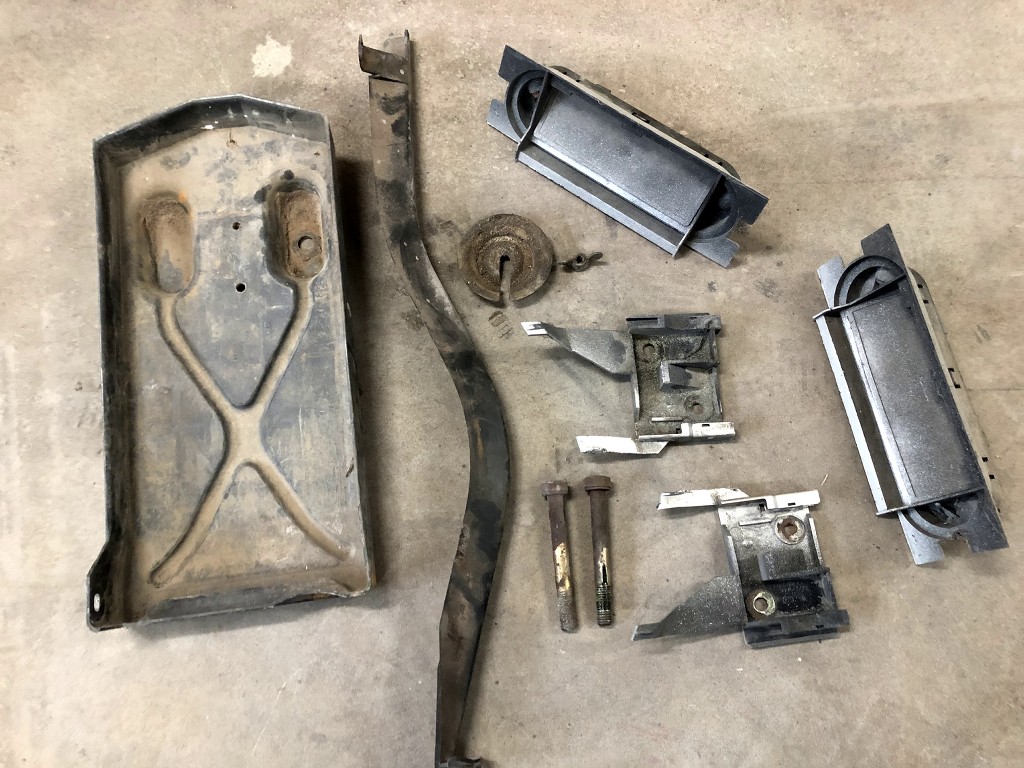
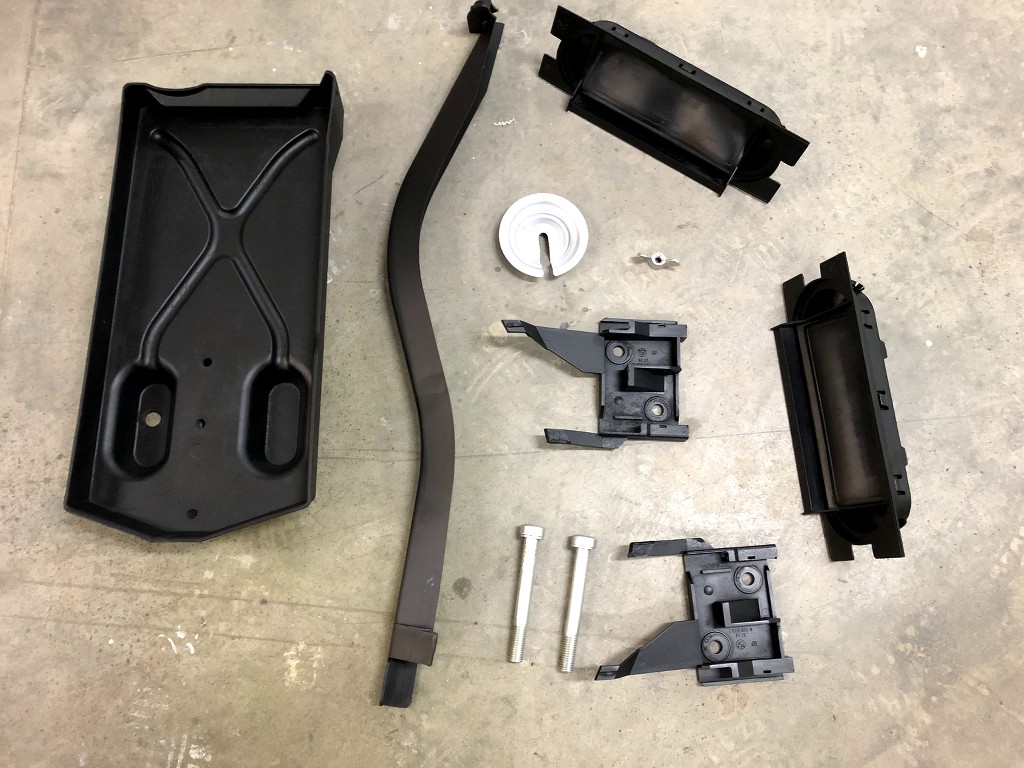
since i got my E30, the shifter was a problem for me.. it was so loose and sloppy.. i first buy a full bushing kit wit brand new z3 1.9 shifter. it was better, much better ! but still not stiff as i want..
i start thinking and realise that the oem shifter 2 pieces glued/molded together with some soft urethane, this give a little play on the shifter.
so i separate the shifter, keep the bottom part , take a steel rod, welded it to the bottom shifter and threaded the end m12x1.5.
i also buy delring carrier bushing (frond and back) , replace the bitch clip by one bolt and finally , DSSR.
here the kit
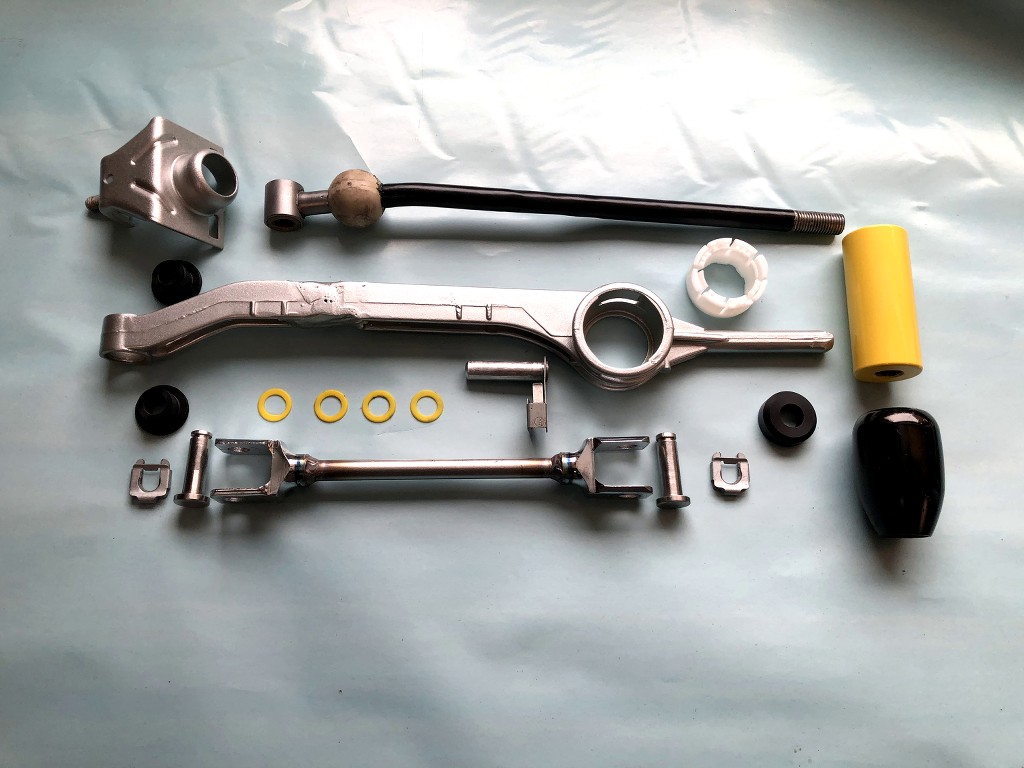
at the moment i dont know wich knob i will take, probably the black one!
i have started put back thing on the TA before install them on the car.
love the look !
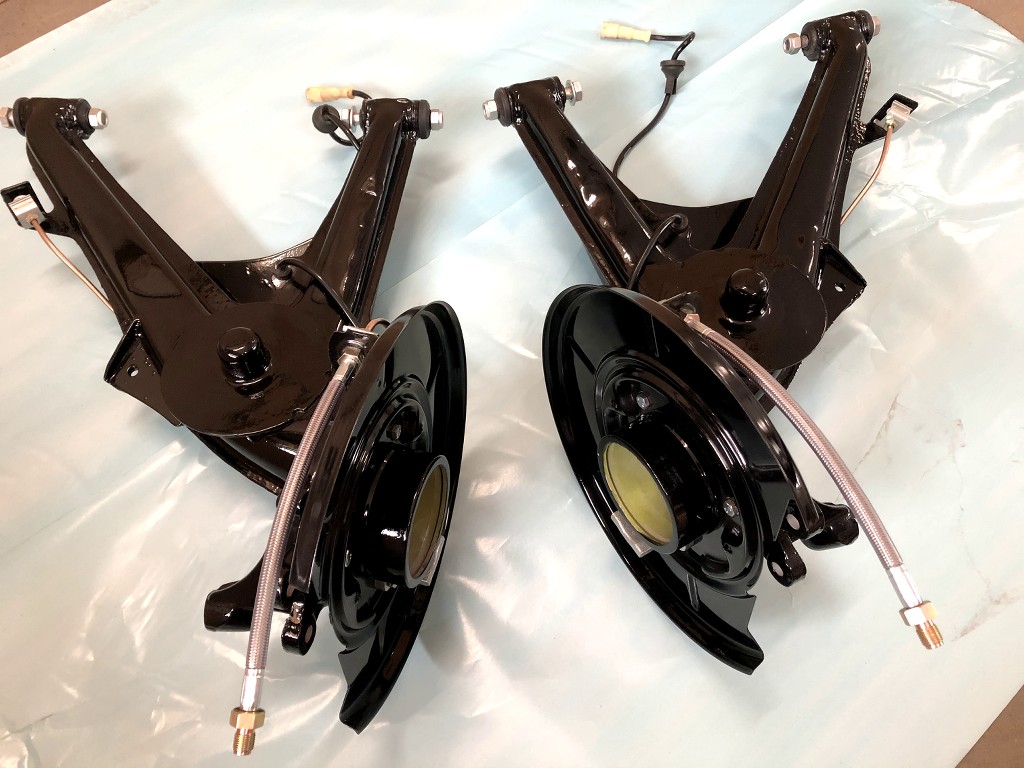
press in subframe bushing and TA bushing
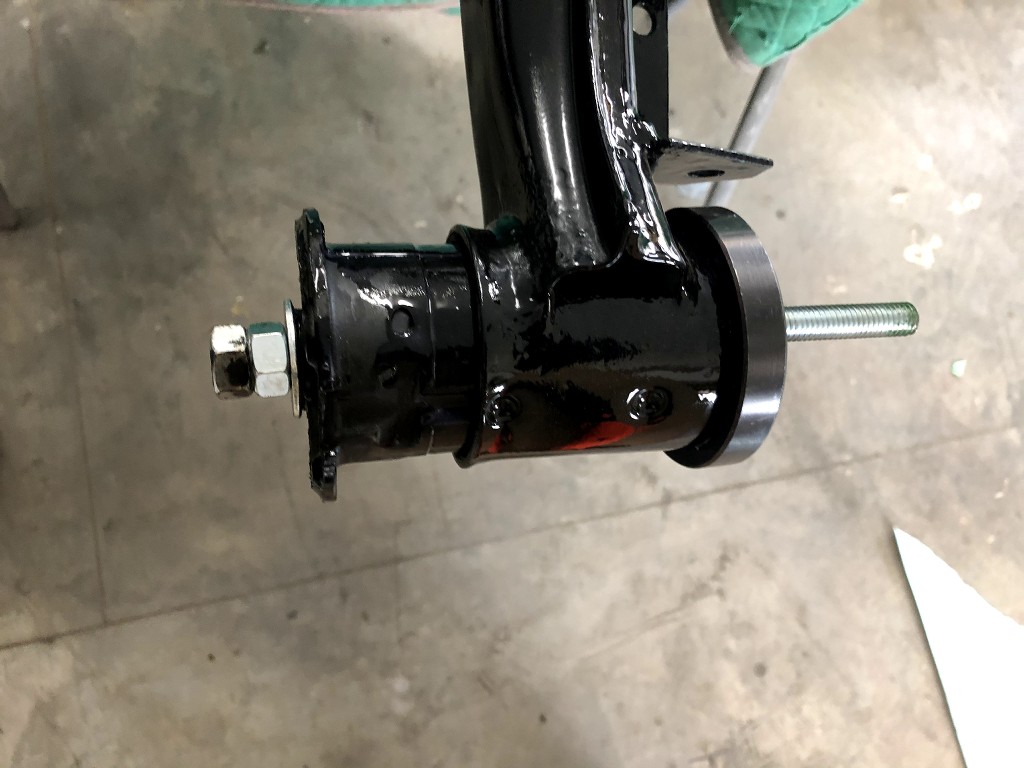
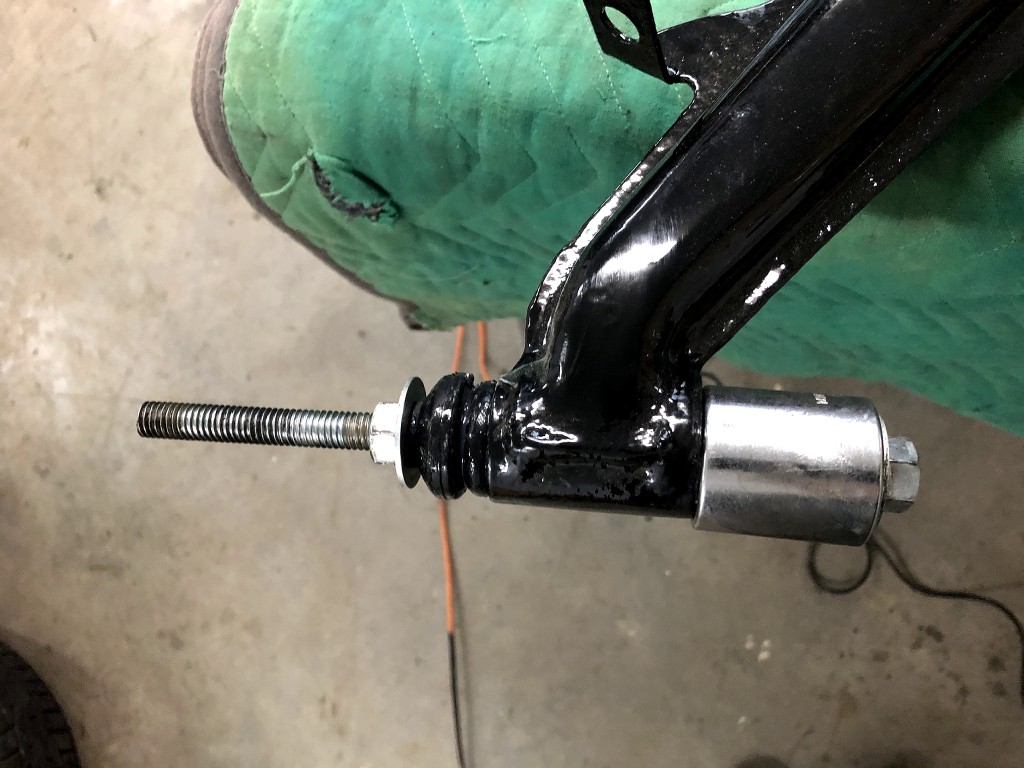
then install the DIFF on the car, hard job when your alone haha!
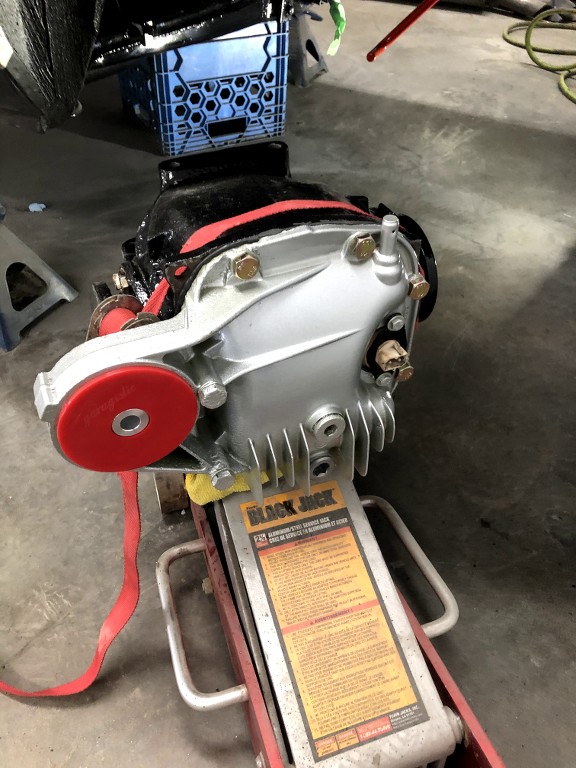
install the subframe and the TA on the car, then press in the wheel bearing and hub
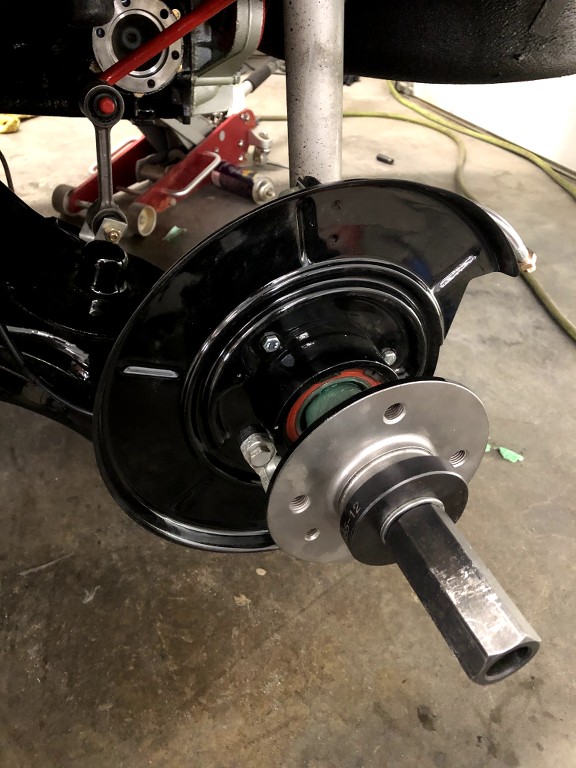
after that , time to install the hand brake system
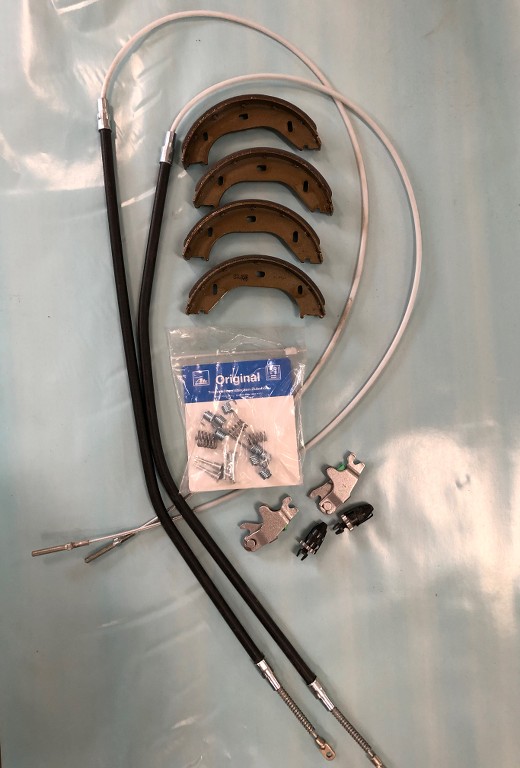
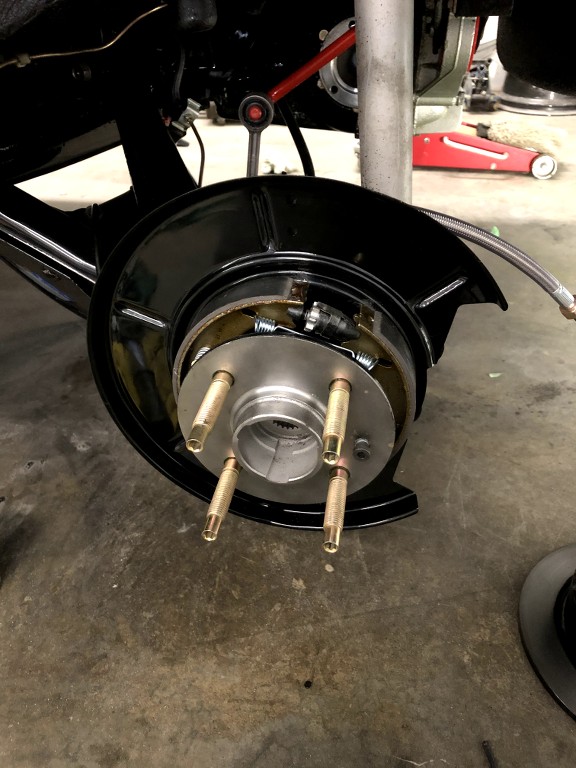
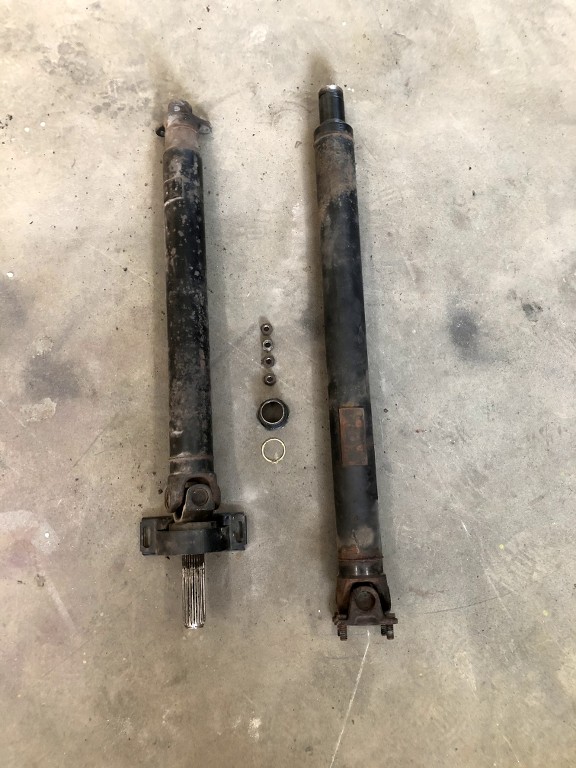
before install the drive shaft, i give a fresh new look
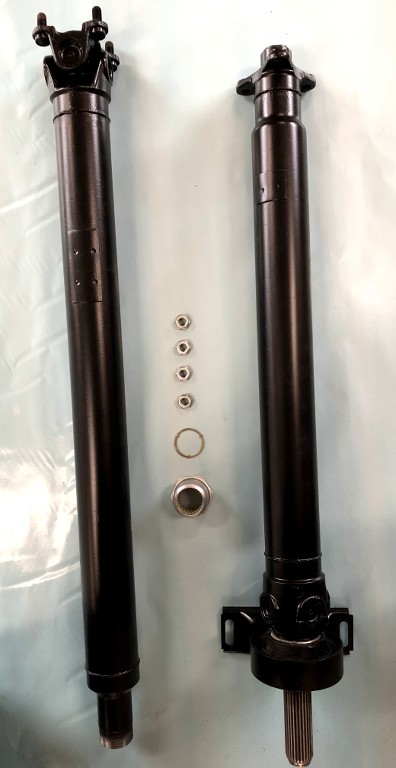
and now , the only thing missing to be install is the coilover, ) not receive it yet..)
everything else for the rear is back on the car ! so satisfaying!
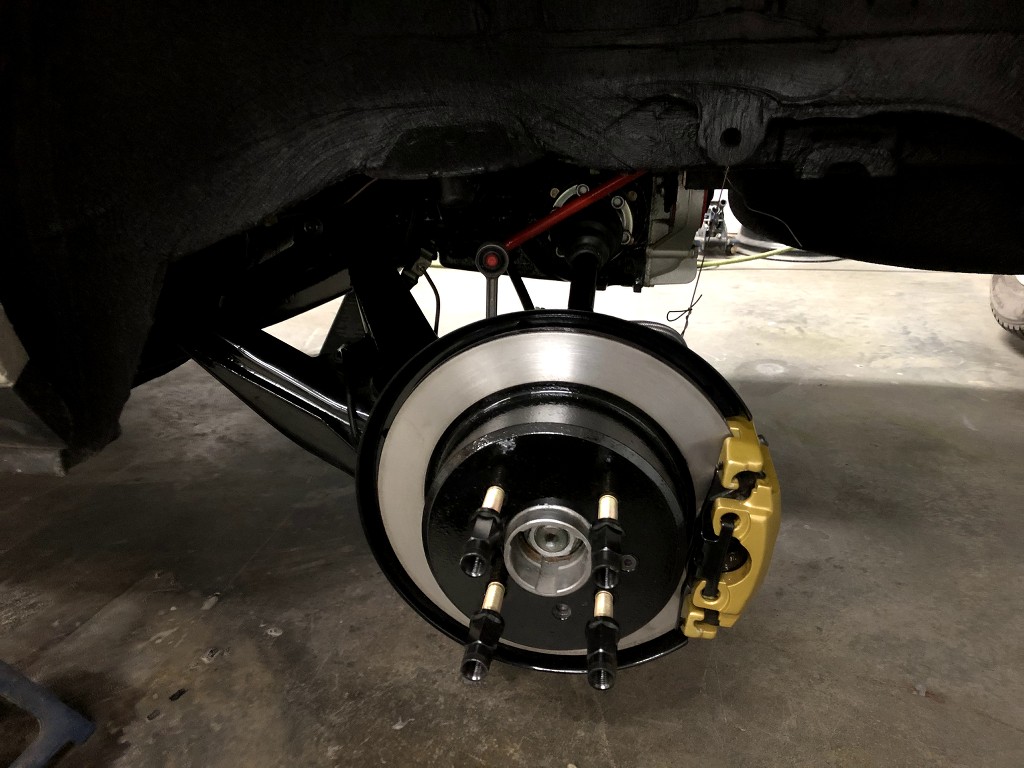
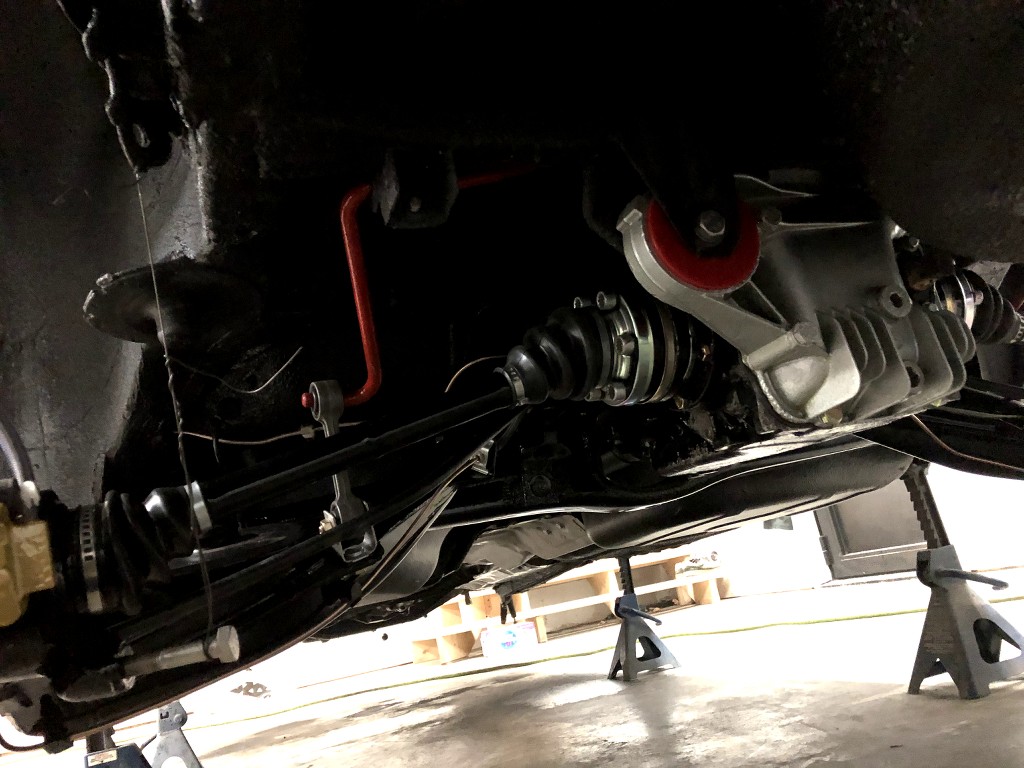
now the rear of the car completely done , time to refresh the front
remove all the mecanical coponent
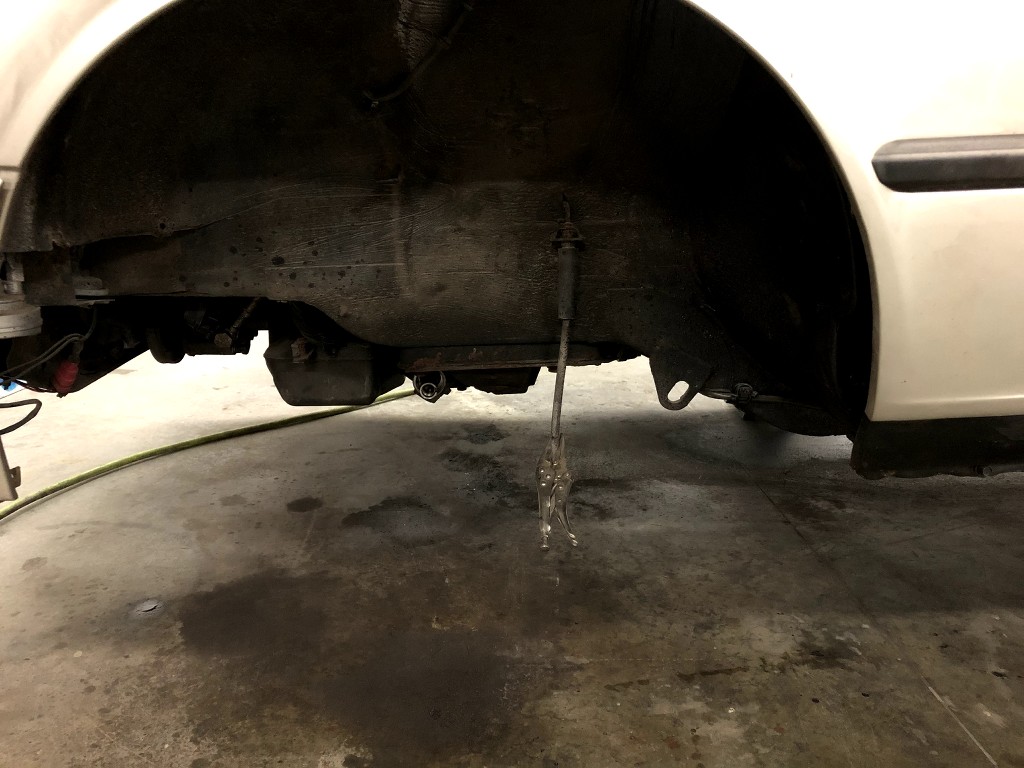
the front should take less time than the rear because lot of thing will be replace.
stay tune !Leave a comment:


Leave a comment: