

Wow - nice work on the rust repair, your results are fantastic! Thanks for posting details. I will be using your pics as a reference when I start the repair of my battery tray. Luckily mine is only bad at the rear lower valence area but it is a tight area.
MJ
-
whoh! its been a while since i update my build !!
the christmas time was very occupied for me.
i have done some work on the e30 !
long story short, the past owner have proceed a full respray on the car and , unfortunately, the bodyshop who did the job... was not very a good one.( i suppose)( maybe the past owner do not want to paid big amount of money...)
anyway, the low rear quarter and inner fender was repair but very badly. i knew it since my inspection before i buy the car.
this was a PITA to repair. i do not love doing this but now, its done ! finally
here it goes.
the left side . the exterior ( painted side ) look pretty OK (takling about the rear lower quater panel , behind the wheel)
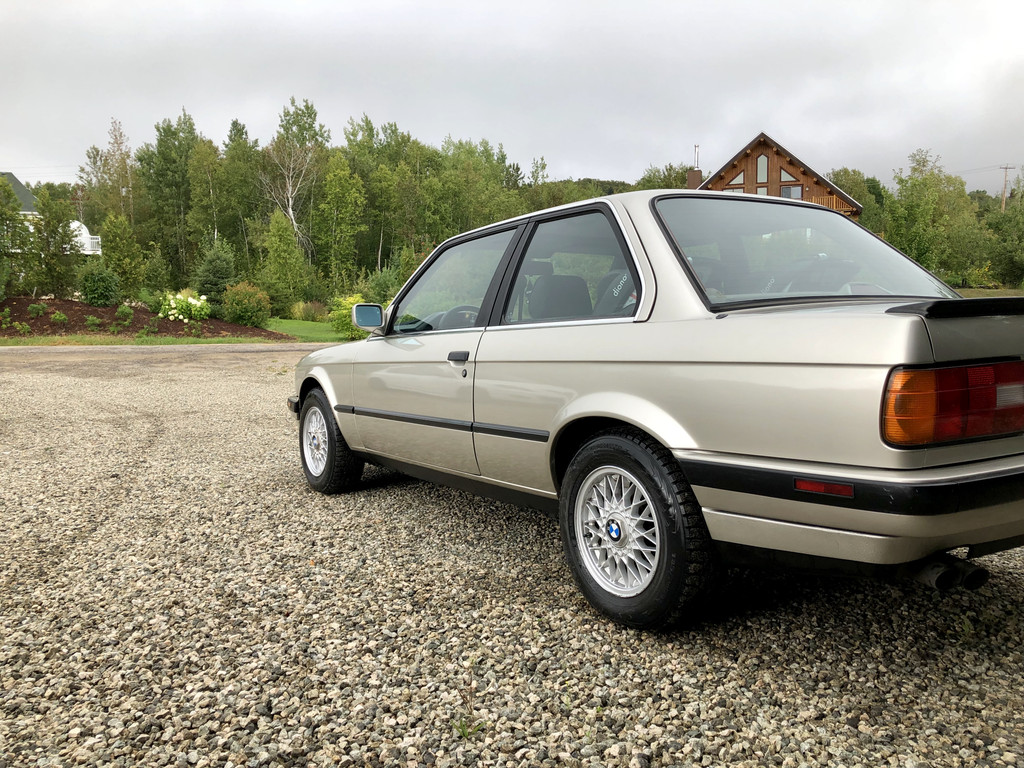
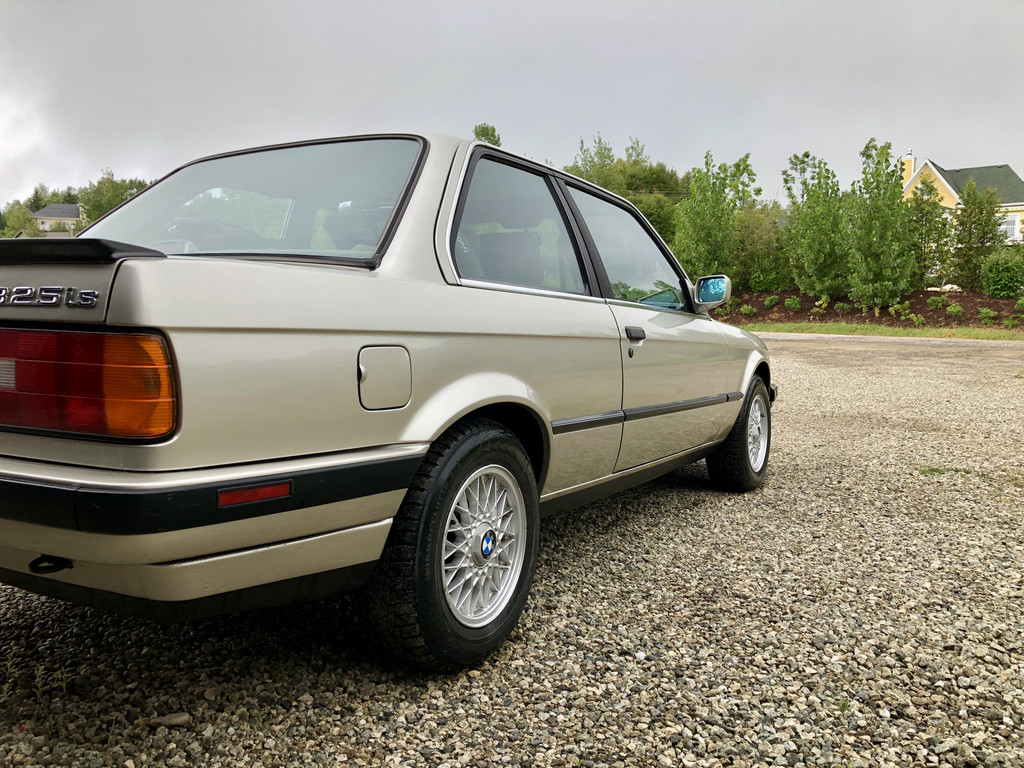
BUT , as paint can hide many thing, look inside the wheel well.
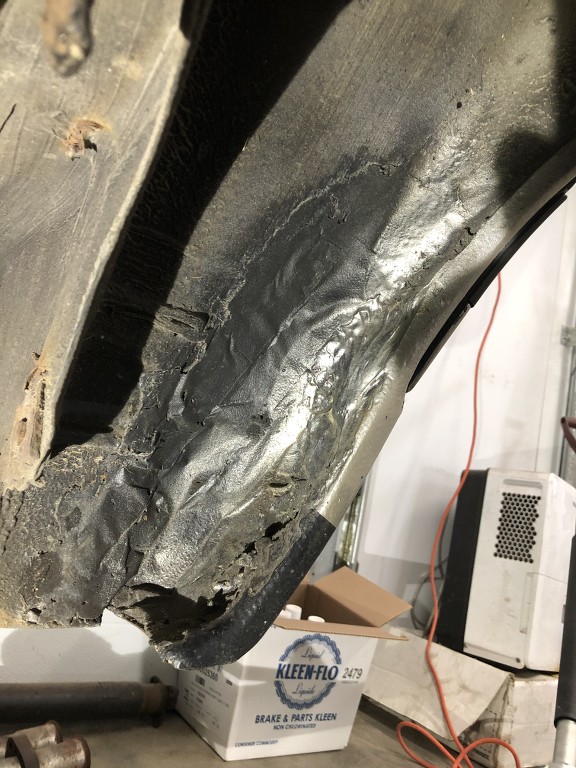
once i remove the FIBERGLAS, ( who put fiberglass as repair material wtf !!!???)
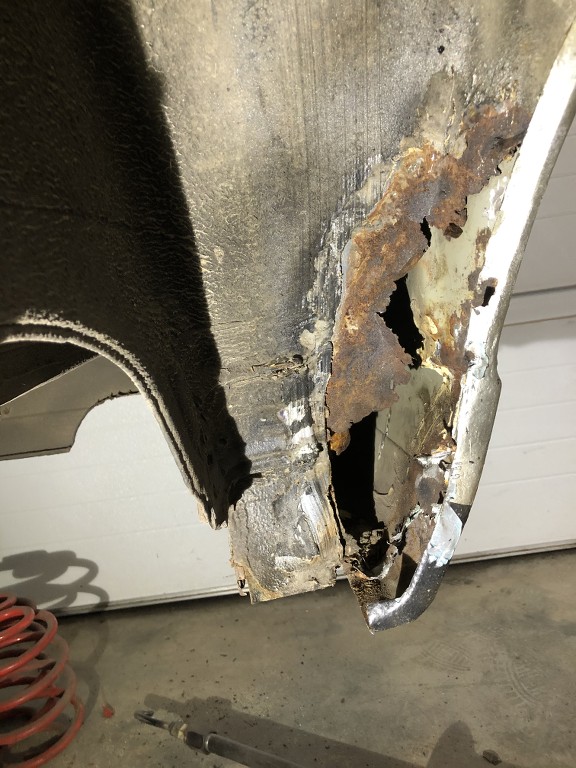
as i can see, there is a steel piece that was welded. so i dig deeper to look how the job was done, not surprise, the steel piece was only tacked, not even full welded..

at this point i decied to let this piece pf steel there but fully weld it ( to prevent any humidity or rust to go trought it ) , and cut all the rotten rusted steel in the wheel well.
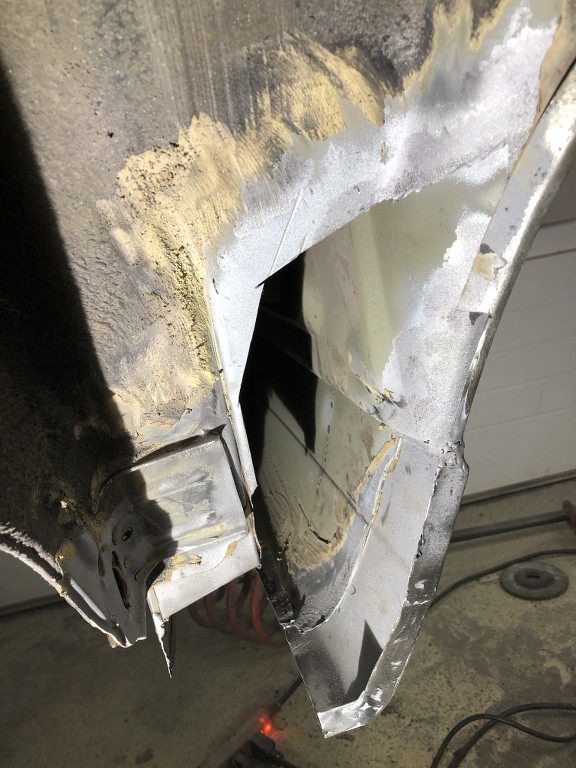
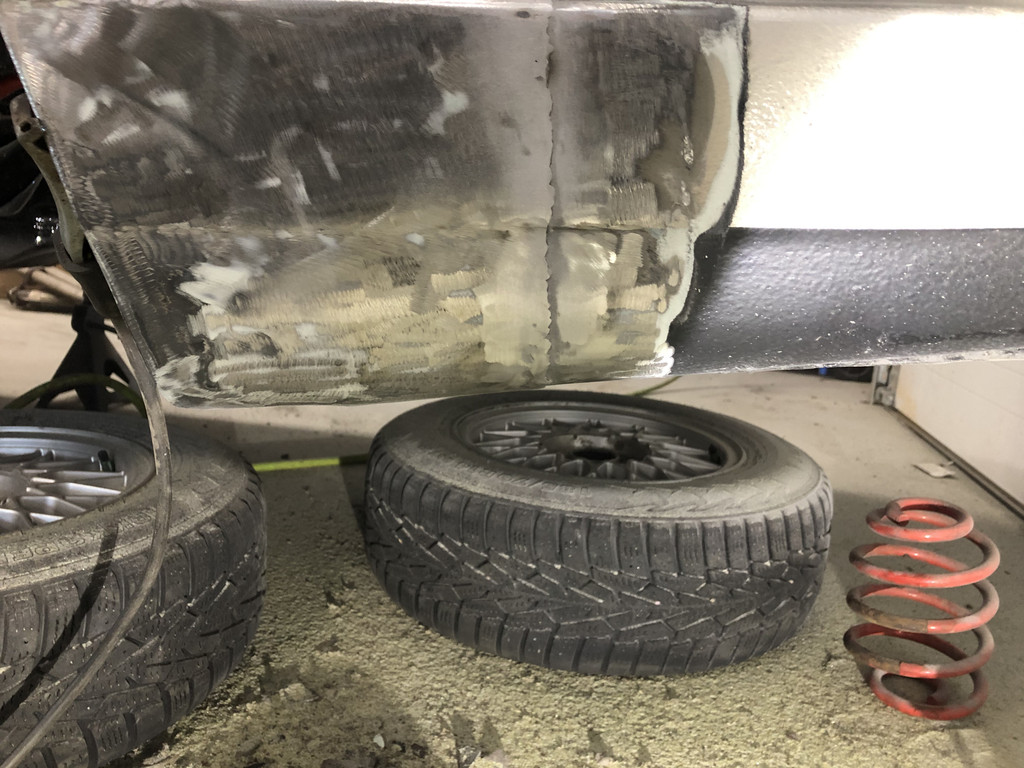
then, i have to make some steel replacement part
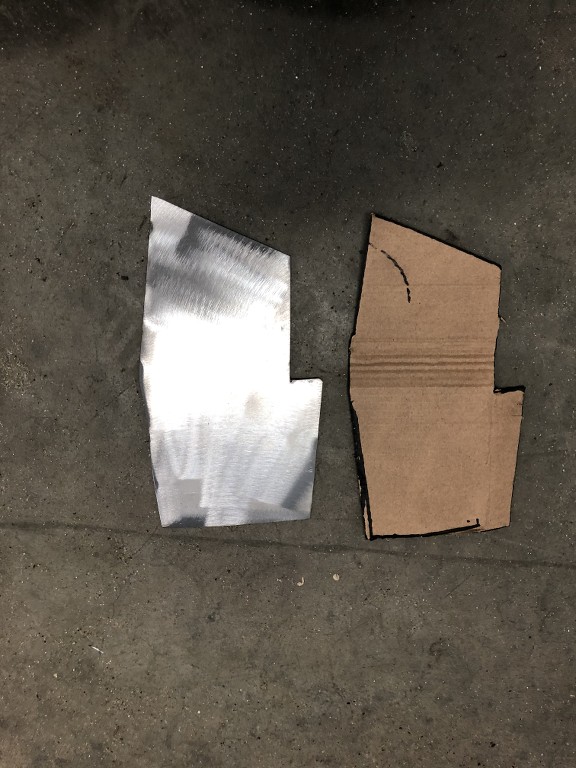
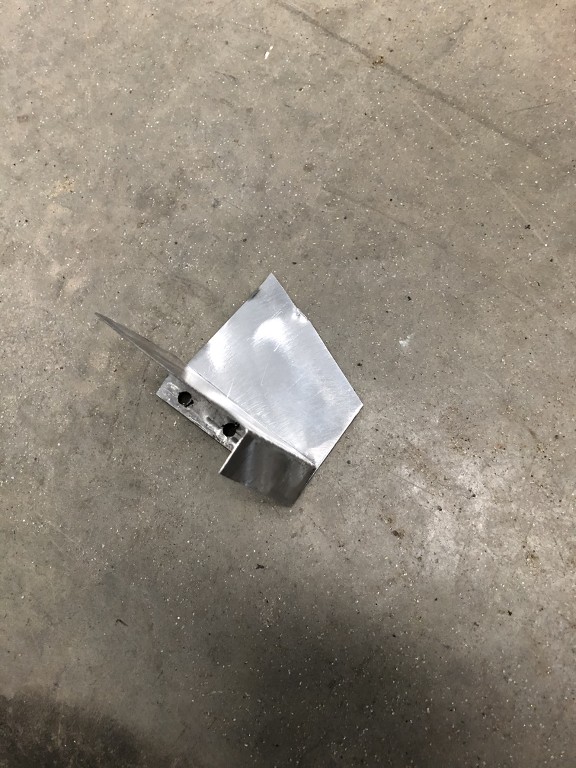
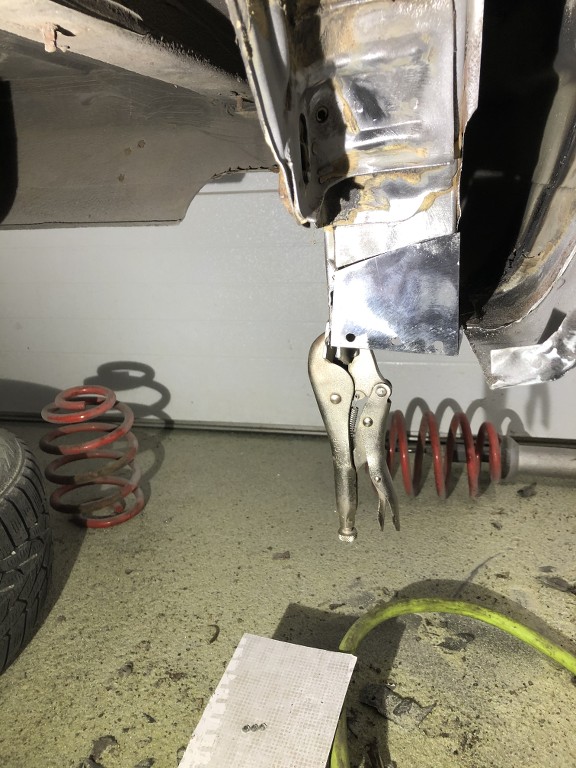
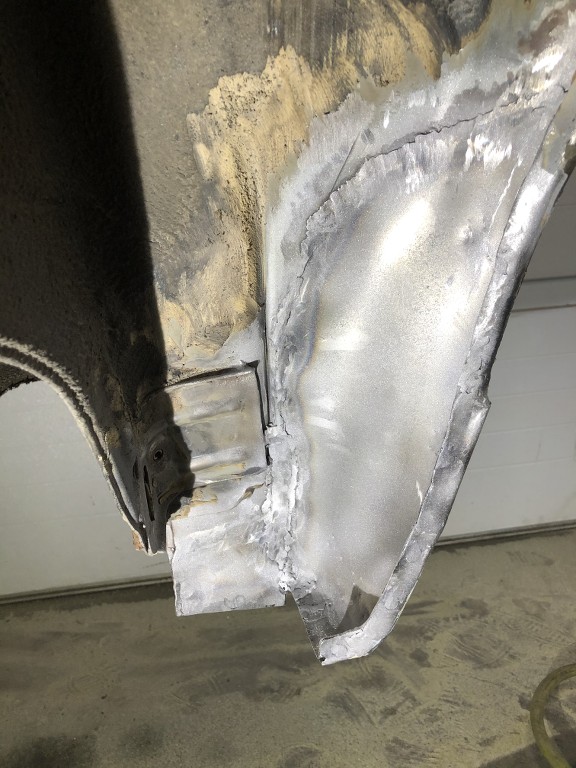
once i hace replace and weld grinded all the pieces and weld, i put structural glus 3M 8115 on the weld to prevent any infiltration on the weld ( may be there were pinholes )
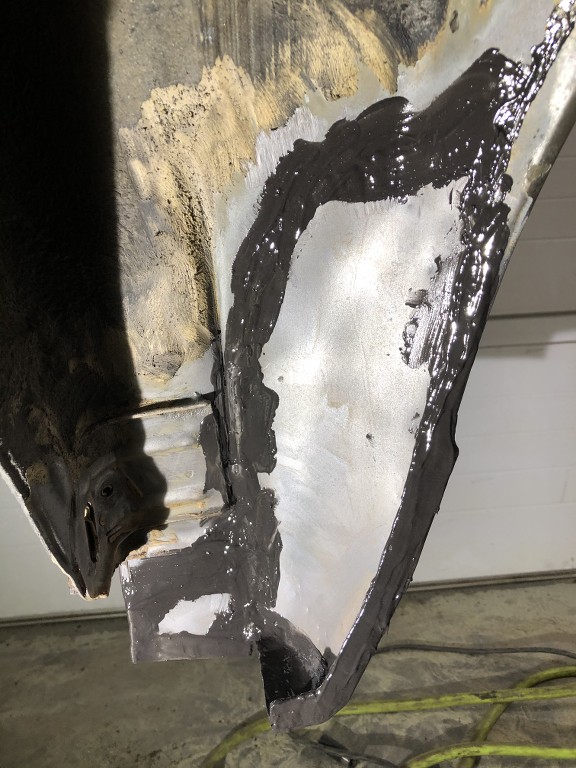
after that, i have done the finish on the exterior with putty and building primer
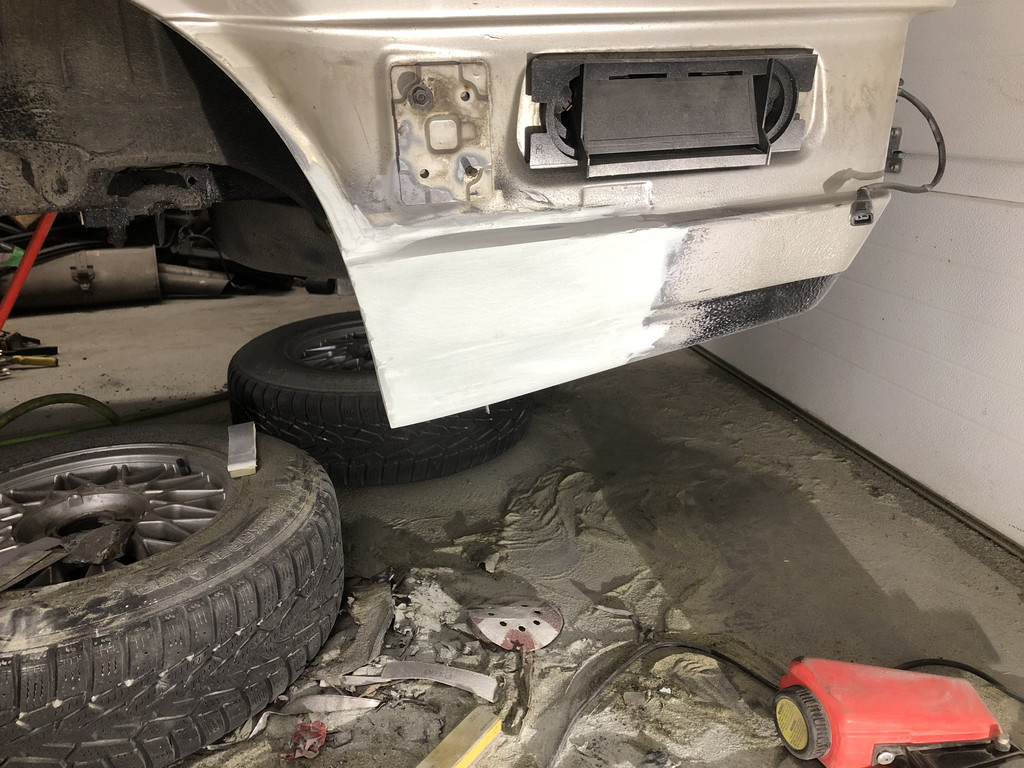
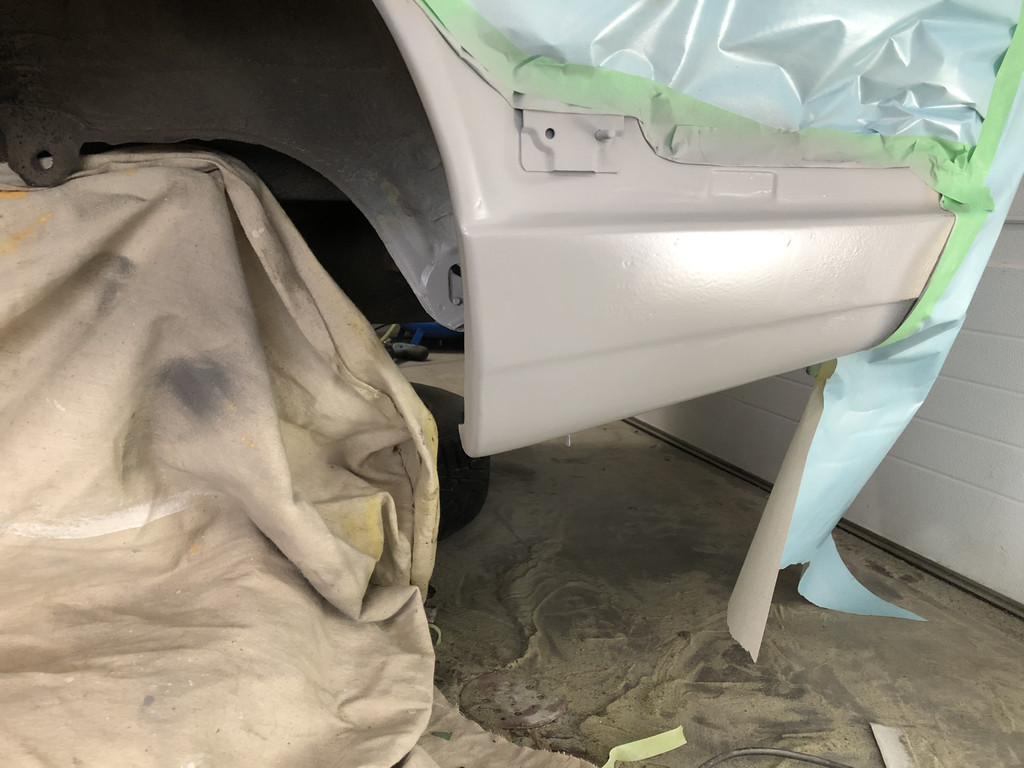
that it ! for the left side... the right side was worst.... anyonce know the batery tray can be rotten as hell...
fortunately, mine was only rusted in located area, that help me to keep the original look with the repair.
here is the before picture of the right side.
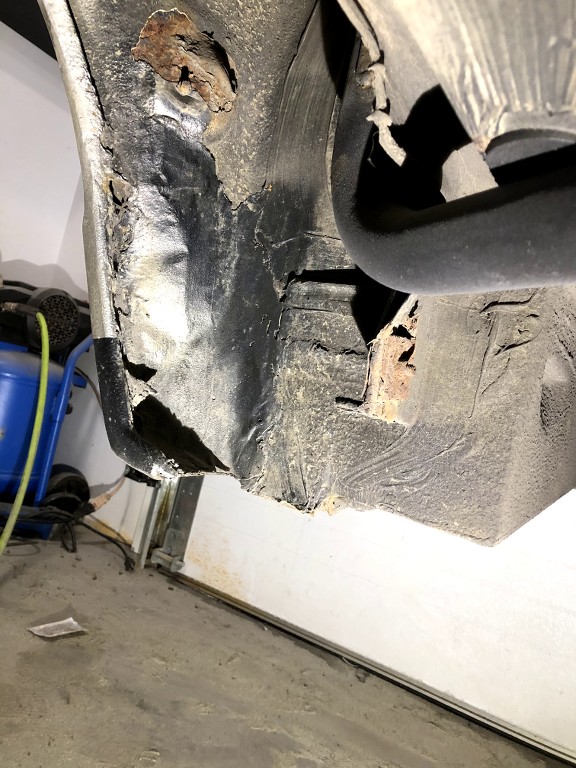
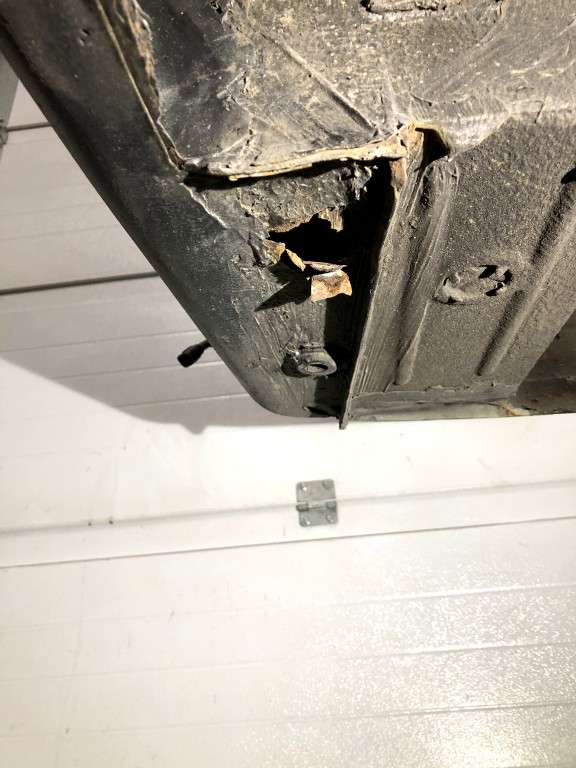
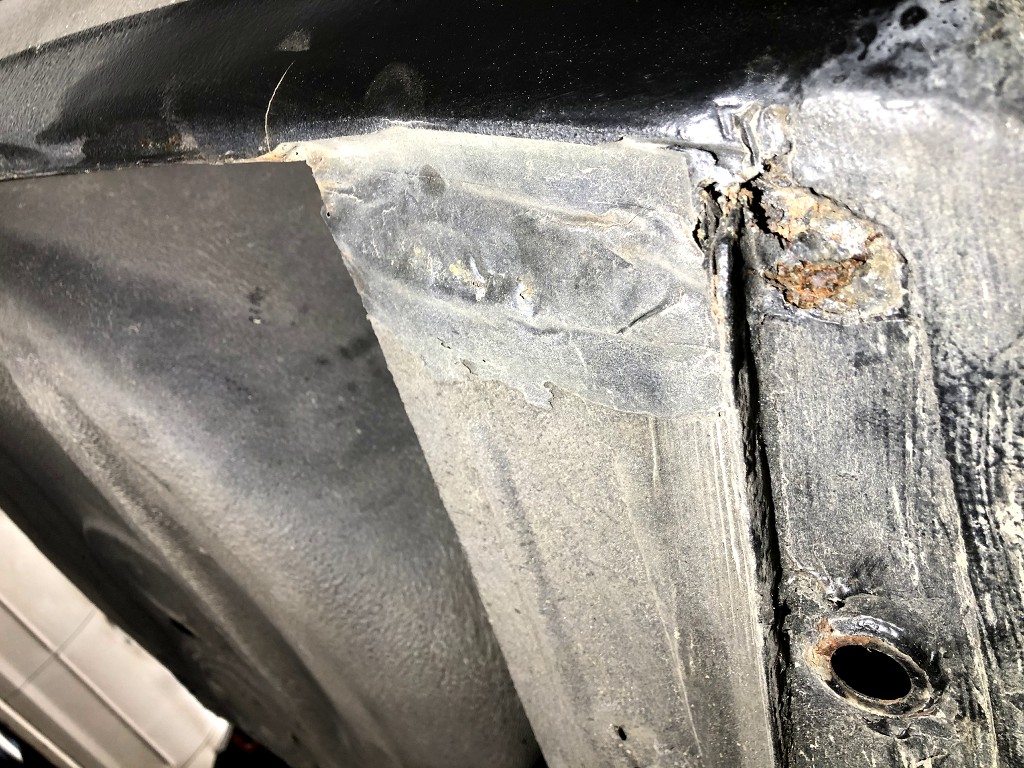
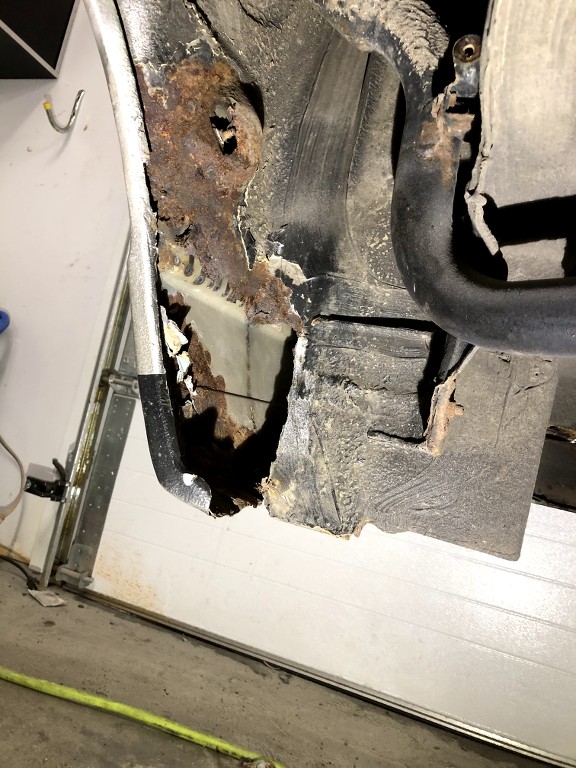
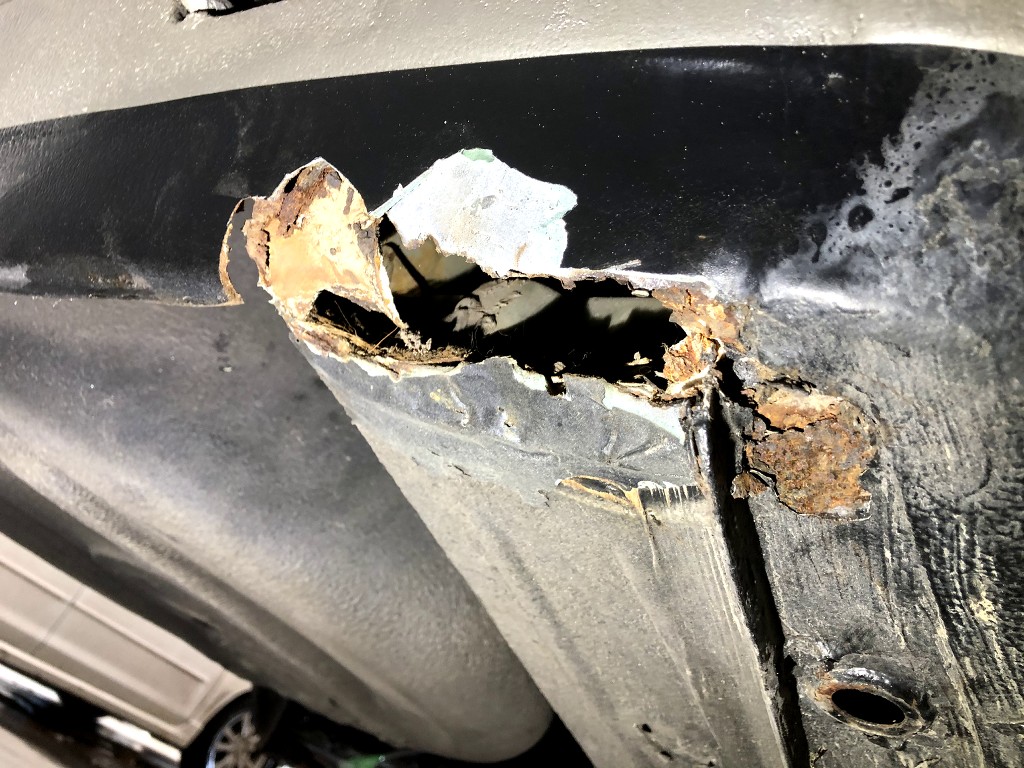
not something to dream about..
again, i dig deeper. and i find that the steel replacement part welded was rotten as well form the inside!.... so i decide to cut it off . that was a godd choice because, there were rust and even water trap between the 2 steel pieces ( replacement welded and what left of the oem one )
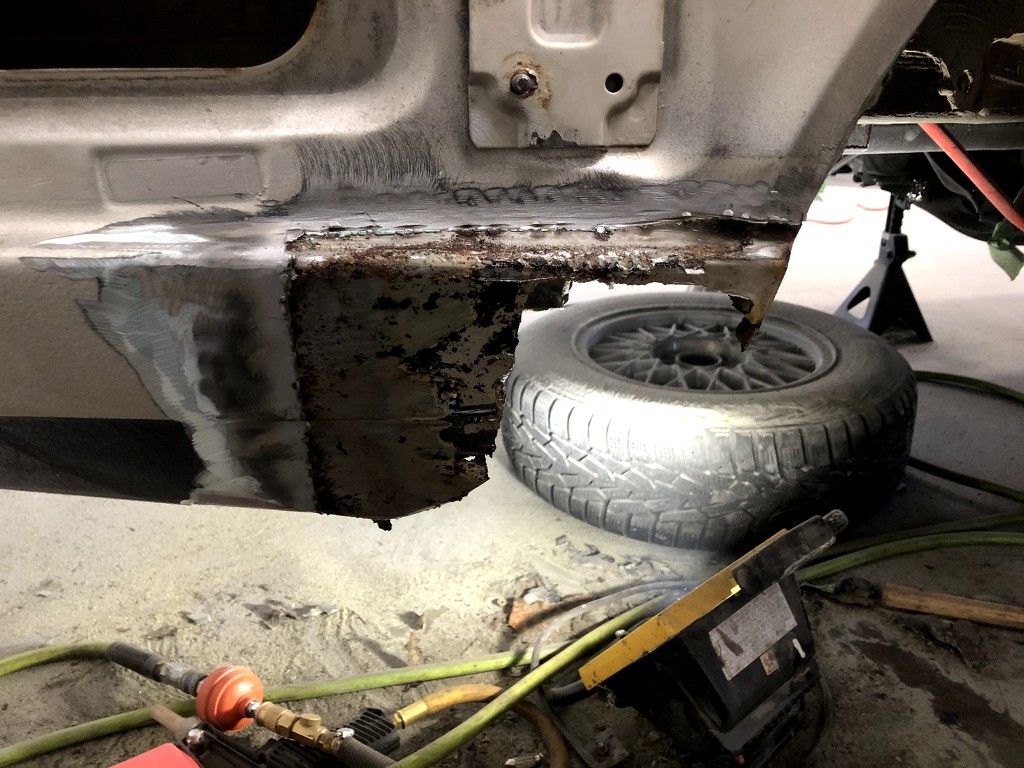
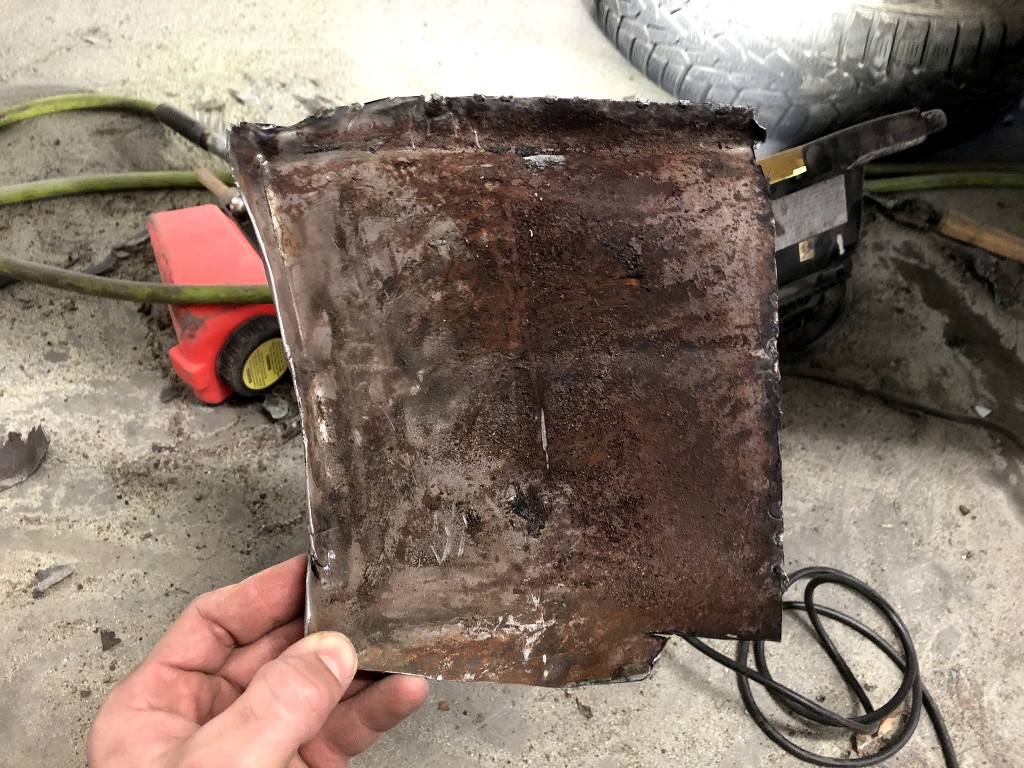
at this point i was very discouraged.. what else i could find ??.
anyway there is no way back so i cut all the rusted steel to prepare for the new steel pieces.
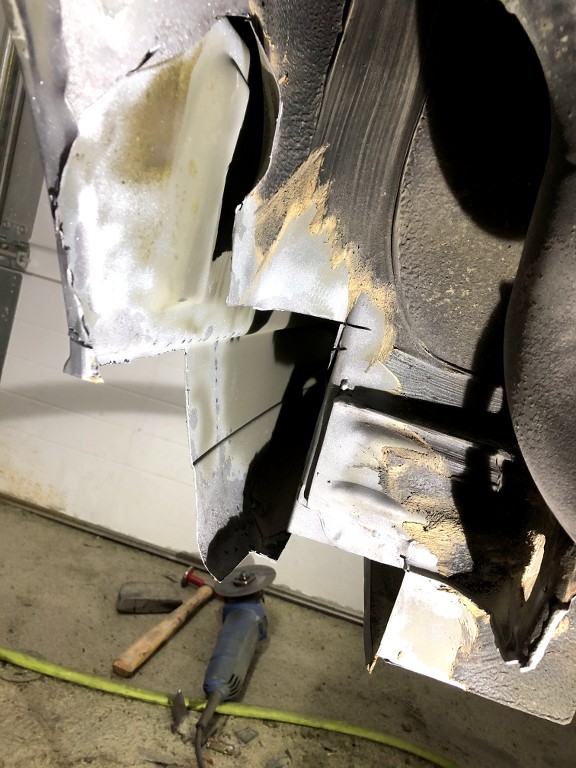
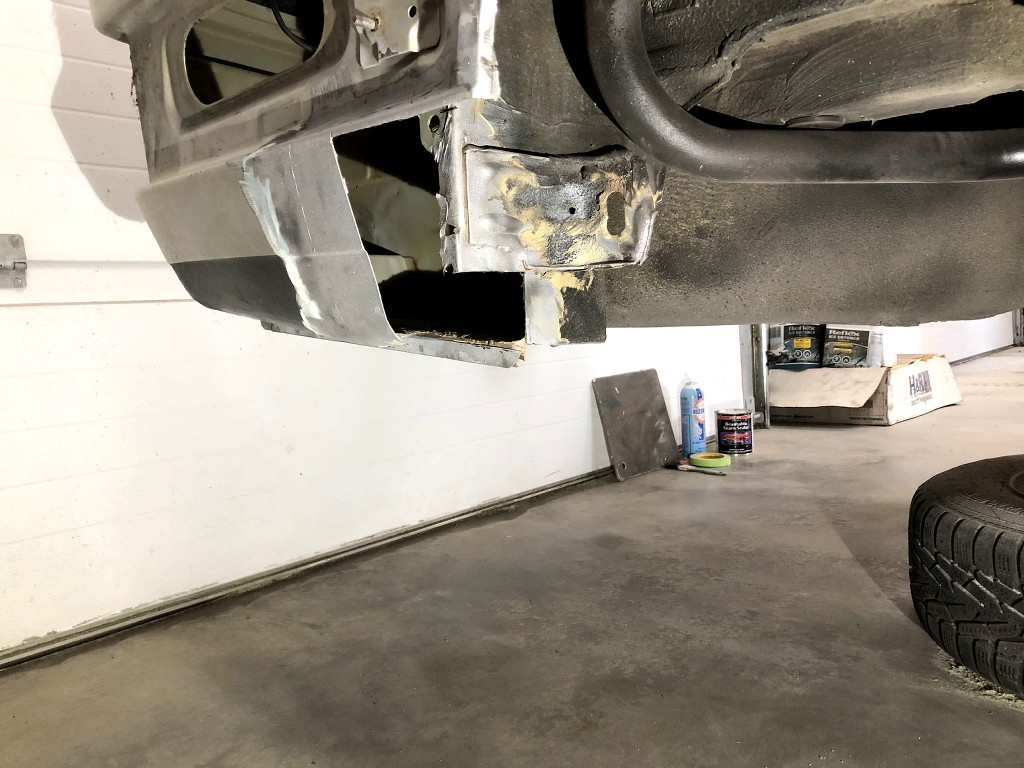
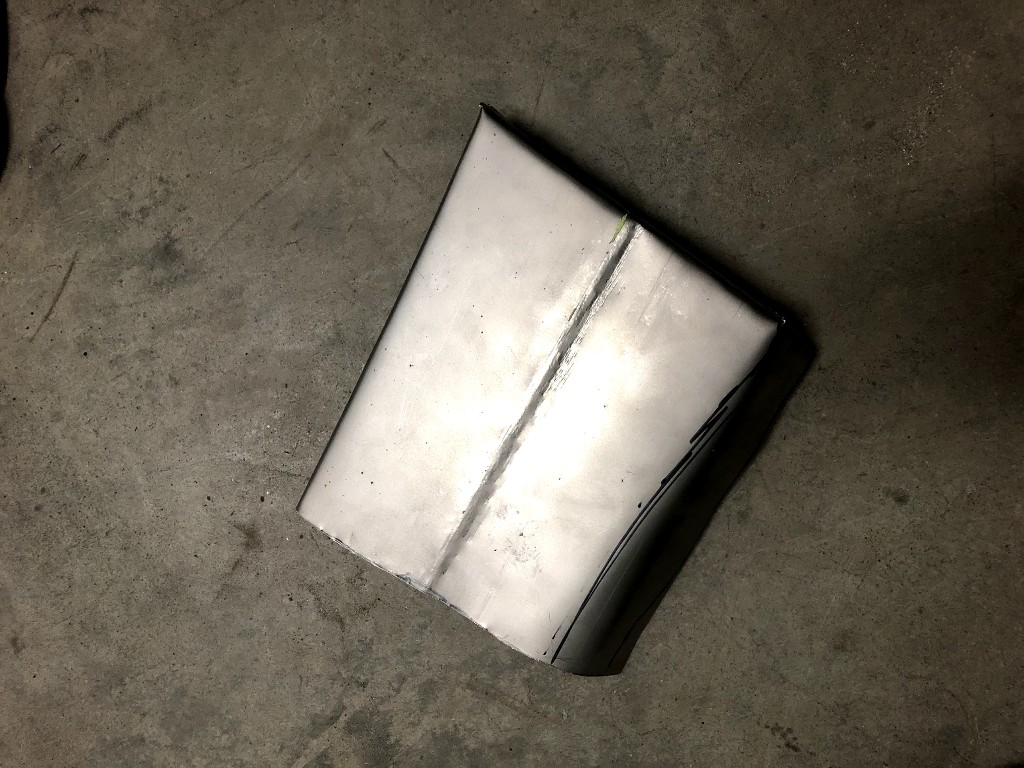
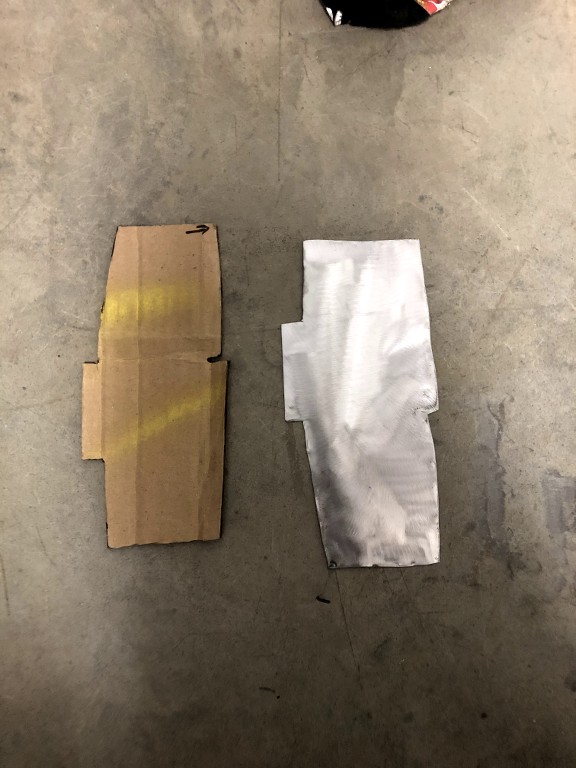
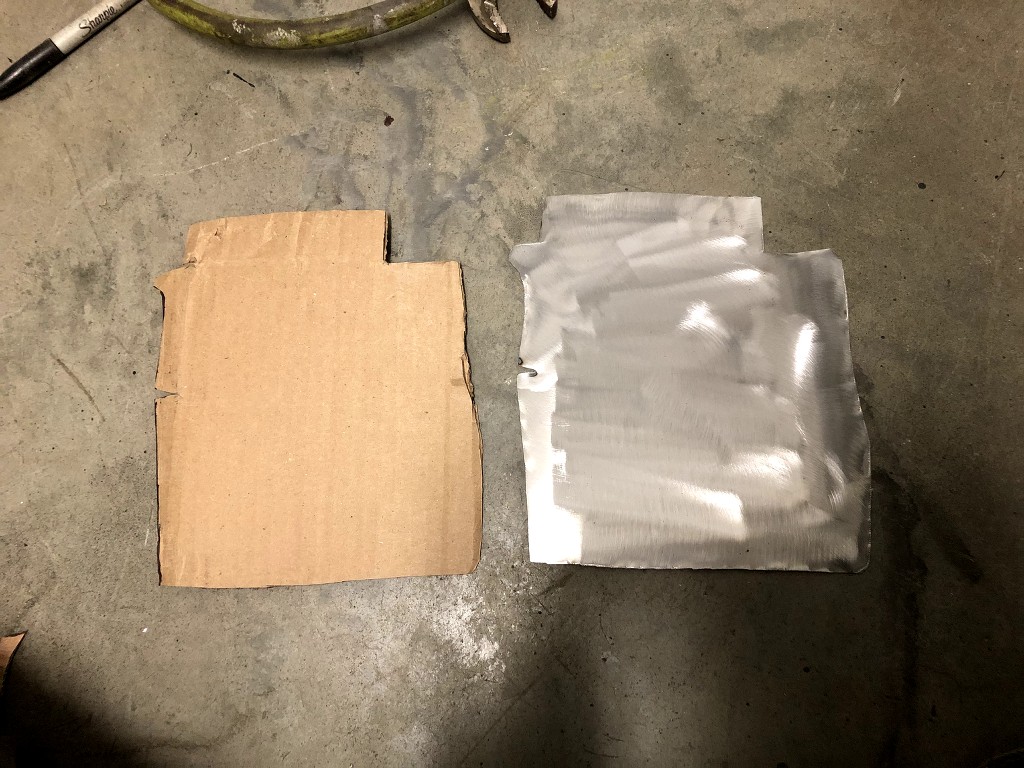
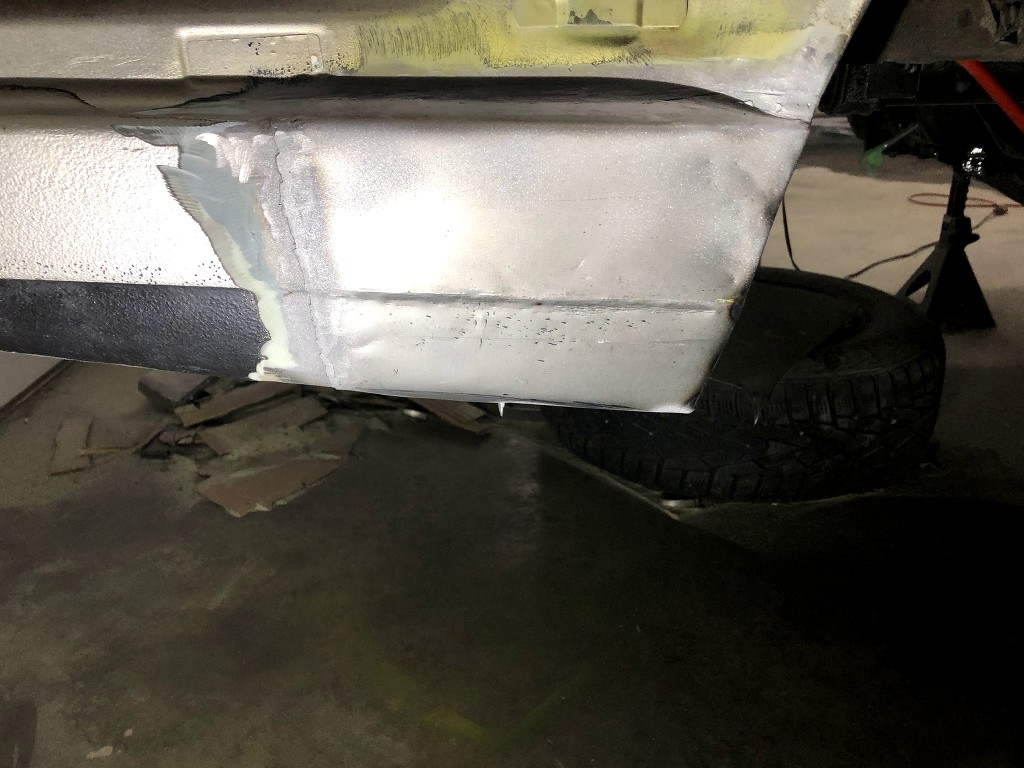
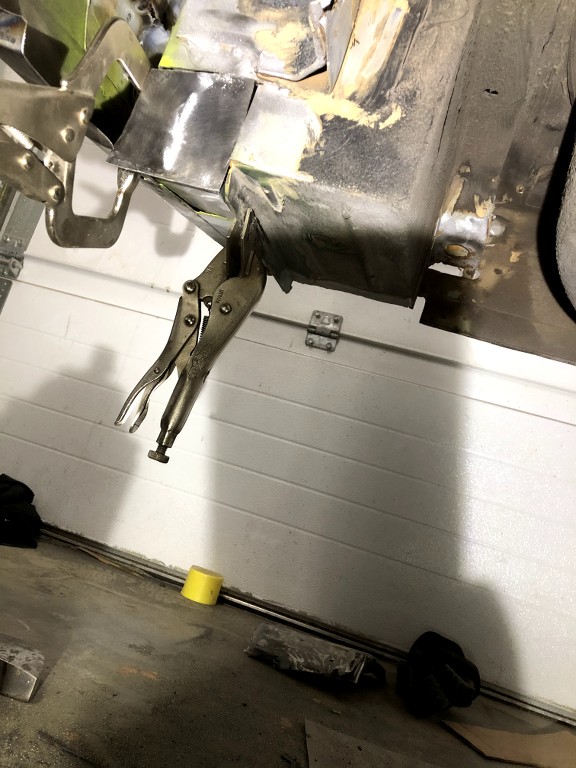
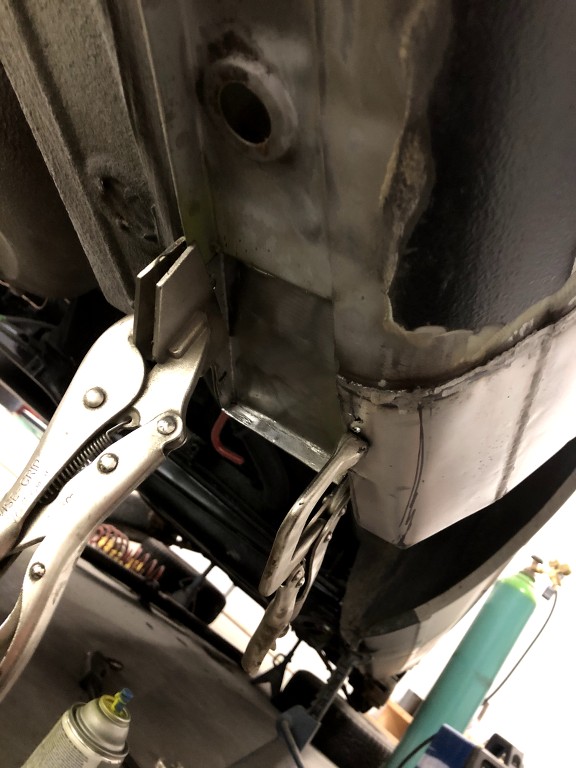
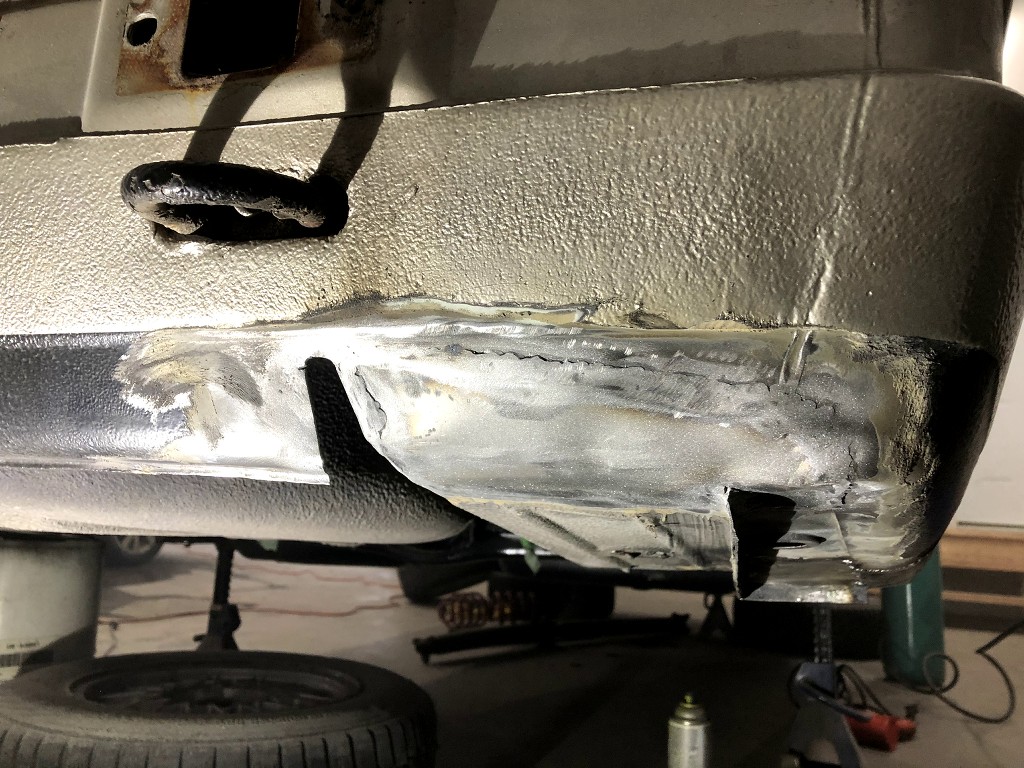
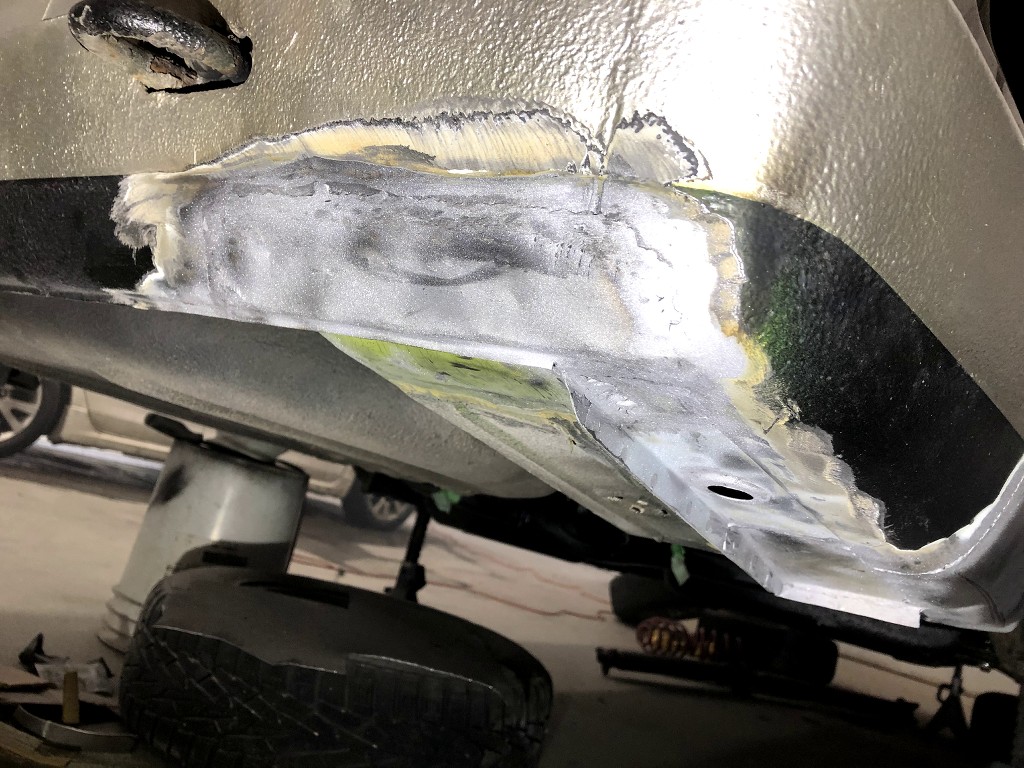
once everything was welded and grinded, i put again structural /m 8115 Glue onto the weld to prevent any infltration

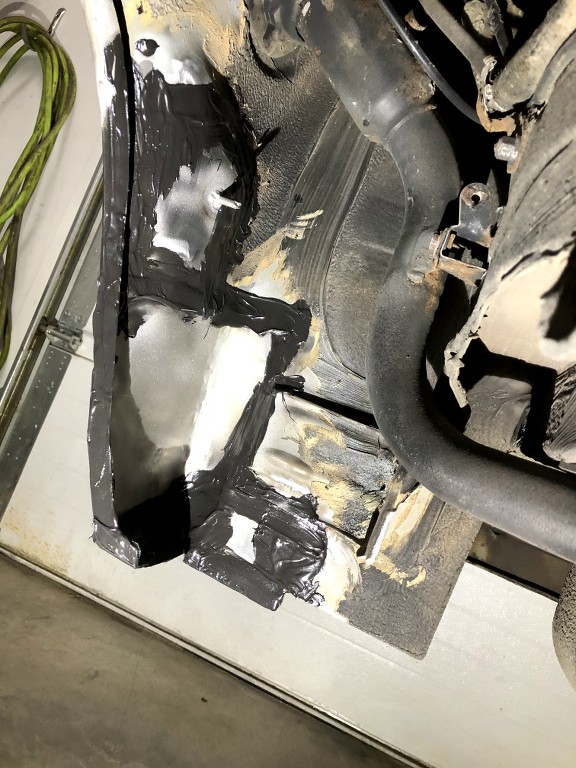
then was the time to high build primer
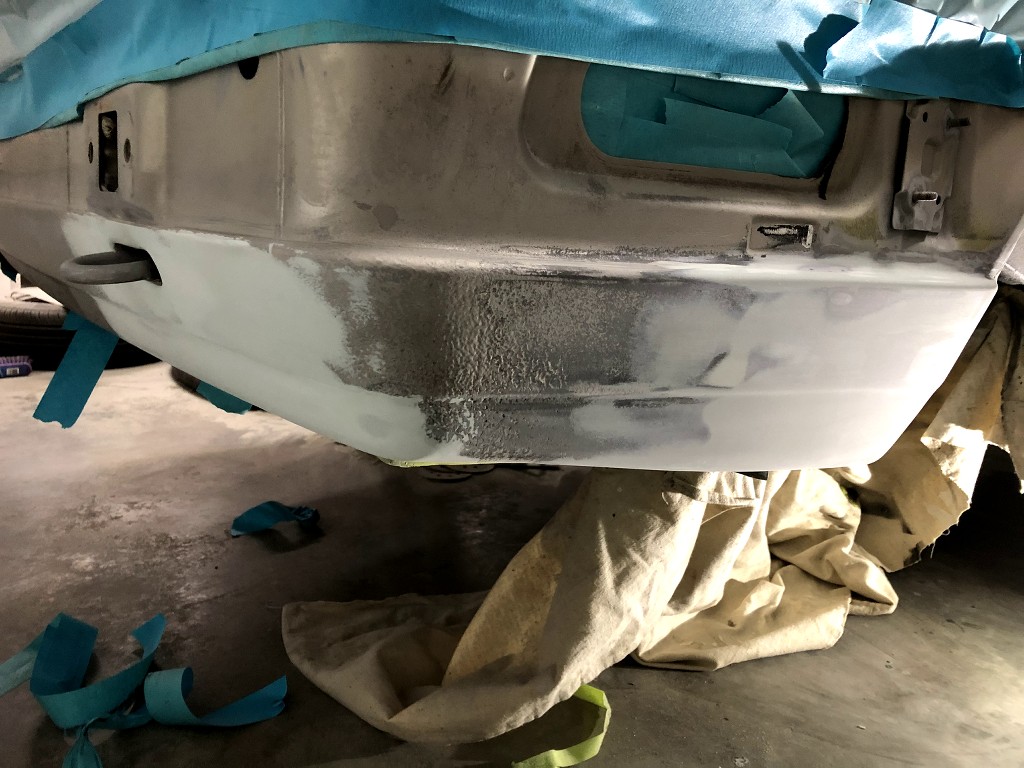

after that , time to brushed seam scealer. ( try to imitate the oem look)
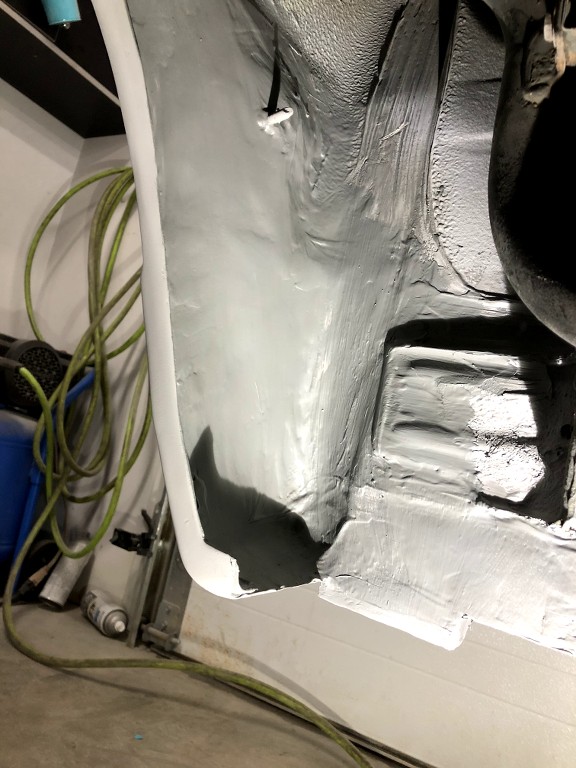
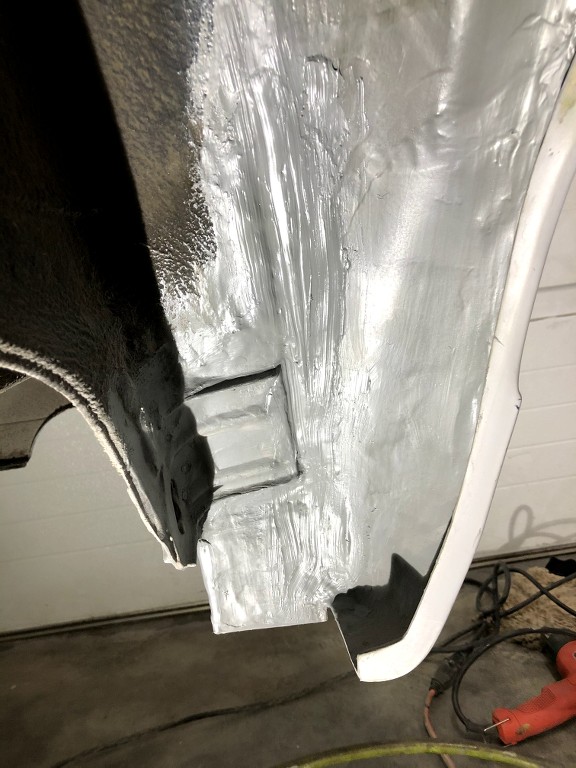
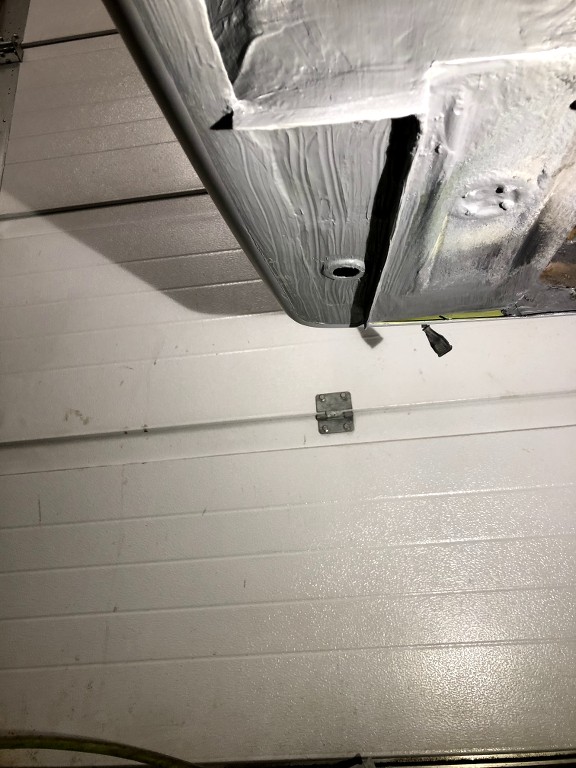
the final touch will be to put the black undercoat into the wheel well to reproduce the OEm look.
i'm very glad that this was done..!!! i will paint it when i could move the car because i dont have much space between the car and the garage door !
to be continued...!
Leave a comment:
-
Rust is present here ans there on the « underbody » but it is no big deal .
the car have get full respray last year, at least the body is rust free !Leave a comment:
-
Wow man you're not messing around. Awesome build thread so far. I just started my E30 last month, same color as yours. Luckily my car was in California its whole life so I don't have to deal with the rust.Leave a comment:
-
work is on progress ! it is so time consuming.. when i start all this i did not think it will be like that.. but anyway , i like working on this car !
i am about to order my coilover , i will go with BC coilover. i read some review and for the price they seem hard to beat , anyone have something to tell about it before i order them ??
since i fishish to refinish and collect all the part/pieces for the subframe assembly, i have been able to make my famous ''explode view'' picture of everthing like new !
here ar the comparation between before and after,
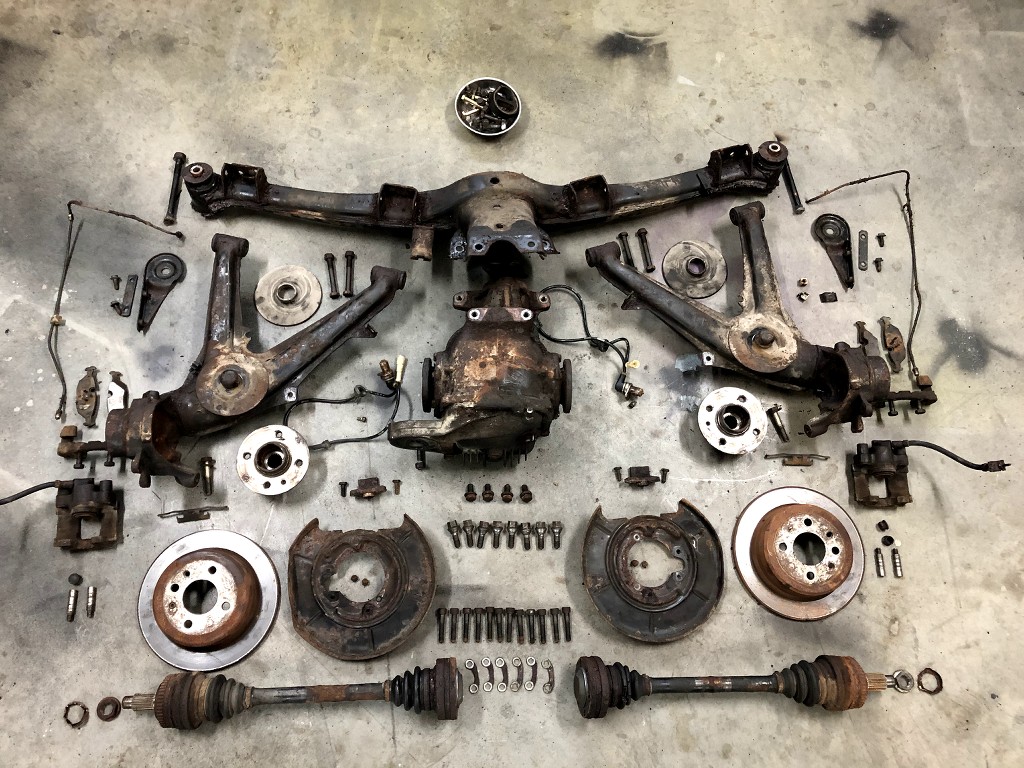
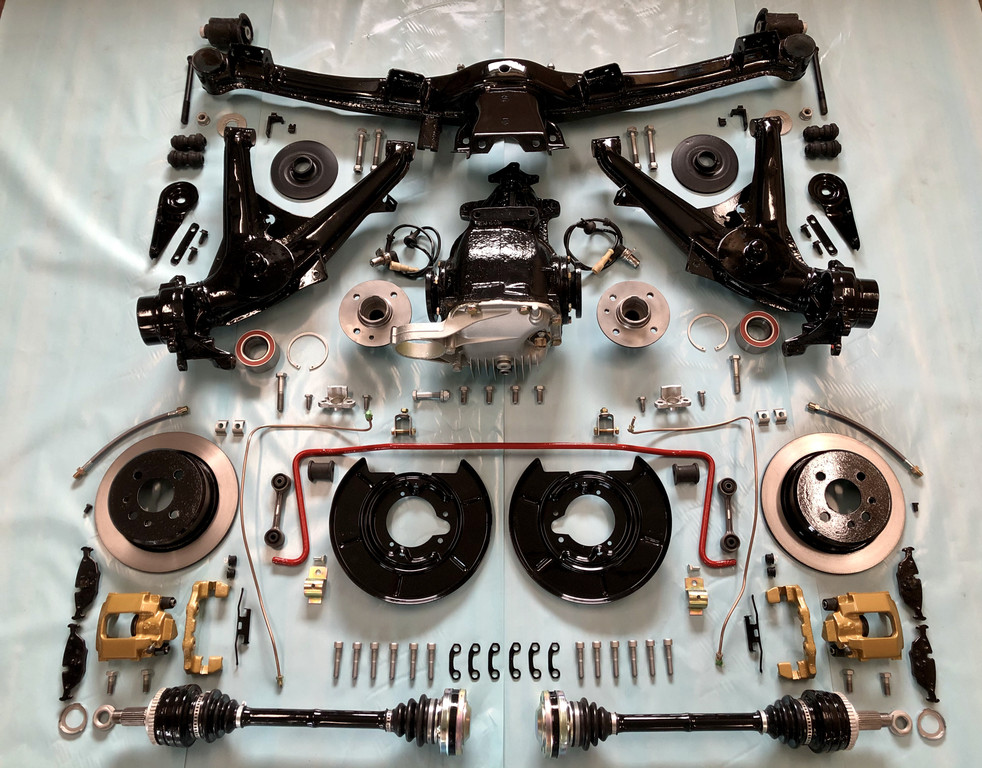
so satisfaying for me to see that !
before i reassemble everything back on the car, some work is needed under the car where the subframe goes..
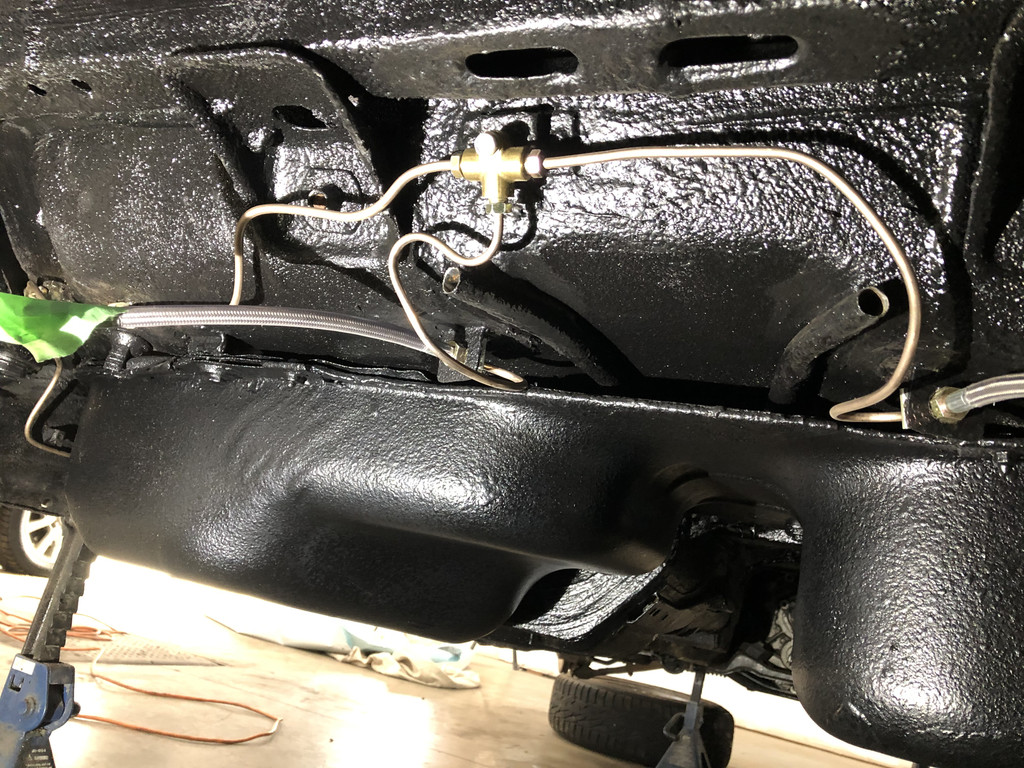
like replace the ''T'' and small brake line,
remake the brake line braket ( the were too rusted ),
repair some rust
make full brake line from front to rear
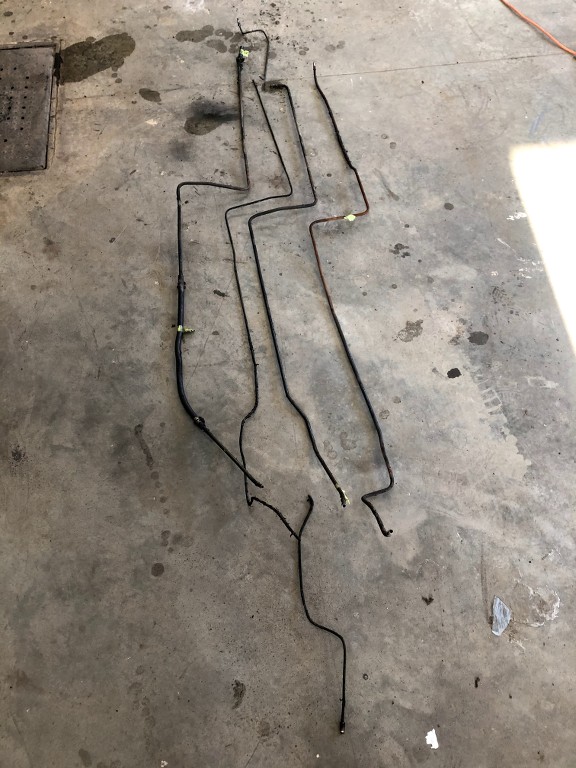
make 3 metal fuel line.
this was a challenge to bent everything like oem to make the same route as oem one. brake line bent easy but fuel line damn...they give me hard time ..!
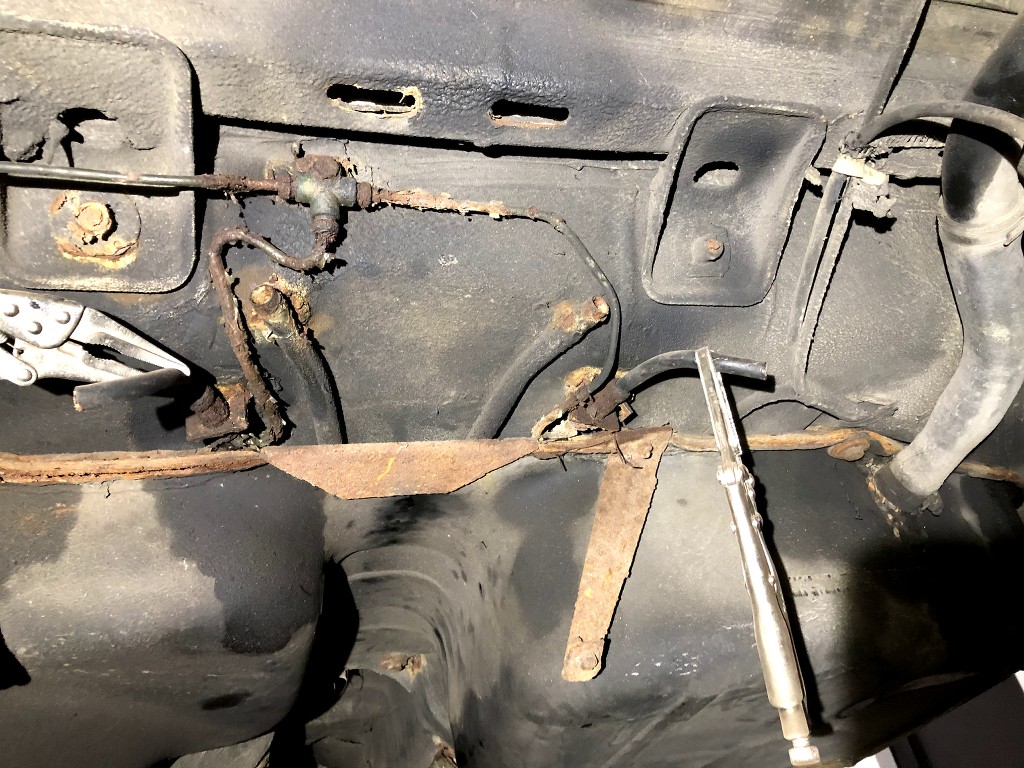
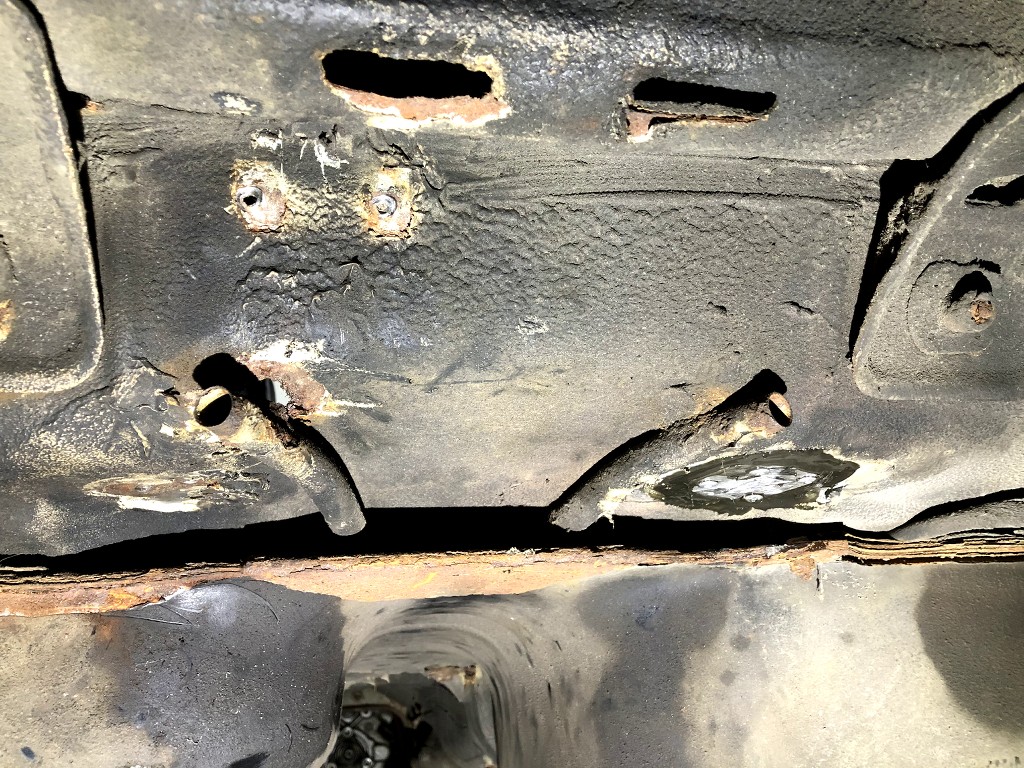
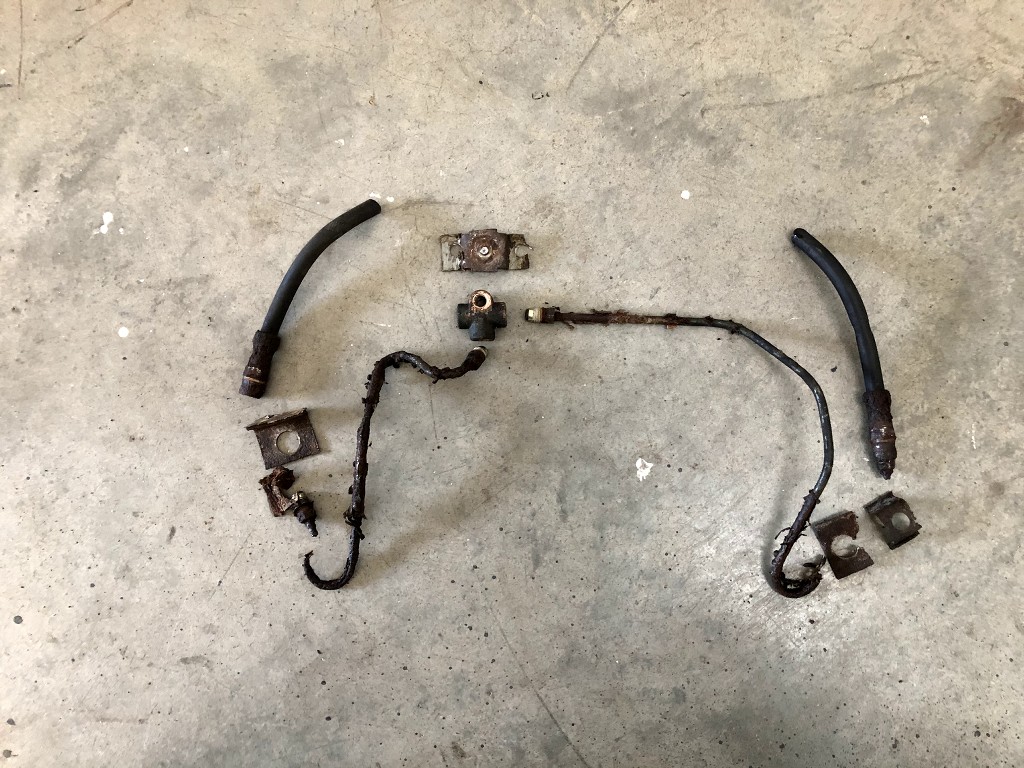
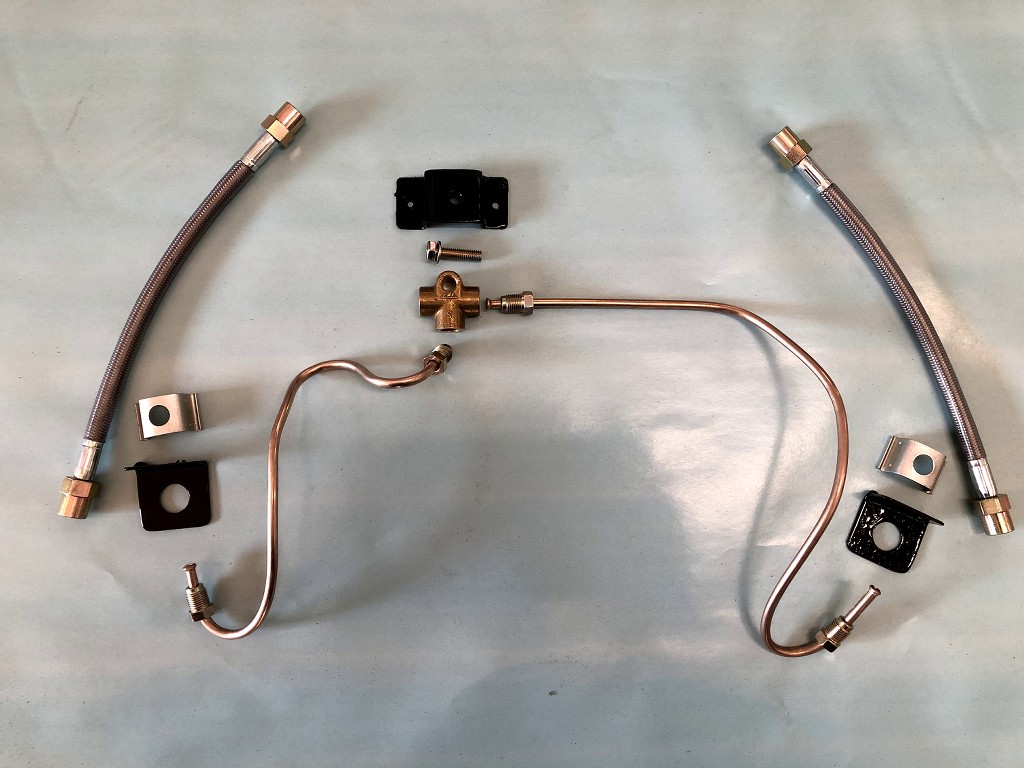
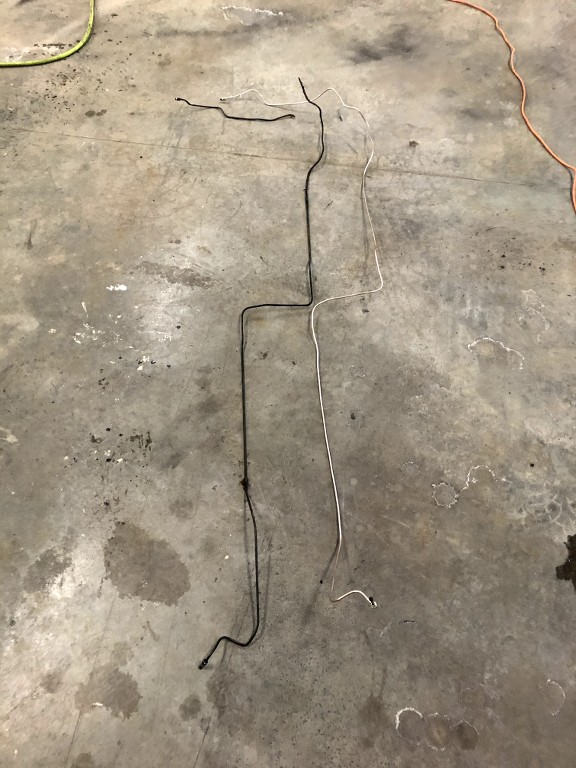
old line vs new line
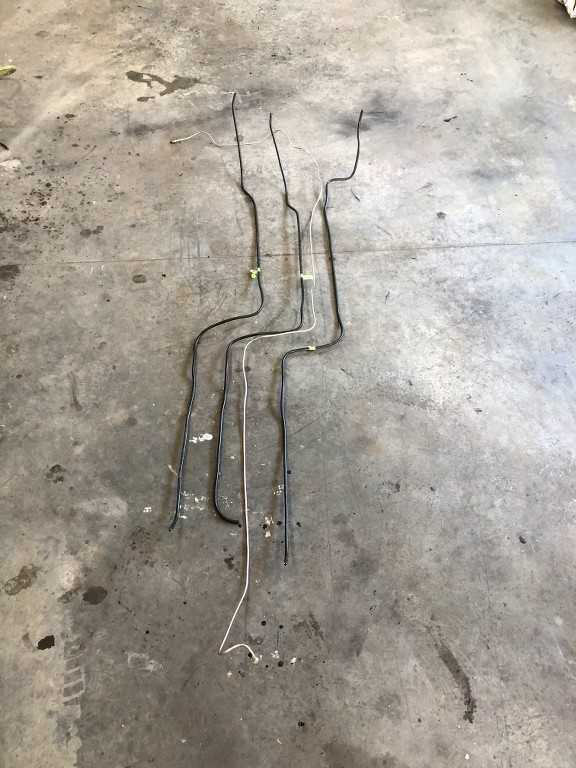
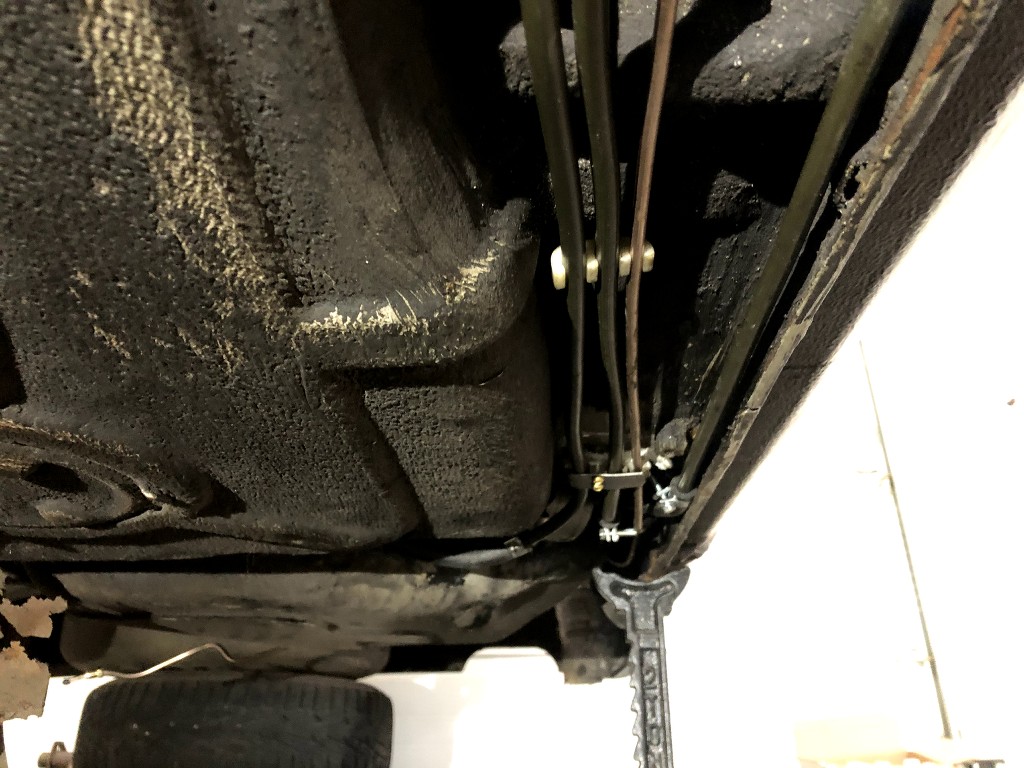
fitment is not perfrect but all the line in original place, dont rub on anything and rock solid
the car have some rust on the steel join under the car in the tunel
i grind the rust down with the wirewheel on the grinder, then sandblast, zinc primer, seam scealer ( there were no hole ) and gravel guard
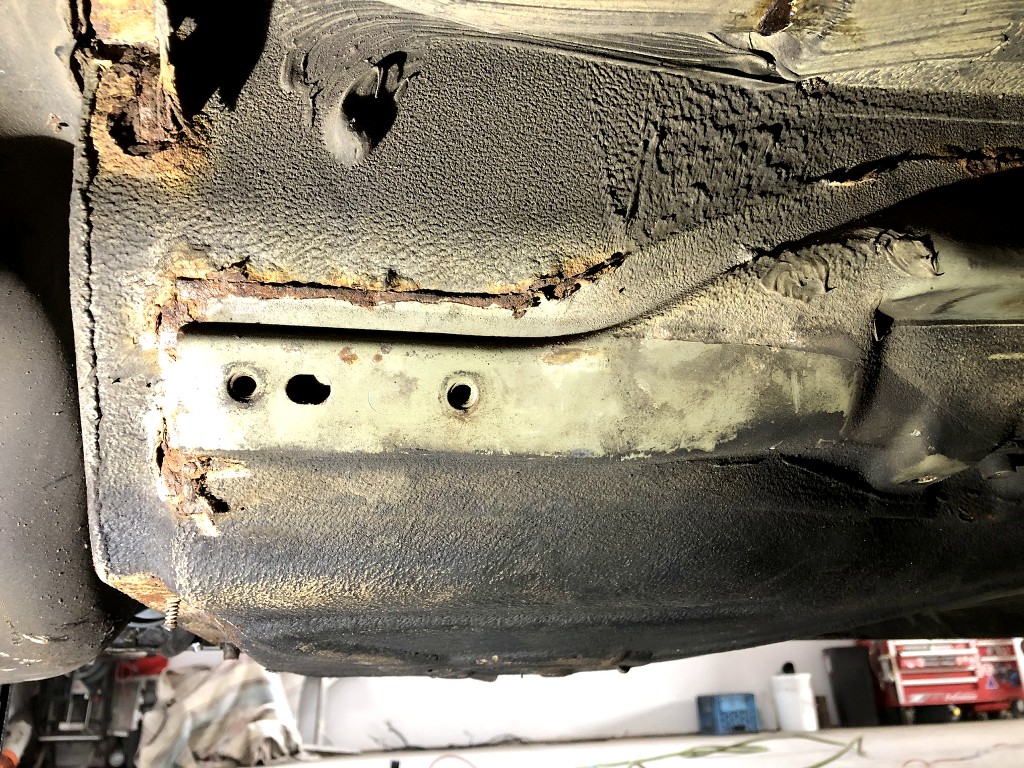
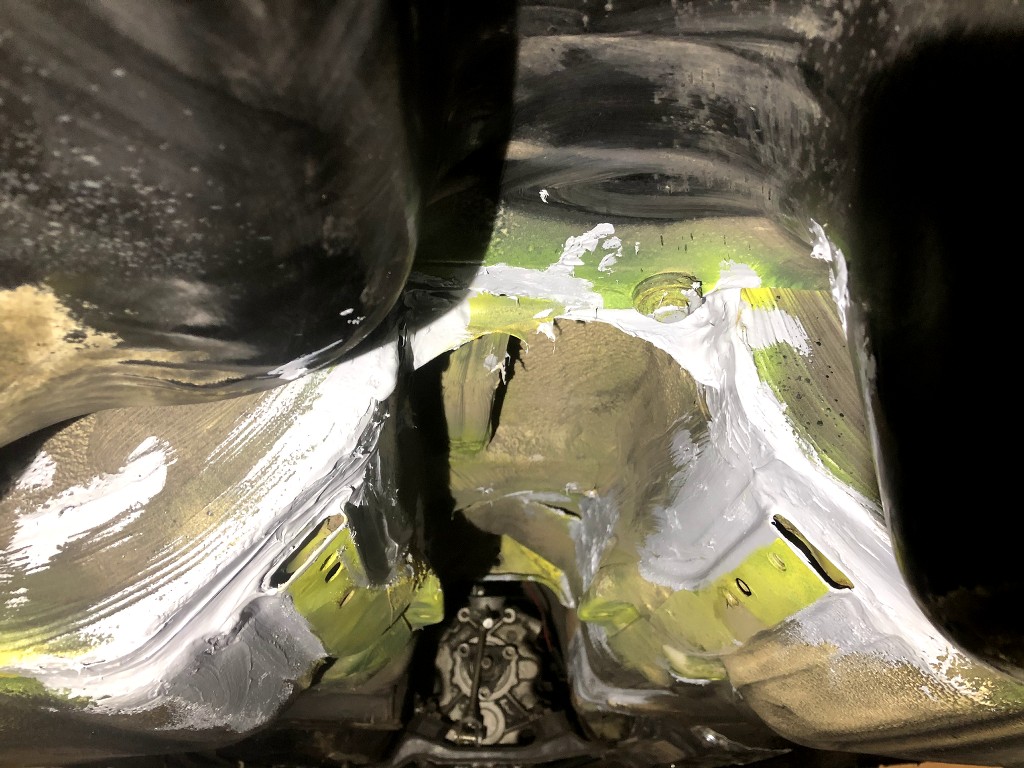
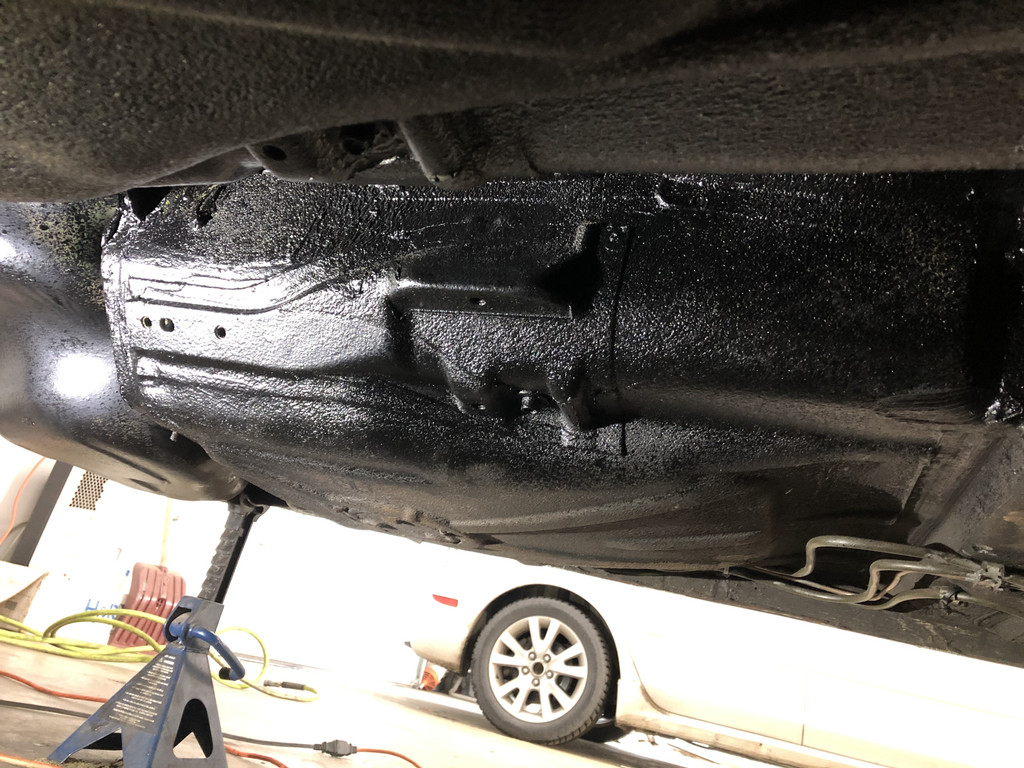
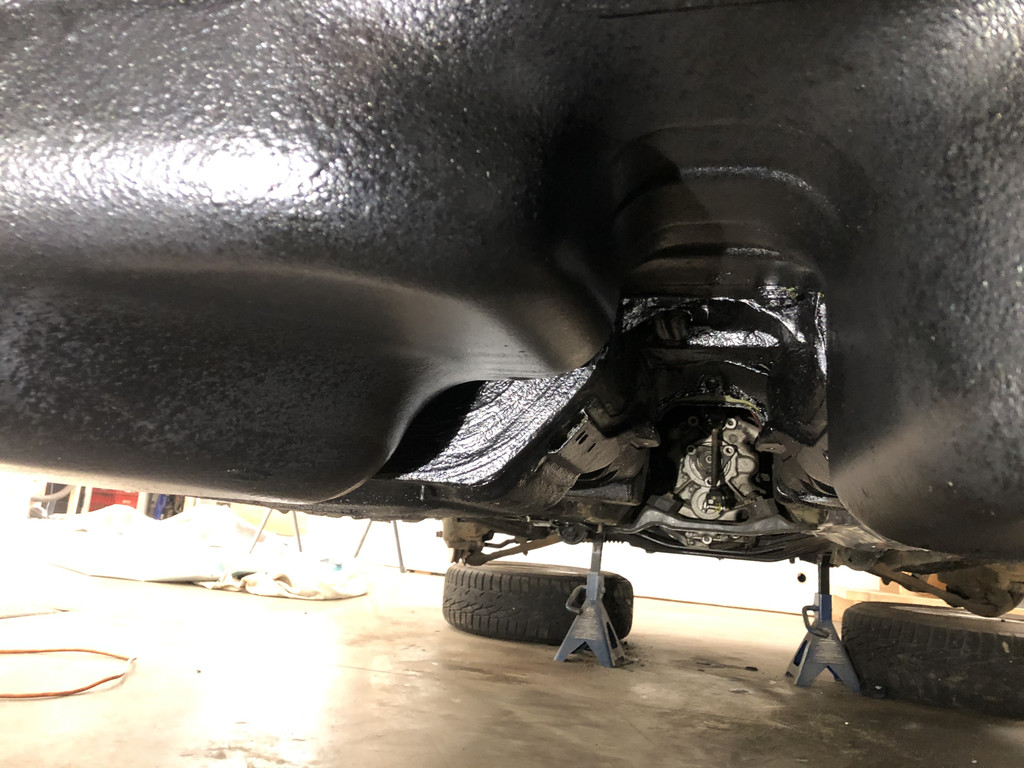
this is it for now.
i'm in the work for my shifter.. i dont like the z3 one as the shifter is in to pieces ?? why that ? it make a sloppy feel even if everthing is new..
my plan is to remove the upper section ( the one who is scealed with urethan on the loewr section ) and weld steel rod and tap it 12x1.5
also i will make a solid rear carrier bushing. i have brand new one in place and it have play in it..
i know that e30 is known to always have sloppy shifter feel, but i try my best to eliminate the most of it .. any advice ??
Leave a comment:
-
Sub'd! Great work. I really like the paint photo progress. For suspension I was very happy with the Bilstein B12 kit. Car doesn't get driven enough to warrant changing ride height multiple times and provides a comfortable, especially the harshness of Detroit.Leave a comment:
-
thank you everyone !
i really apreciate, it is good to see that people can see good work1
little update today.
i give the DIFF a fresh look.
replace some bolt and plug, sandblast and paint.
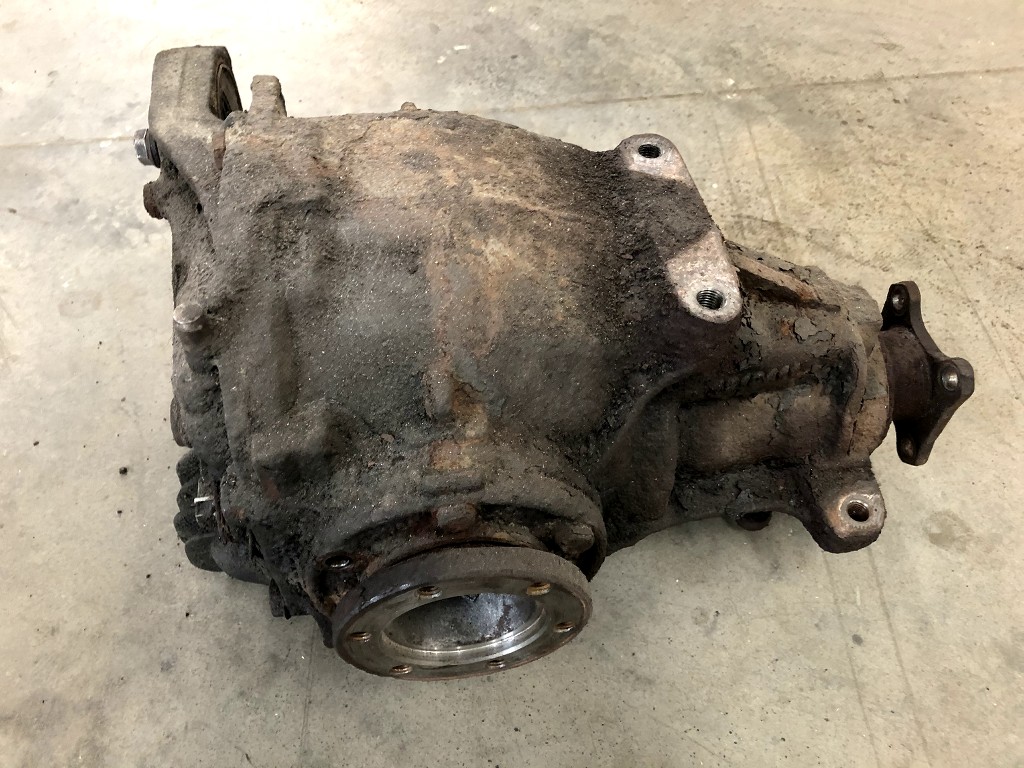
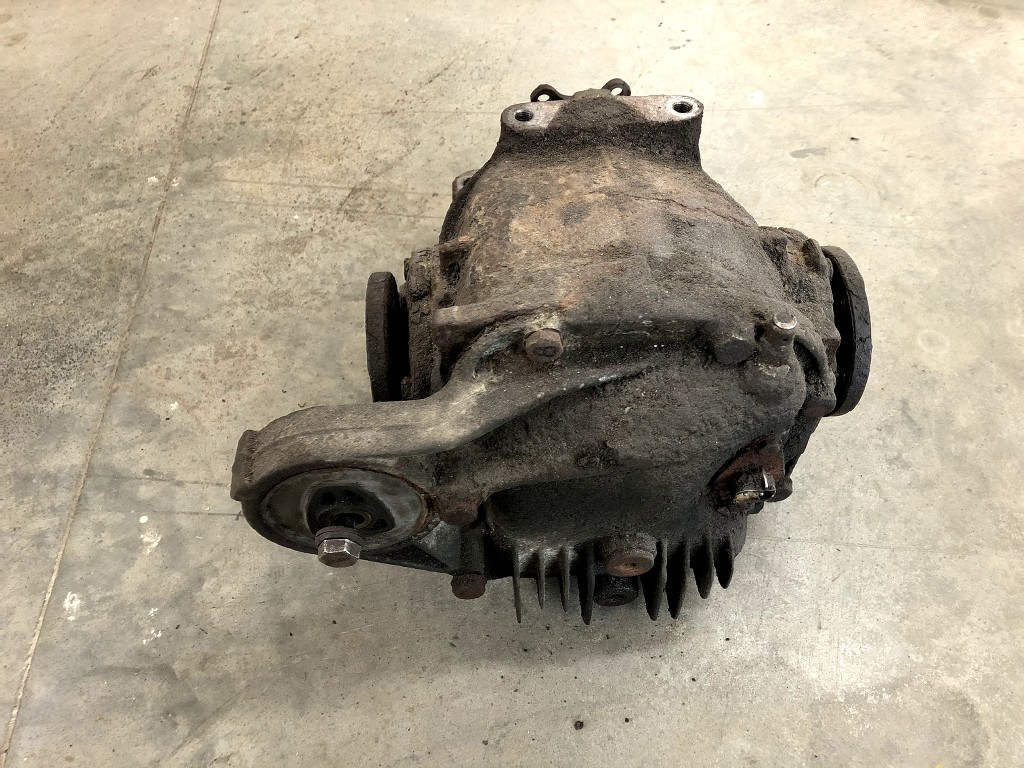
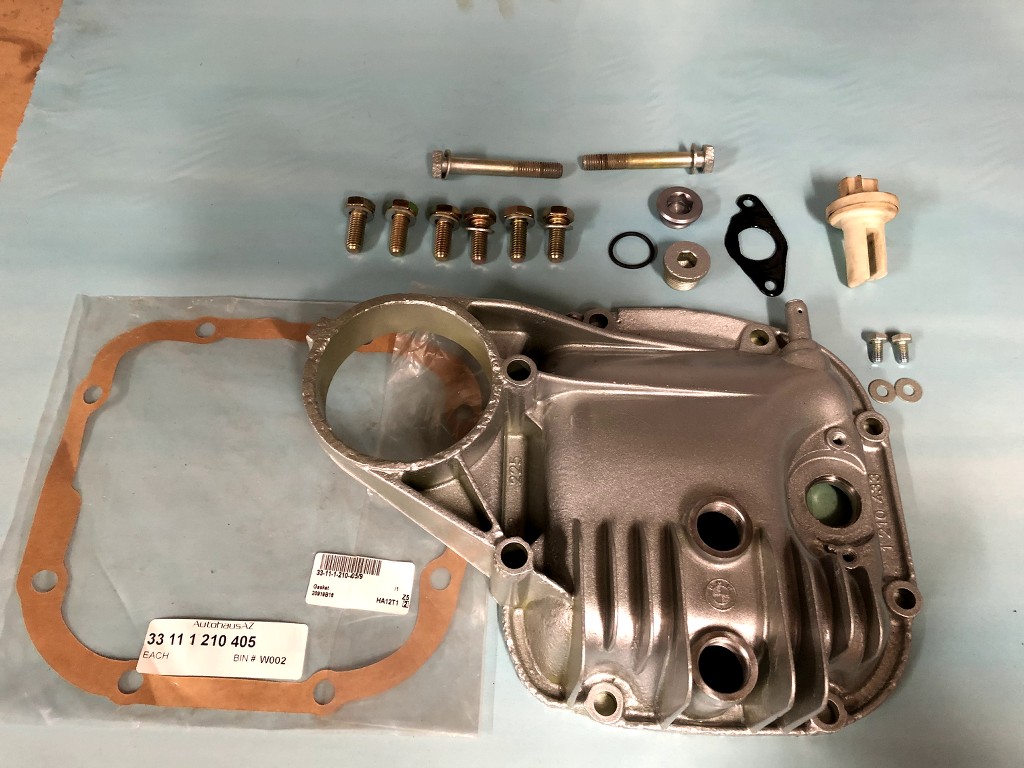
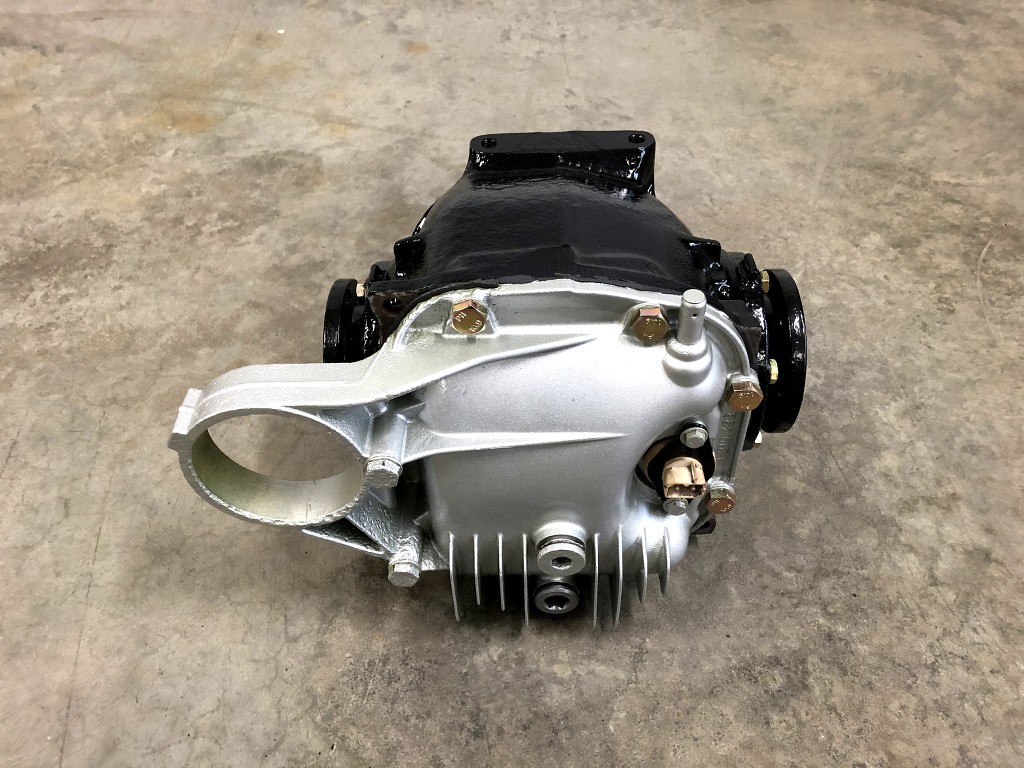
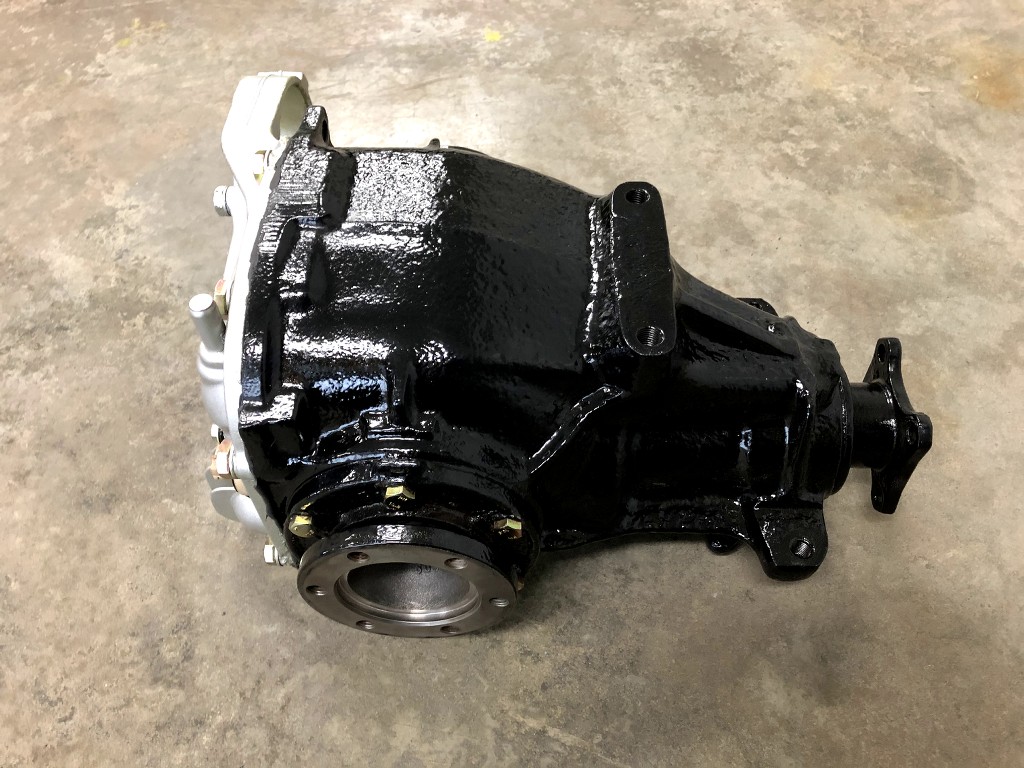
painted the TA and subframe.
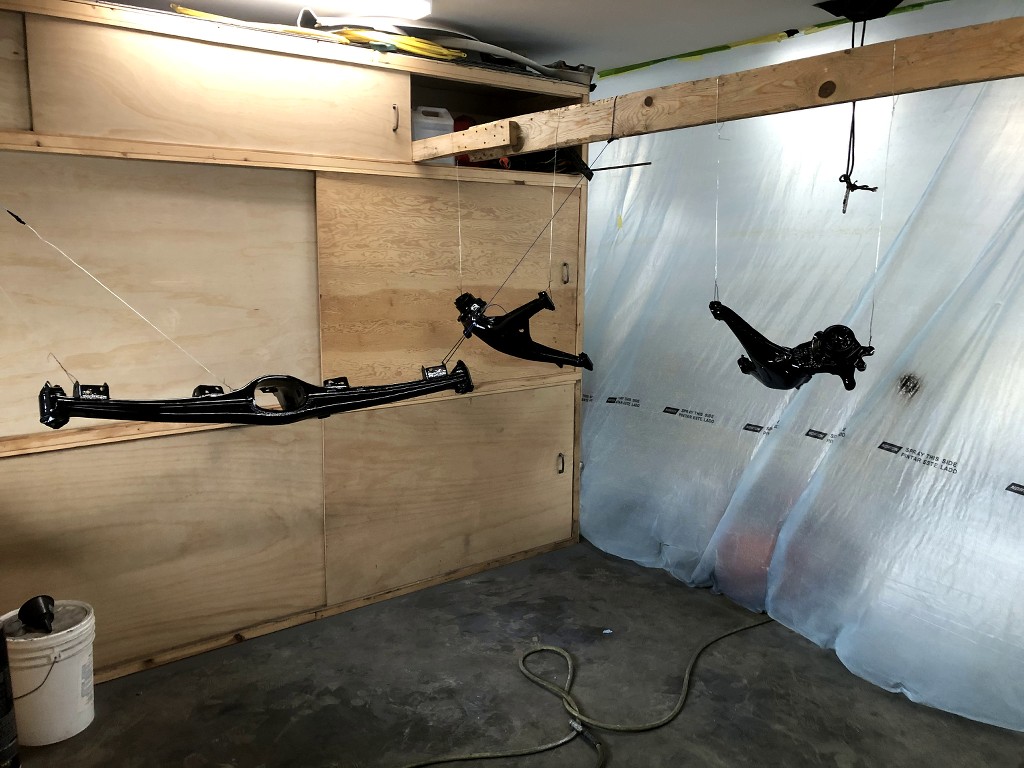
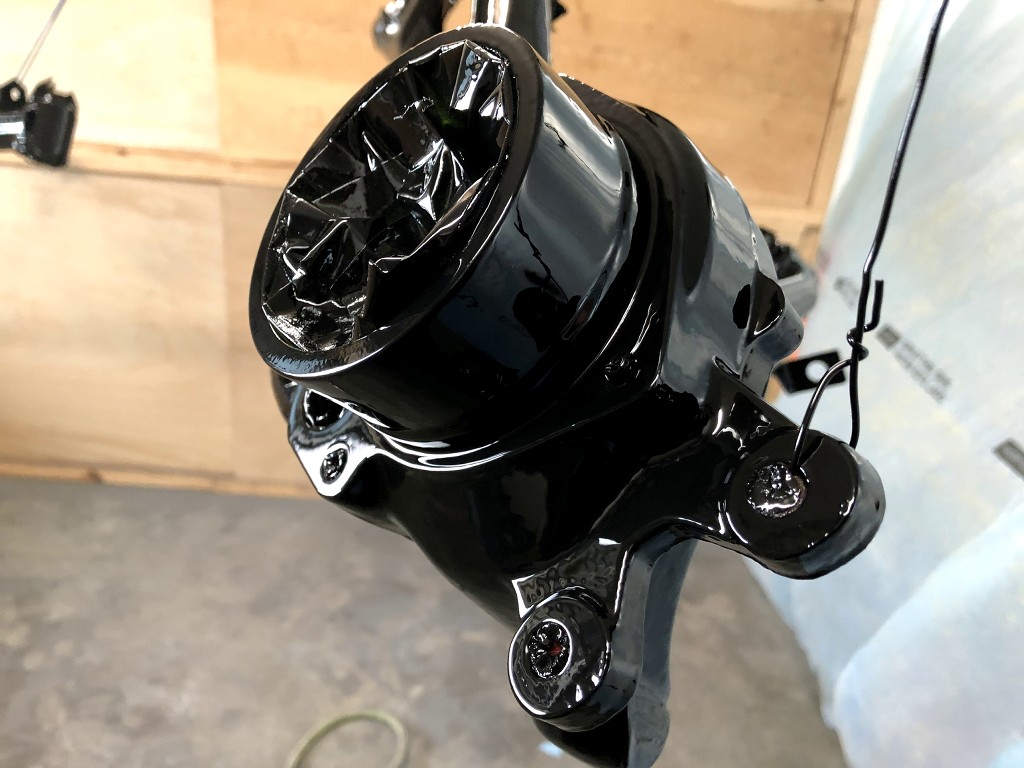
give a little coat of paint to older and newer bolt, braket, shim etc
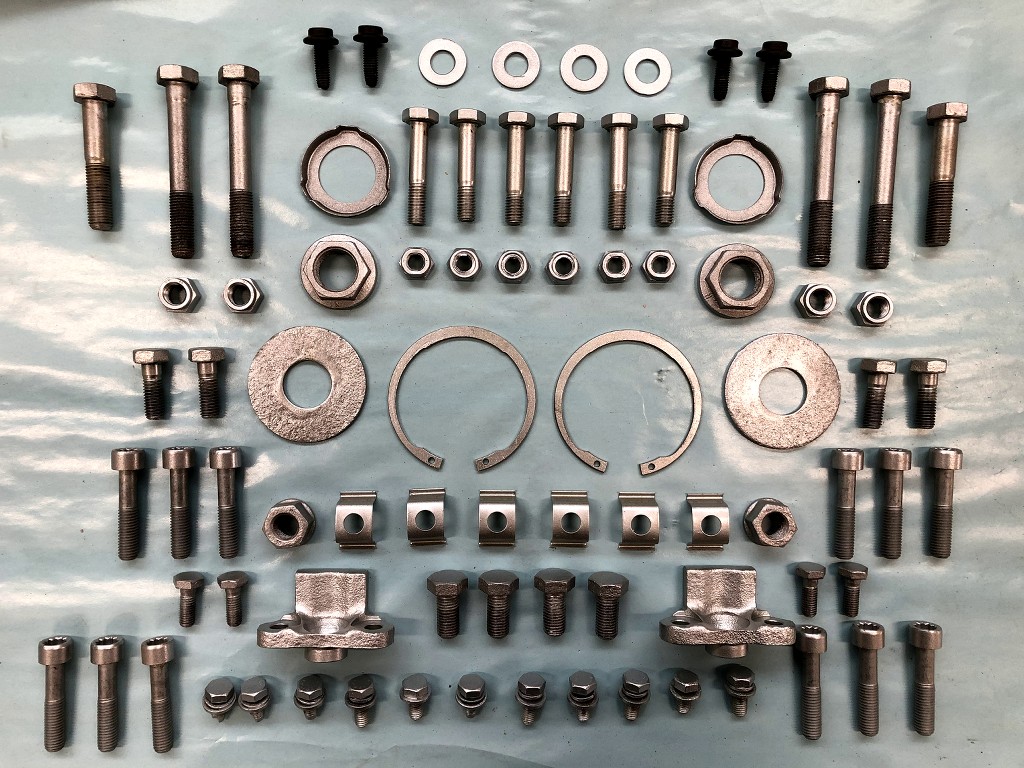
this is it for today.
my next step is to redo the 3 fuel line from front to back and the rear brake line from the ABS and the rear T.. should be very funny.....!Leave a comment:
-
I really enjoy following your work. It is inspiration for me to do a good job. Sent from my iPhone using TapatalkLeave a comment:
-
Thanks !
Its crazy how Time consuming this is.. i have already put near hundred of hour on that car ..
but like you said, the results are very satifaying !Leave a comment:
-
great work man! i know how time consuming the rust repair can be, especially with kids. I'm finishing up the same project currently.Leave a comment:
-
Holy shit that house. 5/7
Great work on the cleaning and rebuild man, it's so satisfying to see the work done.Leave a comment:

Leave a comment: