-

work on the engine and other little bits:

That preetttyyy much brings us up to the point where I had to send my journal off,so it could be printed in time.. This was about 6-10 days before deadline.. and I still had a lot to make.. so there were not too many photos taken after this
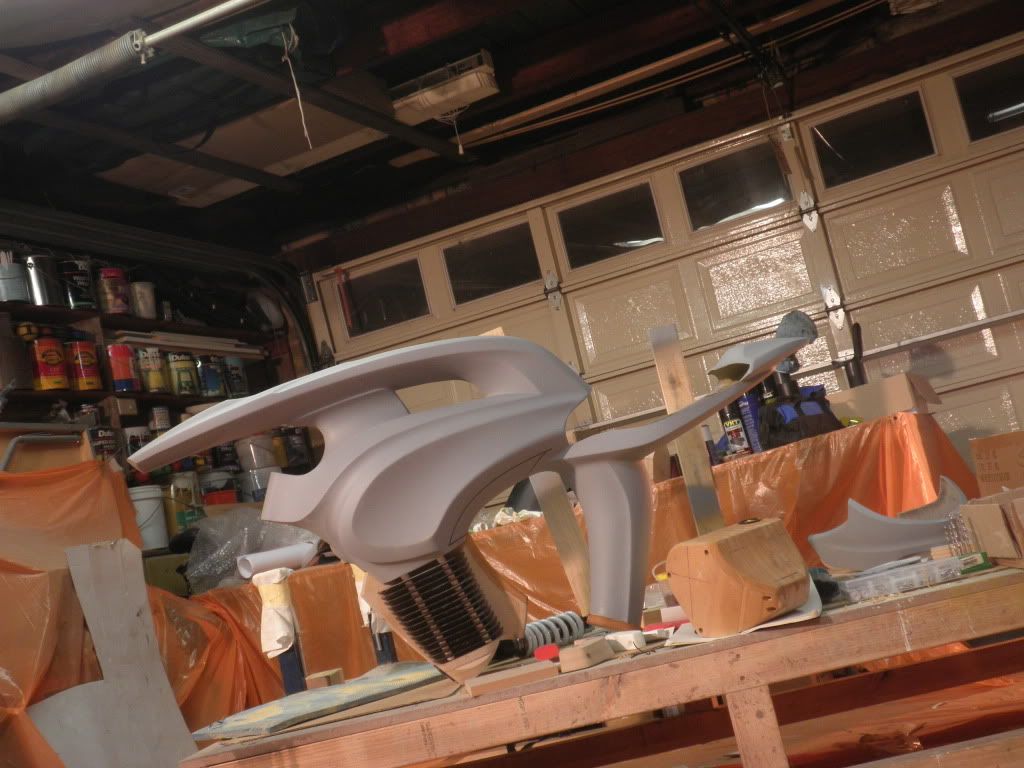
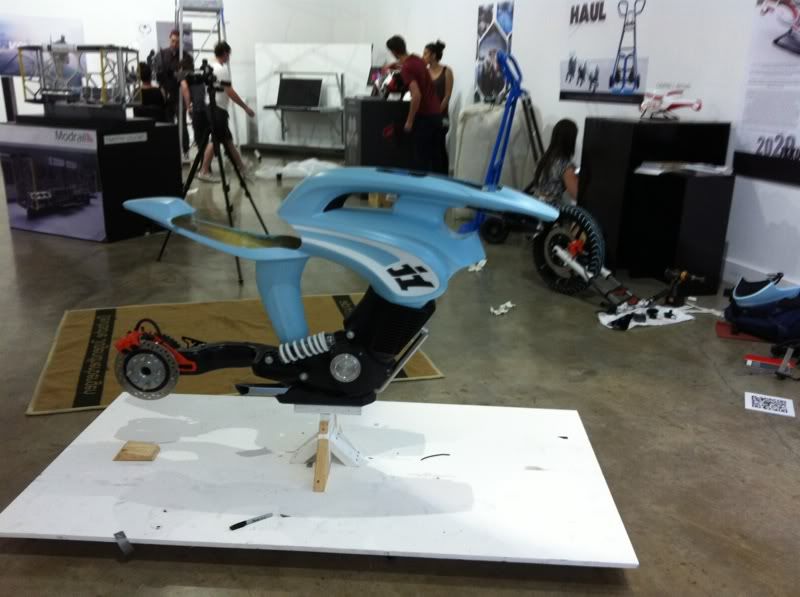
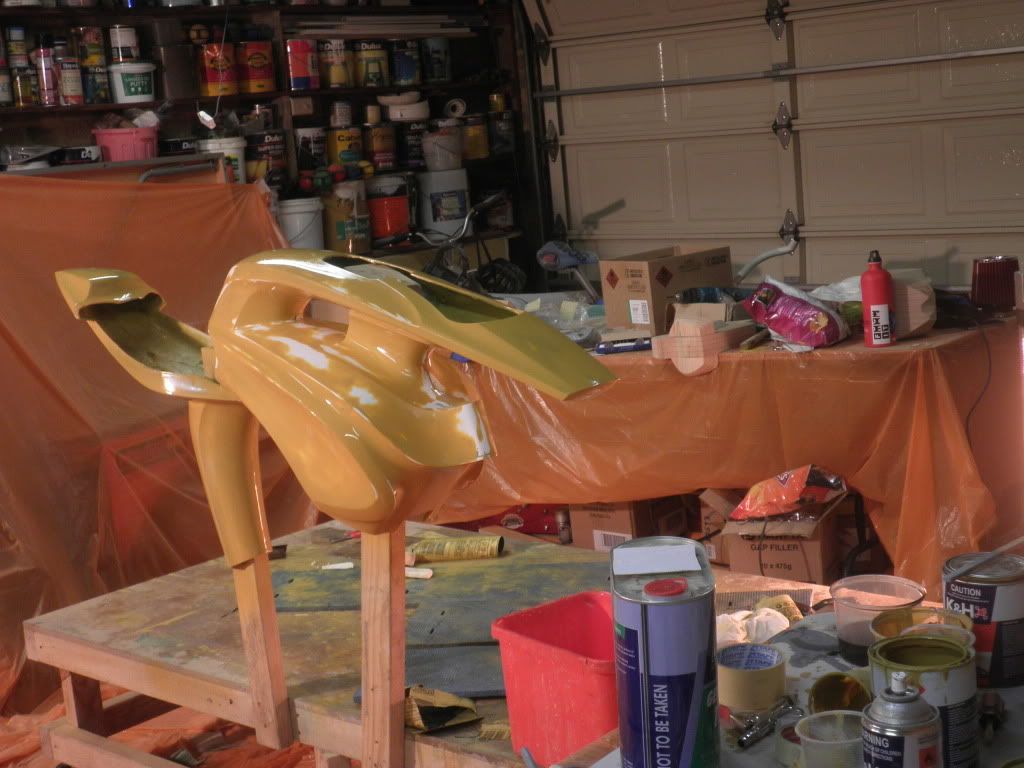
So I'll cut forward a bit, and here's a little teaser of the final assembly..
High res shots coming soon!
Leave a comment:
-
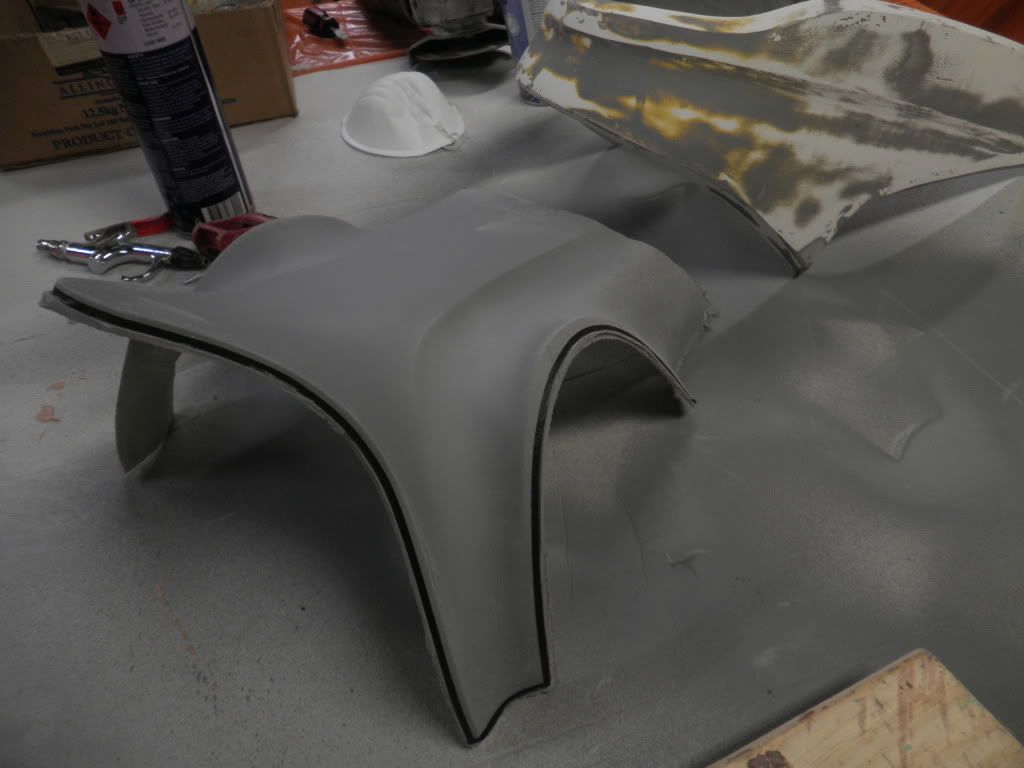
ok another update to show some of the final stages of fiberglass..
I'll try skip through this bit quickly since the bike is finished, and I know you will want to see the result!
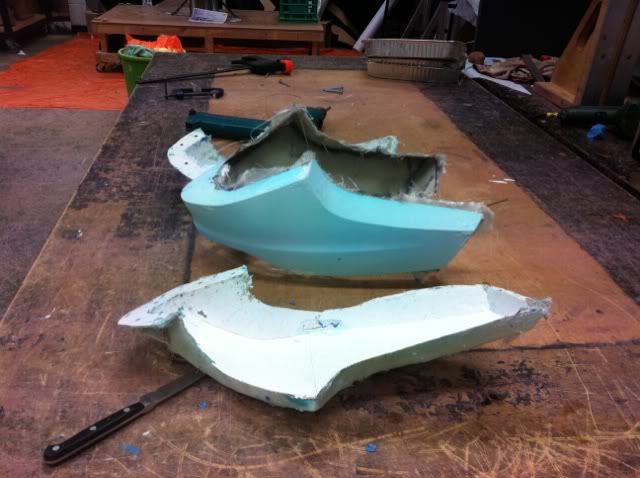
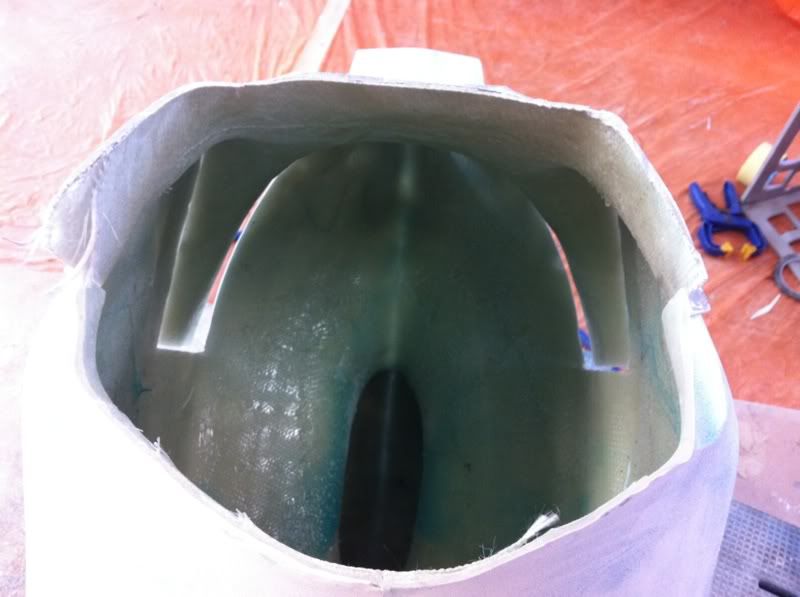
Prying the moulds apart was a 2 day job!
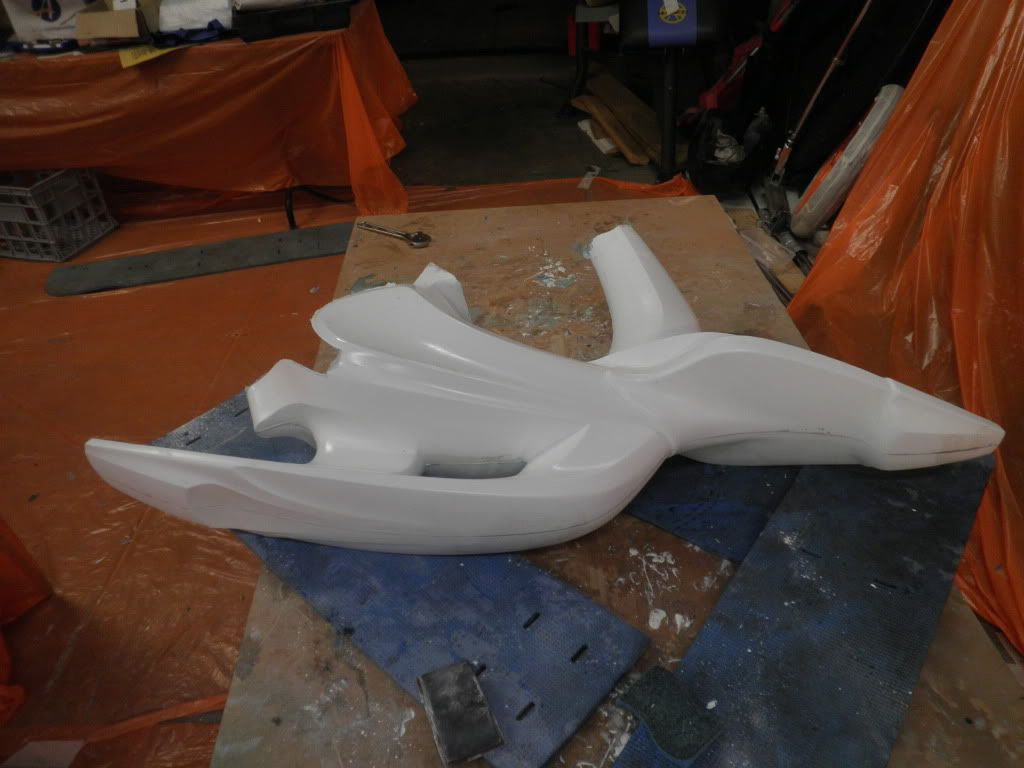
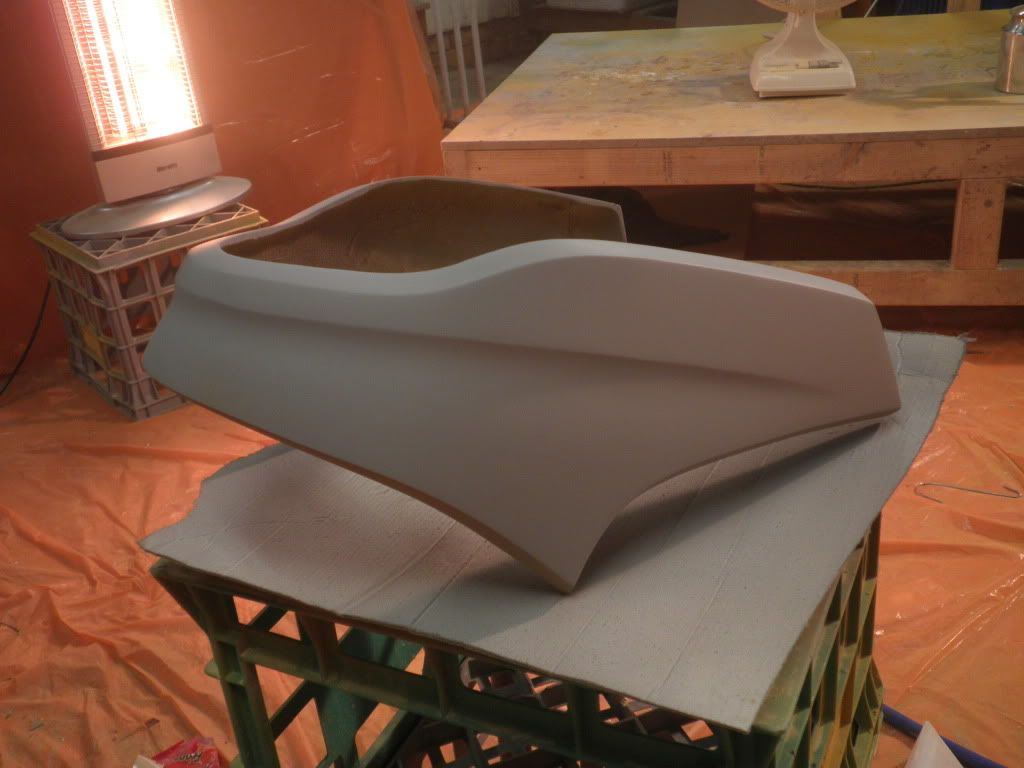
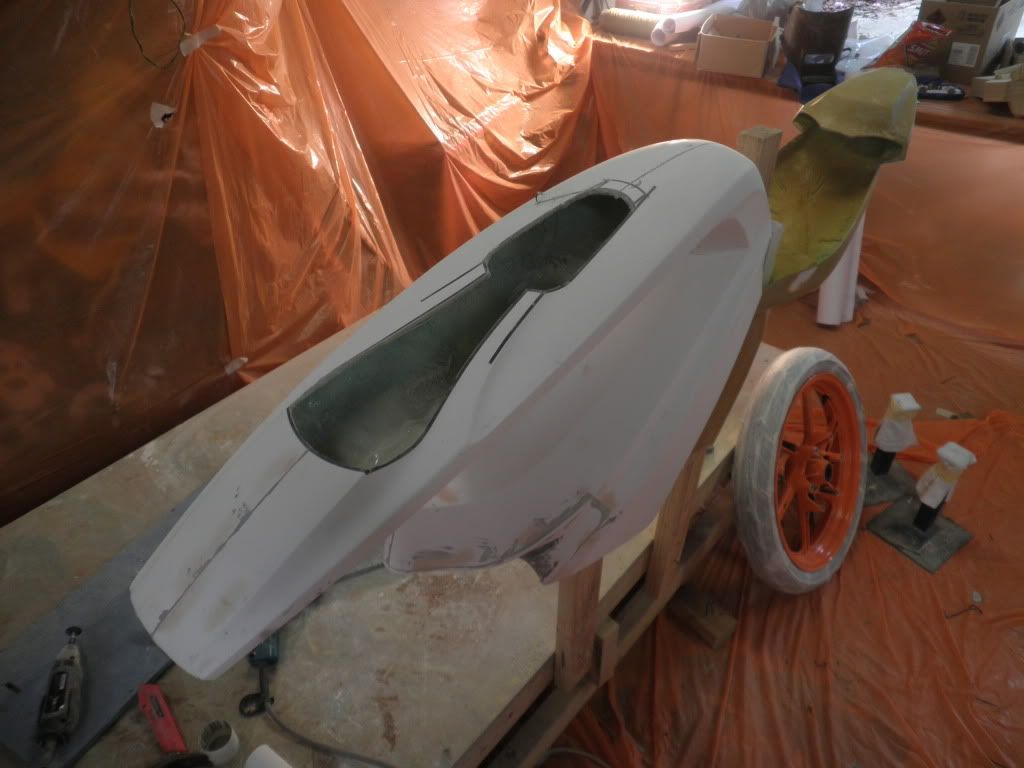
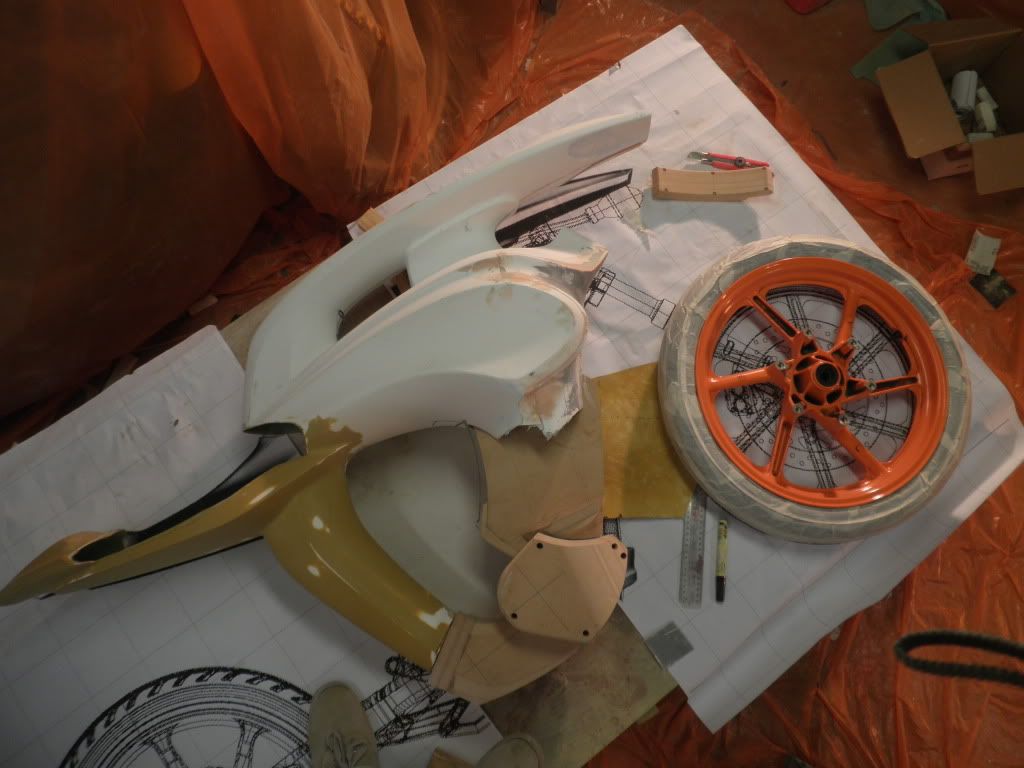
After moulds are prepped and laid up with the fibreglass parts:
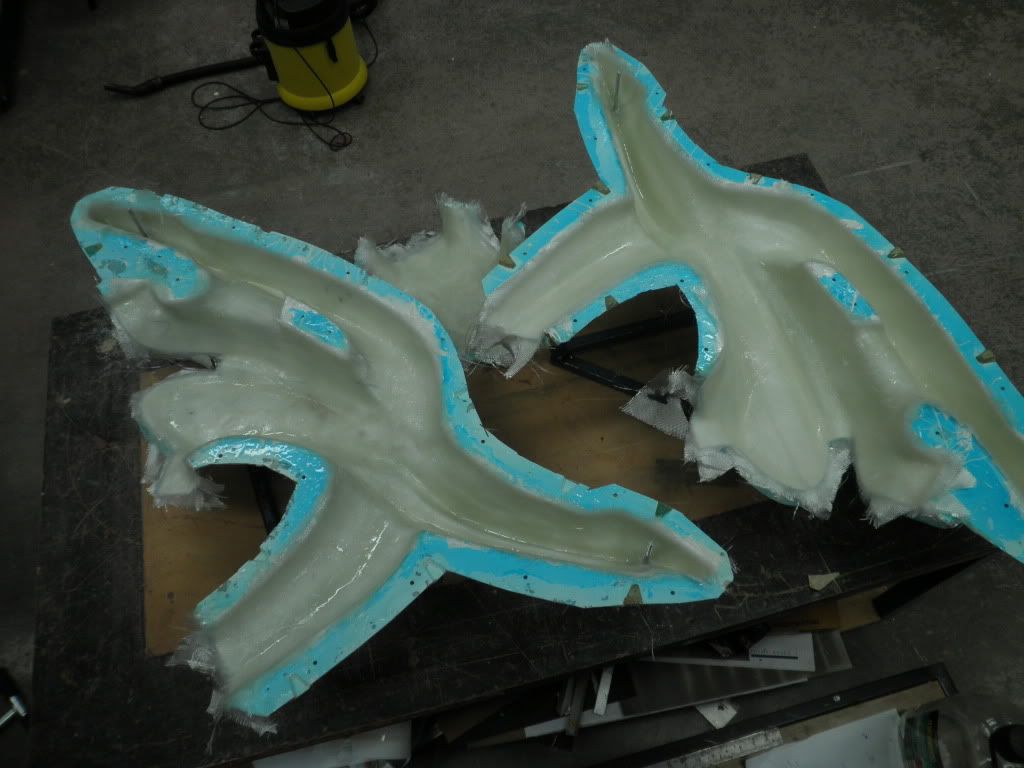
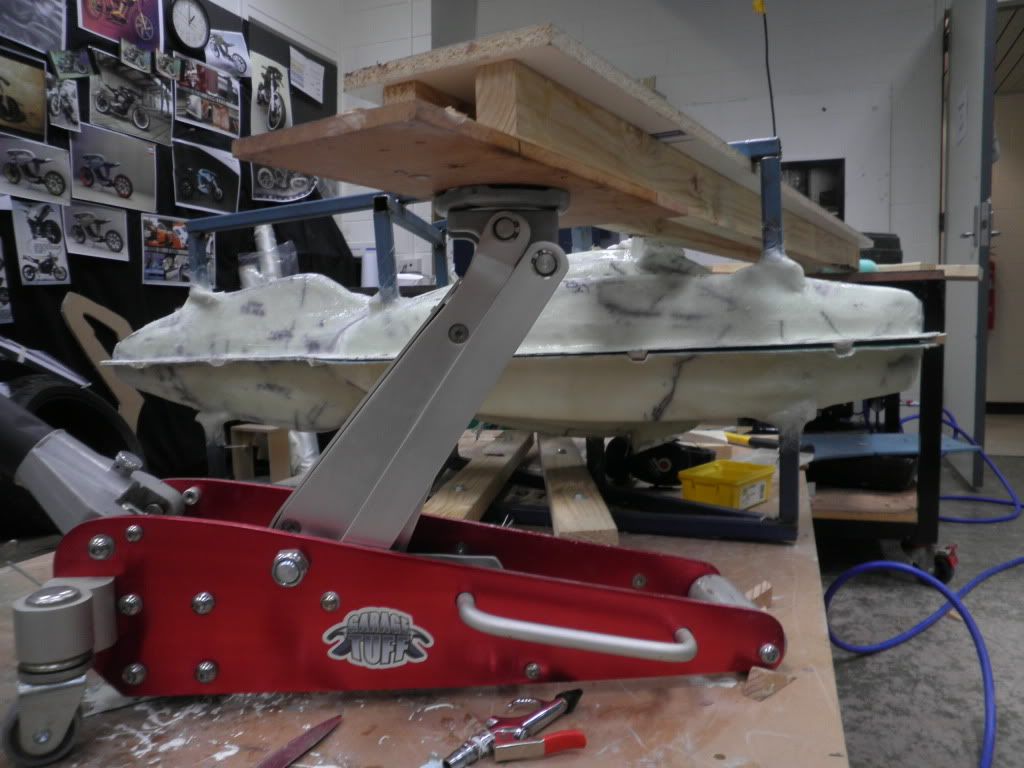
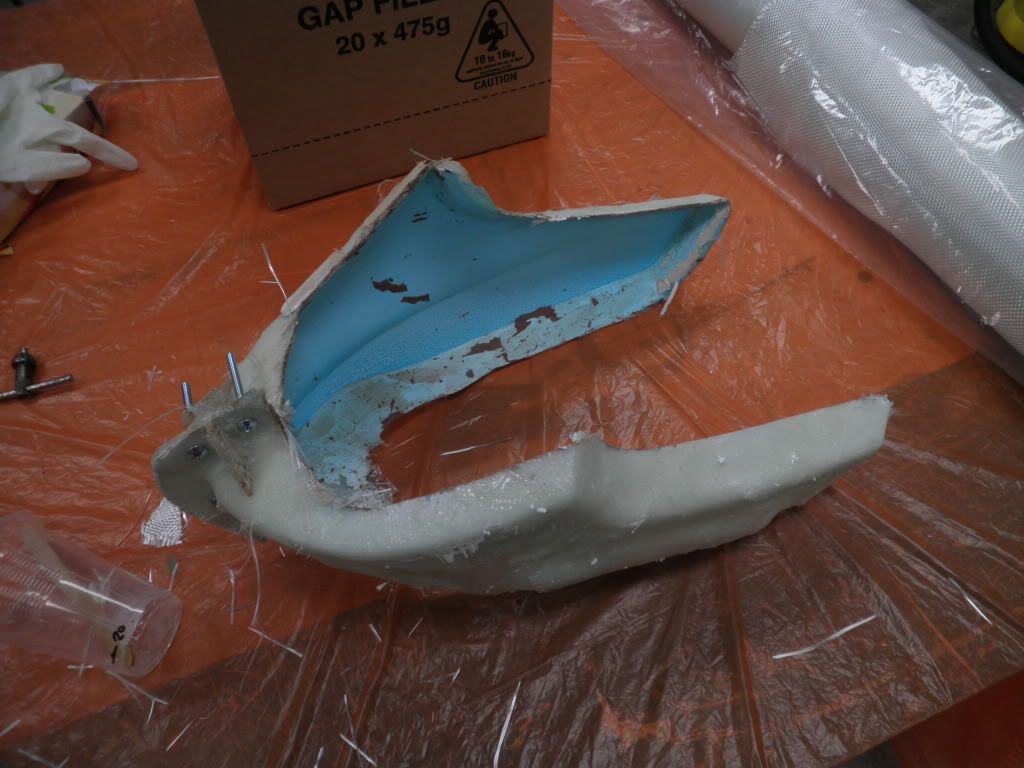
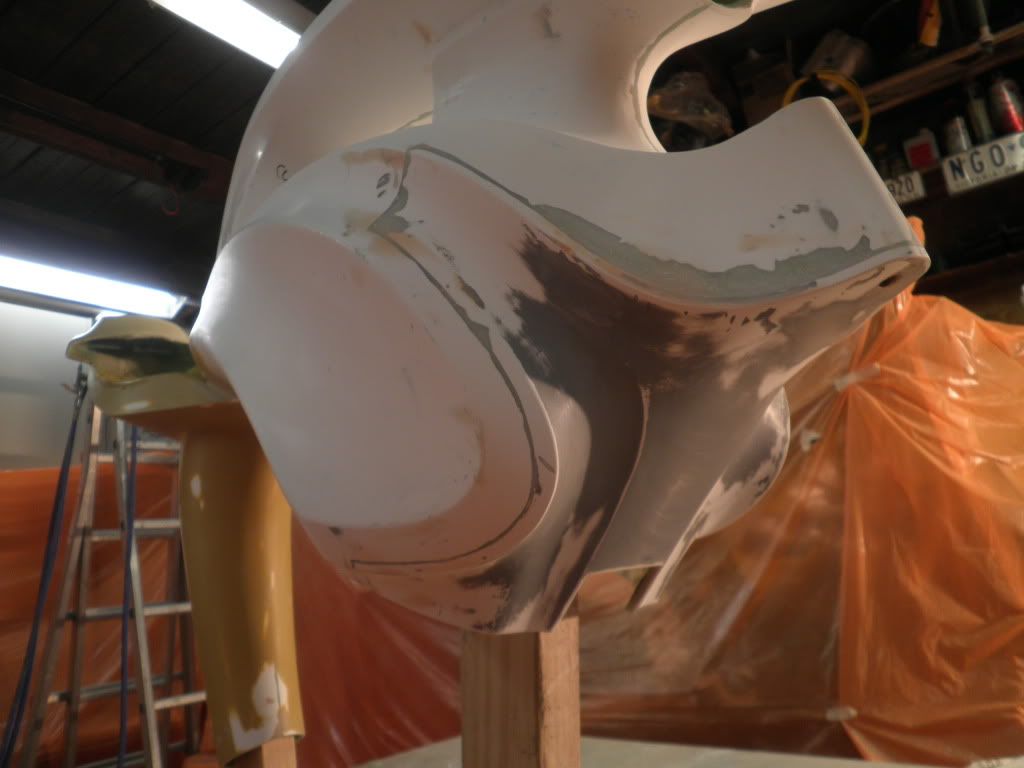
I decided to bond the parts together inside the moulds to keep everything alighned.. was just hoping the moulds would come off without destroying anything... :/
Bonded together with epoxy resin:
Moulds apart eventually! (don't underestimate how difficult this was, advice to anyone making moulds is use a fuck load of draft angle, you can never have too much...)
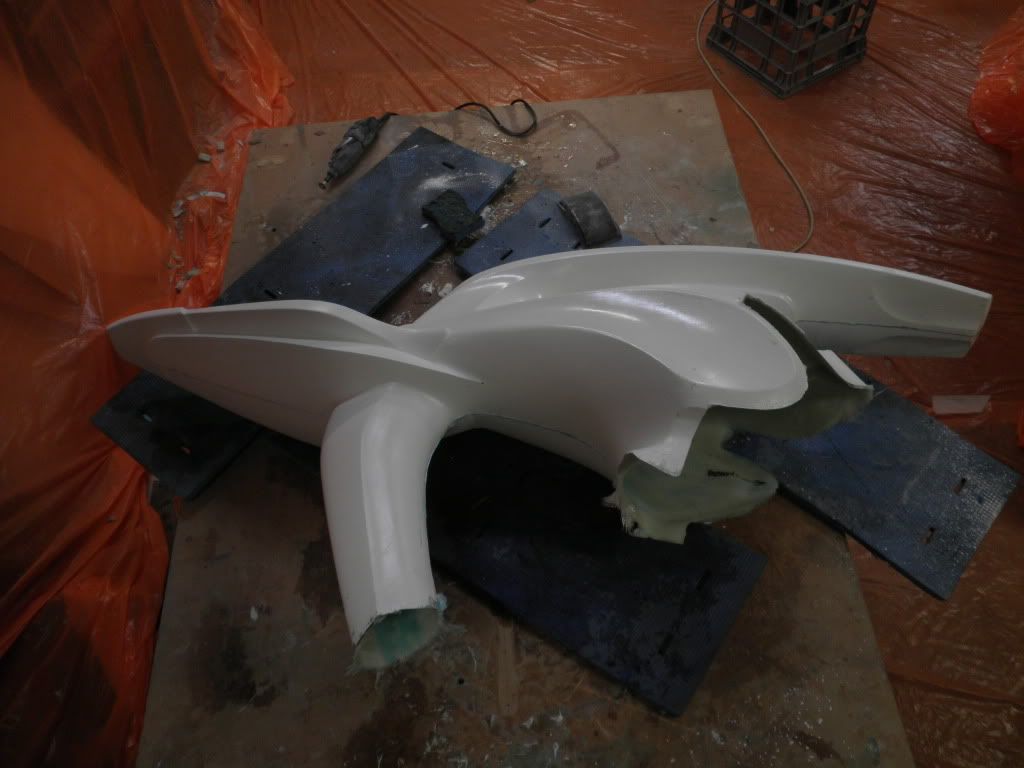
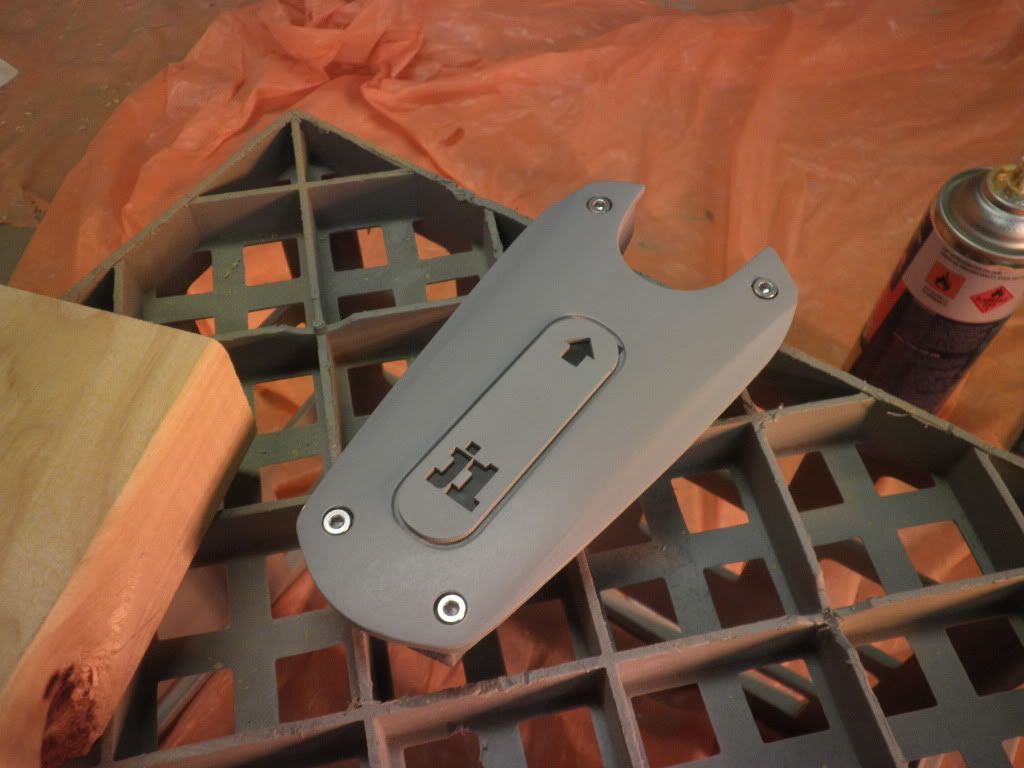
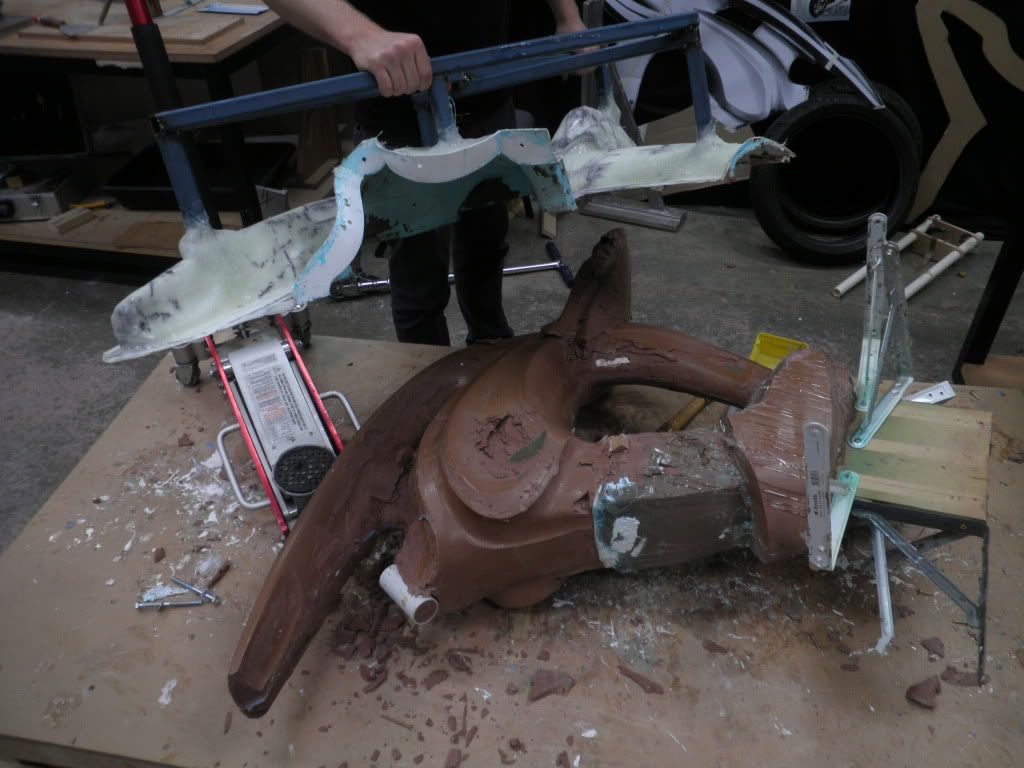
This bitch of a piece took a lot of work to fit but, got there in the end, you can see below how far off it was..
 Last edited by JamesE30; 11-22-2011, 04:50 AM.
Leave a comment:
-
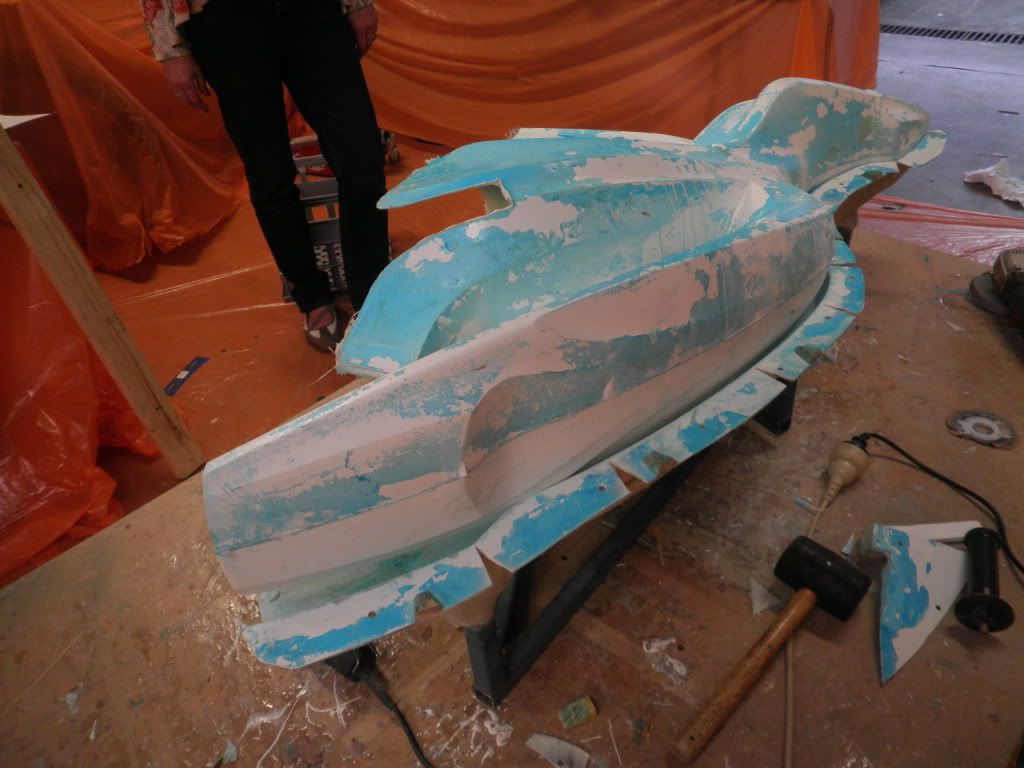
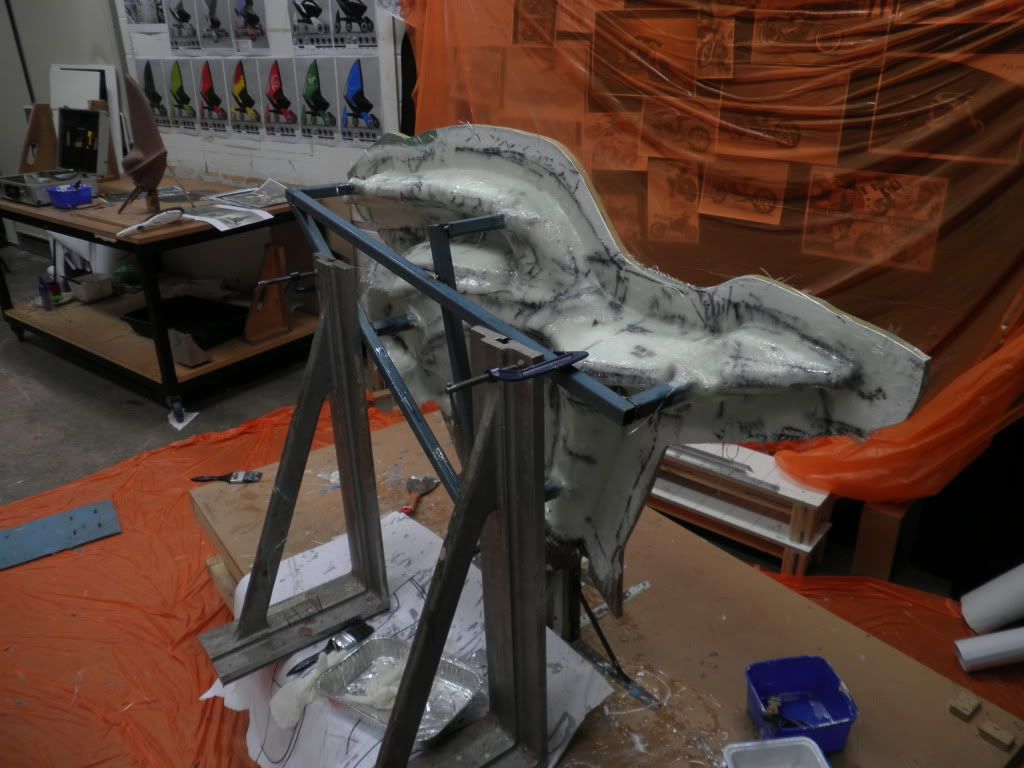
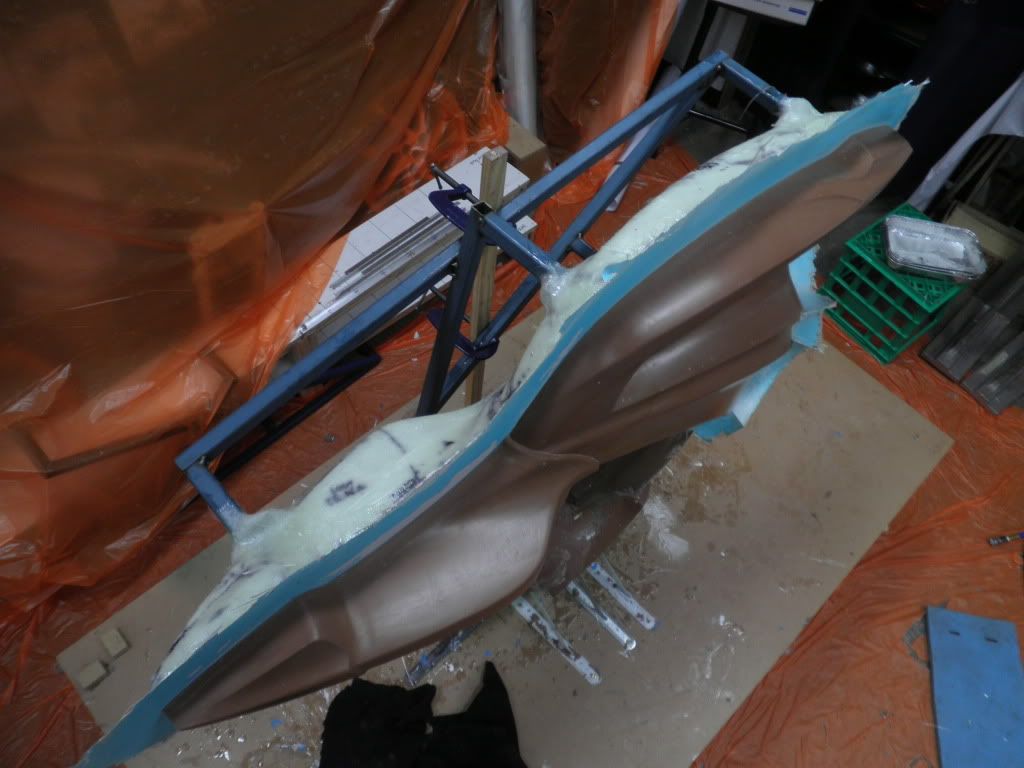
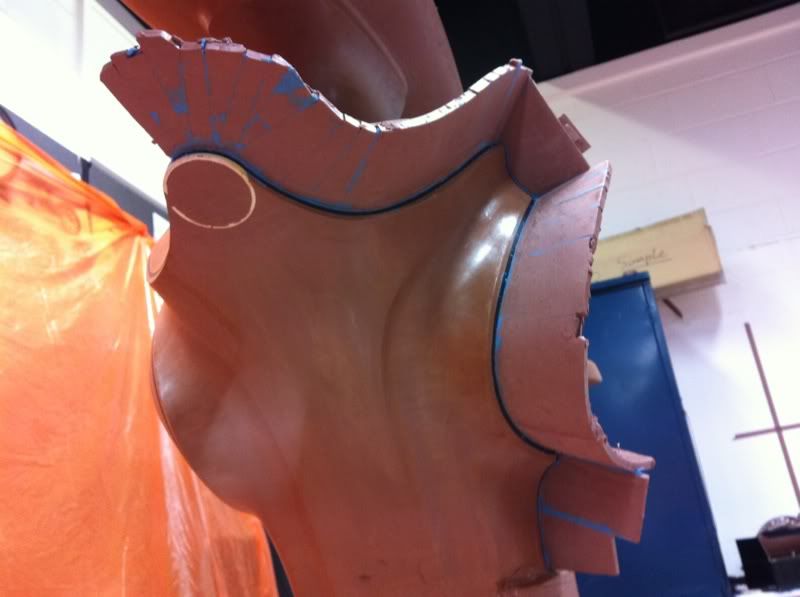
The blue is "PVA" (not the glue) it's a release agent especially required for the clay get it out of the mould in "one" piece. It's applied after about 3-4 coats of wax.
Pre-cut fg mating and all the other crap that smells good
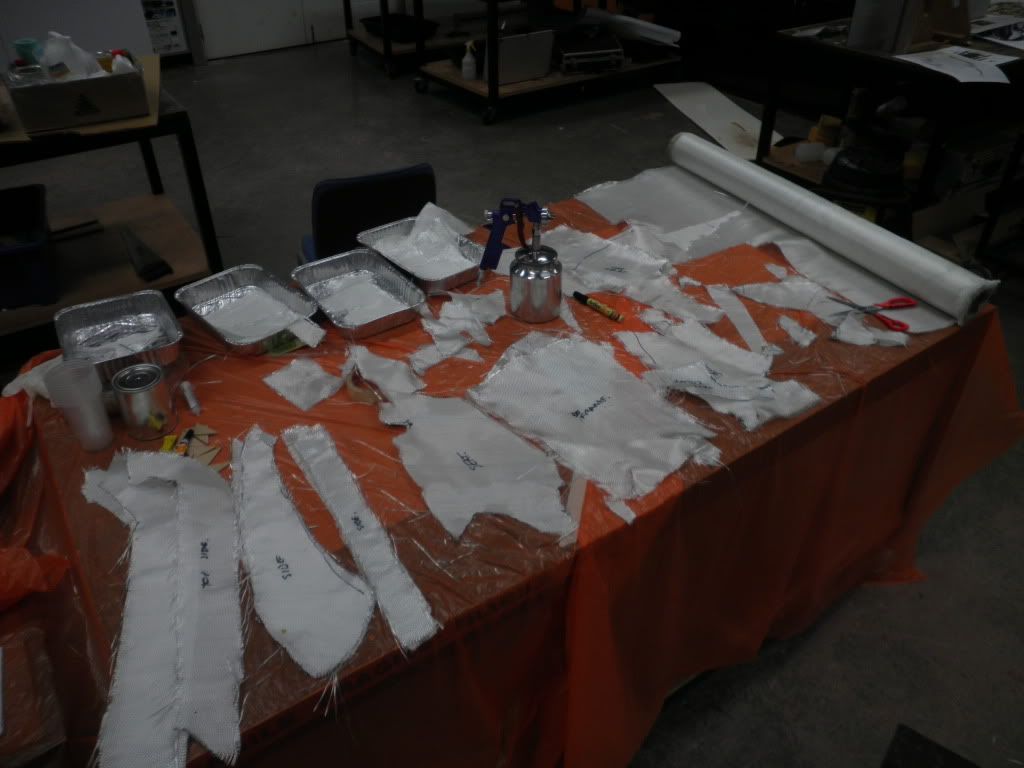
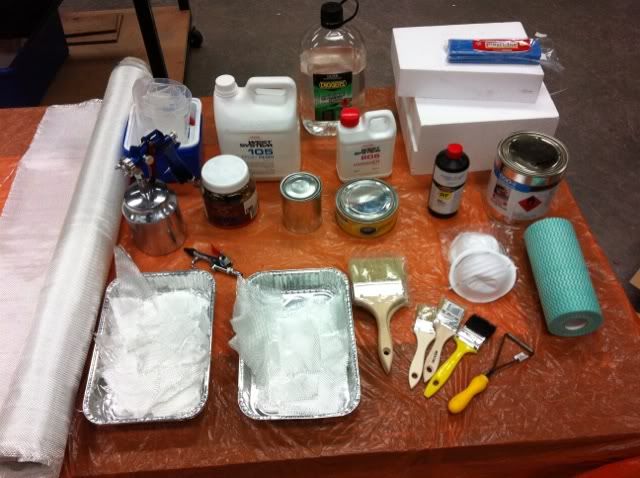
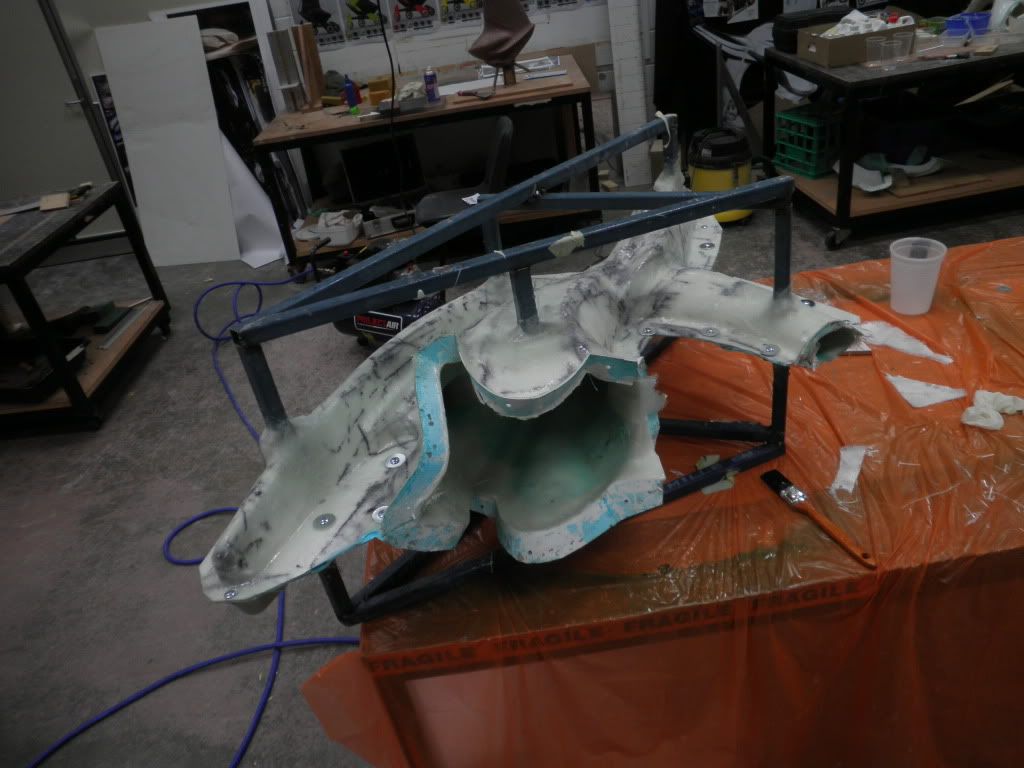
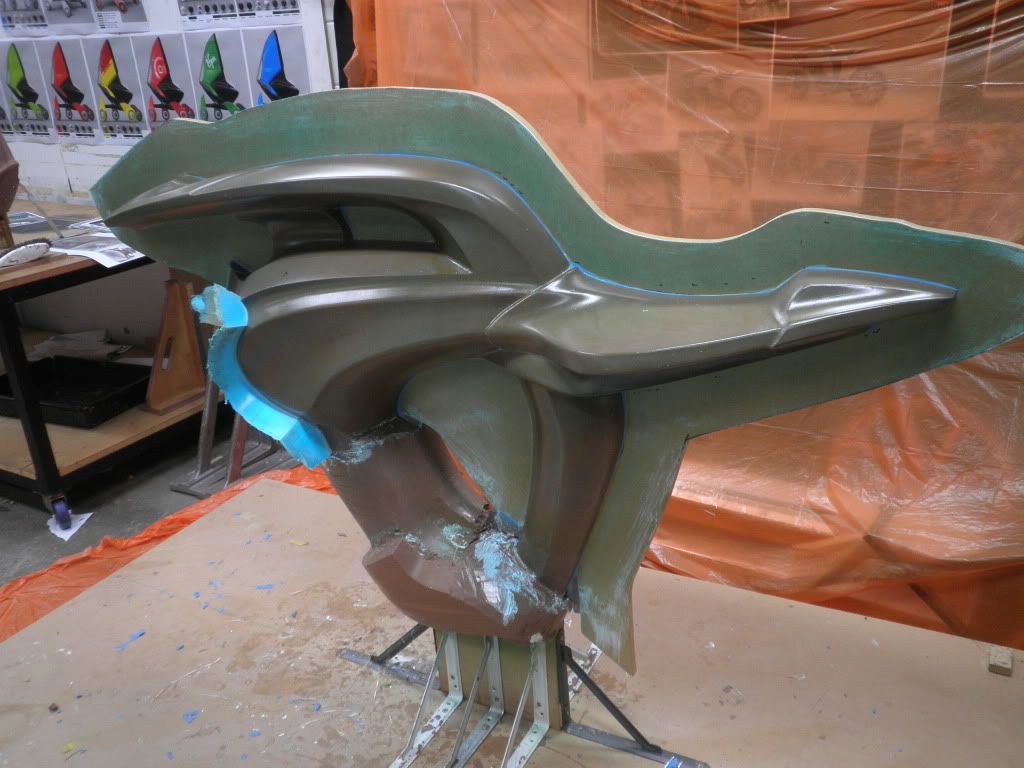
gelcoat:
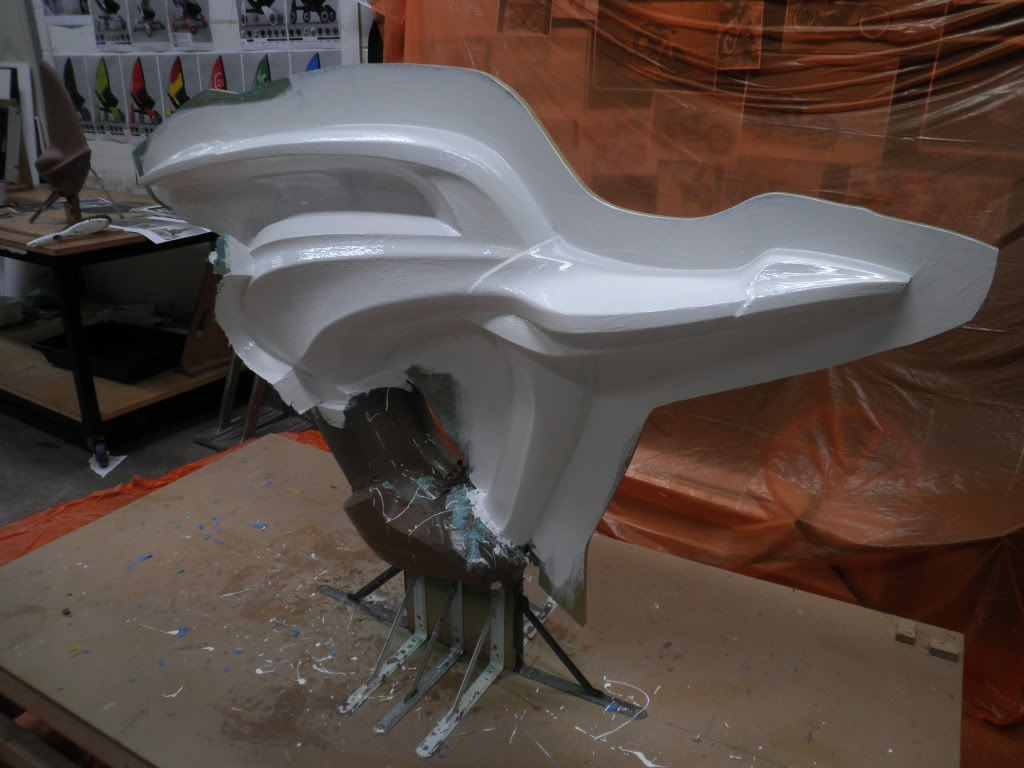
Glassed:

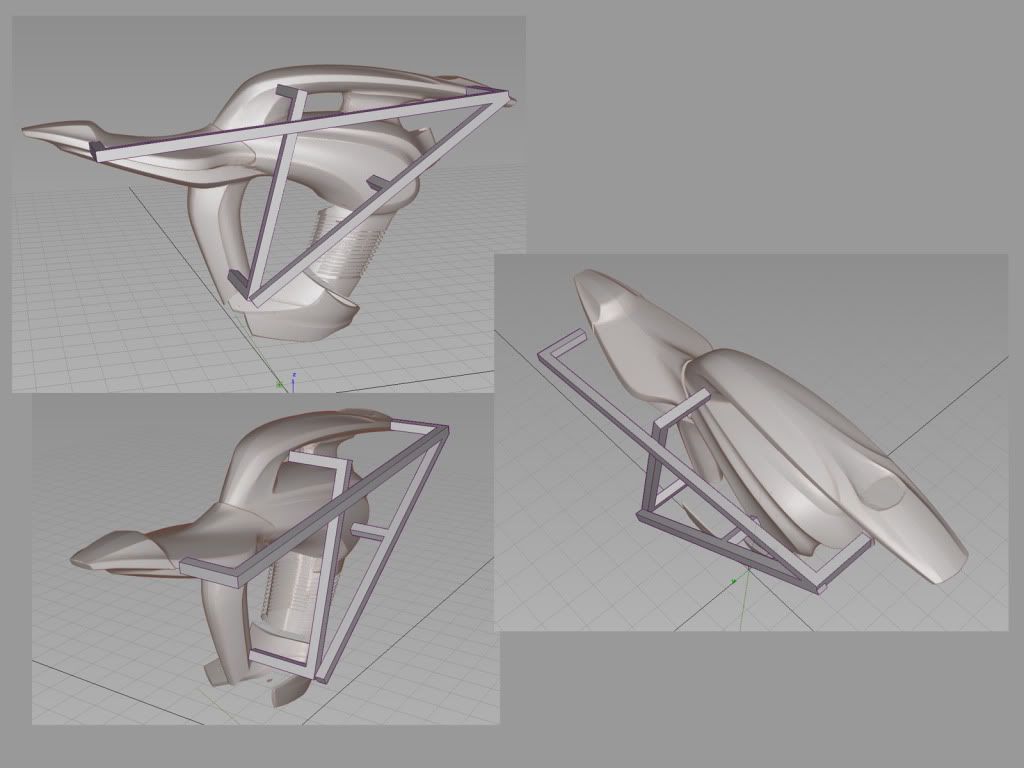
Fixed on a steel frame My friend Jamie whipped up from a cad drawing I gave him for me to help keep the parts aligned and rigid. Fits perfect!
Dam off, nice crisp centreline for the other part to be built up to
Leave a comment:
-
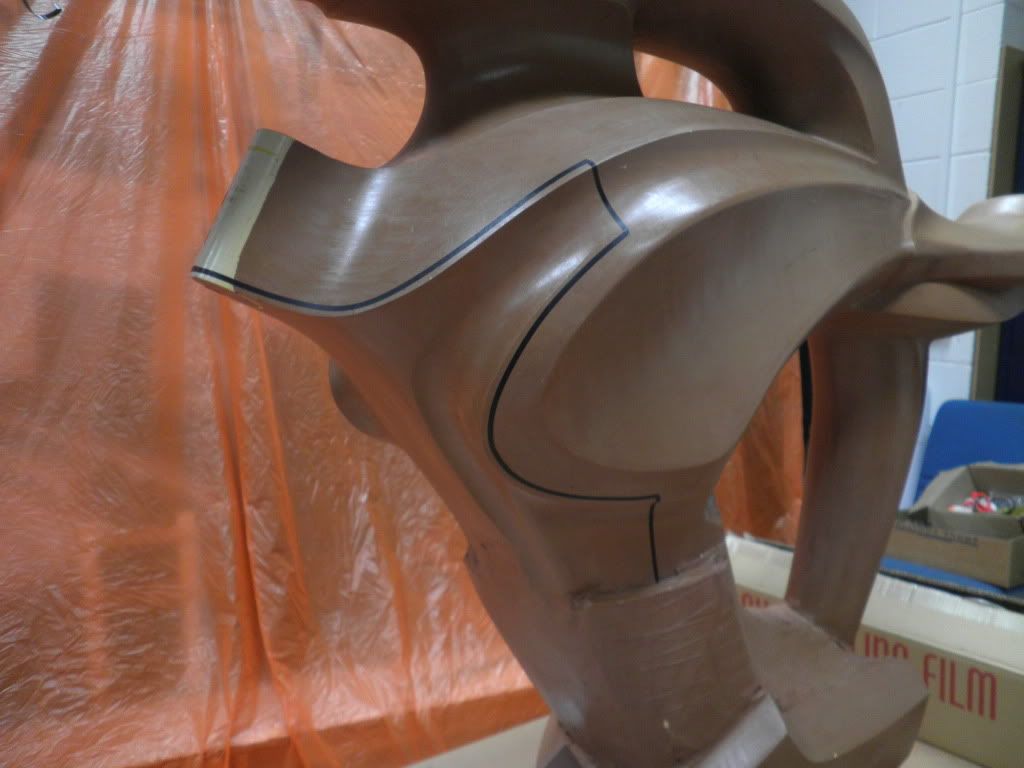
Mould part lines marked. Decided to make the main body with a 3 part mould. In hindsight more parts would have made things easier especially if I were to be making multiple casts from the moulds. But for this one off it saved me time joining the parts later..
Mould Dams
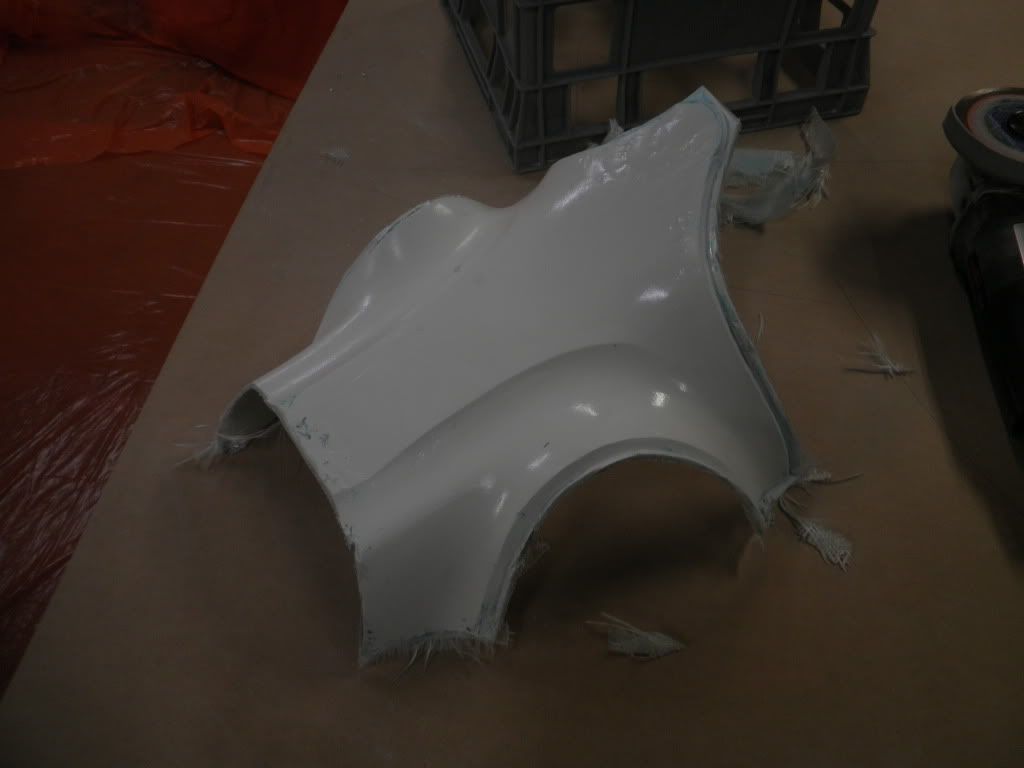
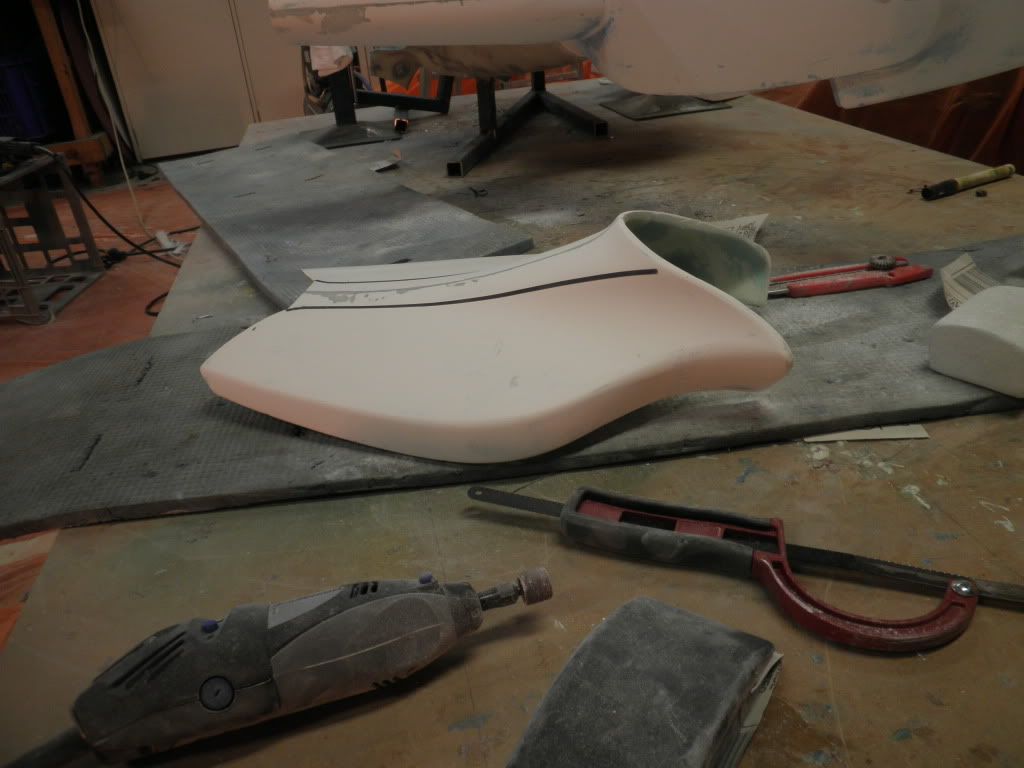
First part off came out average at best. Definitely workable though, and not worth redoing, It was my first time using fibreglass after all.. and the parts only got better from here. Basically I made them too thin and didn't thicken my 1st coat of resin with "flock" so ended up with air bubbles behind the gelcoat = lumpy parts... could be worse
Front piece glassed up and centreline dam built from 16mm MDF. I used the digital scan files I had to print a full size silhouette
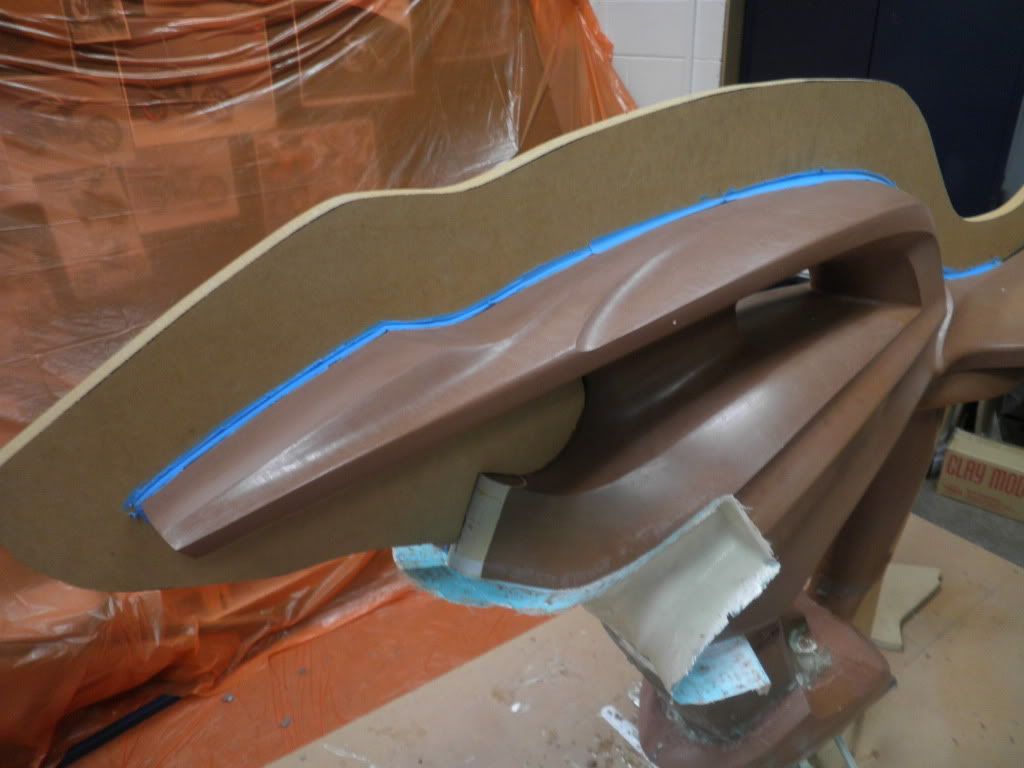
The blue is plastiscene used to fill the gaps between the clay and the dams

Leave a comment:
-
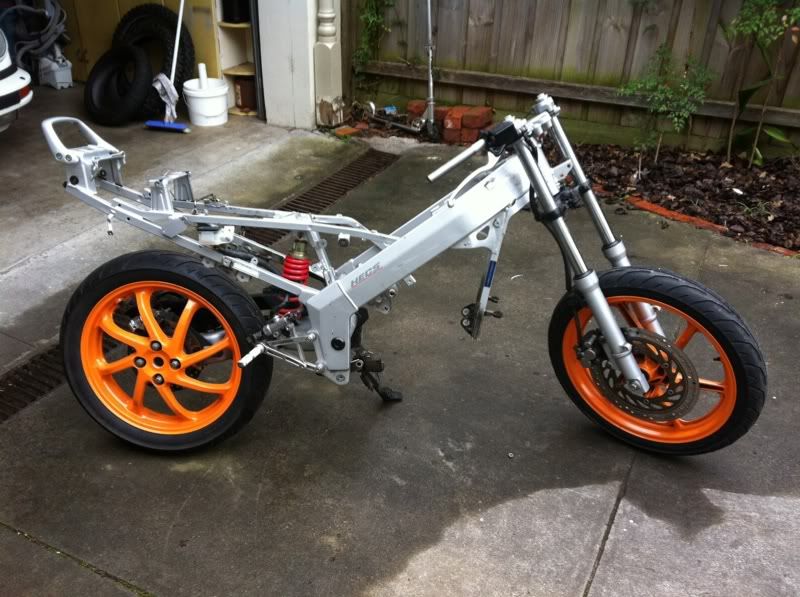
Dont think I posted it here earlier, but I bought a wrecked NSR150 at the start of the project I'm using for parts
Update time!
Been flat out as you can imagine but here is a much needed update. Ill try to keep updates reasonably brief from now in order to catch up. I plan to update my personal blog after completion with a more detailed write up. I just bought the domain rocker-motorcycles.com Which will be dedicated to this project.
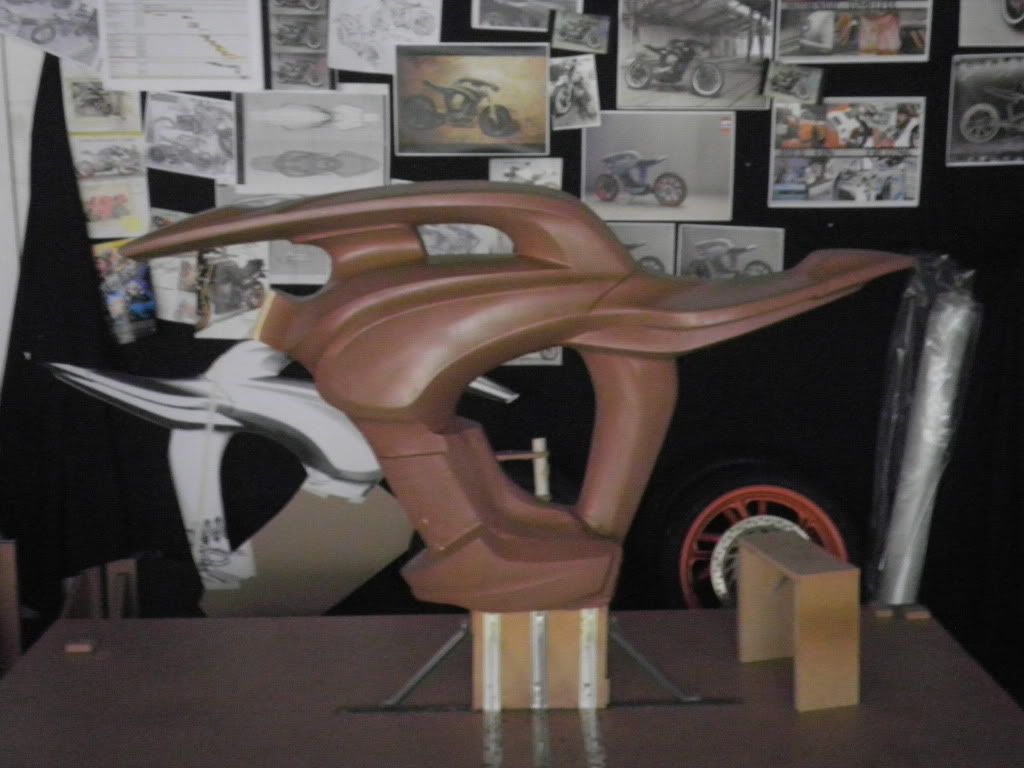
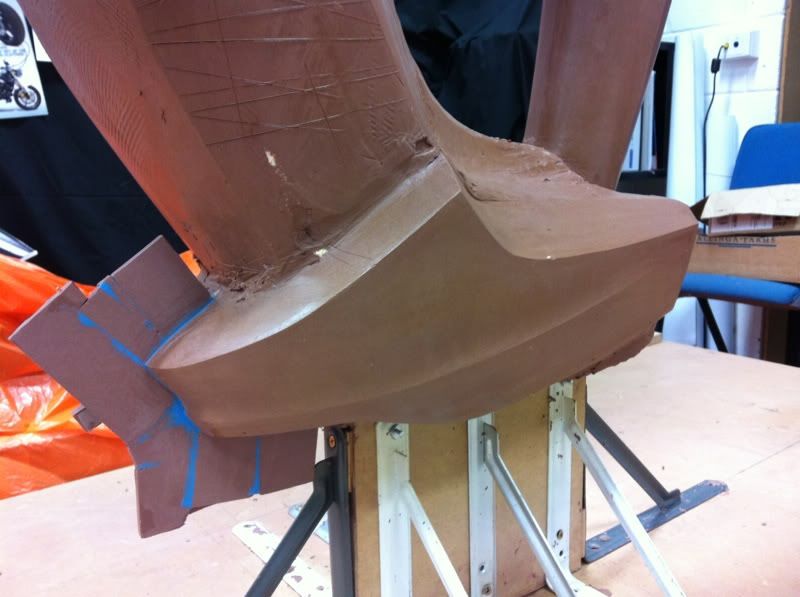
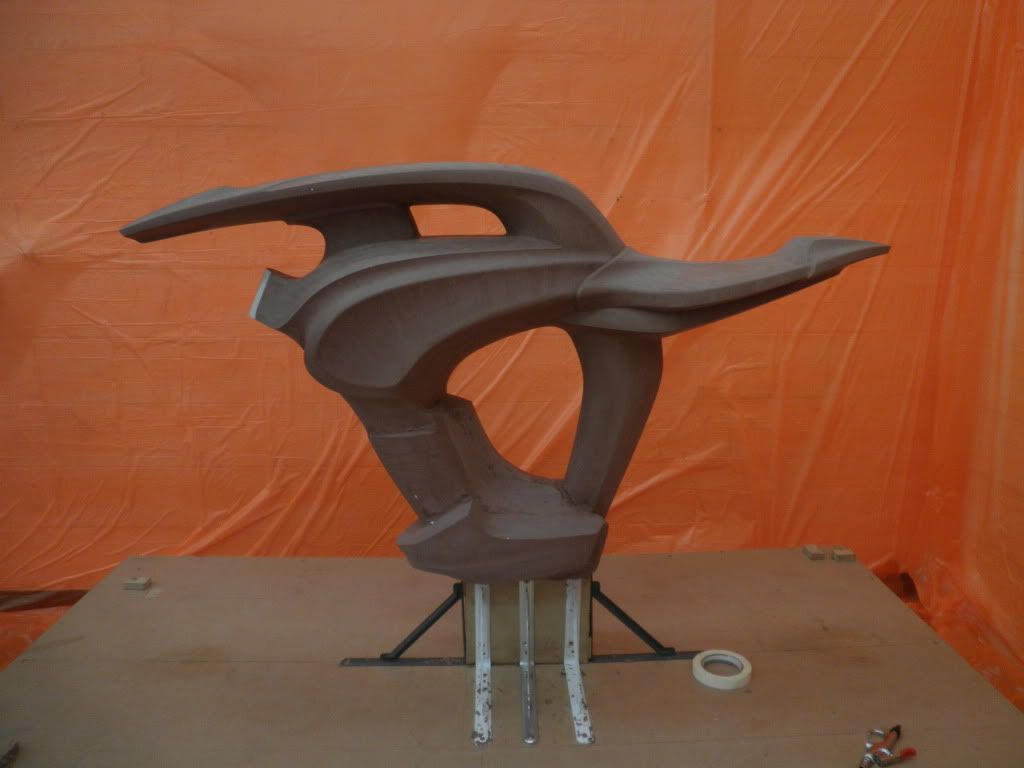
So here are a few shots of the clay after balancing and before fibreglass began
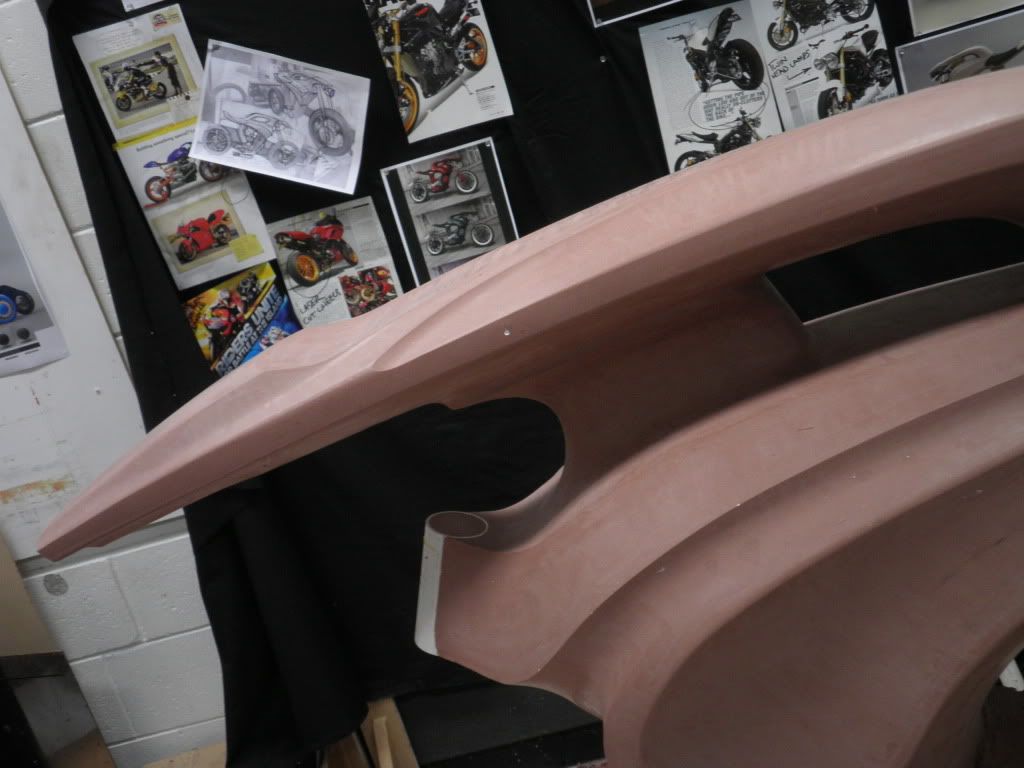

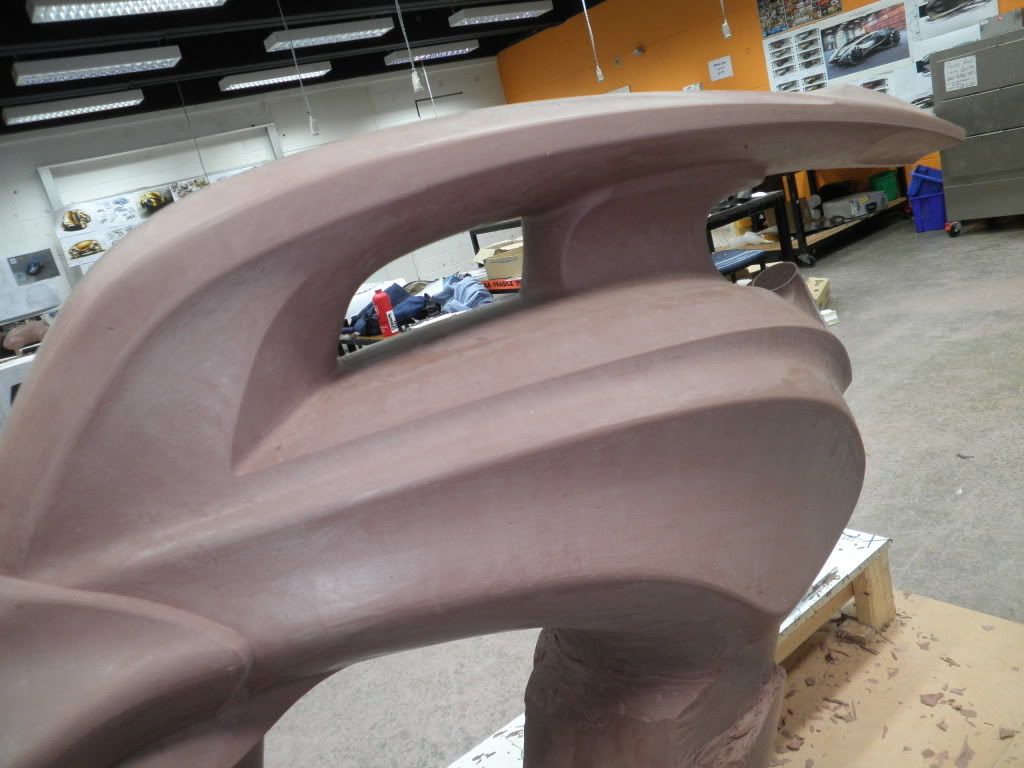
Spraying the clay with shellac
Leave a comment:
-
I'm studying the same thing, gotta say the workload is brutal. Looks excellent!Leave a comment:
-
Cheers guys
Sorry not much of an update but here is a couple more renders of the colour scheme Im pretty set on:
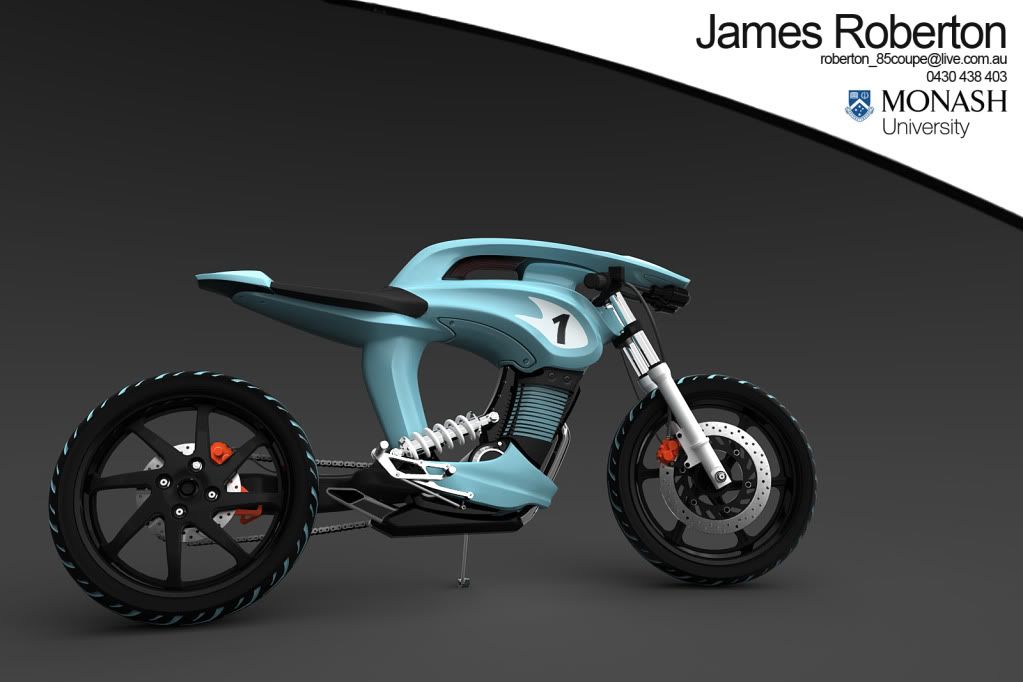
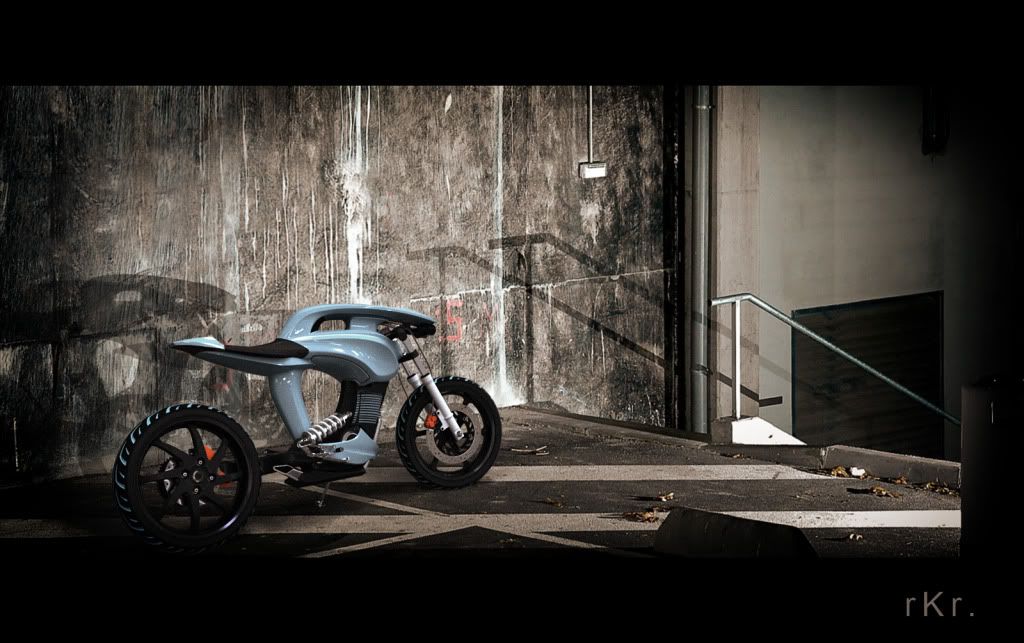
I've moved along a lot with the model, fibreglass is well underway. Need to hook up my camera so I can upload some pics for you guys :up:Leave a comment:
-
man this bike changed a lot from the beginning designs with clay, looks nuts now! -nicely doneLeave a comment:
-
awesome work! stuff i was always dreaming about but never got a chance to learn it. i'm in a weird way jealous and i'm full of respect at the same moment :DLeave a comment:


Leave a comment: