If this is your first visit, be sure to
check out the FAQ by clicking the
link above. You may have to register
before you can post: click the register link above to proceed. To start viewing messages,
select the forum that you want to visit from the selection below.
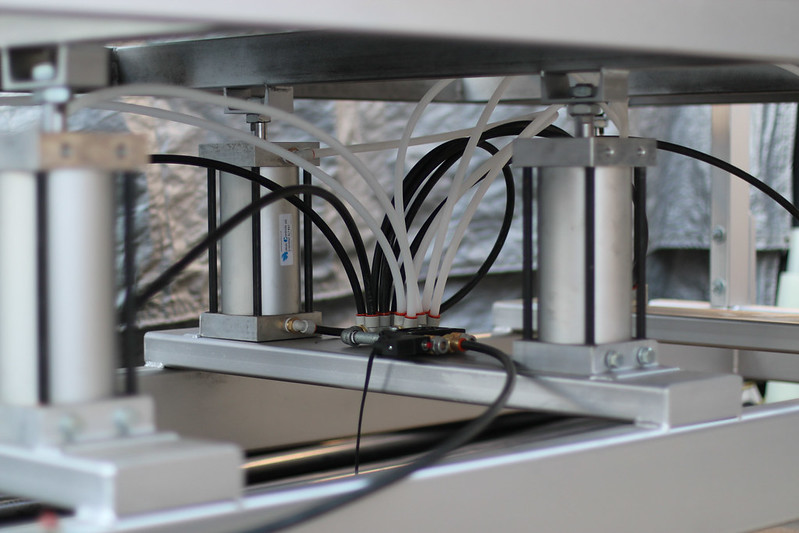
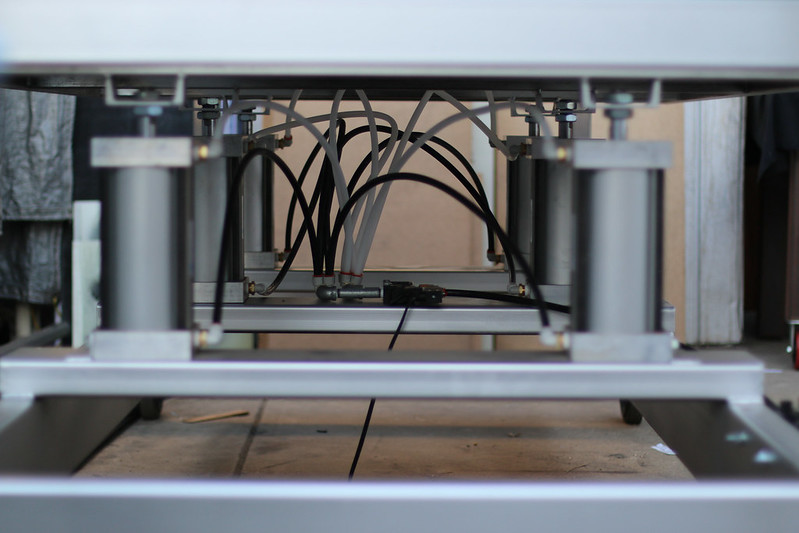
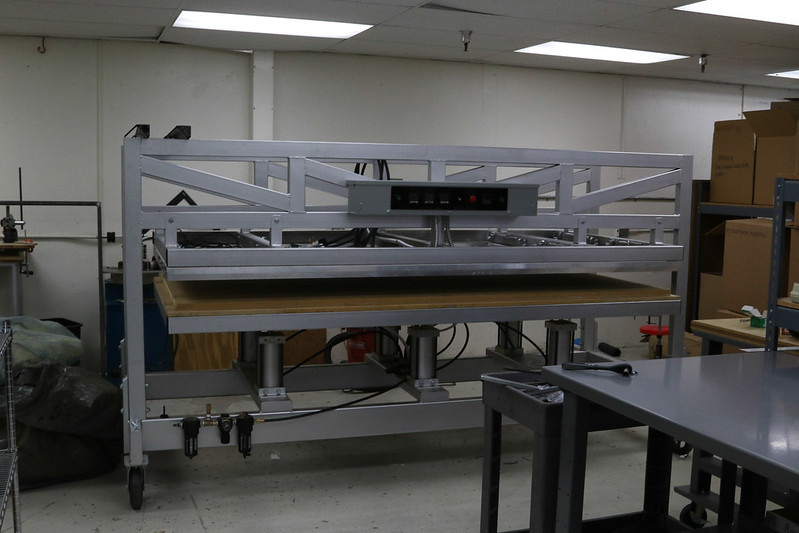
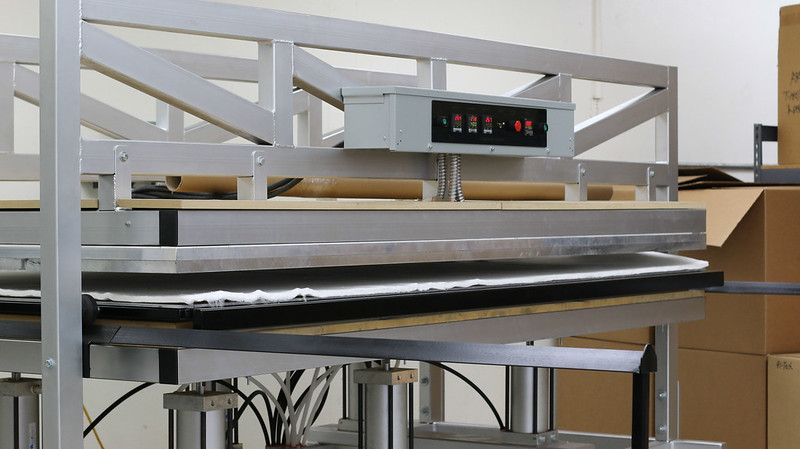
Made some progress lately. The hoses are hooked up. Pressure works. All the rams work. Made a dash for all of the switches/controllers as well. Here's some pics
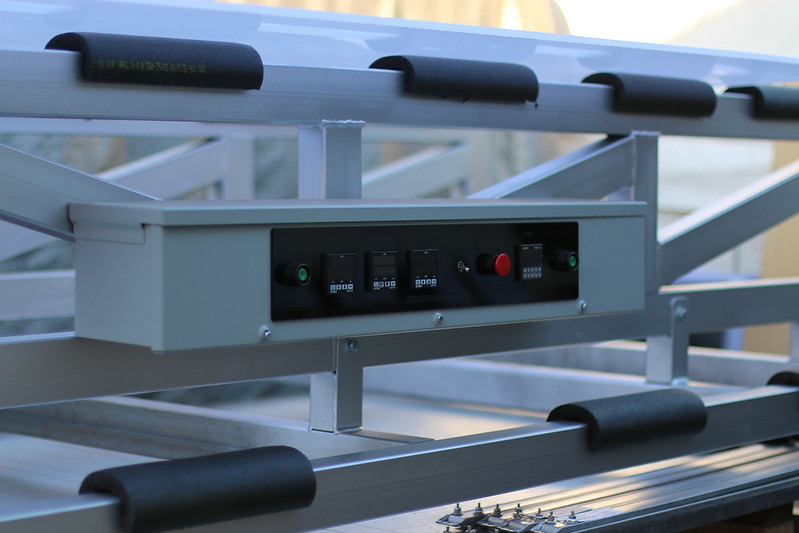
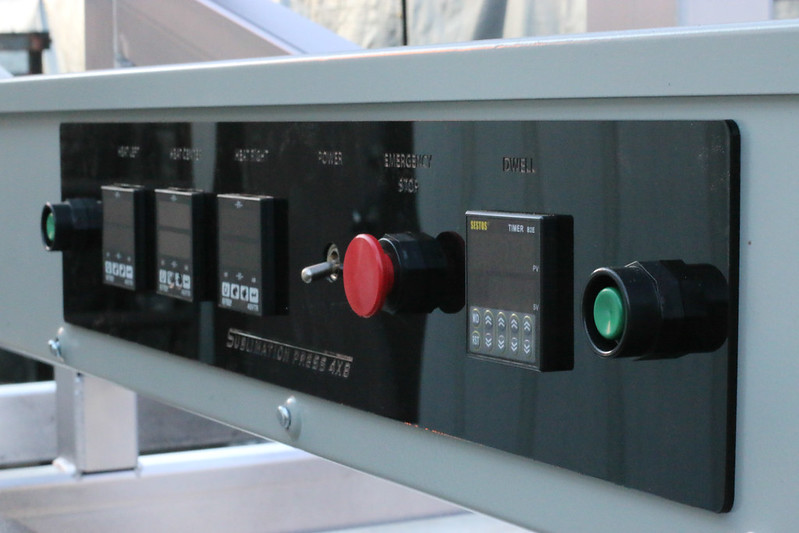
Wow - nice controllers. So I guess you go through a pre-heat, and ramp up, and a sealing heat. One for each? I love that e-stop button!
Thanks GG.
There are 3 heat controllers on there and 1 timer. The three on the left are: "left heat" "center heat and "right heat". Each controller has some cool features built into it that do basically what you're saying. But there are three because the entire aluminum plate needs to be the same temp and if you only have 1 sensor, the middle is going to end up being hotter than the ends, or vice versa depending on where you put the sensor.
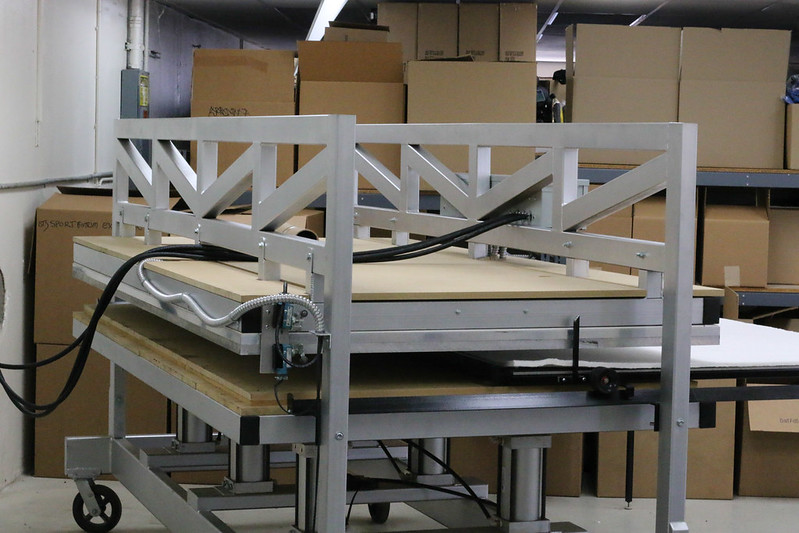
School started for me so I haven't had as much time to work on this. I do have a bit of progress however. I mounted the heating elements and the C channel aluminum that will hold the insulation.
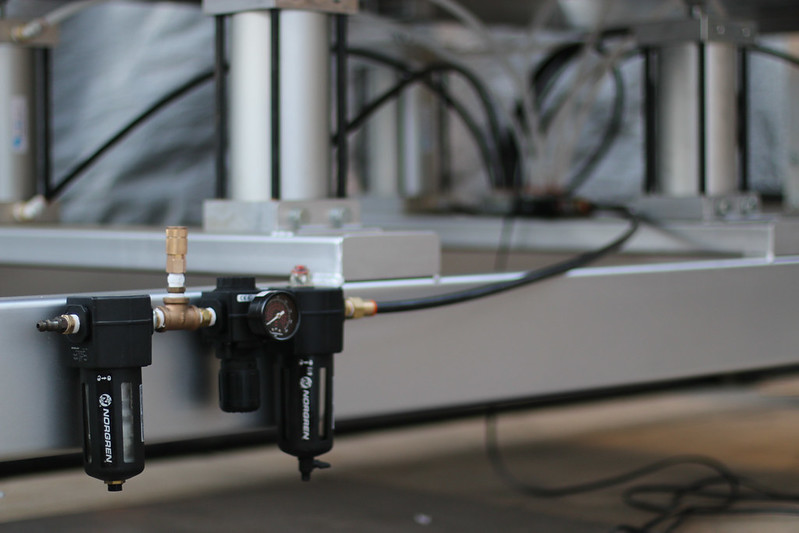
Just a couple updates. I got the press inside finally. All of the air hoses are hooked up. We got the 220 wired in closer so we don't have to run long extension cords. Electrical is hooked up. Gauges work, heating elements work, air works, etc. It's all ready to go, just gotta finish up a few things :)
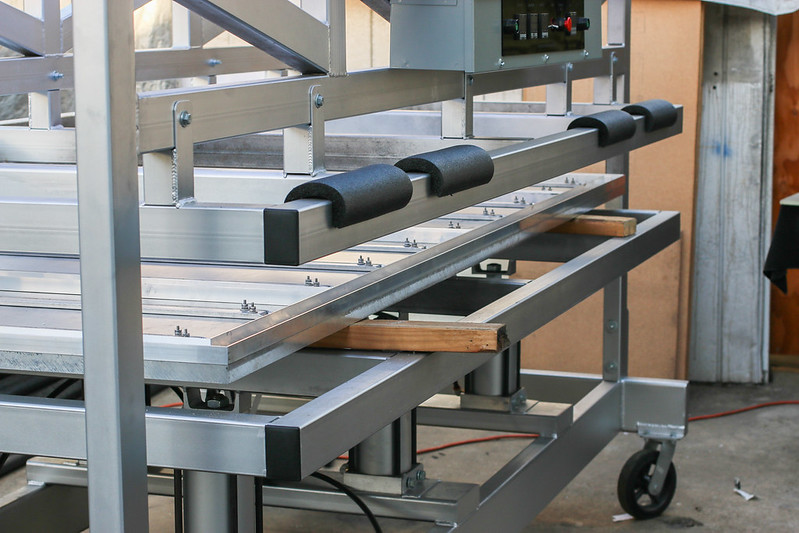
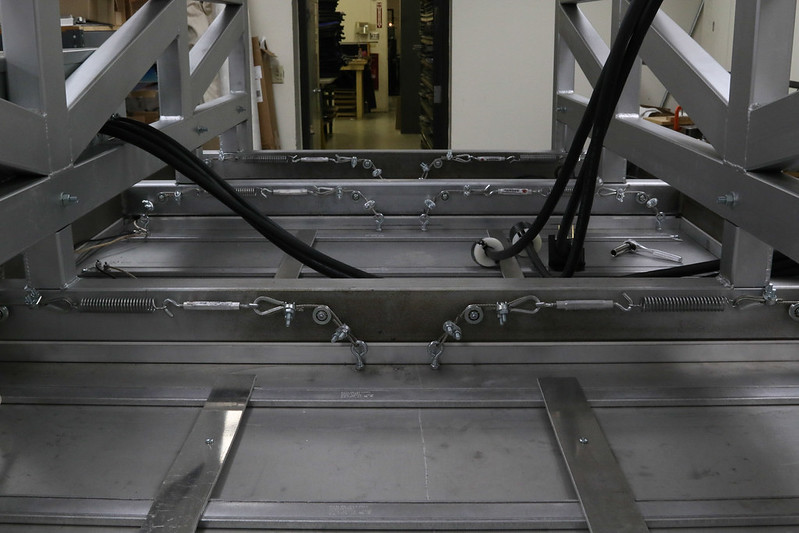
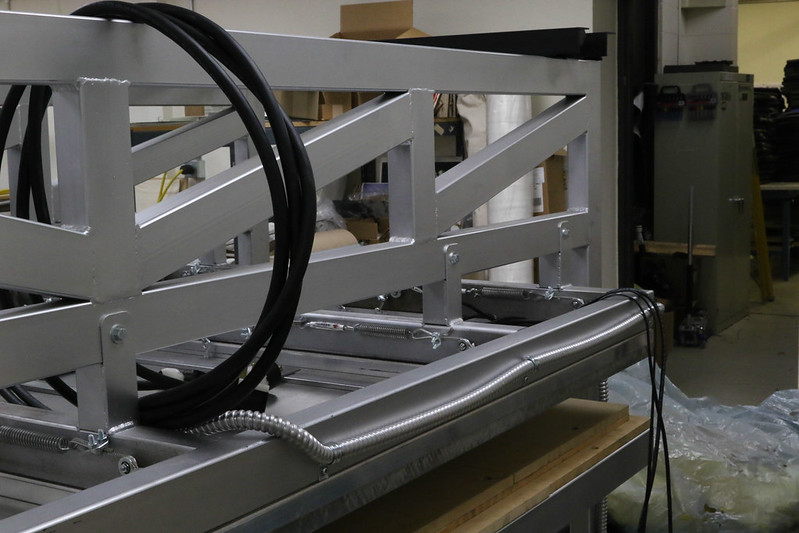
This is how the 1" aluminum heating plate is held on. It can't be just bolted because of the heat -- expansion and what not. So they are all spring loaded.
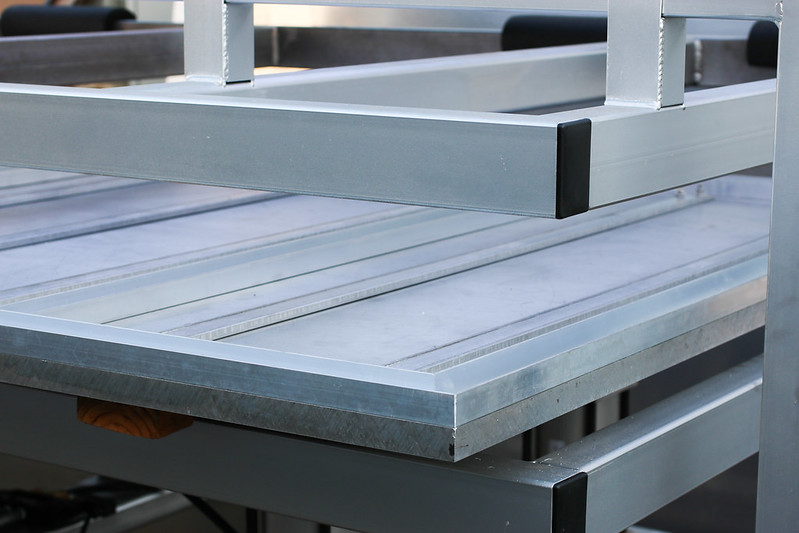
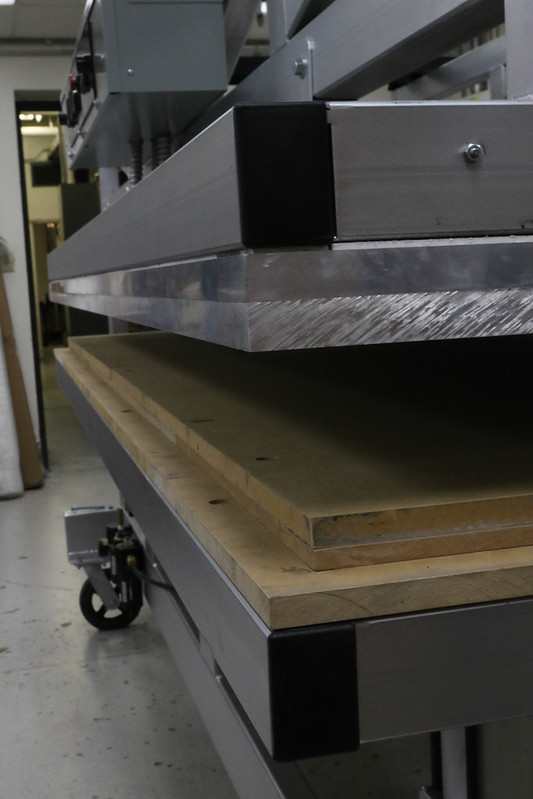
MDF on the bottom which will be pushing up the 3/8" aluminum sliding table.


Comment