JOM Coilover System Group Buy #3
Collapse
X
-
so im not worried about the springs or anything but can the shocks be replaced with something else (kybs, billis, konis) when the shocks end up blowing out?Leave a comment:
-
here is a tip, if you have an extra Bjoint/Trod nut laying around, screw it half way on the ball joint/tie rod thread, then hammer the nut until the bjoint/trod drop. make sure the top mount is still screw in or else this won't work. i have done this many times with success.Leave a comment:
-
Yeah.... Ball joint separator is a great tool to have. I completely destroyed my ball joints and tie rod ends trying to get them off. They were super tight and I use the fork type separator.
Here is mine (vert kit): Back has no adjusters and no pads (not low enough). I didnt cut out my stock spring perch in the front... that being said my adjusters are spun all the way down and I want more low... I am hoping for a big settle. But overall I am happy with the set. The hardest part was to remove the stock shock from the strut housing. I had to take it to a shop that used an air hammer to get the stock shock out.
Installing the JOM components went smooth but removing the stocks components was a bitch. I could have used a spring compressor for the rears because the trailing arm couldn't drop low enough and I kind of had to pry the rear springs out.

Leave a comment:
-
You dont need a spring compressor if you have an impact gun.
Reccomend the ball Joint seporator from Napa or better, be careful as i bent two of them :/Leave a comment:
-
-
thanks bro, this helps alot actually. where should i get the rubber o rings? and what size?Front:
Remove full strut assembly
Take it apart and remove the strut and spring
Cut off the spring perch
Insert new struts
Put some rubber O-rings on the top of the strut housing, and slide the adjusters over them
Put the springs on
Bolt it all together and put it back on the car
Rear:
Unbolt and remove the rear shock with a jack under the trailing arm
Use a spring compressor to take the spring out
Put in the new shock
Put in the new spring (a compressor may help, but may not be necessary)
That's about how you do it and it's pretty similar to any other coilover. I know I missed a couple things, but I hope that helps a bit.Leave a comment:
-
will you have a set for me next Friday,I won't have any molah til thenLeave a comment:
-
Installing my kit this weekend. I will post before and after pics for every ones viewing pleasure.
Also I will do a little write up on the install for the people wondering how to install these bad boys.
Can't wait!Leave a comment:
-
-
Pm'd -
I know this isn't the place, Registered just to get a set of these coils!
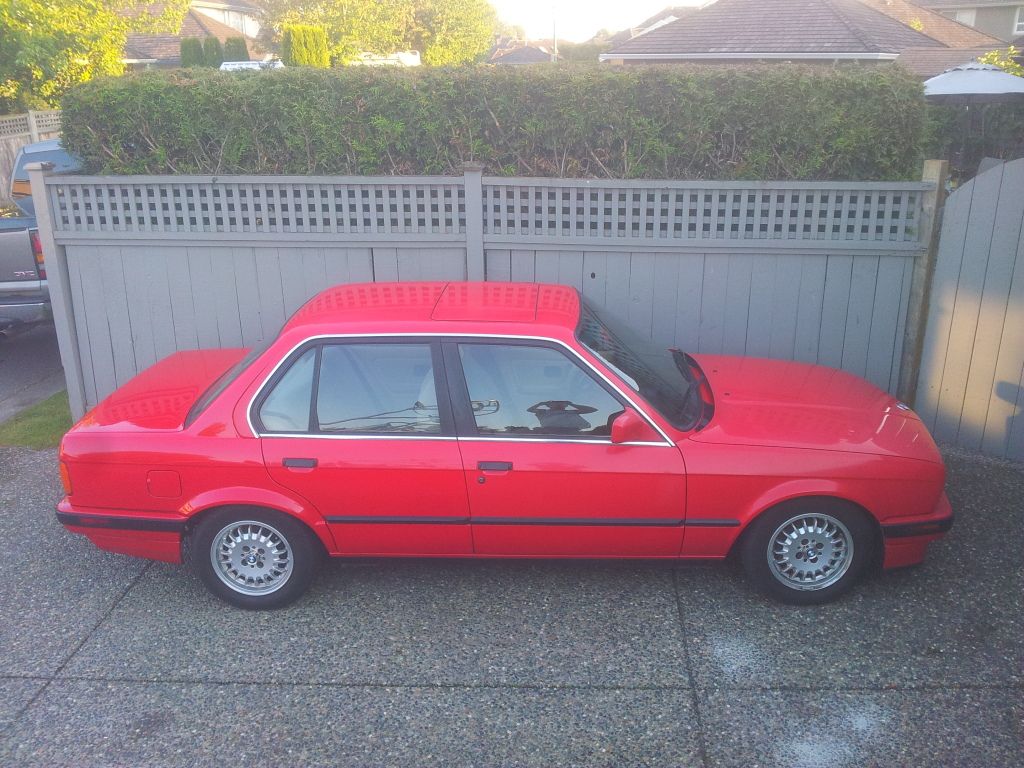
Before: As you can tell I really need em lol

Leave a comment:
-
Front:
Remove full strut assembly
Take it apart and remove the strut and spring
Cut off the spring perch
Insert new struts
Put some rubber O-rings on the top of the strut housing, and slide the adjusters over them
Put the springs on
Bolt it all together and put it back on the car
Rear:
Unbolt and remove the rear shock with a jack under the trailing arm
Use a spring compressor to take the spring out
Put in the new shock
Put in the new spring (a compressor may help, but may not be necessary)
That's about how you do it and it's pretty similar to any other coilover. I know I missed a couple things, but I hope that helps a bit.Leave a comment:
-
Are these only inserts? I'm confused on how to install! Can someone post a thread on how to install? Thank you!Leave a comment:

Leave a comment: