
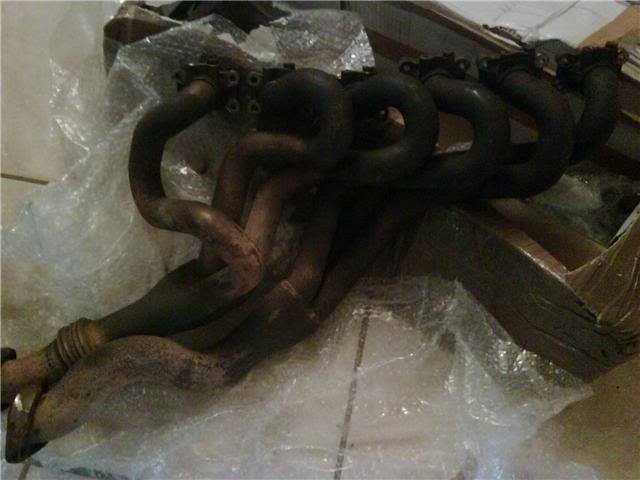
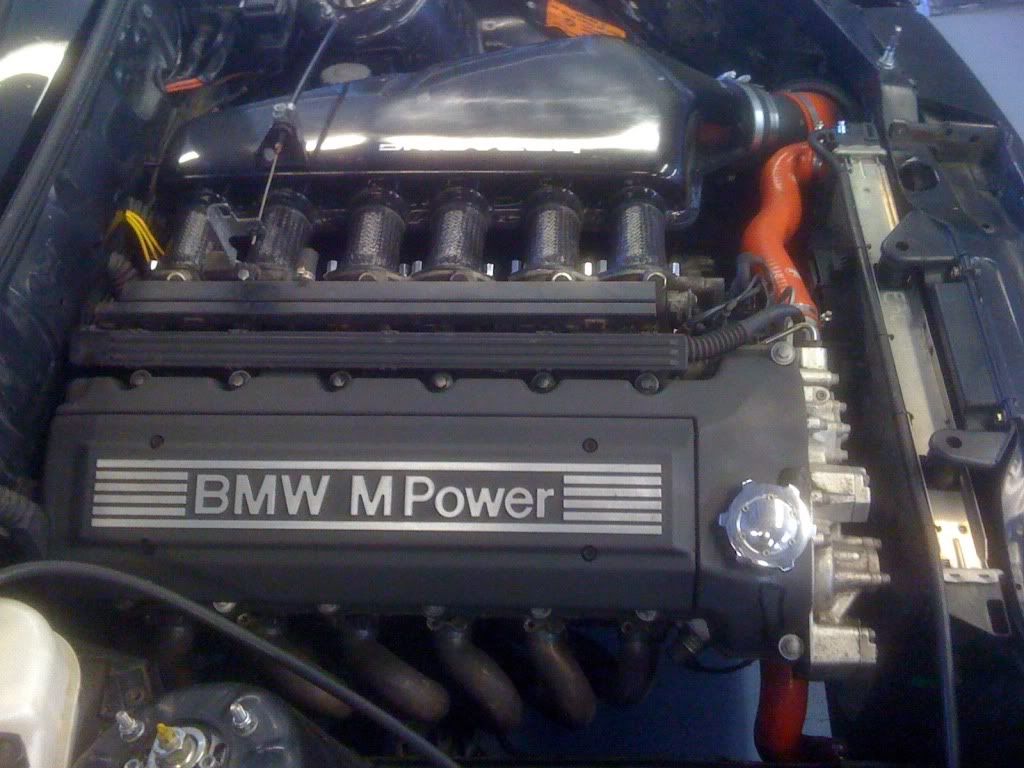
I don't have any pics of them installed. It's easy to figure out where you need to modify things though. Just test fit them and you will see that the number 6 runner will hit the firewall. Smack the firewall where it was contacting the header with a dead blow hammer and retest fitment. It'll seriously only take seconds to do.
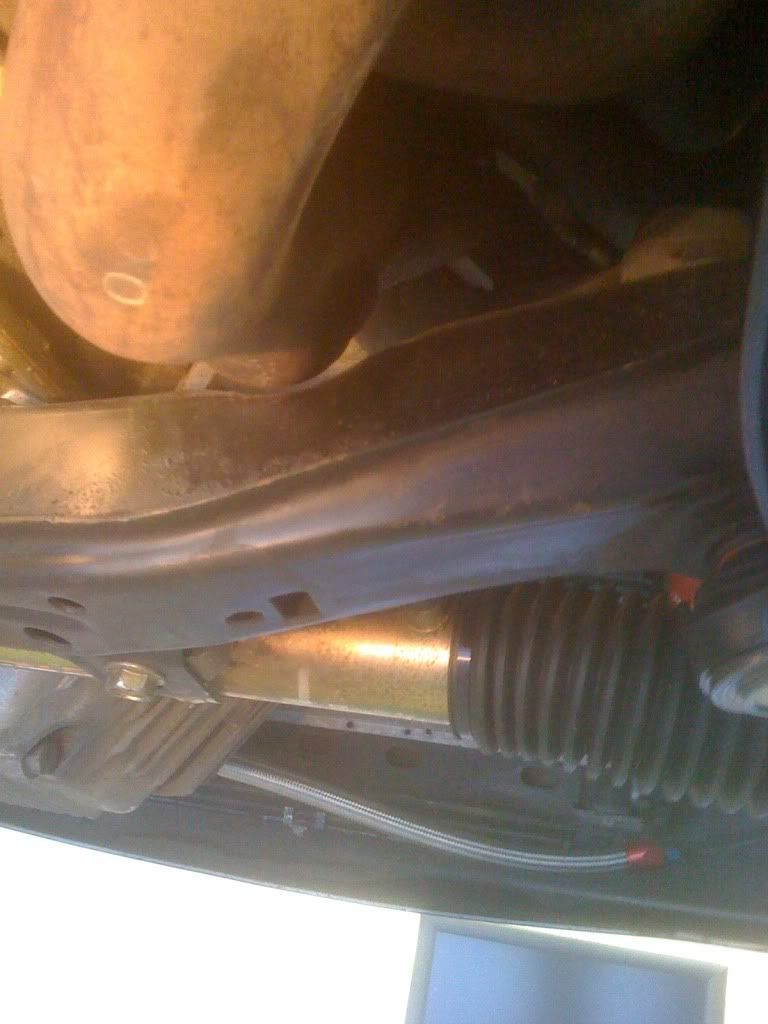
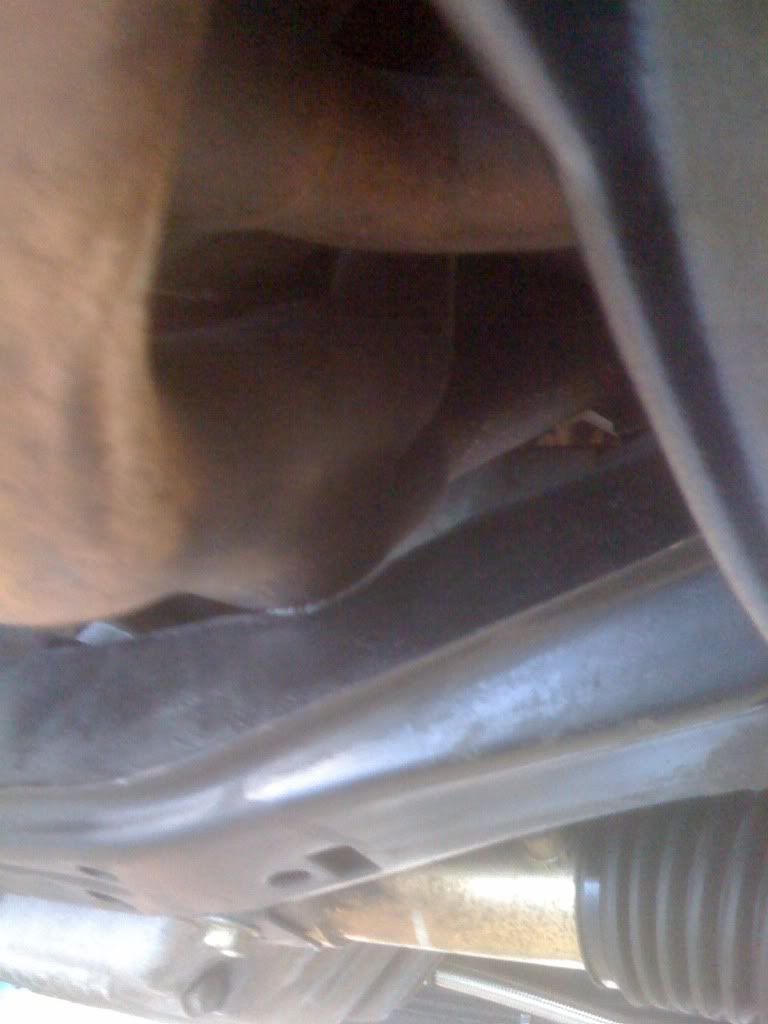
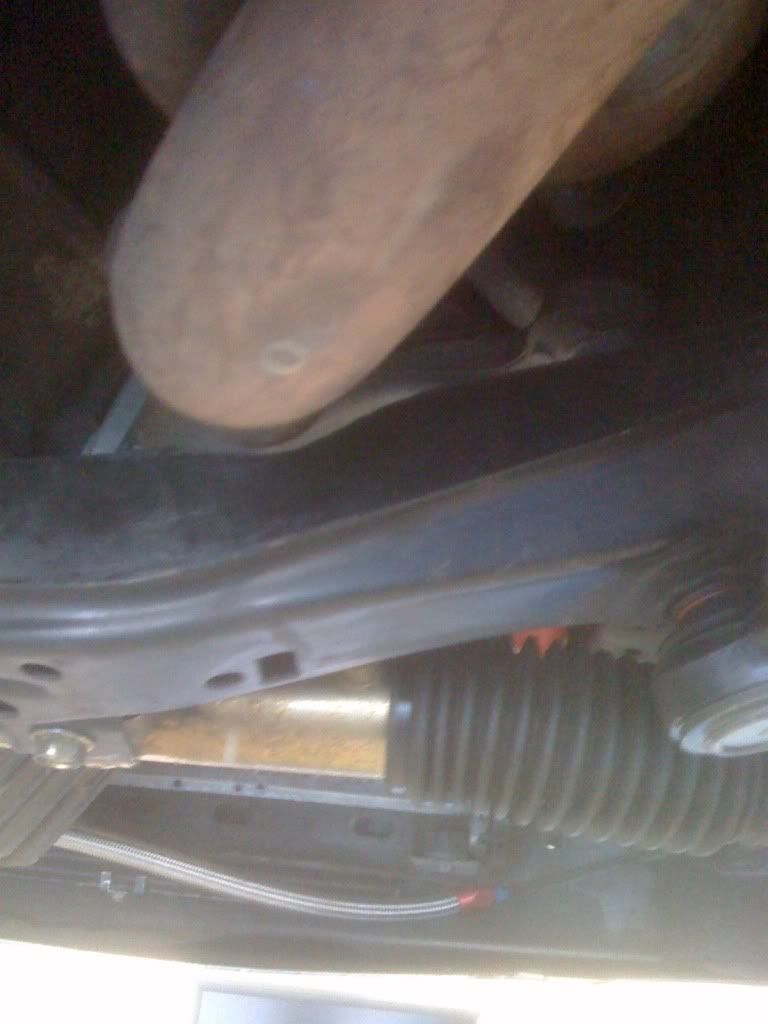
The subframe is the same concept, but just takes longer to do because it's a lot stronger than the firewall. I used a mapp gas torch to heat that area until it was glowing red and hammered away with my ball peen hammer. Keep the area as hot as you can. I re-torched it until it was red after every few hits. It'll take a while, but keep at it.
I'll try to remember to snap a quick picture of my subframe next time I'm at work.
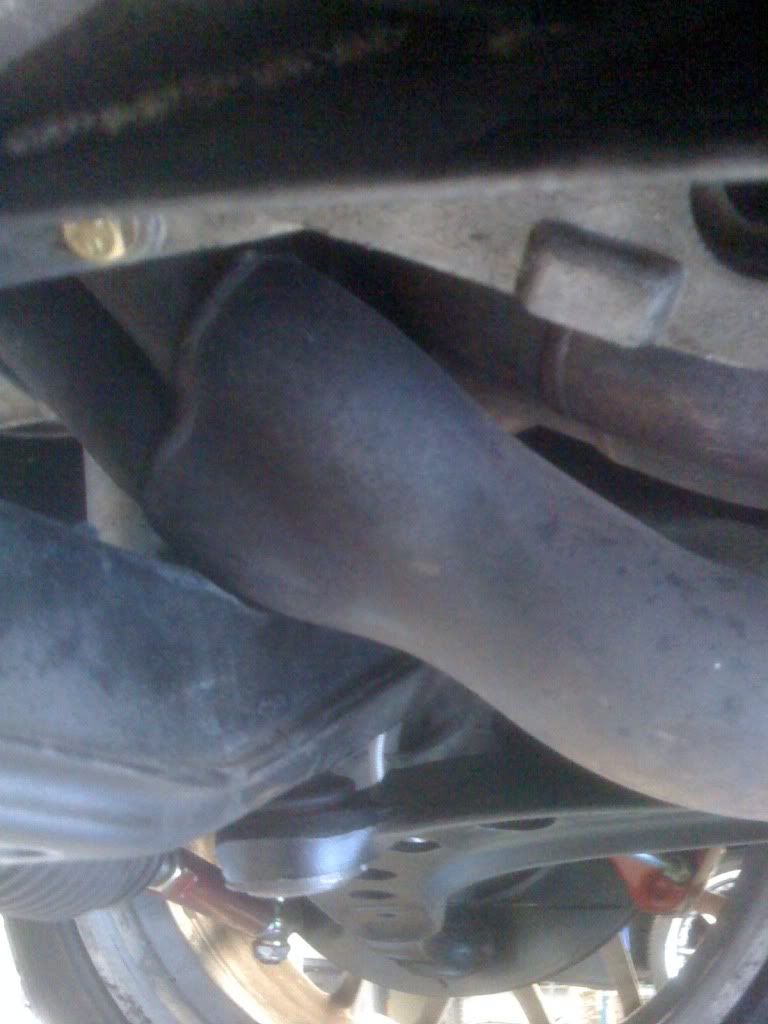
You could save yourself some time if you just wanted to cut the notch out and reweld a piece to cover the hole you cut. I have a buddy here who also has an s50b32 in his m3, and that's how his subframe was done.
Also, if you use spacers on your motor mounts to lift your motor up, you'll need to clearance the subframe less.
Erik
The subframe is the same concept, but just takes longer to do because it's a lot stronger than the firewall. I used a mapp gas torch to heat that area until it was glowing red and hammered away with my ball peen hammer. Keep the area as hot as you can. I re-torched it until it was red after every few hits. It'll take a while, but keep at it.
I'll try to remember to snap a quick picture of my subframe next time I'm at work.
You could save yourself some time if you just wanted to cut the notch out and reweld a piece to cover the hole you cut. I have a buddy here who also has an s50b32 in his m3, and that's how his subframe was done.
Also, if you use spacers on your motor mounts to lift your motor up, you'll need to clearance the subframe less.
Erik


Comment