
Since I am nearing completion on my custom turbo build, I felt like it was finally time to begin my own build thread. You'll notice it's sort of a budget build, like one you'd expect from a college student :)
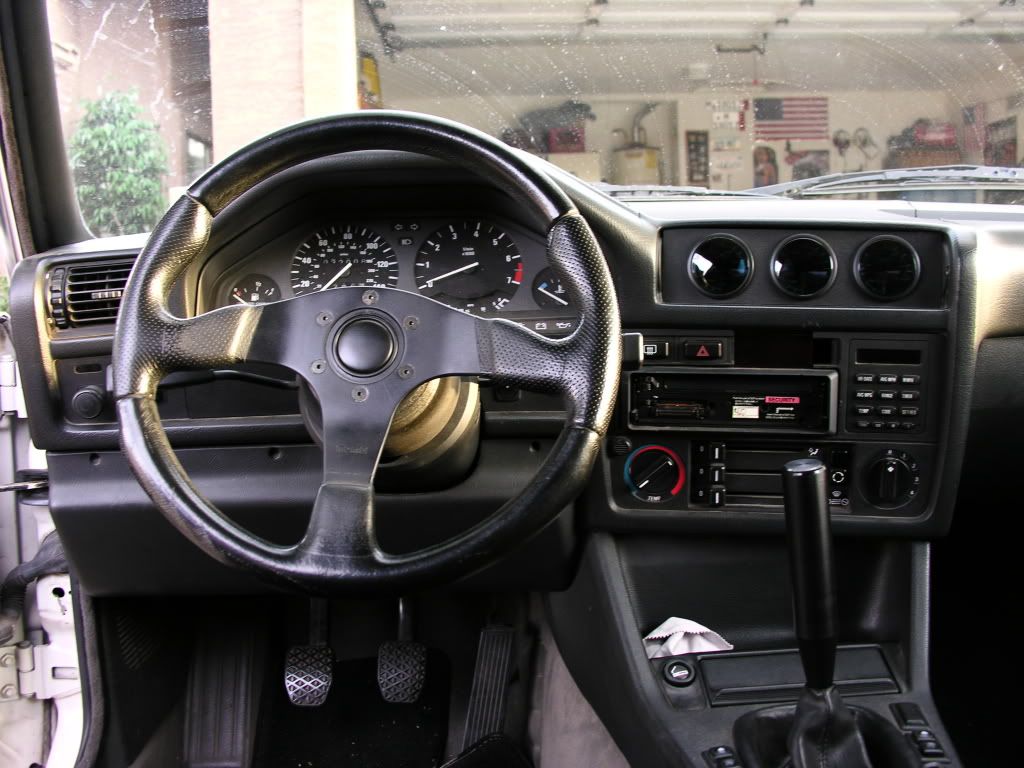
I also thought it’d be fun to start from the beginning starting with my first car.
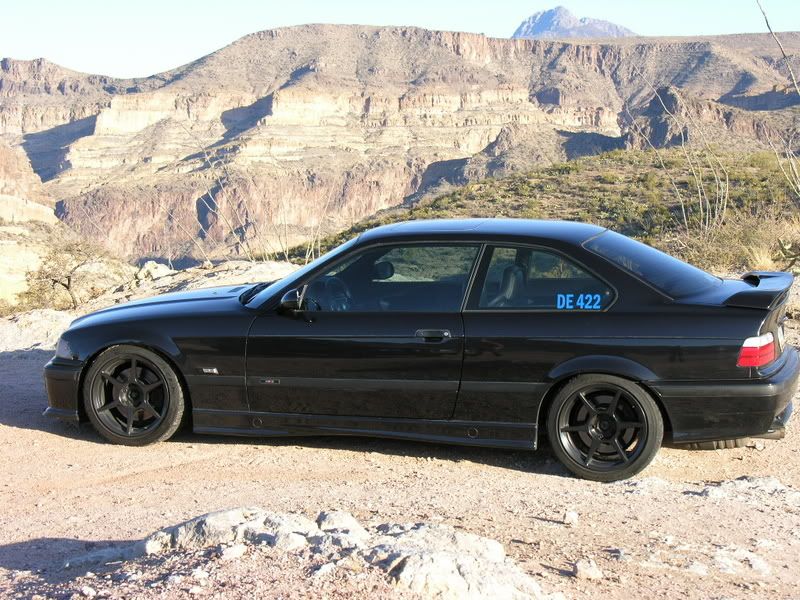
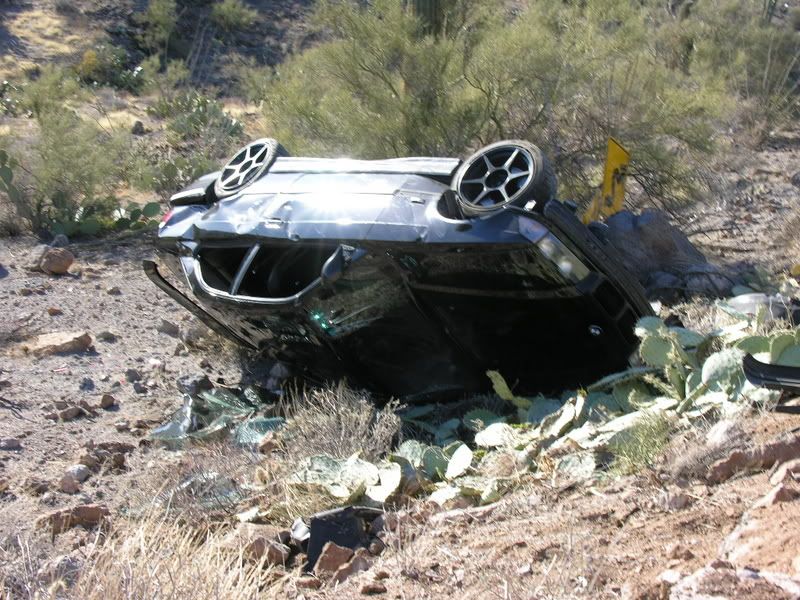
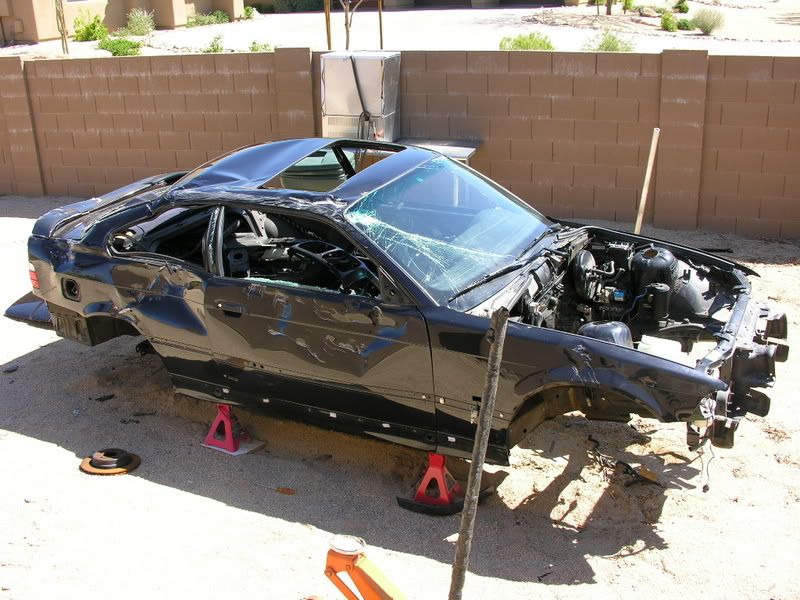
As some might remember, I used to sport an E36 M3 in my sig. Well, just over two years ago, I had let my friend drive it on a curvy mountain road here in Phoenix, which lead to him driving us off the side of the road and flipping the car :shifty. Well, to make a long story short, I parted the whole car out, bought an E30 and transplanted the drivetrain.
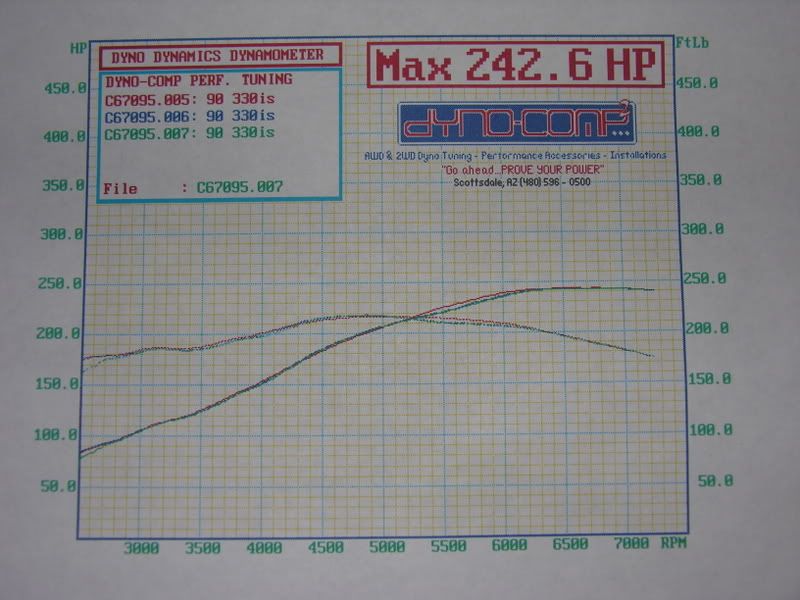
Here’s a graph of the power it made with stock cams.
Sometime after I began getting bored with the power output and my long time thirst to own a turbo’d vehicle, I slowly began piecing together a custom kit looking for the best deals I could find to save as much as I could, without cheaping out too much.
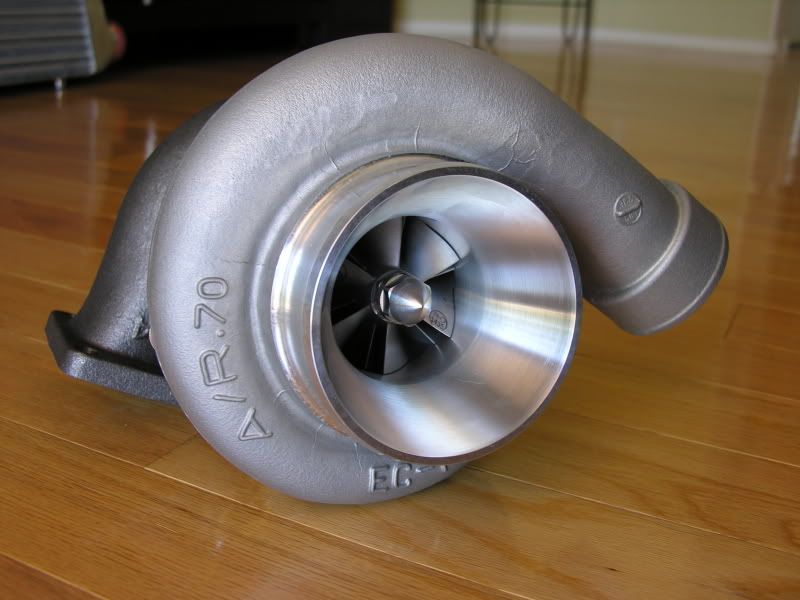
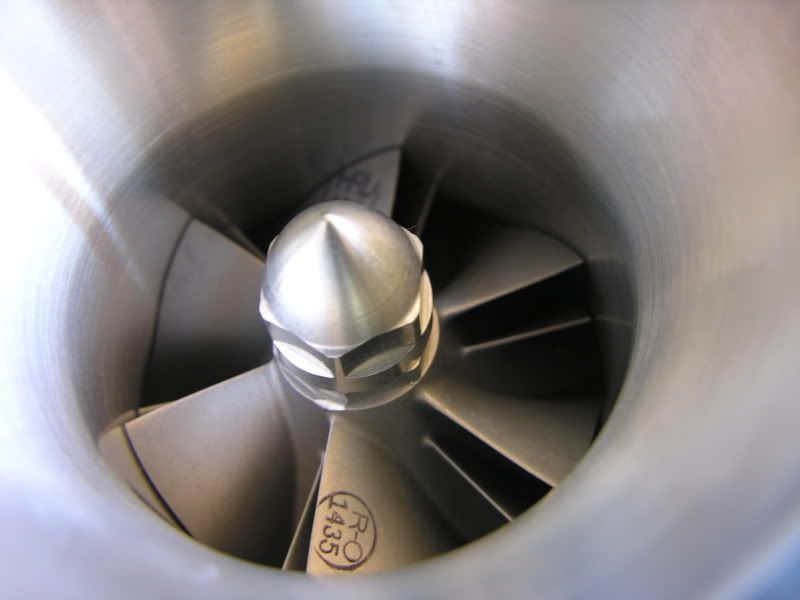
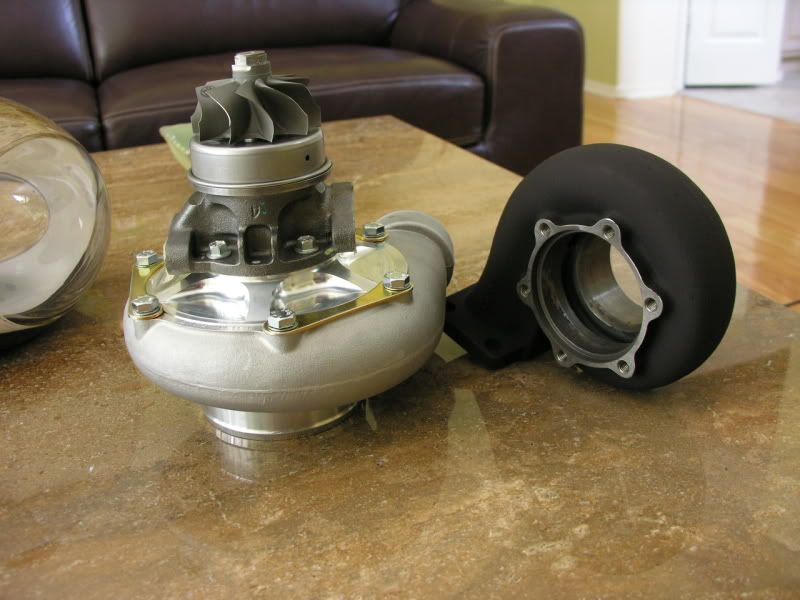
One of the first things I bought was my turbo which I got through my friend Mitch (Either Mr. Deagle or Noscoe30 on this forum). Specs are as follows: Garret, T04S compressor housing with GT35 wheel, .82 A/R T31 turbine housing with Stage 5 wheel…and that sweet MODE compressor nut :)

I later on decided to paint the turbine housing with black VHT and baked it.
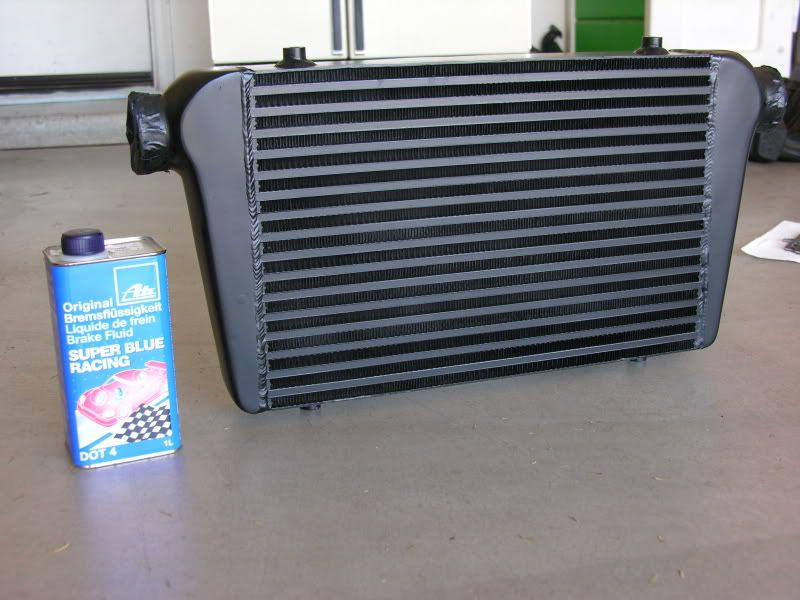
Sometime after that I got myself an Ebay intercooler with a 18’’x12’’x3’’ core, which I painted with radiator paint.
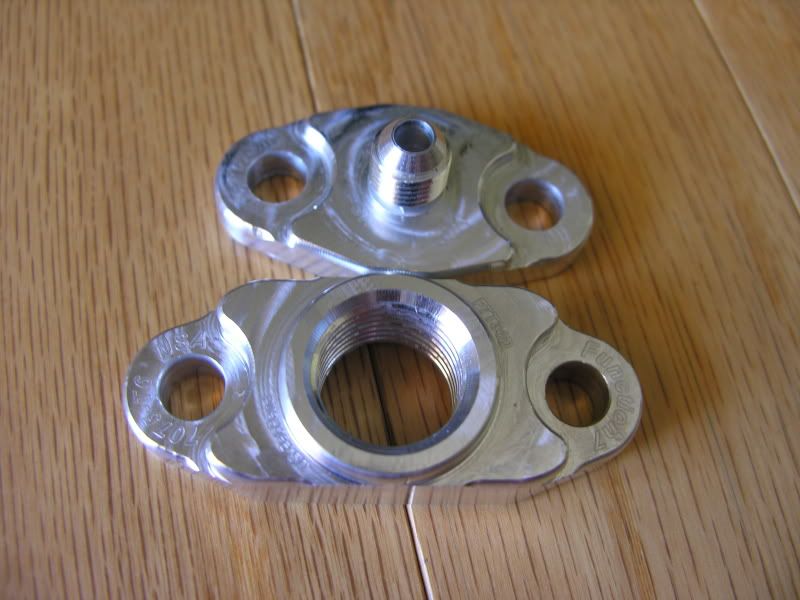
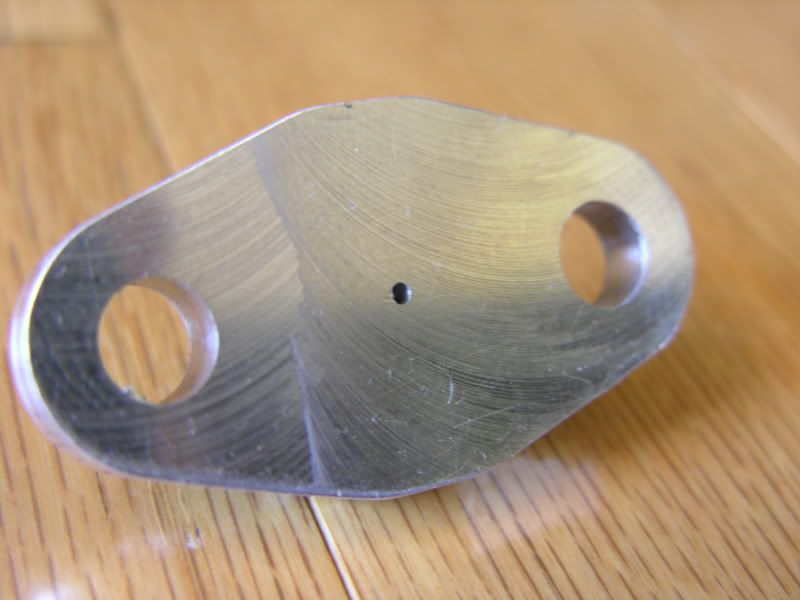
I also got these sweet turbo feed and drain flanges from Function7 made out of 7075 aluminum.
Anyways, once I got the turbo, it was time to start designing a manifold in CAD. My reasoning for doing this was simple; create a decent manifold that will fit in the confines of my engine bay, which would at the same time make the fabrication easier and less costly since I would know exactly which bends I would need to buy and how many.
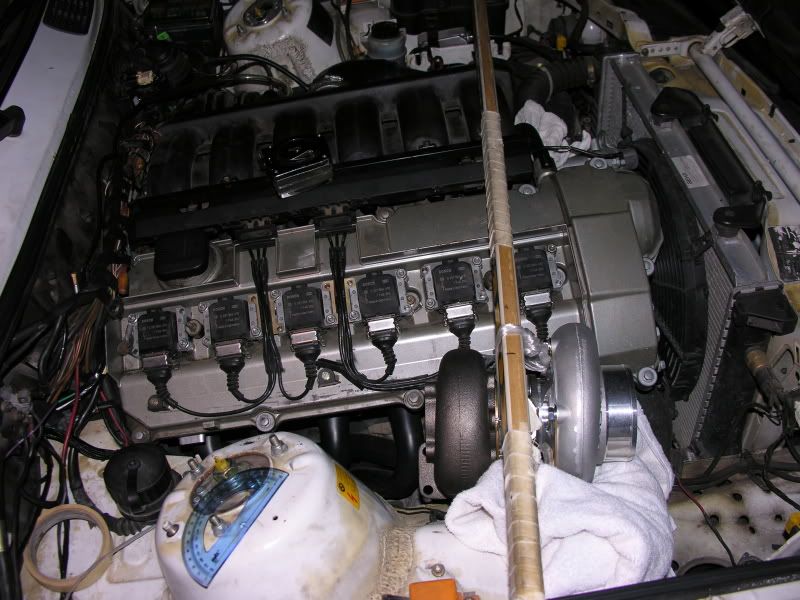
First things first, positioning the turbo in the engine bay to get measurements for flange placement with my handy hockey stick.
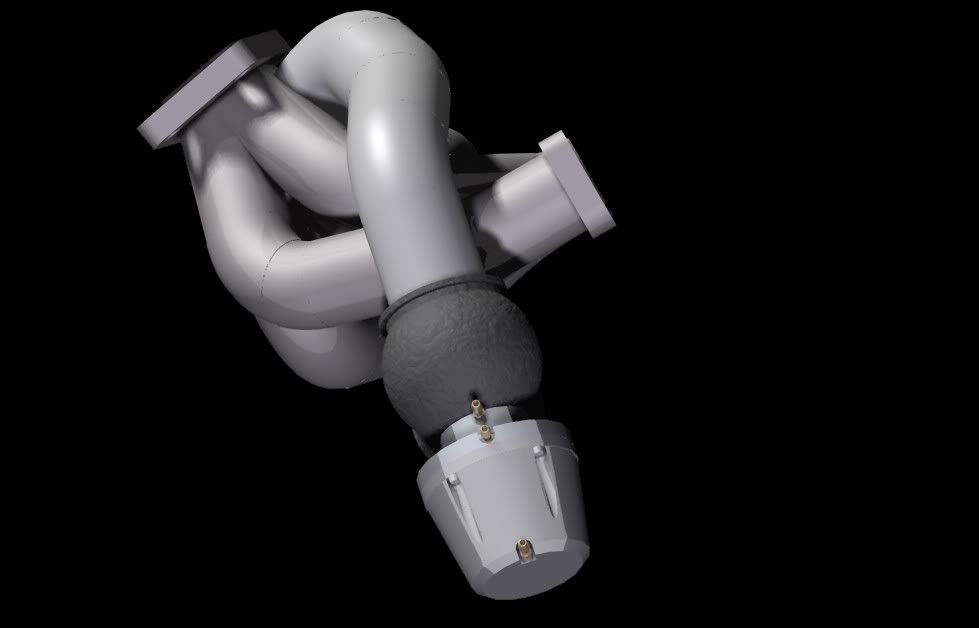
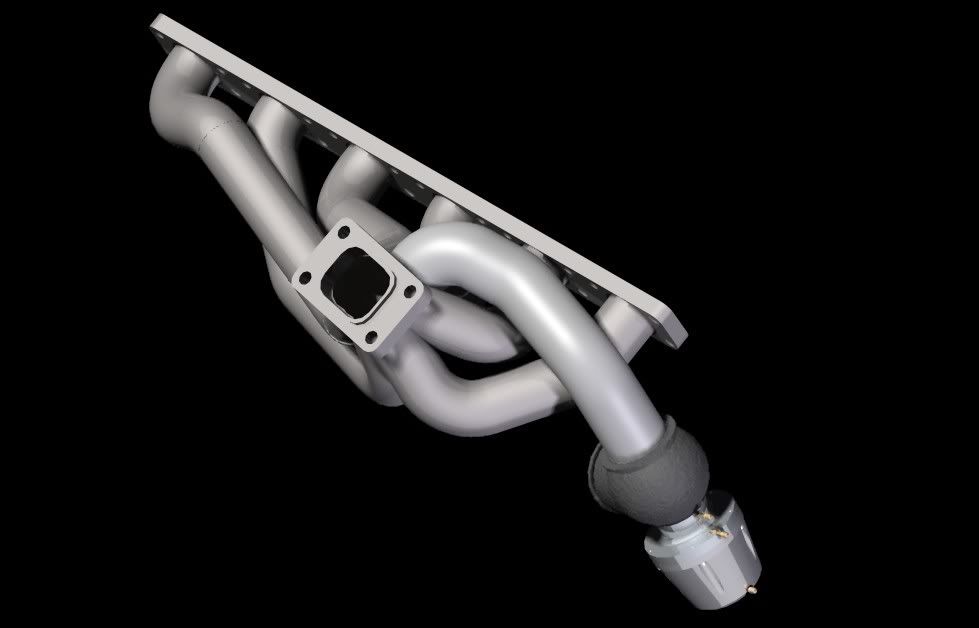
Once I had that I was able to begin my design, and this is what I came up with.

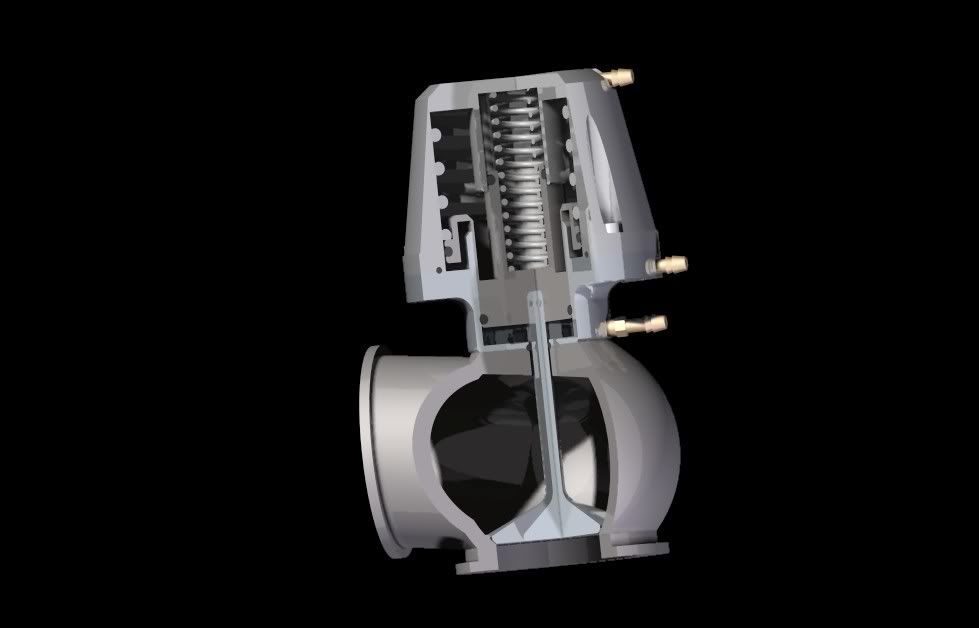
And here's just a cool shot of the Synapse wastegate internals from when I made it for a final project in my CAD class.
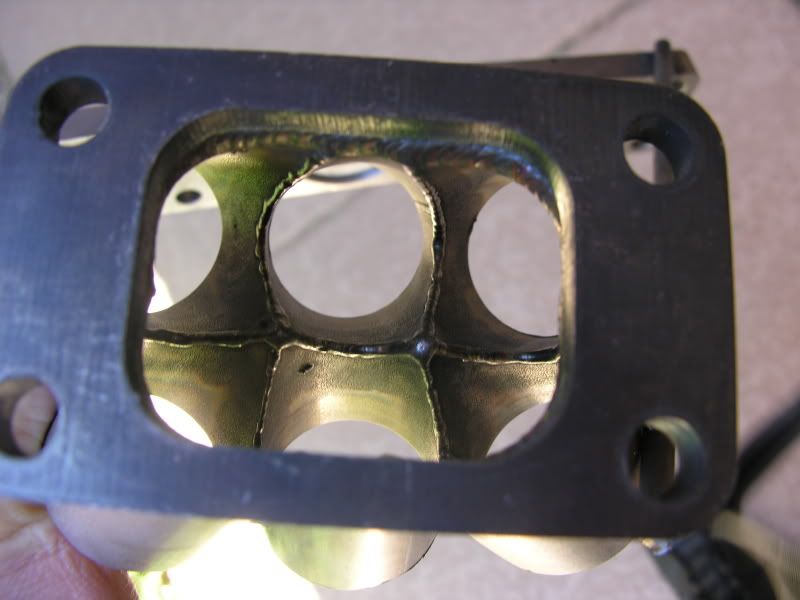
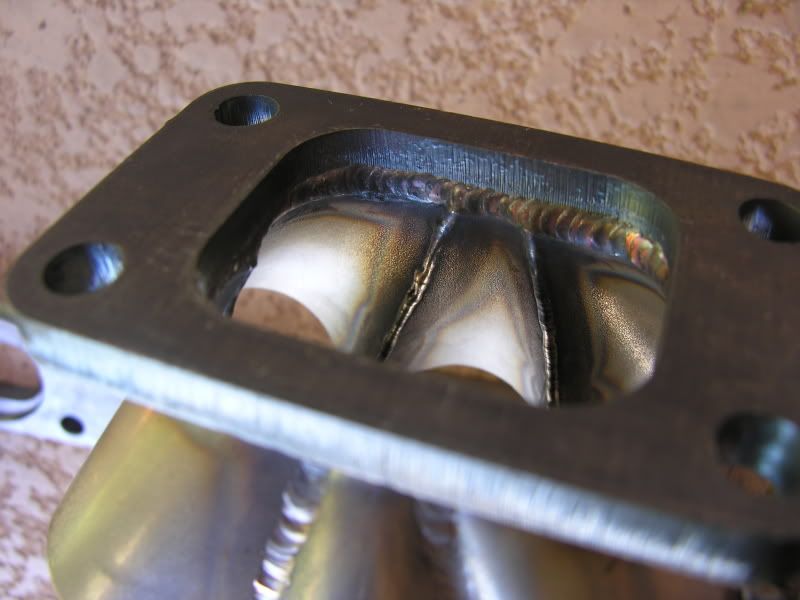
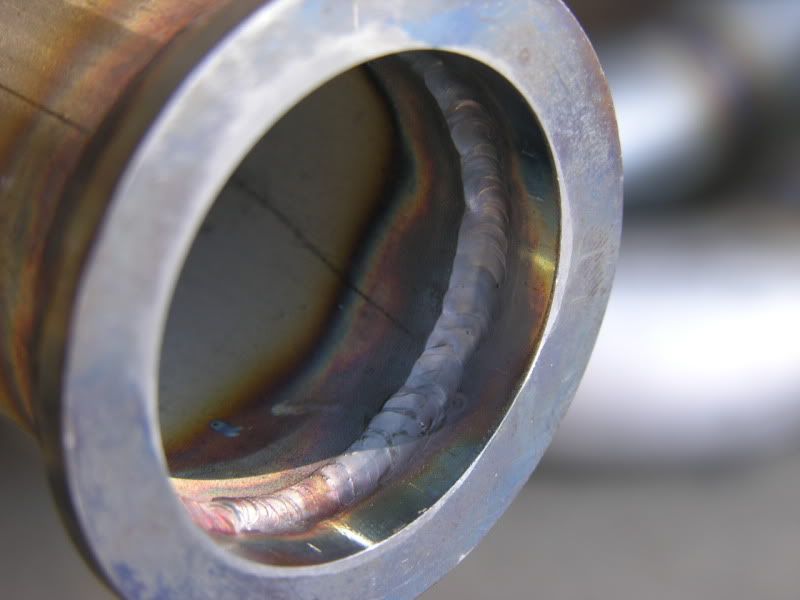
To make the collector, I took the pipes I had made in CAD and spent several hours figuring out how to unwrap them properly. Once I figured that out, I printed out the templates, wrapped them around my pipes and traced out the cuts with a marker. I then took them to school and used a bandsaw to make my cuts.
Since I have never welded before I took the flange to my buddy Mitch to have him weld it for me. Once I had my collector complete it was time to whip out my hockey stick again and dangle my turbo with the collector attached in my engine bay so that I could tack some steel rods from the collector to the head flange.
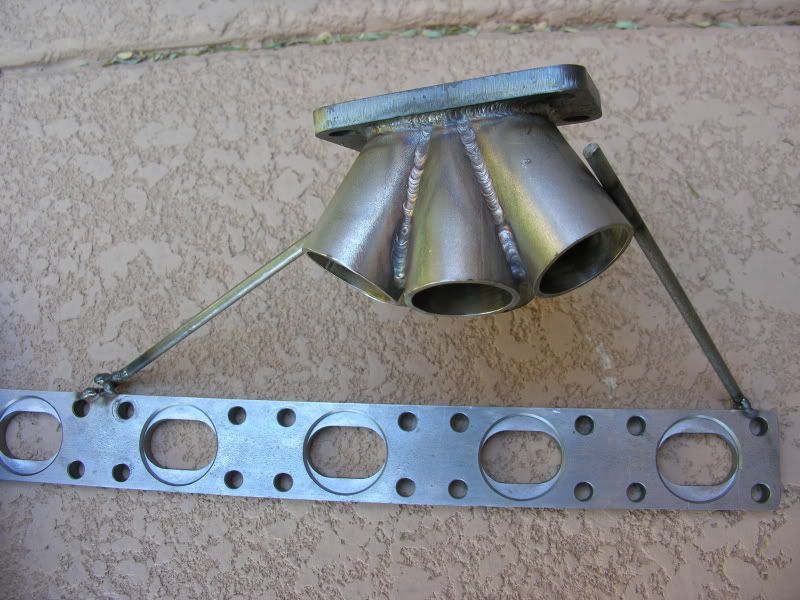
I then borrowed a friends welder and chop sway and began tacking my very first manifold together.
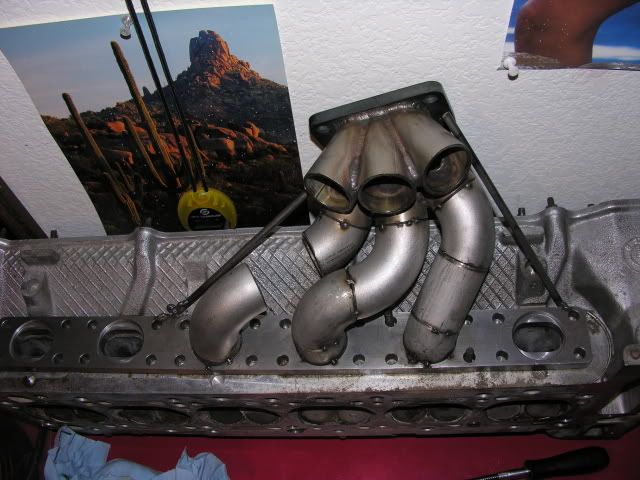
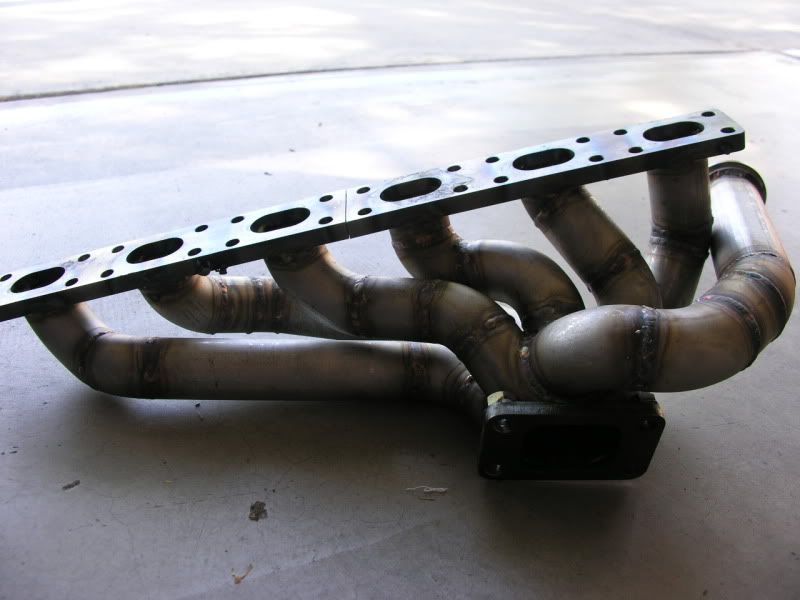
And to my relief it actually came out quite well and fit in the engine bay the way I had planned it. Here it is mounted on a junk head.
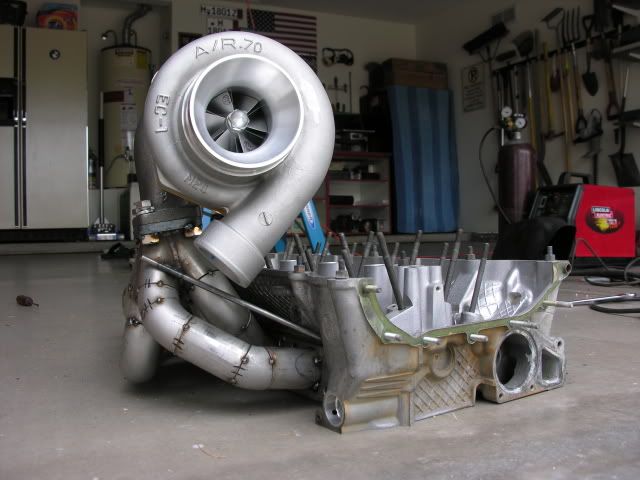
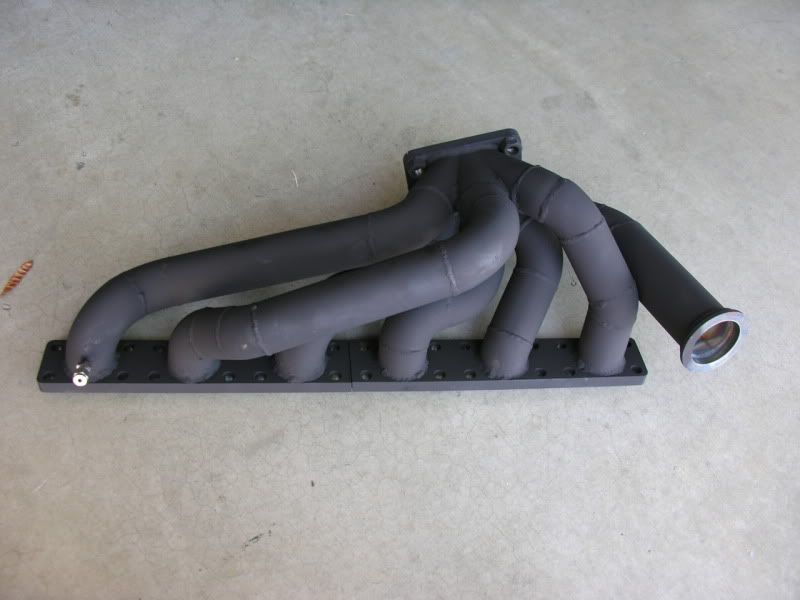
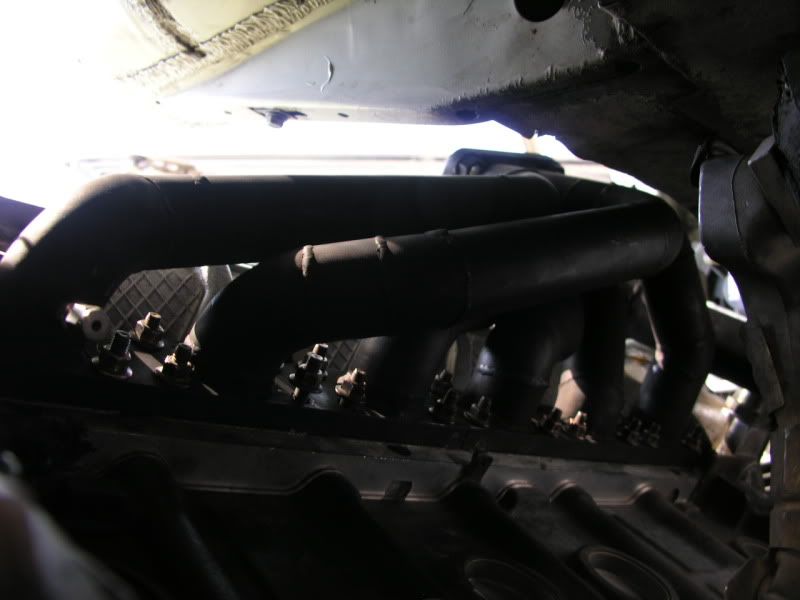
Here’s the finished product after Mitch welded it all together and after some VHT paint and installed in the car. Final cost was about $300.
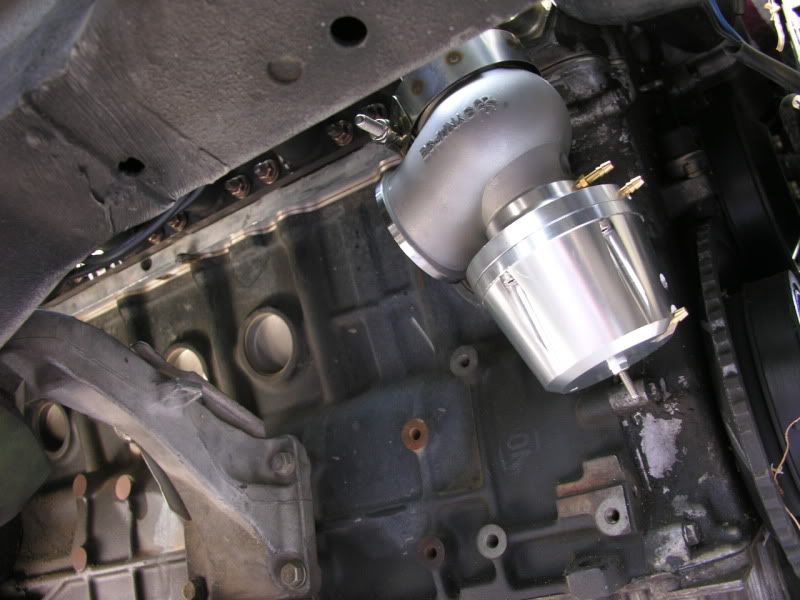
And here with the Synapse WG attached. And yes, I am going to leave it dumped to atmo. :D
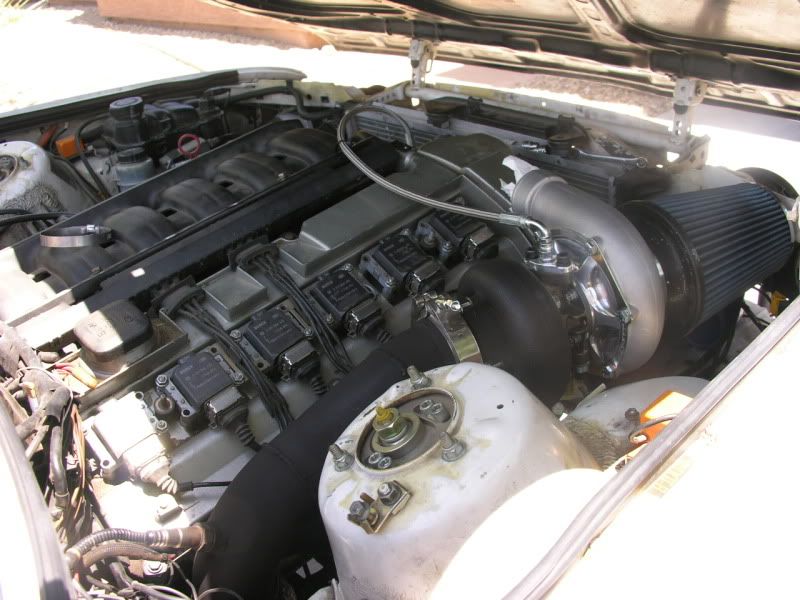
Soon after the manifold was completed, I mounted the turbo up and began fabricating my first exhaust system. ALL of my welding experience is in this exhaust, so be gentle with me ;)
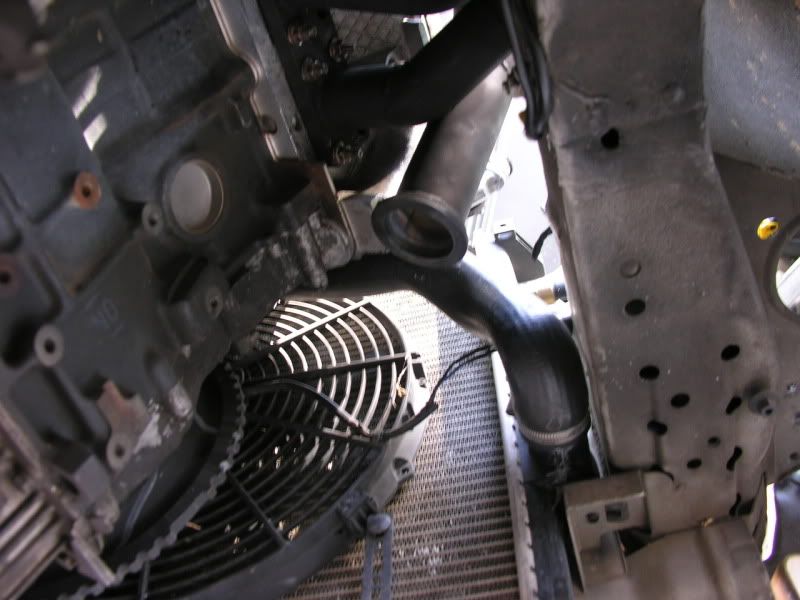
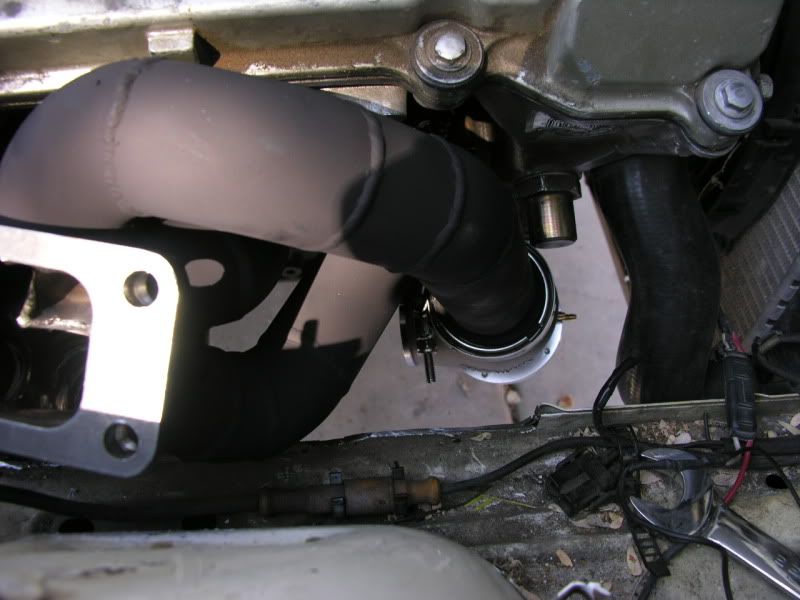
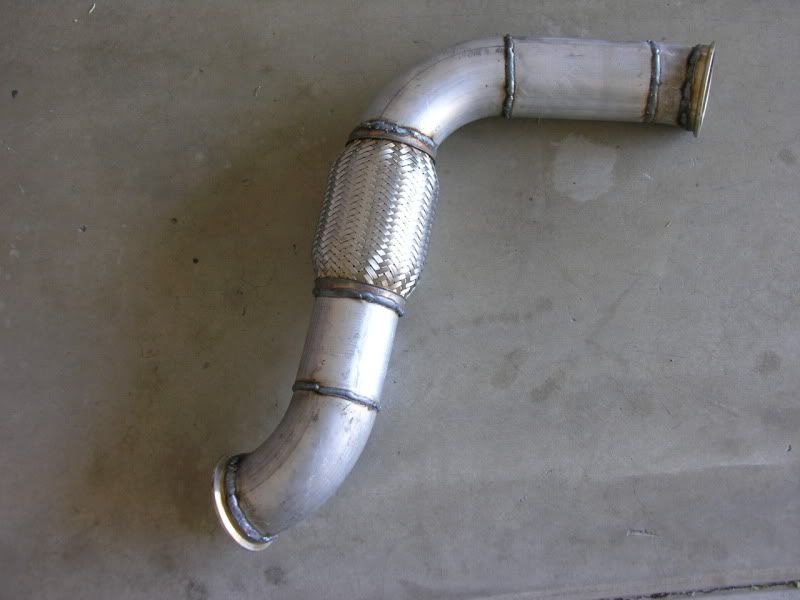
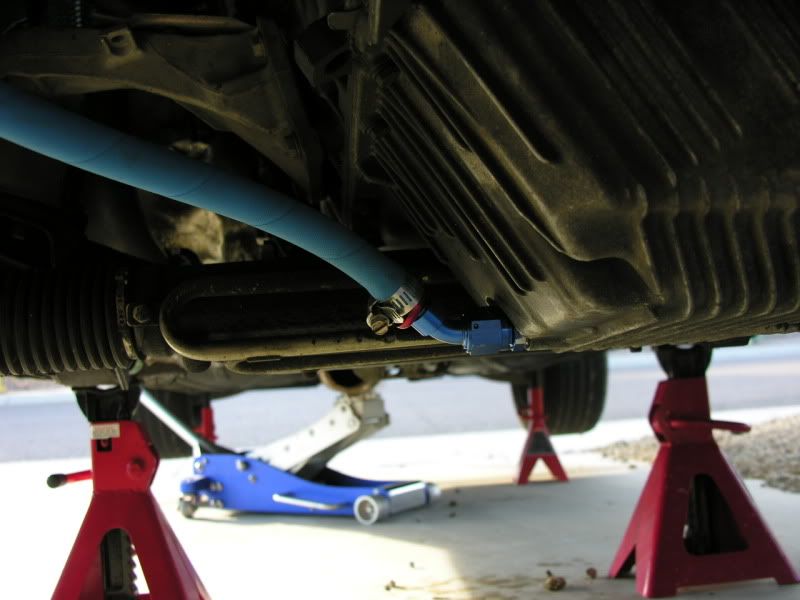
Here’s a shot of the downpipe, and then of it later installed in the car after some VHT. You’ll notice I’m getting my oil feed from the VANOS banjo bolt. Just temporary till I install my oil cooler cap.
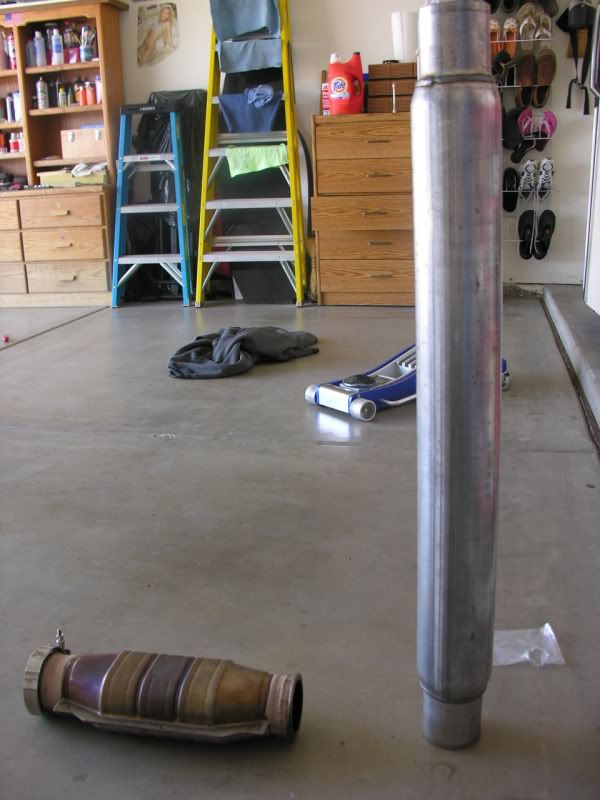
Here’s a shot of the resonator I got. A whopping 30’’ long! Oh, and the cat that I’m sharing with a friend for emissions because we are cheap asses, LOL.
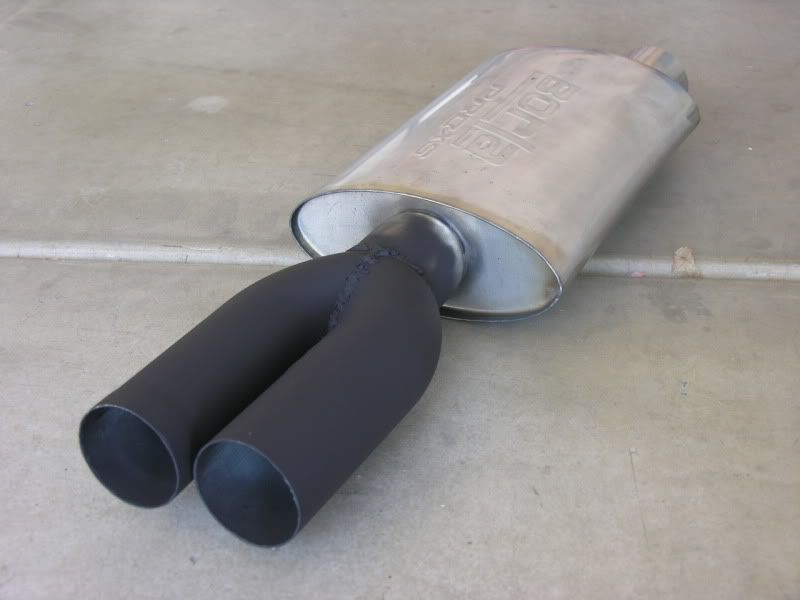
For a muffler, I got a Borla Pro XS muffler. I then took a U-bend and made a nice simple pair of 3’’ tips and gave it some VHT…man I love that stuff, haha. Forget the sloppy welds…the welder was acting up and wasn’t giving consistent amperage…no one will see it anyway. :rolleyes
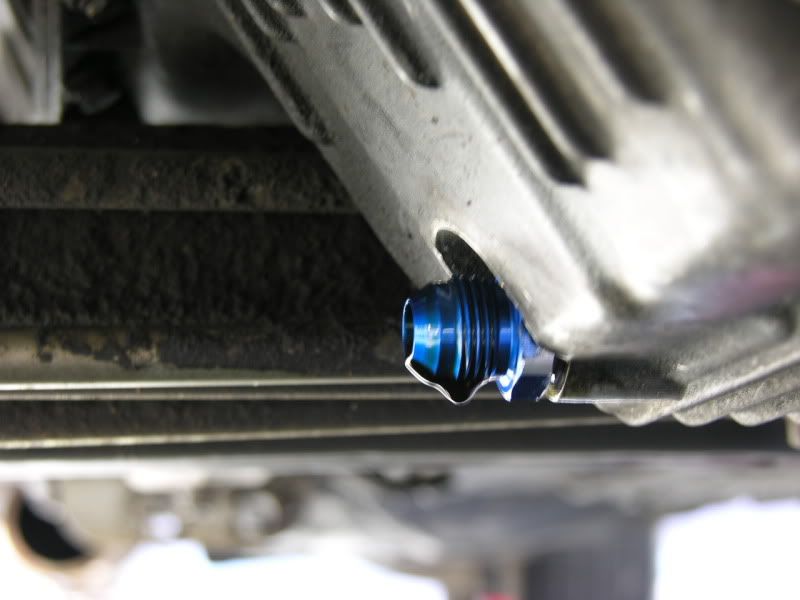
For the oil drain, I opted to go to the drain plug location since the turbo so high up anyway. I used a -8 adapter since that was the largest size.
Since I have an E30, I have the legacy of routing the charge piping underneath the headlights.
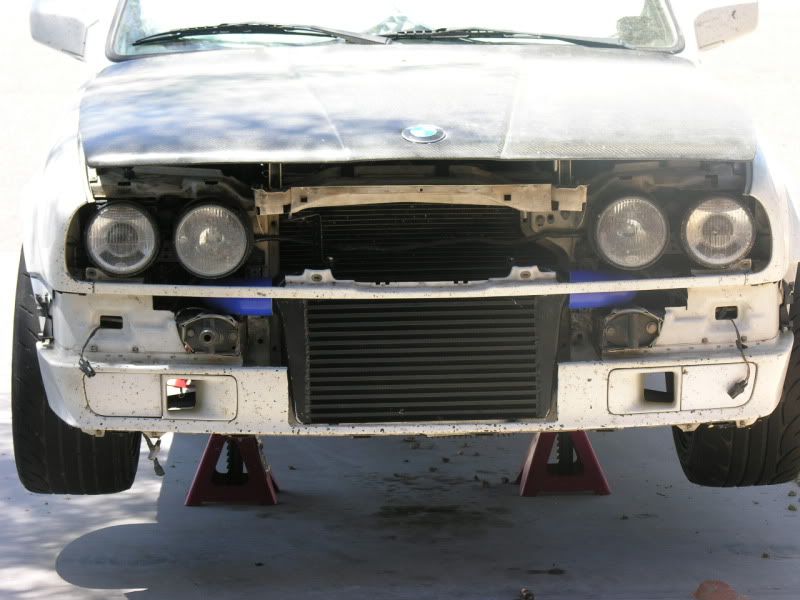
Therefore this is all the charge piping that I require.
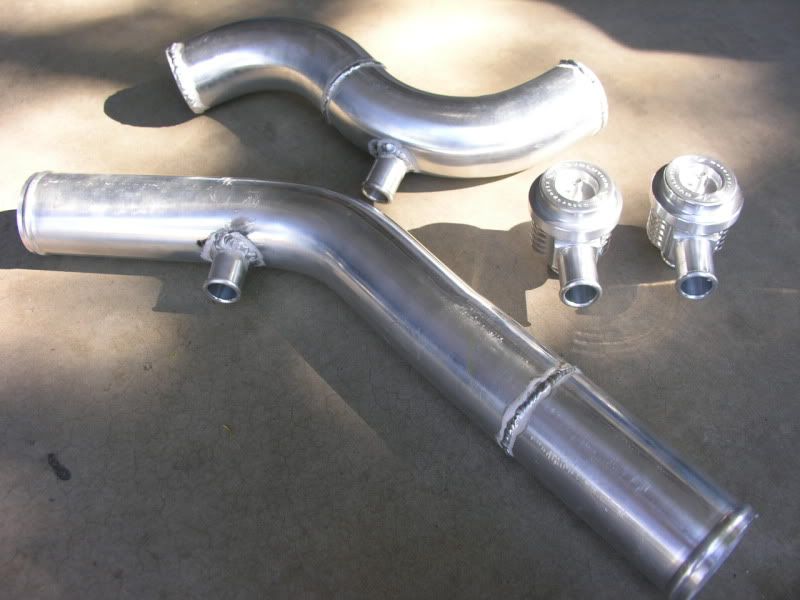
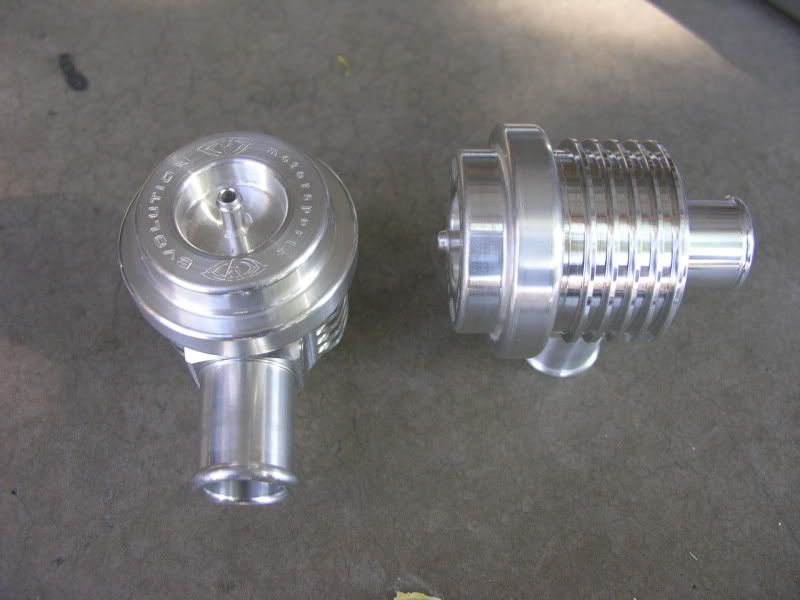
I was originally going to use a Synapse blow-off valve, but Mitch gave me a deal on his MODE valves that I couldn’t refuse. And since they work on the same concept of having no diaphragm, they are very responsive. I’m using two to be sure to expel enough air not to create any surge.
I also thought it’d be fun to start from the beginning starting with my first car.
As some might remember, I used to sport an E36 M3 in my sig. Well, just over two years ago, I had let my friend drive it on a curvy mountain road here in Phoenix, which lead to him driving us off the side of the road and flipping the car :shifty. Well, to make a long story short, I parted the whole car out, bought an E30 and transplanted the drivetrain.
Here’s a graph of the power it made with stock cams.
Sometime after I began getting bored with the power output and my long time thirst to own a turbo’d vehicle, I slowly began piecing together a custom kit looking for the best deals I could find to save as much as I could, without cheaping out too much.
One of the first things I bought was my turbo which I got through my friend Mitch (Either Mr. Deagle or Noscoe30 on this forum). Specs are as follows: Garret, T04S compressor housing with GT35 wheel, .82 A/R T31 turbine housing with Stage 5 wheel…and that sweet MODE compressor nut :)
I later on decided to paint the turbine housing with black VHT and baked it.
Sometime after that I got myself an Ebay intercooler with a 18’’x12’’x3’’ core, which I painted with radiator paint.
I also got these sweet turbo feed and drain flanges from Function7 made out of 7075 aluminum.
Anyways, once I got the turbo, it was time to start designing a manifold in CAD. My reasoning for doing this was simple; create a decent manifold that will fit in the confines of my engine bay, which would at the same time make the fabrication easier and less costly since I would know exactly which bends I would need to buy and how many.
First things first, positioning the turbo in the engine bay to get measurements for flange placement with my handy hockey stick.
Once I had that I was able to begin my design, and this is what I came up with.
And here's just a cool shot of the Synapse wastegate internals from when I made it for a final project in my CAD class.
To make the collector, I took the pipes I had made in CAD and spent several hours figuring out how to unwrap them properly. Once I figured that out, I printed out the templates, wrapped them around my pipes and traced out the cuts with a marker. I then took them to school and used a bandsaw to make my cuts.
Since I have never welded before I took the flange to my buddy Mitch to have him weld it for me. Once I had my collector complete it was time to whip out my hockey stick again and dangle my turbo with the collector attached in my engine bay so that I could tack some steel rods from the collector to the head flange.
I then borrowed a friends welder and chop sway and began tacking my very first manifold together.
And to my relief it actually came out quite well and fit in the engine bay the way I had planned it. Here it is mounted on a junk head.
Here’s the finished product after Mitch welded it all together and after some VHT paint and installed in the car. Final cost was about $300.
And here with the Synapse WG attached. And yes, I am going to leave it dumped to atmo. :D
Soon after the manifold was completed, I mounted the turbo up and began fabricating my first exhaust system. ALL of my welding experience is in this exhaust, so be gentle with me ;)
Here’s a shot of the downpipe, and then of it later installed in the car after some VHT. You’ll notice I’m getting my oil feed from the VANOS banjo bolt. Just temporary till I install my oil cooler cap.
Here’s a shot of the resonator I got. A whopping 30’’ long! Oh, and the cat that I’m sharing with a friend for emissions because we are cheap asses, LOL.
For a muffler, I got a Borla Pro XS muffler. I then took a U-bend and made a nice simple pair of 3’’ tips and gave it some VHT…man I love that stuff, haha. Forget the sloppy welds…the welder was acting up and wasn’t giving consistent amperage…no one will see it anyway. :rolleyes
For the oil drain, I opted to go to the drain plug location since the turbo so high up anyway. I used a -8 adapter since that was the largest size.
Since I have an E30, I have the legacy of routing the charge piping underneath the headlights.
Therefore this is all the charge piping that I require.
I was originally going to use a Synapse blow-off valve, but Mitch gave me a deal on his MODE valves that I couldn’t refuse. And since they work on the same concept of having no diaphragm, they are very responsive. I’m using two to be sure to expel enough air not to create any surge.


Comment