-
-
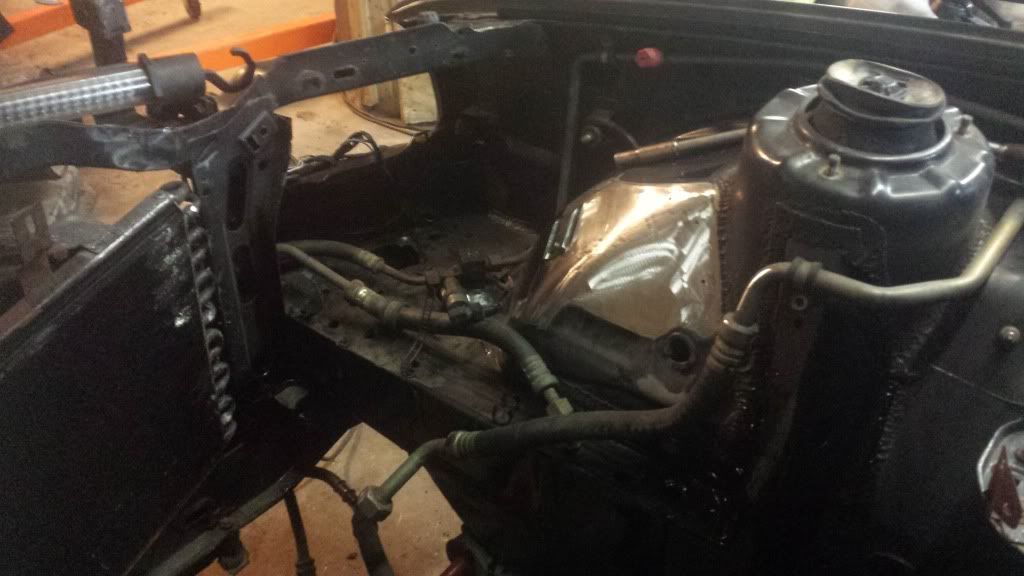
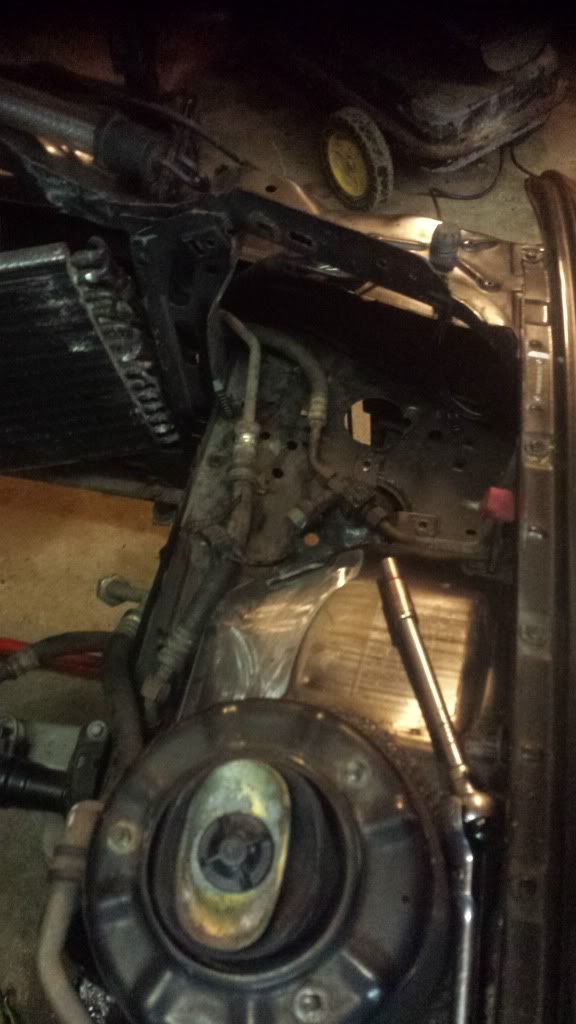
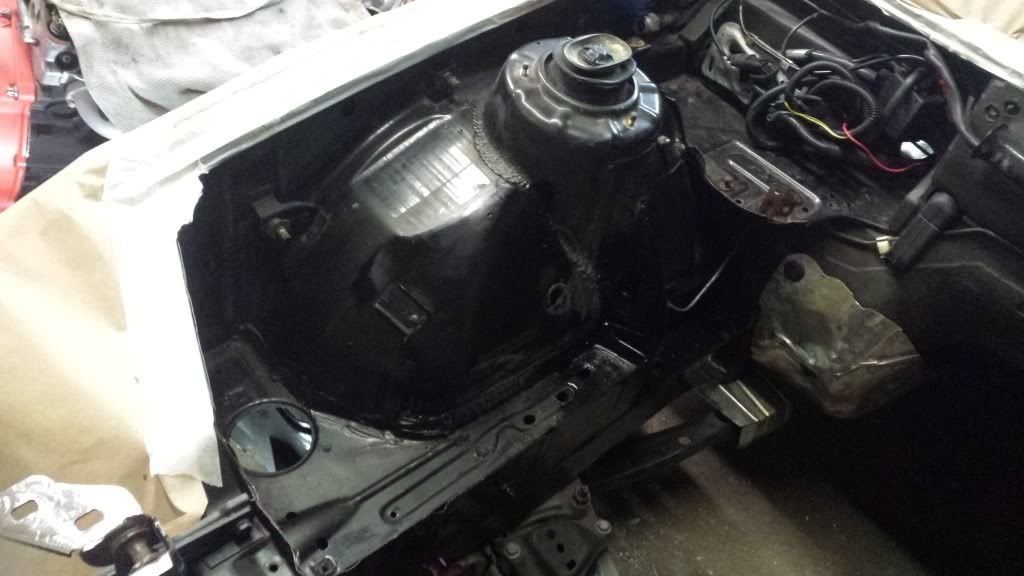
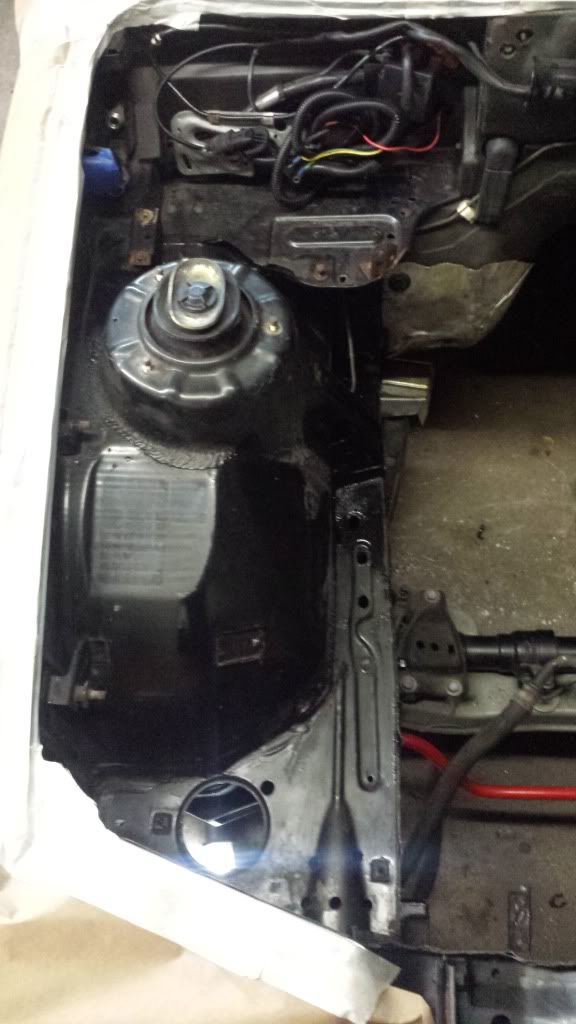
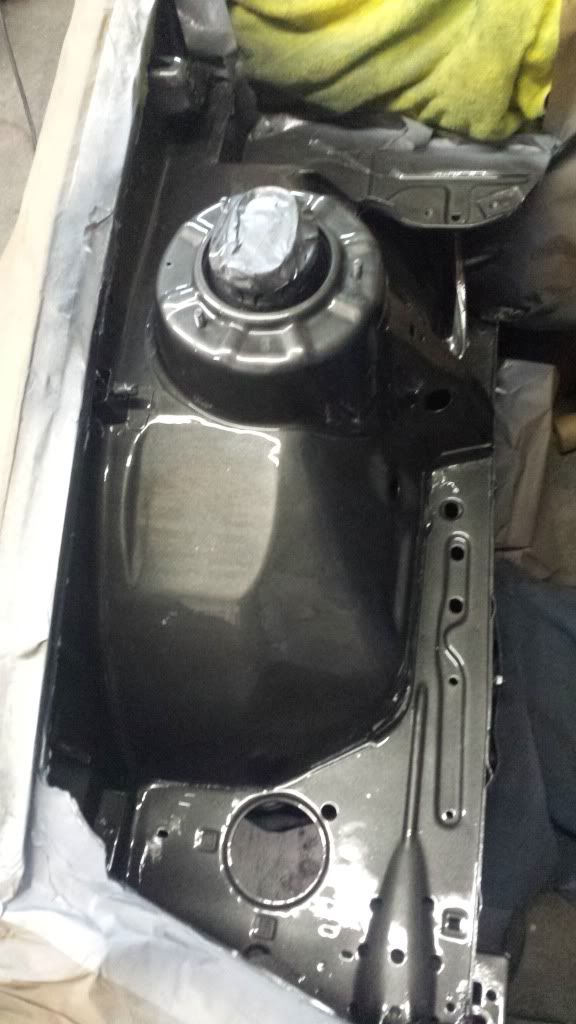
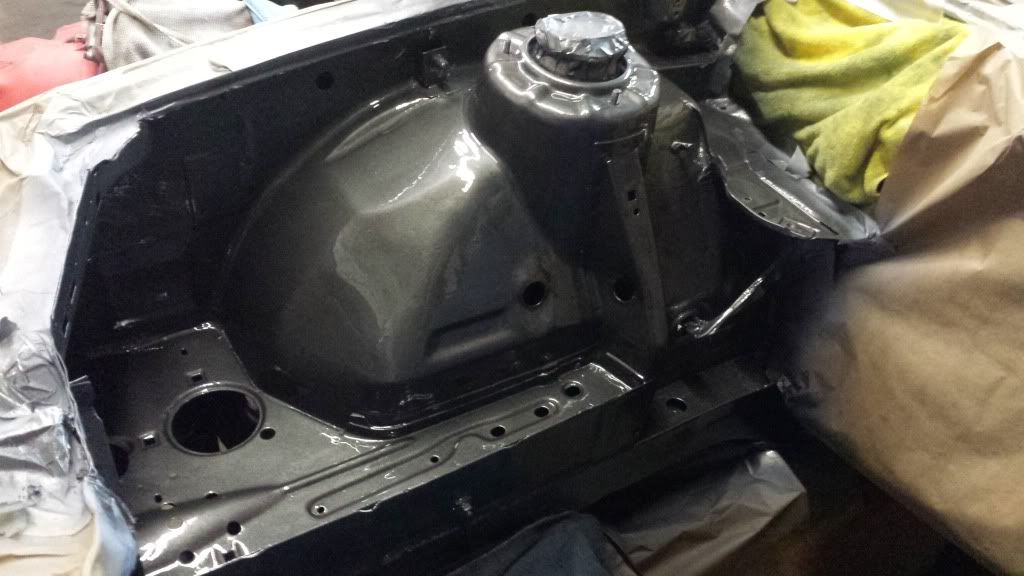
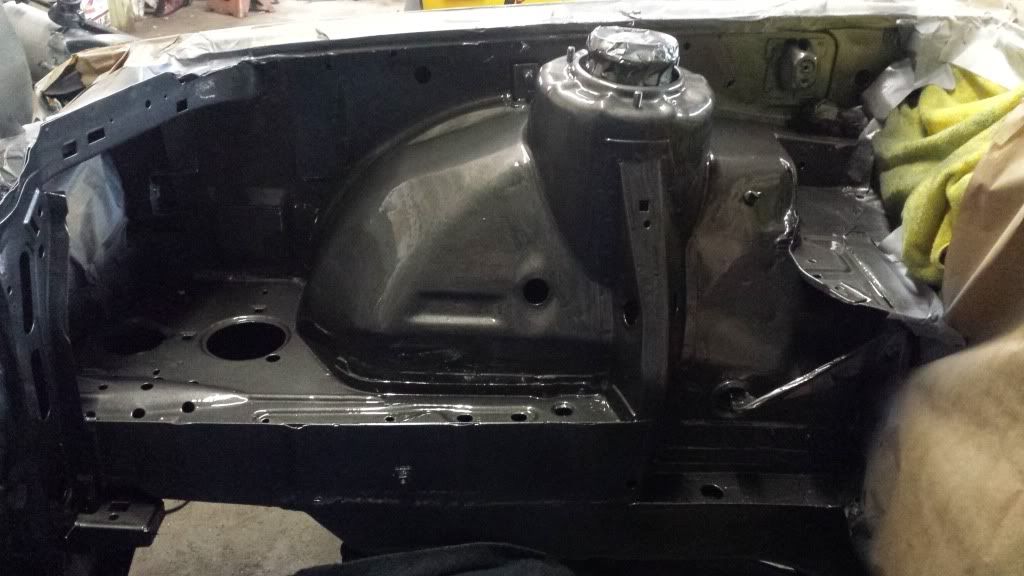
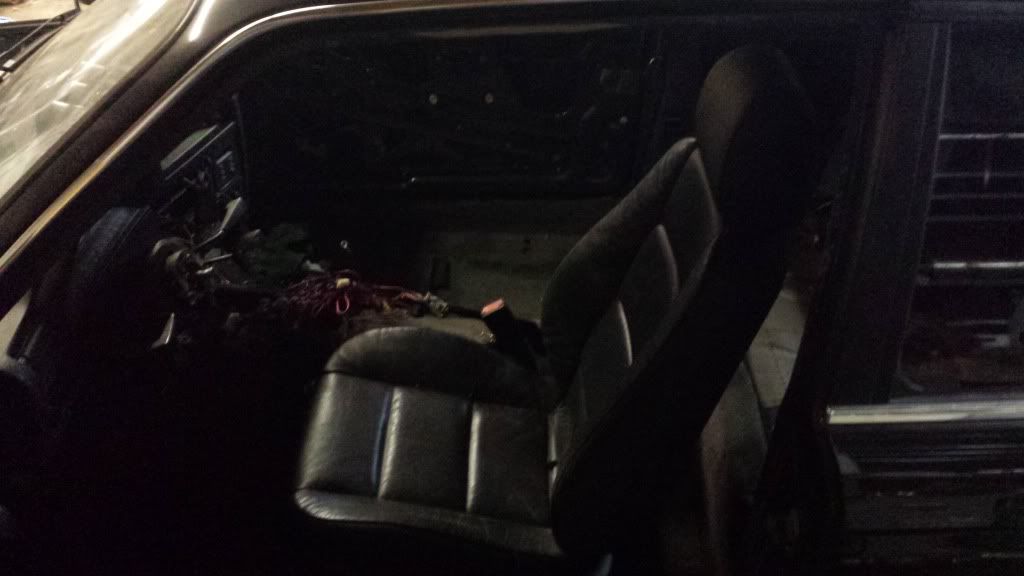
Got a little bit done today.. here's what went down.., I was upset by the heat of the turbo and manifold cause g the factory paint to bubble and chip creating rust, so I sandblasted and ground it all down. Also removed some ugly seam sealer, and ground out a few useless brackets. Smoothed things over with body filler, sanded it all out. Primed it with a high heat primer, and coated it with a high heat paint. Going to hide the wiring best I can at this time as well. I removed the a/c lines for now, as spring time comes, I will be converting the air conditioning to a r314 system. No need for that in the Winter!
Pics...

 Last edited by imwhyteyo; 12-10-2013, 07:40 PM.
Comment
-
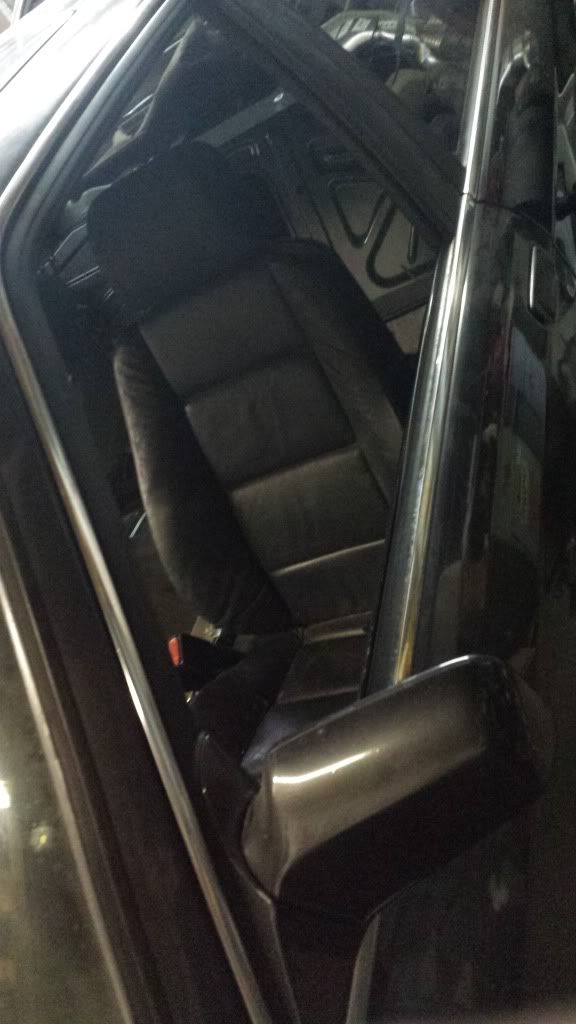
The seats themselves tilt. At 6'4" I do everything I can to mount the seat as low as possible, including tilt it back so that it drops my butt another 1/2" or so. That is also why I put the bracket under the carpet, for that 1/4" extra space.
Another benefit of the vaders with the brackets is that they sit further towards the rear of the car, giving me some much needed distance between the steering wheel and my body. Now I don't have to put the seat all the way back to be comfortable (just one click from the very end). I could move it a few clicks closer if I could get the pedals back further or get the steering wheel to stop hitting my knees.
I wish movable pedals were more of a thing. I think only some Fords had those.
<thread hijack>
It is snowing here in MD and I wish my car was together. I have the entire front suspension, sub frame, and front axles in the basement. New CV's, steering rack, and a coil over setup are going in...as soon as I get that snapped bolt out of the sub frame.
Great job on your project. I am super jealous at your skills and time. I have done brakes and now suspension on my car, in addition to a hundred minor things. It needs some serious motor work and my tcase isn't super healthy. I just want it to be as fast as my old e46 330 coupe.
</thread hijack>Comment
-
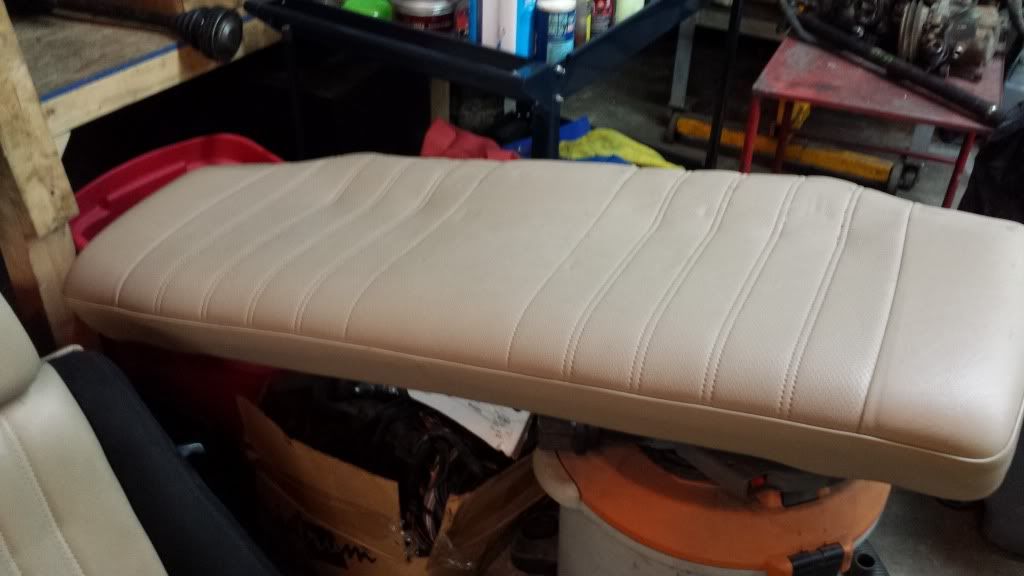
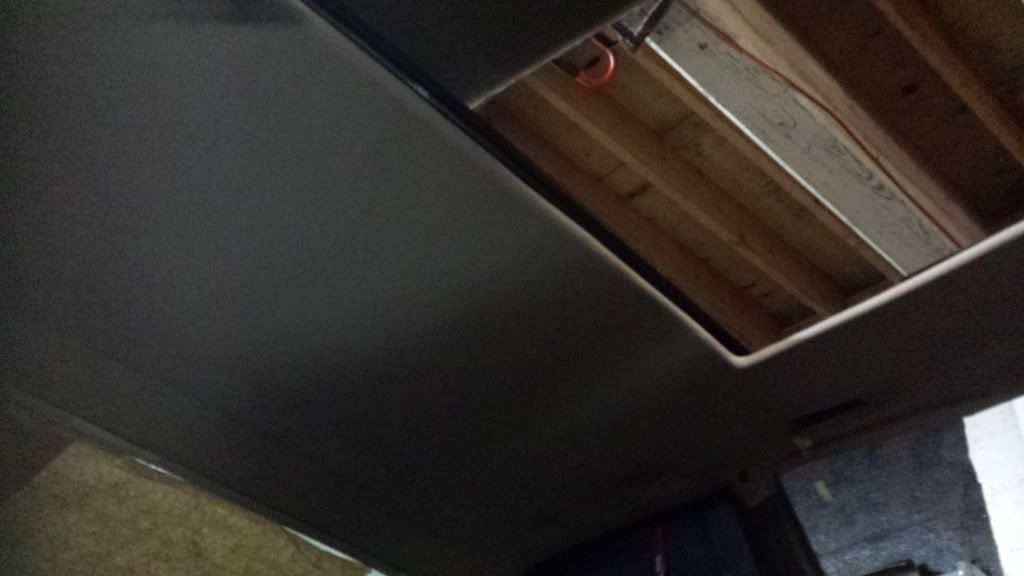
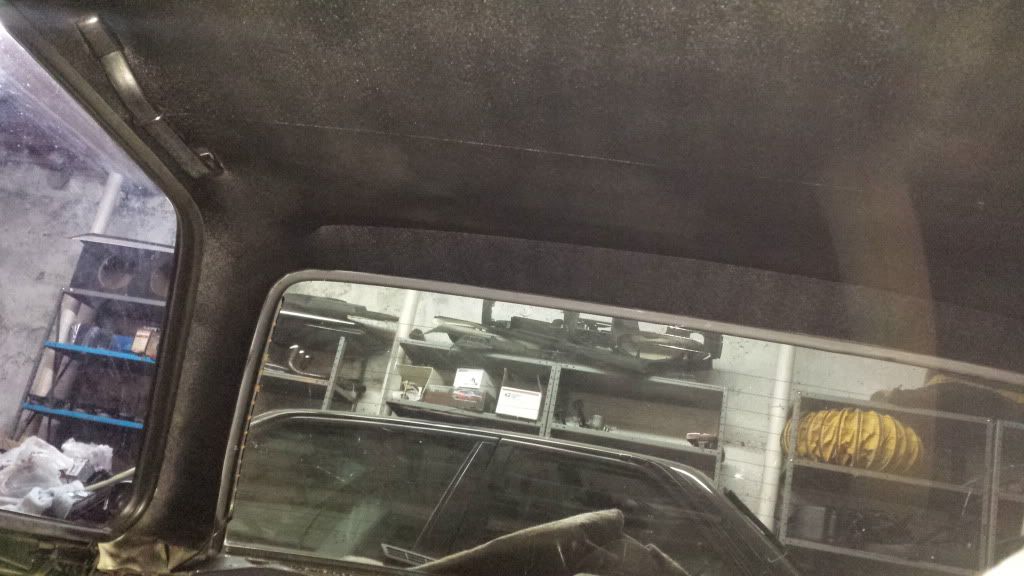
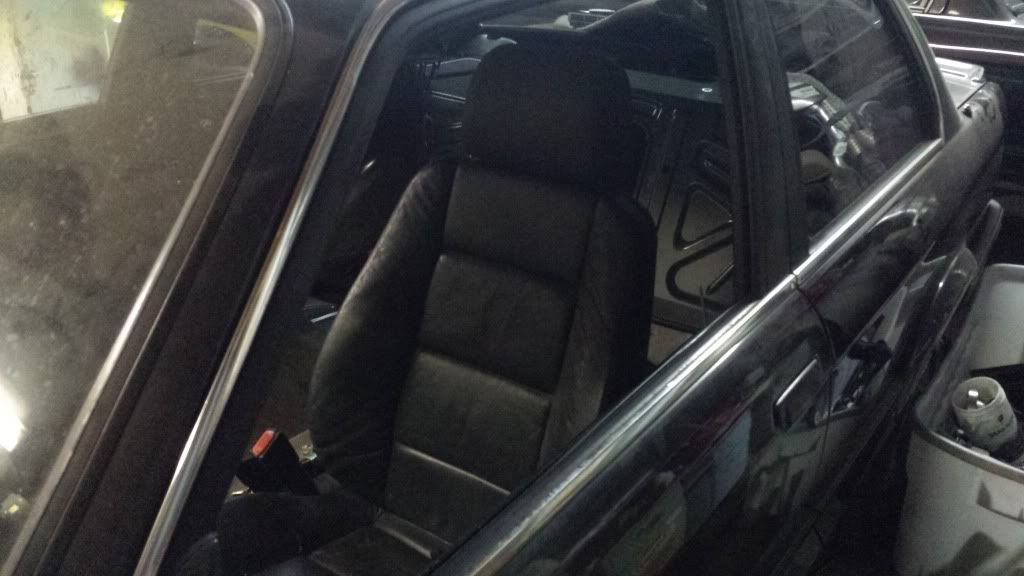
So to be quick about things that I only took pics of.. started on my headliner fix. Alot was sagging and wrinkling and needed straightening out. Also needed the old stained cream color to be gone!.. so I dyed it black. Also got my e36 seat brackets in, so everything else went on a hault! And it was time to strip the interior... anyways pics speak for themself. One 4 hour session: GO!
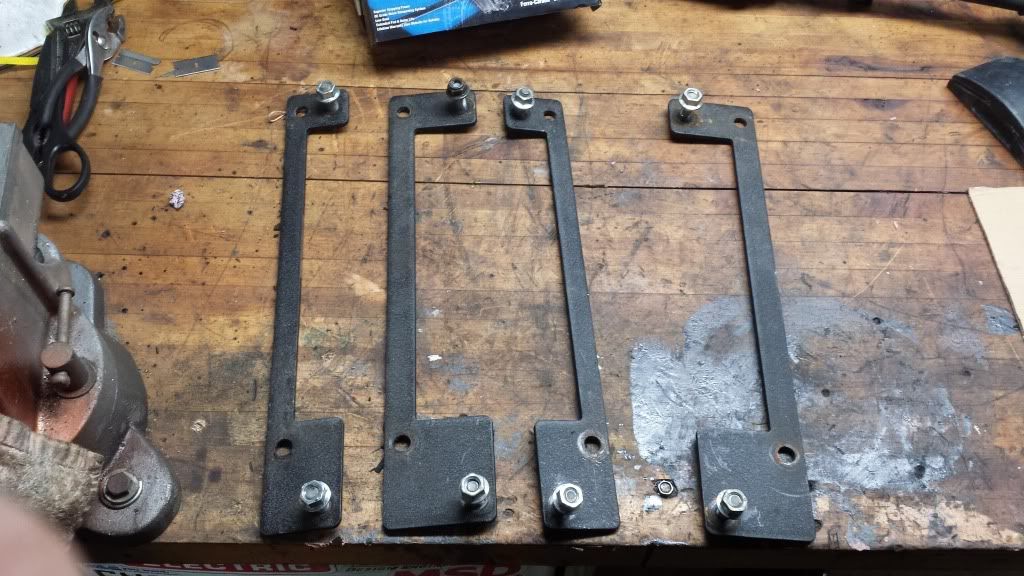
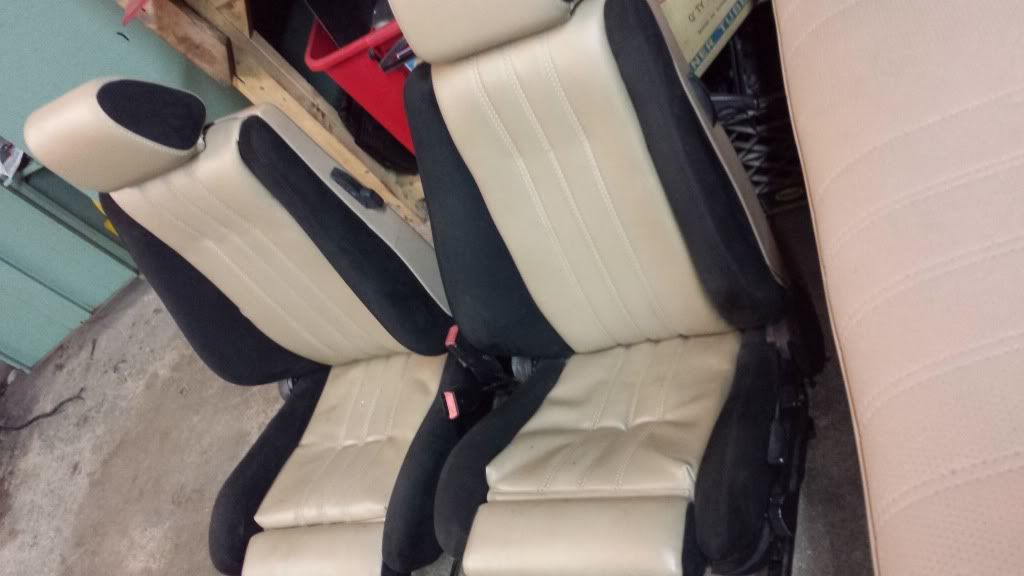
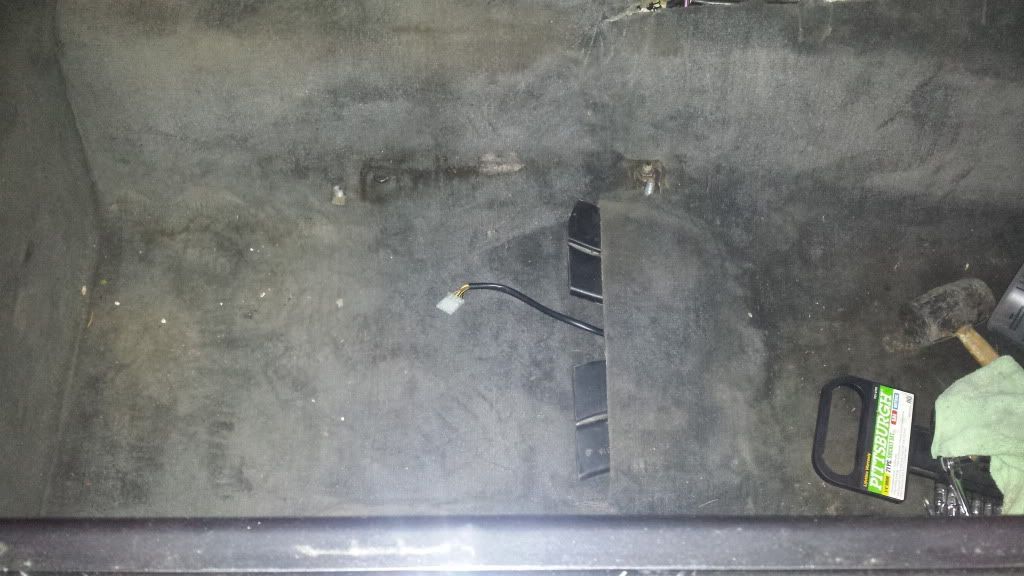
Got these seat brackets to make way for my super heated/power e36 leathers:
removed these old girls... even though they were toasty heated, they aren't fully black and powered and are now up for sale.
Comment
-
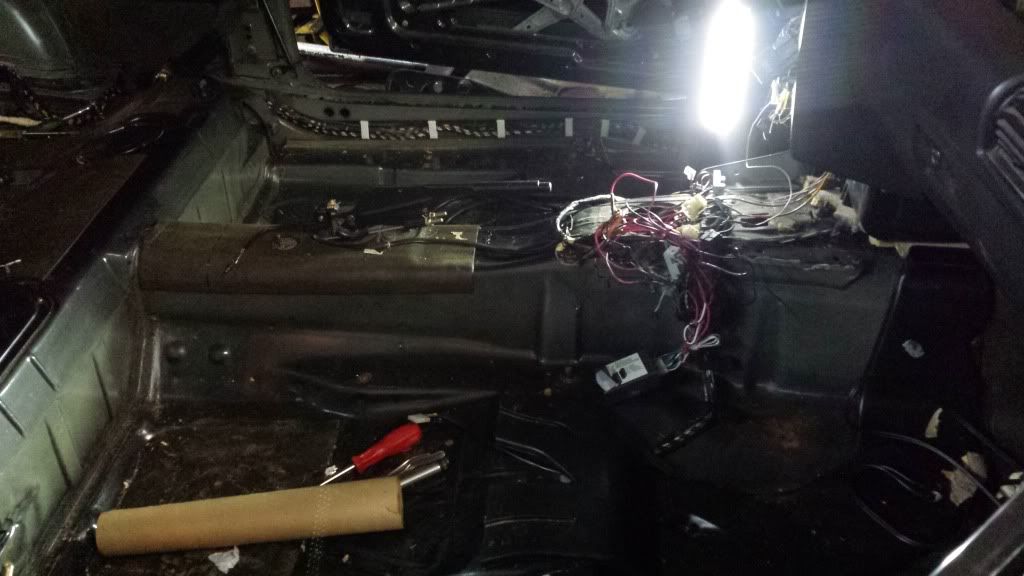
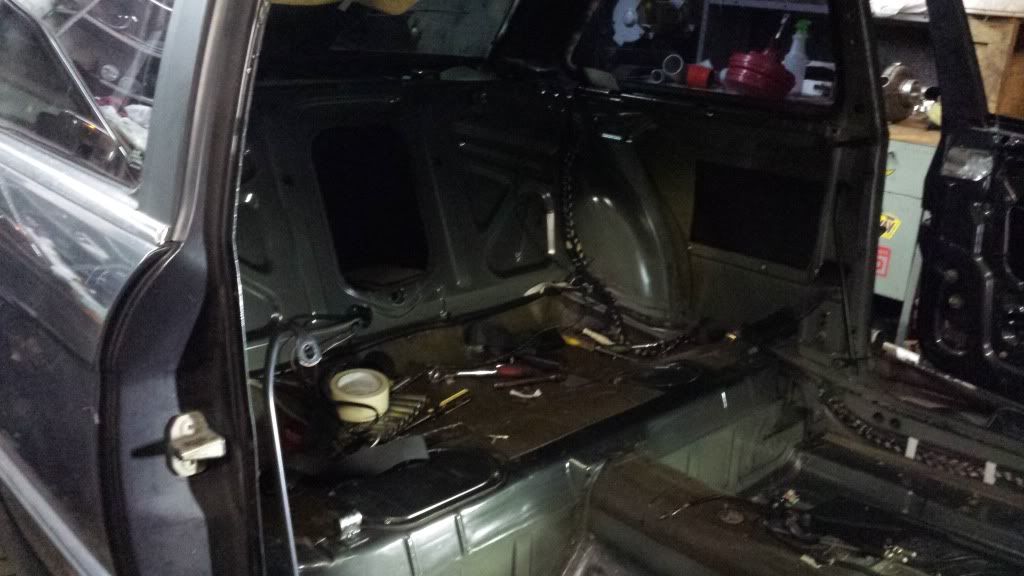
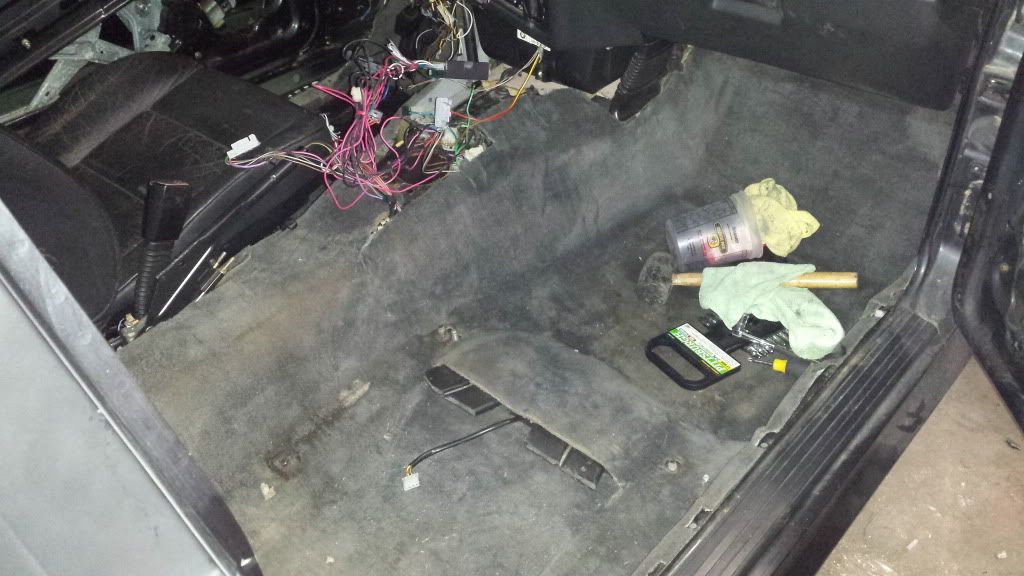
I got carried away on the interior removal.. and changed a few things.. (installed convenience window regulator. Ie: "one touch window roller downer" for the driver and passengers door.
Comment
-
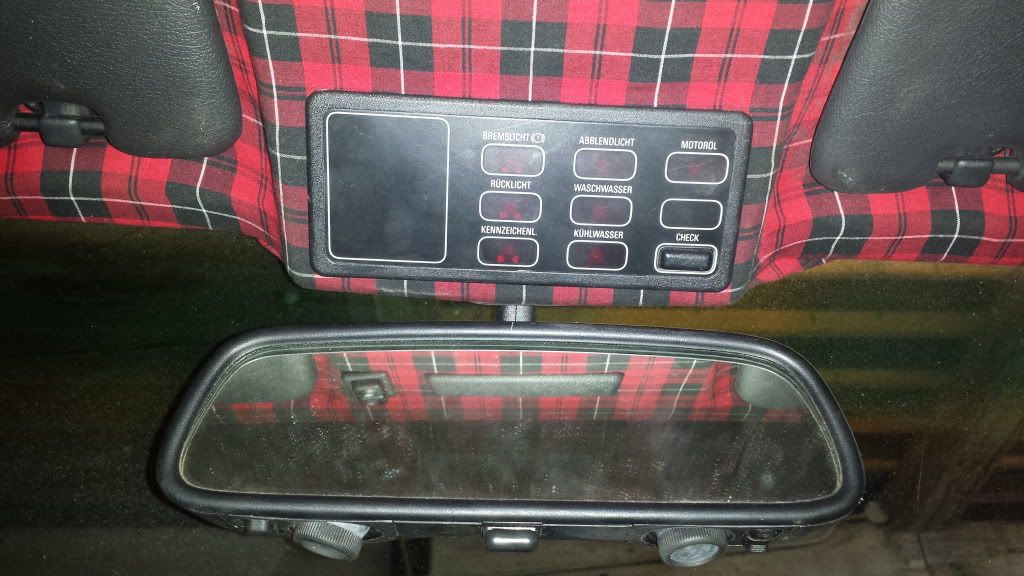
And of course, I simply dyed the & headliner and sunroof panel a black tone, while tightening upe the wri kles and seams, (sorry no before pics.) to create a dark and else you ambiance.
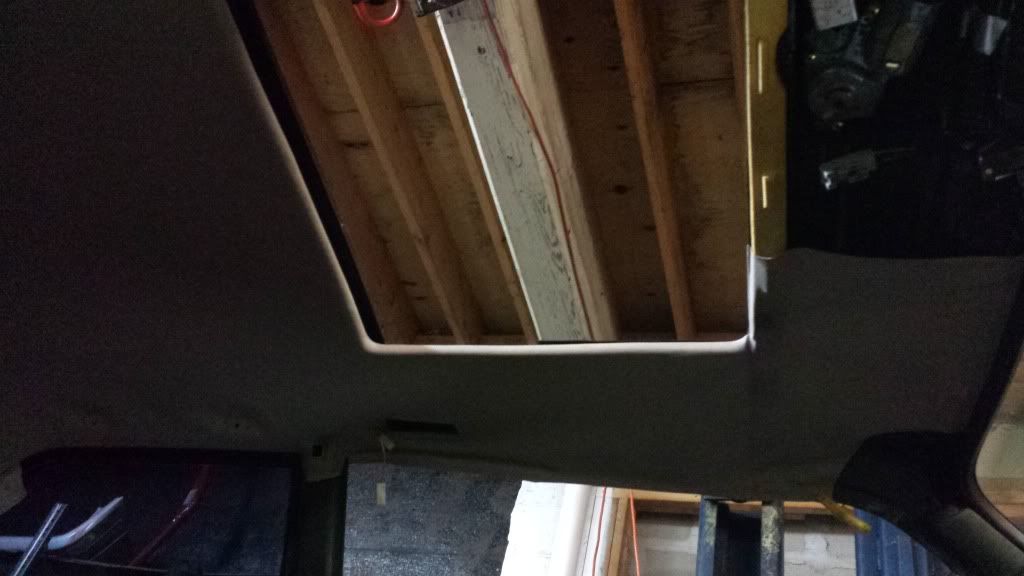
I will have more pics to follow of this as I ddid end up restoring and refined is hang alot of the minor pieces. Interior b - pillars were painted, factory wiring were trimmed, windows were modded, and tinted.
The stage is set for the stereo. Get ready... to cream.Comment
-
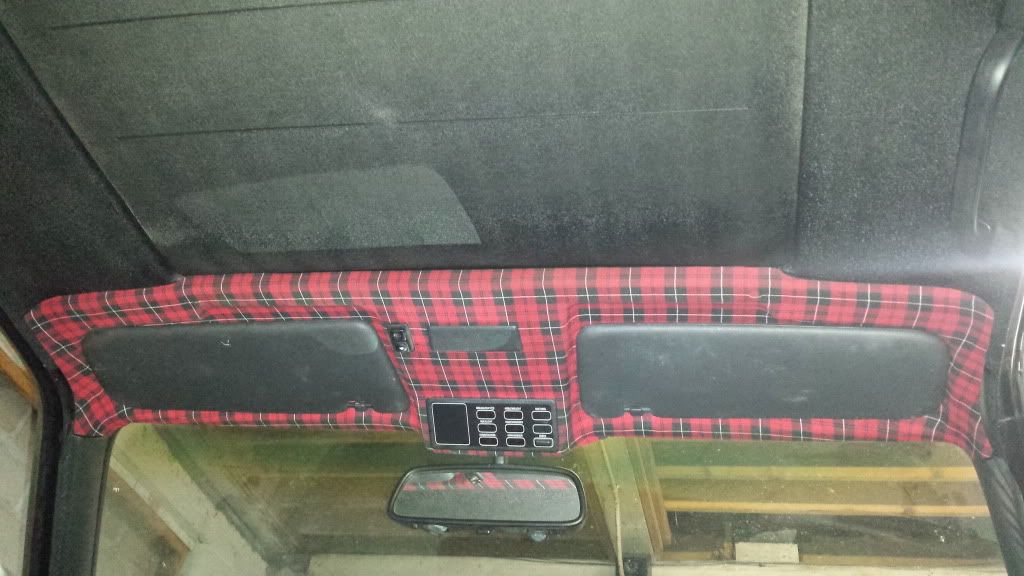
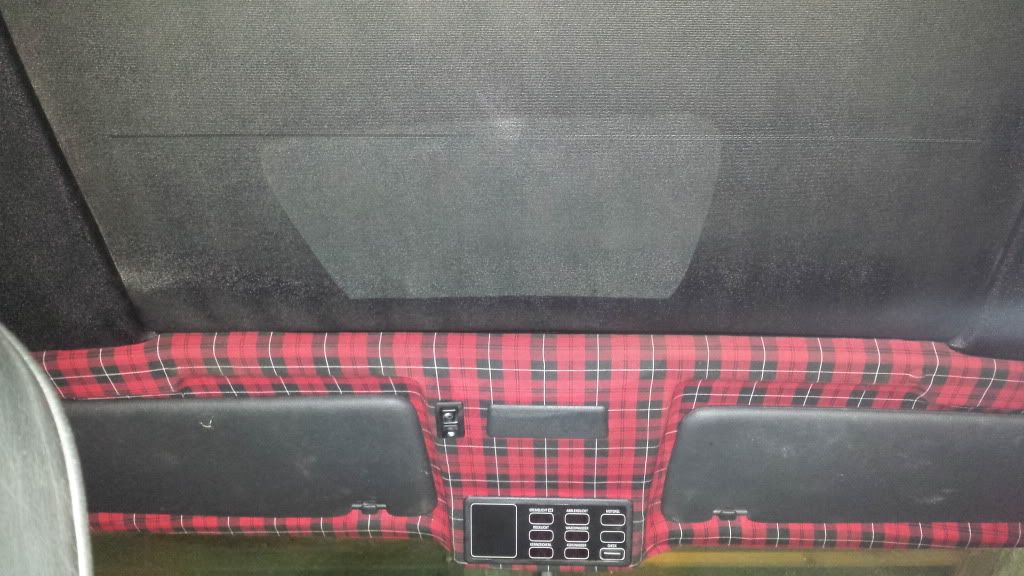
Got a few more things done.. times been tough with the holidays. Grey carpet is in concealing the e36 brackets. Wired the power wires for the power to the seats and the heater elements. Touched up some headliner work, added a few touches with some fabric.. installed my map light. Feeling alot better about the inside :)
Plaid.. it's not perfect.. I'll clean and fix things up later.
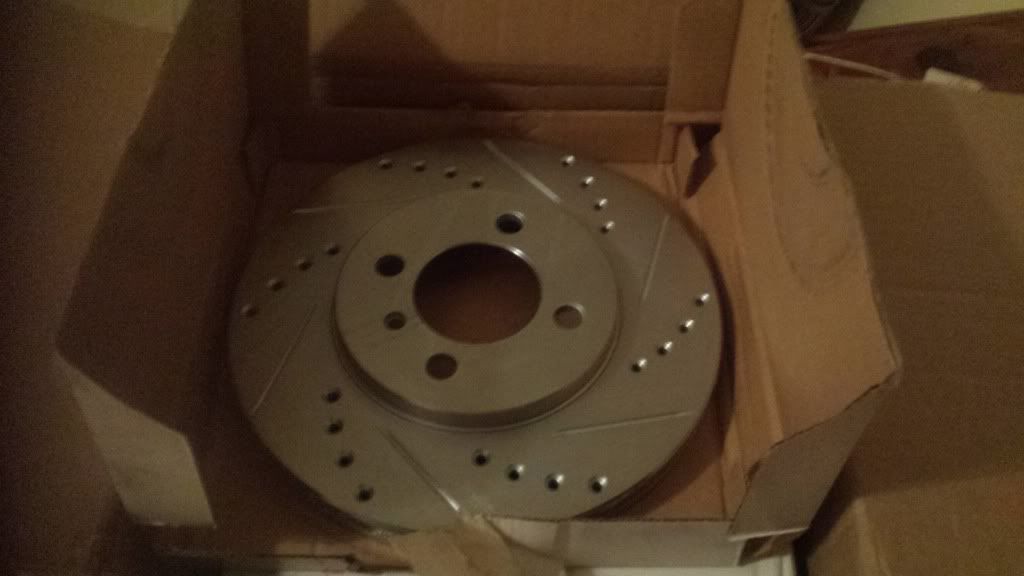
Also got these bad boys in the mail.
That all for now. I'll be back.Comment
-
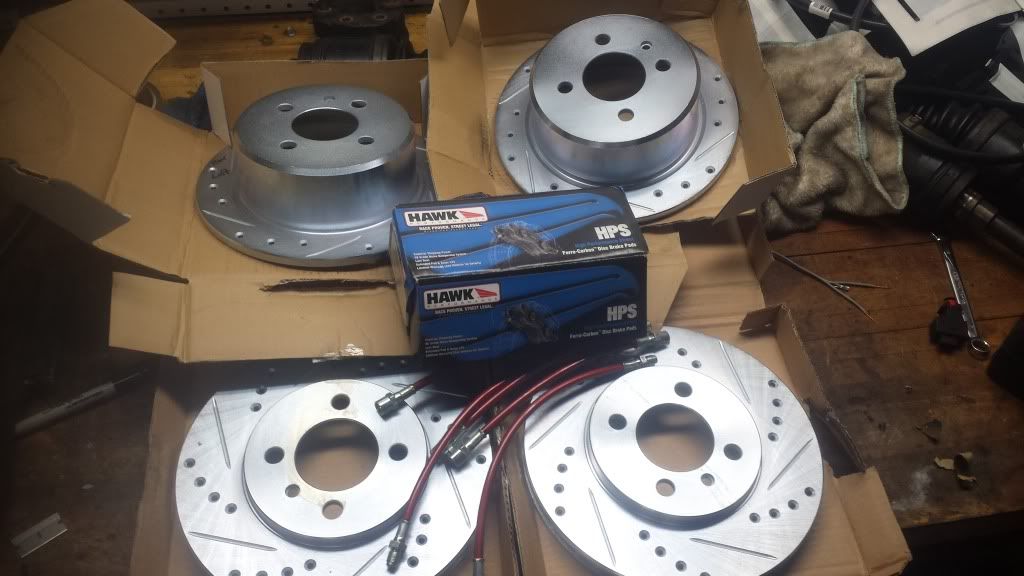
So I've gathered all my brake upgrades, gonna get those calipers reassembled with all new boots, sliders, and seals. But when I do that, I will be removing the old suspension in replacement for a brand new set of h & r lowering springs and new bilstein sports. I'm also going to sandblast the strut tubes and hubs and coat them with a good few layers of POR-15, THEN coat the fender lining with rubberised undercoating to prevent any salt damage, as this will be driven in the snow in the future. Here's the brakes! Zimmerman cross - drilled and slotted rotors, hawk race/street pads, red vanilla coated stainless 6 peice brake lines, and SANDBLASTED and rebuilt calipers hand - painted with g2 chemical and heat resistive calipers paint.
Comment
-
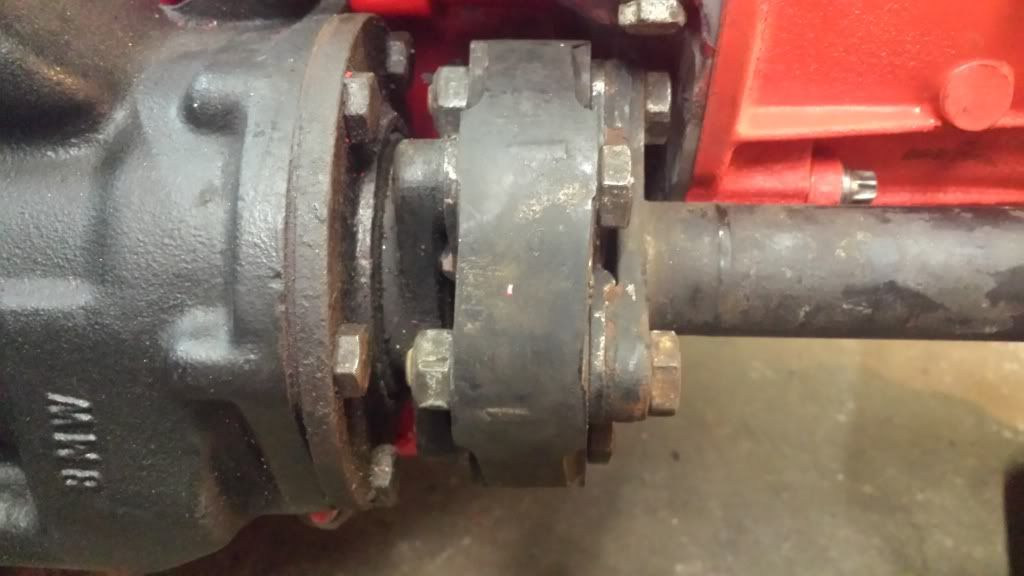
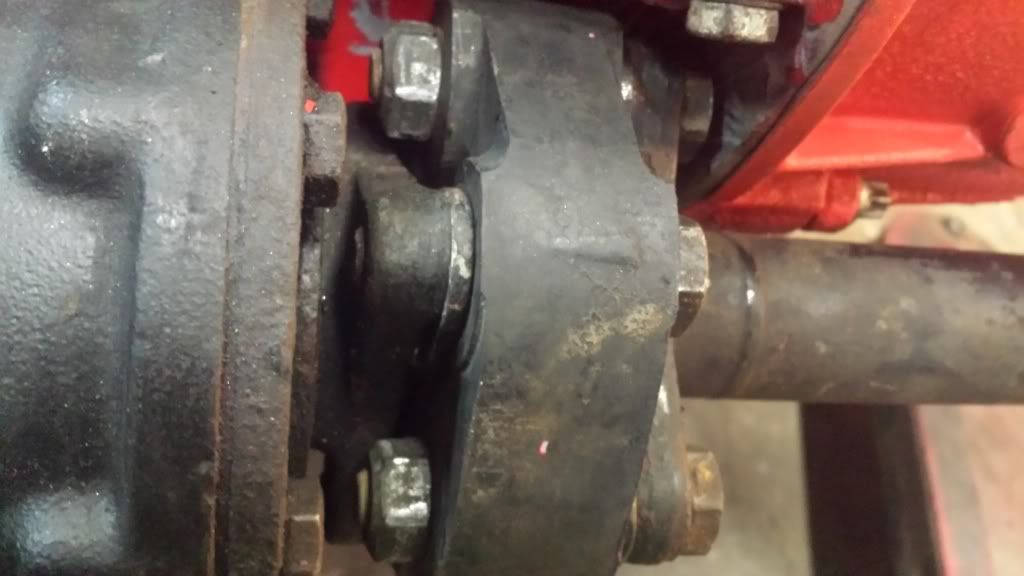
Finally got my front driveshaft done. Lengthened it using a larger guibo and 2 centering pins, one ground down, on each side of the guibo. It pushes the splines exactly as much as they need to fully engage all splines on the driveshaft. As seen here:
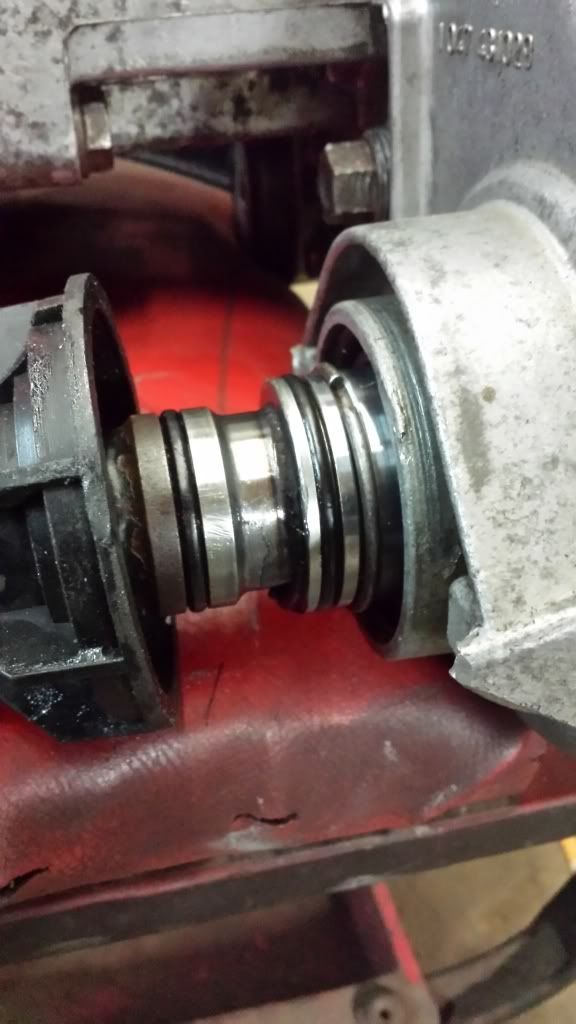
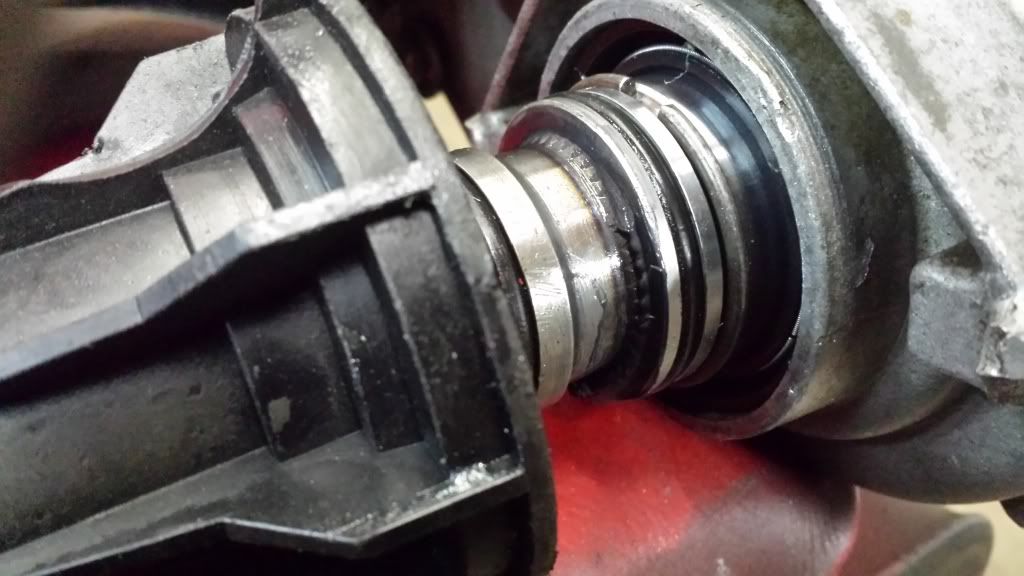
Here's the guibo side.
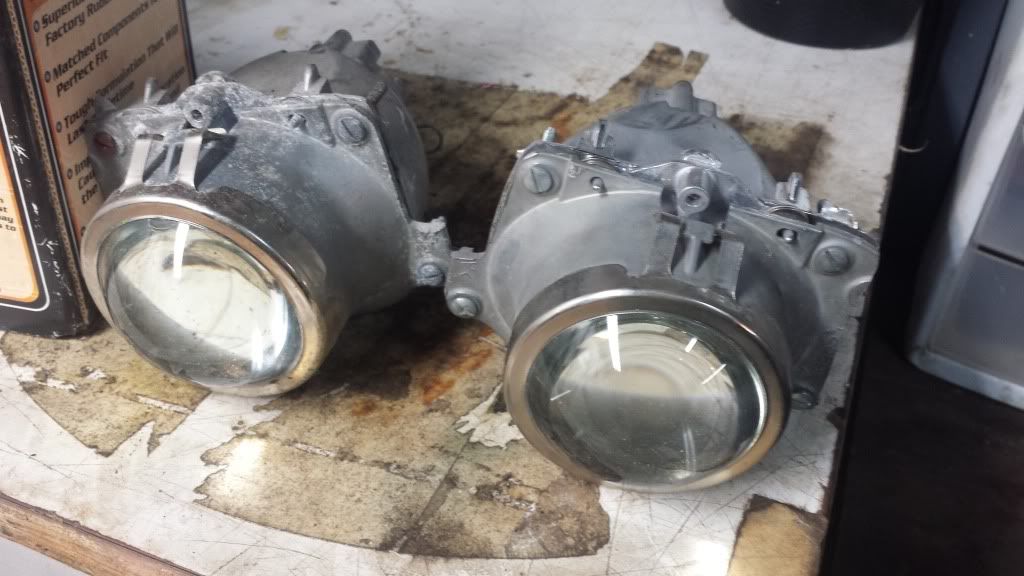
Picked up a set of acura tsx projectors to Retrofit into my new glass smileys
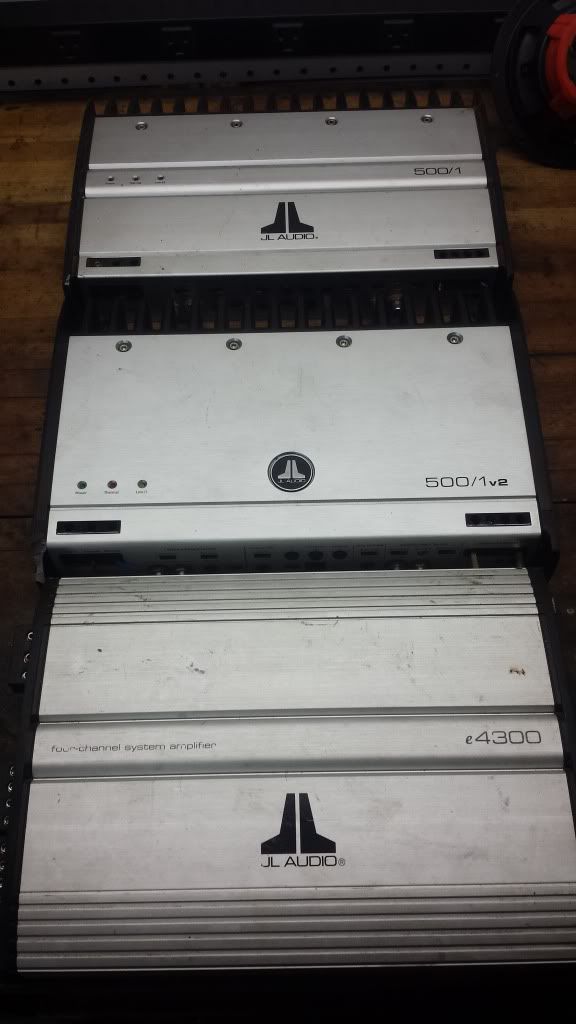
And I picked up a few new amps for the sweet stereo... components are on the way!
that's it for nowComment
-
you can also just buy the centering pin from the X5, then you don't need to modify anything. it's about $40-50.
I want to do exactly what you did with the front driveshaft. that $200 driveshaft extension will save me from having to buy a $500 front output spline! it's just too bad it's not telescoping..Comment
-
Funny you should mention telescoping, as I was just thinking about making a spring loaded telescoping driveshaft replacement... The E30 market would be pretty thin, but I could probably sell a lot of them to X5 owners.Comment
-
that's an interesting idea. I think the X5 shaft is pretty much the same other than length.Comment
-
I had @$$umed it had a different T-case spline than the E30 shaft, but if that's the same, even better... one product could cover both markets.Comment
-
I'm not 100% sure it is but I think there is a really good chance. I know the X5 suffers from the same lubrication/rusty splines issue as the E30 ix.Comment
-
Just picked up a Schmiedmann strut brace, thanks for the heads up! Incredible project by the way. I'm painting my ix in a couple of weeks, and the mechanical/maintenance is done for now. Cheers two some old girls getting pimped!Comment


Comment