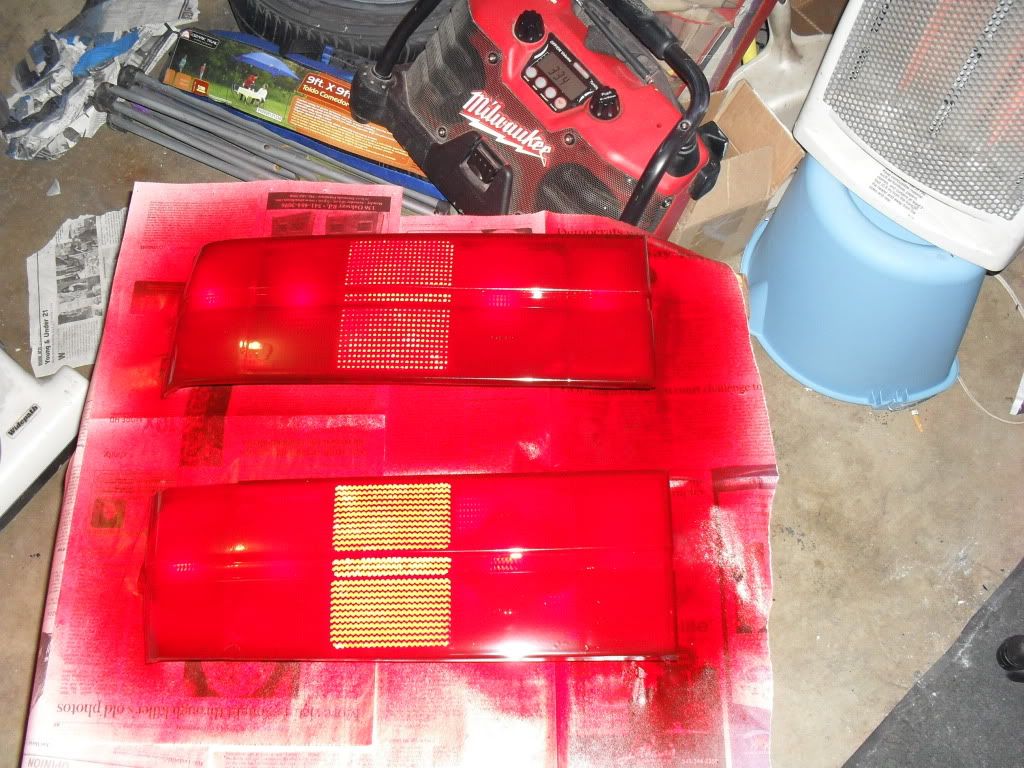
DIY - All Red Taillights
Collapse
X
-
When you guys clear your lights make sure you use the right kind of clear, like enamel paint with enamel clear or lacquer paint with lacquer clear. When I painted mine I wasn't paying attention when I grabbed the clear coat and used the wrong kind and fucked up the paint. I redid them but they still look weird, Im thinking about wetsanding all the paint off and going back to stock.Leave a comment:
-
they are a bit dark but its also the way the pic was taken they aren't that dark in person.
i still need to do a good clear coat and polish themLeave a comment:
-
-
not saying your new lights look bad but... i think it's a little too dark of a red, if only there was a way to do it while still keeping the same shade of OEM red... I think I may go with the tinting method if my the red on my tails gets too dark after it's done.
edit: iono.. the more i look at your pics jintermont, the more i can't decide. one second i don't like it the next second i kind of like it. haha. maybe it's just because the whole car is red that i noticed the difference. probably won't be an issue on my light blue car then.Leave a comment:
-
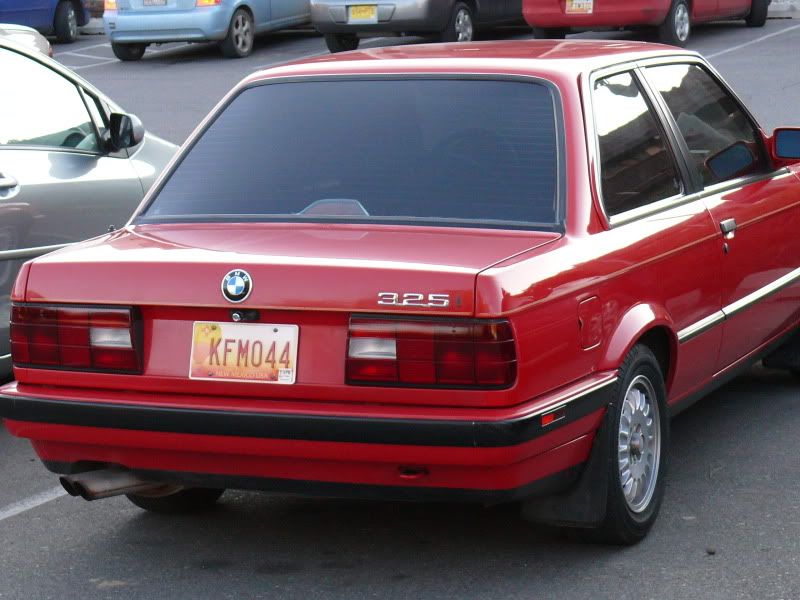
here she is when i got her

and now after all red tails using the metalcast red technique

Leave a comment:
-
the black areas were so faded, yes taped, sprayed them all sprayed
They look really good on the carLeave a comment:
-
You didn't tape off the black edges? Did you tape off/around the turn signal and give it 1-3 coats to color match the existing red before you sprayed the whole thing?
Agreed. It looks a bit funky in those pictures.Leave a comment:
-
i got mine done late last week. After the coats of metalcast red I took it to a bodyshop where i normally take my cars to and he happened to be clear coating some wheels so he sprayed mine for free. They came out pretty nice. If I had more time he would have let the clear dry, clean it a bit, and spray another layer of clearcoat. Regadless they came out pretty good especially since it was free clear. Pics will be up when I get my car back from the shop (hood/sideskirt paint)Leave a comment:
-
Probably gonna do this myself pretty soon. Lots of good finished products in this thread. Inspiration!Leave a comment:
-
I don't really know what else to paint haha. It's no worries, I don't think I'll do too bad, I mean I've screwed around with paint before, just never did anything that I was actually going to use. I just need someone to fill in the blanks and i'm good to do. The worst that can happen is I'll need another set of used tail lights, but I highly doubt it'll be that bad.Leave a comment:
-
If you have never painted anything before, I would practice painting some other stuff just to make sure you've got the hang of it.Leave a comment:
-
Okay, so I just read this ENTIRE thread in one sit-down. I have never painted ANYTHING before. Here's the process I'm going to do after reading this thread and all the threads that were linked to from this one. I'm supposed to be studying for finals, HAH wtf am I doing here. Anyway I like td325ic's lights the best so I'll use his method:
Please fill in the blanks, those are the steps I'm unsure about:
1) Mask off light instead except amber part
2) Duplicolor Metalcast Red 3x light coats on the amber
3) ______________ How long should I wait in between steps 2 and 4?
4) ______________ Any wetsanding required here?
5) Unmask light except for reverse light and 2x medium coats on entire light.
-Then unmask reverse light after 2x medium coats
6) ______________ Any wetsanding required here?
7) Let the light cure for ___ days.
8) Spray entire light with SprayMax 2-part Urethane Clear Coat Aerosol <---- This is automotive grade right?
-How many coats?
9) Let cure for a couple days and wetsand with 1500-2000 grit
10) I don't have any machines so can someone describe to me in detail the buffing/polishing process by hand and which products to use?
I'm still a bit unsure about this process, any advice would be reassuring. Also I'm thinking about tinting my lights with either the model masters translucent black like Uber E30 or the VHT Nightshade. How would the process differ if I did that? I have a cyrrus blue 4dr so I'm not sure tint would look good.
Also I thought it was funny how many times that guy linked to the DIY where he used the testors clear coat lol.
Thanks,
DariusLeave a comment:
-
Those all look great. It's getting about time to re-do mine or do a new set, mine are starting to get a few nicks and dings here and there.Leave a comment:


Leave a comment: