

Beautifully put together and done my friend. Where did you get the steering wheel from? Would love to get one.
Thanks again for posting that link for the headlights.
-
Then I decided if was going to be able to drive this thing and remain a sane person, not dodging every falling leaf or stray bug, I needed some paint protection. Sent her over to GlassLife Atlanta for full paint correction and 100% coverage self-healing paint protection film (Xpel Ultra Plus Premium Platinum Super some other superlatives). The guys who picked the car up said the paint looked flat. I thought they were nuts – but their work speaks for itself…
Ceramic coating the calipers
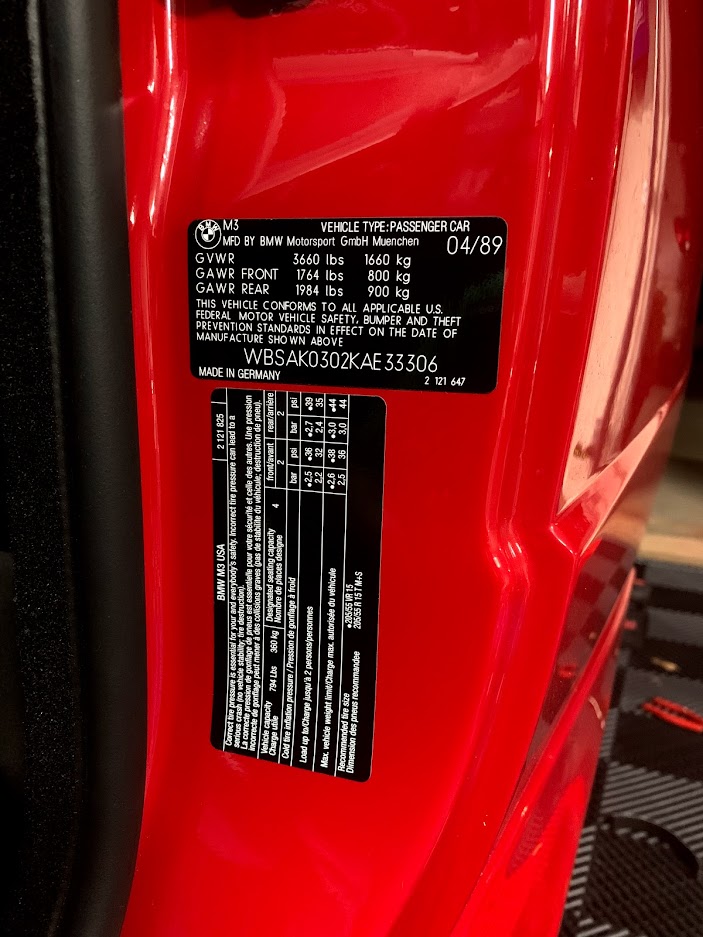
Pick-up day
One of the most surprisingly complex parts on the car - joins no fewer than 5 parts together with many many screws.
Home.
I’d like to say that’s all, but our parking lot friend added an epilogue to this story. Also, the AC is still being sorted. I’ve gone back to the original compressor which is in CA being rebuilt right now. They say you’re never done with a project car, but this isn’t a project car – it’s a redemption story, and it’s very nearly complete.Last edited by CurrusDei; 07-01-2019, 06:58 PM.Leave a comment:
-
Back home – side skirts going on
Dark tinted rear reflectors to go with the euro front with no reflectors
Still fiddling with that damn sunroof. Worst part of the build. My interior guy used a huge rivet to attach the connector arms that hold on the cloth cover. Wouldn’t fit into the track, so I had to drill them out and order some of these guys from Germany – they’re tiny.
Leather working kit off amazon, BFH, and there you go
Driver side door stickers
Evo hood seal in on undamaged side
It is time.
Went on with the undertray attached, slid in perfectly. I installed the front gasket afterward.
I’m not one for “eyeballing it”
….and I also apparently forgot to take a pic of it when I put the badge on.
[photo coming later]
Alright, here she is 99% done….
Leave a comment:
-
Loading up the exhaust to drive 50 miles open header to Origin Fabrication
At Origin – for those of you who don’t know. Origin does a lot of fab in the S2000 world, but they do god-tier welding – real stacking nickels type stuff. I only ended up with one weld, but I wanted it perfect and they delivered.
Excuse the dirt left on the underside – it has since been very thoroughly cleaned
Screen shot from stainless tig weld porn. And that clamp was only temporary – replaced with a much beefier one shortly therafter
Leave a comment:
-
This guy has been waiting around for a long, long time.
Only work on cars when wearing safety-approved pajamas
Speaking of wheels
Daylight.
I was going to drive it without glass to have the glass installed, but the clutch slave cylinder didn’t cooperate. I had the shop put a new one in while they did the glass and it drove afterwards with no issue.
Flyin Wrench in Kennesaw did an excellent job putting the glass in – they have done these many times, so they have the tools and know all the tricks to get it right the first time
To me, this is when it stopped being a project and became a car again. Windshields.
Oh and that multi-brown colored guy on the right is Kenny. Kenny is a spec E30 race car. A couple weeks after this pic, Kenny rubbed a hole in his exhaust heat shield, melted some fuel lines, and caught on fire at the TireRack NCM 8+7 Hour Eduro. Kenny will be back, if a little crispier for the experience. If you want to support the team you can buy a t-shirt here to help fund repairs (mine is on order):

Last edited by CurrusDei; 07-01-2019, 06:53 PM.Leave a comment:
-


I've been down for a bit because of some shoulder surgery - no lifting with my right arm for a couple months, but here's its current state - also getting its right shoulder fixed...
No frame damage! ...but man I'm going to have to clean those frame rails
Still at the shop because the guy's insurance is suuuper slow. It took two parts from Germany to get a fender that was perfect. Parts are primed and should go into paint this week as soon as the insurance papers go through
Last edited by CurrusDei; 07-01-2019, 05:08 PM.Leave a comment:
-
-
I'm not sure how you handled it but holy shit, I would of lost it. Glad it didn't mess up anything else up.Leave a comment:
-
"replacing old, deteriorated foam tape" for center air vent
Is this foam tape OEM? Can You throw Part No.Leave a comment:
-
Front and rear sways. These were a pain.
Front - bushings were dry here. I found the key was to get them lubed so I could repositiion things as needed.
new brackets on
Getting these on was a fight. It helped to have some extra fasteners around. I fashioned a setup where i was able to gradually lift the rear of the mount into place using a long threaded piece with washers and two nuts at the top to hold the threaded rod stationary while i tightened the nut bewlow the bracket, bringing it up the rod until the gap was closed.
Then i brought out the vise grips to hold the bracket to the subframe while i installed the hardware
I used some little brass tabs as buffers to keep the finish from being marred
Hardware in
AFter that mess the end links are a cakewalk. fasteners on both ends.They werent torqued down here, but everythin is now fully torqued and marked to indicate the same
I'd like to say the rear was easier, but it wasnt. it was more of a contortionist act trying to get that bar over the diff and to its mounting points. disconnecting the rear driver's side shock helped, but it was a lot of fiddling to get it to go through. Finally it did, and I realized I wasnt happy with the dirt on the underside of the car. That got addressed later - no pics yet, but its close to spotless under there now
Now these lollipops were the worst. Maybe my expectations were just off because i pulled the old ones off by hand and thought the new ones woyld go on as easily. Wrong. I am just realizing i dont have pics of them installed - not surprised given how frustrating it was. I'll add more pics later, but heres the home-depot/autozone bushing presser tool i fabbed up that got the job done
Leave a comment:
-
Thanks. Yeh, one i wish wasnt there, but nothing i can do about it. Going with a new genuine bmw fender from Germany and will keep the old one for wall art/optional future repair.
For those of you who didnt see, I took the car to an AC shop to get my new system working. Left it there to head to work. An hour later got a call from a guy saying he “scratched” it
...wiith the back side of a utility truck .Thankfully no damage under the fender or in the engine bay, and I already had the front bumper off. Replacing the fender and respray of the hood should get it back to amazing shape. Still, doesn’t feel great to deal with at the end of a 5 year restoration effort.
It wasn’t the shop’s fault, just a random guy driving in the parking lot, and he filed a police report and gave me his insurance info. The claim has been made and the repair is underway. Im going to have to talk to his insurance co about diminished value though. Went from being a no accident car to one with an accident on its record.Leave a comment:
-
new fuse box lid.note that the new one has the clip on the top, which had broken off the old one
The new cover would not fit down over the fuse box far enough for the clip to snap into place. this is probably due to the fuse box changing shape slightly overr the years with engine heat cycles. i didnt realize how tight the clearance is with the hood insulation,k so i left the fuse box slightly ajar when i drove to get my exhaust put on. Bad idea. The hood insulation scuffed up the fuse box cover, necesitating a replacement
This time I used screws on both sides of the cover where the provisions are. I tightened them carefully so that I didnt crack anything, and found that the gasket in the cover compressed enough with the screws that the plastic clip did pop down into place after the screws were installed
Driveshaft time (if that guibo looks too big its because it is. accidentally ordered the wrong one. had to get the correct one, which is smaller
New driveshaft decal
Half together
This guy was a pain. Output shaft centering sleeve. Its a press fit in, and its one of those "while you're in there" items that I knew i should replace. Getting it out was a challenge. The bentley calls for filling the cavity behind the bushing as well as the inner diameter with grease, then inserting a specific size metal punch that is the exact same diameter as the inner diameter of the bushing, inmto the bushing. amd striking it with a hammer, which sould use the hydraulic pressure from the grease to push the bearing out. As you might guess, i didnt have the punch, and even if i did, i think my bearing was done enough that the grease would have gotten through rather than pushing the bearin out.
So, i tried heat. I tried a jerry rigged puller. I tried picks. Ultimately it became a precision hacksaw operation after i burned out the rest of the bearing. I took the blade off the hacksaw, and slowly cut through the outer wall of the bushing on the top and bottom. when i had cut enough to relieve the press fit tension, it fell right out. Not a spec of damage to the drive shaft. Pressing the new one in took about 15 seconds
New
Guibo on
Ready
Compared to removal this thing went back together like a well oiled rifle. Getting 30 years of gunk out probably helped there
I'll try to remember to get a pic of the guibo mounted to the back of the trans
{photo coming}Leave a comment:
-
I saw pics of the smashed fender on the M3 at Vintage, but didn’t realize that was yours... I’m sorry but I’m sure at this point it’s just one more thing on the listLeave a comment:


Leave a comment: