
Whoa!
-
Mtech1 v8 build thread - https://www.r3vlimited.com/board/sho...d.php?t=413205
OEM v8 manual chip or dme - https://www.r3vlimited.com/board/sho....php?p=4938827 -
Criminy those plated parts came out beautifully!
Comment
-
Thanks. I some myself an some professionally. Interested to see if mine are better
Sent from my iPhone using TapatalkComment
-
Could I ask a cheeky favour the next time you are out in the garage working on your car ?
I'm missing the parts that hold the front bumper indicators ( the ones above the spot lights ) and they are unavailable to buy. I also have my bumper away from home in long term storage during the restoration, so not able to try and mock anything up.
The ETK shows what I guess is a stud on a square plate which slots into the bumper and which the indicator in mounted on 2 rubber mounts.
Next time you are working on the bumper, is it possible you could take measurements of the part and post them here so I can fab something up ?
Cheers
Excellent work on the restoration btw. The detailed pics on the reassembly of things like the wiring and trim bits is going to prove invaluable to me when I get to that point.Comment
-
Sure. Happy to. I'm actually missing one (P.O. had it held in with a regular bolt and stack of washers. My plan was to check local pull-a-part yards on regular E30s as i believe some of them use this part as well. Funny enough - actually have a picture of the part on my desktop...
I have the measurements somewhere too. Next time I'm out there I'll grab my calipers. Also, if you do make something - PM me as i might be interested in one.
Speaking of interesting things. Look who's home...
Timing chain tensioner area before was caked in oil...
New-style AC bracket in place. Waiting for a Sanden.
More to show later (everything is back from Korman). Just some quick pics for now.Comment
-
BeautifulComment
-
Many thanks. Seems the part is M3 specific and looking at the ETK for other E30s ( I just checked a couple ) they use just an ordinary screw to attach the body of the indicator.
I will post up if I find anything or fab something up. I'm cleaning up boxes of bits and thought simply doing the indicators would be a 2 min job, but no. Some previous owner bodged something up, and even the reflector lens inside one of them was mangled, both bits being unavailable along with complete units.Comment
-
I had the same problem with my bumper. I went to the local hardware store and found metric "elevator bolts" as they are called. They are a flat round head. I bought some and trimmed the sides of the head down to a squared-off edge and they slid right in the bumper.
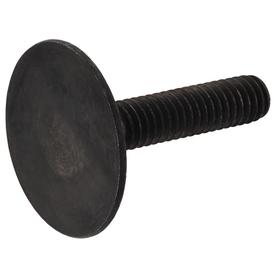
You'll also need to come up with some sort of rubber stand-offs if you don't have those as well.Comment
-
Beyond amazing.

On the black trim on the doors under the windows, you painted, do you think your process would work on chrome? I want my chrome trim on my cabrio black and many parts are NLE it is 70+ per strip, over 700 for all of it.Last edited by parkerbink; 09-11-2017, 10:58 AM.
[IMG]https://cimg4.ibsrv.net/gimg/my350z.com-vbulletin/550x225/80-parkerbsig_5096690e71d912ec1addc4a84e99c374685fc03 8.jpg[/IMG
Comment
-
I do have the rubber gaskets. those are still available. I may have to mock something up, but I would much prefer the original thing. I'll have to look around a bit.
If I were painting chrome i would make sure to sand very well, use a good primer, and use multiple light coats. No reason I would think for it not to work, but do at your own risk. Find a bad piece of chrome to try first.Comment
-
Thanks!
[IMG]https://cimg4.ibsrv.net/gimg/my350z.com-vbulletin/550x225/80-parkerbsig_5096690e71d912ec1addc4a84e99c374685fc03 8.jpg[/IMGComment
-
Let me know if you find anything. I'd sure like to have originals too. According to RealOEM it looks like they were an M3 only part.
http://www.realoem.com/bmw/enUS/part...758&series=E30Comment
-
I BUY/SELL REFURBISHED CM5907s & CM5908s
HOWTOs:
DB vert plastic bumpers
OEM Keys
MTech1 docs
88 ix Lach/Card
91 ic Calypso 3.1
86 Cosmo 2.7
OEM+ or bust!

reelizmpro: I will always be an e30 guy.. I still do all of my own labor
TrentW: There's just something so right about a well-built M20 in an E30
e30m3s54turbo: I save my money for tuner parts.Comment
-
Hey guys,
Been a while, so here are some new updates. Some little, some big.
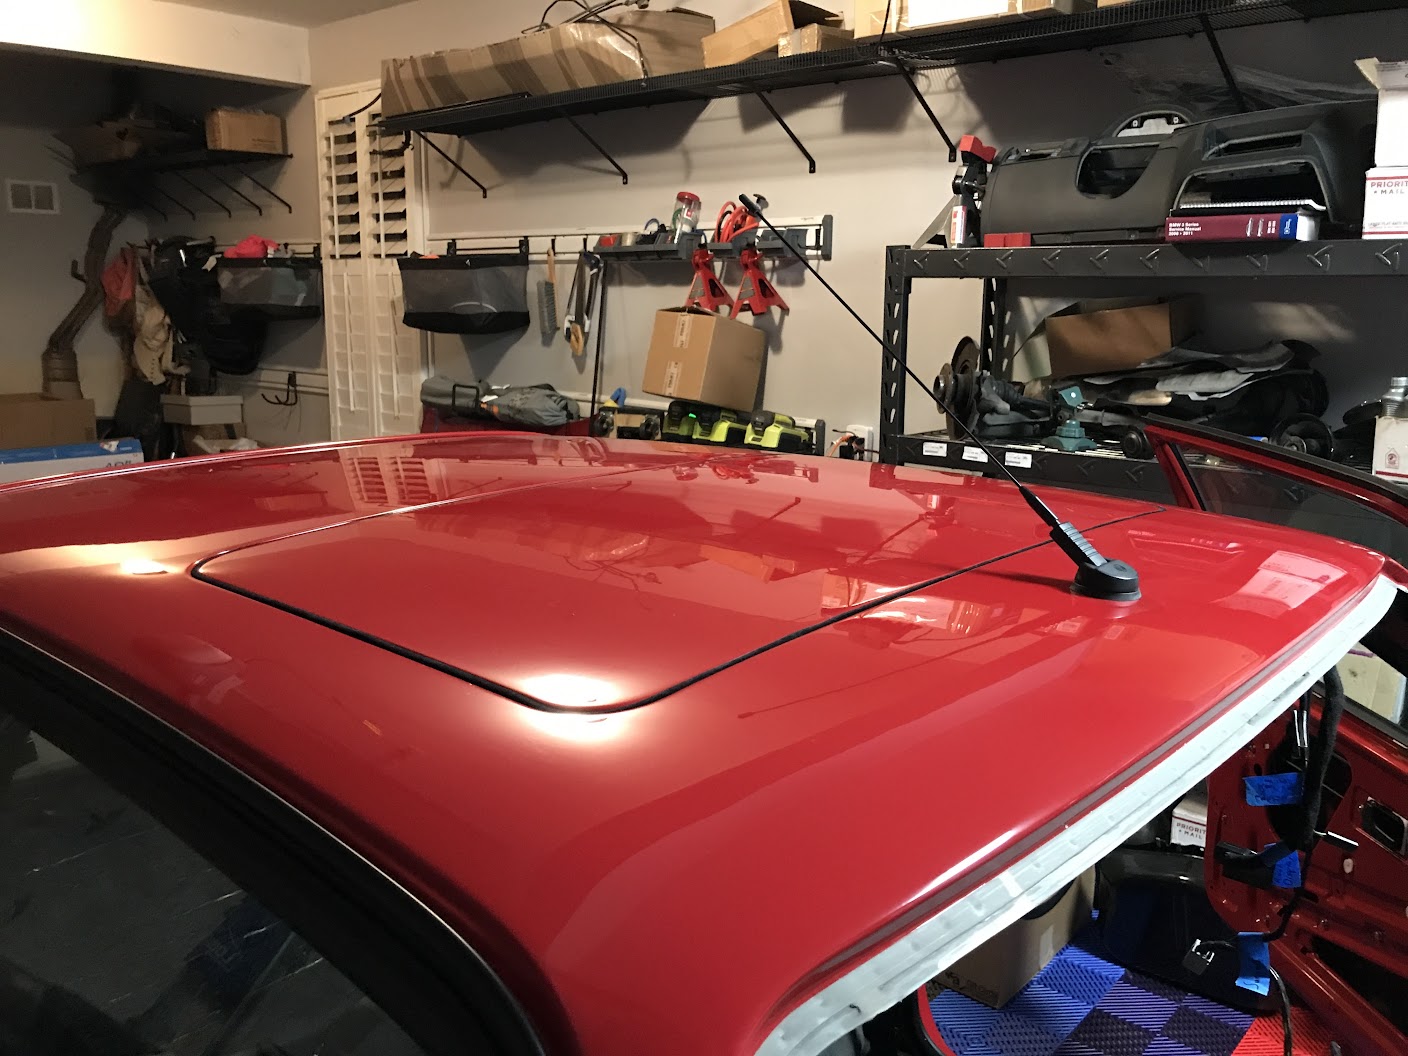
Windshield wiper linkage in
Sunroof in – will have to adjust the upholstery panel when I get the electrics powered up
Motor in
Receiver Drier in
Evo air venturi in place
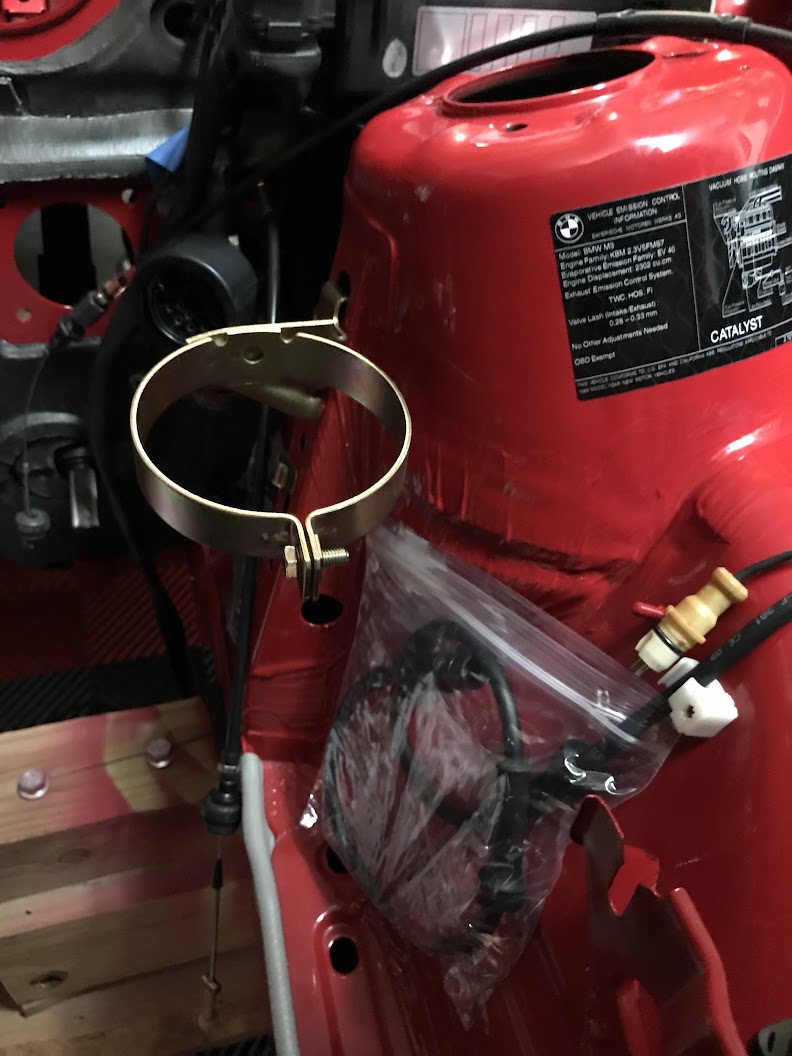
Fuel Injection System Pressure Sensor
Any good ideas on how to re-blacken these? Tried back to black, didn’t work. Whenever I scratch it with my fingernail, it shows black underneath – but that’s not going to get me a uniform texture. Might try some other chemicals on the back. Recommendations welcome.
New wiper nozzle setup. The old lines were brown.
New components vs old. I ended up cleaning up the old elbows (black plastic bits) and reusing them because the old ones were built better and had the BMW roundel on them.
New
In
Hood insulation clean up. I used Folex and shop towels. Gentle dabbing instead of hard scrubbing to minimize the fibers that get loosened and then hair clippers to get rid of the loose fibers that were already there.
How I ran and secured the lines
Replaced busted washer fluid pump connector
New reading lights, handles cleaned up
Got a Bentley manual. Things got a bit more complex between 89 and 07.
Fuel system – filler neck, expansion tank, and breather lines
Old
New vent hose compared to old. Old had dry rot.
New on. Reused the OEM clamps.
Cleaned up the small expansion tank hoses, were in great shape
Did use new hose segments on the ends of the small vent lines and on the top line that goes from the expansion tank to the vent line
Need a few more lines, but the fuel tank has been fully cleaned and painted.
Tired gas pedal bushings, your relief has arrived
Interesting note, my old pedal was weighted, the new one is not. I put on the non-weighted one first, but may swap back to the weighted version.
Two more bushings and one clip. I used my version
Cruise control module back in
Mirrors back on – cleaned up the rubber significantly {all old overspray off, reconditioned the rubber}
Power Steering reservoir mount on
Excited about this one. Heater core and actuator – both from FCP Euro (lifetime warranty)
Insulation on, new actuator
I used this for O-ring lubricant instead of engine oil. Went on well.
All together
Wires set – had to remember where the grey fuse holder went (top of center in pic)
In (had to take the assembly above apart and reassemble in place)
This one was exciting, and nerve wracking, and tedious
Evo 3 Undertray - OEM
Lotsa hardware
Rivets hold on the plastic cover
Tow hook covers on. My old bumper didn’t have the black vent that is in the foreground here – it routes air to the oil cooler. Had to find some plastic rivets to get it in snug, but they worked perfectly. Also have the brake vents installed here
Taped off the areas where I needed to drill. Painters tape helps prevent paint splintering. More on that later
I tried drilling a few holes at the tape locations, but found for me it was best to drill with the undertray in place to ensure fit.
Push rivets hold ion the outside, but I didn’t insert them yet fully. Going to get a protective film on it first.
Good news though, time to drill yet more holes
And more holes – I had to drill into the bumper for the screws going to the cage nuts. AAAND had to tape off for the holes to be drilled for the lip spoiler.
All told, I had to drill 46 holes in my new, freshly painted bumper. Like I said, nerve wracking. The metric drill bits I bought got were great, and definitely broken in by that point.
And then, I put 3 coats of touch-up paint in each of those 46 holes to prevent moisture getting under the paint,
Then the splitter can go in
Then the standard splash guard hooks into the combined unit
Finally. The seats are back. New foam inserts, new leather (not vinyl) covers from GAHH. More pics to come later, but wow. I could never have restored them to this.
Comment
-
Loving the attention to details as always.Comment


Comment