Announcement

Collapse
No announcement yet.

The 5 Year Restoration - E30 M3 Reborn

Collapse
X
 
  • Filter
  • Time
  • Show
Clear All
new posts

  • CurrusDei
    replied
    Originally posted by bradnic View Post
    The shame must be unbearable


    Originally posted by 0-60Motorsports View Post
    Yeah steam cleaning sounds good but I recommend a clear rust proofing coat. This way you’ll be able to show the originality of the car.
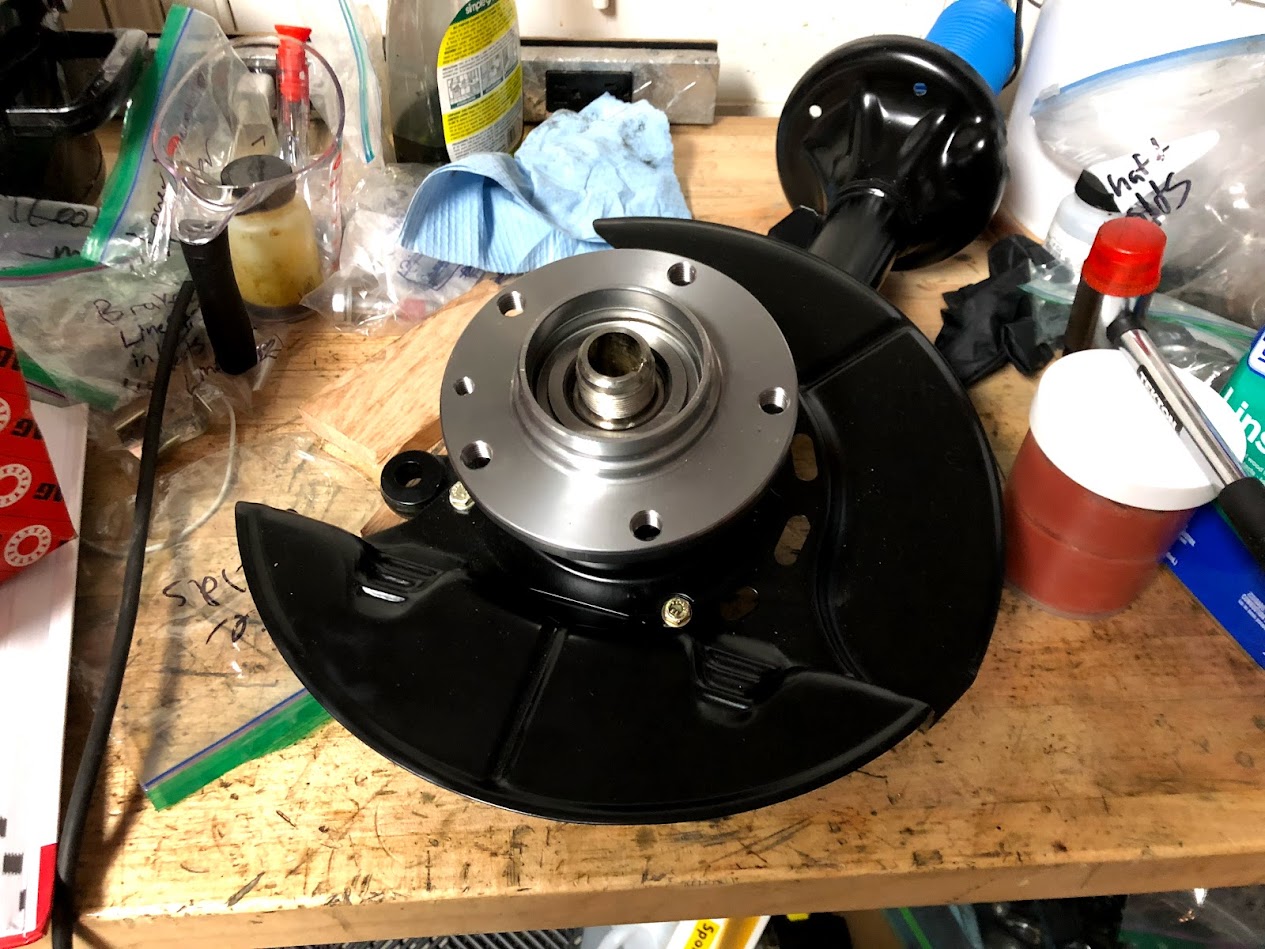
    Good thought. Not that this car will ever see salt, or rain, or anything that could cause rust. The camera flash also makes the underside look way dirtier than it is.

    I'm actually thinking about fabbing up a full underbody shield a-la the M1 to keep everything clean. I'd have to have a way for the exhaust and transmission to vent since its a front-engined car, but i could keep things from getting dirty and improve the aerodynamics. Maybe i could use some roles of pre-preg carbon fiber...ok lets get the car done first before we start down that rabbit hole.
    Attached Files

    Leave a comment:


  • 0-60Motorsports
    replied
    Originally posted by CurrusDei View Post
    Thanks and good question. The underside of the car was in great shape aside from a little dirt here and there. I was going to have it sprayed black, but my body shop pointed out that they see a lot of restorations where black undercarriage spray is used to hide issues like rust, damage, etc. So I left it original to show that there aren’t any issues with the structure of the car, and pressure washed it as much as I could without cutting into the underbody material. Parts of this restoration have been a trade off between originality and perfection - on the underbody I went with originality. I may go after the underside with a steam cleaner before it’s done

    I see there are a couple broken links and pics out of order. I’ll fix it later. Tried to edit from Tapatalk, but the update is so big that trying to edit it crashes the app.

    Sent from my iPhone using Tapatalk


    Yeah steam cleaning sounds good but I recommend a clear rust proofing coat. This way you’ll be able to show the originality of the car.

    Leave a comment:


  • bradnic
    replied
    Outstanding. Total bling part porn overload. Speechless
    Then you ruined it by fat fingering one of the picture links. You deprived us of ONE halfshaft photo! The shame must be unbearable

    kidding of course. Made my day this post

    Leave a comment:


  • CurrusDei
    replied
    4 Years in... Rebuilding an E30 M3. I finished college faster...

    Originally posted by 0-60Motorsports View Post
    Awesome update. It’s coming together beautifully. By the way did you not restore the underside of the car?


    Thanks and good question. The underside of the car was in great shape aside from a little dirt here and there. I was going to have it sprayed black, but my body shop pointed out that they see a lot of restorations where black undercarriage spray is used to hide issues like rust, damage, etc. So I left it original to show that there aren’t any issues with the structure of the car, and pressure washed it as much as I could without cutting into the underbody material. Parts of this restoration have been a trade off between originality and perfection - on the underbody I went with originality. I may go after the underside with a steam cleaner before it’s done

    I see there are a couple broken links and pics out of order. I’ll fix it later. Tried to edit from Tapatalk, but the update is so big that trying to edit it crashes the app.

    Sent from my iPhone using Tapatalk
    Last edited by CurrusDei; 05-11-2018, 05:13 AM.

    Leave a comment:


  • 0-60Motorsports
    replied
    Awesome update. It’s coming together beautifully. By the way did you not restore the underside of the car?

    Leave a comment:


  • MukeM3
    replied

    Leave a comment:


  • Powling
    replied
    Well shit he asked for an update and by god he got an UPDATE.

    Leave a comment:


  • CurrusDei
    replied
    Massive Update

    Yes, updates. Many many updates and long overdue. There’s so much here I’ll probably let the pictures do the talking, but where I have helpful pointers I’ll mention them.


    FRONT SUSPENSION

    New ball joints in front control arm


    M3 ABS ring gear (left, vs standard E30 on Right) zinc’d and installed on new front hubs


    New shocks, freshly powder coated strut housings, some oil for lightly lubricating the inside (Korman said a light coating inside helps with anti-rust, but it isnt required like with factory ones)


    New dust cover for the back of the bearing. Tapped on easily with a runner mallet and one of the press fittings from the bearing kit.


    Time to reconnect the lower knuckle.I had them powder coated separately, left the facing sides bare but they got blasted clean.


    Front brake backing plate


    Time for these guys


    They went on really easily. No need for a special tool. Literally pressed them on with my hand, then took a block of wood and rubber mallet to tap them the rest of the way down. Only had to get them to where the nut will thread, then you can tighen down the nut to get it all the way on. I’m waiting to torque the nuts down until the car is on its wheels.


    Helloo


    REAR SUSPENSION

    Rear subframe mounts


    Pressed in by hand. No tools needed. Just Teflon grease.


    Layout


    Shiny exhaust brackets


    Professional help


    Lots of Loctite


    Rear Shocks


    Spring Pads


    Freshly powder coated brake shields


    Parking Brake passthrough


    OOOOoooo


    ABS sensors - this got much more complicated than it should have. My avatar says “DO NOT OVERTIGHTEN” for a reason….


    So i was putting them on, easy enough, put on the replated bolts, looking good, tighten, tighten, tighten, SNAP.. Bolt brakes off in the rear trailing arm. Great. So, out comes the drill. Drill Drill Drill Drilll. Then….


    I had been meaning to buy a tap and die kit anyways…
    Cleaned out and tapped


    Victory.


    Cleaned out the hubs. Cleaned up nicely.


    Pressing on with the bearing tool.


    Brake lines on


    Re-whitening some white plastic bits - go on the front strut tubes, rear subframe, in the engine bay, etc, so i’ll just leave this here


    Halfshaft to diff hardware


    Diff bolt. Had to scrub off all the modern anti-corrosive with acid. Worth it though


    Now last time i put the halfshafts back in, it involved a wooden block and a mallet. Not so this time. I did some research and found a resource that said the BMW tool for halfshaft installation is $500. Aaaaand there’s a Ford installer that does the same thing for the M3 (same pitch threads) for $10 on ebay: https://www.ebay.com/itm/Ford-Front-...72.m2749.l2649

    Worth it. Much cleaner way to put these things back in. Super easy.


    The other side was so clean it slid right in with minimal force. No tool needed.


    Dont have all the diff to halfshaft bolts on yet because i replaced 8 of them that were partly stripped. Still, it was time...


    More fresh PC


    Lots of fiddling with the jack, later, and...


    Brake lines connected


    ABS sensor lines


    Time for these guys


    And the upper spring pads


    Rear springs


    The H&Rs were short enough that i didnt need to use a spring compressor to get them in.


    Underbody line routing


    FRONT BUMPER

    Old brackets vs new brackets & replated hardware


    New front bumper bolts. I’ve heard some people say these are NLA. They arent. They’re just on the wrong place in the OEM parts diagram.


    SEATS


    Seat Shocks


    Replaced the uppers and lowers.


    Keep the little caps that go over the retaining rings. Couldnt find them anywhere so I re-sprayed mine


    Back together and the recline actually works now! It used to just free fall. New shocks are a huge improvement.


    ENGINE BAY

    Cleaned up the charcoal canister


    All new hosing, re-used the pressure control valve (is NLA)


    Installed


    More fasteners from Belmetric


    HVAC line mount


    HALF SHAFTS

    Inner


    Cleaned up


    OUTER


    Soaked overnight in mineral spirits to remove the grease


    Next Day


    Lots of brake cleaner, brushing, dumping out grease, etc. until it came out clean.


    New Grease - used about a tub and half between all four u-joints


    Back together


    New Boot on - the small inner clips on these guys were a pain. Getting the boots to go on while wearing a crimp clamp was impossible, and putting the crimp clamp on first then pulling it up over the lower end of the boot was just as impossible. I figured it out using some screw clamps (the same ones that GKN sent with their rebuild kit) with green loctite. The clamps can be found easily at BelMetric. Anyways….


    Use included bolts to align


    C-clamp back on


    Back together - missed some steps in the pic (outer boots for instance) because this is seriously messy work and taking pics does not go well with it. There are a lot of tutorials around though. Still missing the inner clamps i mentioned in the pic below


    Here was the solution. I used these for both inner and outer,


    OTHER

    Joined the filler neck to the gas tank


    New gasket in the fuel tank cap, cleaned up the outside with mineral spirits and boiled linseed oil


    Crossover pipe fittings had some surface rust left from the cleaning/paining. Some mineral spirits before the new pipe went on took care of it. Plated the crossover pipe as well.


    Re-Plated the bolts for the hood catch


    Minor, but this was a big win. The original speed nut that held on the coolant overflow tank was split. I looked everywhere for a new replacement, but the ones BMW makes in this size dont have nearly enough room between the two sides. The two inner sides basically touch in the new ones, and the application requires 2-3mm of a gap.

    Broken original in middle, new replacement on left (not thick enough), one on the right is thick enough but is the wrong size


    I was able to rig up the thick one that was the wrong size (took a smaller bolt) as a temporary fix, but I still needed a real fix. Sooo i went around the junk yard one Saturday morning pulling speed nuts off of various 80s-90s cars. I acid stripped them, polished them, plated them, and came up with - the replacement….


    Now here’s on that i bet a lot of guys will like. The rear window latches started out black, but they whiten over time, and are very expensive to replace (if you can find them). I started out trying back to black, degreaser, and about 10 other cleaners and only succeeded in getting this far...


    Then i went for, you guessed it. Mineral spirits - boiled linseed oil (I let the oil sit on the rubber overnight. It soaks into the pores), and….


    Underside shield


    Some plastic attachments routing the lines on the engine that go to the oil filter housing


    BRAKES

    Mineral Spirits, followed by Boiled Linseed Oil did wonders for this ABS cover….


    ABS Pump back in.

    New rubber feet.


    Brake lines


    Cleaned up one at a time and reinstalled


    ENGINE AND TRANSMISSION

    Cleaned up the camshaft and crankshaft position sensors


    New wire gathering loom


    Ready. Not yet fully installed with the backing plate. Need to get trans on the motor first


    And speaking of the motor. It has been on the motor stand for way too long. Since June 2015. About time we take it off before it hits 3 years...


    Flywheel and clutch going on this weekend. Might fit the trans as well.


    Before that though, i need to get a few things on so that i can put the back of the car on ramps, use the engine hoist to pick up the nose of the car, slide the motor and trans assembly under, and lower the car back down. This means, parking brakes.

    All new stuff, except the lower mechanisms which were replated and are indistinguishable from the new stuff.


    I used new shoe adjusters. The old ones replated fine except for the big conical piece. It was pitted from years of brake dust, so I got new ones from BMW.


    Knock around a bit and….


    Then brake rotors (no calipers yet, just need the parking brakes to hold the wheels still on the ramp to act as a pivot point)


    That has not been seen in my garage for a while.


    Bit of wheel gap?

    Last edited by CurrusDei; 05-11-2018, 07:27 AM.

    Leave a comment:


  • kid8
    replied
    Updates?

    Leave a comment:


  • CurrusDei
    replied
    Yeh i would make sure to have the yellow chromate up to the right temp first. Then after lightly drawing off the excess water with the edge of a shop towel i actually let mine dry for two days before i touch it at all.

    Leave a comment:


  • BMG
    replied
    Thanks for the reply. I started out avoiding doing the plating myself and sent most of it out in a couple of batches, along with stacks on new nuts and bolts from BMW.
    With lots of the parts now done, I found it was often one tiny part needing plating to finish the item I was working on being completed.
    It isn't practical of cost effective to take one of two tiny parts for professional plating, so purchased a kit from eBay here in the UK with the aim of just doing the odd small part myself now the major stuff is done.

    I thought the zinc stage would be the hard bit, but that all seems OK , its just the yellow chromate doesn't seem to adhere. I can plate it and dip in the chromate and get it looking OK, but it will scratch off easily and doesn't get that almost gloss-like finish to it.
    Given the vastly differing price between the two kits, I can't help think its a ' get what you pay for' thing, but that's probably unfair to say when its early experiences of something new.
    I think maybe the best bet is to mix a new batch and revisit.

    Leave a comment:


  • CurrusDei
    replied
    4 Years in... Rebuilding an E30 M3. I finished college faster...

    Originally posted by BMG View Post
    Good to see another update of quality work. I especially like your zinc plating work. I bought a small kit for my restoration, while the zinc comes out looking good, the colour passivate has proven impossible to master for some reason.


    What kit are you using? If you get the zinc right the yellow chromate should be automatic. With the yellow chromate that comes with the Caswell kit it needs to be 80 degrees F, and only dip it for 30 sec, then dip slowly a few times in the rinse tank. Make sure you’re using distilled water, not tap. Then I use a shop towel to collect the drops of water left on the piece. Dont rub with the towel, I just touch the edge of the shop towel to areas where water has collected and let the capillary action of the water draw it into the towel.

    Try the caswell kit and if you have trouble give them a call. I spoke with one of their engineers when I first started and it was helpful. Whoever my yellow zinc starts to look off it’s usually because I need to add brightener to the plating tank or clean the zinc plates. Also if I leave parts in the degreaser too long they get dark and cloudy, then I put them in a 3% muriatic acid/distilled water solution and use a brush to get them bright again, then rinse and do the water break test before plating (spray with distilled water, if it doesn’t bead, you’re good)


    Sent from my iPhone using Tapatalk
    Last edited by CurrusDei; 03-11-2018, 06:37 AM.

    Leave a comment:


  • shootnjunky
    replied
    love this thread

    Leave a comment:


  • BMG
    replied
    Good to see another update of quality work. I especially like your zinc plating work. I bought a small kit for my restoration, while the zinc comes out looking good, the colour passivate has proven impossible to master for some reason.

    Leave a comment:


  • kid8
    replied
    I love seeing updates on this, you're doing a fantastic job on the restoration!

    Leave a comment:

Working...
X