

Hey guys,
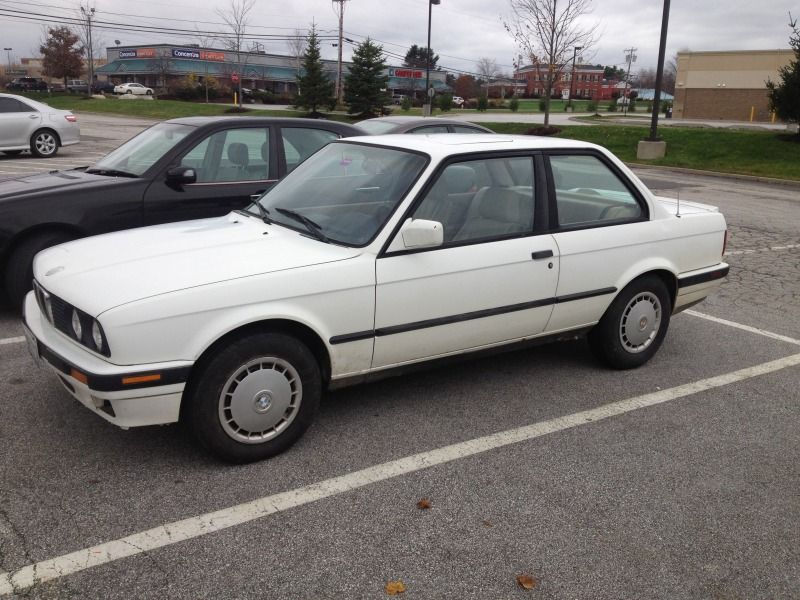
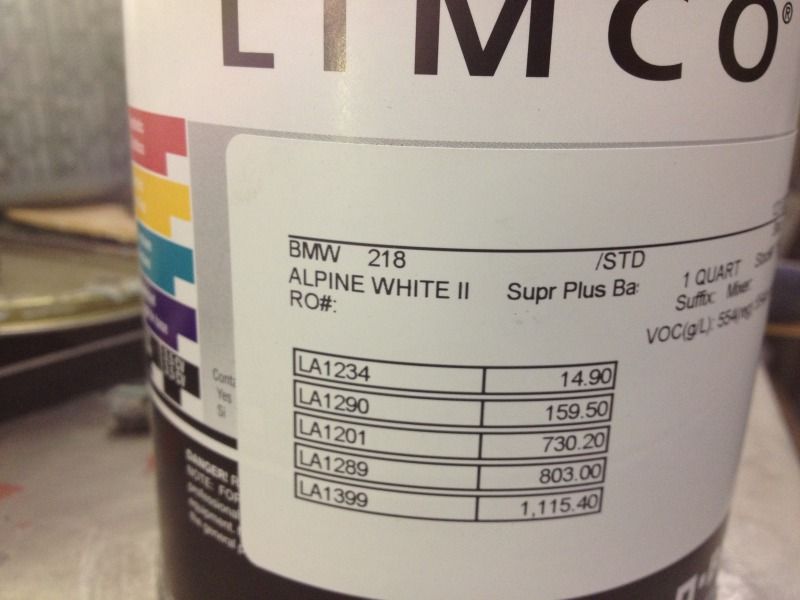
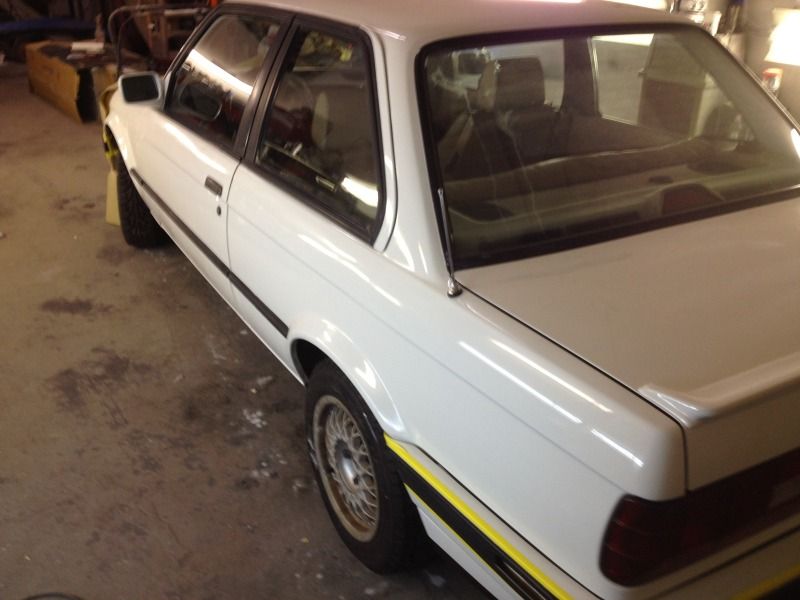
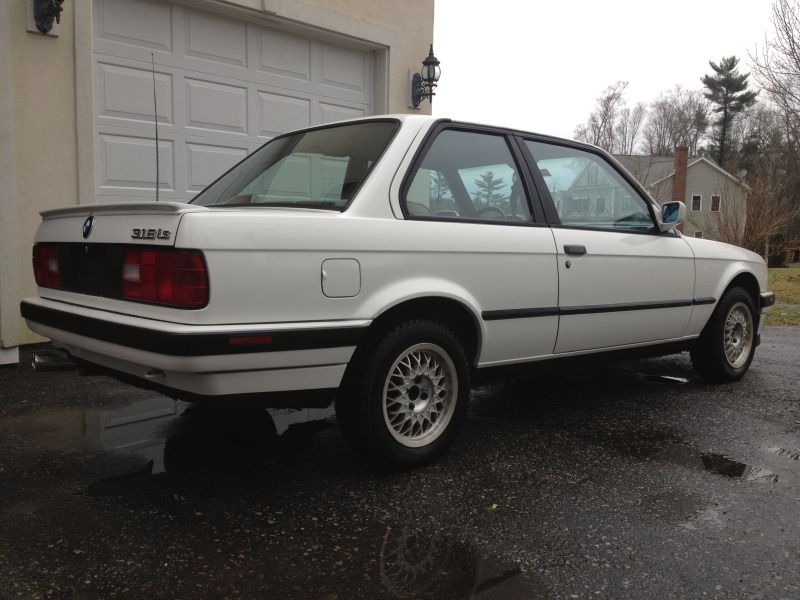
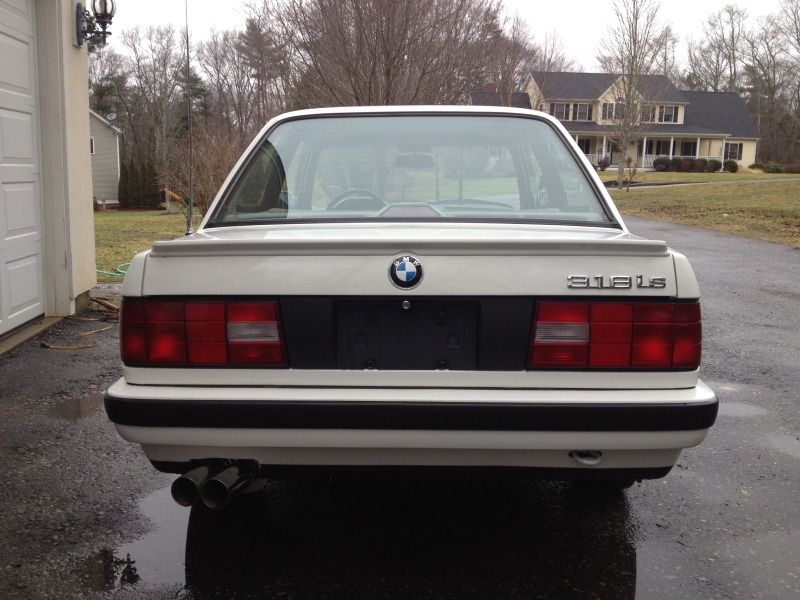
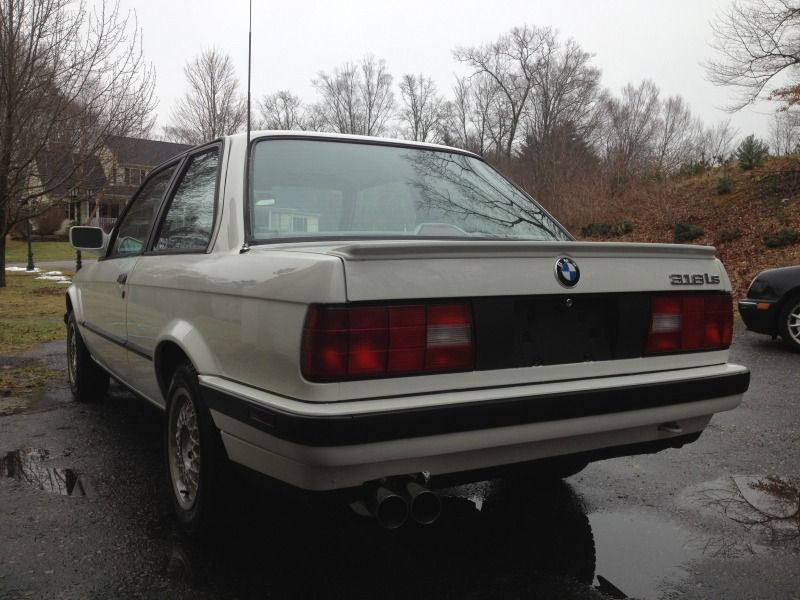
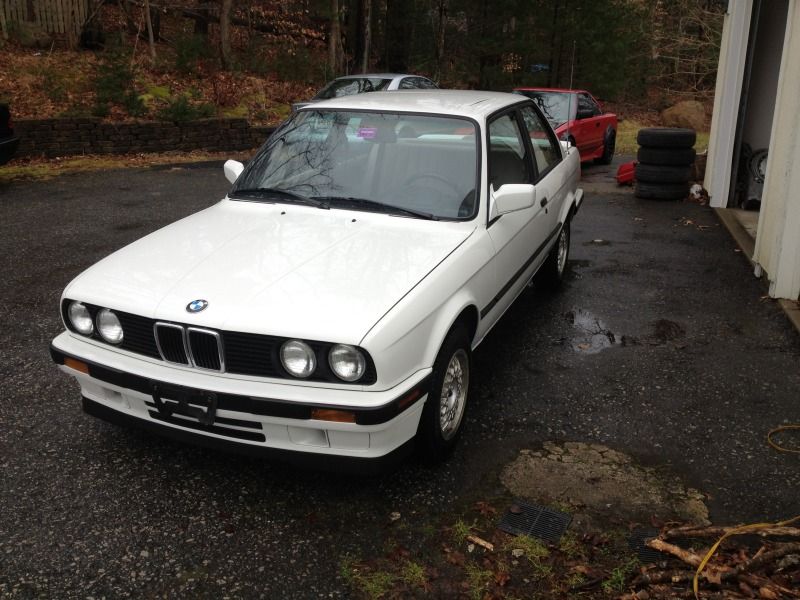
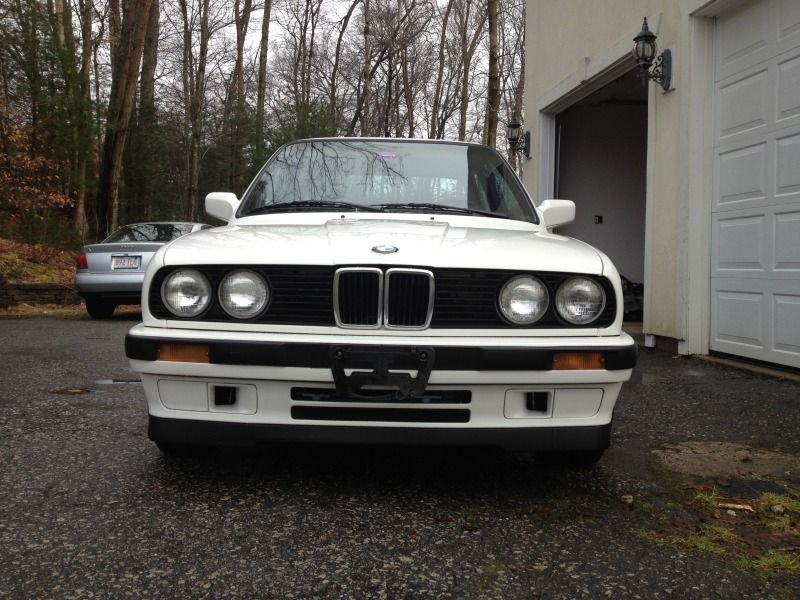
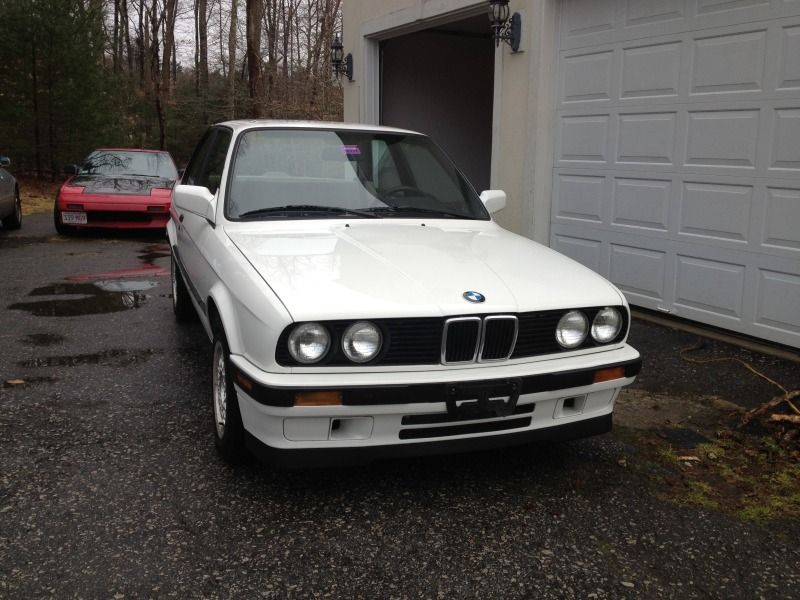
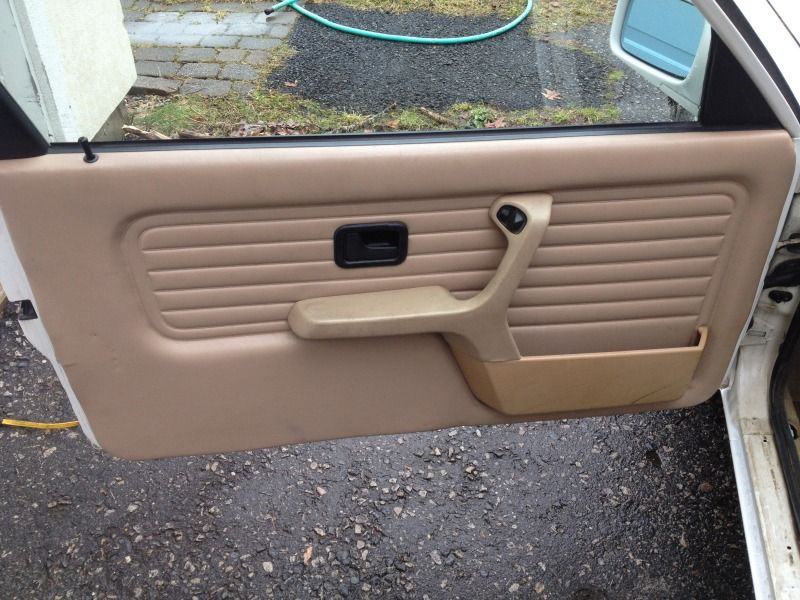
After a 4 year hiatus from E30's, I found myself another one: a '91 318is in Alpine White II with tan interior. It's taken me a while to find a decent 318is and mine still isn't perfect, but it was fairly well-kept, considering it's age. This thread will chronicle the progress from when I bought it on November 1st and the day it drove home from the body shop on December 20th. I'll then update as I continue to restore the car.


I found her up near Bangor, Maine. Apparently the car had spent it's whole life there, but miraculously wasn't a rot box like most 20+yr-old cars from New England are. At 193k miles, it's averaged just under 9k miles per year. After a long conversation with the current owner (who had only had it since July), I decided to forego the two questionable 318is's I saw in Connecticut and made the long trip up to Maine.
The trip up to Maine took about six hours. I stopped north of Boston to pick up my friend Stefan who would ride up with me, then went straight up to Maine. Once we got up there, I gave it a good once-over to confirm that there were no major rust problems, took a quick spin around the block, handed the owner $2,000 cash, swapped his BBS wheels for some steelies and started the journey to Portsmouth, NH where I would go to BavAuto to get some parts.
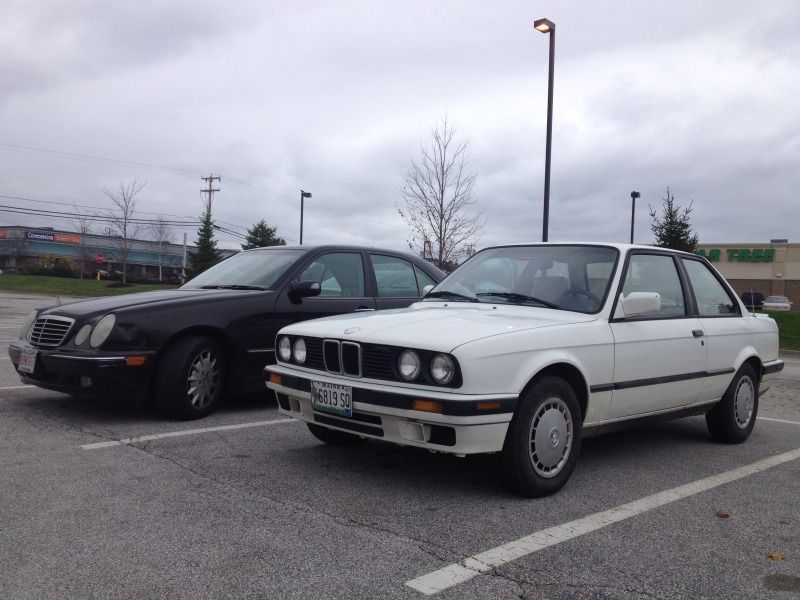
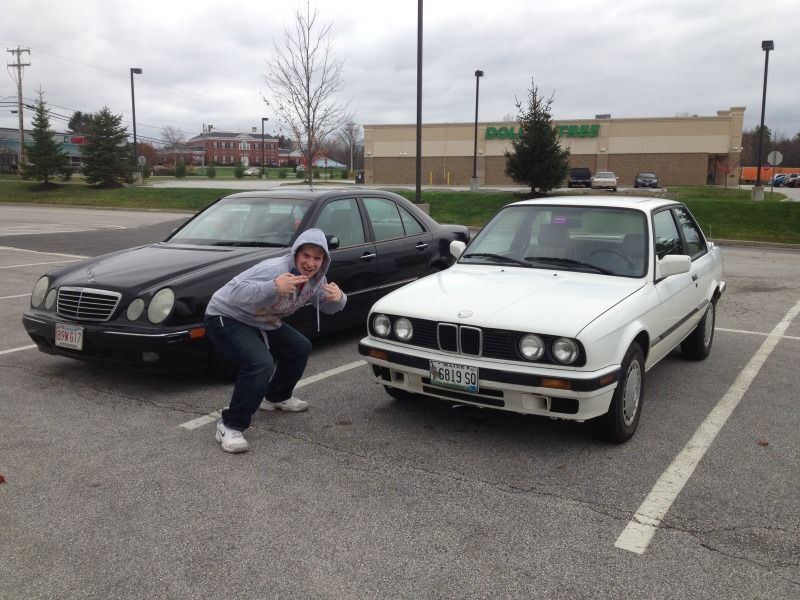
(Stefan demonstrating how gangsta we'd be if we lived in Iraq with these cars)
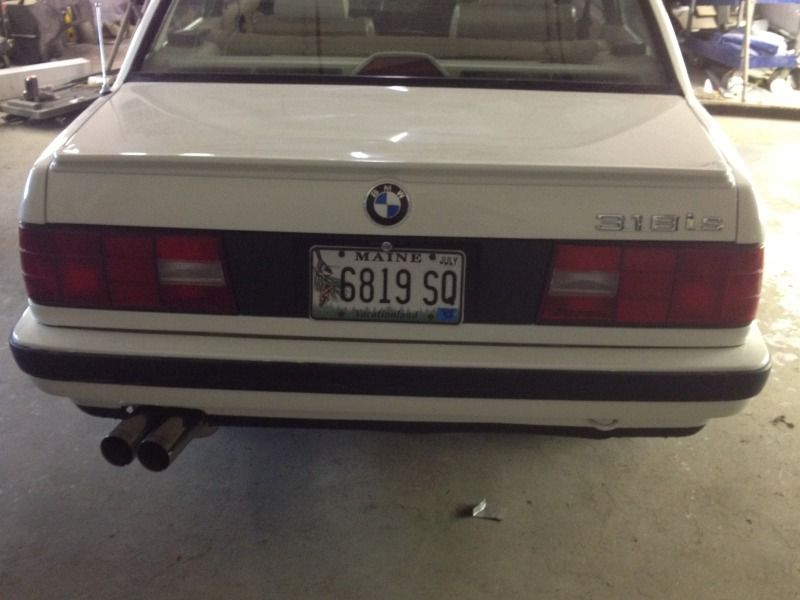
Well, we didn't make it to BavAuto in time. Luckily, my best friend was working in Portsmouth for the day and I was able to call in the parts order and have him pick them up. Major props to both my best friend Andrew and for BavAuto for being so helpful! I picked up a Motorsport front spoiler and clips, new front and rear Roundels with grommets, taillight filler panel, fog light covers, and some goodies from UUC: stainless shift knob, shifter bushing, clutch arm bushing, and clutch pedal stopper
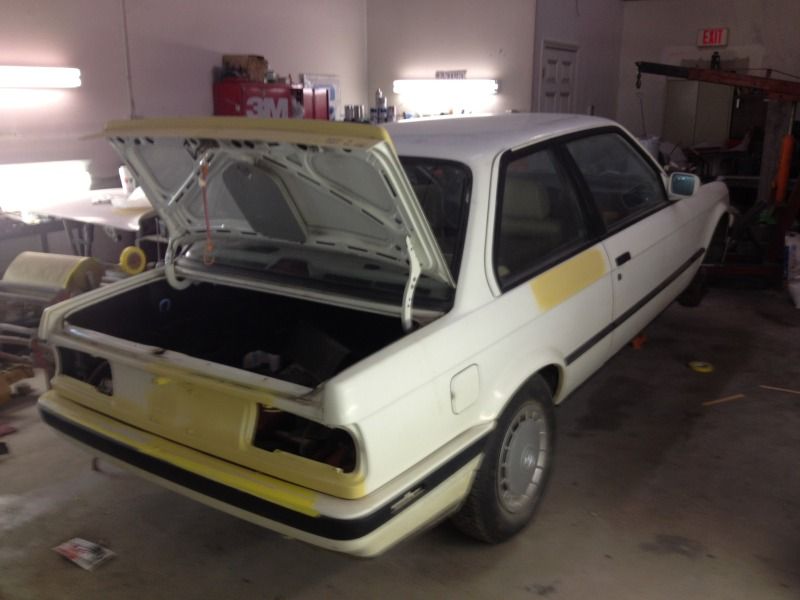
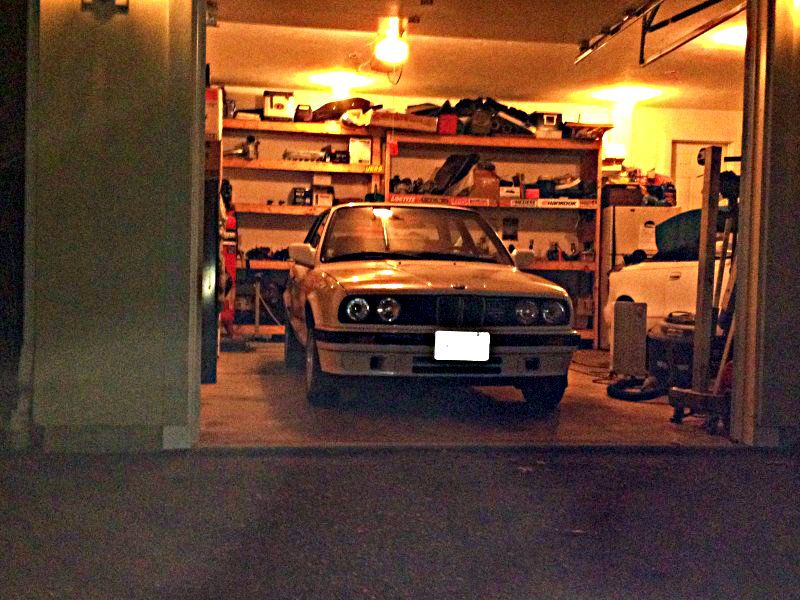
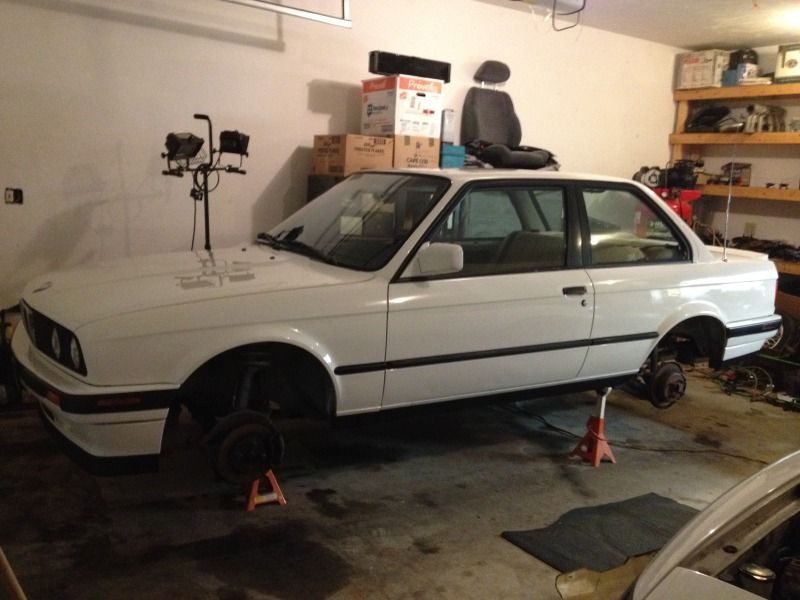
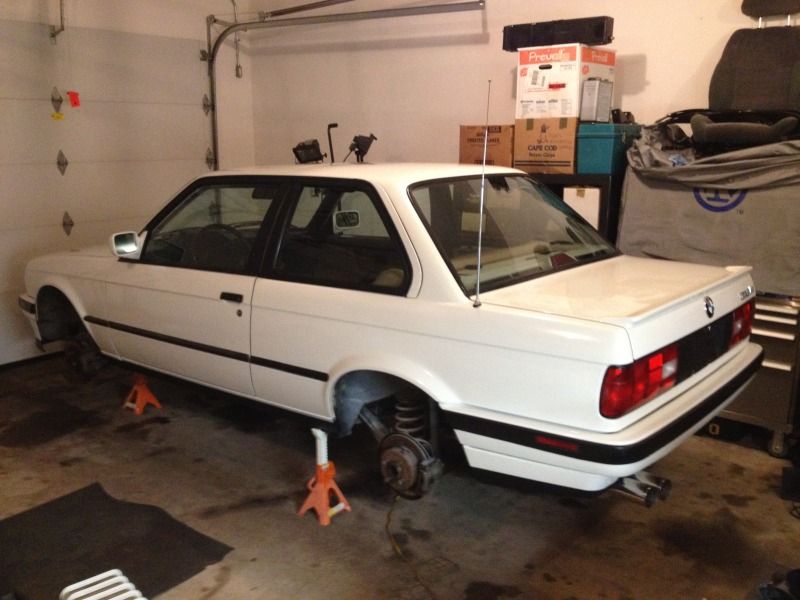
Next it was over to Hooksett, NH where my friend Derek was waiting for the car to begin prepping it for paint. The original paint on the car was pretty tired and there were some dents on the body and some surface rust on the trunk from where the P.O. backed into something. Derek was going on his honeymoon for the next two weeks, but he would get straight to work on it upon his return. Since I was on a budget, I told him that, knowing you could only have something done two of three ways (good, fast, and cheap) I chose good and cheap. After dropping the car off, we made our way back to Mass. The whole trip took us about 12hrs and 635 miles.
Fast forward two weeks later: Derek gets back from his honeymoon to find a pool of oil underneath the BMW where it sat. Fantastic! I guess I wasn't going to be able to drive it home until that was squared away.

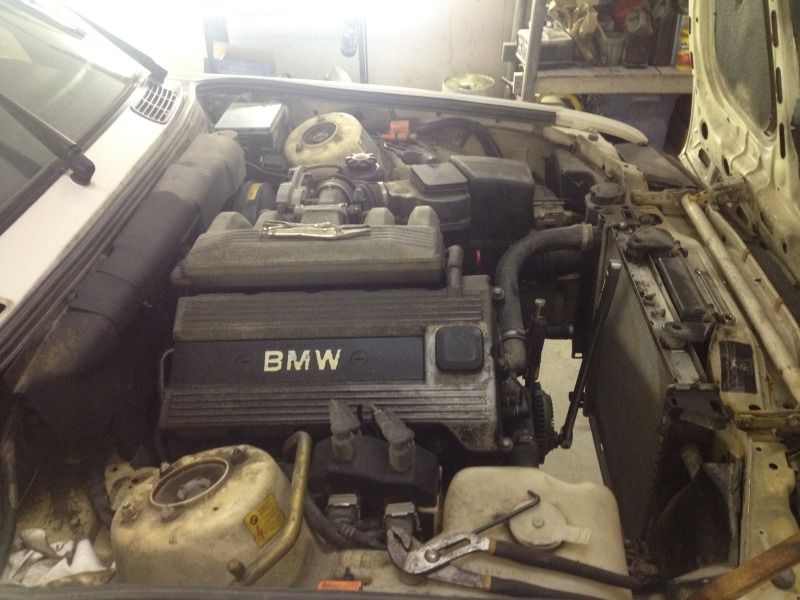
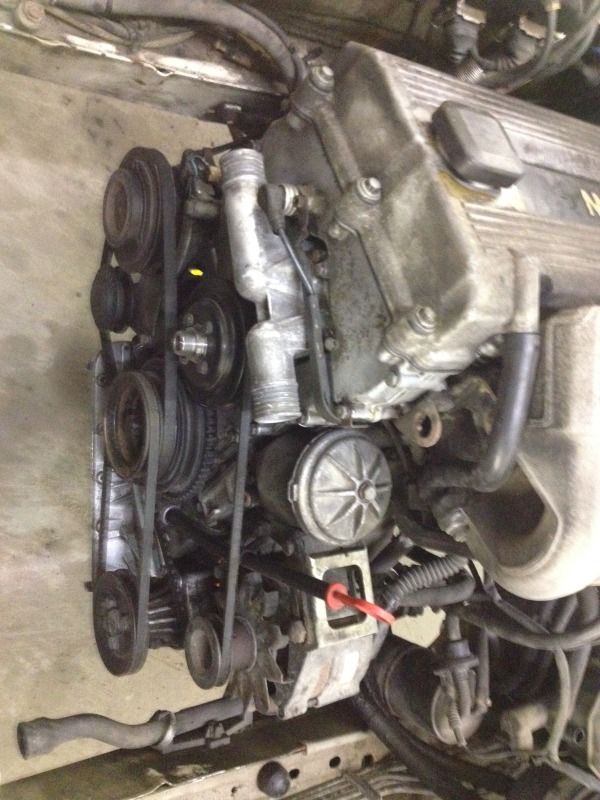
I took my next day off to head up there and determine what the issue was. Well, the culprit turned out to be a hairline crack in the oil pan, causing the oil to slowly seep out of the sump. While checking this I noticed a disgusting amount of sludge covering the front part of the engine, so I decided it was time to tear the front cover off and clean everything. In the upcoming weeks I ordered an upper/lower timing gasket set, front main seal, oil pan and seal, water pump, thermostat, and an electric fan and wiring harness to ditch the clutched mechanical fan. Derek was to prep the car for paint as I was taking care of the mechanical stuff. He would wait until that was complete before laying down the first coat of paint; wouldn't want to get dirt or oil in the paint!
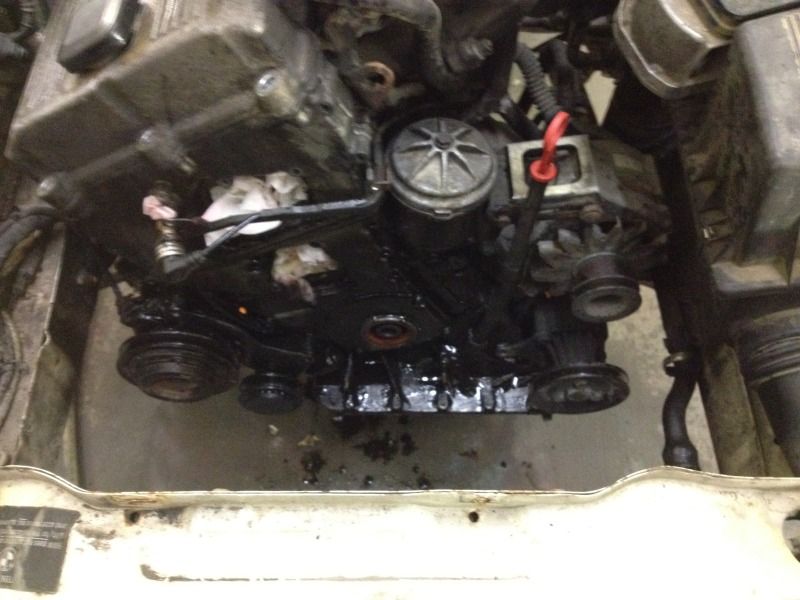
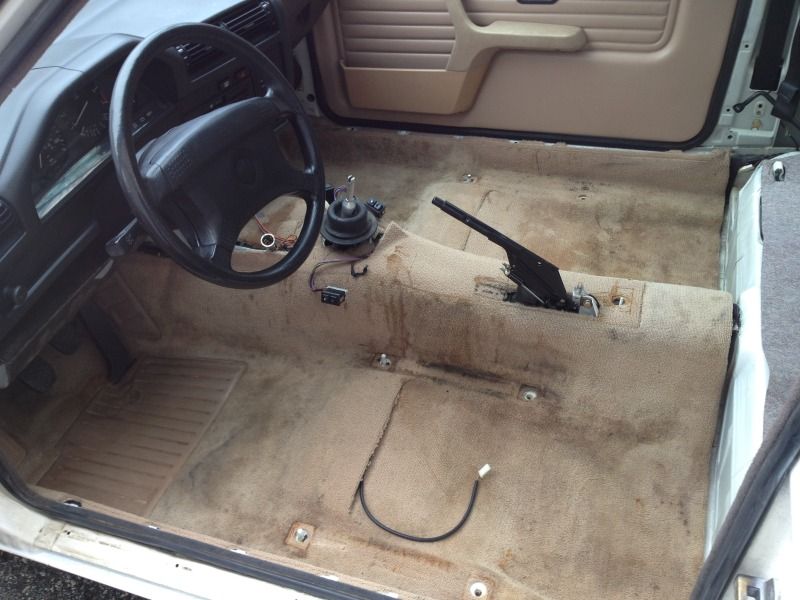
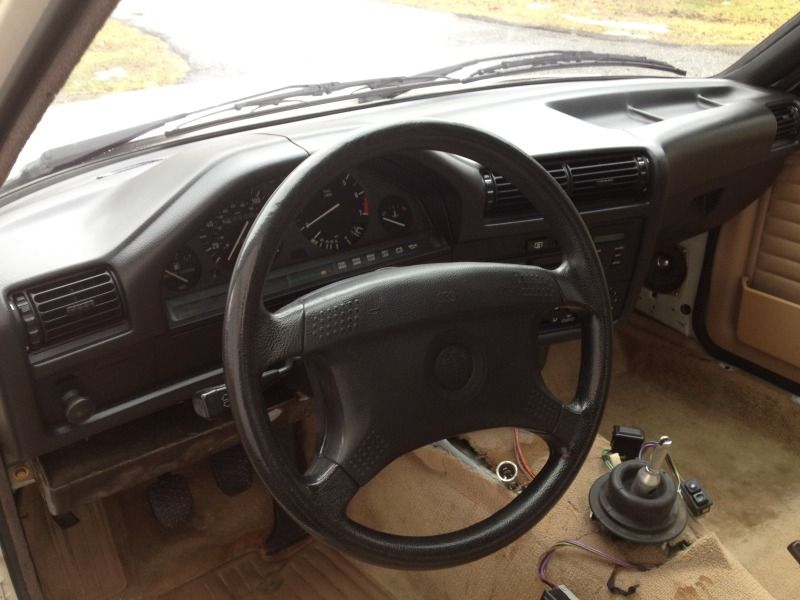
It took me two more days off worth of meticulously cleaning every part and replacing all the gaskets. I didn't have a manual to work off of, so it took me a bit of time to examine everything and make sure I was doing it right. I went through 3 cans of brake clean and a couple old toothbrushes to get the front of the motor clean.
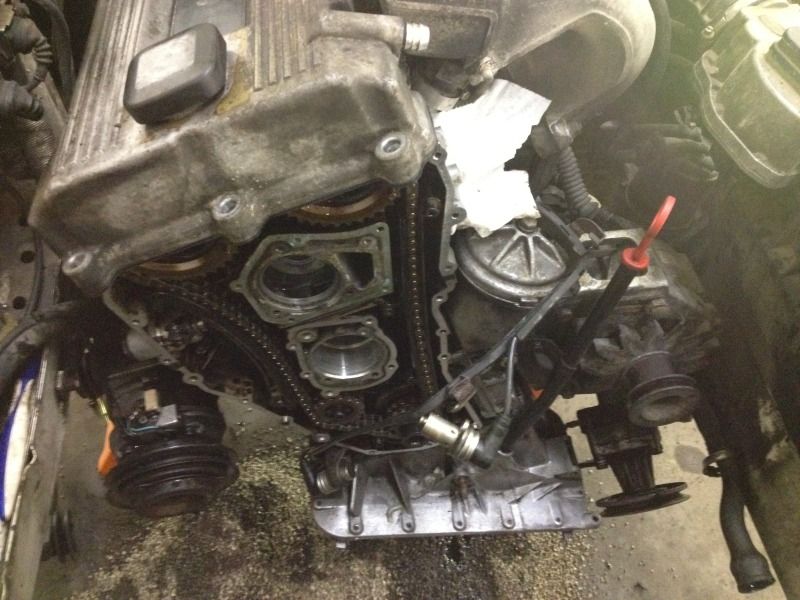
The timing chain tensioner was replaced in the past 5 years so I didn't see the need to touch anything there. The new water pump didn't quite fit at first (the back edge of the impeller housing was too thick) but a little sandpaper took just enough material off to get it to fit snugly and work properly.
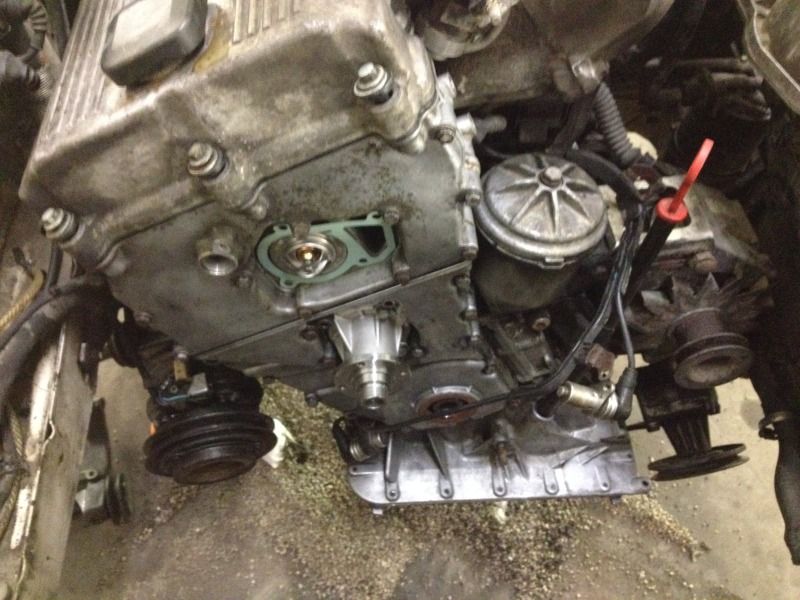
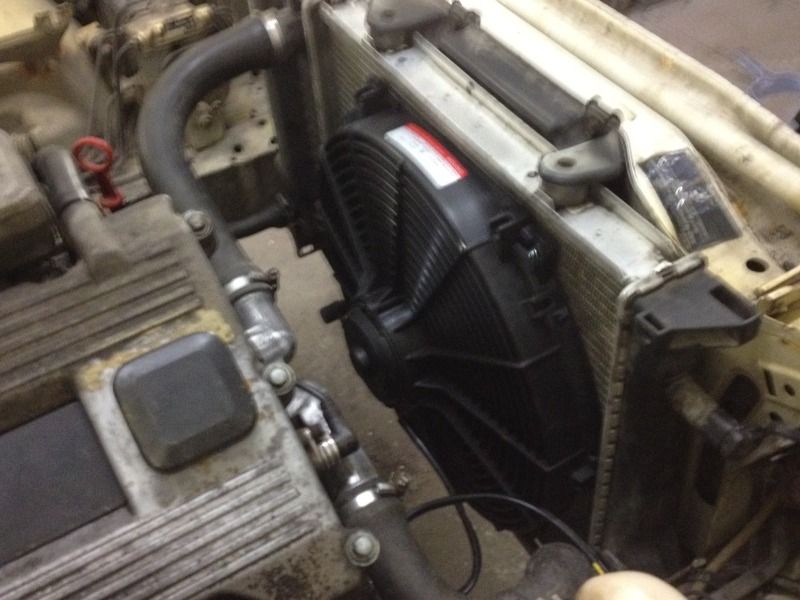
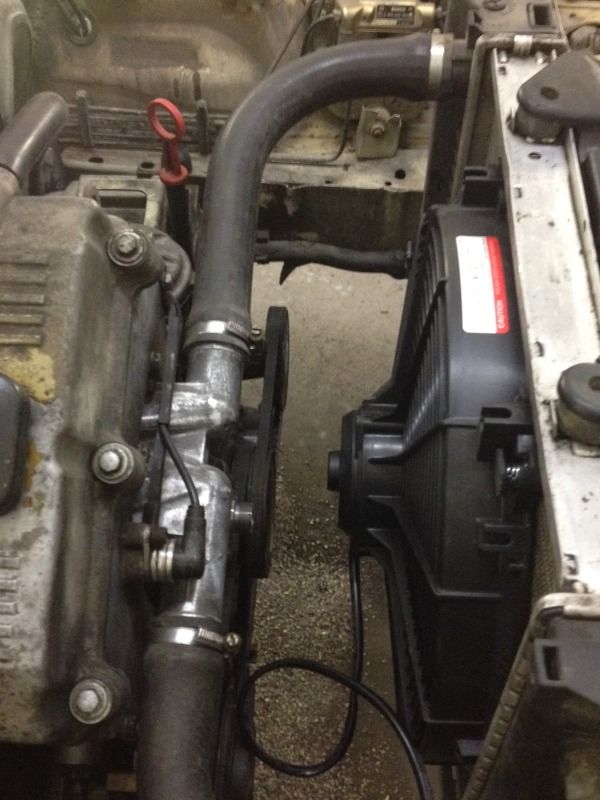
With the front cover back on and everything back together, I installed the electric fan, which was a piece of cake and freed up some space in the engine bay. Then it was a matter of getting the coolant in the car and bleeding the system of air.
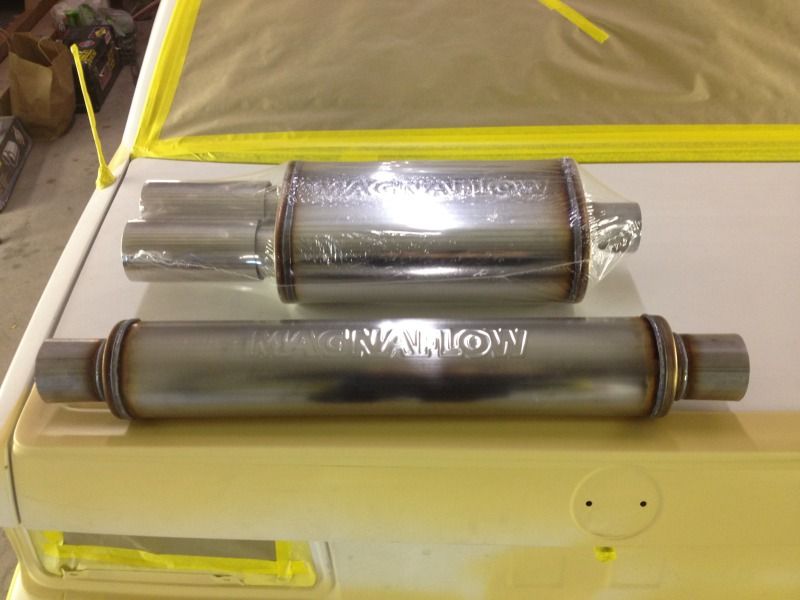
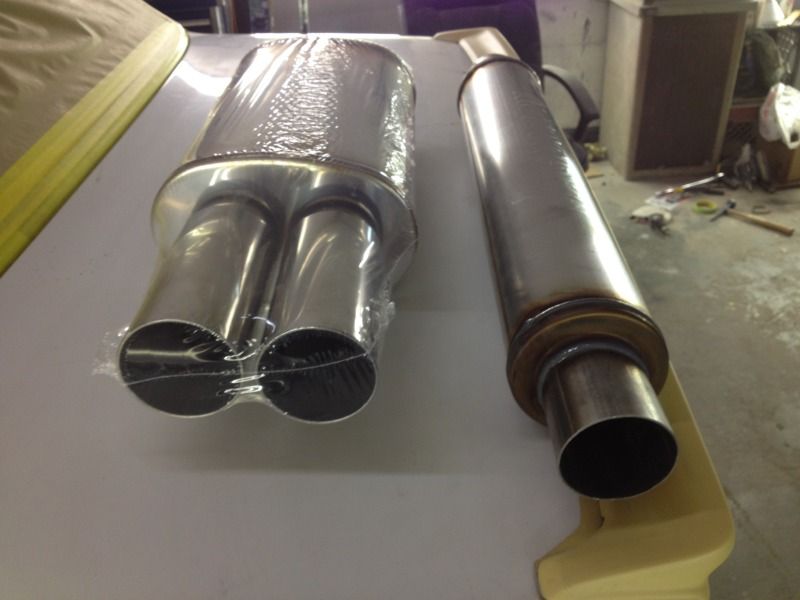
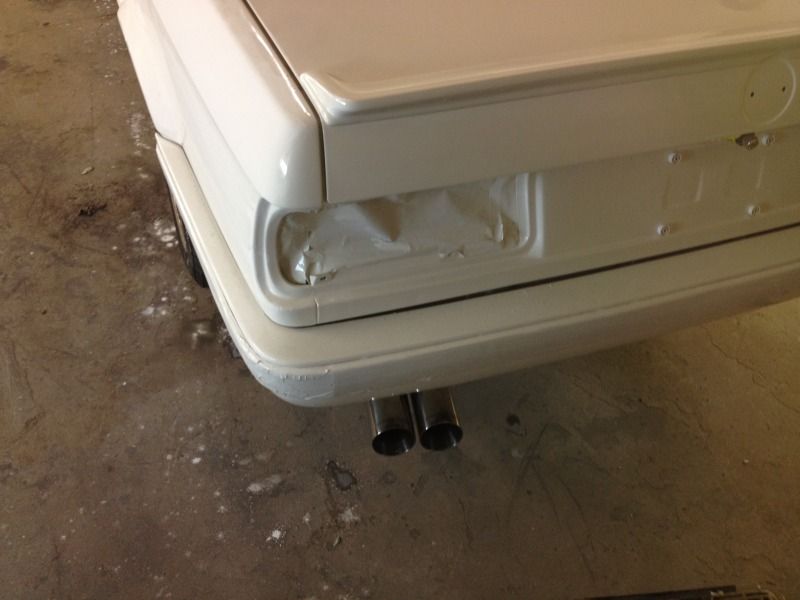
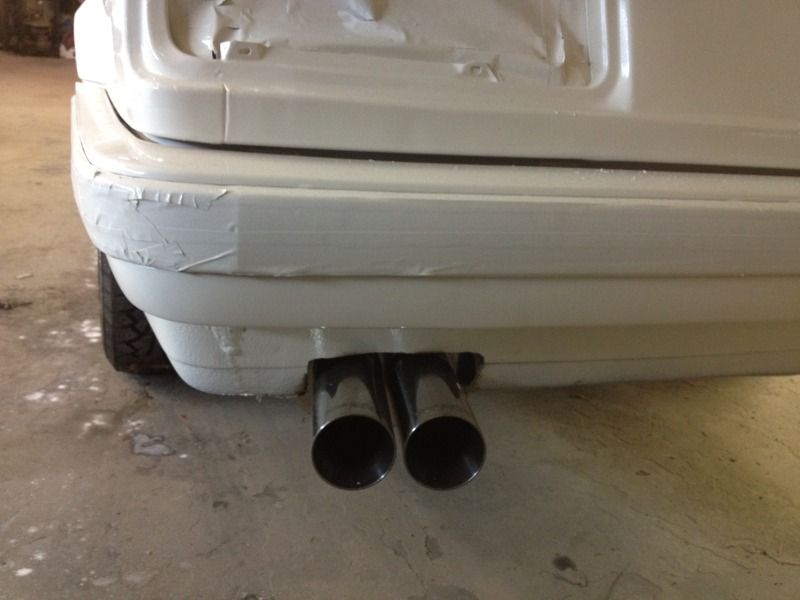
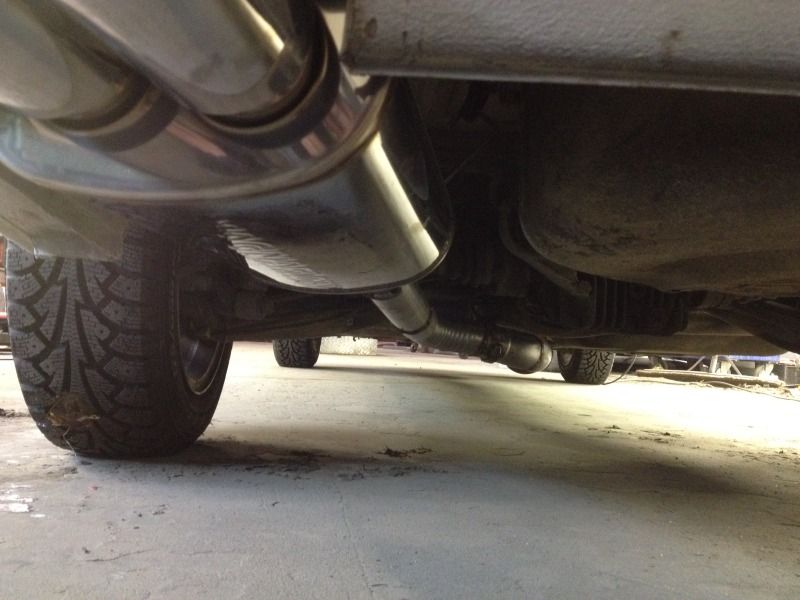
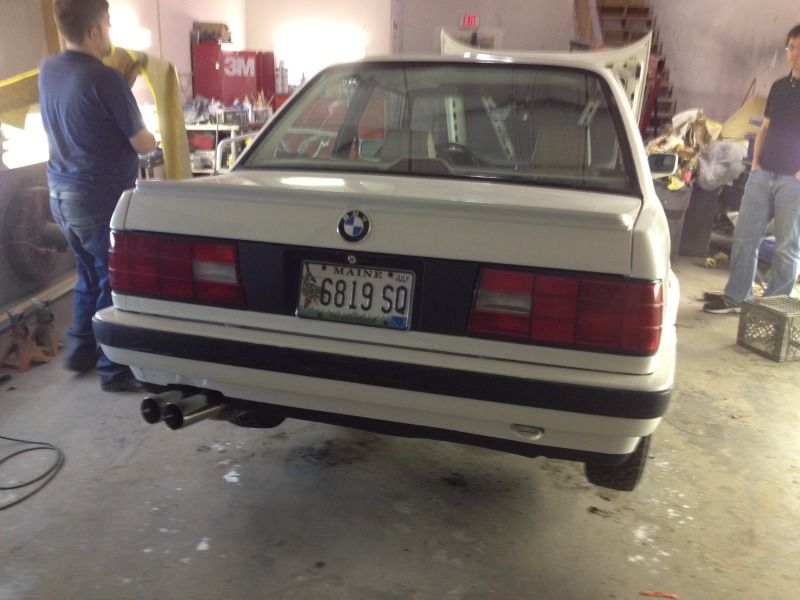
However before we ran the car again, Derek installed a cat-back exhaust on the car, because it didn't have anything after the cat. I bet you can imagine just how annoying of a ride it was from Maine to NH! I wasn't about to do that again, so I made sure the exhaust was done before leaving for home. I had ordered a Magnaflow Universal muffler and resonator in 2.5", and we ordered mandrel-bent piping but it didn't show up in time so we used crush bend piping temporarily. Well, it's really loud with that exhaust, so I'm going to try using smaller diameter pipe and a different resonator to see what happens.
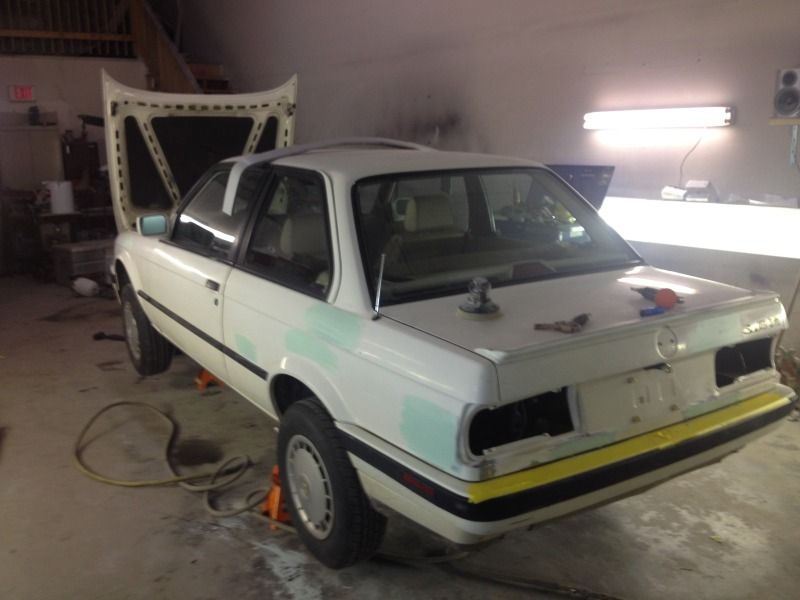
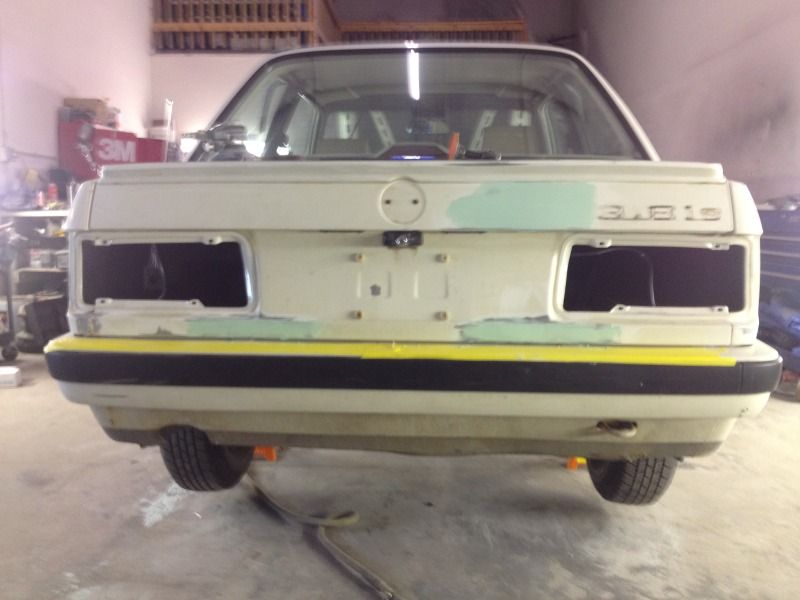
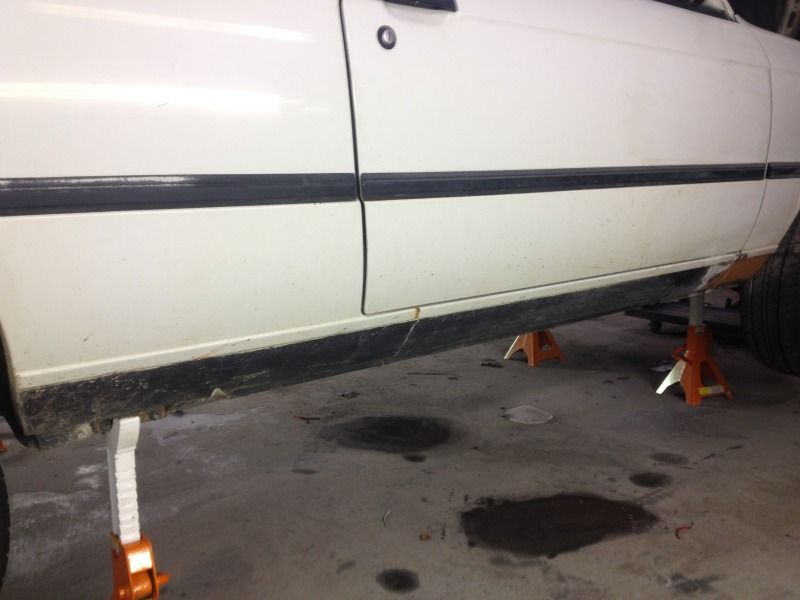
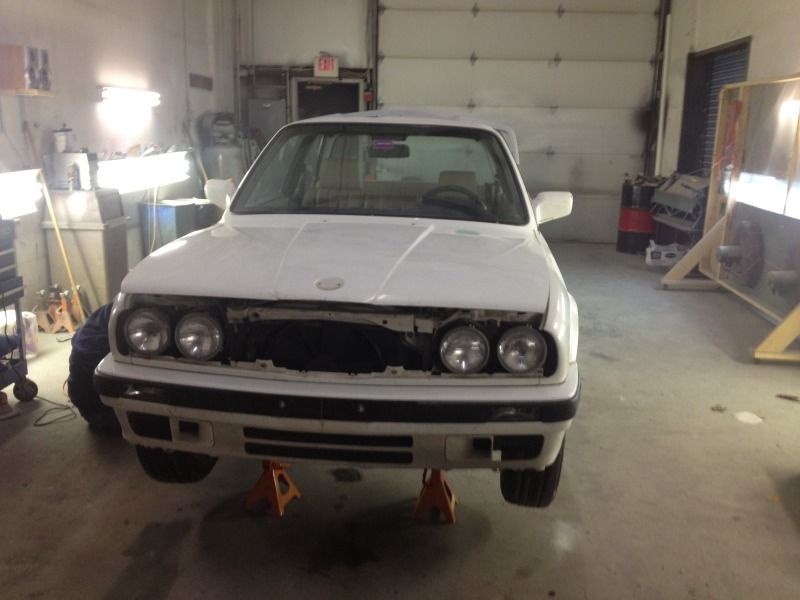
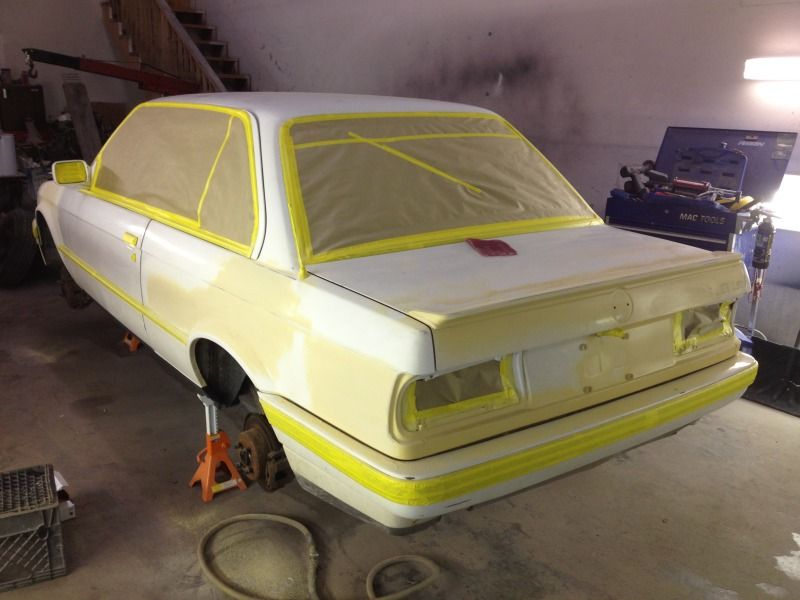
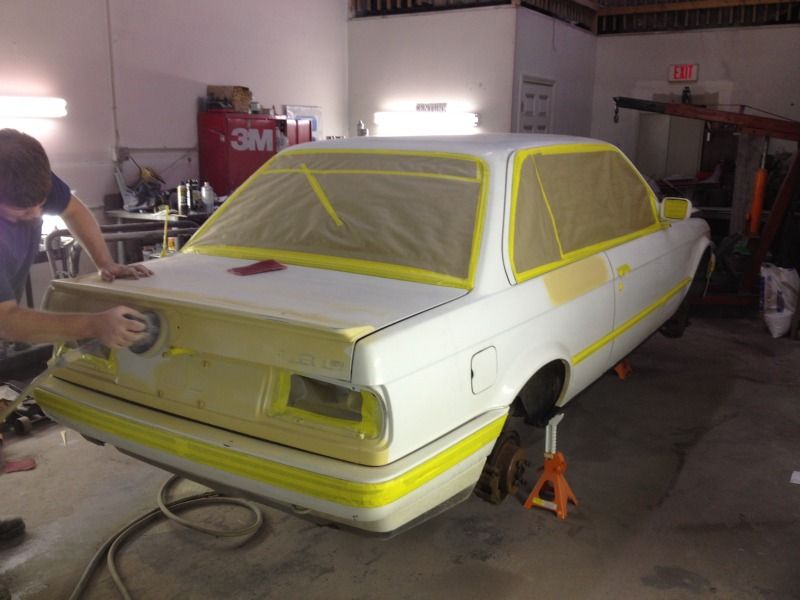
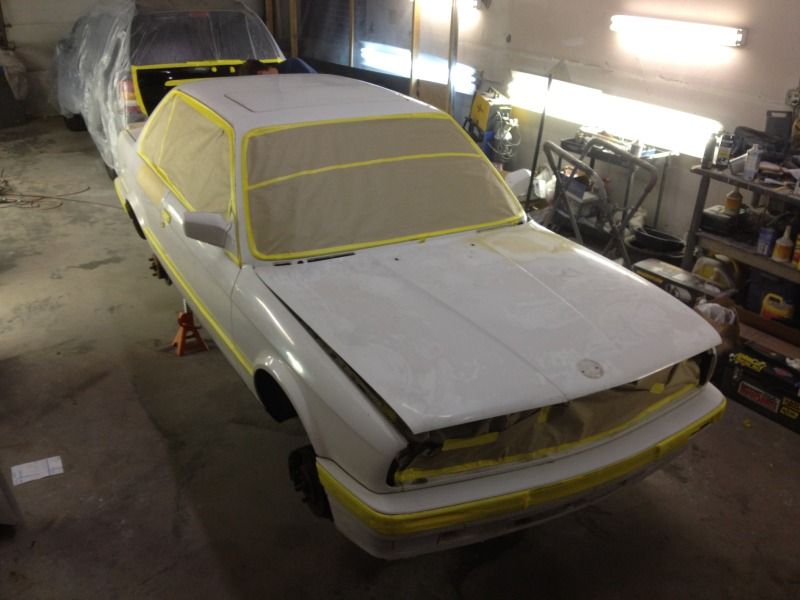
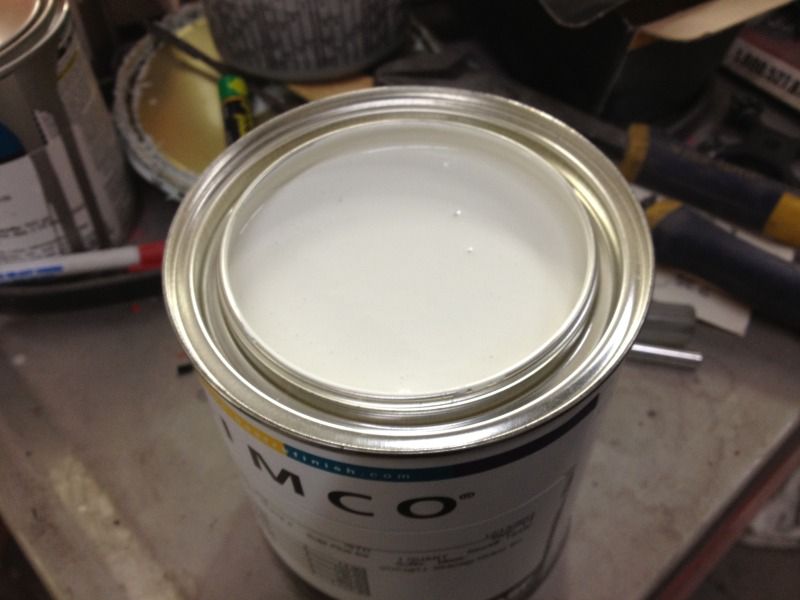
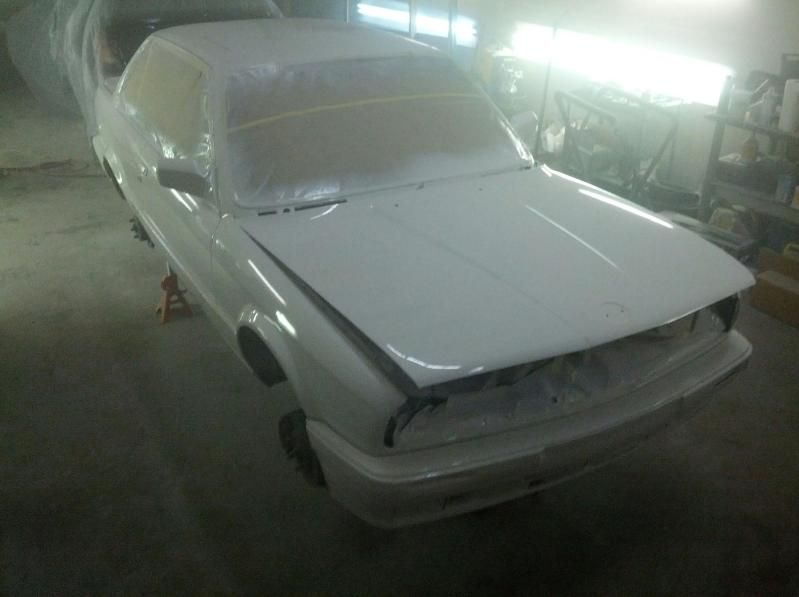
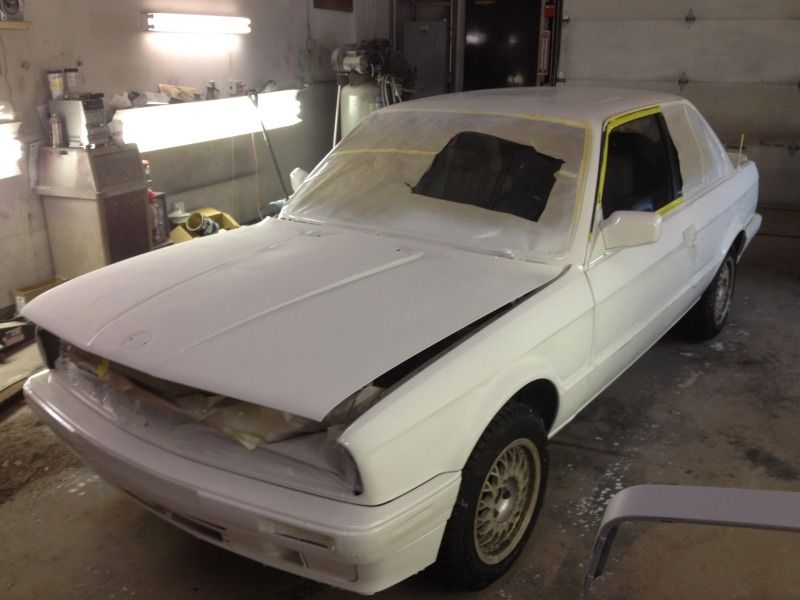
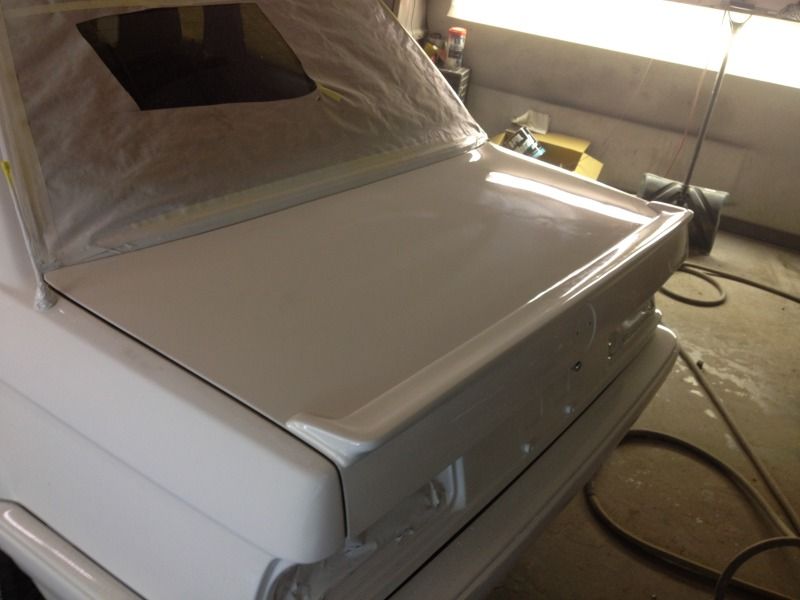
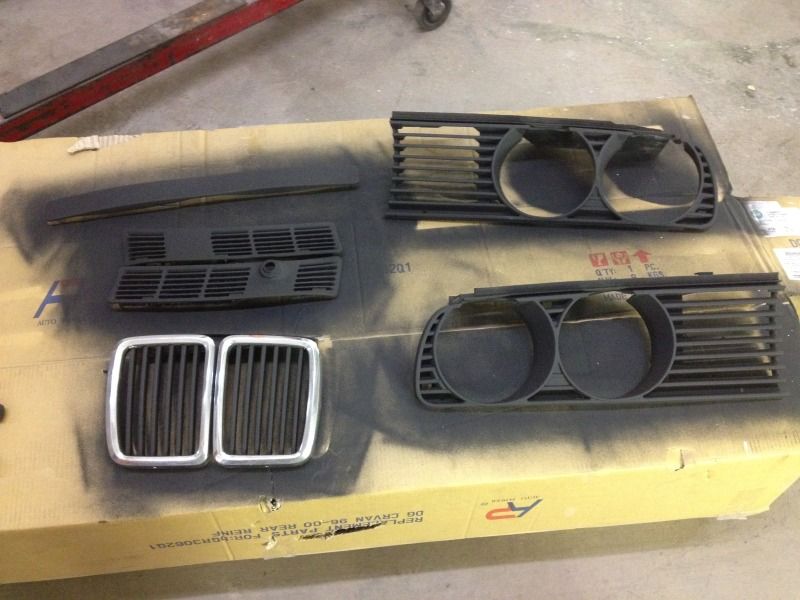
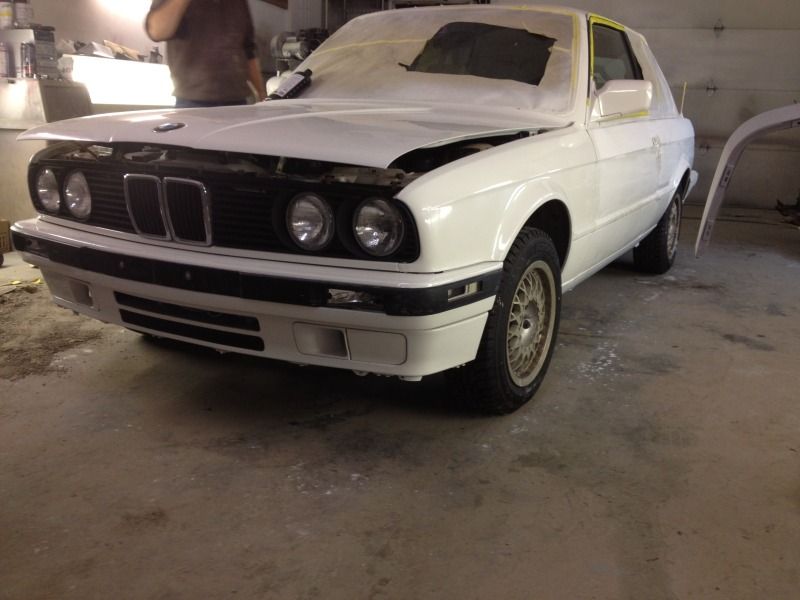
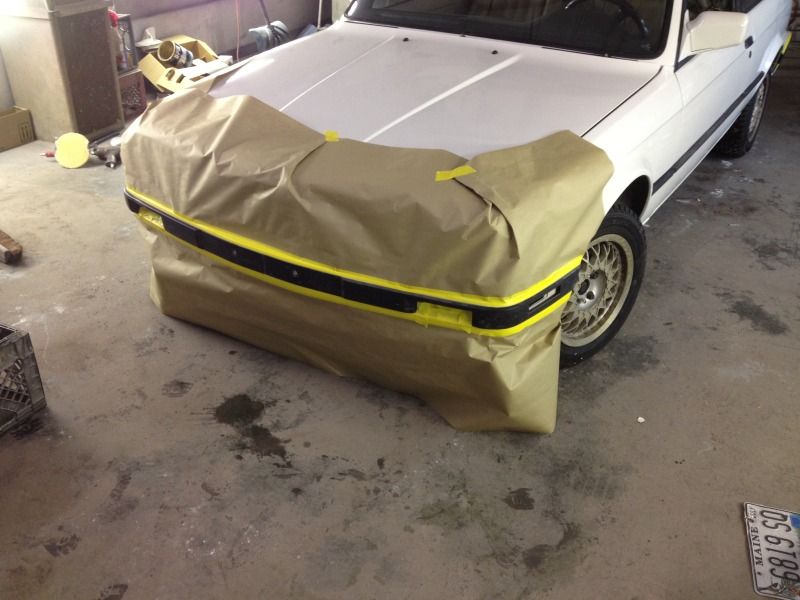
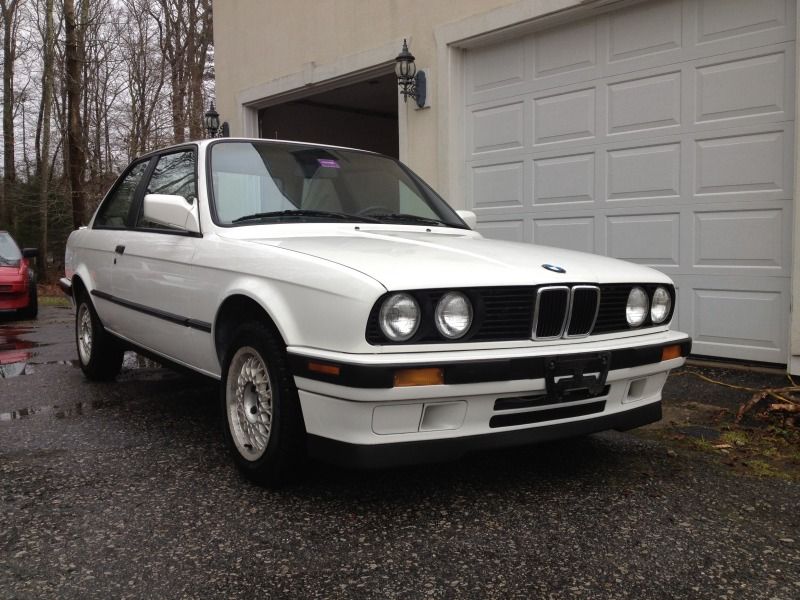
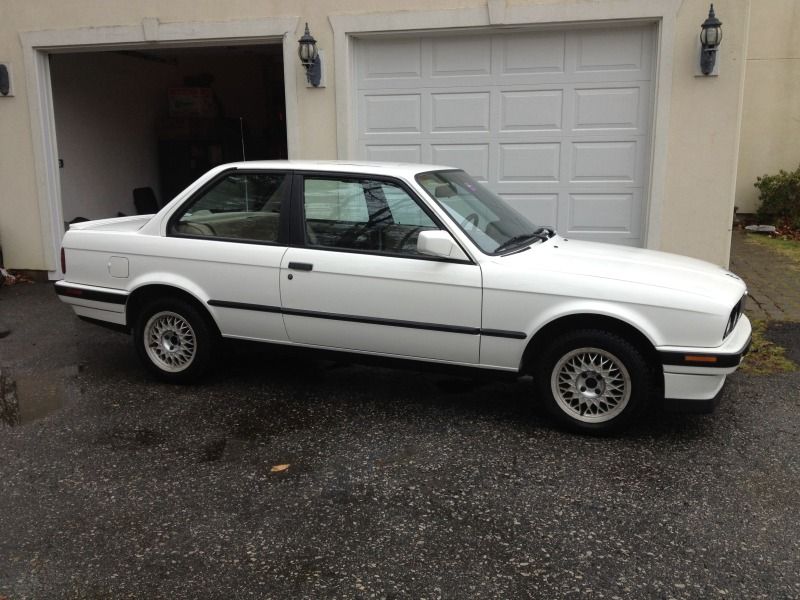
The paint was sprayed, the clear coat also. All that was left to do was the buffing and polishing, and then re-assembly. On my last day up there (yesterday, 12/20), Derek buffed and polished the paint, and I bled the cooling system, keeping far away from my shiny new fenders. With the car up to temp, the electric fan kicked on, confirming that my handywork was done right. Unfortunately I discovered a few more faults as I was working on the car: the steering rack, upper oil pan, and differential were all leaking, some quicker than others. Also, The Mess Under the Intake was likely causing some idle issues, as the car sounded like it had a lumpy cam in it. Those would have to be tackled at another time. We sprayed the black trim, headlight surrounds and grilles with trim black, as well as the lower rocker sections. Then the masking came off, the trim went back together, and, after a quick inspection, took the car out for a little test run!
We confirmed the car ran right with the temp staying just above the halfway point, and the engine was holding an idle (just). So I thanked Derek for everything, packed all my tools up, and made the trek back home. All was not well as there were a lot of strange noises coming from all four corners of the car (I suspect brakes and/or wheel bearings) but the car tracked straight and there was no vibrations felt through the steering. I lost a brake cooling duct on the highway at one point (I must not have secured it properly), but otherwise, made it home in one piece!
I'm very busy this weekend, what with the world ending and all, but I'll take some "finished" pictures after I give the car it's first hand wash and detail the interior. I hope you all enjoyed my little story, and you like what you see!
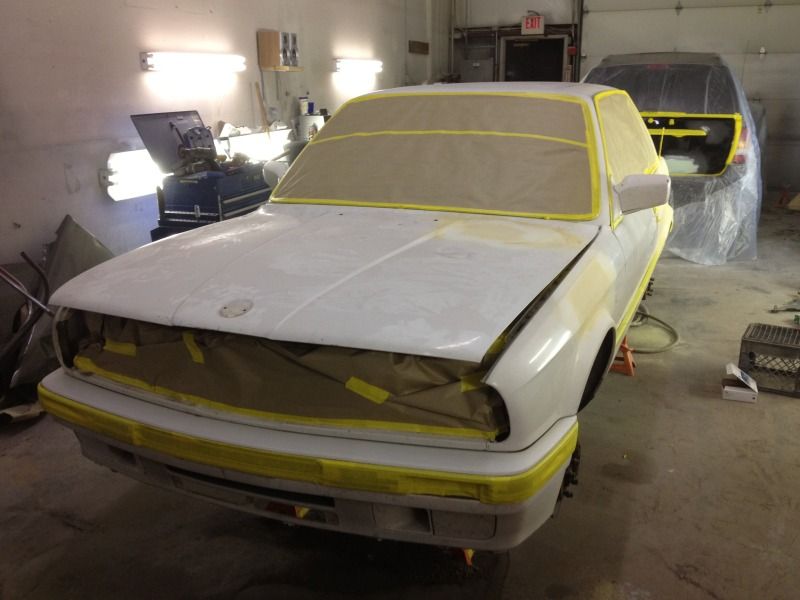
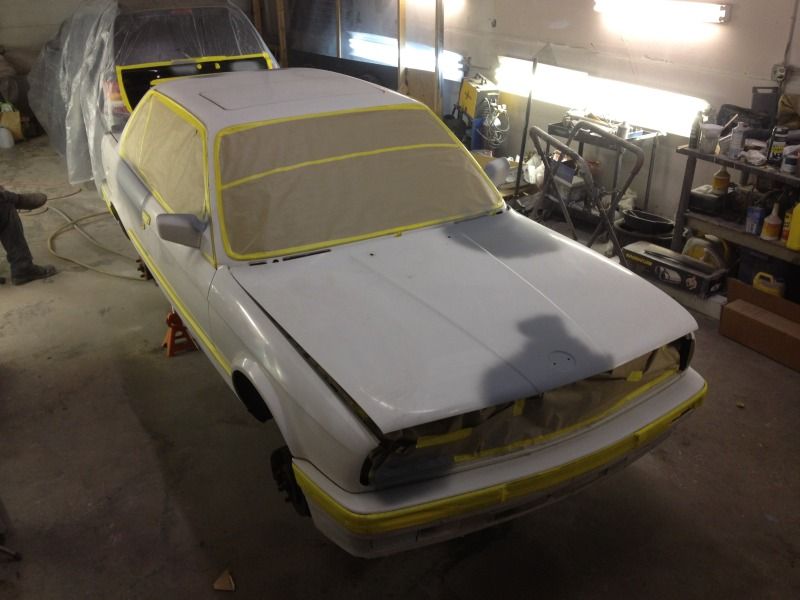
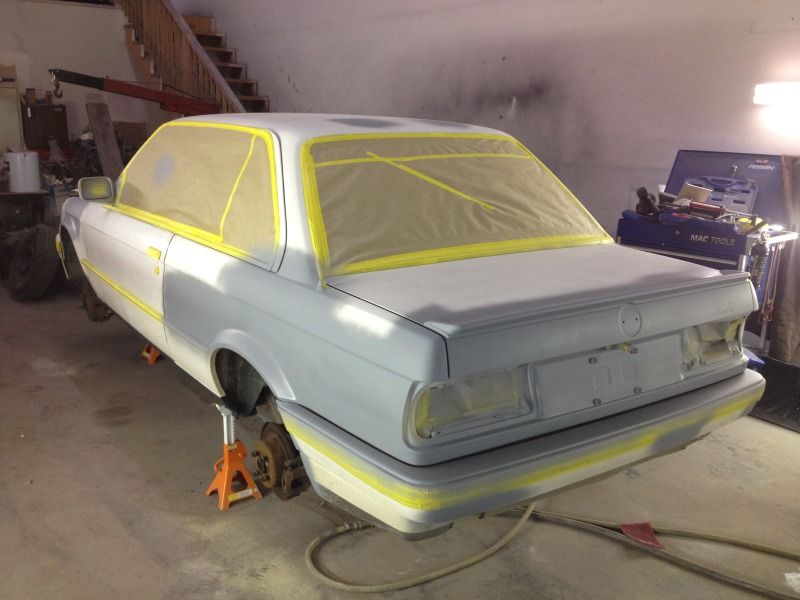
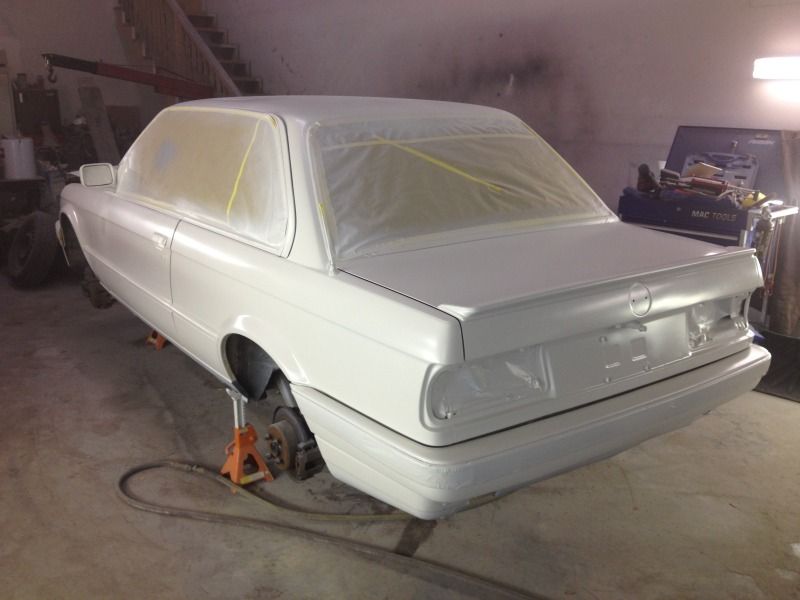
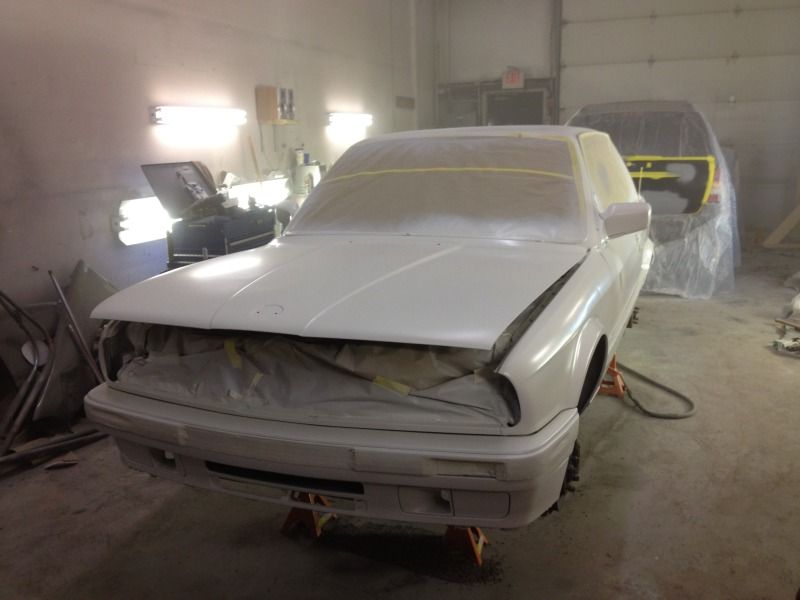
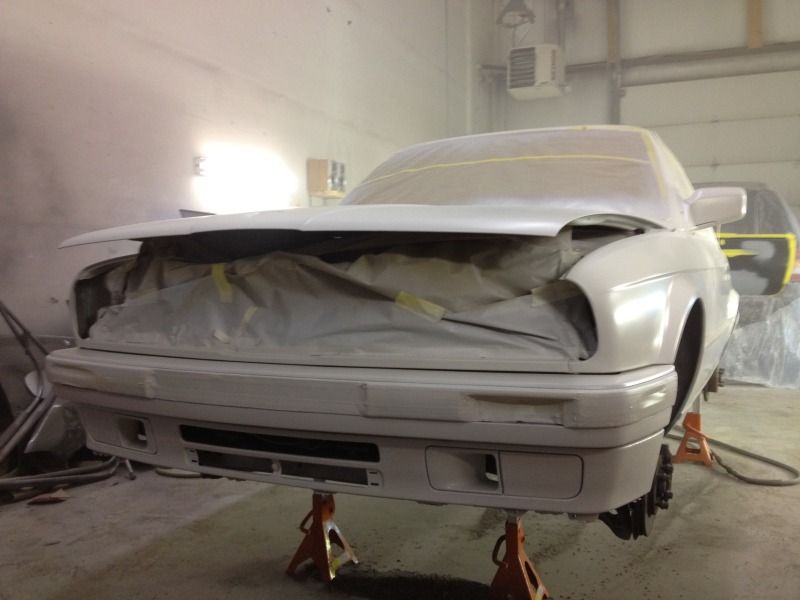
Here's progress pictures of the painting:


Stay tuned for completed pics!
After a 4 year hiatus from E30's, I found myself another one: a '91 318is in Alpine White II with tan interior. It's taken me a while to find a decent 318is and mine still isn't perfect, but it was fairly well-kept, considering it's age. This thread will chronicle the progress from when I bought it on November 1st and the day it drove home from the body shop on December 20th. I'll then update as I continue to restore the car.
I found her up near Bangor, Maine. Apparently the car had spent it's whole life there, but miraculously wasn't a rot box like most 20+yr-old cars from New England are. At 193k miles, it's averaged just under 9k miles per year. After a long conversation with the current owner (who had only had it since July), I decided to forego the two questionable 318is's I saw in Connecticut and made the long trip up to Maine.
The trip up to Maine took about six hours. I stopped north of Boston to pick up my friend Stefan who would ride up with me, then went straight up to Maine. Once we got up there, I gave it a good once-over to confirm that there were no major rust problems, took a quick spin around the block, handed the owner $2,000 cash, swapped his BBS wheels for some steelies and started the journey to Portsmouth, NH where I would go to BavAuto to get some parts.
(Stefan demonstrating how gangsta we'd be if we lived in Iraq with these cars)
Well, we didn't make it to BavAuto in time. Luckily, my best friend was working in Portsmouth for the day and I was able to call in the parts order and have him pick them up. Major props to both my best friend Andrew and for BavAuto for being so helpful! I picked up a Motorsport front spoiler and clips, new front and rear Roundels with grommets, taillight filler panel, fog light covers, and some goodies from UUC: stainless shift knob, shifter bushing, clutch arm bushing, and clutch pedal stopper
Next it was over to Hooksett, NH where my friend Derek was waiting for the car to begin prepping it for paint. The original paint on the car was pretty tired and there were some dents on the body and some surface rust on the trunk from where the P.O. backed into something. Derek was going on his honeymoon for the next two weeks, but he would get straight to work on it upon his return. Since I was on a budget, I told him that, knowing you could only have something done two of three ways (good, fast, and cheap) I chose good and cheap. After dropping the car off, we made our way back to Mass. The whole trip took us about 12hrs and 635 miles.
Fast forward two weeks later: Derek gets back from his honeymoon to find a pool of oil underneath the BMW where it sat. Fantastic! I guess I wasn't going to be able to drive it home until that was squared away.
I took my next day off to head up there and determine what the issue was. Well, the culprit turned out to be a hairline crack in the oil pan, causing the oil to slowly seep out of the sump. While checking this I noticed a disgusting amount of sludge covering the front part of the engine, so I decided it was time to tear the front cover off and clean everything. In the upcoming weeks I ordered an upper/lower timing gasket set, front main seal, oil pan and seal, water pump, thermostat, and an electric fan and wiring harness to ditch the clutched mechanical fan. Derek was to prep the car for paint as I was taking care of the mechanical stuff. He would wait until that was complete before laying down the first coat of paint; wouldn't want to get dirt or oil in the paint!
It took me two more days off worth of meticulously cleaning every part and replacing all the gaskets. I didn't have a manual to work off of, so it took me a bit of time to examine everything and make sure I was doing it right. I went through 3 cans of brake clean and a couple old toothbrushes to get the front of the motor clean.
The timing chain tensioner was replaced in the past 5 years so I didn't see the need to touch anything there. The new water pump didn't quite fit at first (the back edge of the impeller housing was too thick) but a little sandpaper took just enough material off to get it to fit snugly and work properly.
With the front cover back on and everything back together, I installed the electric fan, which was a piece of cake and freed up some space in the engine bay. Then it was a matter of getting the coolant in the car and bleeding the system of air.
However before we ran the car again, Derek installed a cat-back exhaust on the car, because it didn't have anything after the cat. I bet you can imagine just how annoying of a ride it was from Maine to NH! I wasn't about to do that again, so I made sure the exhaust was done before leaving for home. I had ordered a Magnaflow Universal muffler and resonator in 2.5", and we ordered mandrel-bent piping but it didn't show up in time so we used crush bend piping temporarily. Well, it's really loud with that exhaust, so I'm going to try using smaller diameter pipe and a different resonator to see what happens.
The paint was sprayed, the clear coat also. All that was left to do was the buffing and polishing, and then re-assembly. On my last day up there (yesterday, 12/20), Derek buffed and polished the paint, and I bled the cooling system, keeping far away from my shiny new fenders. With the car up to temp, the electric fan kicked on, confirming that my handywork was done right. Unfortunately I discovered a few more faults as I was working on the car: the steering rack, upper oil pan, and differential were all leaking, some quicker than others. Also, The Mess Under the Intake was likely causing some idle issues, as the car sounded like it had a lumpy cam in it. Those would have to be tackled at another time. We sprayed the black trim, headlight surrounds and grilles with trim black, as well as the lower rocker sections. Then the masking came off, the trim went back together, and, after a quick inspection, took the car out for a little test run!
We confirmed the car ran right with the temp staying just above the halfway point, and the engine was holding an idle (just). So I thanked Derek for everything, packed all my tools up, and made the trek back home. All was not well as there were a lot of strange noises coming from all four corners of the car (I suspect brakes and/or wheel bearings) but the car tracked straight and there was no vibrations felt through the steering. I lost a brake cooling duct on the highway at one point (I must not have secured it properly), but otherwise, made it home in one piece!
I'm very busy this weekend, what with the world ending and all, but I'll take some "finished" pictures after I give the car it's first hand wash and detail the interior. I hope you all enjoyed my little story, and you like what you see!
Here's progress pictures of the painting:
Stay tuned for completed pics!


 . good shit


Comment