-
Nice work on retrofitting the stock water pump to your new needs with the electric conversion.
I work at a machine shop and love having access to tools that I normally wouldn't.
And having them at work means less stuff I have to have in my garage.Leave a comment:
-
Damn, I cant imagine the feeling of seeing the white 325 go. I barely keep my cars for a few years and I have a tough time with that too.. Im trying to keep this "318" I have now for a while. Goal is to hit 100k with the swapped motor. Im at 26k and rolling...
Love the M3 and the way its evolvingLeave a comment:
-
Nice update, The other Eric in your neck of the woods has put the 20V AAN in his UrQ.Leave a comment:
-
Well.....I have a boner.
I see the track car didn't leave with a wing.....cough...COUGH.
You going to come to Lincoln for Fall Nats? Thats my backyard.
Is that sight glass from a bong?
Well done as always sir.Leave a comment:
-
Man, lots have gone on, so I'll give you guys a bit of an update! I did 3 major things (and one minor) to the car, and instead of a bunch of words, I think I'll explain it in pictures...
1st. Electric water pump conversion:
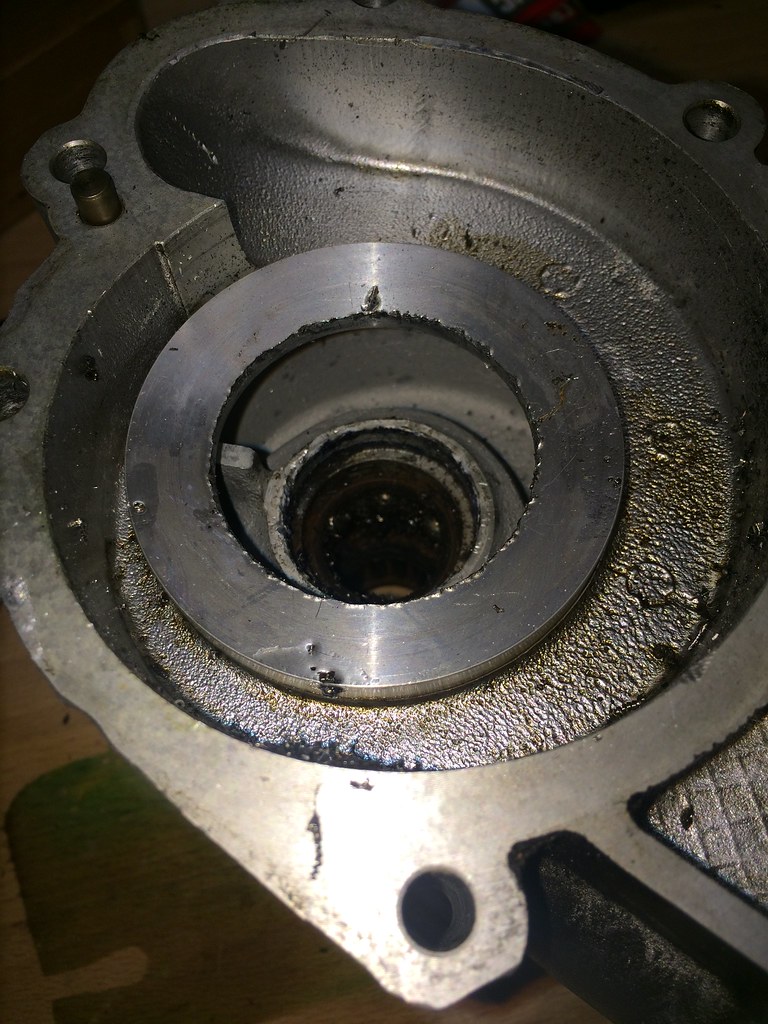
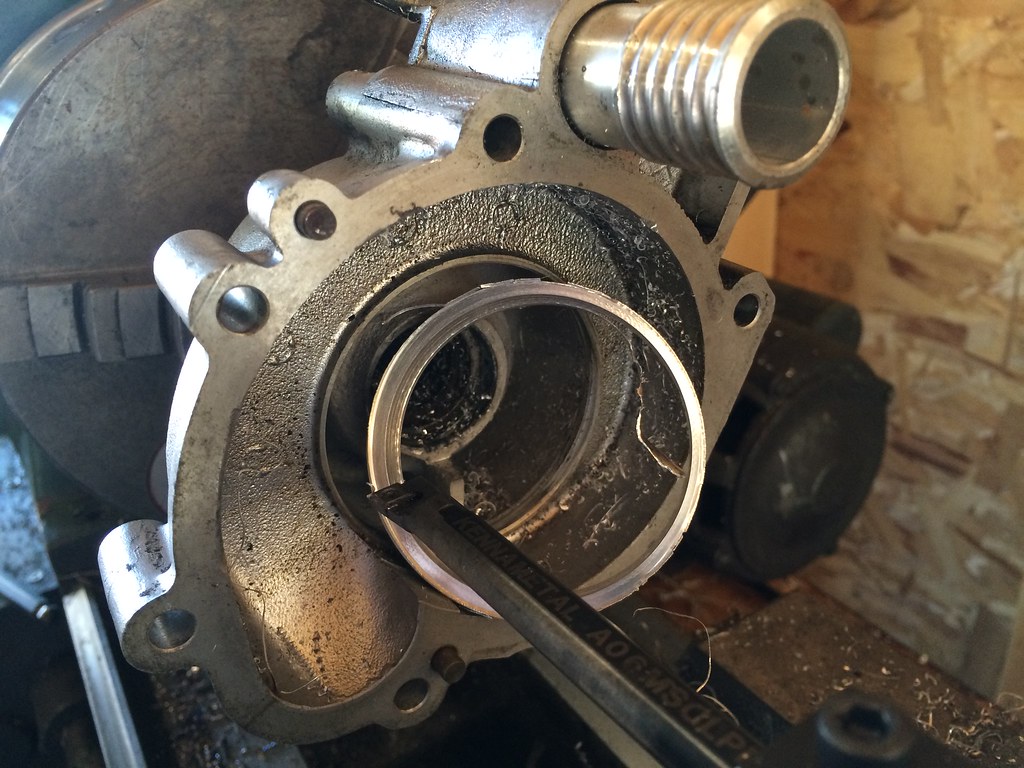
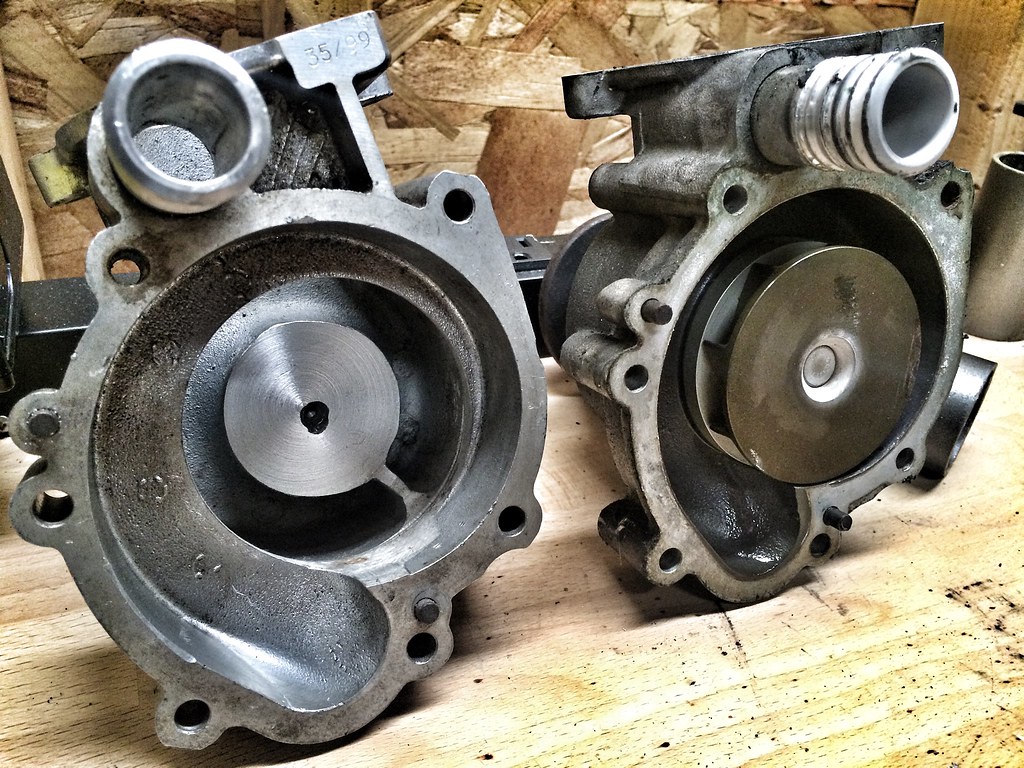
Not being satisfied with just removing the impeller (pic a few posts up) on the spare water pump, I hogged out just about anything I could.
From this:
 Untitled by ericandshovin, on Flickr
to this:
 Untitled by ericandshovin, on Flickr
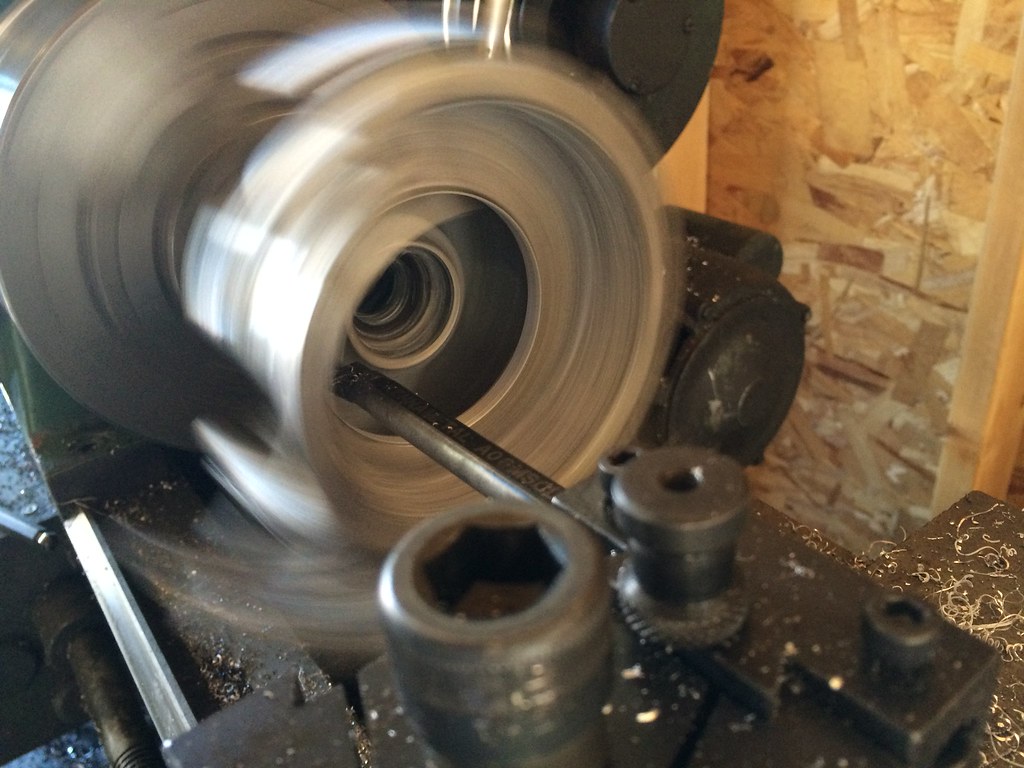
Then I decided to keep going...
 Untitled by ericandshovin, on Flickr
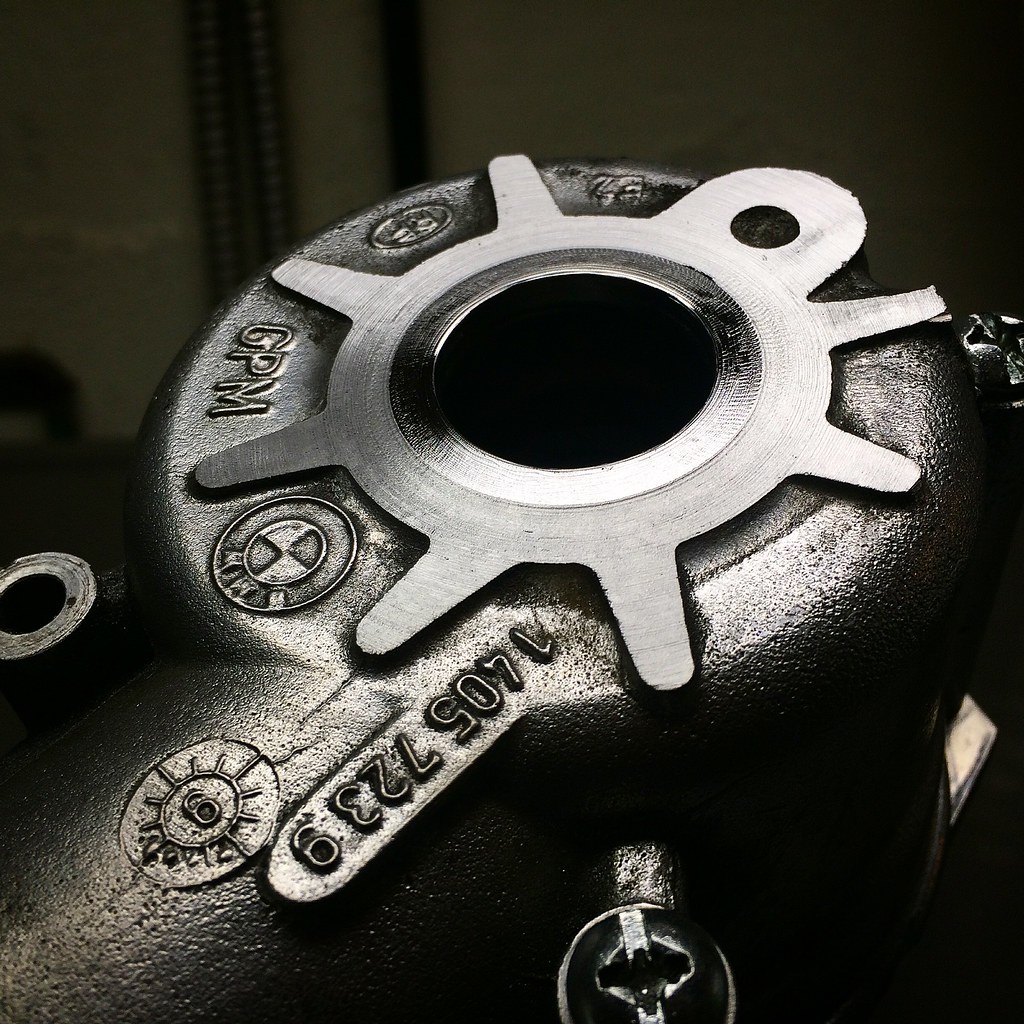
Eventually I turned my sights on the outside. Since I drilled the bearing out, I didn't think I needed the large nose and ribbing that house the shaft bearings. If you have never cut bearing material... it is VERY HARD! Holy shit! I used a 4" angle grinder for most of it, then tried a diamond tipped sawzall which quickly went dull. Next I just whacked what little was left of the angle grinder cut and luckily the hardened bearing race broke. Stuck it back in the lathe and took an hours worth of very light passes to get to this point.
 Untitled by ericandshovin, on Flickr
The bearing race just laughed at my boring bar, so the engineer at work suggested a wheel bearing puller. Used autozone's rental program, and 10 minutes later I had success!
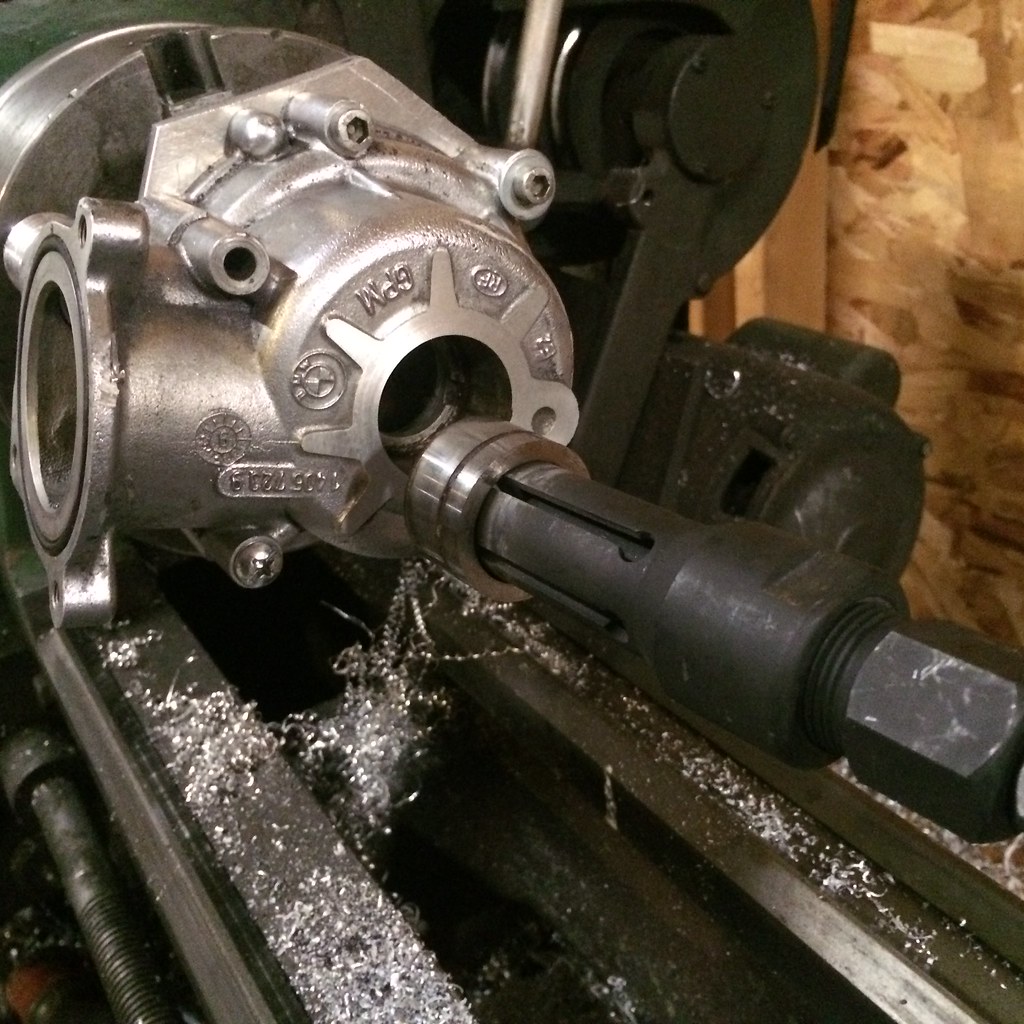 Untitled by ericandshovin, on Flickr
Made a little aluminum plug on the lathe that will fill the space where the bearings and shaft used to live, then went down to Ft. Carson's Auto Skills shop to weld the two bits together.
Ended up with this (black uglyness is the residue from bearing grease and dirty/porous aluminum + a dip or two of tungsten...)
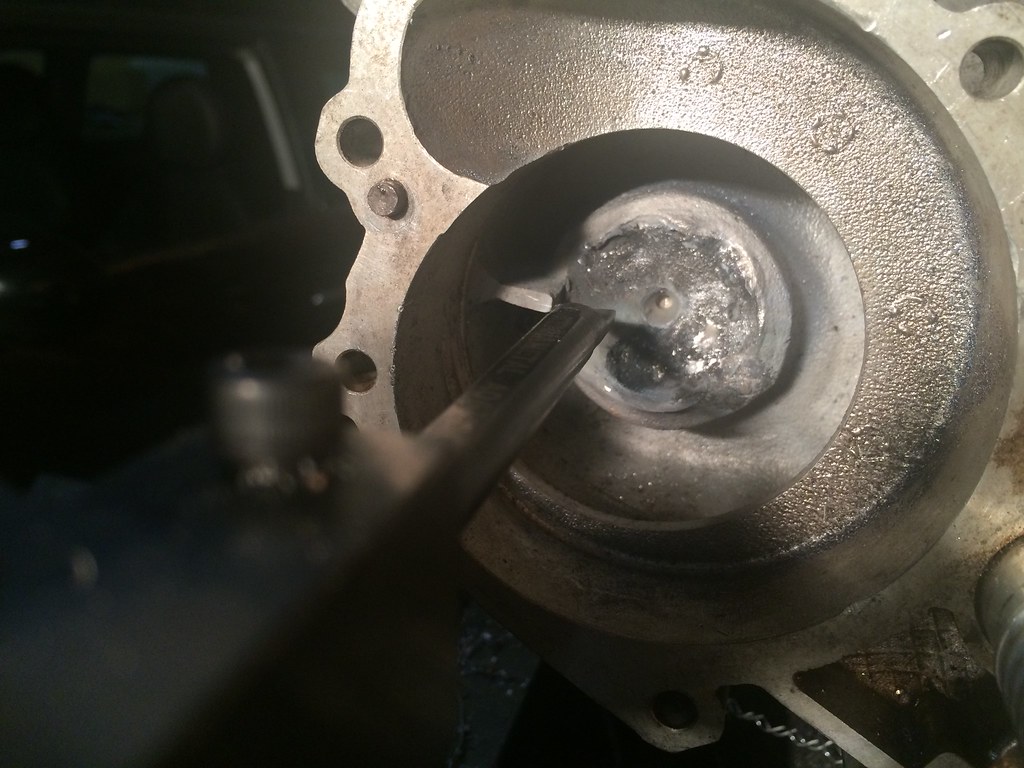 Untitled by ericandshovin, on Flickr
front:
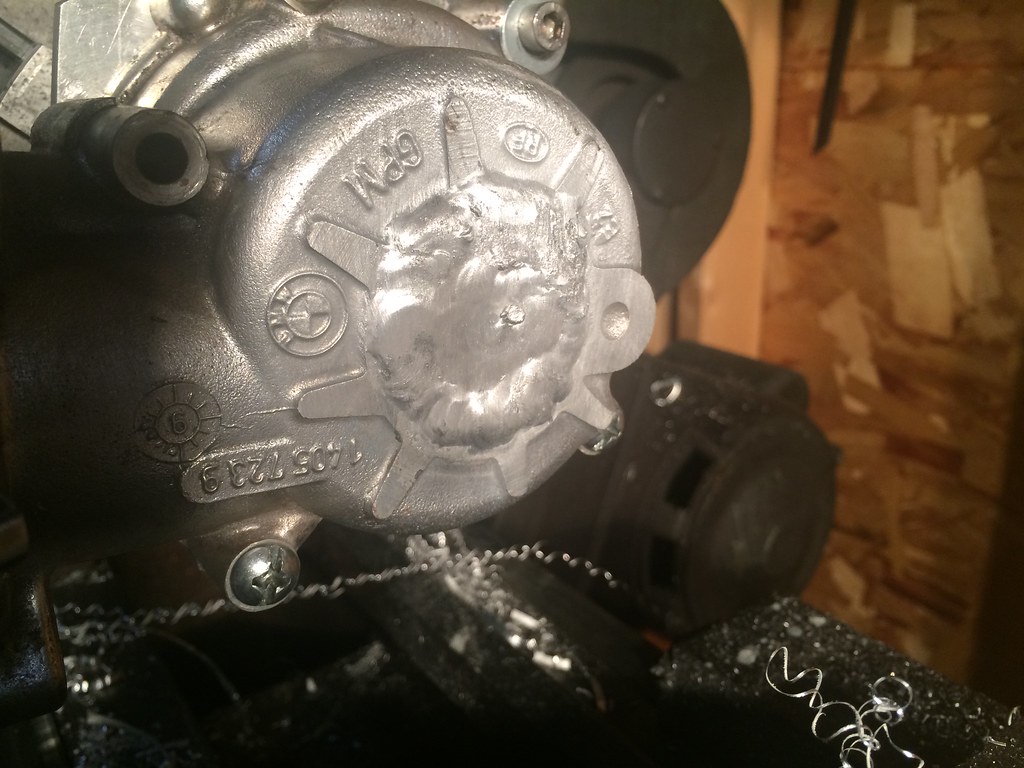 Untitled by ericandshovin, on Flickr
Of course I couldn't leave it like that...
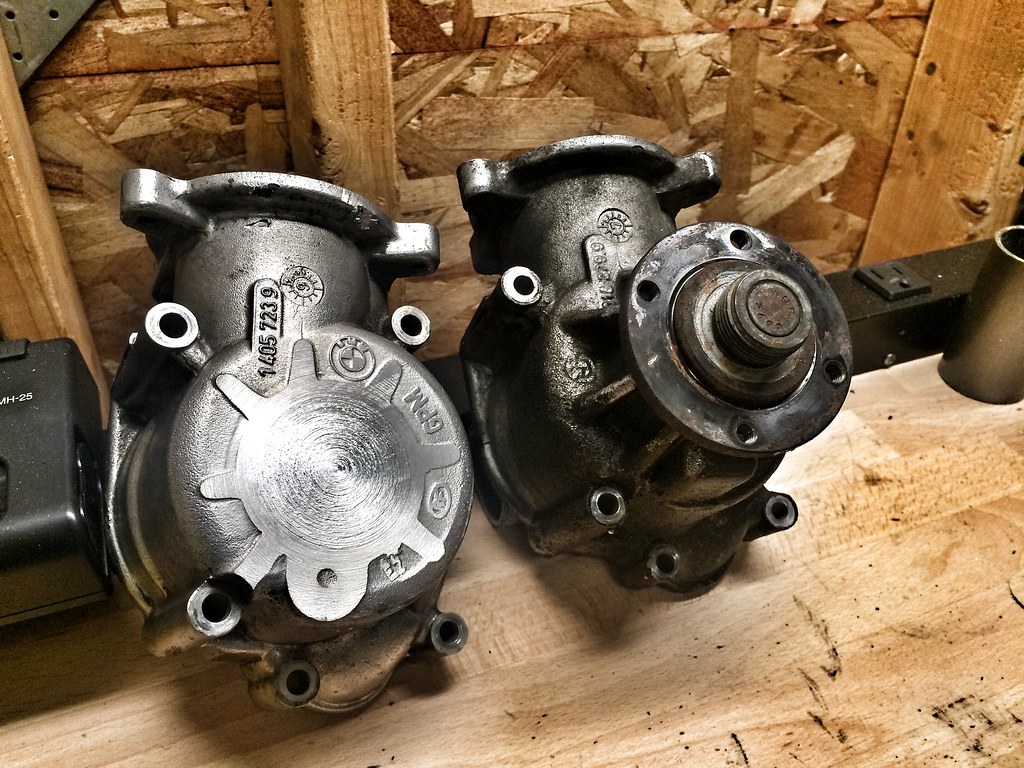 Untitled by ericandshovin, on Flickr
 Untitled by ericandshovin, on Flickr
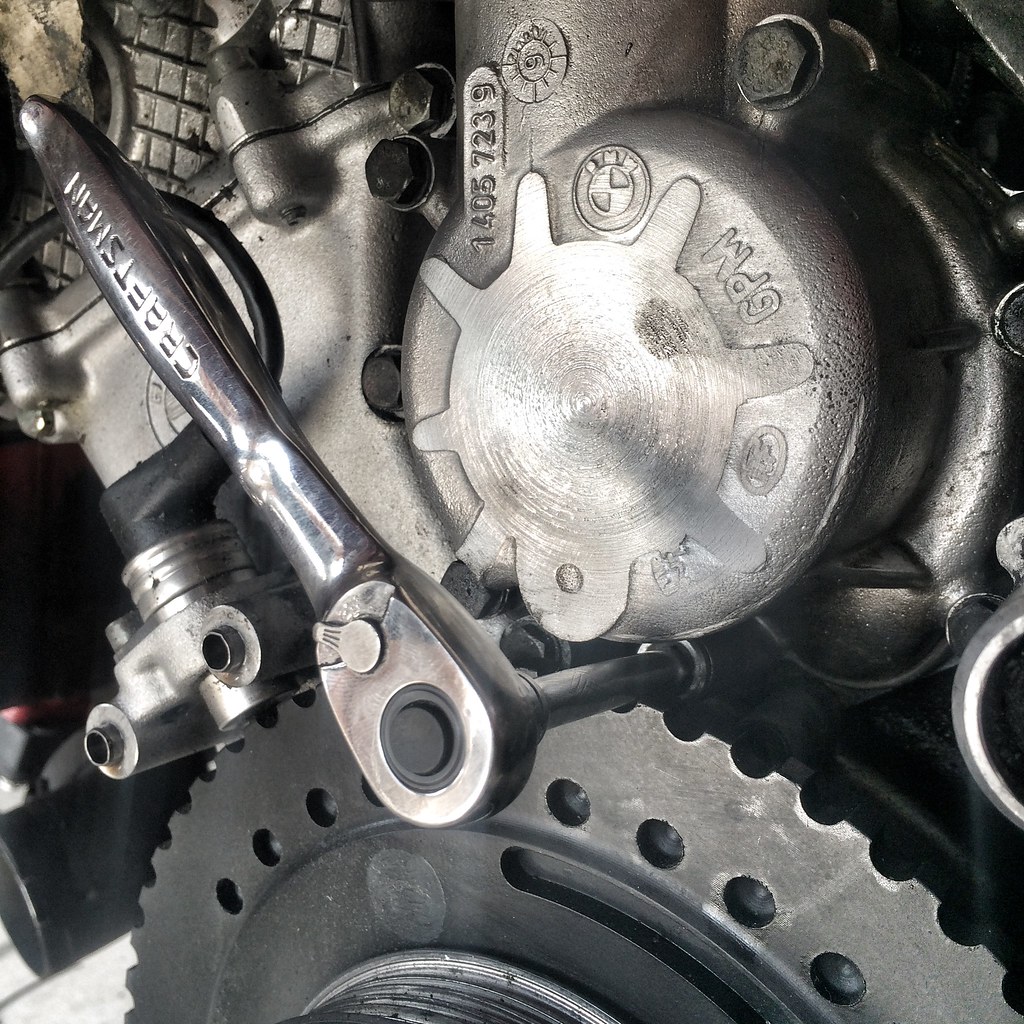
Going back in. This must be some German Engineers idea of a practical joke. F*cking bolt! (yes, I learned later that rotating the motor to the flat spot in the crank wheel makes access much better. I learned after complaining about it to a friend.)
 Untitled by ericandshovin, on Flickr
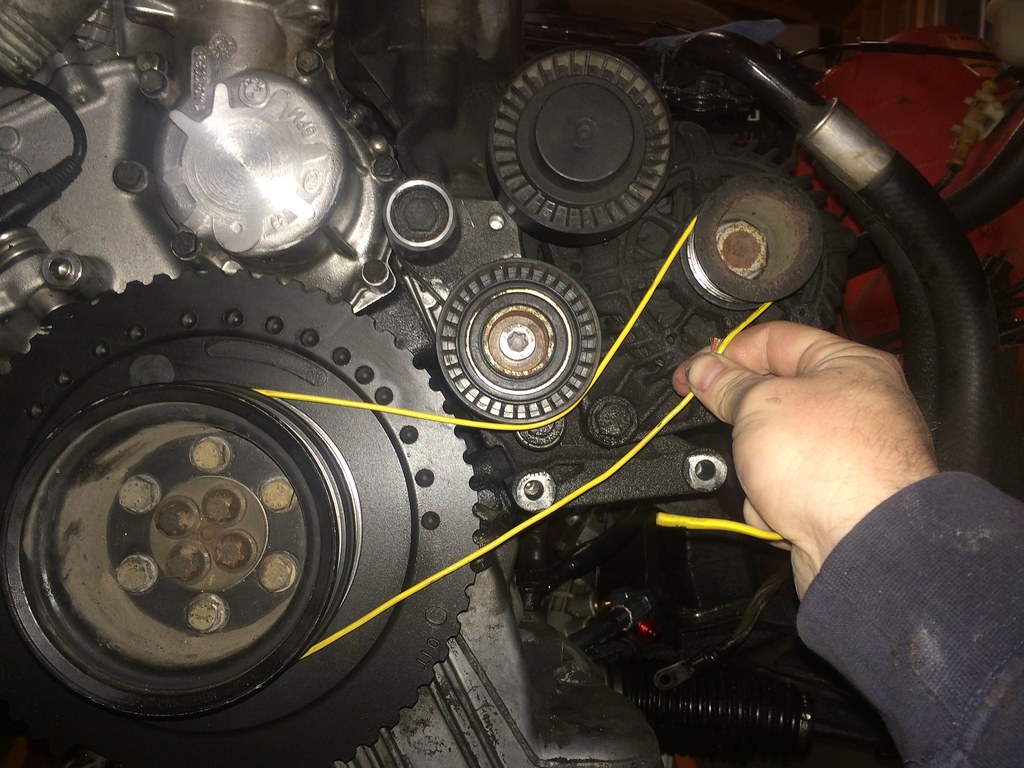
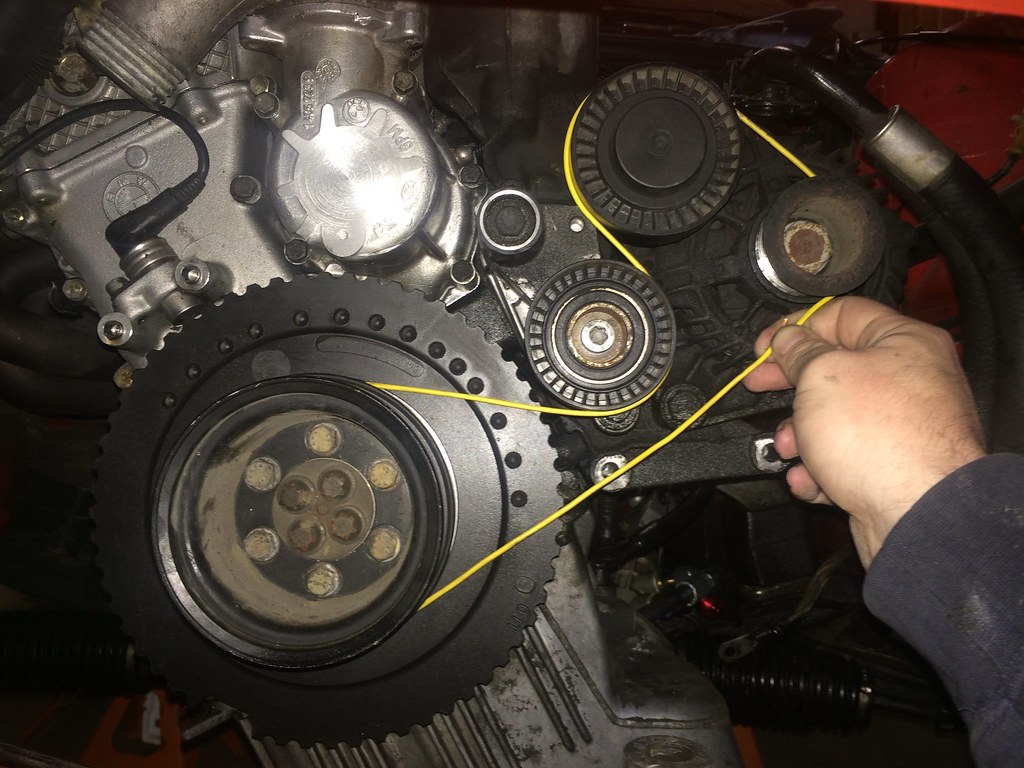
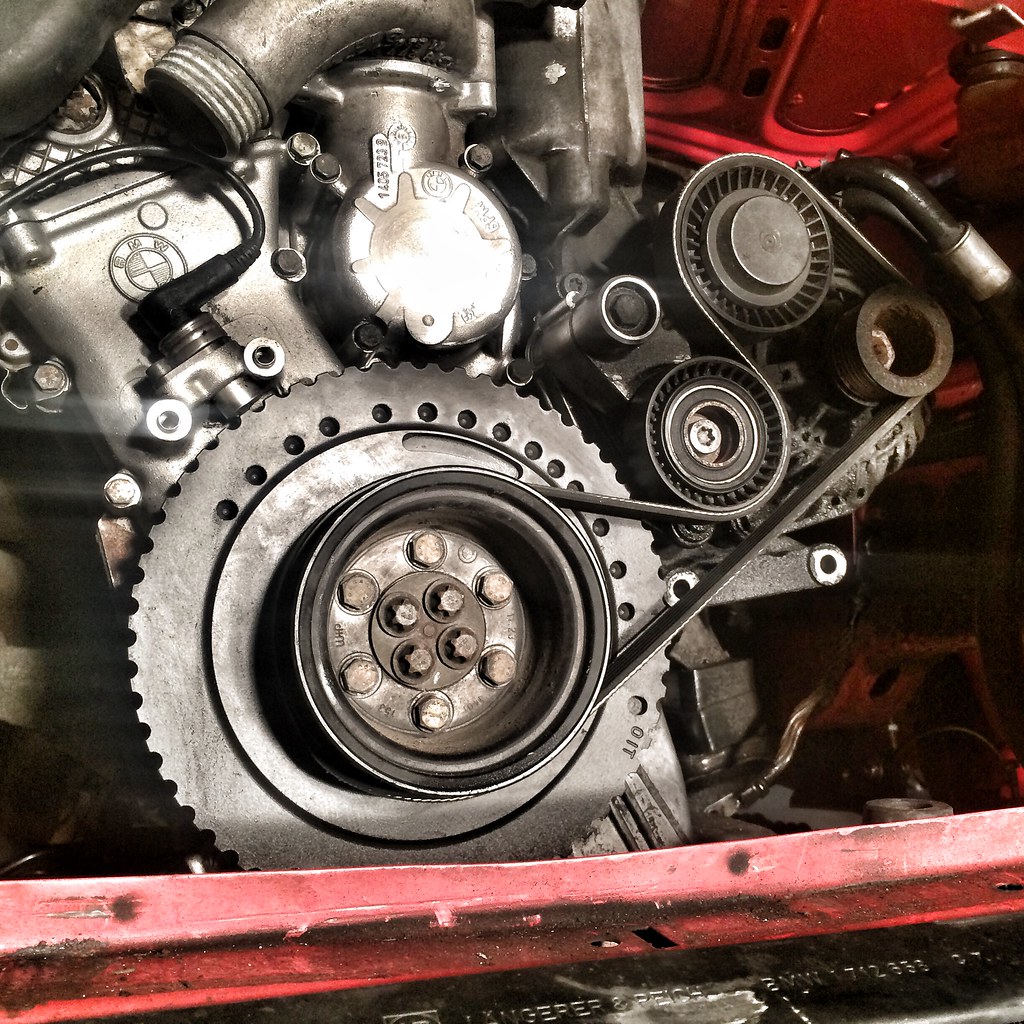
Without a water pump pully and a power steering pump pully, I needed a new length belt to drive the alternator. I decided on two options
A:
 Untitled by ericandshovin, on Flickr
B:
 Untitled by ericandshovin, on Flickr
I ended up with option B, mainly because I couldn't get option A to fit! I'd rather go with option A because I don't like the ribbed part of the belt on the smooth idler pulley... Is that bad? Is there another option I might have missed?
 Untitled by ericandshovin, on Flickr
If I were to do it all over again... I'd pop the impeller off and leave the bearings/shaft/pulley as it was, so the tensioner pulley still worked as design.
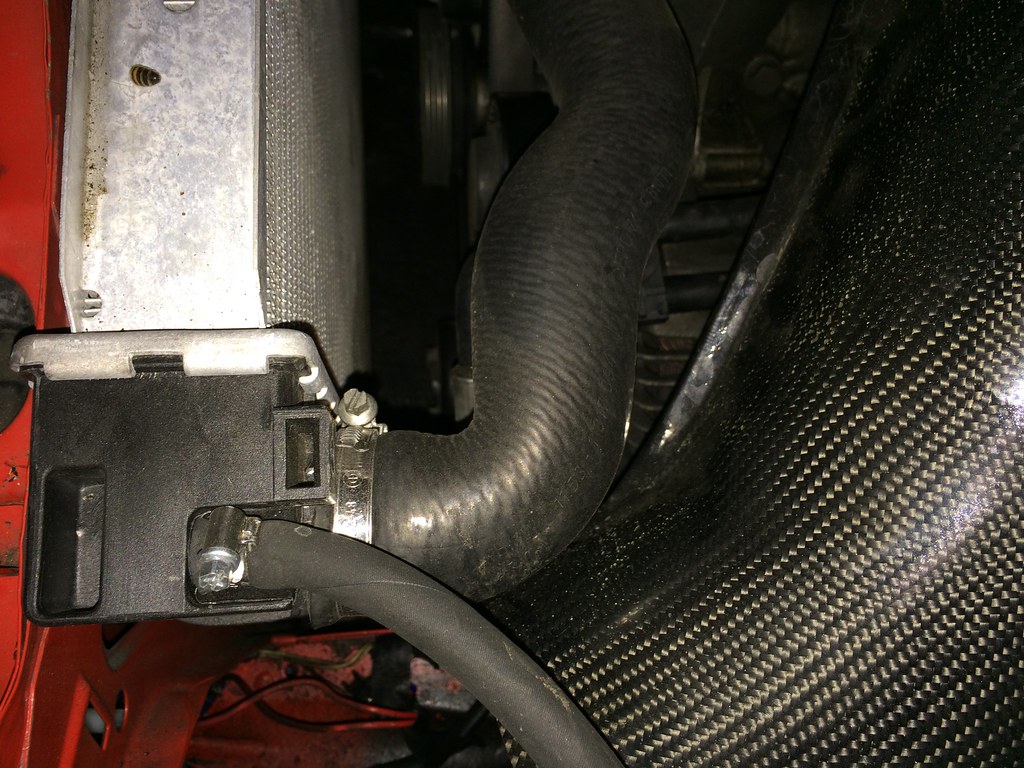
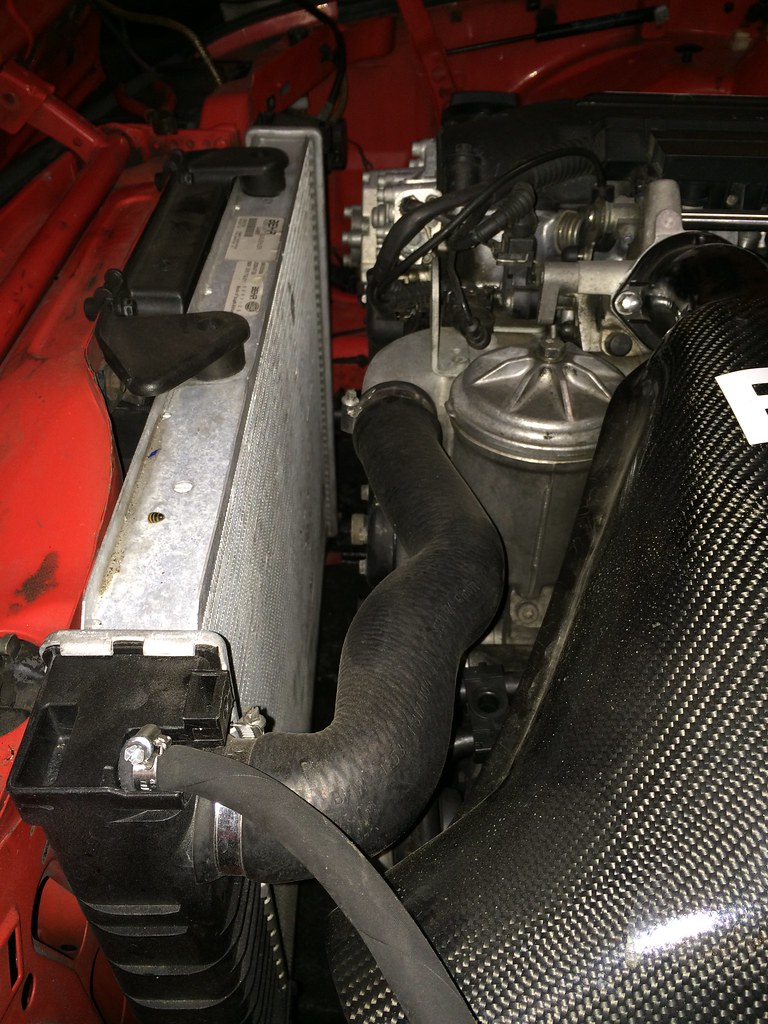
Anyways, once the belt was one, I put the radiator back in and started working on water pump routing. On thing I didn't like about the two euro S50 in E30 swaps I've owned is the pinch in the upper radiator hose.
 Untitled by ericandshovin, on Flickr
 Untitled by ericandshovin, on Flickr
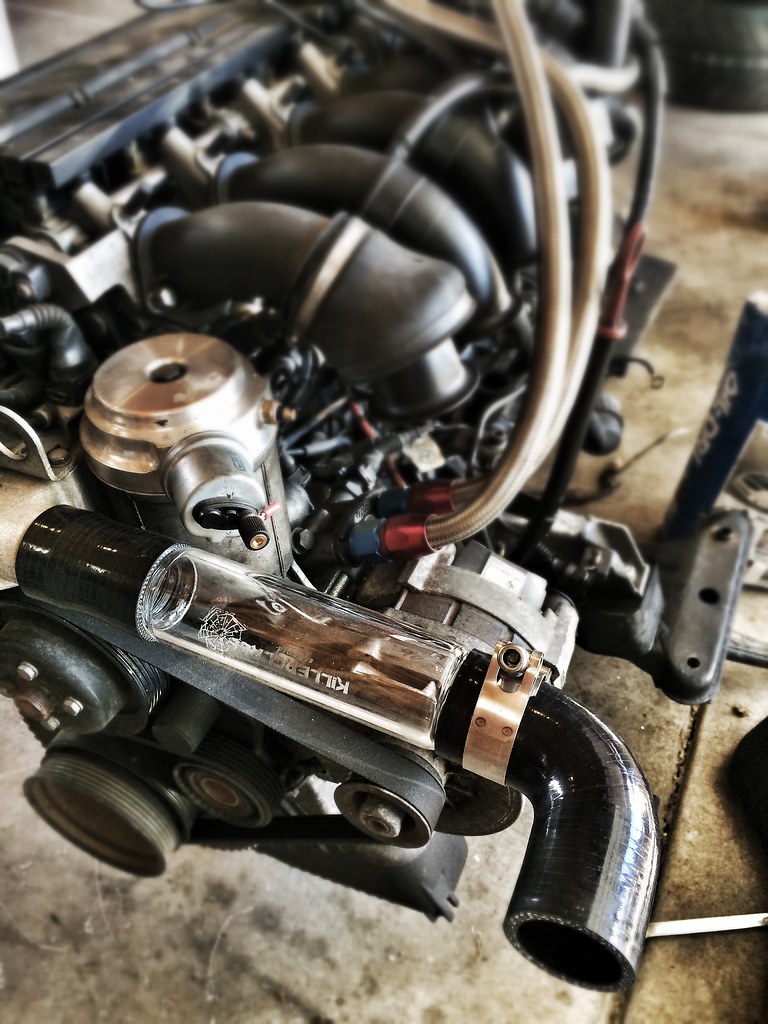
I thought a silicone hose without the kink would be better, but I couldn't find a silicone hose with a 90° that had enough reach to go all the way to the thermostat. So I thought about a bit of aluminum pipe in-between a 90° elbow and another straight piece of silicone. Well, my mind wandered a bit back to my days reading Super Street, and I eventually replaced the aluminum pipe idea with this:
 Untitled by ericandshovin, on Flickr
With the upper radiator hose sorted, I needed to move to the lower. The Davis Craig electric water pump fits in where the lower radiator hose elbow usually goes. Unfortunetly for my cramped quarters, I couldn't fit the pump easily without the frame rail getting in the way. So I ordered the biggests 1.5" silicone 90° elbow I could google.
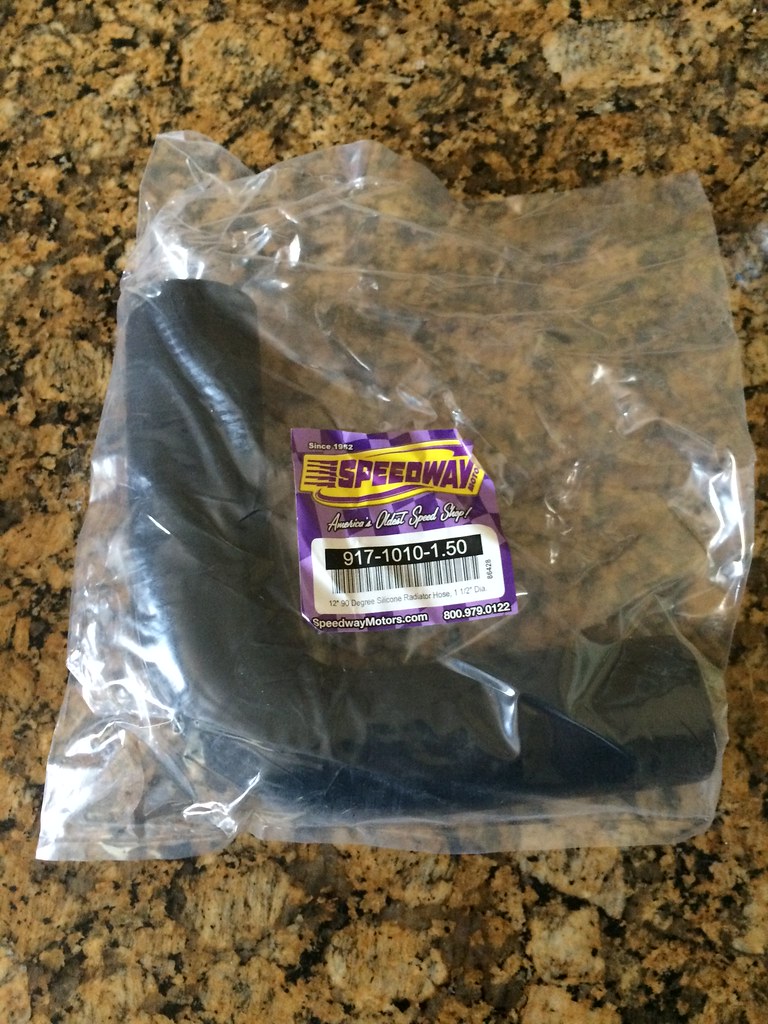 Untitled by ericandshovin, on Flickr
I used this elbow to stand off the pump a bit from the radiator, then used the former upper radiator hose with it's crimped 90° cut off to become the remainder of the lower radiator hose. The kink in the hose that I never liked actually works great for getting the hose back in alignment with the thermostat housing.
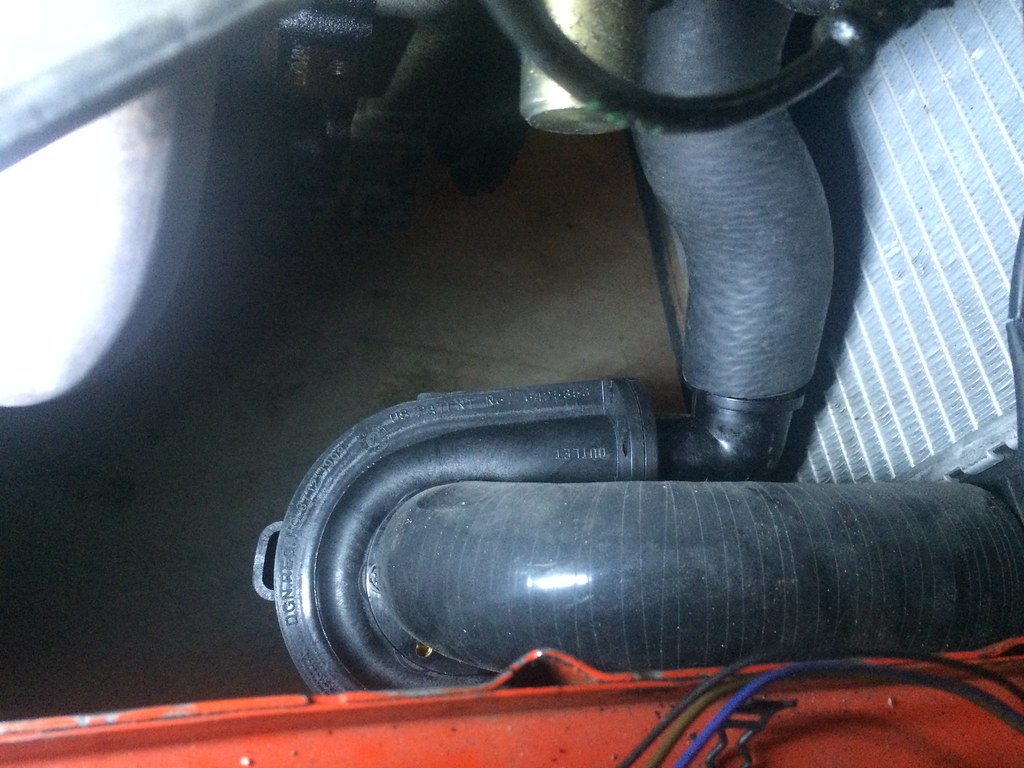 Untitled by ericandshovin, on Flickr
My Cheesy super street glass pipe has actually been super helpful! I can quickly and easily verify if the electric pump is on, 1/2 speed or full speed. It's also easy to see if more bleeding is necessary. This is what it looks like with the pump at full power.
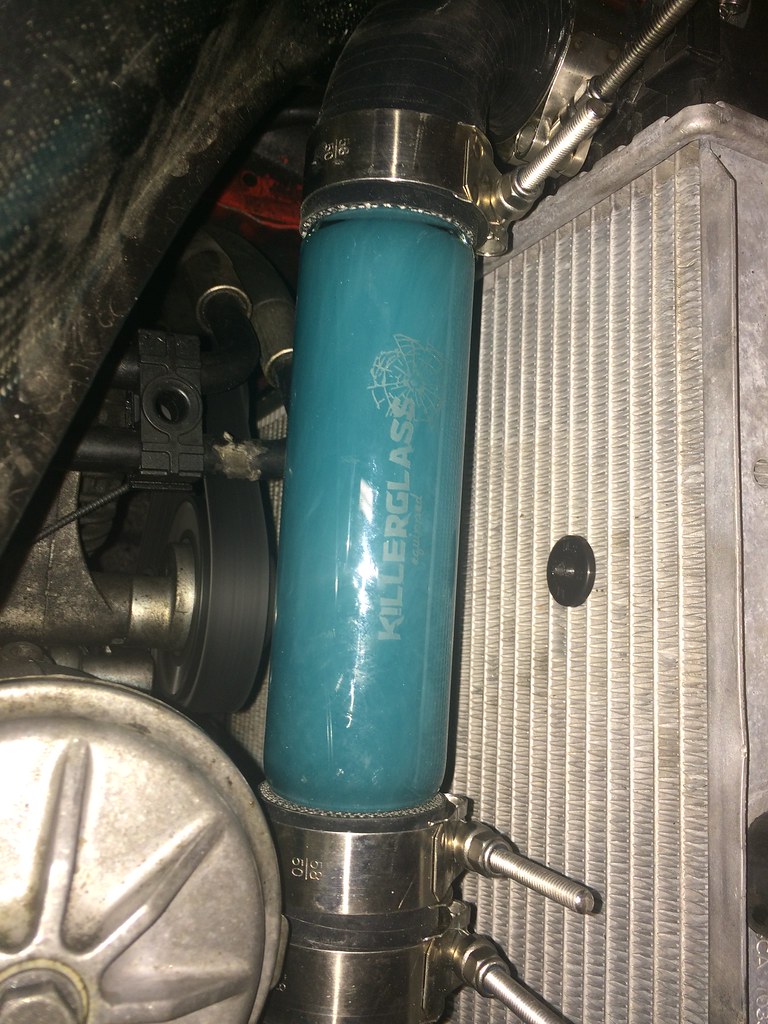 Untitled by ericandshovin, on Flickr
I don't have the Davis Craig controller mounted permanently in the interior yet, but it seams to be working well with controlling both water temps and my new 14" Spal pusher fan.
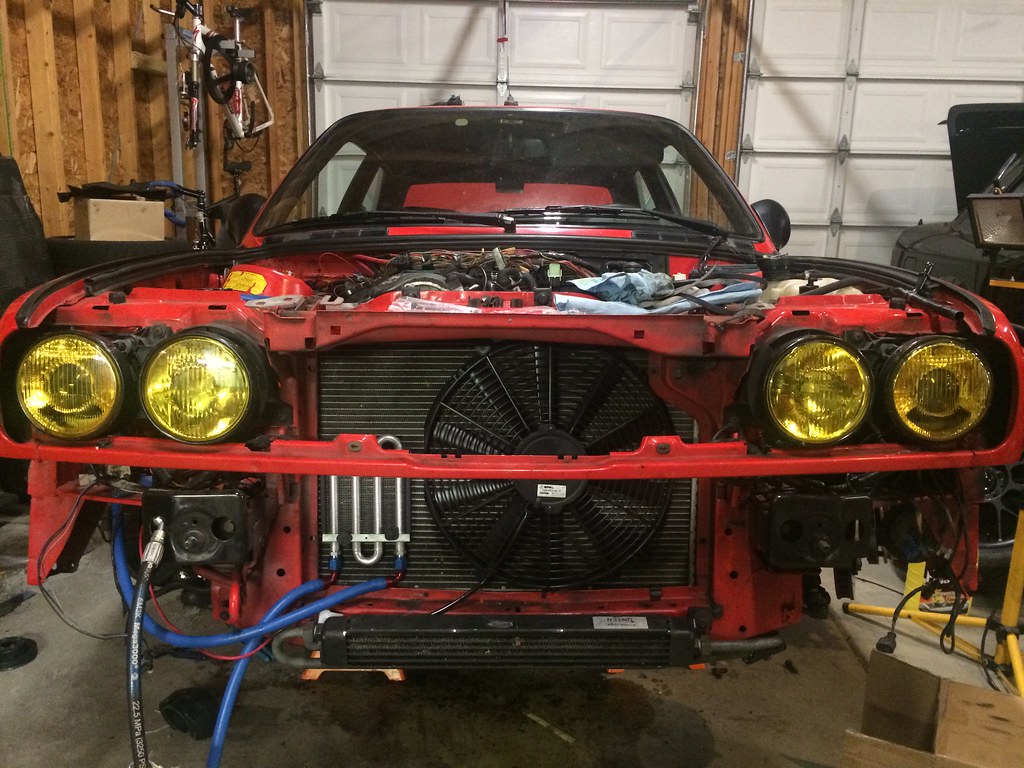 Untitled by ericandshovin, on Flickr
2nd: Wheels and tires & suspension.
Our BMW club has a great autocross series with a bunch of good dudes who are fast. Very fast. I think we have more than a half dozen who have jackets from Lincoln. In an effort to try and stay in front of the curve in my class, I decided to upgrade my wheels/tires and suspension a bit.
Gone are the Sport EVO wheels and 225/45/16 star specs
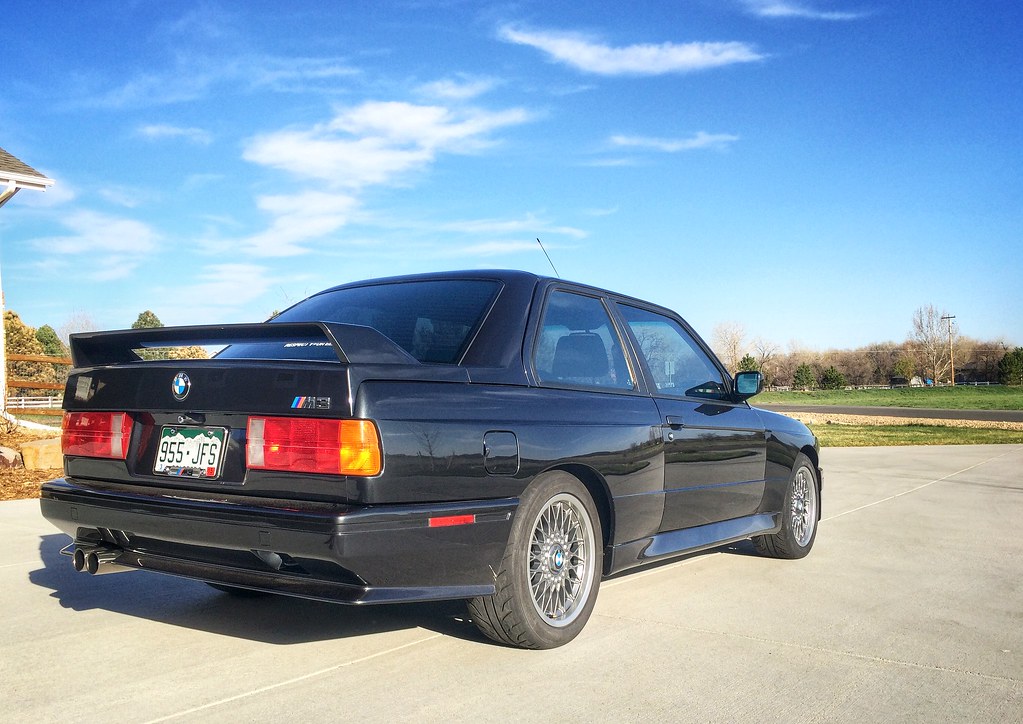 Untitled by ericandshovin, on Flickr
and the replacements are 17x9 Apex wheels with 255/40/17 Star Spec ZII's (should have gone 245...)
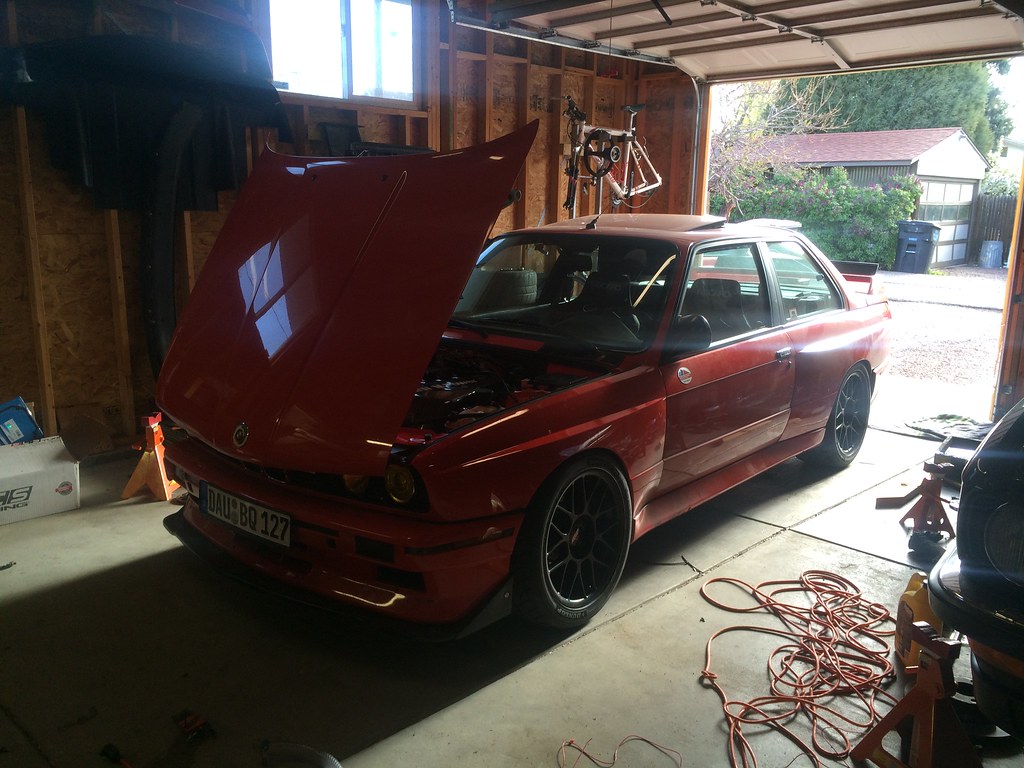 by ericandshovin, on Flickr
Here goes this part of the adventure...:eyecrazy
One fine day I got a call from Apex, a few days later these showed up.
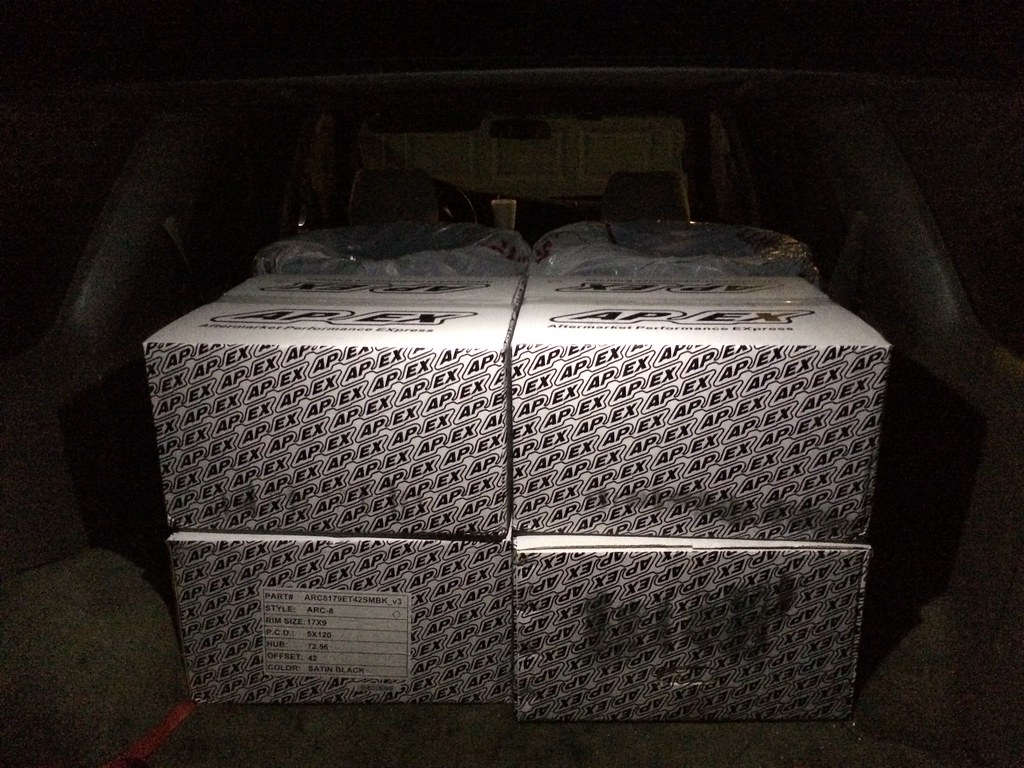 Untitled by ericandshovin, on Flickr
A few days after that we had a marriage...
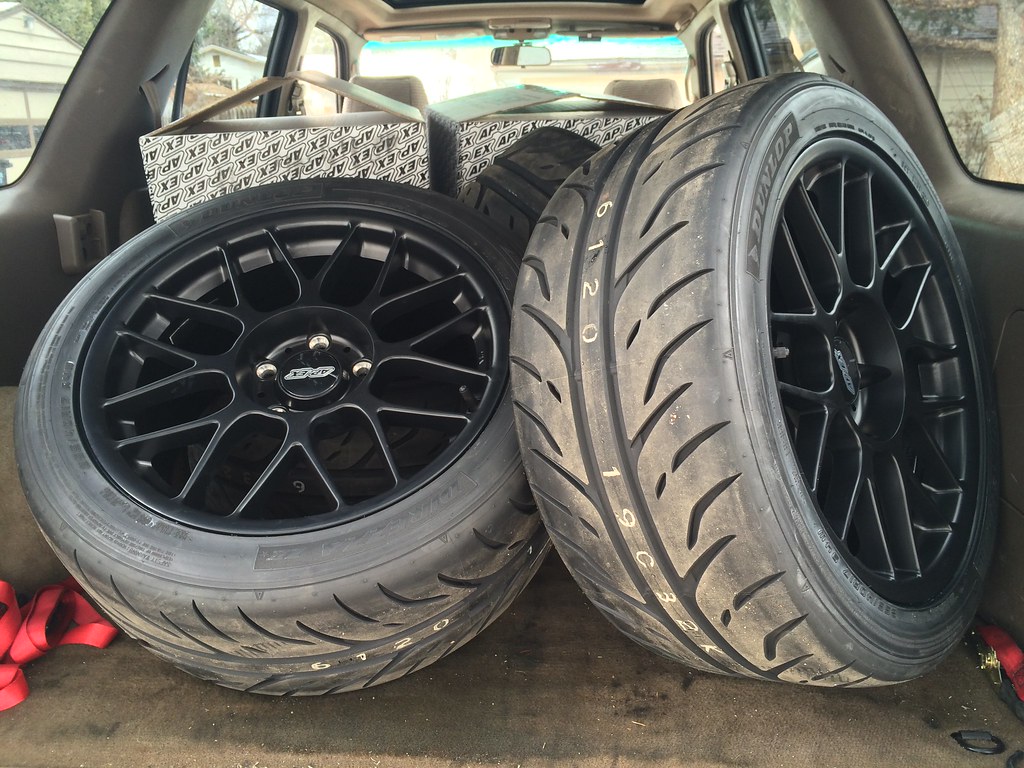 Untitled by ericandshovin, on Flickr
A quick fit showed that 17x9 et42 + 20mm spacers was a tad too close to the strut for comfort
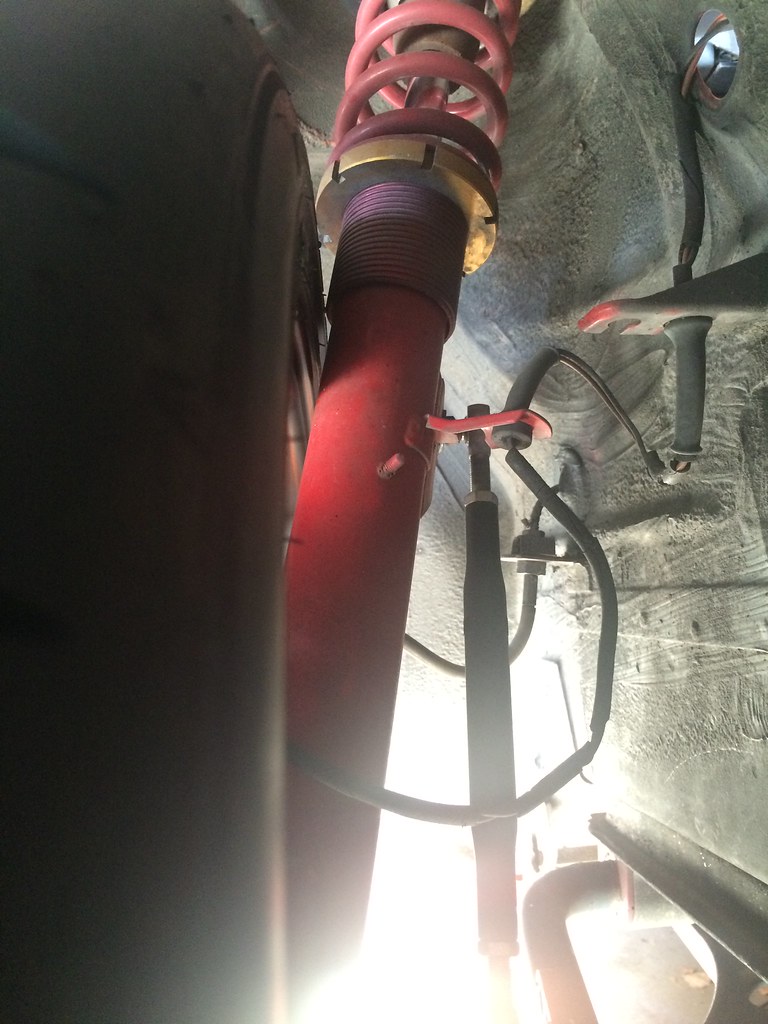 Untitled by ericandshovin, on Flickr
So I bought these VAC 12mm spacers to stack on some 10mm spacers I already had.
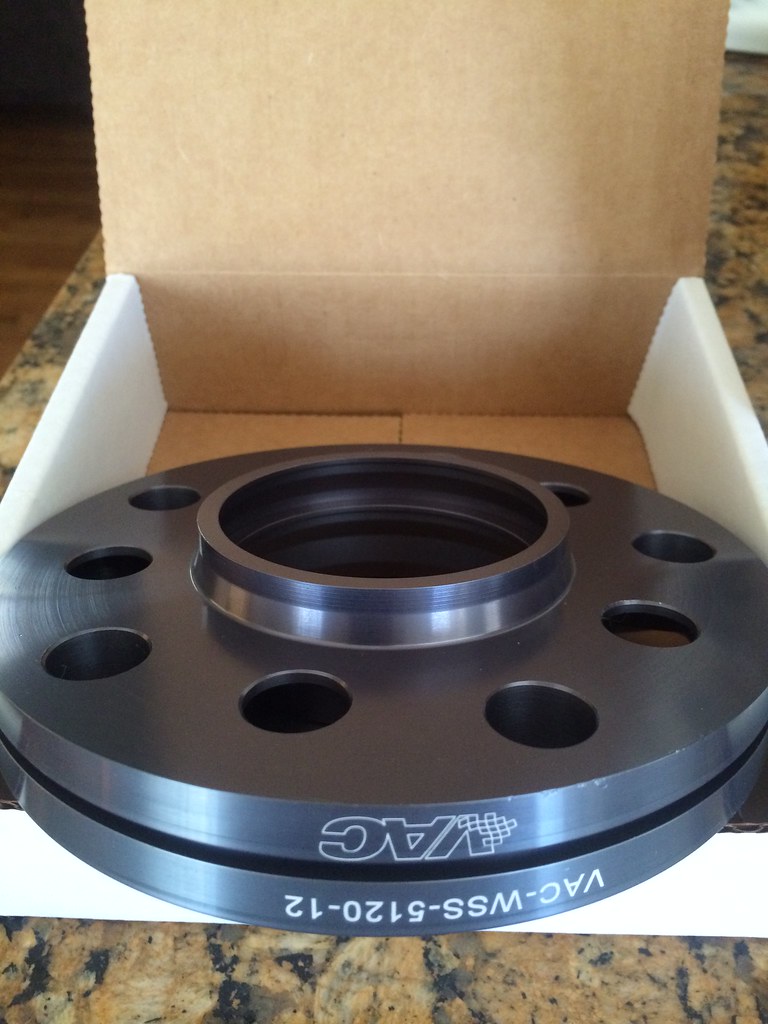 Untitled by ericandshovin, on Flickr
I also used this opportunity to upgrade form the GC/Koni setup that the M3 came with, to the AST 4100's I've had sitting in a bin for the last few years and some higher rate Hyperco springs. First step was to dissasemble the front struts. You post E30 guys have it so easy with just 3 bolts to pop off a strut from the spindle! This height adjuster from Ground control needed a lot of leverage to start moving.
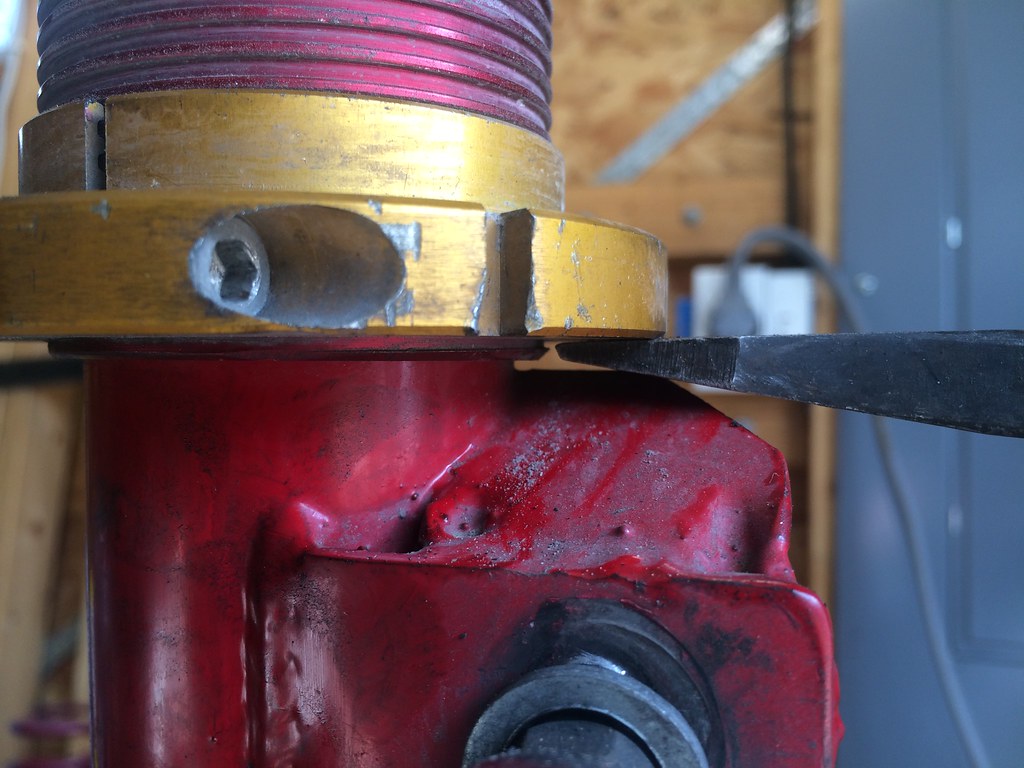 Untitled by ericandshovin, on Flickr
Electrical tape and dirt for clearance between the height adjuster and strut tube... Nice.
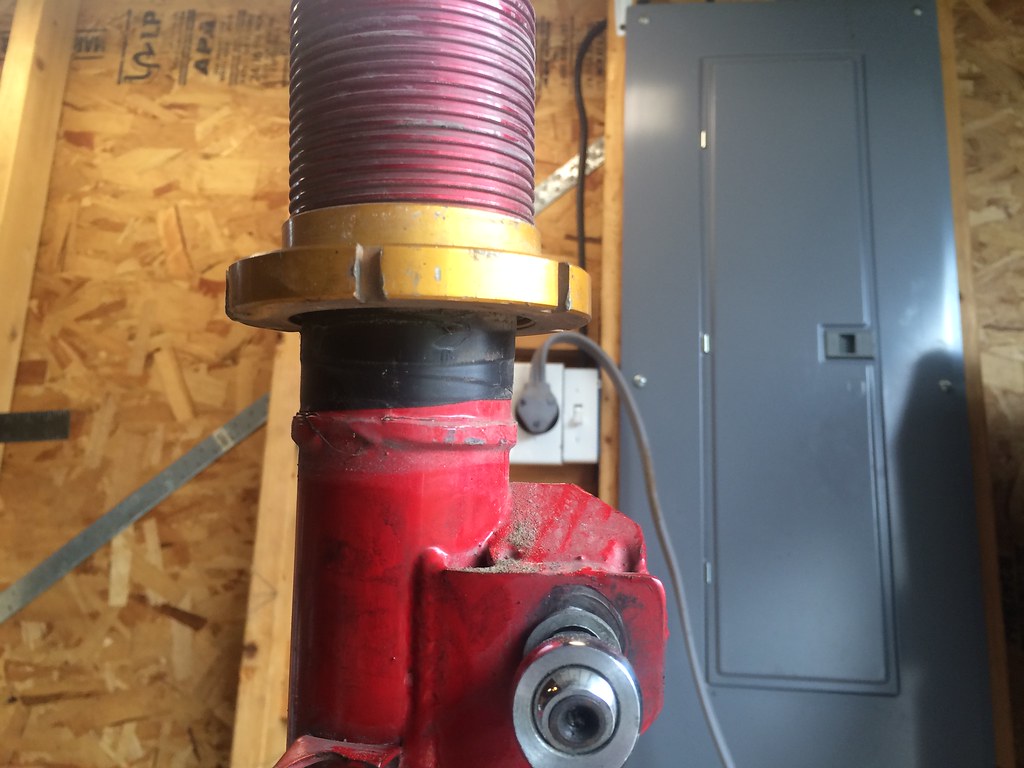 Untitled by ericandshovin, on Flickr
 Untitled by ericandshovin, on Flickr
All clean.
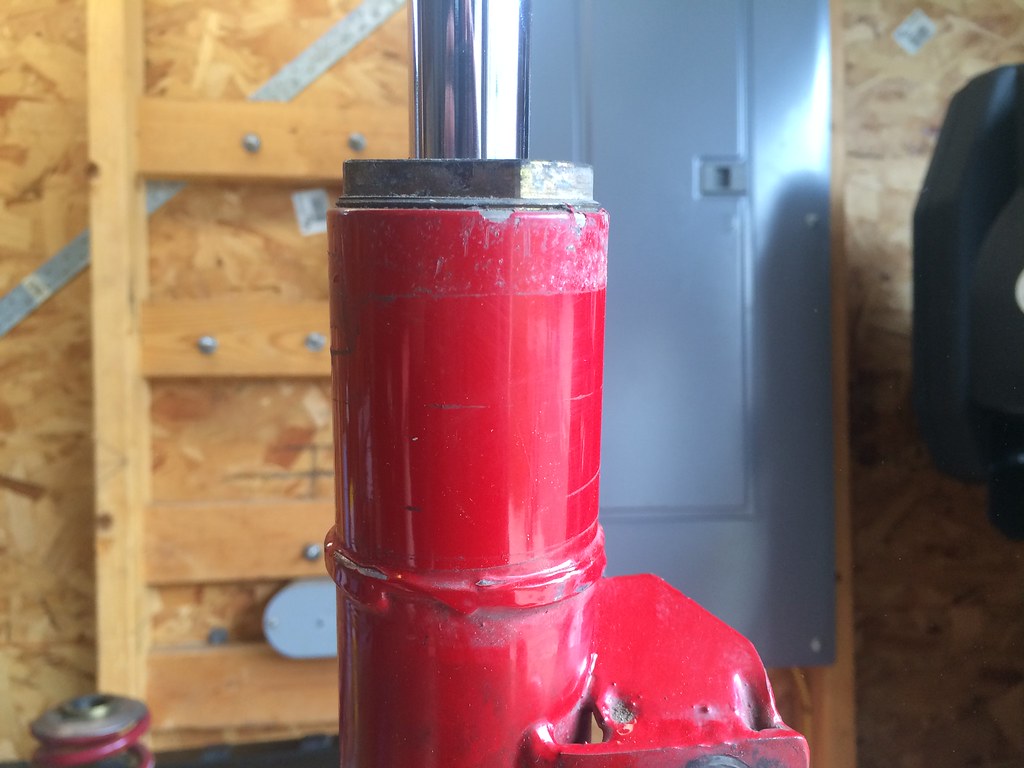 Untitled by ericandshovin, on Flickr
To remove this nut, I needed two full size dudes to hold my tool box/work bench down, a cheater bar, and thor's hammer (my wife) to break these bastard nuts loose!
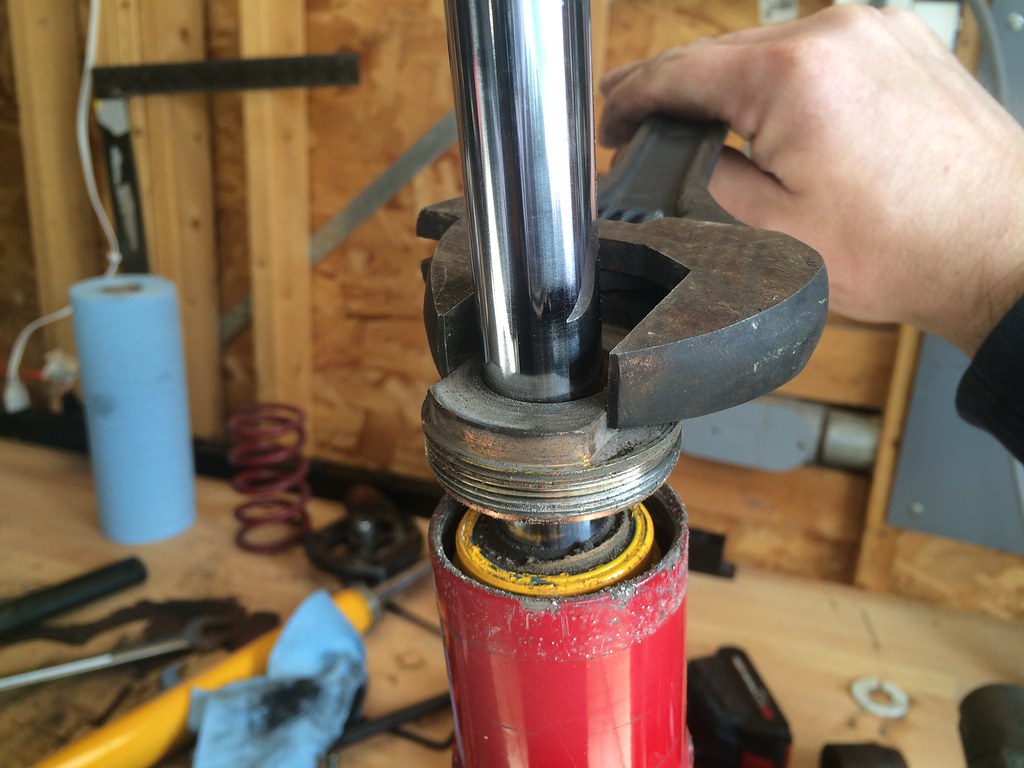 Untitled by ericandshovin, on Flickr
Around this point, she dragged me away to go do real life things
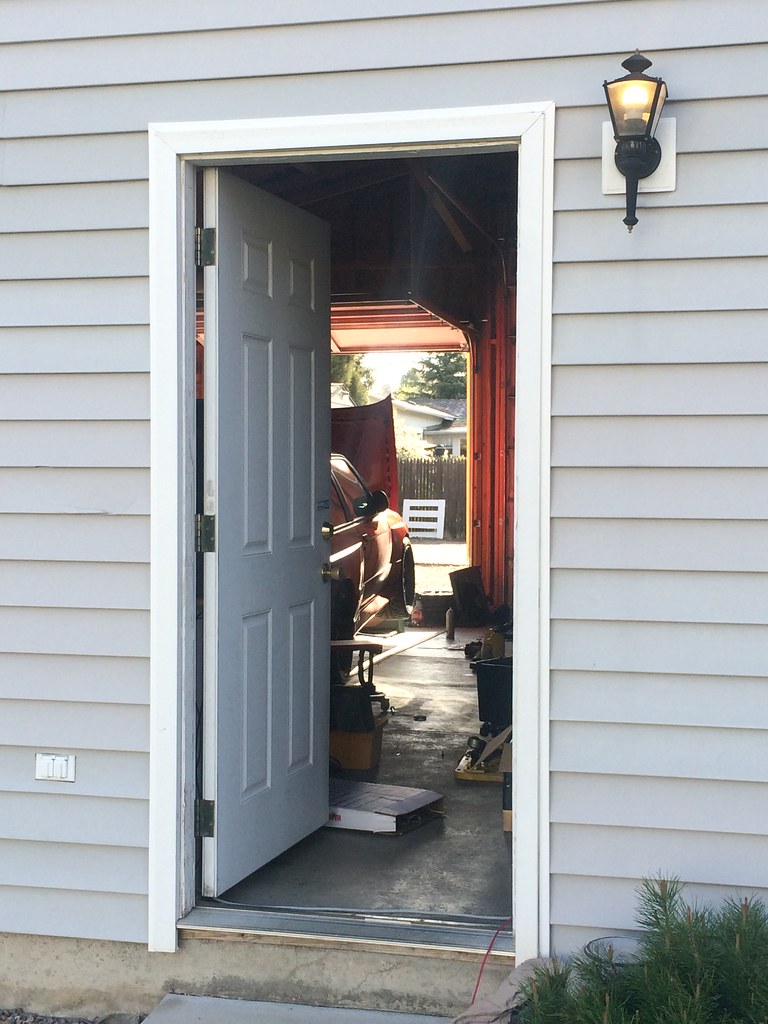 Untitled by ericandshovin, on Flickr
Like go to the brewery with her brother
 Untitled by ericandshovin, on Flickr
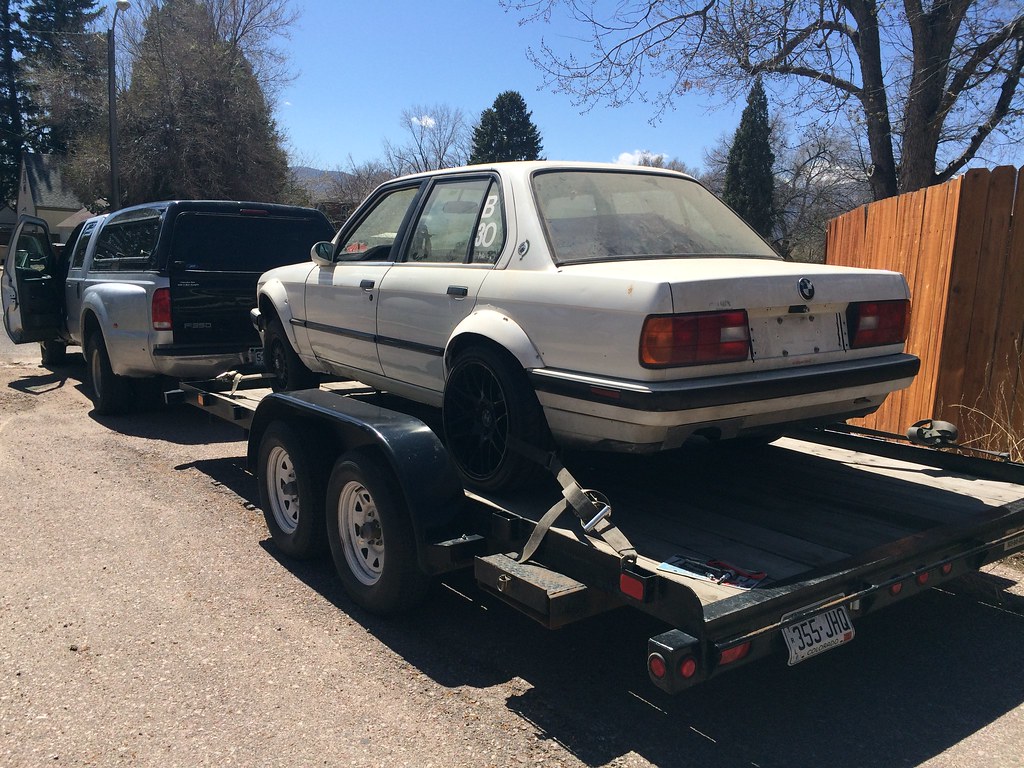
A few days later, a nice chap came by and bought my 325 track car.
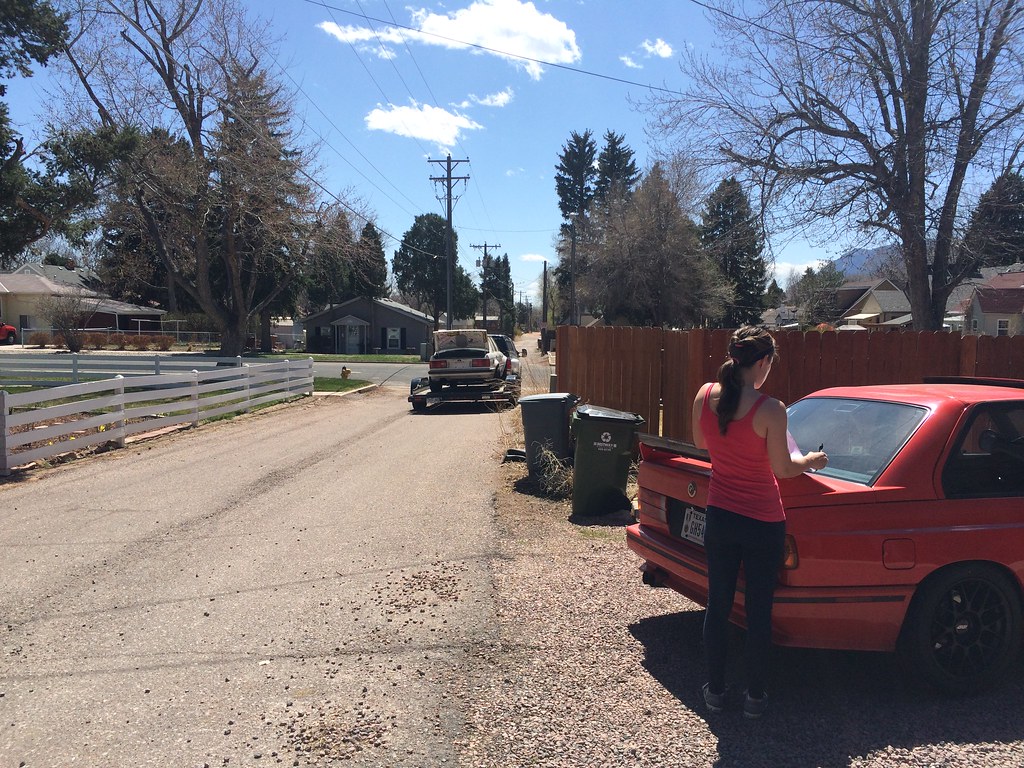 Untitled by ericandshovin, on Flickr
Out of the 23 cars I've owned, my white 325 is the car I've owned the longest, I was seriously sad for a few days afterwareds.
 Untitled by ericandshovin, on Flickr
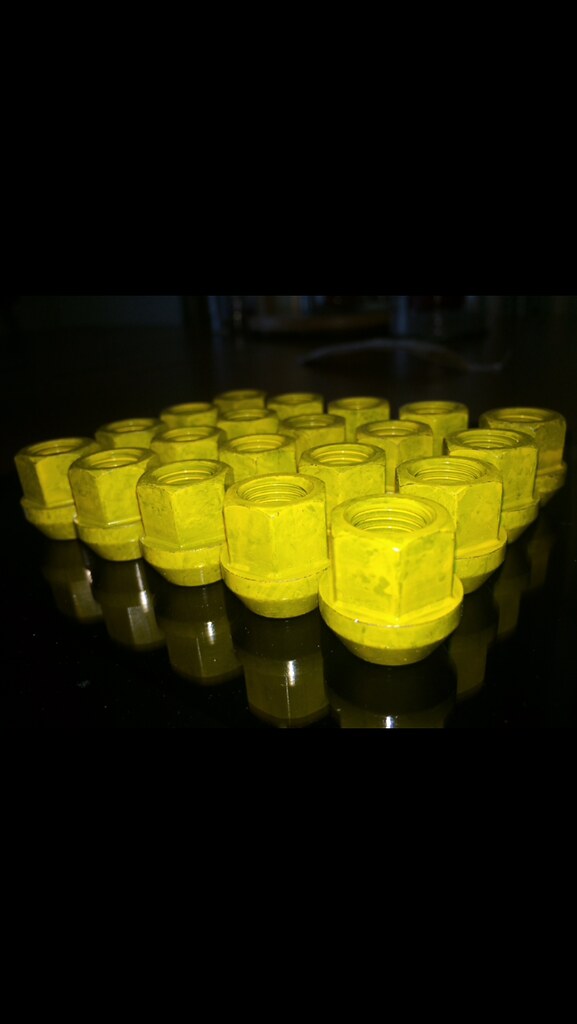
At some point in time, I scored a set of yellow nuts of R3v for cheap.
 Untitled by ericandshovin, on Flickr
Back to car parts...
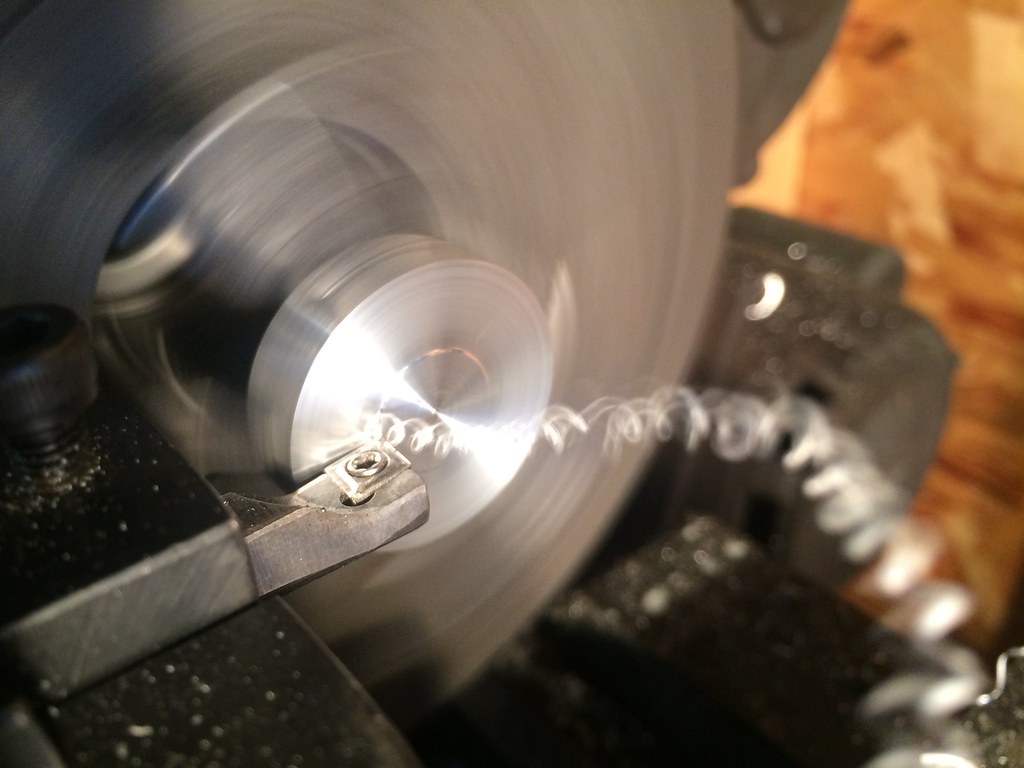
First problem I noticed once the struts were out, is that the new AST inserts were a few MM too short. No problem, I have a lathe!
 Untitled by ericandshovin, on Flickr
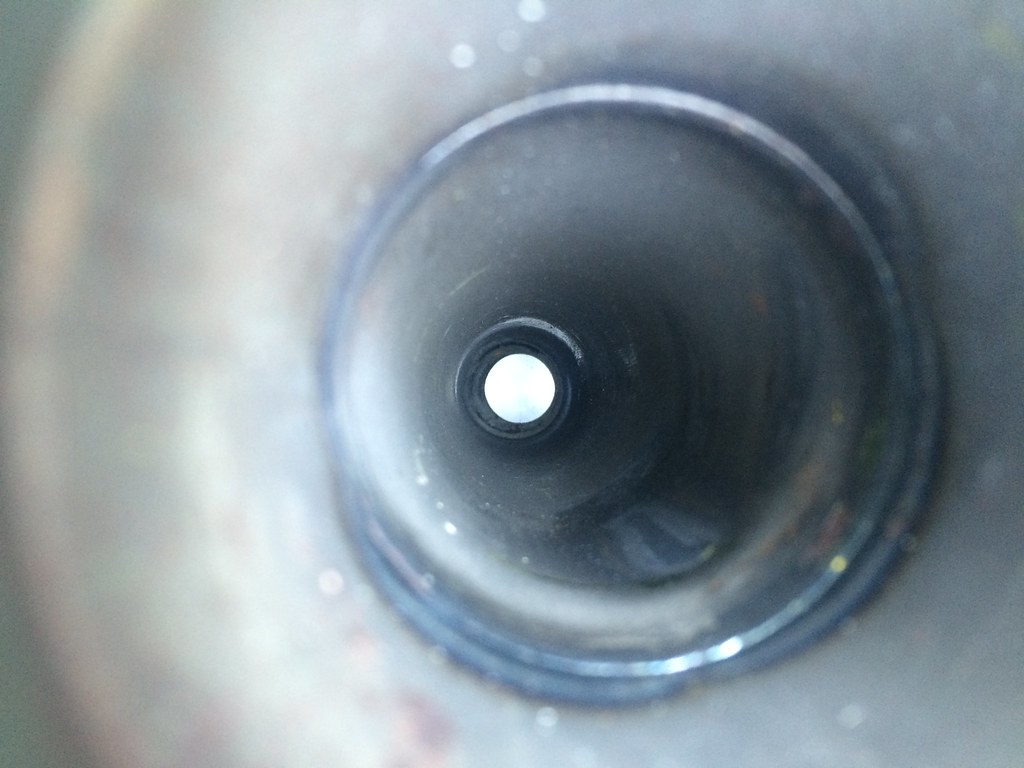
Plop these puck's down in the strut and the shock is now just right.
 Untitled by ericandshovin, on Flickr
AST's system is (INMO) a better solution than tape and dirt for securing the ride height. I believe ground control uses a perch to place the height adjuster on, not too sure why my set of struts don't have it. Anyways, the AST setup uses this nut to secure the shock in the tube, but it also uses the upper thread to hold the height adjuster.
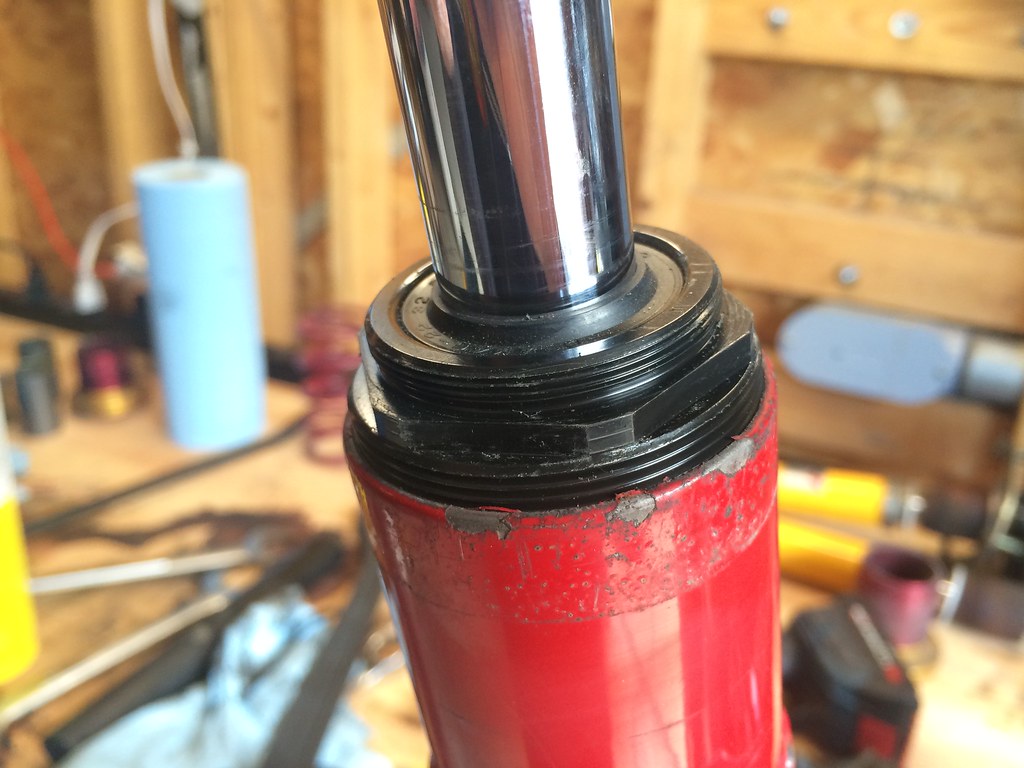 by ericandshovin, on Flickr
Both together.
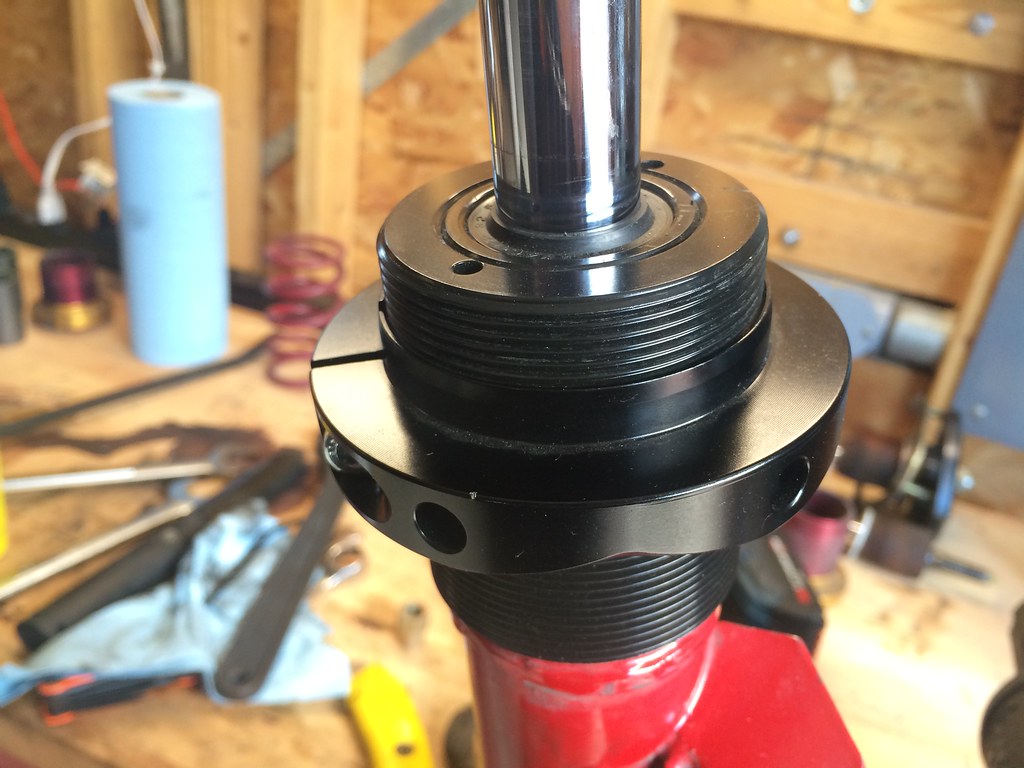 Untitled by ericandshovin, on Flickr
The strut shaft doesn't poke out of the camber plate much. The normal setup uses a washer that doubles as a centering spacer on the bearing and a nut.
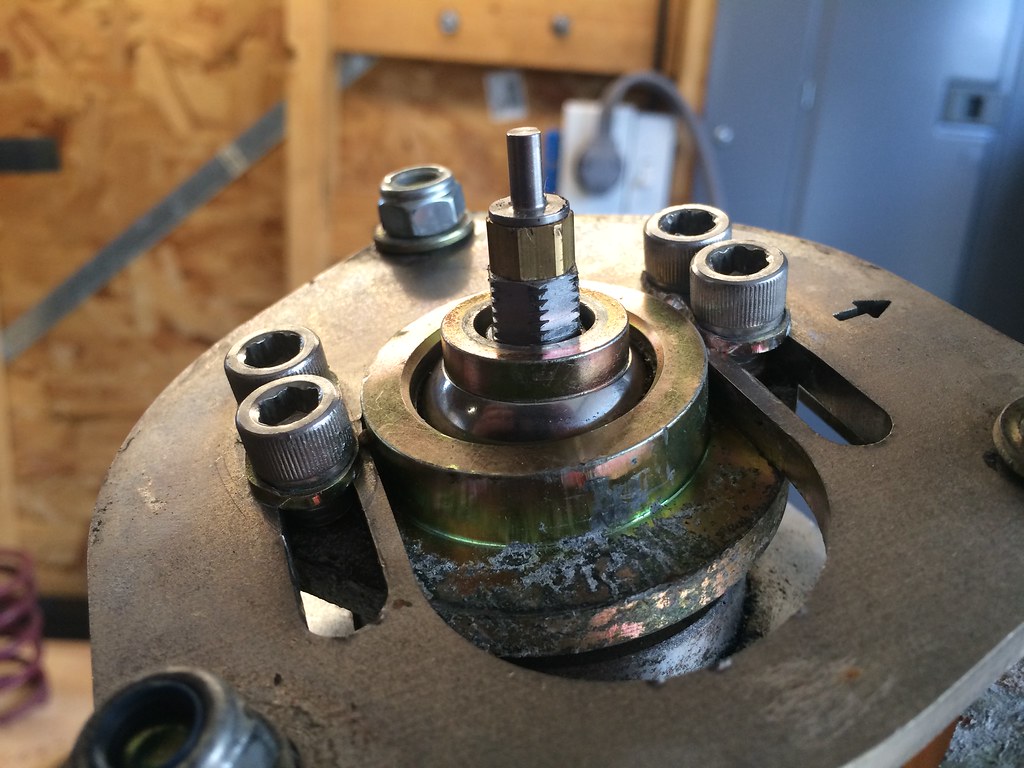 by ericandshovin, on Flickr
But my 4100 kit came with these nifty nuts that reach down into the bearing for centering as well as a securing nut with plenty of thread to grip
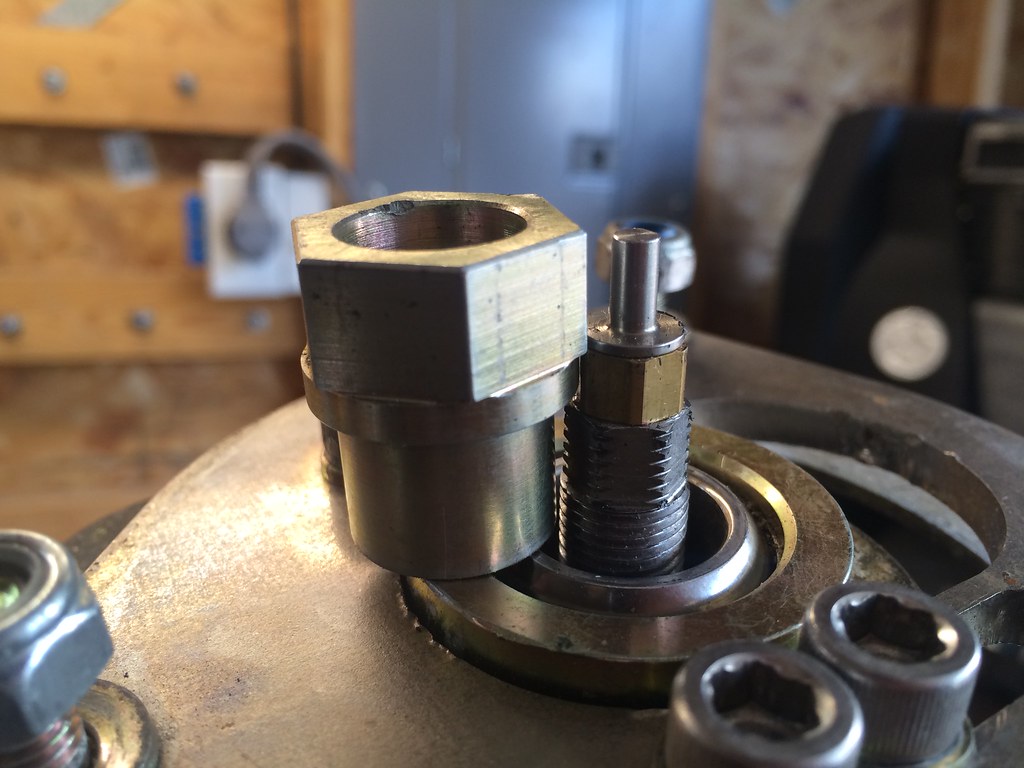 Untitled by ericandshovin, on Flickr
Connecting the two together. Internet legends have told me that running the top nut down with an impact ruins the shock internals, so I did this to tighten the top nut.
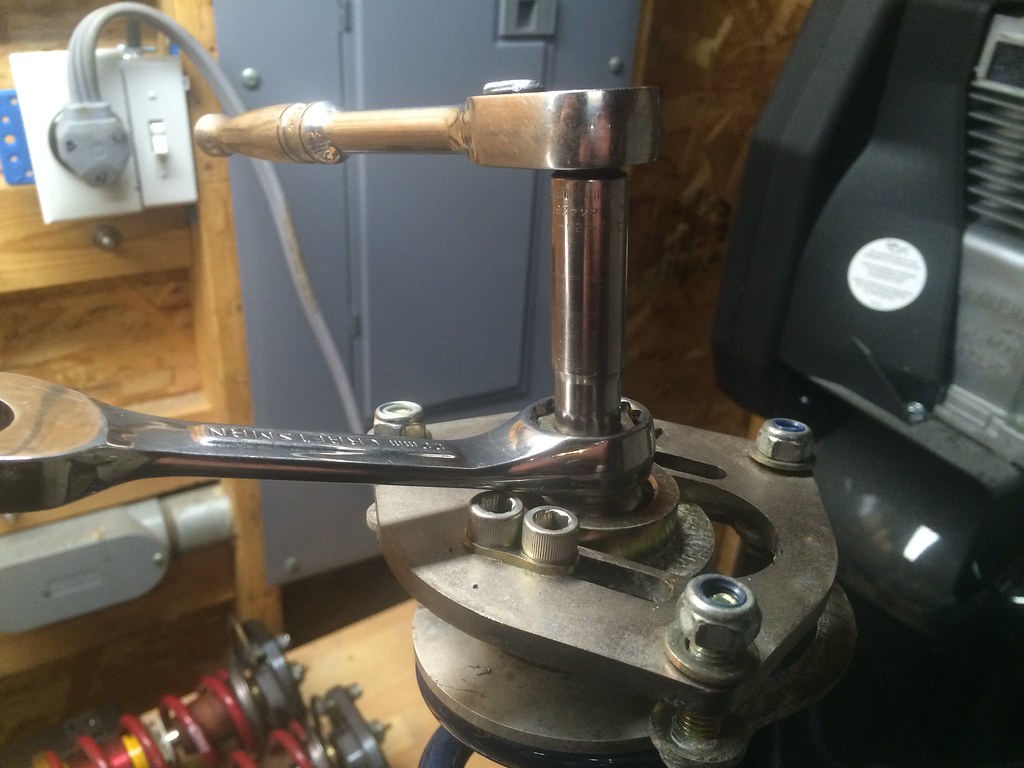 by ericandshovin, on Flickr
All together and pretty
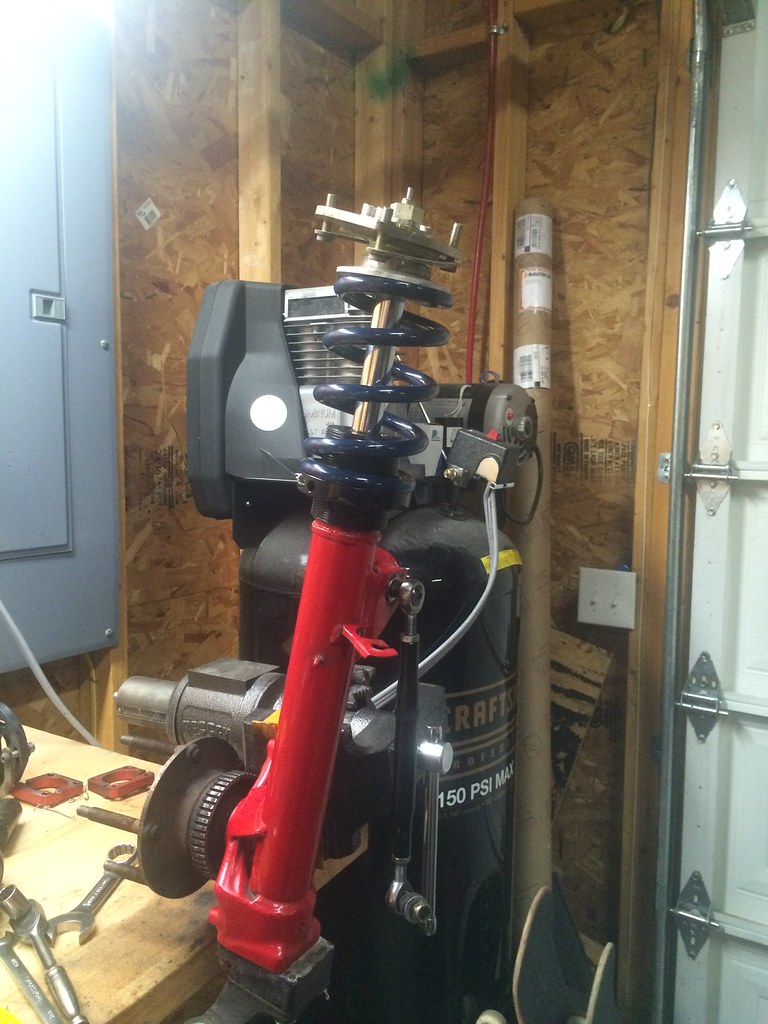 by ericandshovin, on Flickr
I forgot the bump stops. F*ck.
Back apart.
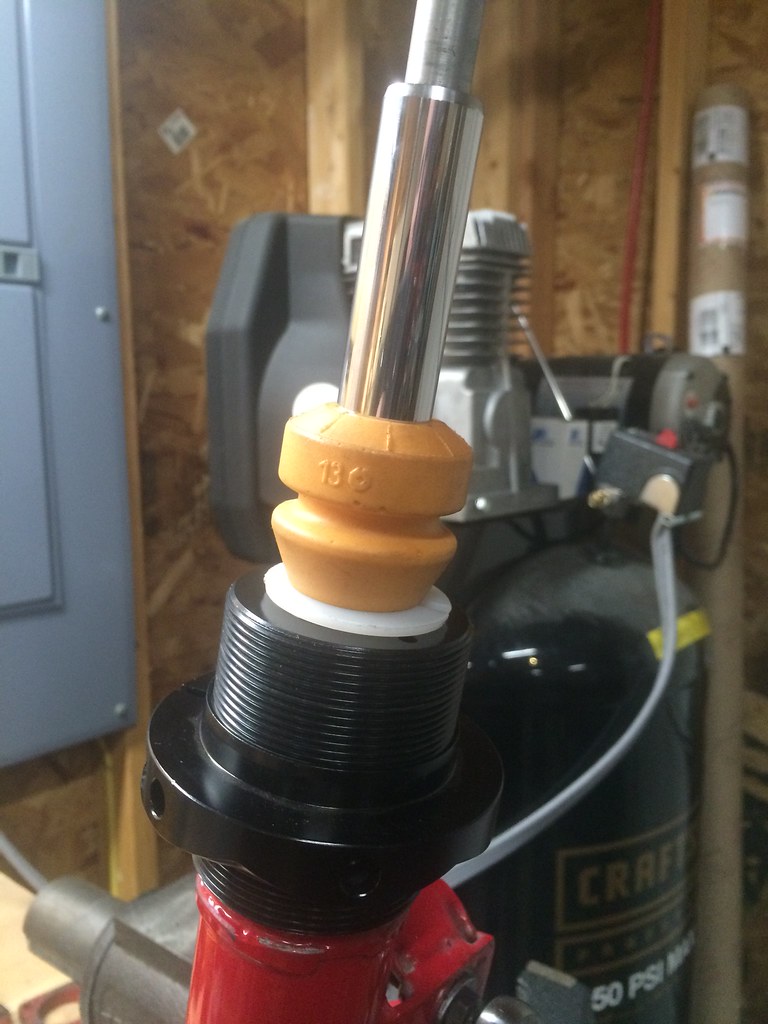 Untitled by ericandshovin, on Flickr
Thread locked and torqued the roll center spacers onto the struts. I think these are going to come out soon.
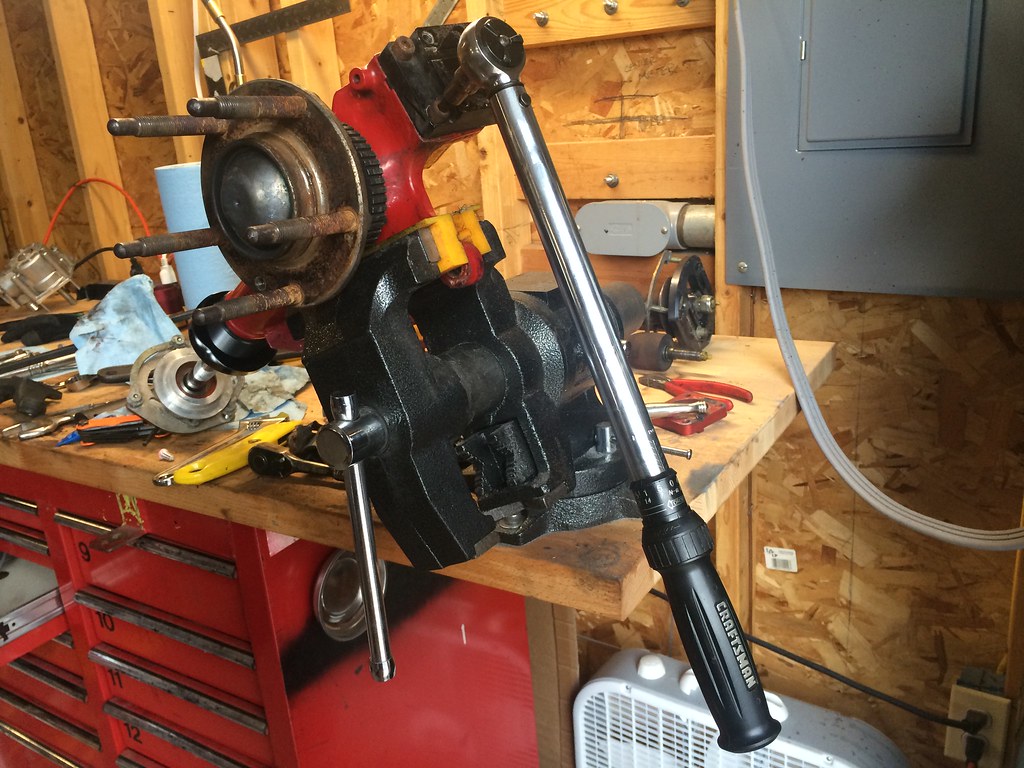 Untitled by ericandshovin, on Flickr
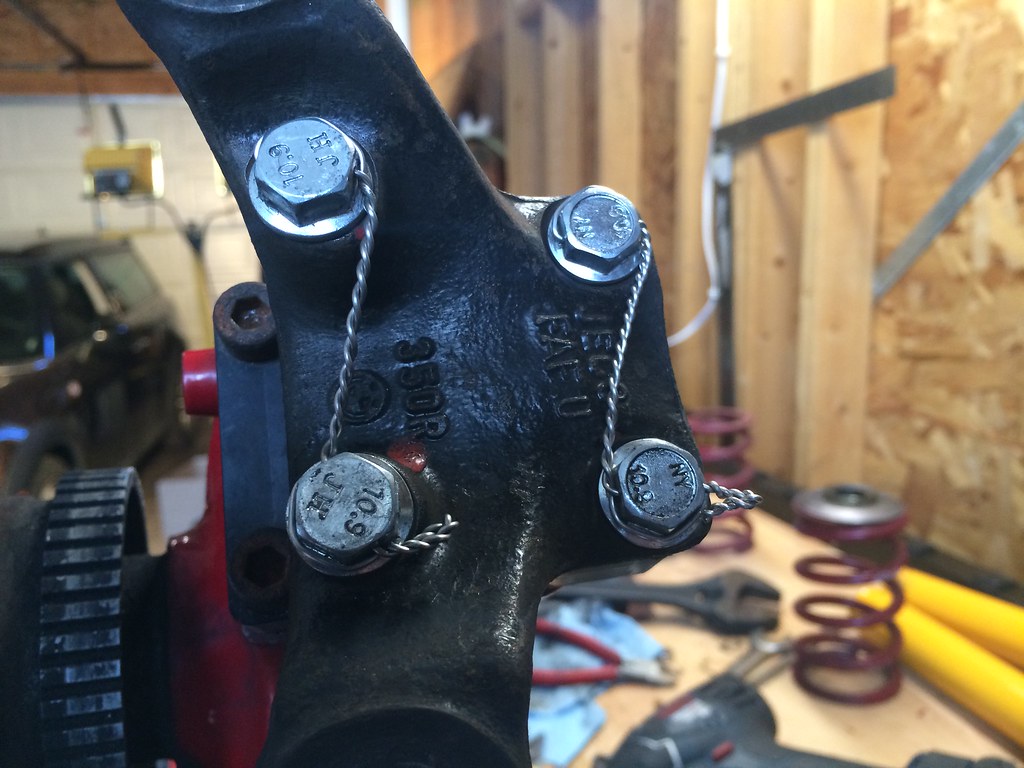
Thread locked, torqued and safety wired the ankerman arms
 Untitled by ericandshovin, on Flickr
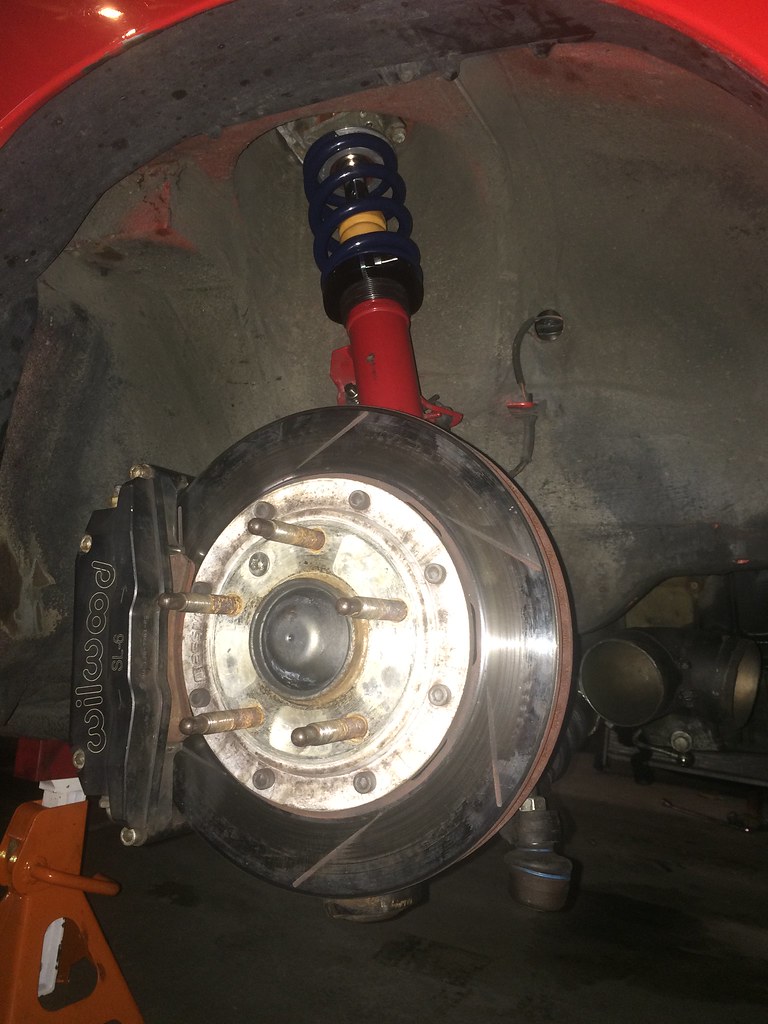
Back together now.
 Untitled by ericandshovin, on Flickr
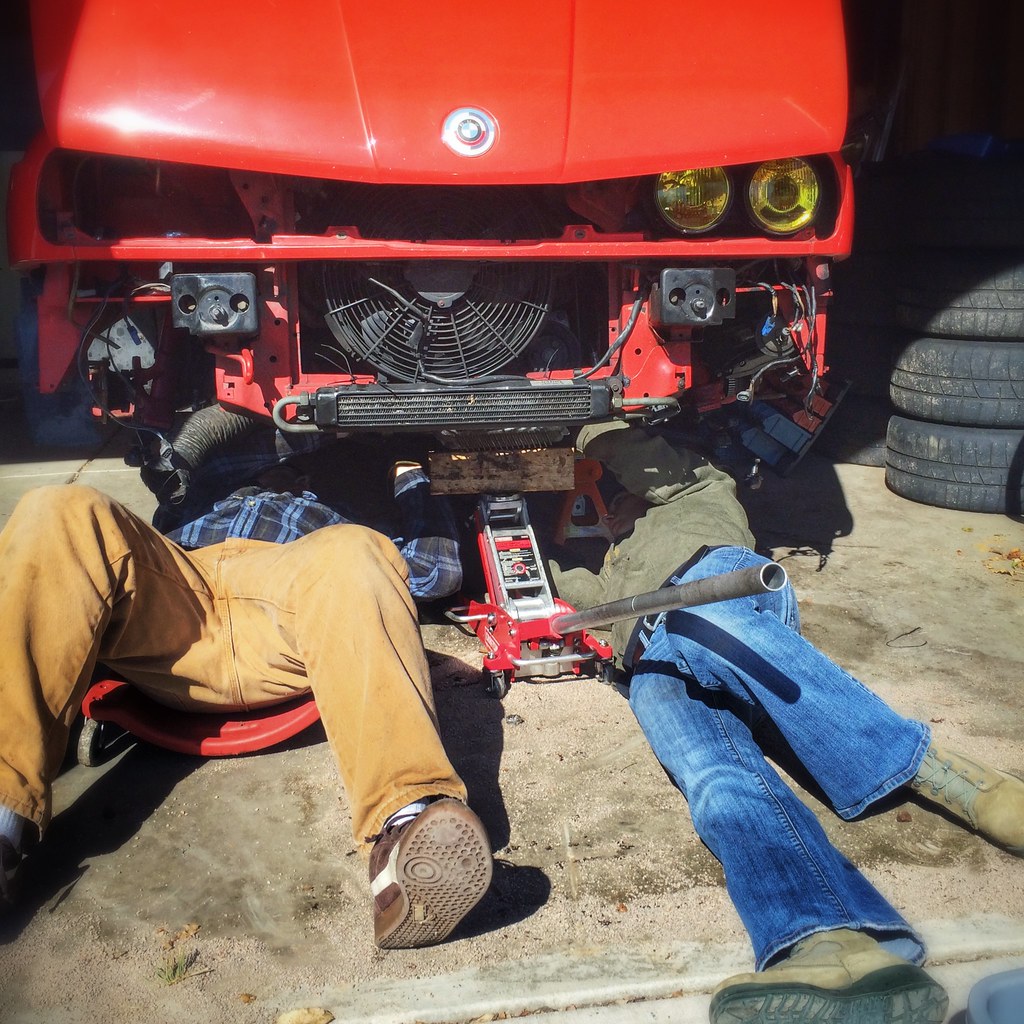
At some point my lovely wife lent me a hand.
 Untitled by ericandshovin, on Flickr
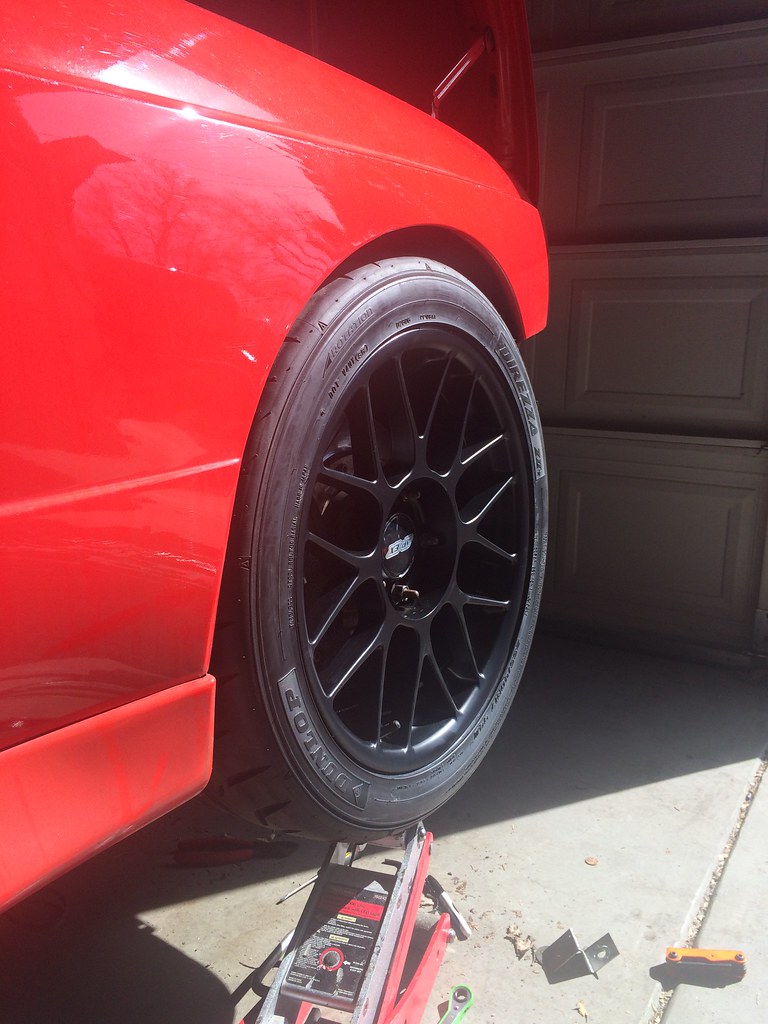
Did a bit of a tire test fit
 Untitled by ericandshovin, on Flickr
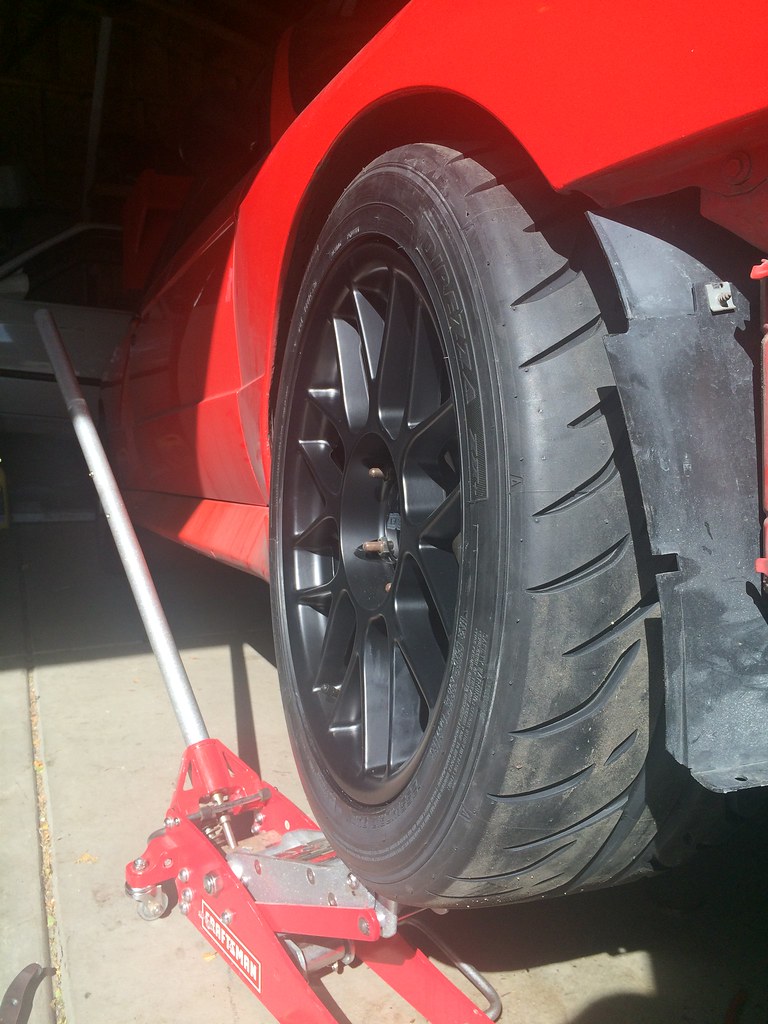 by ericandshovin, on Flickr
And back on the ground for a rubbadge test.
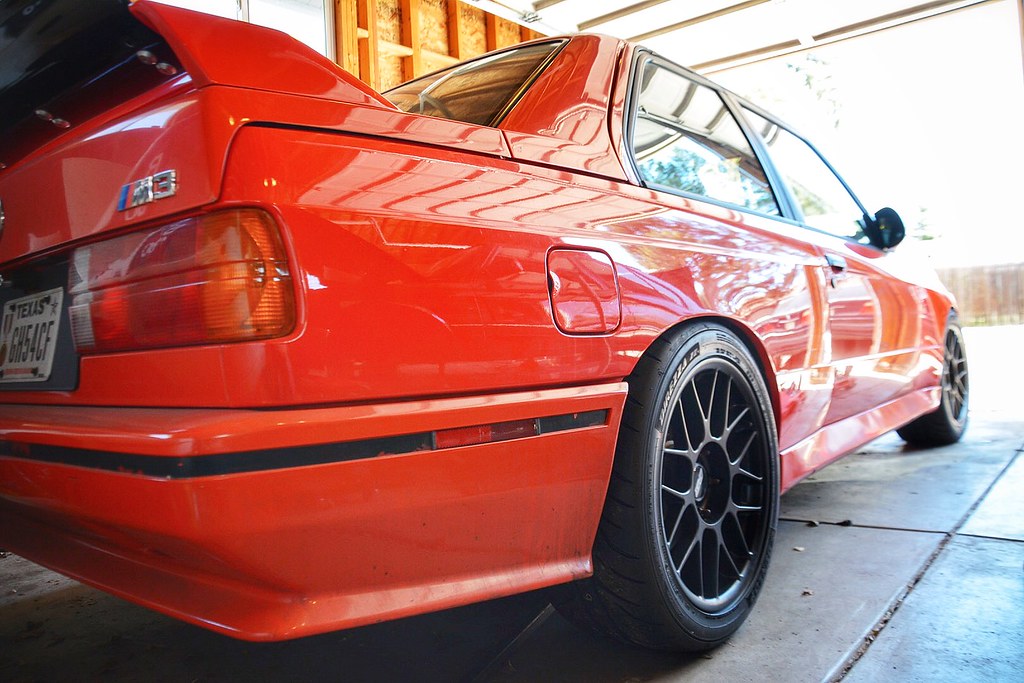 Untitled by ericandshovin, on Flickr
Leave a comment:
-
Yes, lots!
I'll have to give this thread a proper update soon...
Sent from my iPhone using TapatalkLeave a comment:


Leave a comment: