New owner, BMW 325iX Touring

Collapse
X
 
  • Time
  • Show
Clear All
new posts

  • D.Martijn
    replied
    Originally posted by notanawdix80
    Woow that turned out looking all nice and clean.

    What do you think about a bad starter motor ground? That crank is super weak.

    I definately would check all ground points and the possitives besides the windshield wiper fluid
    Thanks!
    You were right, I had a bad engine ground at the PS hinge/bracket.
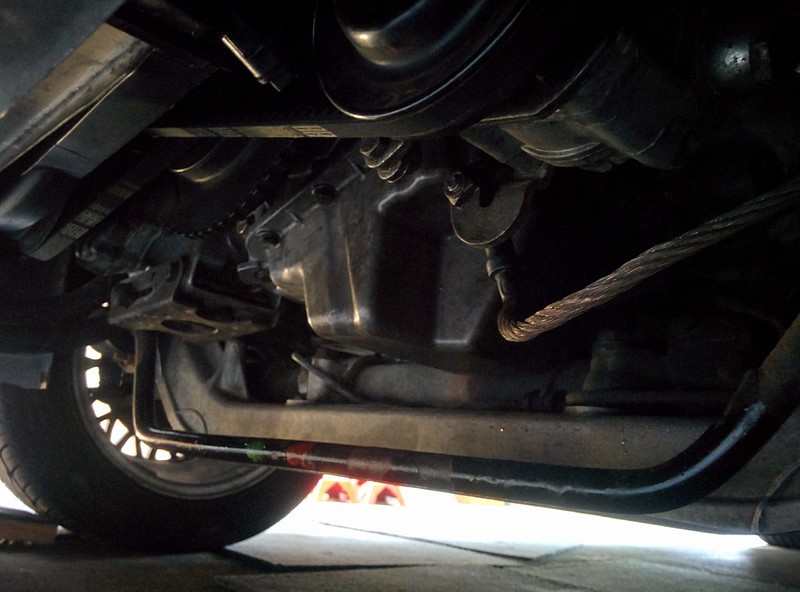

    After cleaning every ground/power connection in the engine bay, the engine cranked over like it should. I wanted to build up some engine oil first but drained the battery after a few cranks. I tried starting anyway but it didn't fire right away. It fired a few times but not enough to start.

    I decided to charge the battery again so I had to wait a day until I could start the engine. This evening I went back to the workshop with the charged battery, after connecting it, the engine fired up from the first try! :) I think there might have been too much fuel after turning the engine over for oil pressure..

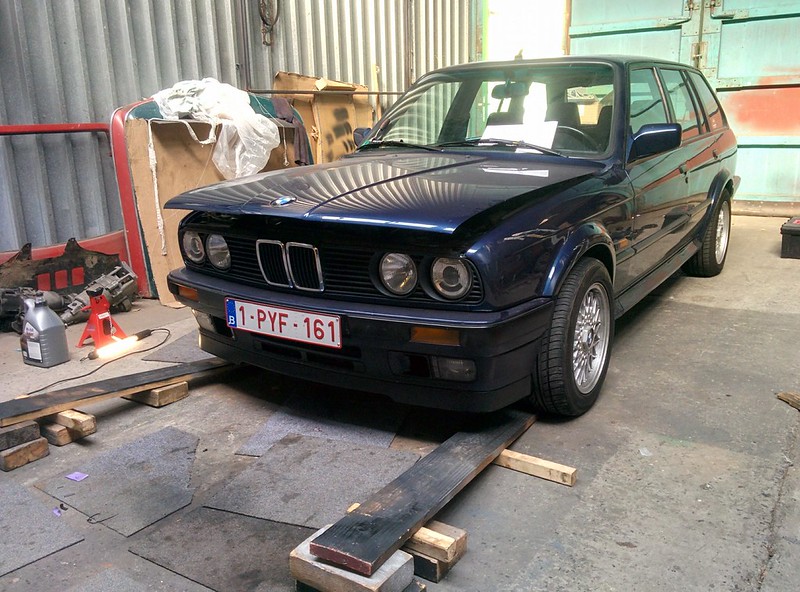
    It idled quite rough the first few seconds but smoothed out after a while. I drove it up some ramps so I could bleed the cooling system more easily.

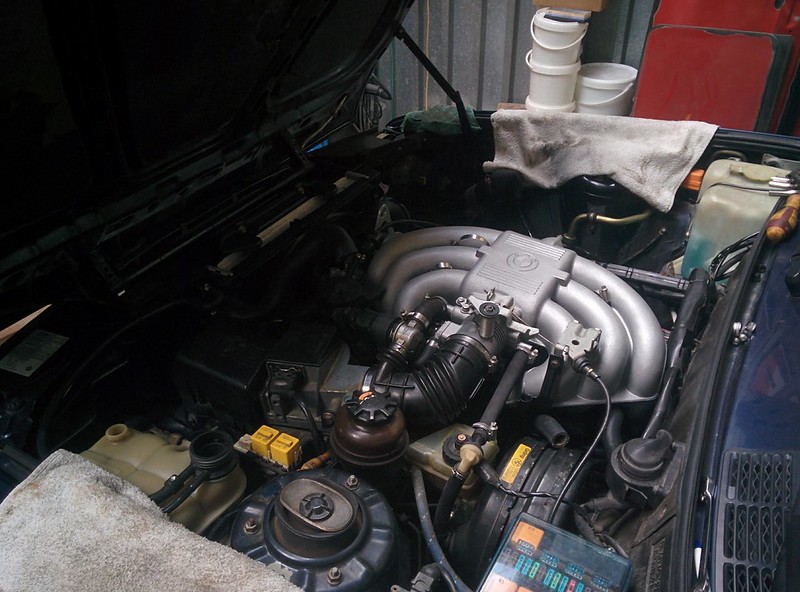
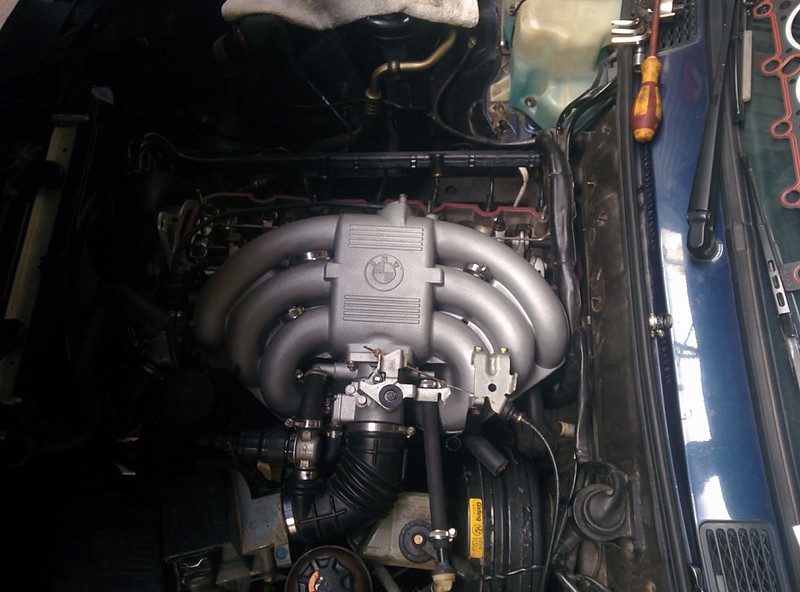
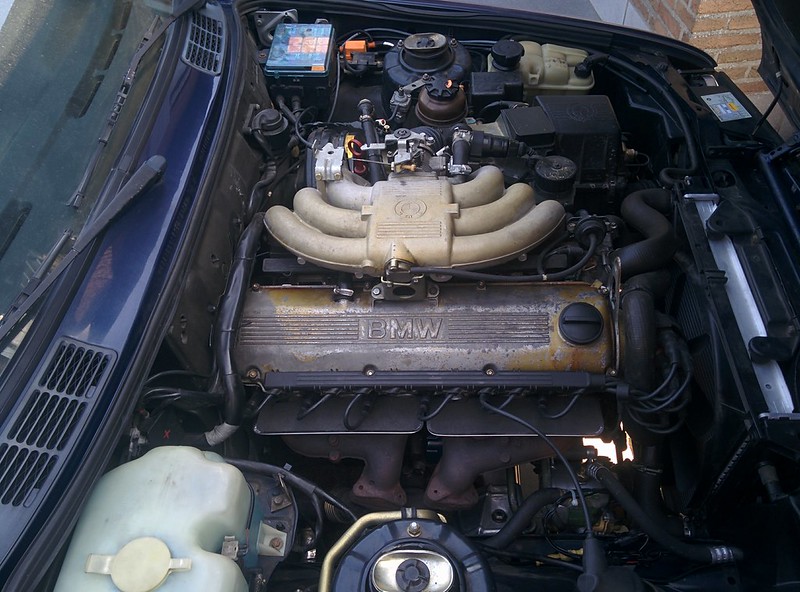
    Final engine bay shot :)
    Happy with the outcome of the intake and valve cover.


    edit:

    Just had a look at some older pictures of the engine bay. Quite the difference!
    Last edited by D.Martijn; 10-01-2018, 12:28 PM.

    Leave a comment:


  • notanawdix80
    replied
    Woow that turned out looking all nice and clean.

    What do you think about a bad starter motor ground? That crank is super weak.

    I definately would check all ground points and the possitives besides the windshield wiper fluid

    Leave a comment:


  • D.Martijn
    replied
    Today I started with the final assembly of the engine/cylinder head.

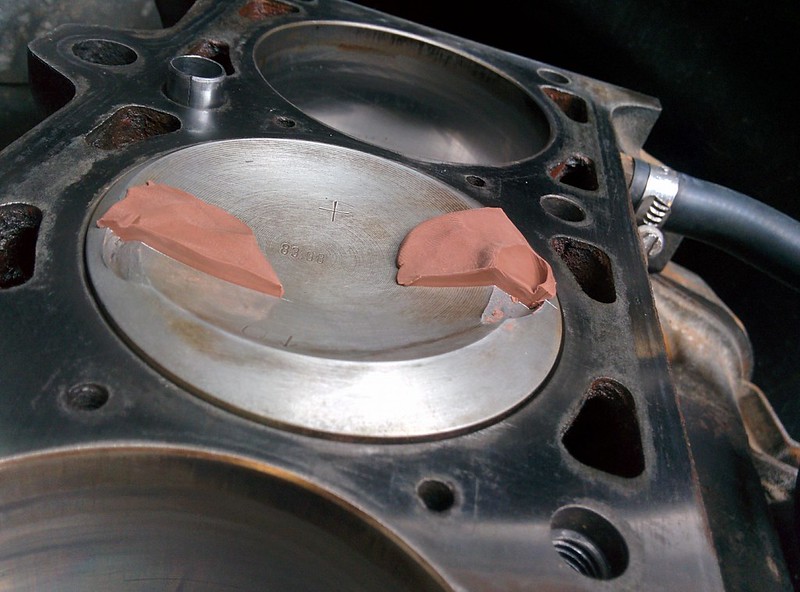
    I started with checking the piston to valve clearance with some plasticine.
    Using the old headbolts, timing belt and tensioner and the Elring head gasket that came with the gasket kit.


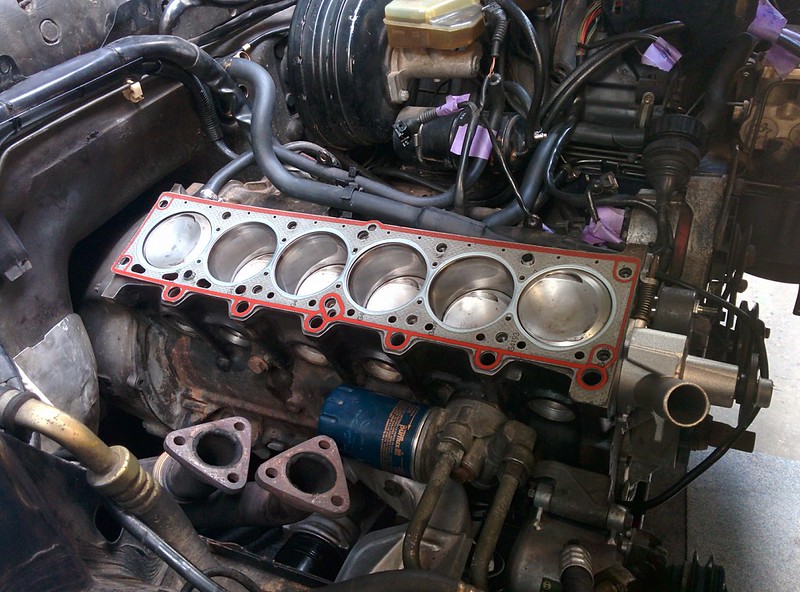
    After cleaning the pistons, deck & cylinder head, I put on the Goetze head gasket and the head.


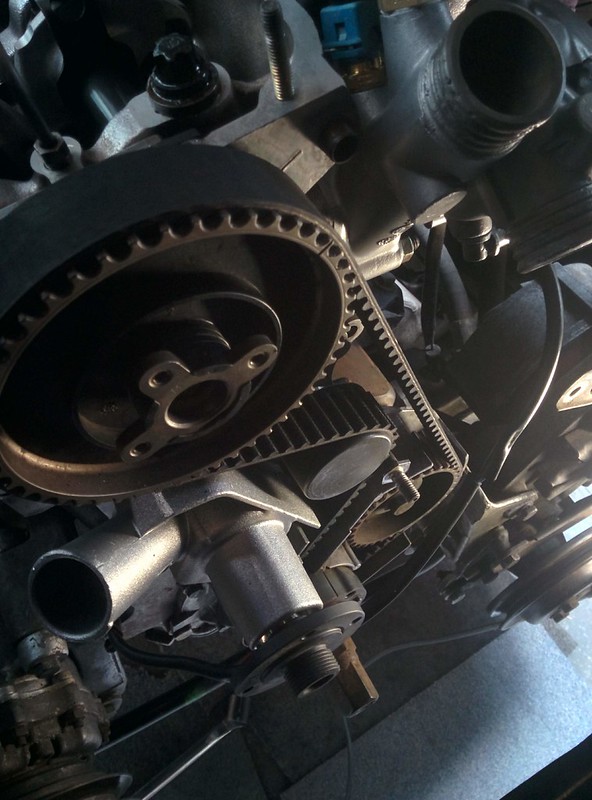
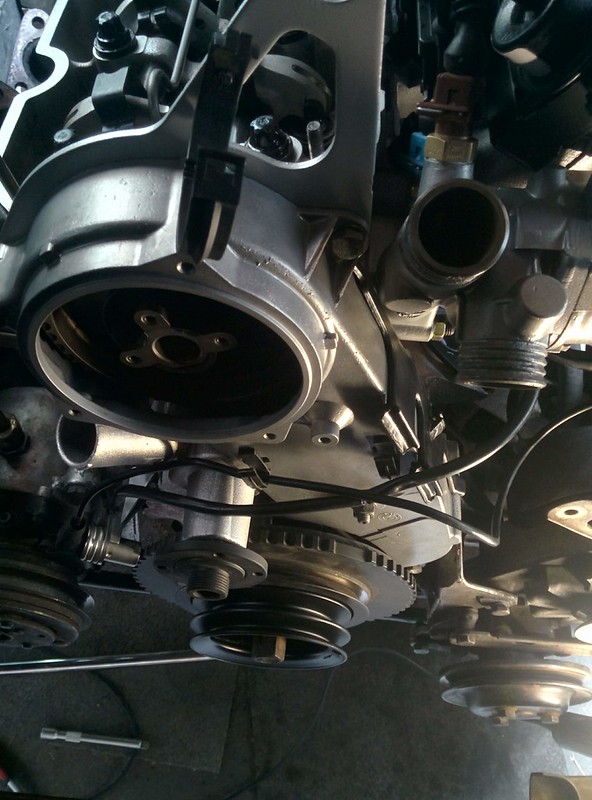
    Then it was time to install the rest of the parts, new Gates timing belt & tensioner, Graf waterpump


    Bead blasted alu parts inplace


    Throttle body, new coolant hoses, radiator back in


    After topping of the oil, fitting the exhaust and adding coolant. It was time to try and crank the engine to build up some oil pressure.
    After connecting the battery again, I got a very very weak crank. First though was that the battery had drained. I changed it out of a friends car but still got the same problem..

    Starting to think it might be the starter? Although it had no trouble cranking the engine before disassembling the head..

    Leave a comment:


  • D.Martijn
    replied
    Yesterday after work I decided to go to the workshop again, was busy assembling the head until 10pm. Time goes fast if you're busy :)

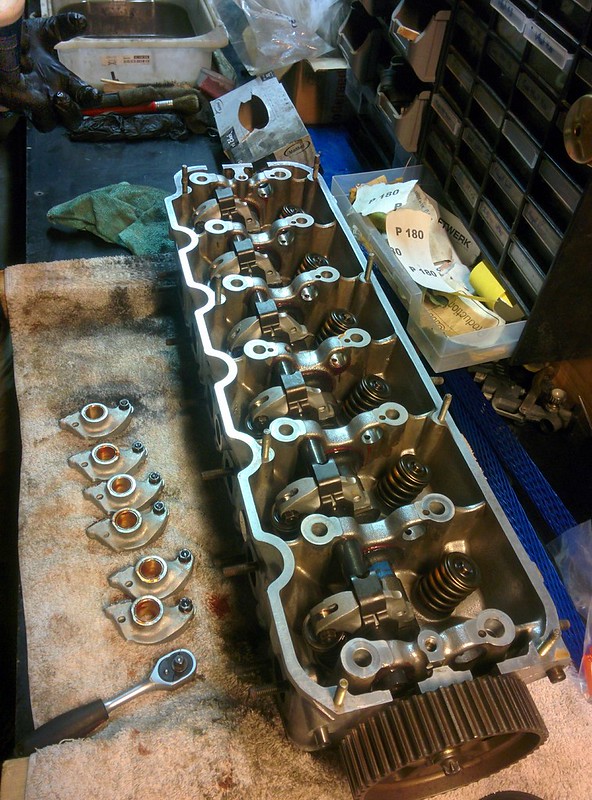
    Before the assembly, I tried googling the bast way to assemble the rockers and rocker shaft, almost all the DIY post suggest tapping the shafts into place.
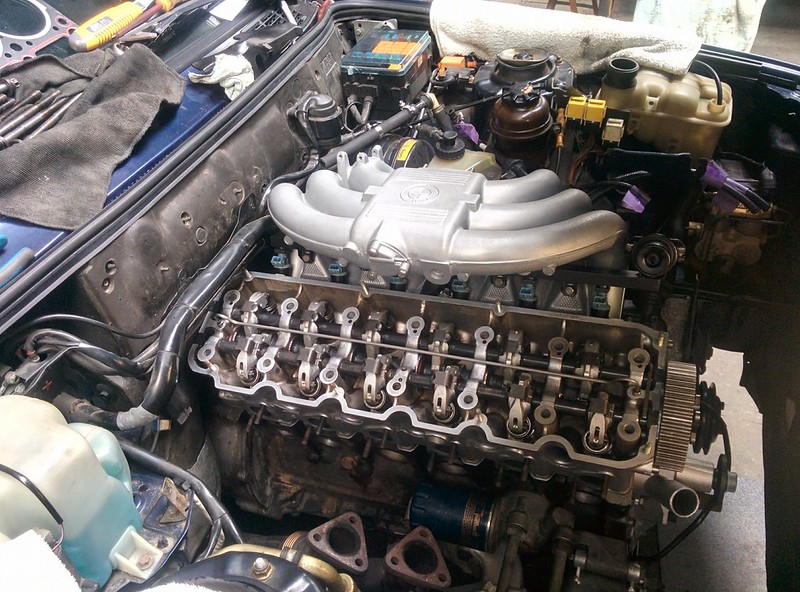
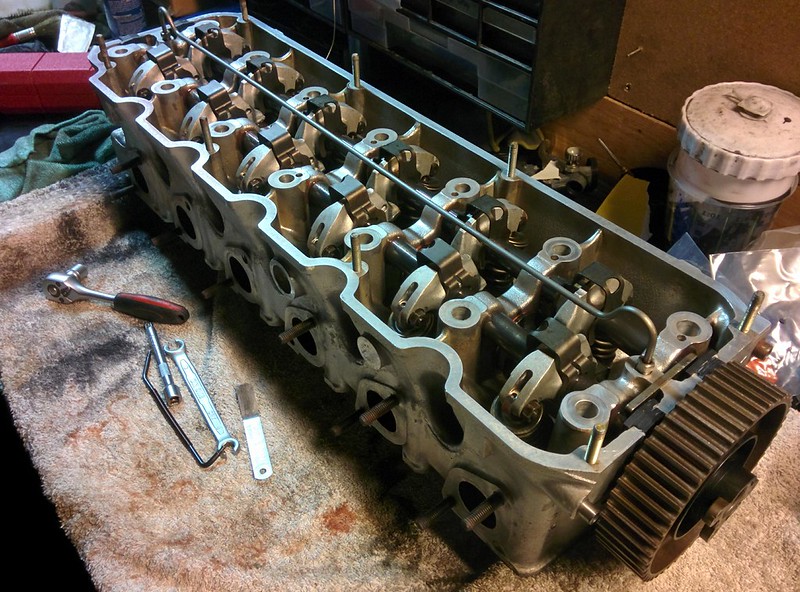
    Turns out this is completely the wrong way of doing things. I was able to slide the shaft into place with the exhaust rocker for cylinder 6 on the intake lobe, then push on the clips on the other 5 rockers and turn the camshaft until you can slide on the 6th exhaust rocker

    Exhaust side assembled.


    For the intake side it's the same procedure except, you need to place the rocker between the two lobes, then turn the camshaft again and slide the 6th intake rocker onto it's lobe.

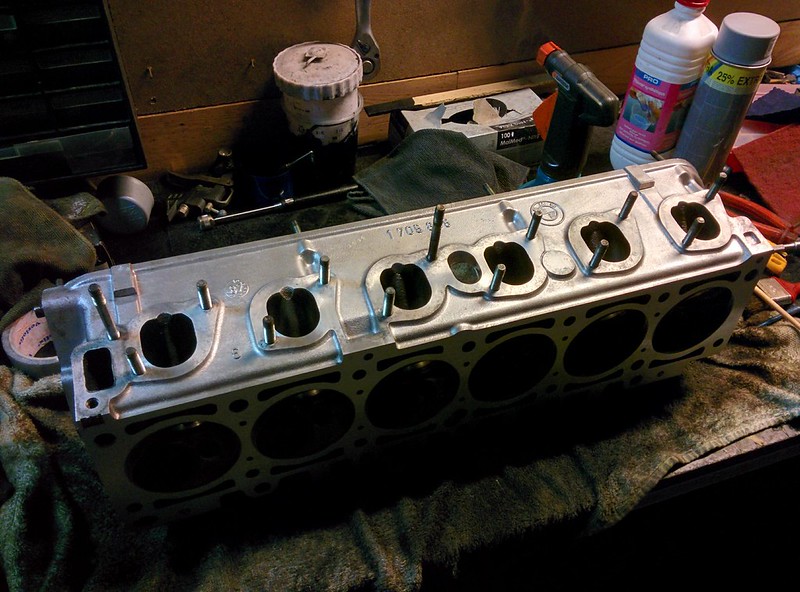
    Rebuilt head


    I also set the valve clearance


    After that, I went back home and got into bed.

    Today after work, I got started on some little stuff. I first started with mounting a new rear guibo for the driveshaft as the old one had some cracks in them. Hopefully this will stop the clunking I sometimes have when driving slowly and pressing the clutch in rapidly.

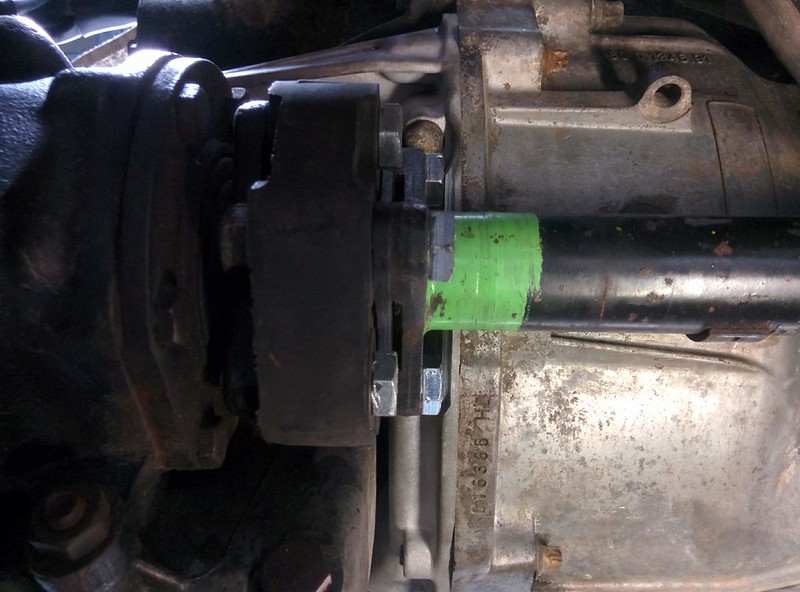
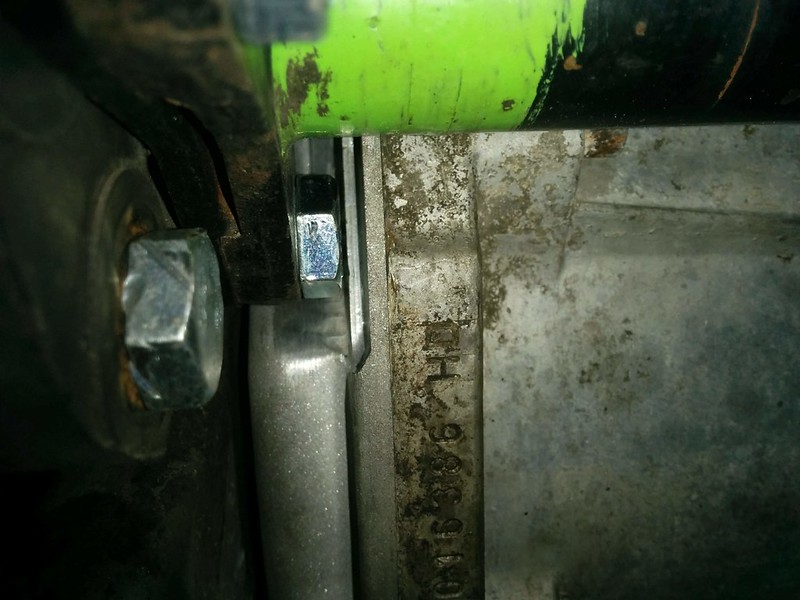
    I then assembled the front driveshaft with the longer bolts I got.


    It's tight, but clearance is clearance right :p


    Almost fully engaged.


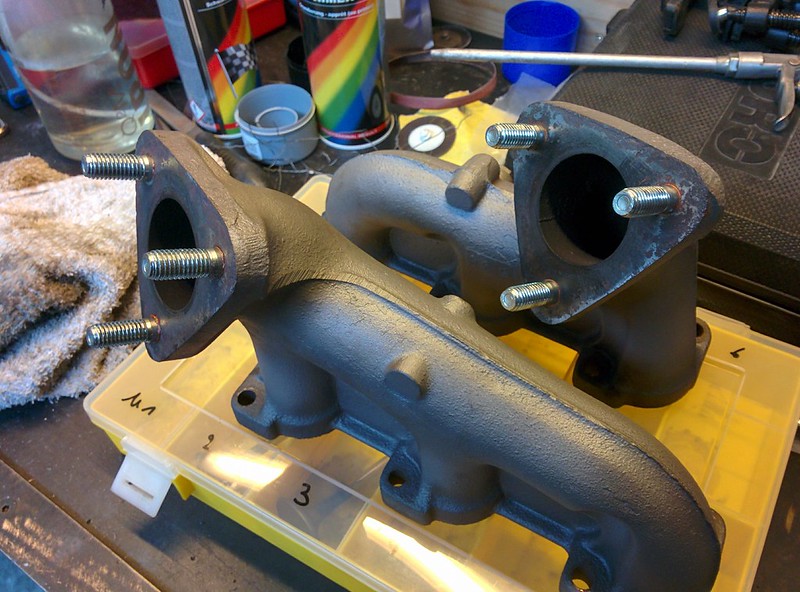
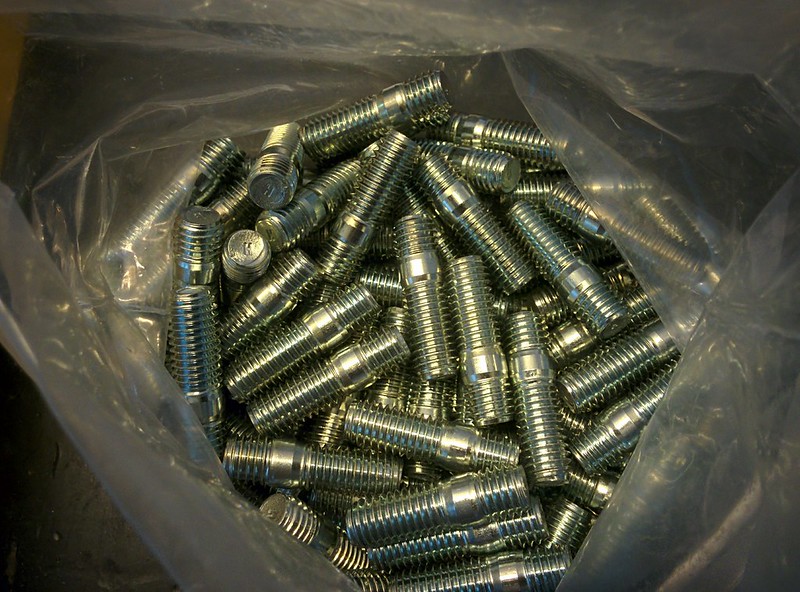
    I also ordered some stud for the exhaust manifolds. BMW ask 5-6€/stud. I paid 21€ for 100. lol


    Anyone in need of some studs? I got 94 left :)

    Leave a comment:


  • D.Martijn
    replied
    Originally posted by moatilliatta
    Id consider Genuine rockers unless IE has updated their design.
    As far as I could find info on Google there haven't been any problems lately with the IE rockers.

    Leave a comment:


  • moatilliatta
    replied
    Id consider Genuine rockers unless IE has updated their design.

    Leave a comment:


  • D.Martijn
    replied
    Originally posted by kronus
    your resurfacing guy didn't clean the head? weird. that's usually done in shops here before they do anything, they don't want to get their mills dirty
    He didn't but the head wasn't all that dirty to begin with, just a few small spots.

    Leave a comment:


  • kronus
    replied
    your resurfacing guy didn't clean the head? weird. that's usually done in shops here before they do anything, they don't want to get their mills dirty

    Leave a comment:


  • D.Martijn
    replied
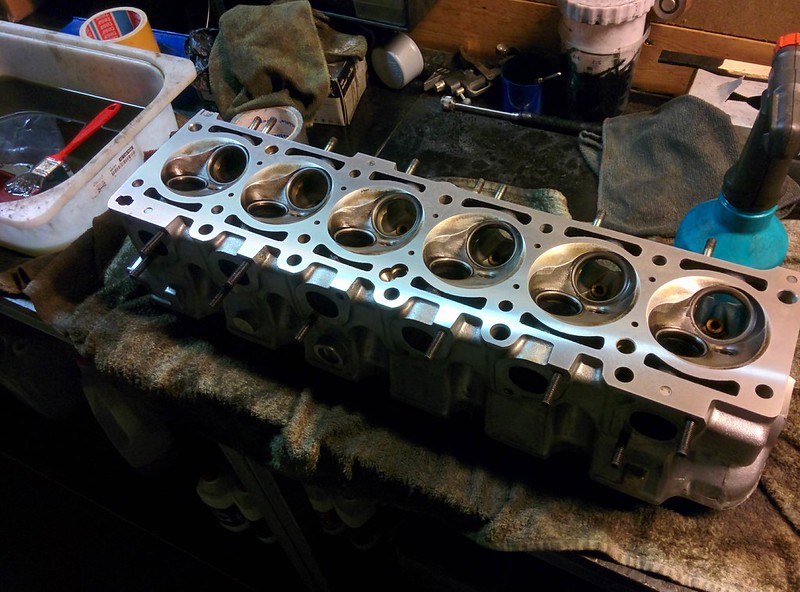
    After work on Monday I went and got my cylinder head back from the local parts store where I got it resurfaced. This will ensure that I have a good surface finish for the new HG. The guy where I took my cylinder head initially said it was still flat and didn't need machining. Although it turns out there were a few low spots in between the combustion chambers.

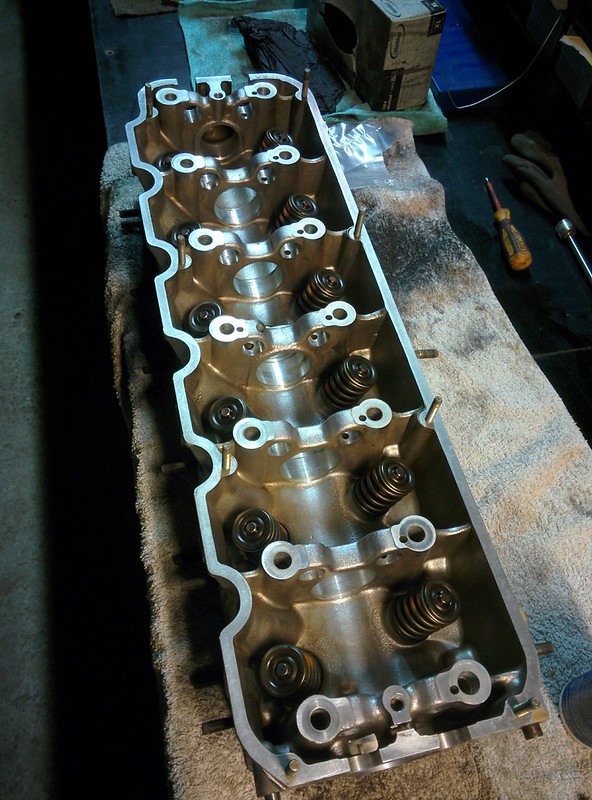
    After getting the head back, I started on getting it degreased and cleaned.
    Turned out great after some scrubbing.


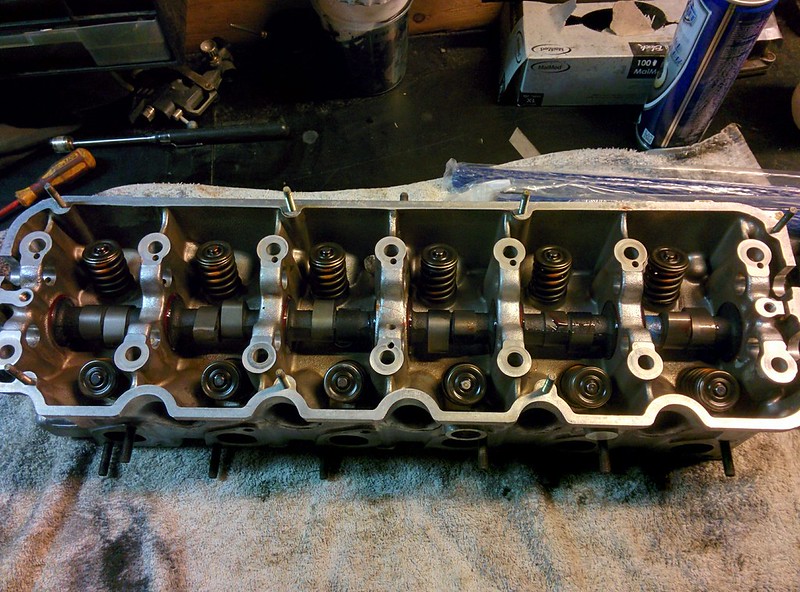
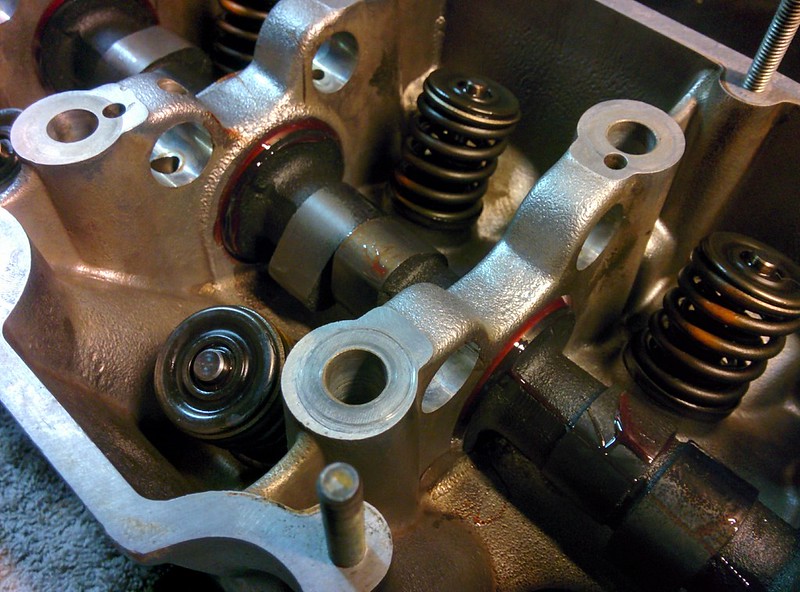
    Yesterday I got the valve seals, valve and springs fitted back onto the head. I used assembly lube on every surface. I couldn't wait and got the camshaft fitted as well.


    Leave a comment:


  • D.Martijn
    replied
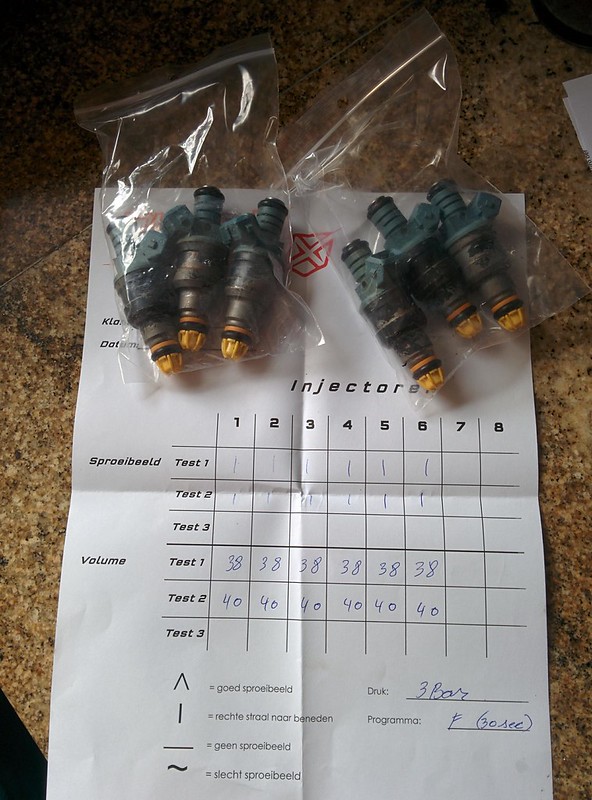
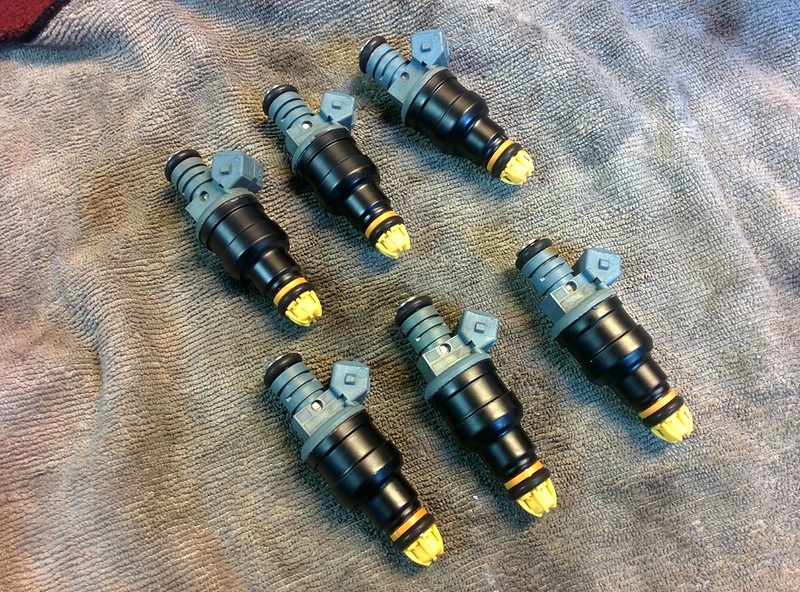
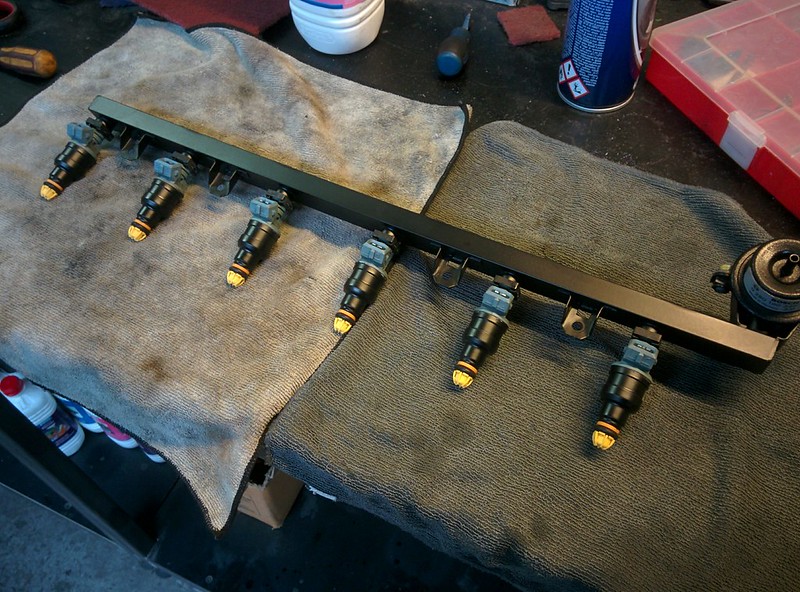
    On Friday I got my injectors back from the company I sent them to for cleaning and testing them.
    They included a test sheet with the results. Looks like they are still in great form.
    I also sent a rebuild kit with new o-rings, filters and caps which they also installed for me.


    Because of the ultra sonic cleaning, some of the black paint was gone. I decided give them a sanding and some paint.


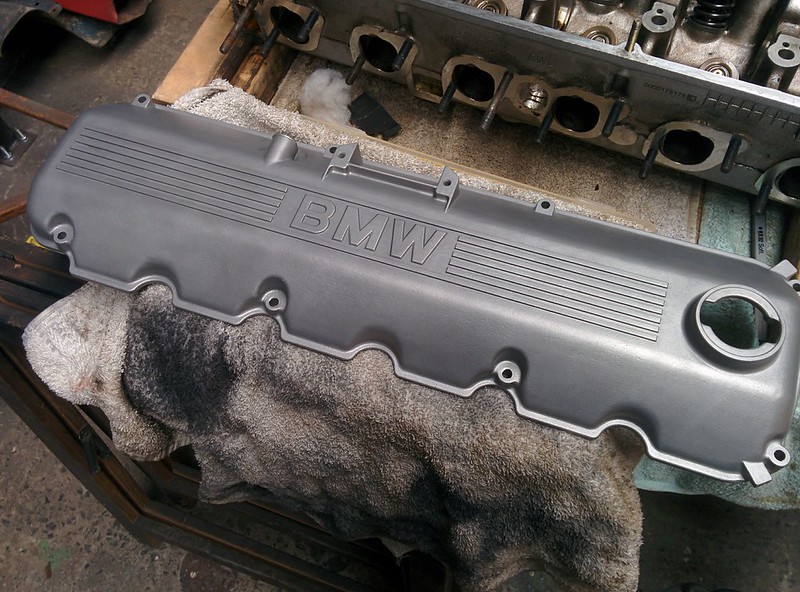
    While the paint was drying, I started with blasting the valve cover. As I said previously, I removed the little aluminium plate on the inside and pressure washed it so all of the gummed up oil/sludge is gone.
    Again, I used Gyeon Rim for the valve cover, very pleased with the result.


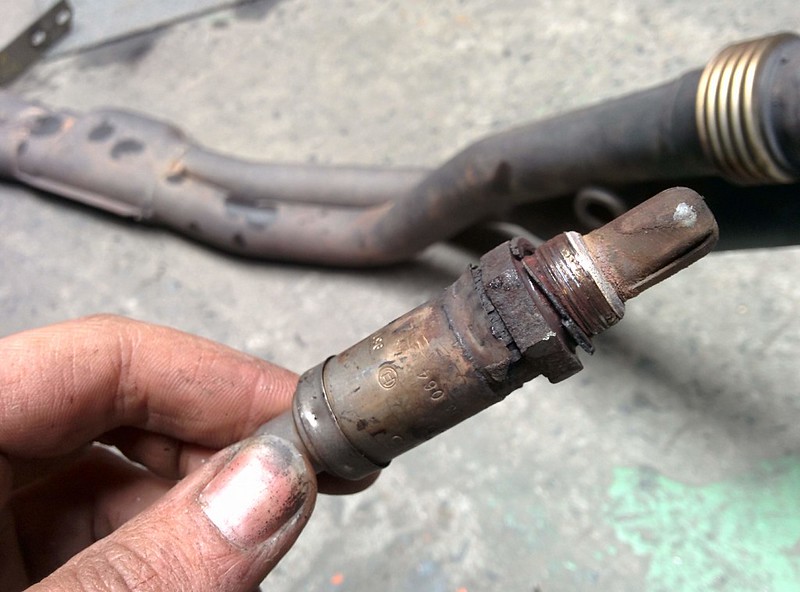
    After that, I started with removing the exhaust so I could undo the O2 sensor.
    All in all... not that bad actually to get it out. I used our little propane torch and heated that sucker up. After some high pitch screeching it came out.. with no threads..
    Luckily the bung it self is still good so mounting the new one will be no problem


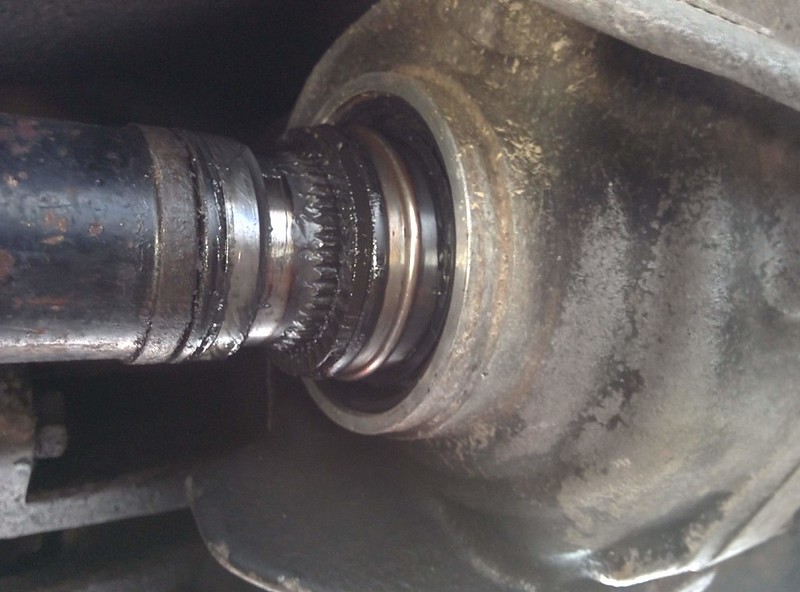
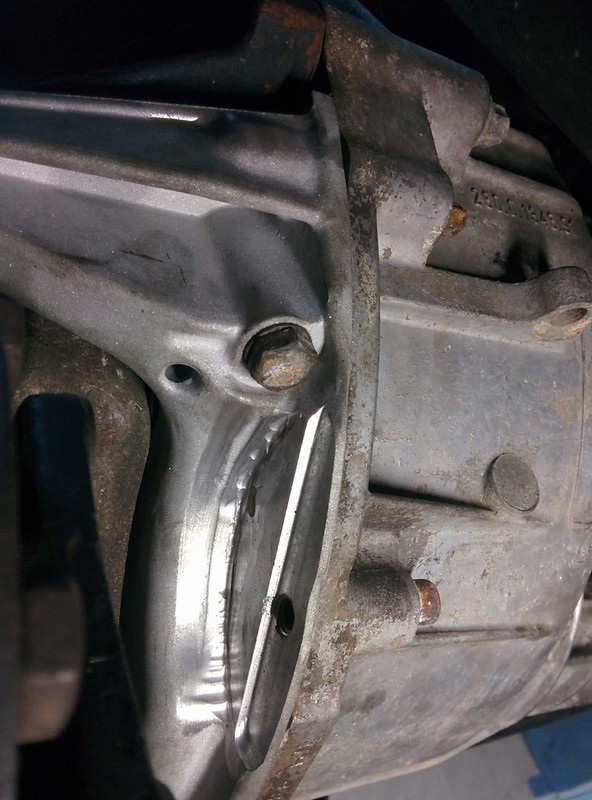
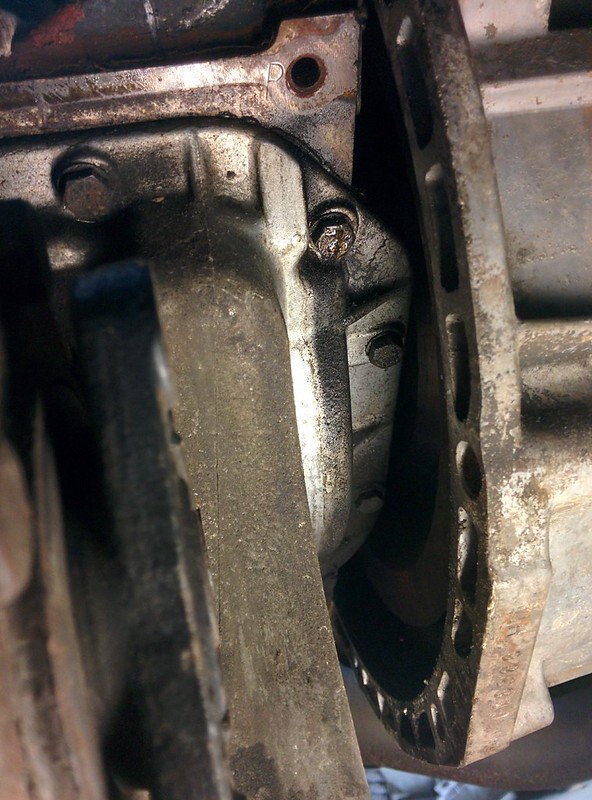
    While under the car, I fitted the transmission cover I machined down last Friday. I had to remove some more material from the lip so I could get the shaft further inside of the output shaft so I could fit the thicker guibo and X5 centering flange.


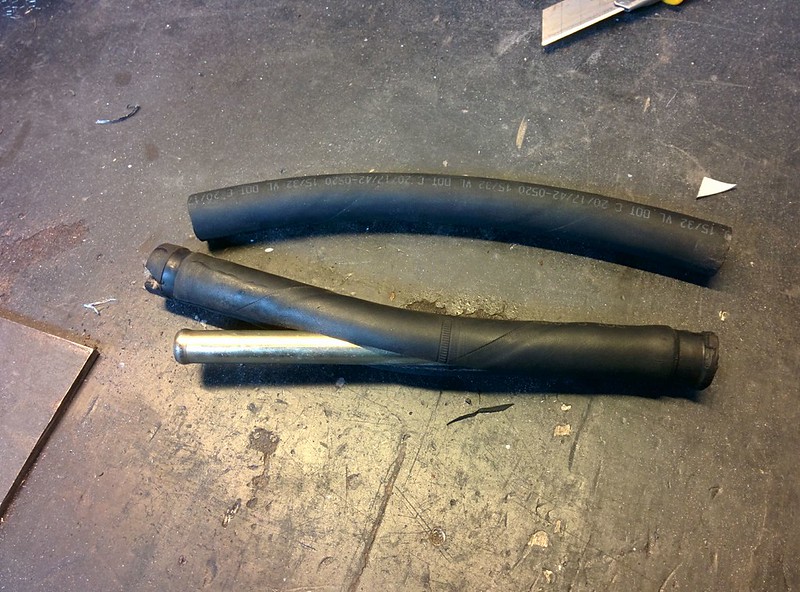
    When I ordered my parts from Leebmann I bought some new vacuum line too for the brake boosted as the ends were pretty shot. Turns out there is a metal tube inside of the hose. With some oil I was able to slide it into the new tube.


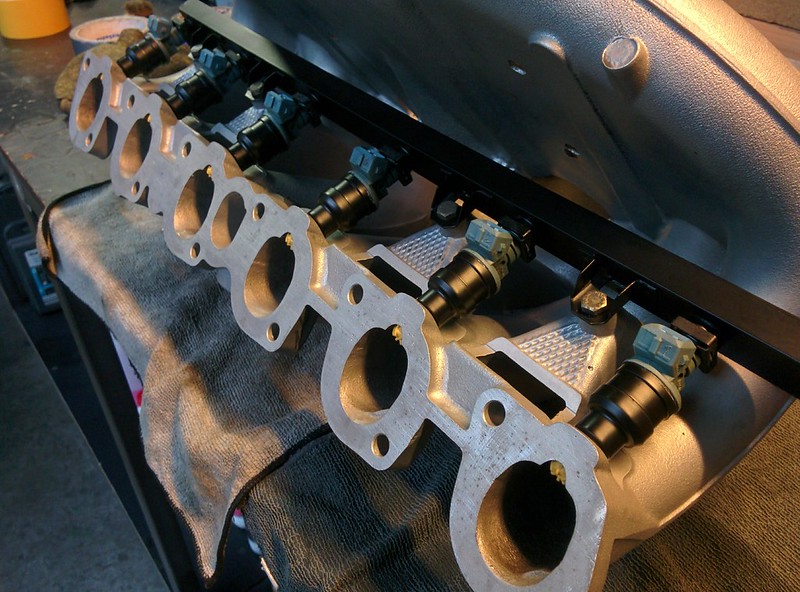
    And finally I fitted the painted injectors to the fuel rail (which also got a coat of paint). It got also fitted on the the intake manifold.


    Leave a comment:


  • D.Martijn
    replied
    Originally posted by mike.bmw
    Those blasted parts turned out awesome. Such great and consistent progress on your touring. I'm looking forward to hearing about the final results from the head work and engine refresh.
    Thanks, Mike!
    I'm very happy with the outcome of the parts. Hopefully that stay like that for a while.. :)

    Leave a comment:


  • mike.bmw
    replied
    Those blasted parts turned out awesome. Such great and consistent progress on your touring. I'm looking forward to hearing about the final results from the head work and engine refresh.

    Leave a comment:


  • D.Martijn
    replied
    Another update on the cylinder head refresh.

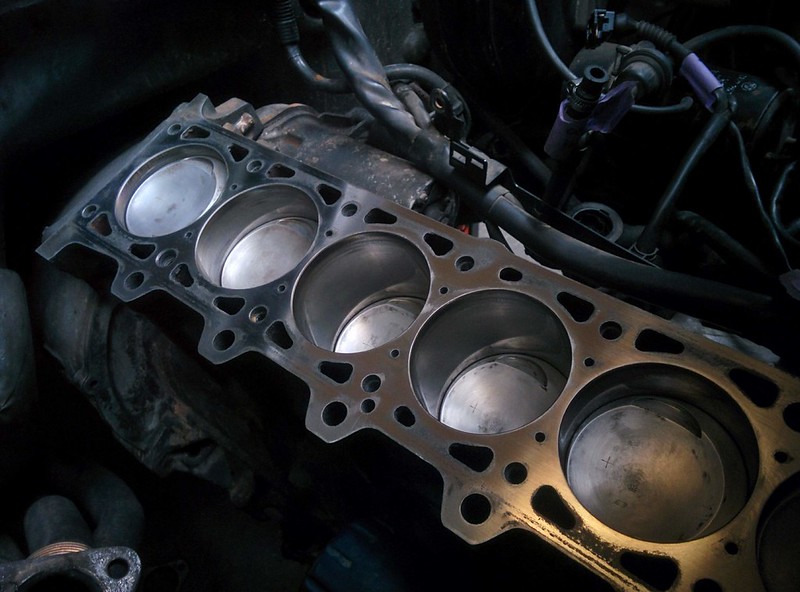
    Last weekend I got started with cleaning the deck of the engine block.
    I started with a 180grit whetstone and gave it a final pass with the 600grit side.
    Looks pretty good, according to a couple R3V forum members this should be good.


    This week I received my order from Leebmann with all the BMW parts. I somehow ordered the wrong studs for the exhaust so I ordered a pack of 100 locally. lol. Every time I need to remove those 6 nuts there is always one that gets stripped or breaks..

    I also got my head to a local engine machinist, he told me at first glance that it is in pretty good shape. :up:

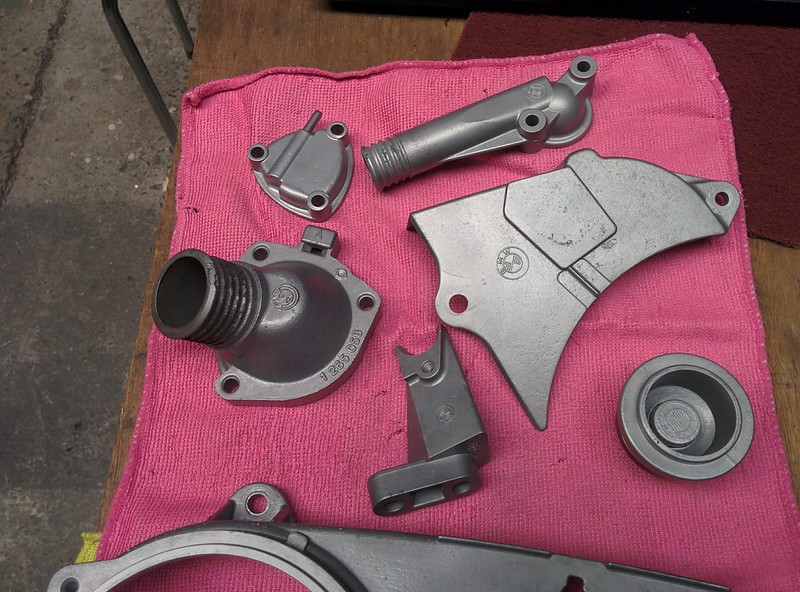
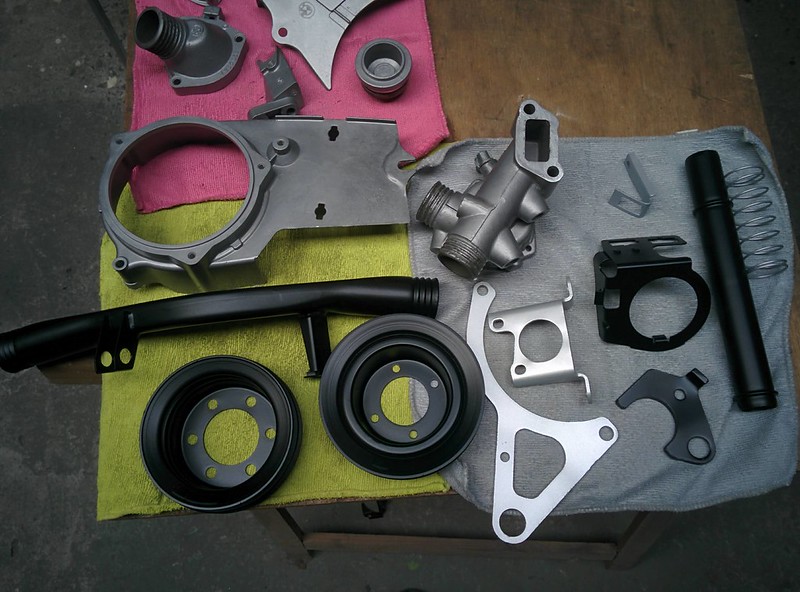
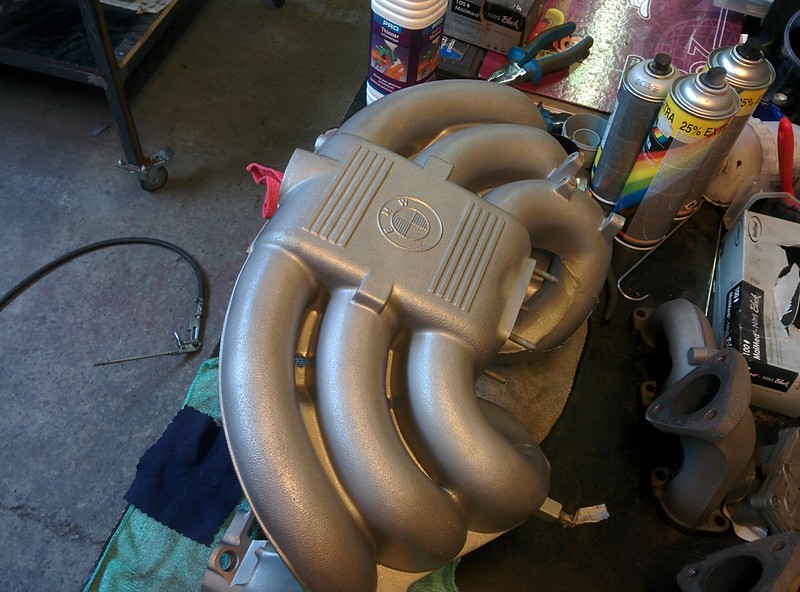
    Got a new bag of glass beads so I could get the intake and other aluminium engine bits cleaned up. My brother suggested to try Gyeon Rim, some sort of quartz coating, to protect the freshly blasted aluminium as it can withstand a temperature of 350°C.
    Unlike clear coat this should stay nice and clear.
    Some other parts got blasted too and painted satin black or RAL9006


    Oh man. did it take a while to blast this damn thing. Glad it's all over.


    I still need to do the valve cover. I was able to remove the little aluminium oil baffle plate on the inside by popping it over the revits. I should be able to push it back over them.

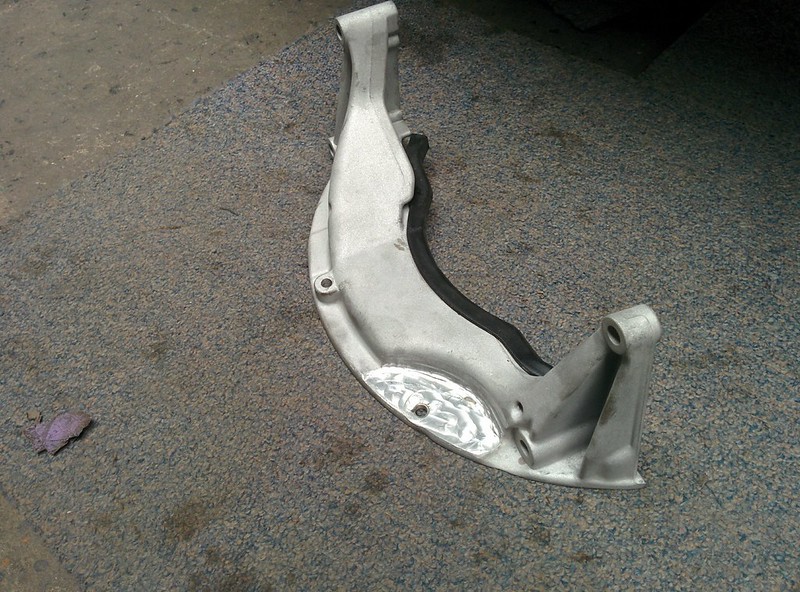
    Friday at work I milled the spare bell housing cover I bought a while back so I finally can get the front axle deeper into the TC housing. After removing the old one and fitting the milled one, I need to remove some more material (+/- 1mm) at the edge so I can fit the X5 centering flange and guibo.


    Also checked for any leaks but it's pretty dry inside of the bell housing. So both rear main seal and the input seal of the trans are still good.


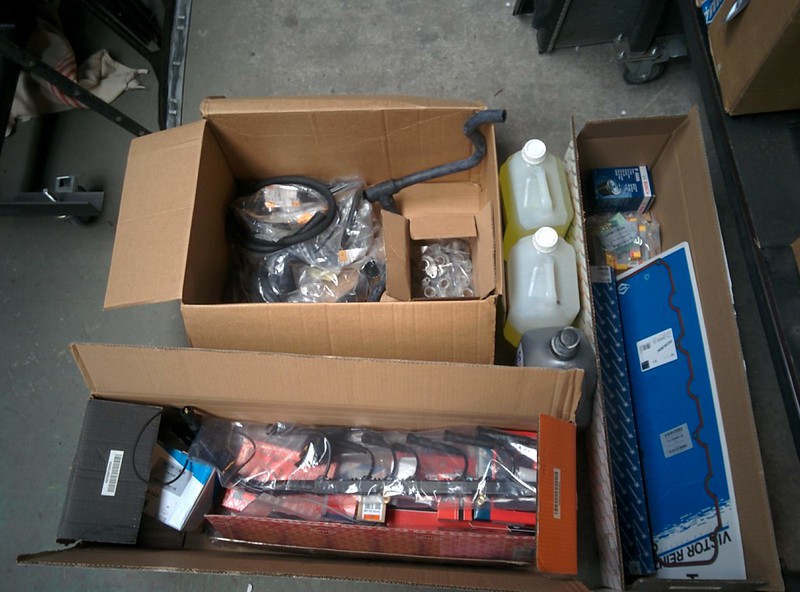
    And finally. PAAAARTS. 8-)

    Leave a comment:


  • D.Martijn
    replied
    Originally posted by jeenyus
    How much does the rebuilt injectors cost? I only ask because you can get 4 pintle injectors for pretty cheap. I'm running Bosch injectors off a Mercury Contour and they cost me like nothing relatively.

    The rebuild should be really nice once it's all back together and problem free. that new head gonna be really fun.
    Rebuild costs 20€ per injector so not too bad.

    Yeah, can't wait to get everything and start to assemble.

    Leave a comment:


  • jeenyus
    replied
    How much does the rebuilt injectors cost? I only ask because you can get 4 pintle injectors for pretty cheap. I'm running Bosch injectors off a Mercury Contour and they cost me like nothing relatively.

    The rebuild should be really nice once it's all back together and problem free. that new head gonna be really fun.

    Leave a comment:

Working...