
Beautiful!
Sent from my Robin using Tapatalk
-
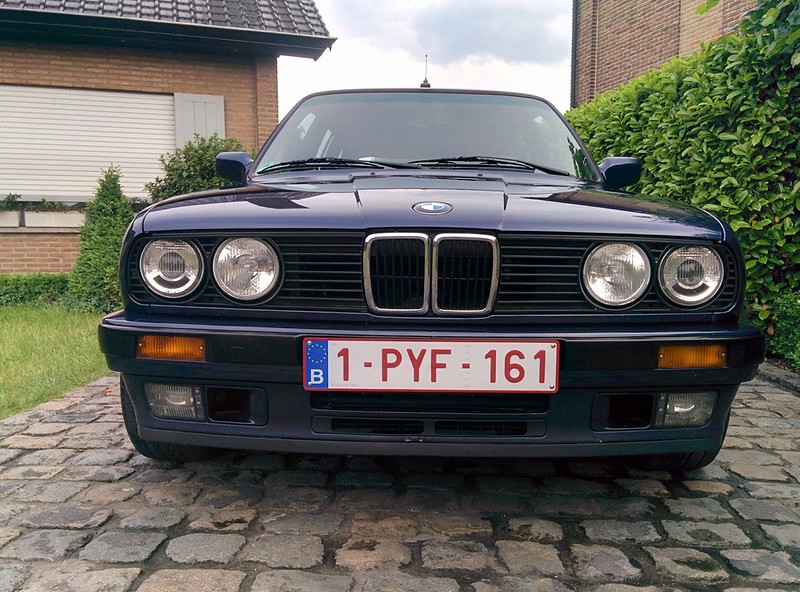
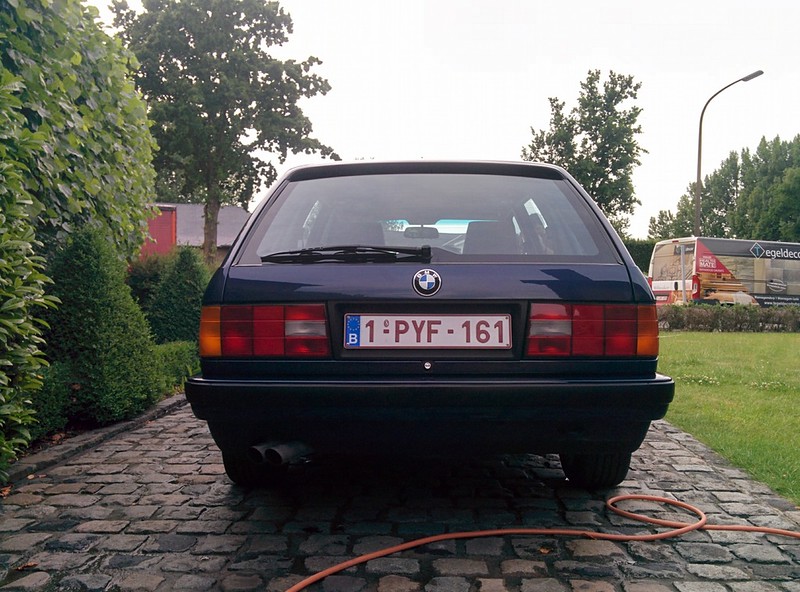
I also got the ix cleaned up, I started with vacuuming the interior and cleaning the remaining dust of off the dash and interior trim pieces.
Then my brother and I gave it a wash, I was thinking of getting it claybarred but the paint was still very smooth. While I was using the revival on the black trim he started waxing.
Turned out great if I say so myself.

 Last edited by D.Martijn; 07-06-2017, 10:01 AM.
Leave a comment:
-
-
^^ There were two different types of sunroof cranks, with very subtle differences between the two. The spinny knob part being one of them.Leave a comment:
-
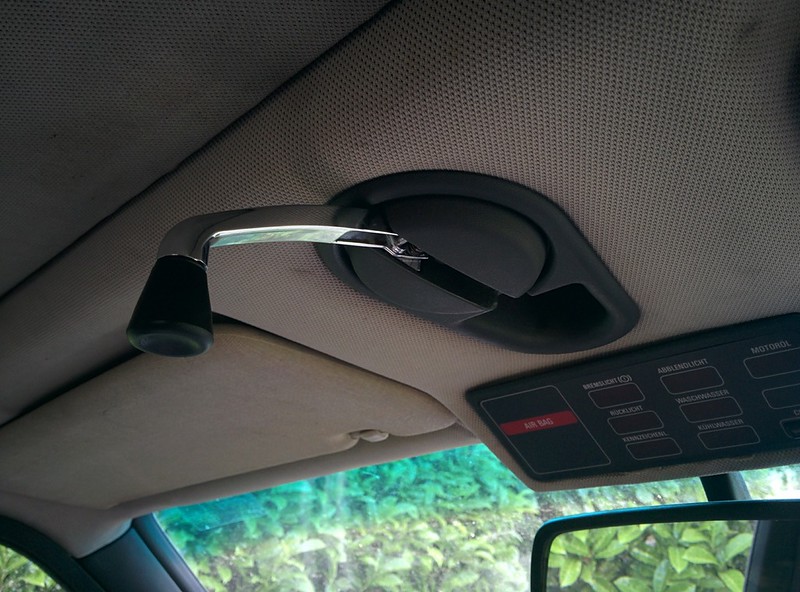
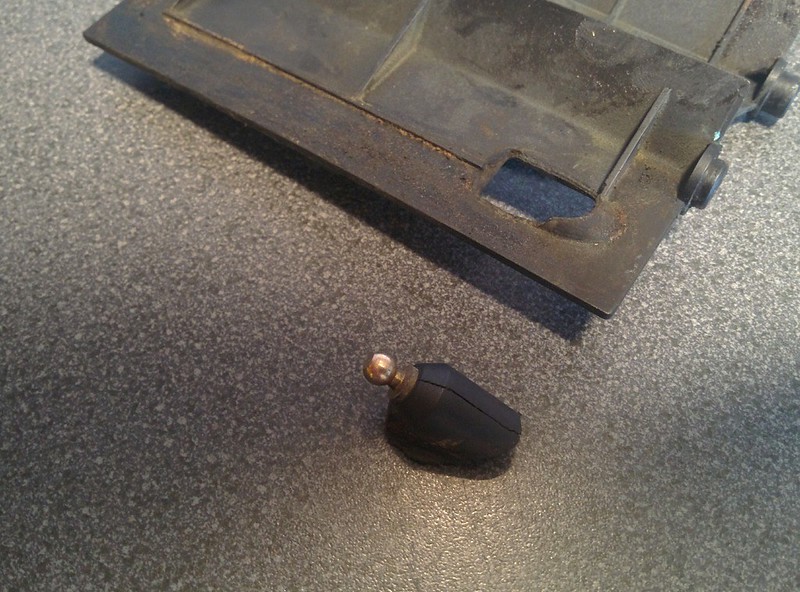
Got a new aftermarket handle for the sunroof as my old one suddenly broke off when I was fixing the rust on the touring. Being that a genuine BMW handle is somewhere around 120€ I went for the cheap ebay one :p
It arrived just in time as Sunday we're going to an event with a drive out so now I can use my sunroof again when it get hot.

Fitted. I did notice the little black nob is a bit different than the original one, it's made out some sort of rubber and a has different shape.
 Last edited by D.Martijn; 07-06-2017, 10:00 AM.
Leave a comment:
-
Looking good! The tails are much improved
Sent from my Robin using TapatalkLeave a comment:
-
It already stopped smoking after a couple of drives, looks like it all burned up.
After giving it a much deserved wash as it was very dusty wee took it out for it's first drive and it runs just as great as before!
When I first started up the engine I noticed the valve train being a little loud so yesterday evening my I adjusted the gaps and it's much better now.
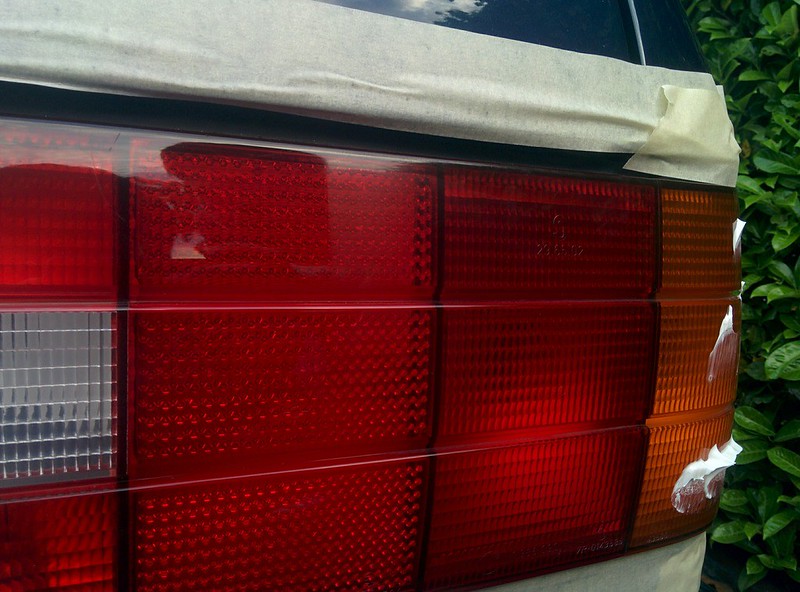
My brother also polished the rear tail lights as they were starting to get a little dull.
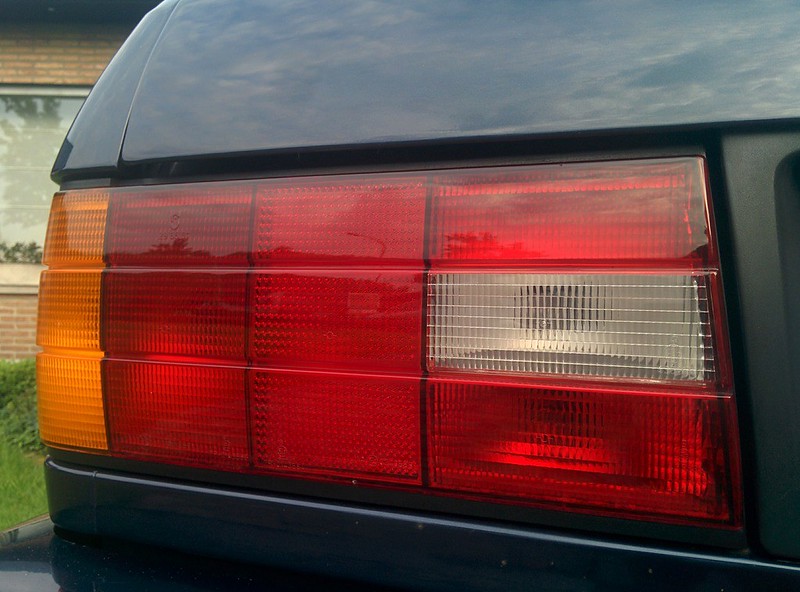
It's not as clear on picture but here you can see the difference.
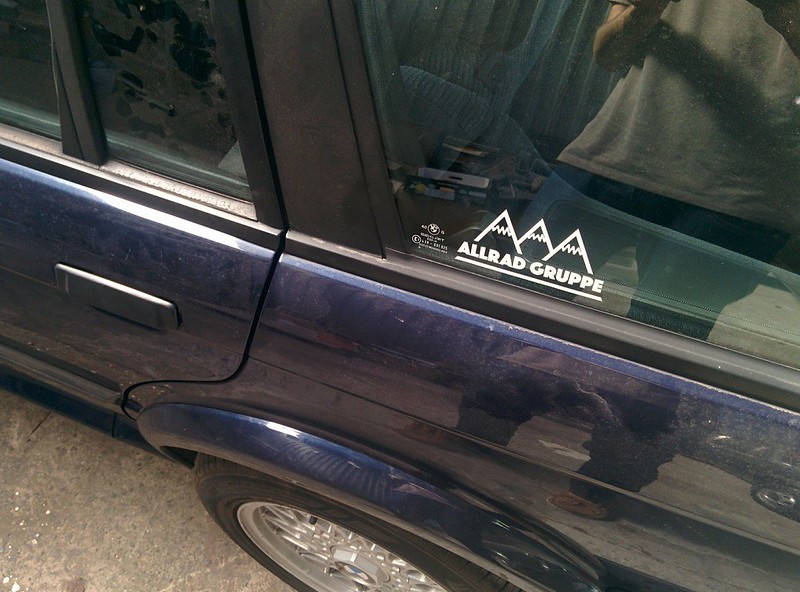
I also got my Allrad gruppe sticker on the car :)
 Last edited by D.Martijn; 07-06-2017, 09:59 AM.
Leave a comment:
-
Yeah, I'd agree that a smoking exhaust, after it has been removed/handled is not a big concern. It happened to me every time I removed the exhaust from my last E30.
Good stuff!Leave a comment:
-
Got the car all finished today.
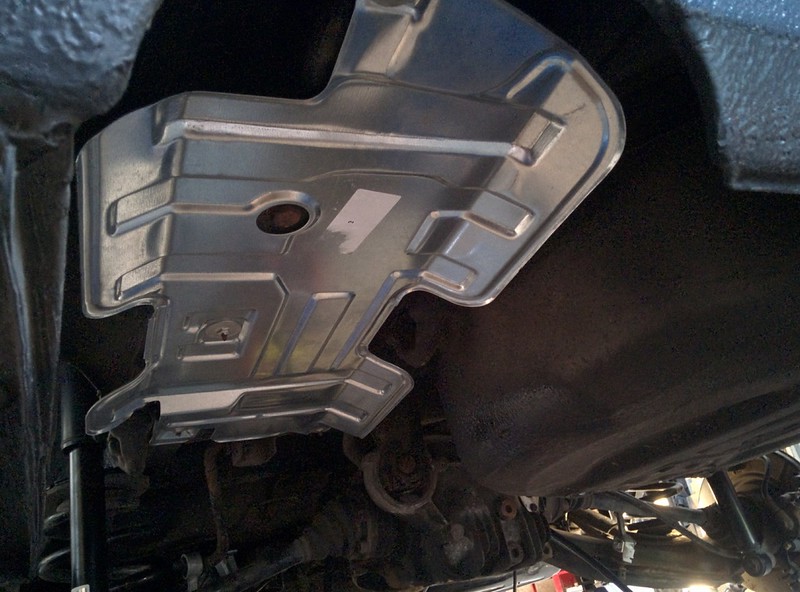
We first got the exhaust mounted back under the touring and then finished up the dashboard. Finally I cleaned up the old glue residue and mounted the ix side skirts/fender flares. When starting the car I made sure that I had no ignition so I could build up oil pressure first because it's been a while since the engine ran. Still need to bleed the cooling system but the car is now sitting on our driveway again :)
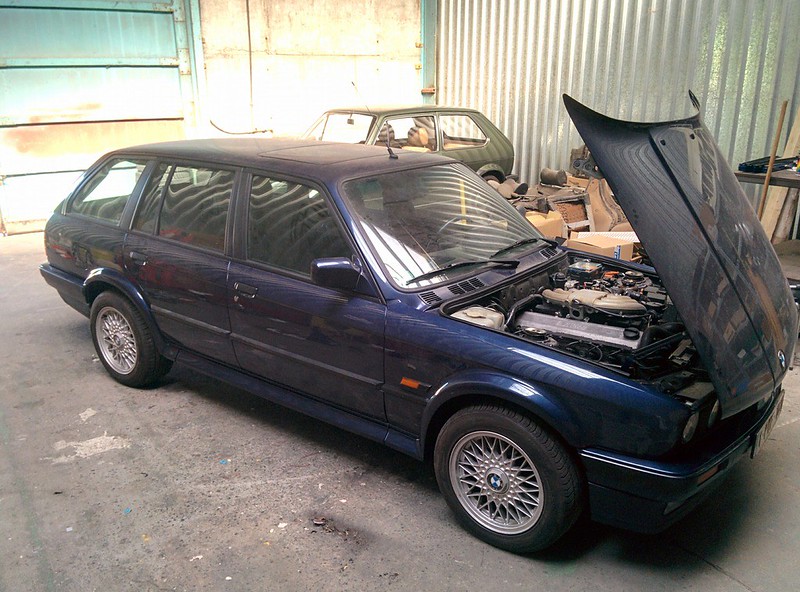
When the car was warming up I noticed there was quite a bit of smoke coming from the exhaust manifold, I think it might be the penetration oil that's left on it or maybe the new gaskets?
"Ran when parked."
 IMG_2381_zps0nmxlnbz by Martijn Demeulemeester, on Flickr
Last edited by D.Martijn; 07-06-2017, 09:58 AM.
IMG_2381_zps0nmxlnbz by Martijn Demeulemeester, on Flickr
Last edited by D.Martijn; 07-06-2017, 09:58 AM.Leave a comment:
-
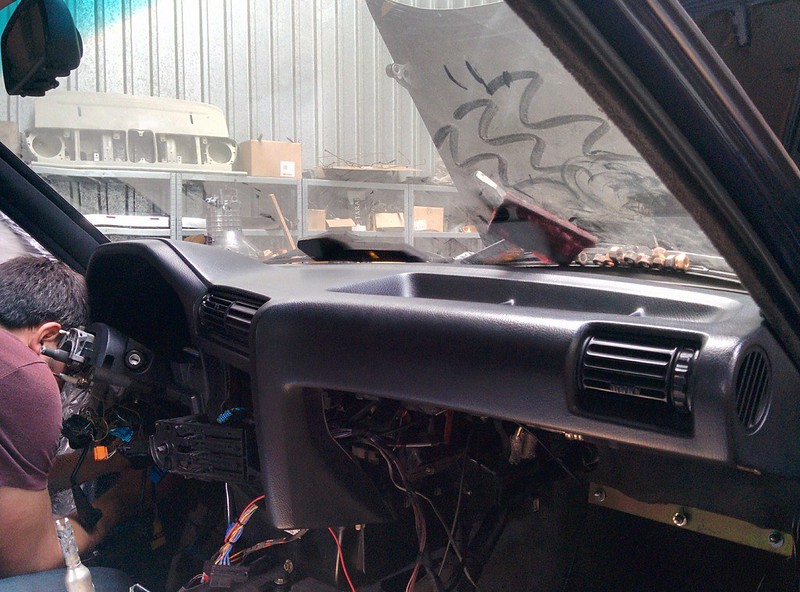
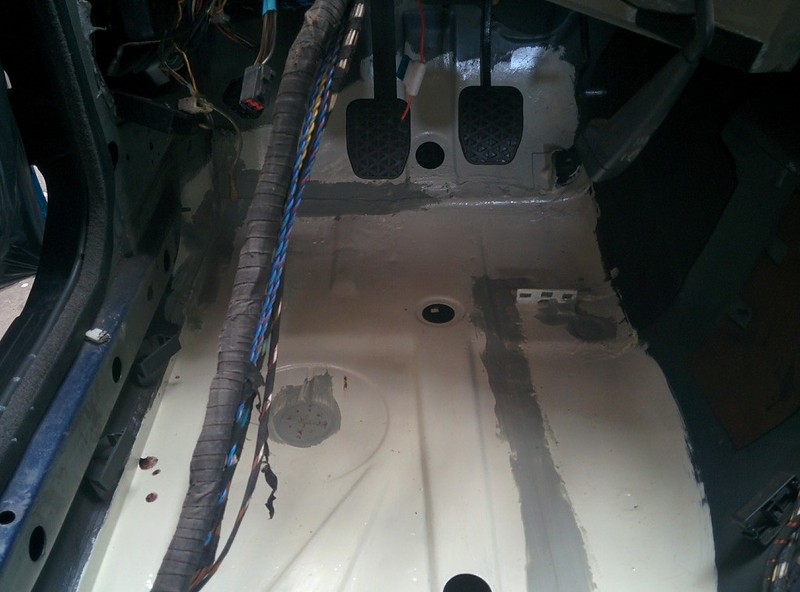
Saturday we got the dashboard back in the E30. Before installing it we cleaned up the wiring and fixed some of the tape that came loose.
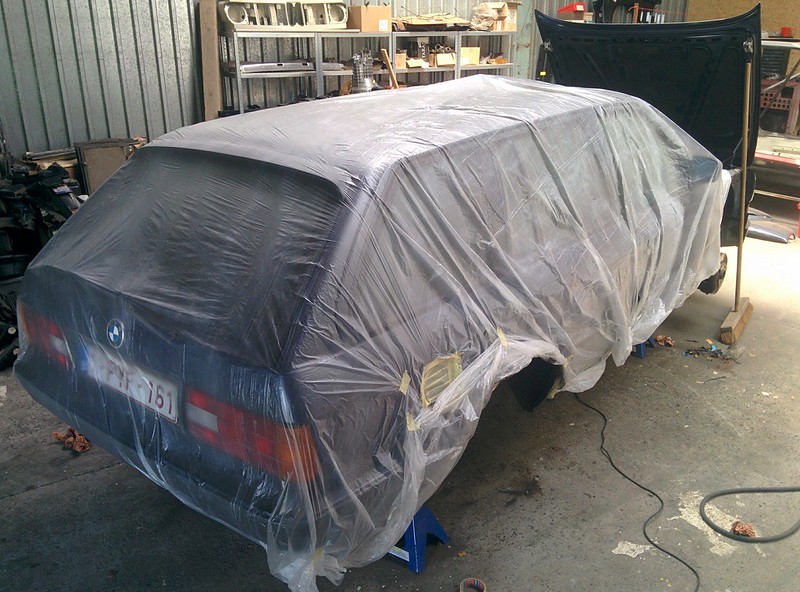
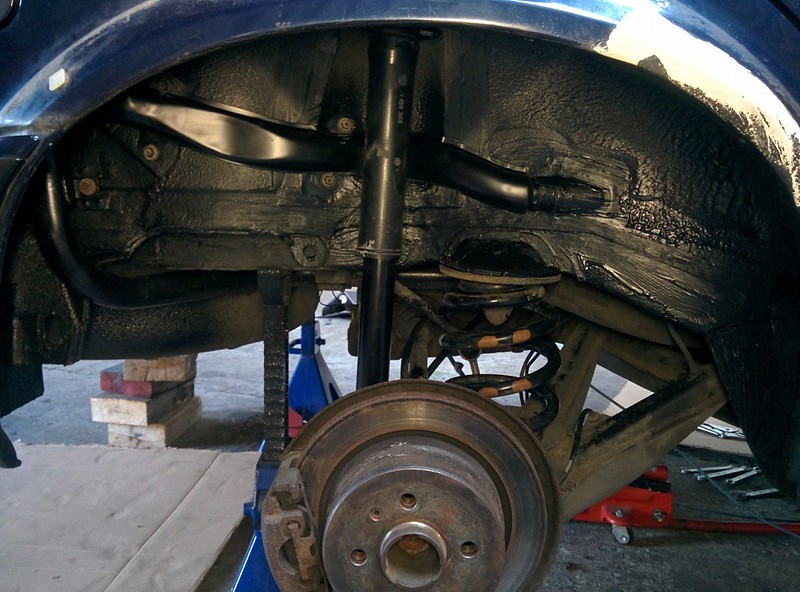
Today I covered the whole car in plastic foil so I wouldn't get any overspray of the undercoating on the paint.
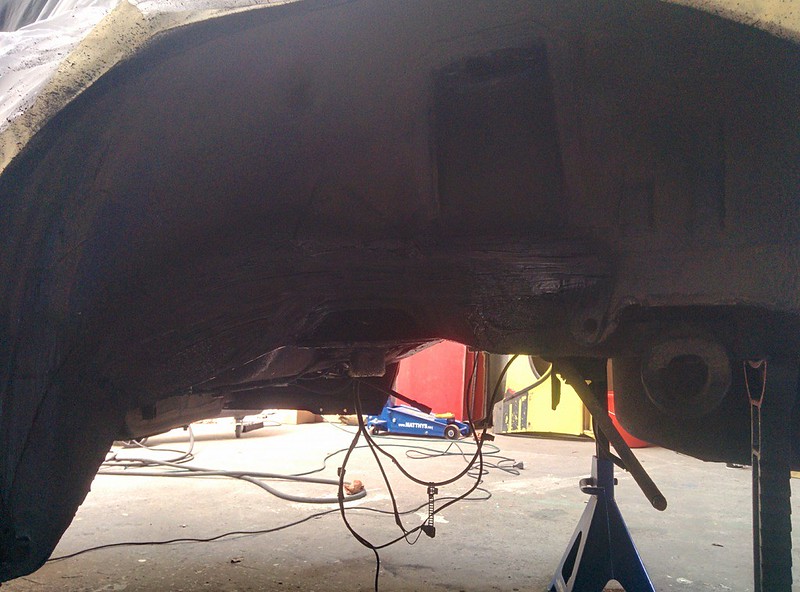
The undercoating turned out ok. I tried to imitate the brush stroaks like original, it's not the greatest but it'll do.
I then cleaned the inside of the car with the vacuum and a damp cloth. We then got the tank fitted, I still need to replace the hard fuel lines but I can't get one of the screws out of the brackets that hold these against the chassis.
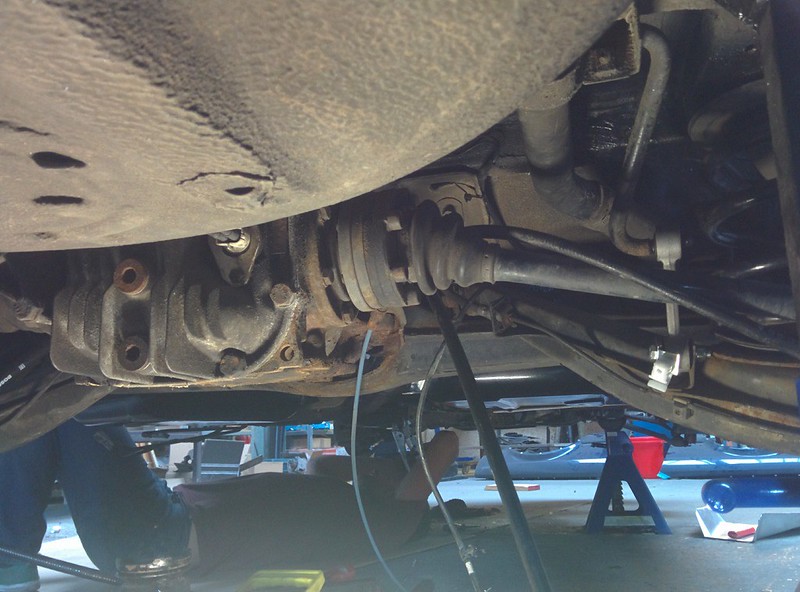
Also installed new swaybar links as the old ones were worn down pretty bad
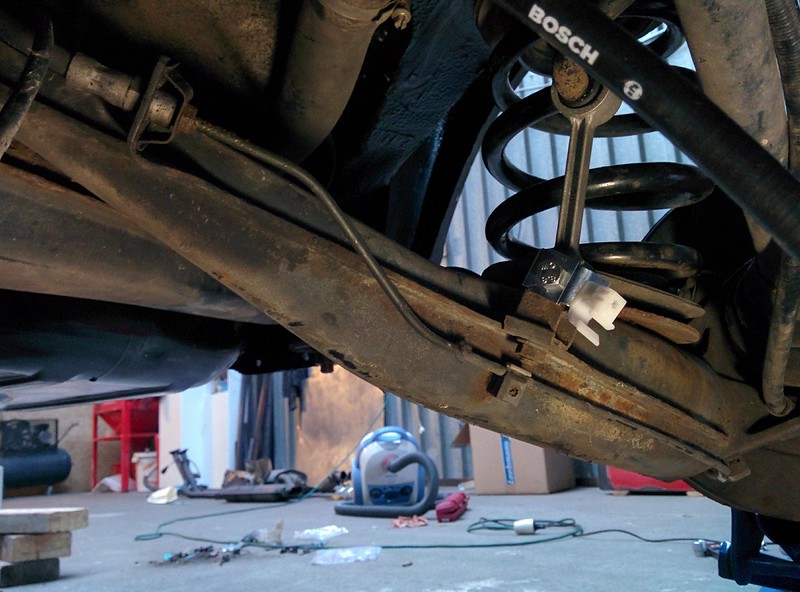
Everything fitted, pretty happy with the result
 Last edited by D.Martijn; 07-06-2017, 09:57 AM.
Leave a comment:
-
I got all of the welding done now. I first finished the welds on the outer wheel tub where the fuel filler neck meets the hole.
I then got started with the other spring perch. This one was a little bit less rusty but still had to be cut out.
Here is is all finished:
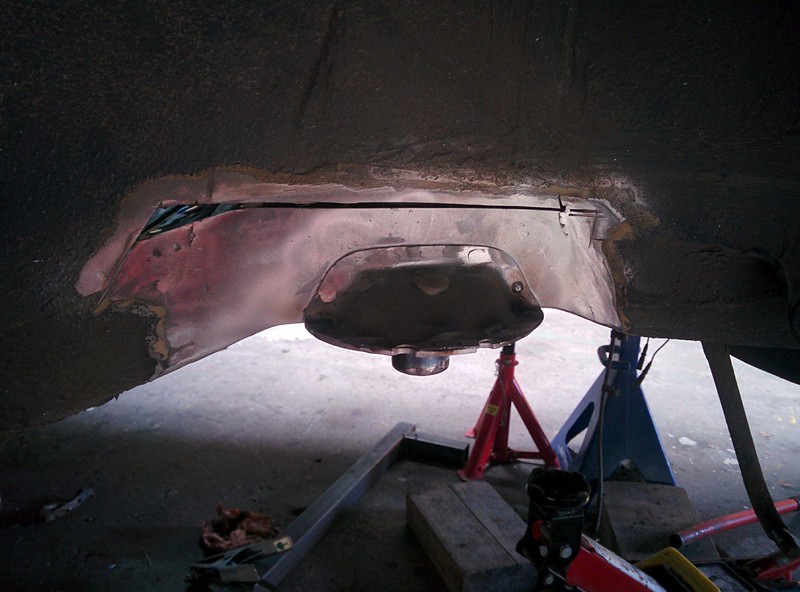
I also welded some patch panels at the box where the jack sits in and the corner of the outer wheel tub. Those were the last repairs I had to do. I also stripped/wirewheeled the undercoating from the flange of the wheel arch and sprayed it with Brunox. But it was still solid.
With the front-end being seam sealed and the new undercoating being applied, I sprayed the inside of the chassis rails & sill with Tectyl
Making sure the cover the welds/seams on the inside of the A post
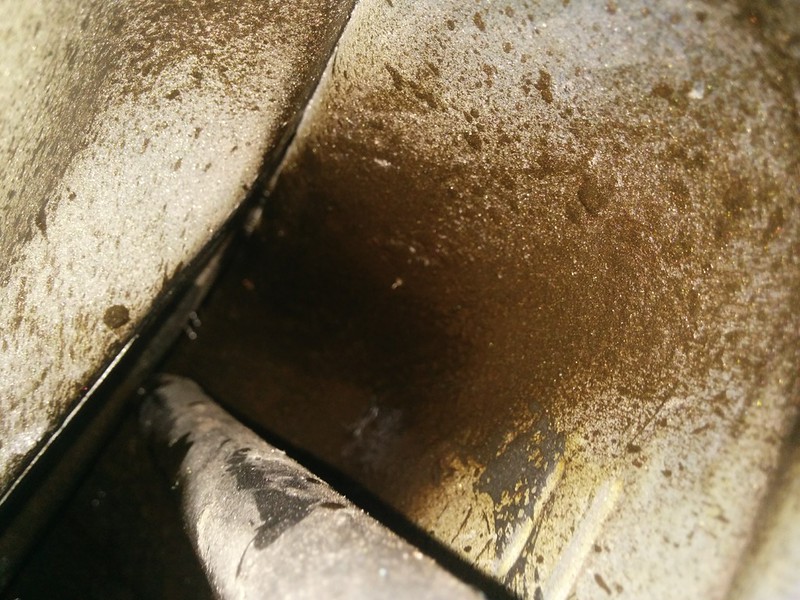
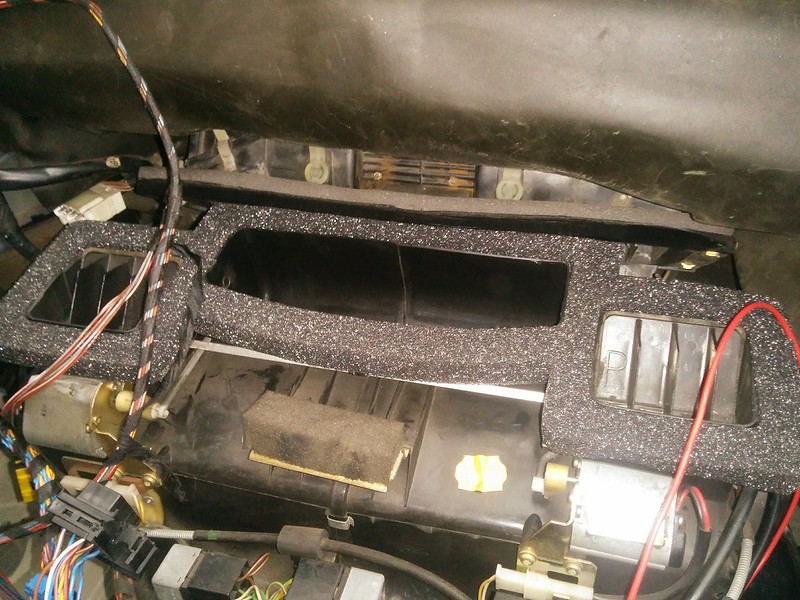
With this being done, my brother and I got started on cleaning the front part of the interior with a vacuum. I noticed that one of the metal rods of the heater box was loose. We pulled it a bit further and removed the flaps that the motors operates. I also installed new foam seals after glueing the little piece back onto the flap.
Also installed new seals from BMW, there wasn't much left of the seal around the vents and blower motors.
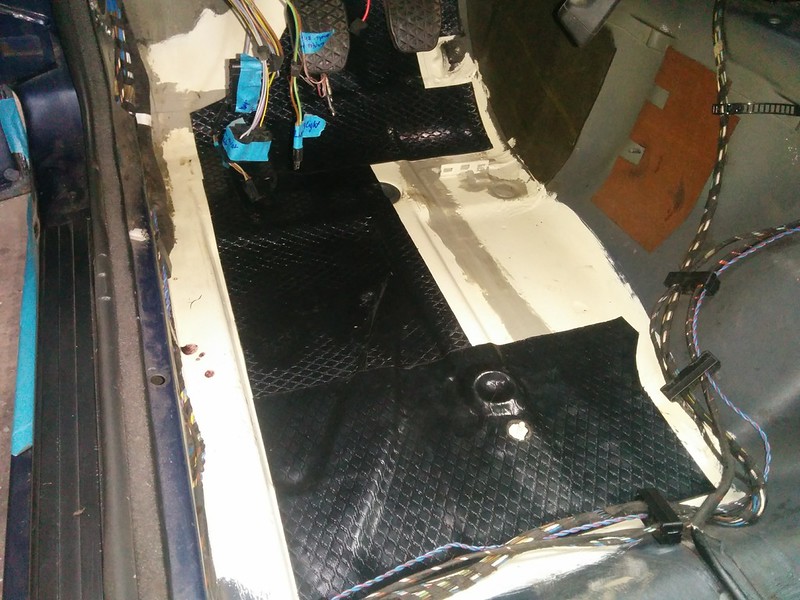
While I stripped some surface rust spots on the underside of the whole car, my brother cut out and applied new anti noise mats. By heating them up with a paint stripping gun you can press these in all the little crevices. We used the templates I made before stripping these.

Air channels in place
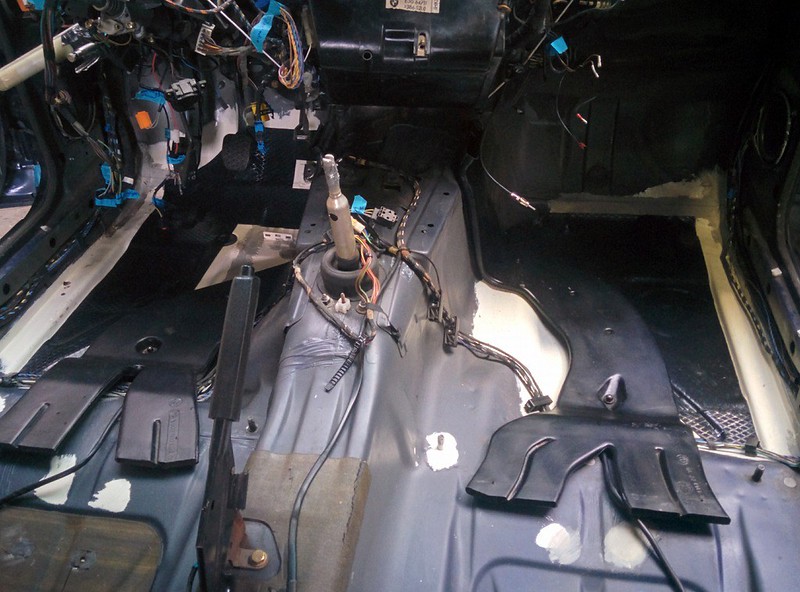
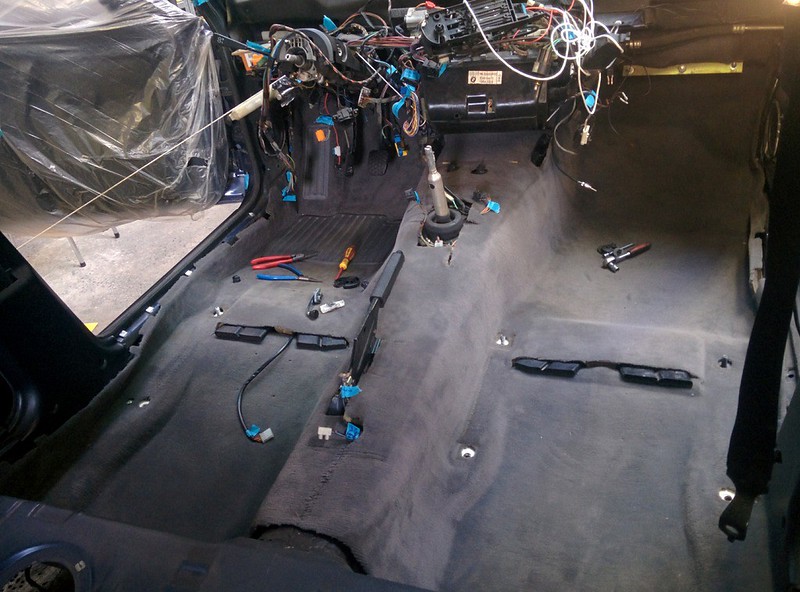
And then it was time to install the carpet again.
By holding the heater core up, we had plenty of room to shuffle the carpet under it.
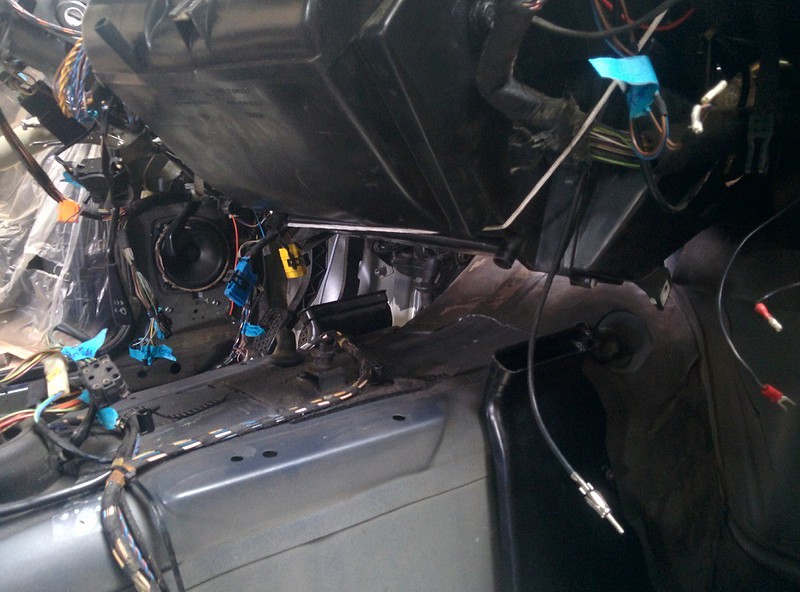
It's been a while but it's back in the car! :D
 Last edited by D.Martijn; 07-06-2017, 09:55 AM.
Leave a comment:
-
-
Great work mate....the workmanship is awesome...keep the pics coming!Leave a comment:
-
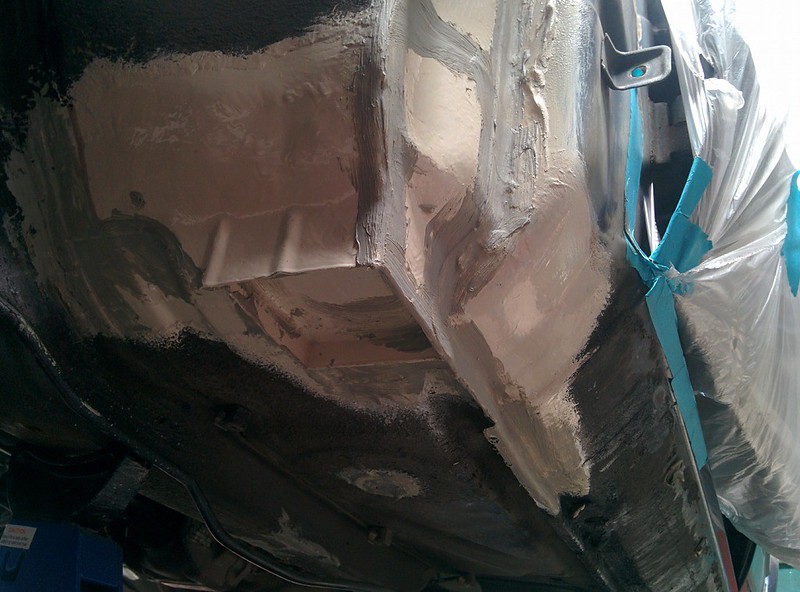
Today I finished the front corner of the rear outer wheel tub. I also had to weld in a new inner piece of the sill
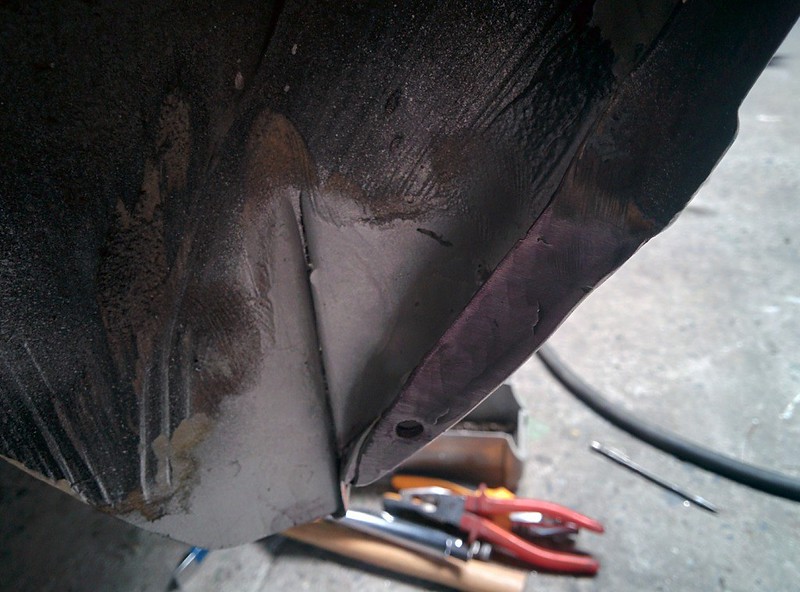
Luckily I was able to save the outer panel which got welded back on
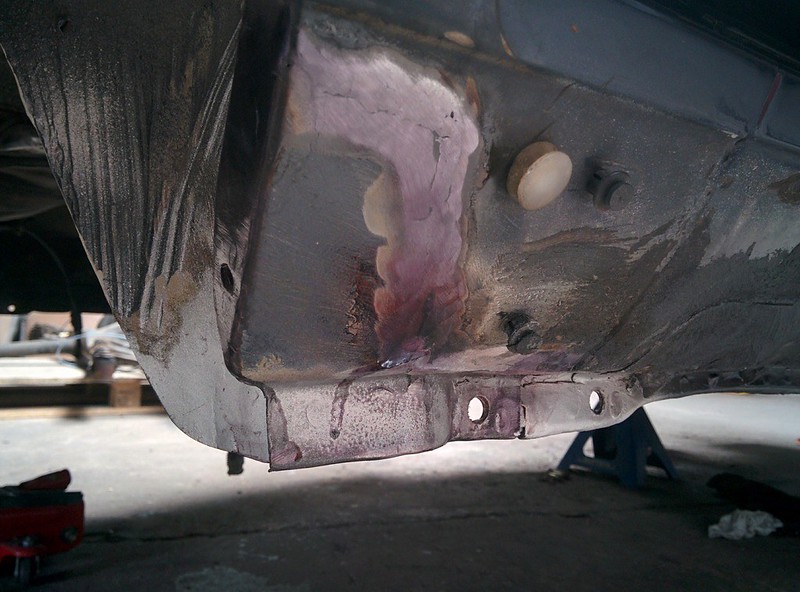
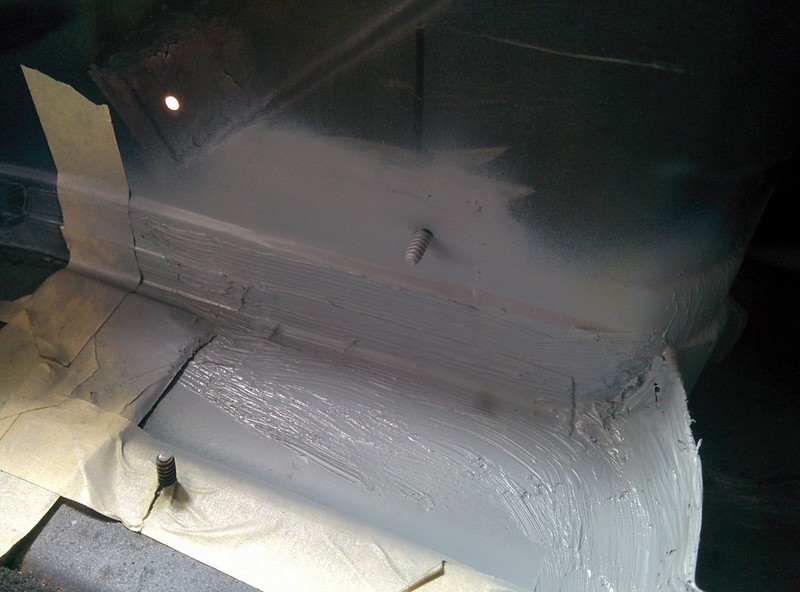
I also started to seam seal the front section of the car. trying to mimicking the OEM look with a brush.
I also had to make a patch for the boot panel. both panels (flange and vertical piece) were rotted as this is where the bracket of the filler neck is.
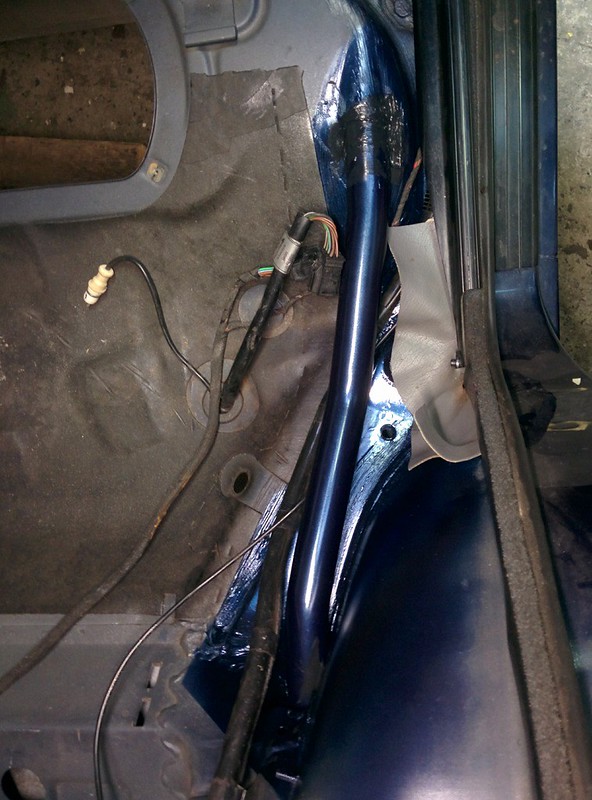
I then glued in the new metal vent tube with Tec7, After fitting it with the glue I noticed I forgot to route the wires under the tube to I had to pull it back out! Thank god I noticed it on time!
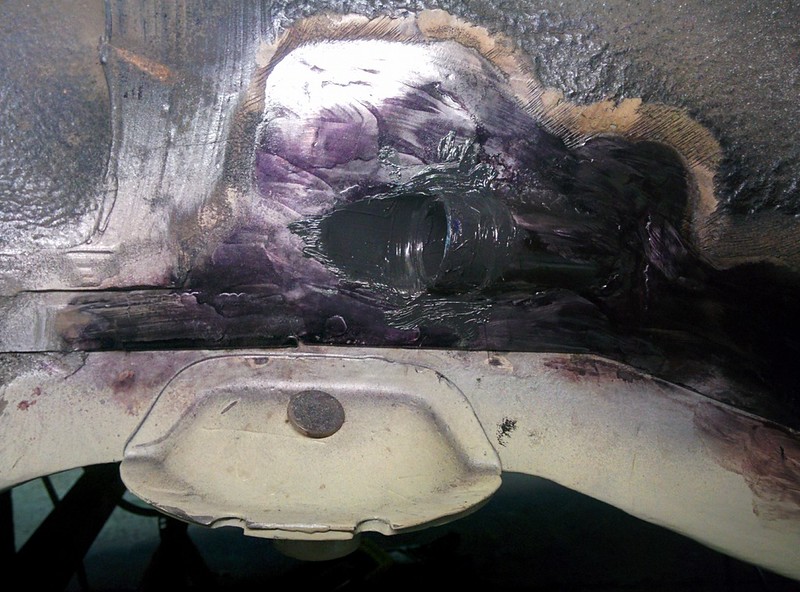
I also made a panel for the outer tub where the fuel cap meets the quarter panel.
I only tacked it in a few places as I glued the curved edge to the quarter panel as original.
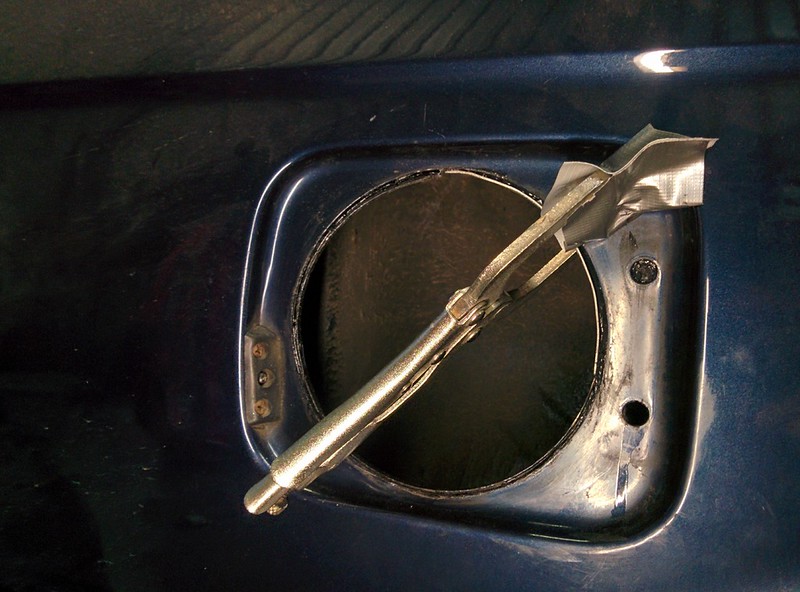
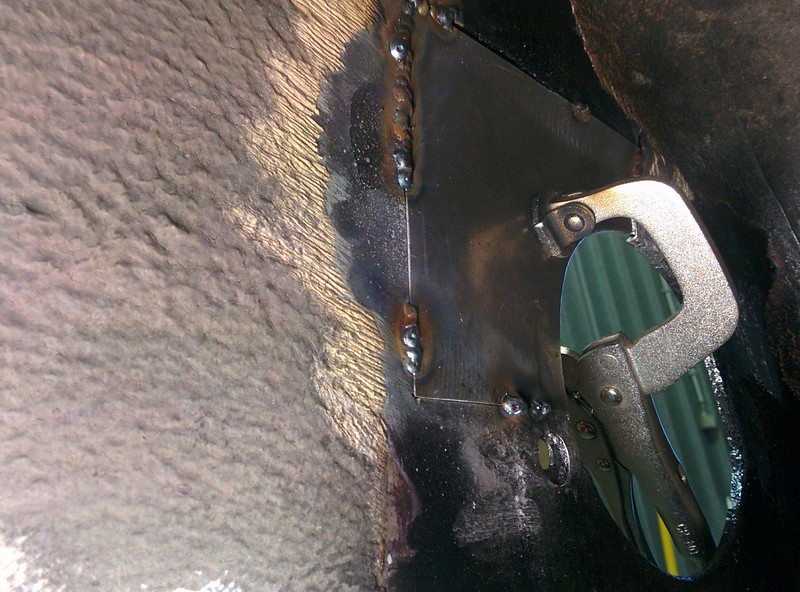
So that's it for this side, still need to seam seal it but at least I'm almost done welding on this side, now on to the other side!.Last edited by D.Martijn; 07-06-2017, 09:52 AM.Leave a comment:

Leave a comment: