
You do need to use the washer at the bottom but just not at the top. No oil is leaking out since removing that washer at the top.
Replacing the rear guibo did not solve this, I'm guessing my subframe bushings are getting worn down so I might have to redo the rear suspension + bushing at the TC some time.
-
That's interesting. Everything I read indicated to not forget that washer. I haven't had any issues with mine at all, but i could have sworn the washer is what pushed the oring in the hole properly. Idle issues on these things can really cause some frustration.
My IX is about to get the main flex disc replaced. I've been having the same issues as you with the clutch out fast shake and vibration.Leave a comment:
-
Thanks guys!
Some people suggest it's possible to remove the tube without removing the intake? I can't see how that would be possible though..
I figured out why the bitch tube was leaking, When assembling everything back, I used a washer at the top as well, googling some more I found out this isn't necessary. Without the washer, the o-rings sits a bit further into the intake.
I only had to push down on the tube, remove the o-ring and washer and fit the o-ring again. I bought 2 new o-rings from BMW when reassembling the head but there were some included in the Elring head gasket set as well so I use a new one although the 'old' one looked just fine. Hopefully that solves the oil leak I was having :)
Next thing on the list is the new LCA bushings.Leave a comment:
-
Your touring makes me happy <3
The bitch tube's got it's name well deserved.
Mine is all beat up. I don't know what the previous owner did. I bought one on my trip to the USA and i'm waiting to install it when some other parts arrive.
Keep us updated!Leave a comment:
-
love your car
bitch tube oil leaks are a pain. I just finally fixed mine - apparently I had pinched the new o-ring during installation and ended up damaging it. New o-ring and a little Hylomar sealant - problem solved.
Of course I had to take the intake out to get the tube removed though. I have ITBs so that was not fun at all ;-)
by the way, there's an IX touring on bringatrailer here in the US. auction about to close
Leave a comment:
-
I forgot to update you guys about the bad idling.
It turns out my valve clearance has changed after getting the engine at operating temp a few times..? I couldn't get the 0,25 feeler gauge to fit between the valve and rocker.
After re adjusting all the valves and adjusting the rear exhaust + replacing the gasket rings since I had new ones laying around. It's idling like it was before.
I might have to go back and readjust the valves once again as there is one valve that is ticking louder than the others since driving the car to work this week.
Today I also went to the inspection center for my yearly inspection, everything was fine.
I only got a "warning/advisory" that I should replace the front LCA bushings. I was actually planning on replacing them when I had the head of but decided no to order them.. Oh well. At least we already know what to do on one of the next weekends :)
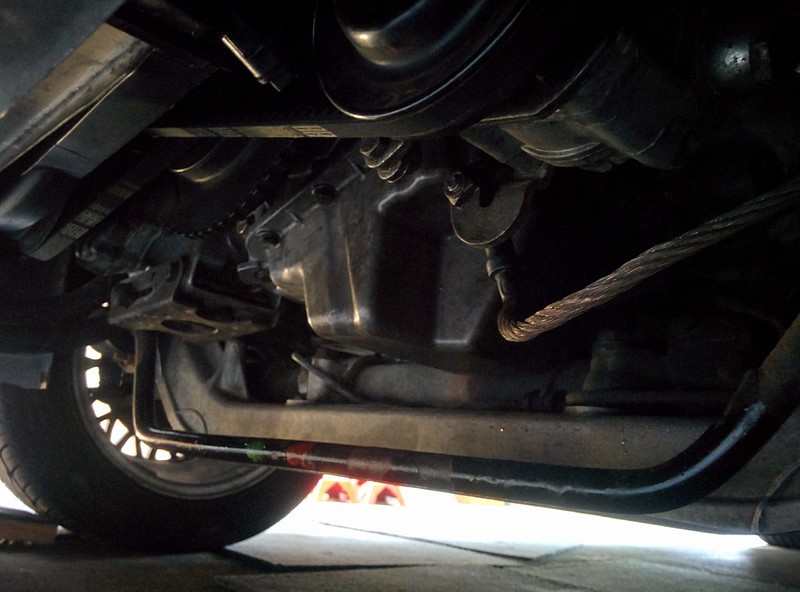
When my car was on the car bridge, I noticed an oil leak coming from the side of the engine block. When I got home I checked under the hood and I'm pretty sure it's coming from the bitch tube. However I did replace the orings when doing the head work...Leave a comment:
-
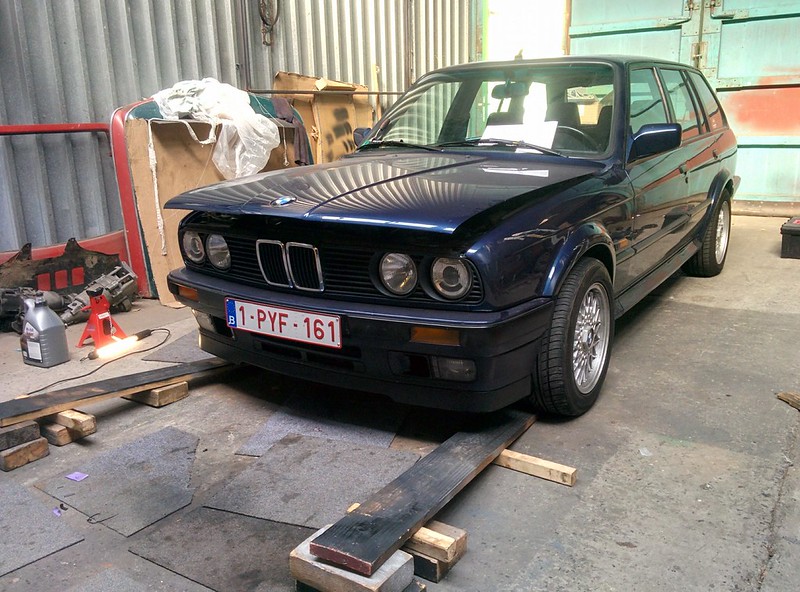
First drive to work with the E30 today. The Golf mk1 is back at the workshop, it was pretty fun to drive to work though.
The E30 did stall this morning and after work when I started it. I'm guessing the ECU is still adjusting itself/the ICV.
I'm also pretty sure I got an exhaust leak at the connection between the cat and rear muffler. I'll have to look into it this Friday before I go to the inspection center.Leave a comment:
-
Thank man! It's my daily so it's on regular plates :)
Last time I went, the guy said " AAH ne goei'n ouwe nafte" :D
They all love these old cars, atleast where I go to get it inspected.
Thank man, but no paint on these.
I glass bead blasted the aluminium pieces. The finish on them is pretty good as is but since I blasted them, the pores are all open. I decided to use a quartz coating instead of a clear coat. This coating should withstand 350°C!Leave a comment:
-
shoot, I want MY engine bay to look that clean, what did you use to get the valve cover and intake manifold that clean?Leave a comment:
-
-
Thanks!
You were right, I had a bad engine ground at the PS hinge/bracket.
After cleaning every ground/power connection in the engine bay, the engine cranked over like it should. I wanted to build up some engine oil first but drained the battery after a few cranks. I tried starting anyway but it didn't fire right away. It fired a few times but not enough to start.
I decided to charge the battery again so I had to wait a day until I could start the engine. This evening I went back to the workshop with the charged battery, after connecting it, the engine fired up from the first try! :) I think there might have been too much fuel after turning the engine over for oil pressure..
It idled quite rough the first few seconds but smoothed out after a while. I drove it up some ramps so I could bleed the cooling system more easily.
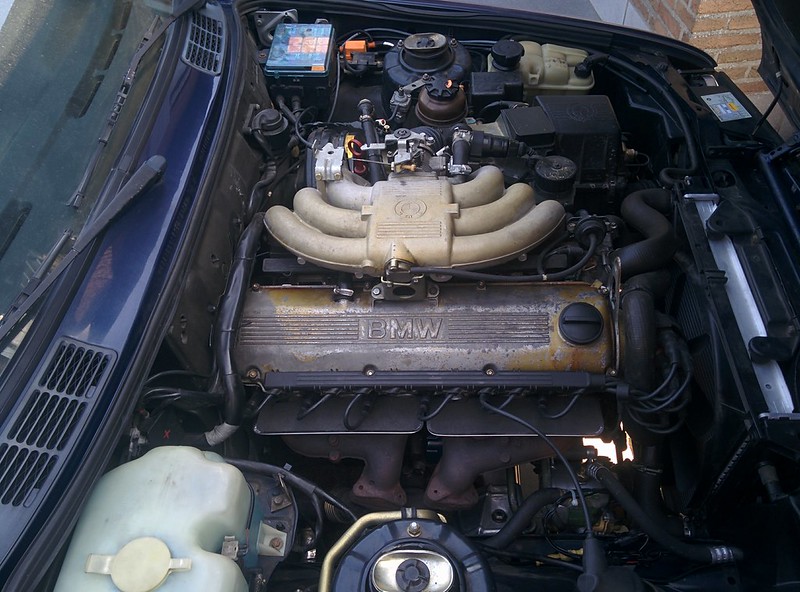
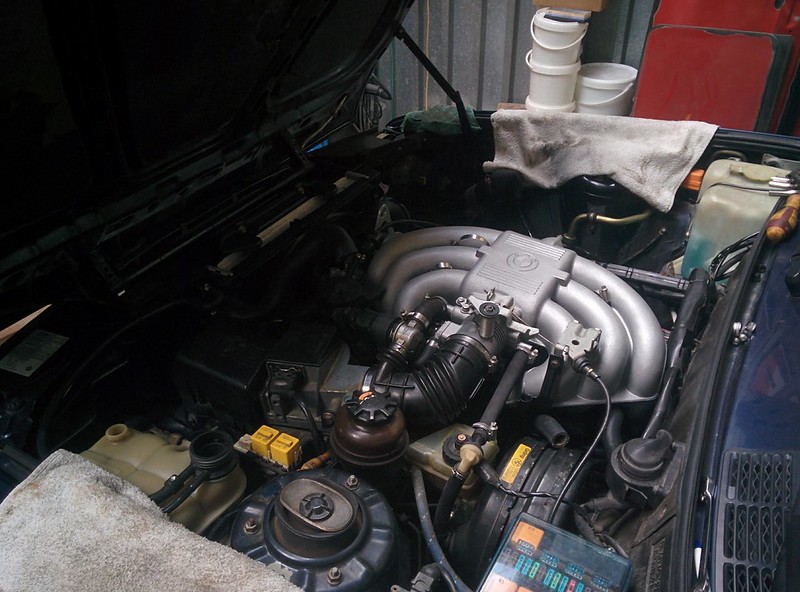
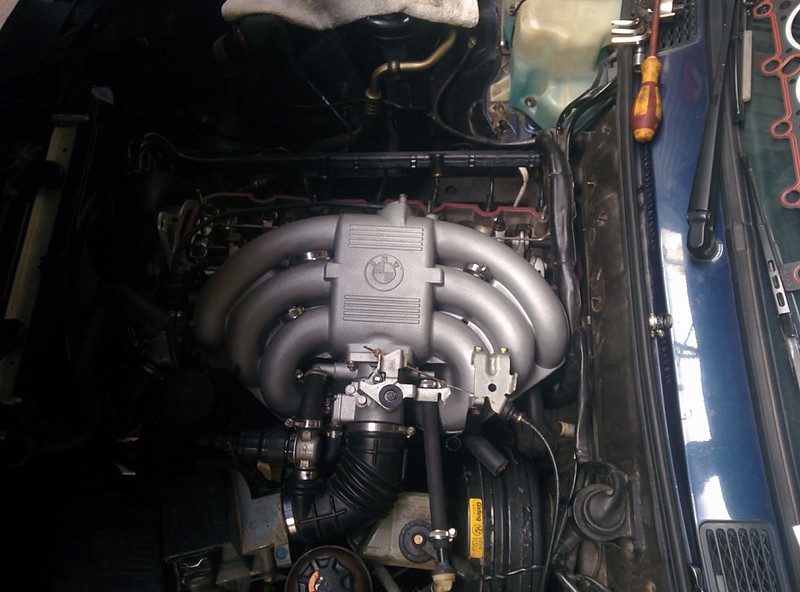
Final engine bay shot :)
Happy with the outcome of the intake and valve cover.

edit:
Just had a look at some older pictures of the engine bay. Quite the difference!
 Last edited by D.Martijn; 10-01-2018, 12:28 PM.
Leave a comment:
-
Woow that turned out looking all nice and clean.
What do you think about a bad starter motor ground? That crank is super weak.
I definately would check all ground points and the possitives besides the windshield wiper fluidLeave a comment:
-
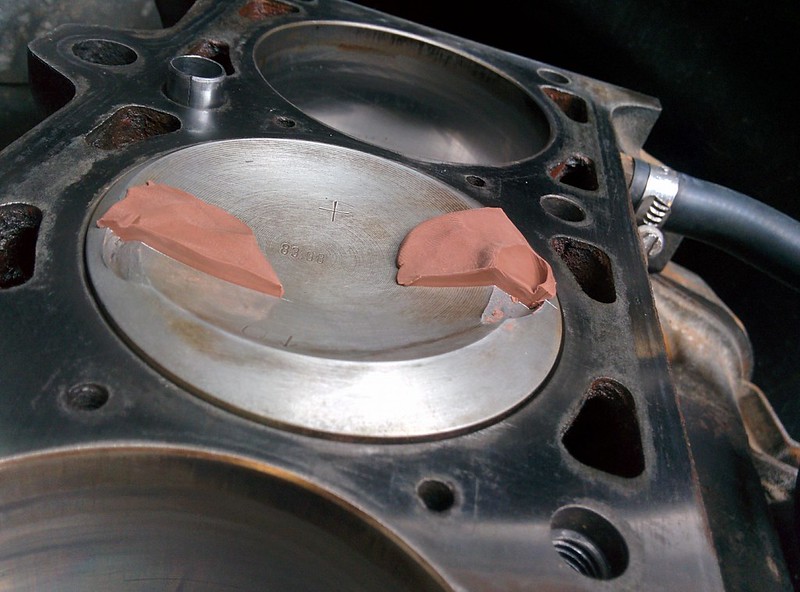
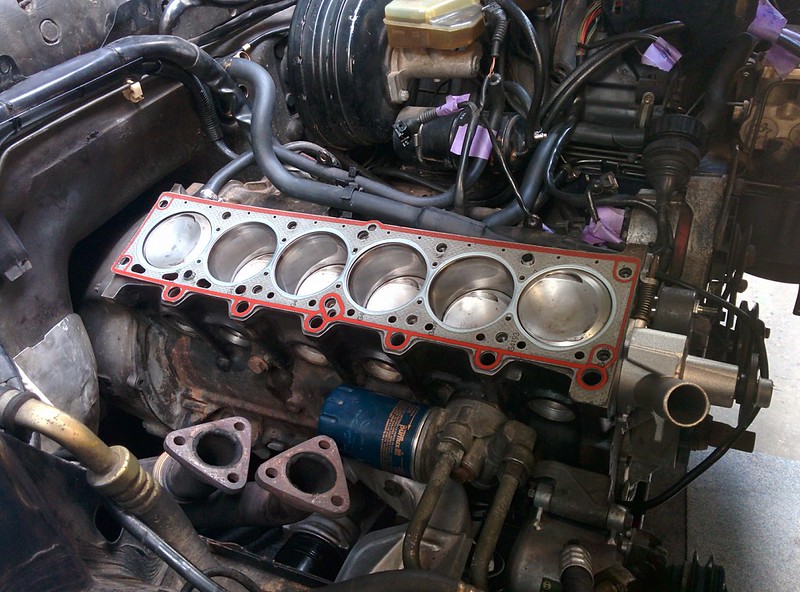
Today I started with the final assembly of the engine/cylinder head.
I started with checking the piston to valve clearance with some plasticine.
Using the old headbolts, timing belt and tensioner and the Elring head gasket that came with the gasket kit.
After cleaning the pistons, deck & cylinder head, I put on the Goetze head gasket and the head.
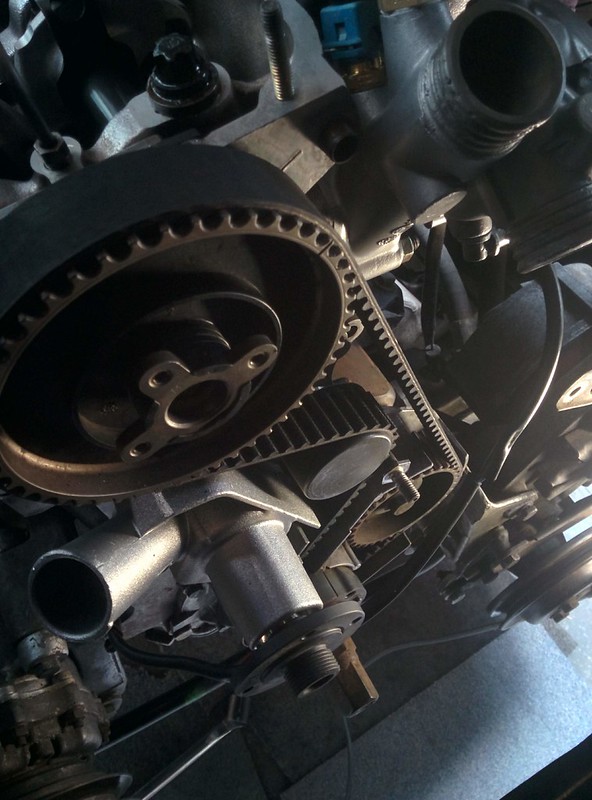
Then it was time to install the rest of the parts, new Gates timing belt & tensioner, Graf waterpump
Bead blasted alu parts inplace
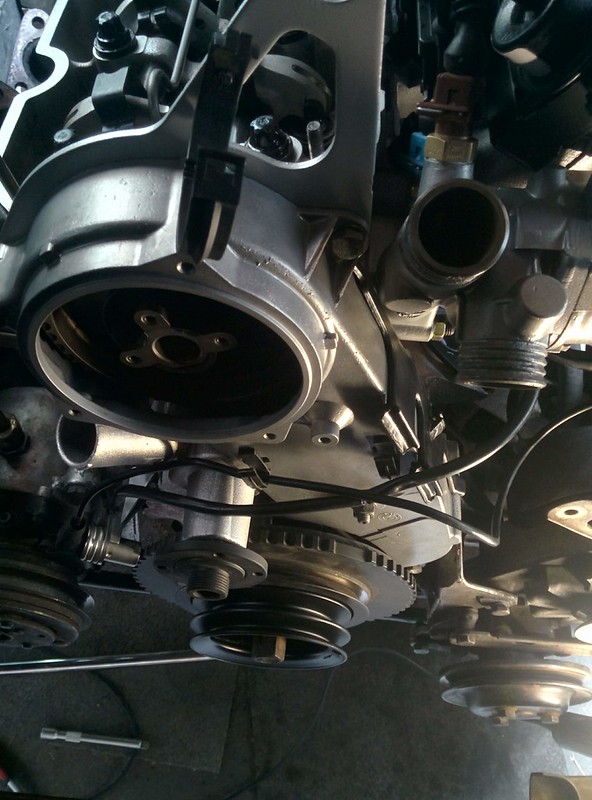
Throttle body, new coolant hoses, radiator back in
After topping of the oil, fitting the exhaust and adding coolant. It was time to try and crank the engine to build up some oil pressure.
After connecting the battery again, I got a very very weak crank. First though was that the battery had drained. I changed it out of a friends car but still got the same problem..
Starting to think it might be the starter? Although it had no trouble cranking the engine before disassembling the head..
Leave a comment:
-
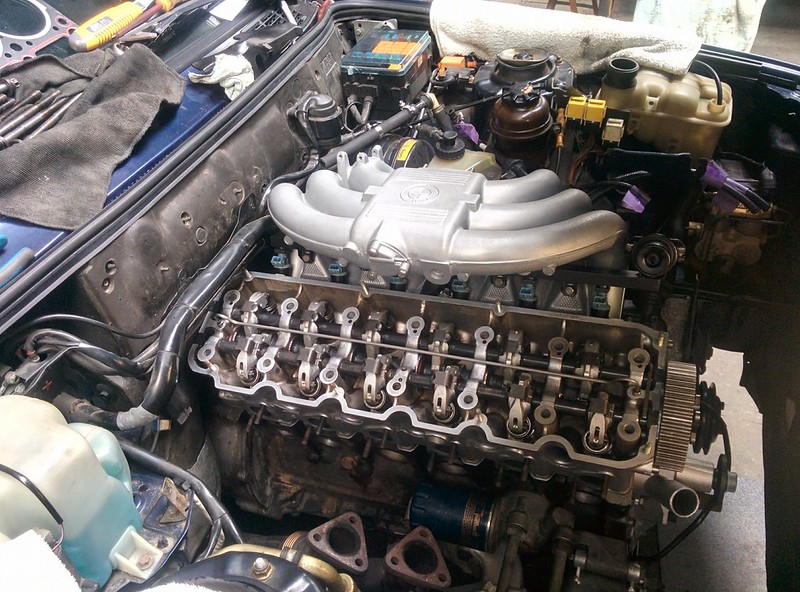
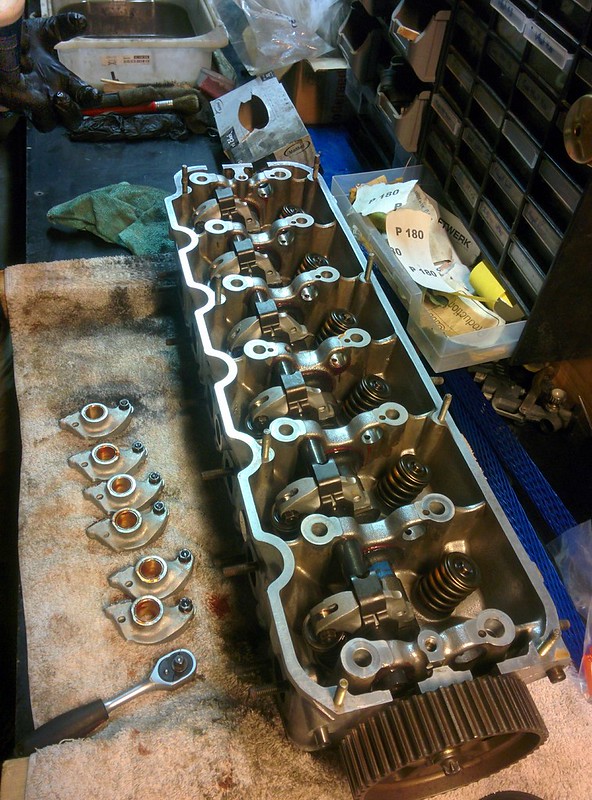
Yesterday after work I decided to go to the workshop again, was busy assembling the head until 10pm. Time goes fast if you're busy :)
Before the assembly, I tried googling the bast way to assemble the rockers and rocker shaft, almost all the DIY post suggest tapping the shafts into place.
Turns out this is completely the wrong way of doing things. I was able to slide the shaft into place with the exhaust rocker for cylinder 6 on the intake lobe, then push on the clips on the other 5 rockers and turn the camshaft until you can slide on the 6th exhaust rocker
Exhaust side assembled.
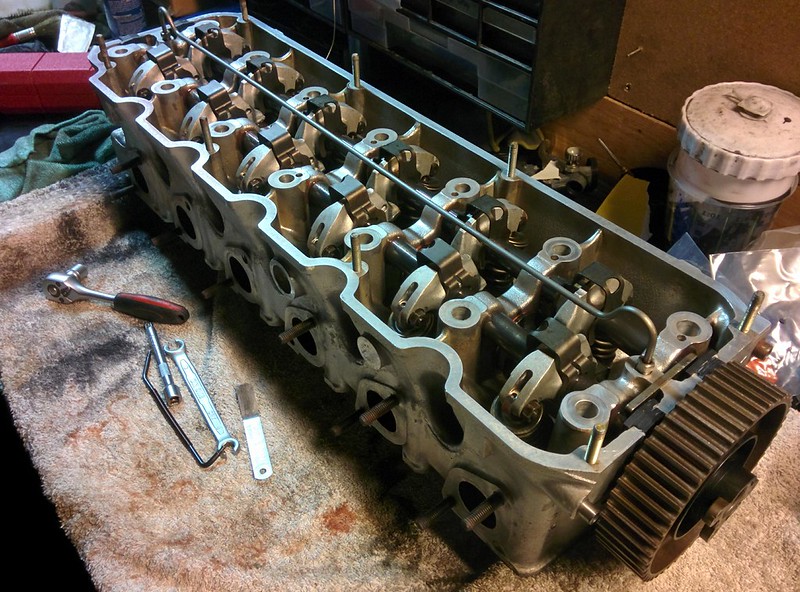
For the intake side it's the same procedure except, you need to place the rocker between the two lobes, then turn the camshaft again and slide the 6th intake rocker onto it's lobe.
Rebuilt head

I also set the valve clearance
After that, I went back home and got into bed.
Today after work, I got started on some little stuff. I first started with mounting a new rear guibo for the driveshaft as the old one had some cracks in them. Hopefully this will stop the clunking I sometimes have when driving slowly and pressing the clutch in rapidly.
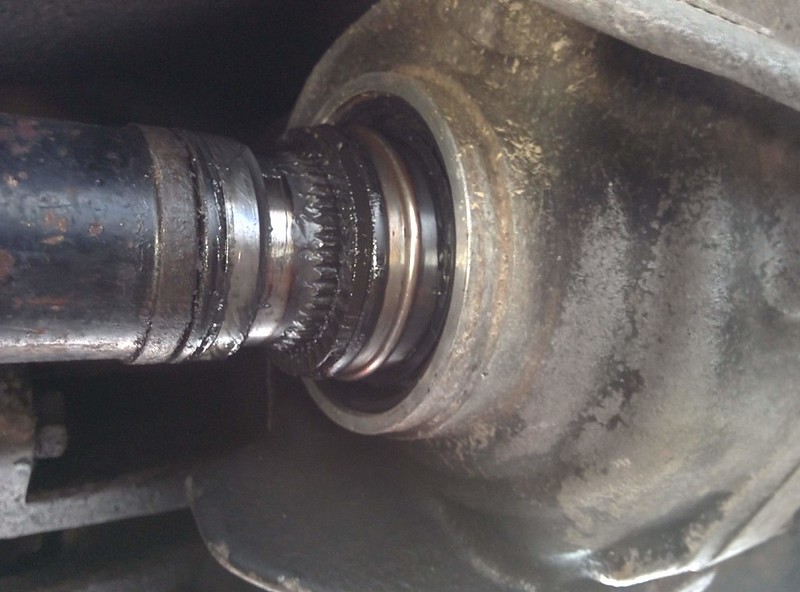
I then assembled the front driveshaft with the longer bolts I got.

It's tight, but clearance is clearance right :p

Almost fully engaged.
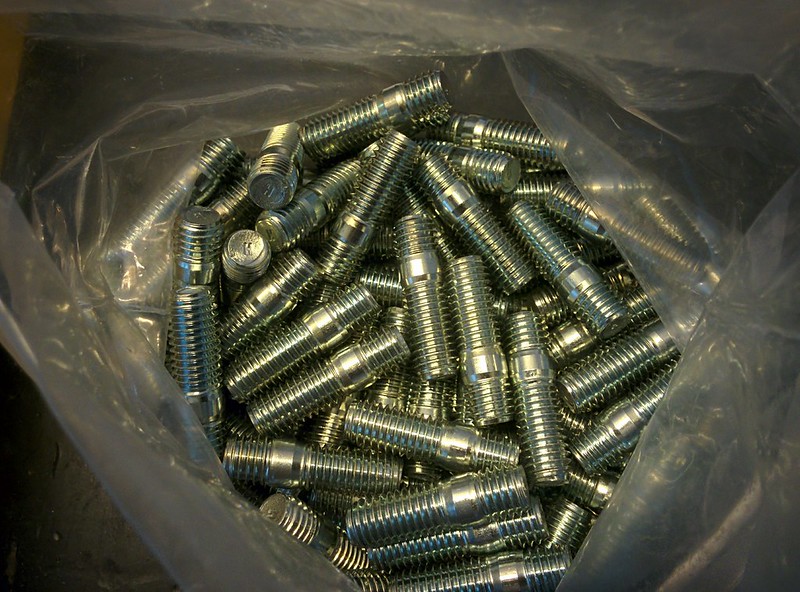
I also ordered some stud for the exhaust manifolds. BMW ask 5-6€/stud. I paid 21€ for 100. lol
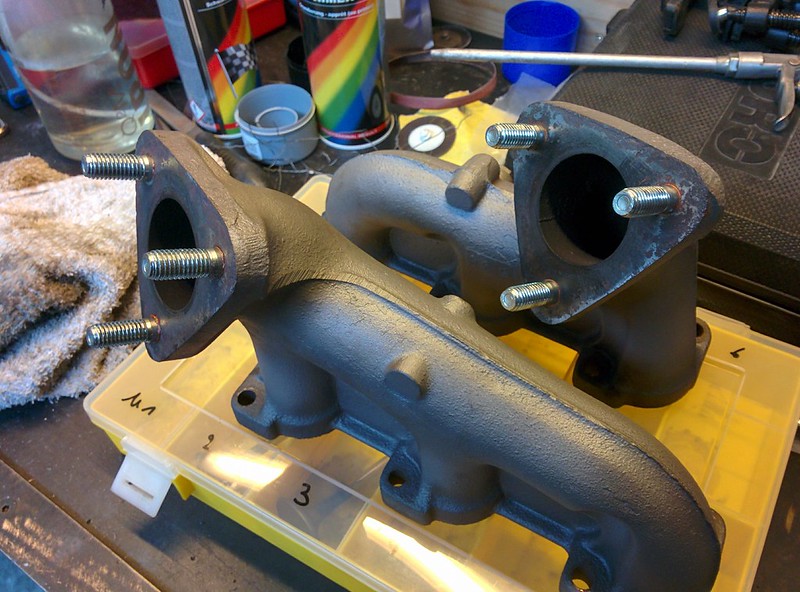
Anyone in need of some studs? I got 94 left :)
Leave a comment:


Leave a comment: