-
-
I like the motivation in this project.Projects Hartge,Alpina & AC Schnitzer Builds.http://www.r3vlimited.com/board/showthread.php?t=280601
http://www.r3vlimited.com/board/showthread.php?t=227993
http://www.r3vlimited.com/board/showthread.php?t=289362
 DSC04926 by Raul Salinas, on Flickr
 DSC03413 by Raul Salinas, on Flickr
Comment
-
Shift boot looks good, nice that they come with frames now.
Frames were becoming difficult to source, someone did a run of 3D printed frames a few years ago so I bought a few just in case.
'87 BMW E30 325is Turbo
'99 BMW E36 M3 - - - '98 BMW E36 328iComment
-
December 2022 - Ups/Downs of Timing
The PO told me that they changed the belt early 2019 and I said I'd change it before 2023 because I'm gonna assume that they did it on Jan 1, 2019. So the day finally came upon me to do my timing belt, water pump and a bunch of other small seals. First and foremost the first thing I noticed was the distributer cap and the rotor were original parts! That was insane, and the worst part about it all was that I didn't replace them because I didn't have enough time to order the parts. A whole ignition refresh is long overdue on this car, all new parts will be installed very soon.

As I was disconnecting the radiator a very unfortunate but predictable thing happened, overflow nipple broke off and was stuck in the hose, so that only meant one thing. New radiator!


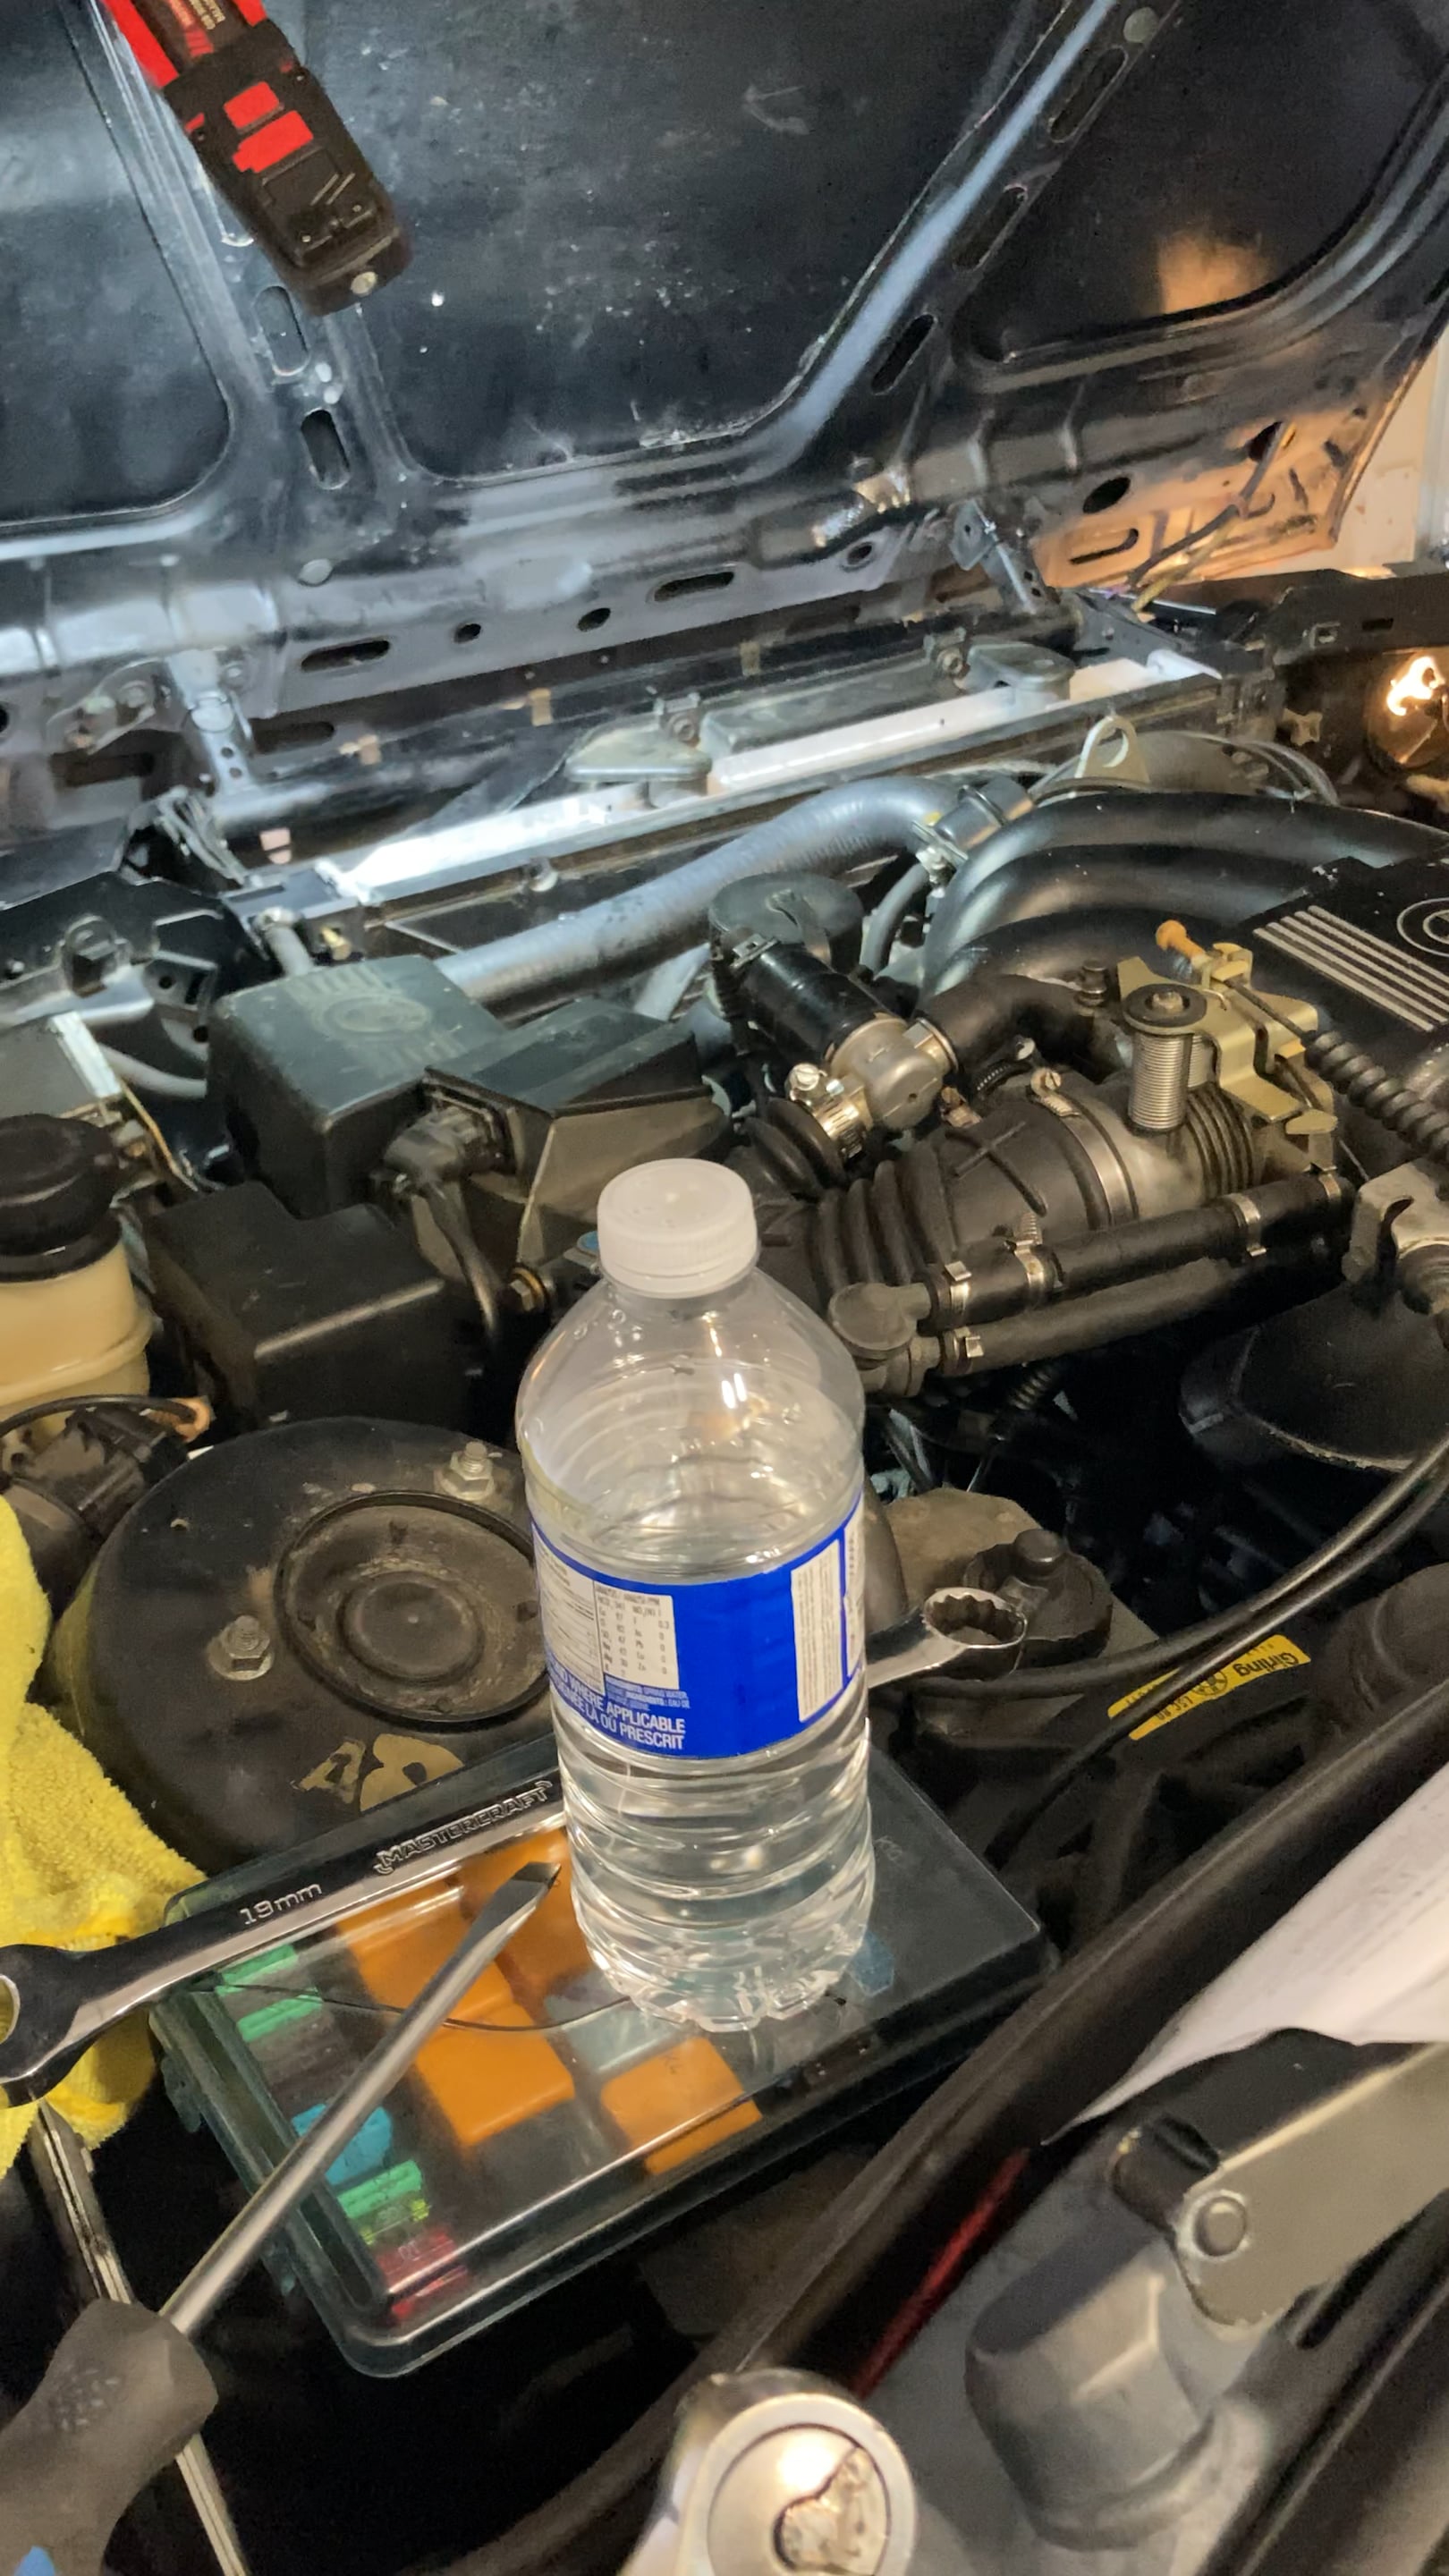
Also I realized how much my power steering was leaking, first picture is about 2 hours of parking and second picture is about 10 hours later.


And of course it still has the original fan clutch! Also long overdue to change as well.

Installing the new cam seal wasn't too bad but man the old one came out in literal pieces, I torched it at one point because of how stuck it was. Also cleaned the hell out of all the years of grim, very tedious but extremely satisfying. I also had no faith in that dinky little paper gasket so I put a very thin layer of gasket maker on the block.


I cleaned it all up, tensioned the belt and we were all good to go. Or were we? This happened everytime I'd start the car.
I thought it was the timing belt, I immediately redid the entire job, re-tensioned everything and still the same thing. I only put on one accessory belt, the alternator/water pump since my A/C doesn't work and my P/S is leaking anyways. After hours and hours of troubleshooting, trying the old accessory belt, re-tensioning the v-belt, frantic googling and reading the manual.
I figured it out. It was the goddamn alternator hinge bolt, I didn't tighten it all the way so the alternator would move ever so slight and cause the belt to squeal every time the car started or I put throttle.
Overall, quite the learning experience but I'd do it all again because I hate myself. Just kiddin, I'll probably never stop wrenching.Comment
-
Nice to change seals while you're in there, was the old seal leaking?
Agreed with the gasket maker, I have used it along with the paper gasket on jobs like this in the past. I'm sure the paper gaskets were sufficient when everything was new, but 30+ years take their toll on mating surfaces.
Glad it was just the hinge bolt. Impressed that you redid the entire job looking for the issue, sometimes that is the way to learn.
'87 BMW E30 325is Turbo
'99 BMW E36 M3 - - - '98 BMW E36 328iComment
-
Yeah the seal did not look good at all, the original cork gaskets on the water-pump were solid back in the day but the replacement ones aren't too good anymore.
I'm so glad it was the hinge bolt, also the biggest take away was that I did the timing properly both times haha. Just have to find a good place to get new ignition parts and not spend too much on shipping.Comment
-
More December 2022 - Rust "Repair"
I started noticing that the corner of my carpet, near the throttle pedal, never got dry. So naturally I decided to rip the entire carpet and check what's underneath, it wasn't pretty at first but as I got closed and started cleaning it up it looked like some surface rust. Seems like one of the previous owners had some rust repair done, and some pretty solid work all things considered. Good metal used.


I took a wirebrush drill attachment, cleaned up the surface as much as I could, a can of matte black rust convertor and put everything back together, hopefully holds up!


Comment
-
Posting an update exactly a year later!
Turns out taking pictures and not doing anything with them is much easier than uploading/typing, hah! Quite a slow day at work so I decided to re-invigorate this thread with some updates from the last year. We're picking up where we left off last year.
Feb 2023 - Top End Refinishing
First time doing anything like this so like any reasonable person I just threw myself into the deep end, started off with the cooling system and hot dang have these original hoses/parts have seen better days. Ordered myself a new set of CATuned silicone hoses and a new thermostat housing.


After a mild struggle and using every swivel/u-joint attachment I finally got the intake off, loads of grime and gunk around there so there was a lot of cleaning.

The head was heavier than I thought but finally got it on my “workbench”. Debated for a while about whether to dissassemble it myself and send it to a machine shop to get it measured/decked, ended up sending it as-is since I didn’t trust my skills and it wasn’t as pricey as I thought it would be.


Got the old gasket removed, cleaned the mating surfaces and the bolt threads quite well, installed a new gasket.


The new head came back all nice and shiny from the shop, looks quite spiffy! However this is where the trouble began, for a day or so I couldn’t get the head to be level/installed on the block. Thought the machine shop royally screwed me over but turns out it was the alignment dowels that were cooked, hah! After painstakingly removing the old ones, I installed the new ones but with no luck, still not level. I ended up removing them and carefully using the bolts for alignment, worked out
pretty well but very annoying.


Finally after bolting everything up and starting it, I had a crank no start issue. Almost broke into tears but I rejoiced, did some diagnosing and swapped out the CPS from the old aftermarket plastic one with a brand new metal OE one.

After all that it still wouldn’t start, so after half a day of diagnosing and doing anything I could think off, I sent it off to my mechanic (thank you CAA for those free tows).

aaaand within a couple hours they got back to me. I installed the rotor cap on the head in reverse…. After all that, finally got the car back and it was running beautifully, just the right amount of ticking.

Was quite the adventure but would 100% do it again.Comment
-
Glad it's back and running!
Quite the experience taking the head off an engine.
Next time you have troubles, feel free to post in the forum and I bet we could have you sorted out without a trip to the mechanic.
'87 BMW E30 325is Turbo
'99 BMW E36 M3 - - - '98 BMW E36 328iComment
-
June 2023 - Air Conditioning
Like every reasonable E30 owner I wanted ice cold AC for those hot summer months, and like everyone else I spent more time/money than I should've getting it up and running. At first I simply wanted to do an o-ring swap, recharge it and call it a day.
The E30 however had some other plans... As soon as I tried to break loose the condenser hose/piping, it just broke on me.


So I decided to get a new condenser and ended up getting the last nissens parallel condenser in stock, looks it was destiny and boy am I glad I did, looks minty!

After doing some research I then realized I would need to rebuild my existing compressor or get a new Sanden compressor, like the reasonable person I am I decided to upgrade the compressor and get myself a fancy LCW mount. Got the old one off, cleaned up probably decades of grime off the mount and installed the mount/compressor. It looked just perfect, the fitment was great! Also got some new hoses shaped up for the new compressor/condenser from a local hose place.


Now time to recharge the system! Got my a little amazon kit that worked perfectly, but of course with my luck there was a problem... I kept hearing a hissing noise from the evap area and it just would not pull vacuum. Soooo it was time for a new evaporator! Getting the old one out proved to be a but of a challenge but after fighting with it and man-handling it for hours I finally got it out! The key for me was not be scared of bending it because I had a new one coming anyways.


Got the parts and all setup looking nice and shiny, much nicer than the older ones!


Finally pulled vacuum, recharged it and had ice cold air-con, a dream come true!

At the end of the day, I ended up replacing pretty much every single part on the system one by one, apart from the interior lines and the fan. I should've just ordered it all at once...Comment
-
Fall 2023 - Alternator + Brake Booster Swap
Welp my alternator died. I had my suspicions about it and had a replacement one sitting in the trunk. The day came where it would not start in a parking lot so.... parking lot alternator swap it is! Had a spare set of tools in my trunk that did the job just fine, took longer than expected because it was a pain to get the belt back on.


Then one fine morning my brake booster started hissing so it was time to swap it! I went down to the local pick n'pull and got myself a X3 booster + master cylinder to swap it. Ordered some new grommets and a 2002 reservoir and we were good to go! Got myself a set of M10-M12 adapters, basically everything was taken from Panici's swap thread (thanks!)


Have to make a couple of adjustments to the rod but I'll do those later, right now I have some more important things to attend to...
Jan 2024 - More Rust!
I picked myself up a cheap little beater in order to get some real work done on the E30, progress has been slow because its cold and my heater broke. The main goal is to fix the rockers and one nasty spot on the inner wheel well.


Here's how it sits at the moment, some more progress updates soon...

Comment
-
Love the parking lot alternator swap. It's unexpected jobs and roadside fixes like that which make me love owning old cars. Adds some variety to the daily routine for better or worse!
Glad the X3 booster swap info was useful for you! How do you like the pedal effort and feel compared to stock?
Rockers/fenders don't look too bad at all.
That inner wheel well rust appears to be right at the seam of the two panels, nasty but fixable. Probably will have to cut out part of that seam.
'87 BMW E30 325is Turbo
'99 BMW E36 M3 - - - '98 BMW E36 328iComment
-
The X3 swap feels miles better than the stock booster but would prefer a bit more travel.
Hopefully should be picking up some new fenders and functionally repairing the rockers to tack on some mtech or iS side skirts.
I have a general plan for the inner wheel well seam but trying to see if anyone has pictures of a similar repair.Comment
-
Worth mentioning that Practical enthusiast on youtube did a similar repair to his inner wheel well seam.
m.youtube.com
How I Saved My Project BMW E30 From Rust Oblivion by Learning to Weld (jalopnik.com)Comment

Comment