If this is your first visit, be sure to
check out the FAQ by clicking the
link above. You may have to register
before you can post: click the register link above to proceed. To start viewing messages,
select the forum that you want to visit from the selection below.
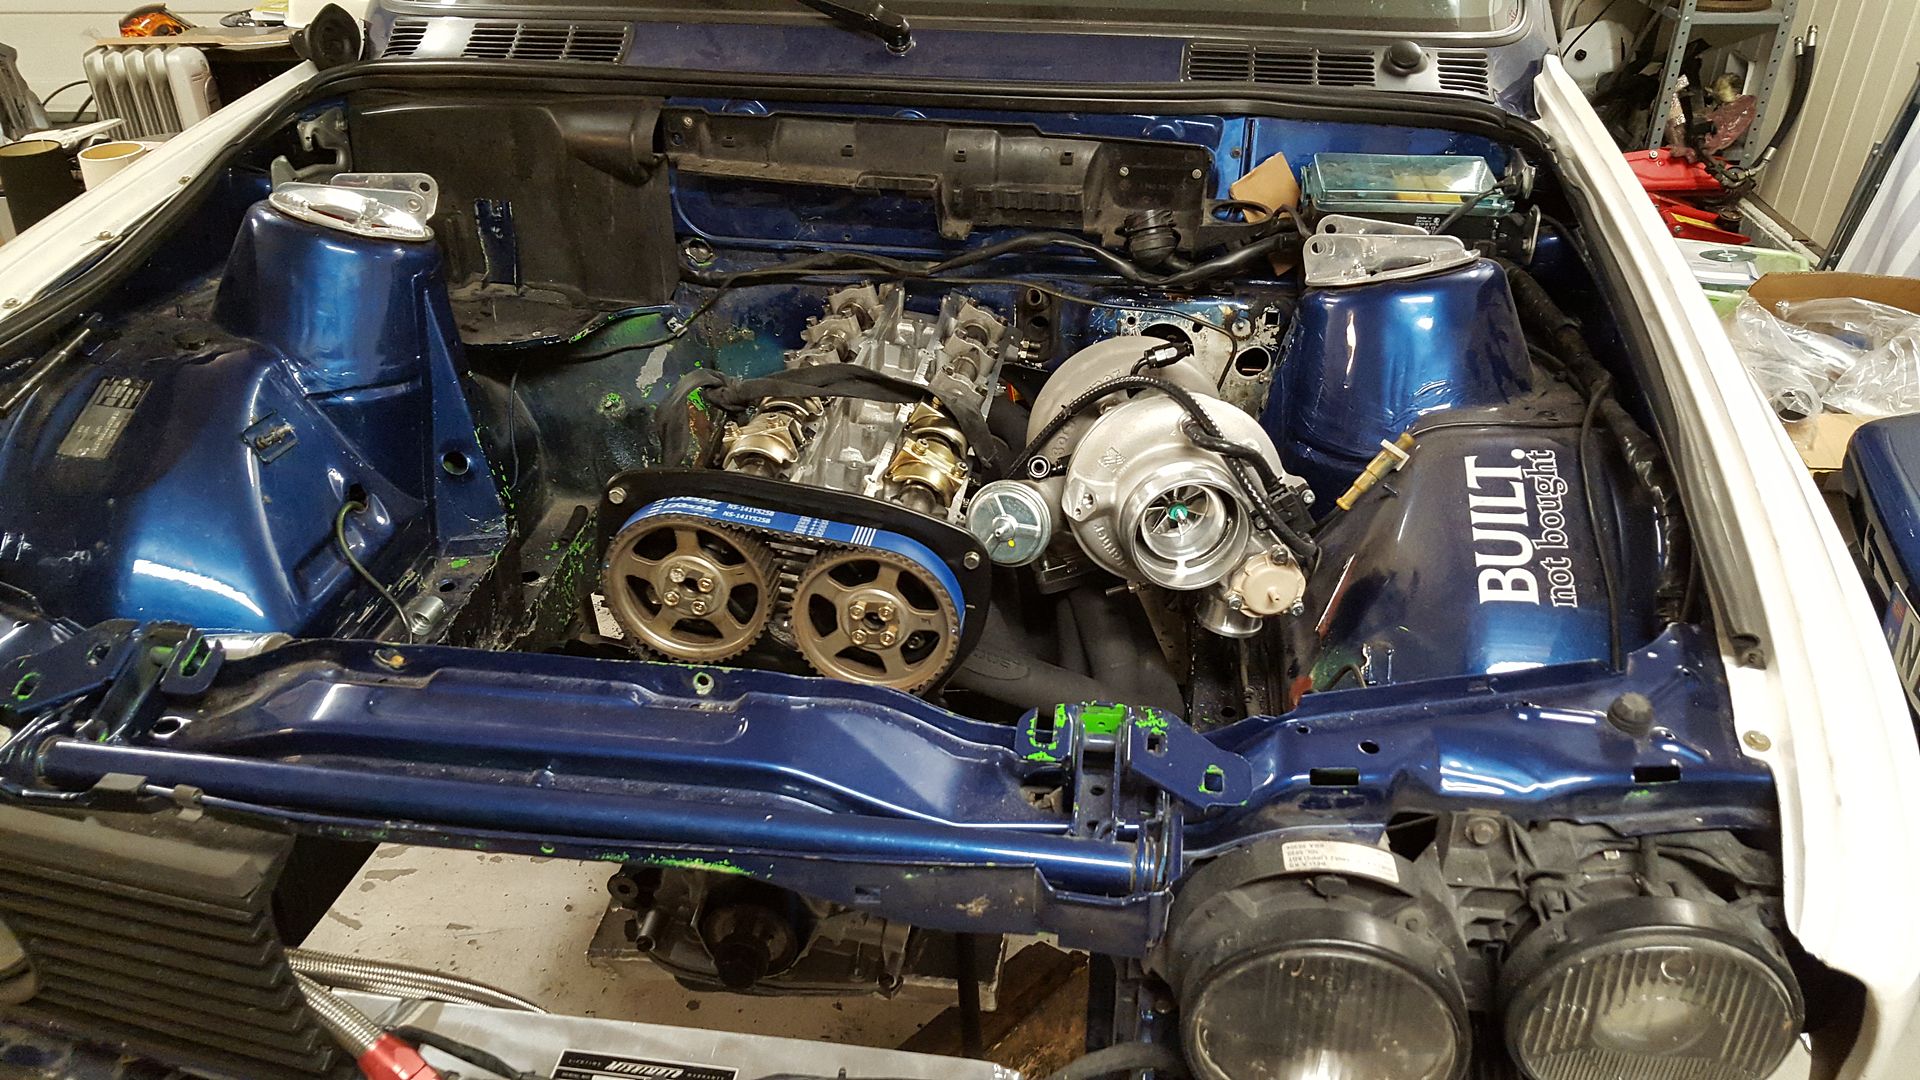
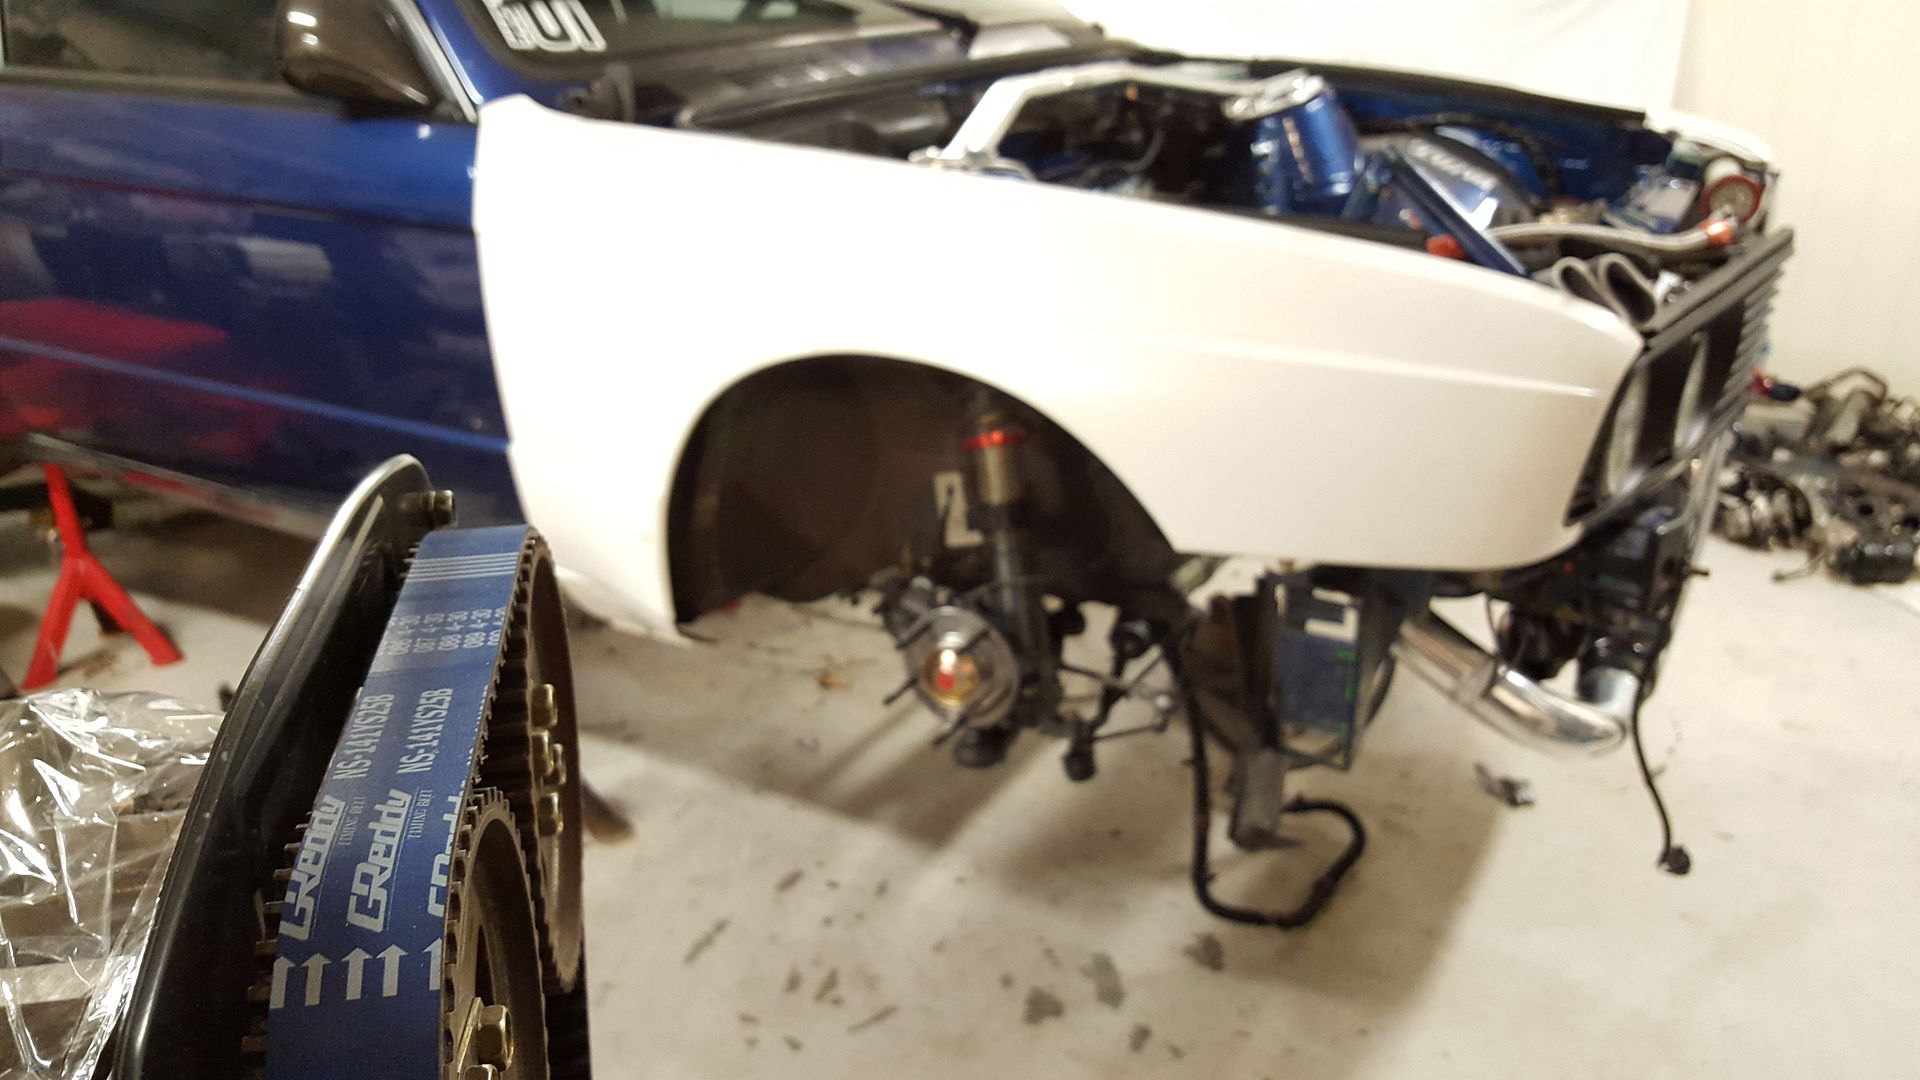
My E30M3 S14B23 -> S50B32 -> RB26DETT. We are alive!! p.28
I have not made that great progress today, since I had to spend some time on Ebay to source some fittings that I have forgotten to order. Damn. I was hoping that I had ordered ALL the fittings.
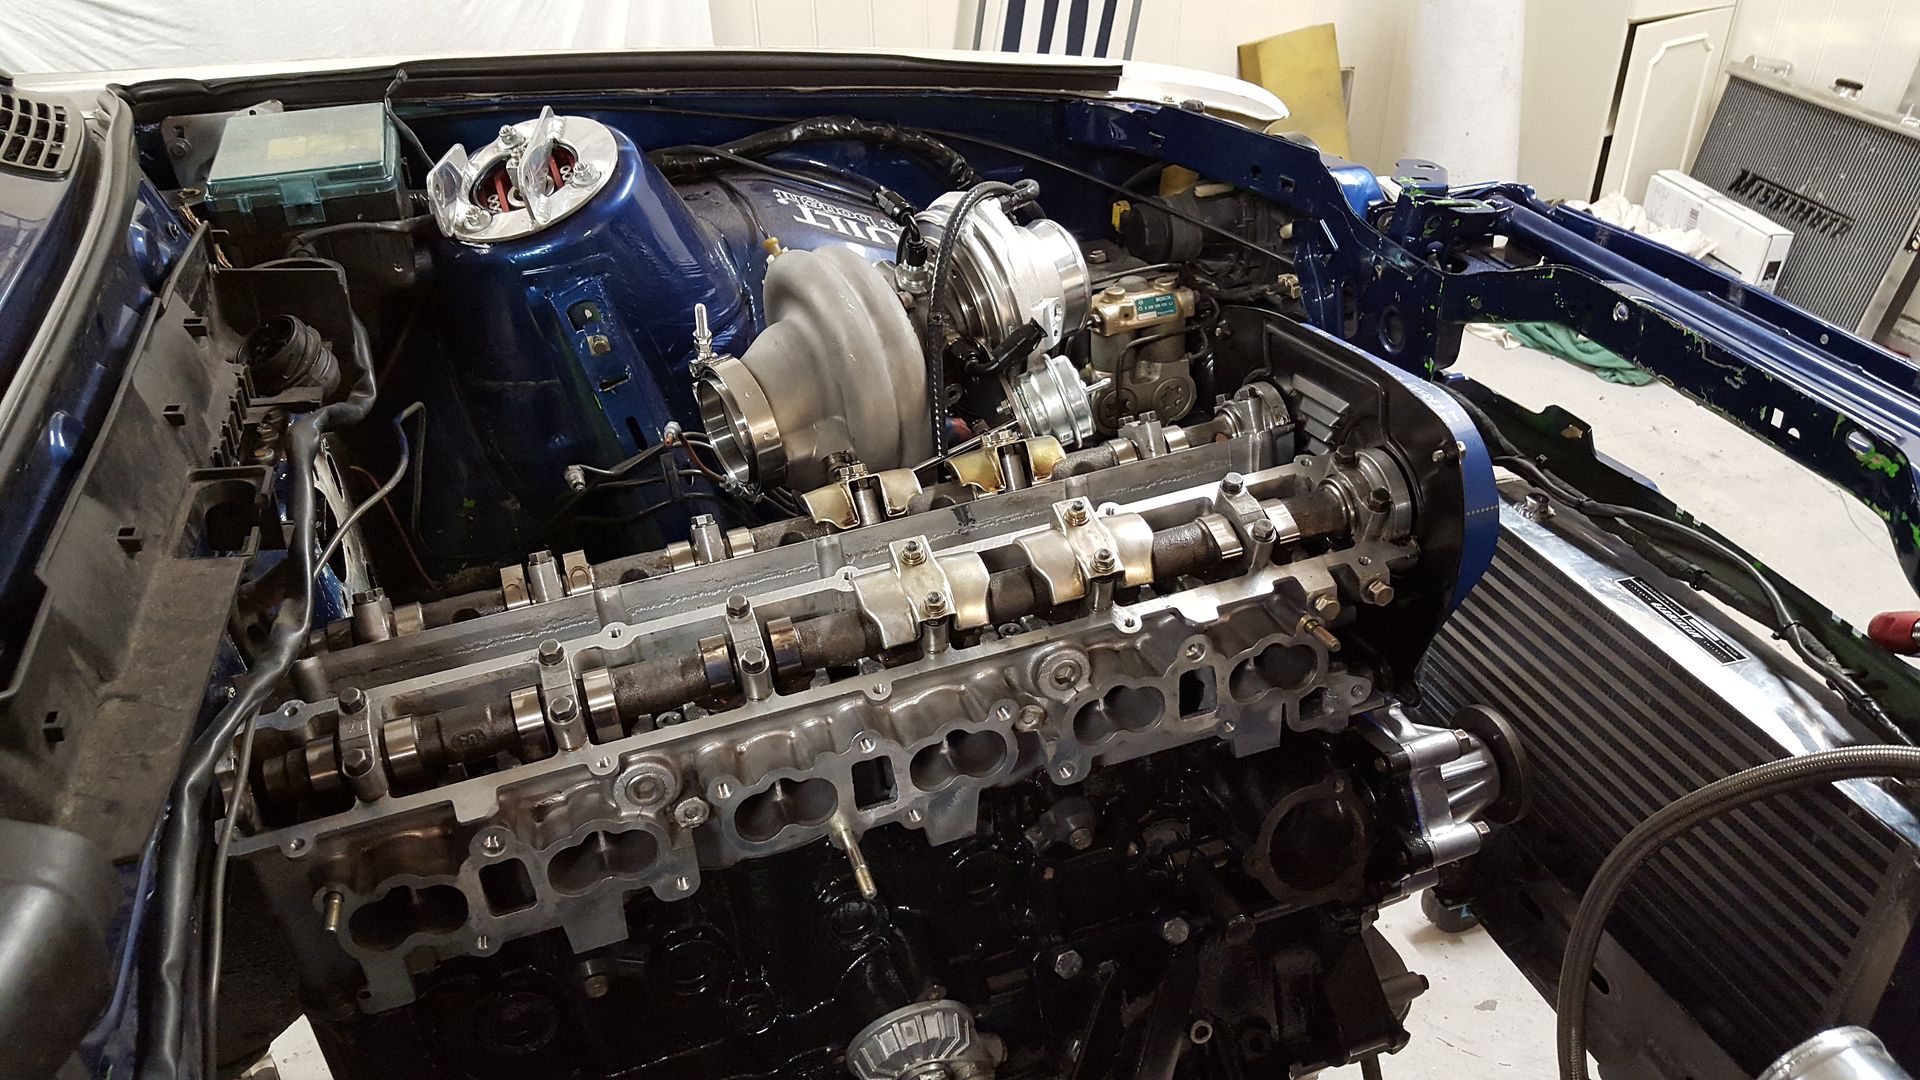
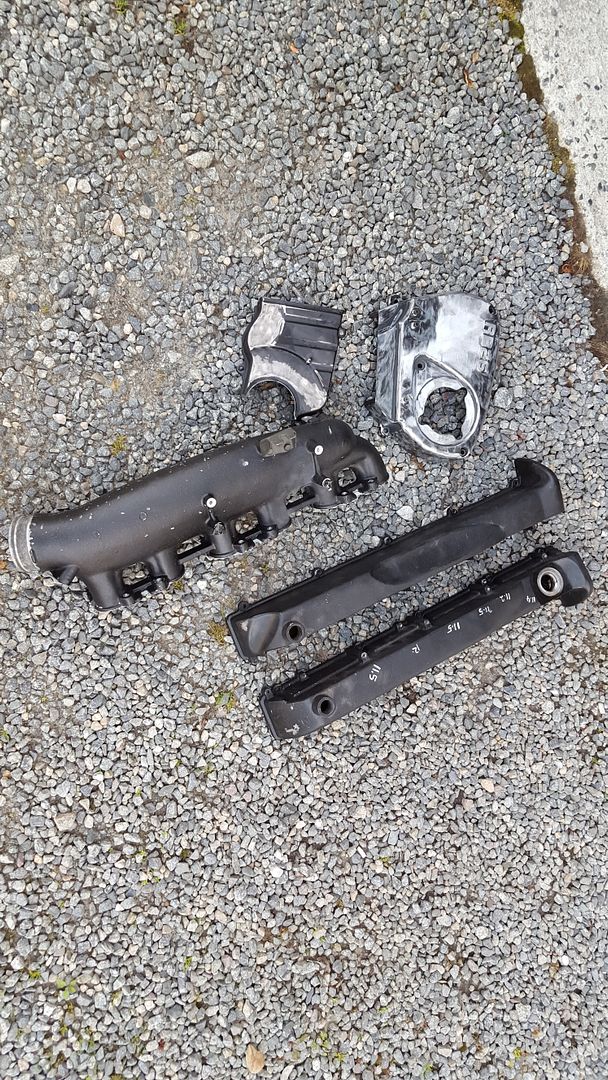
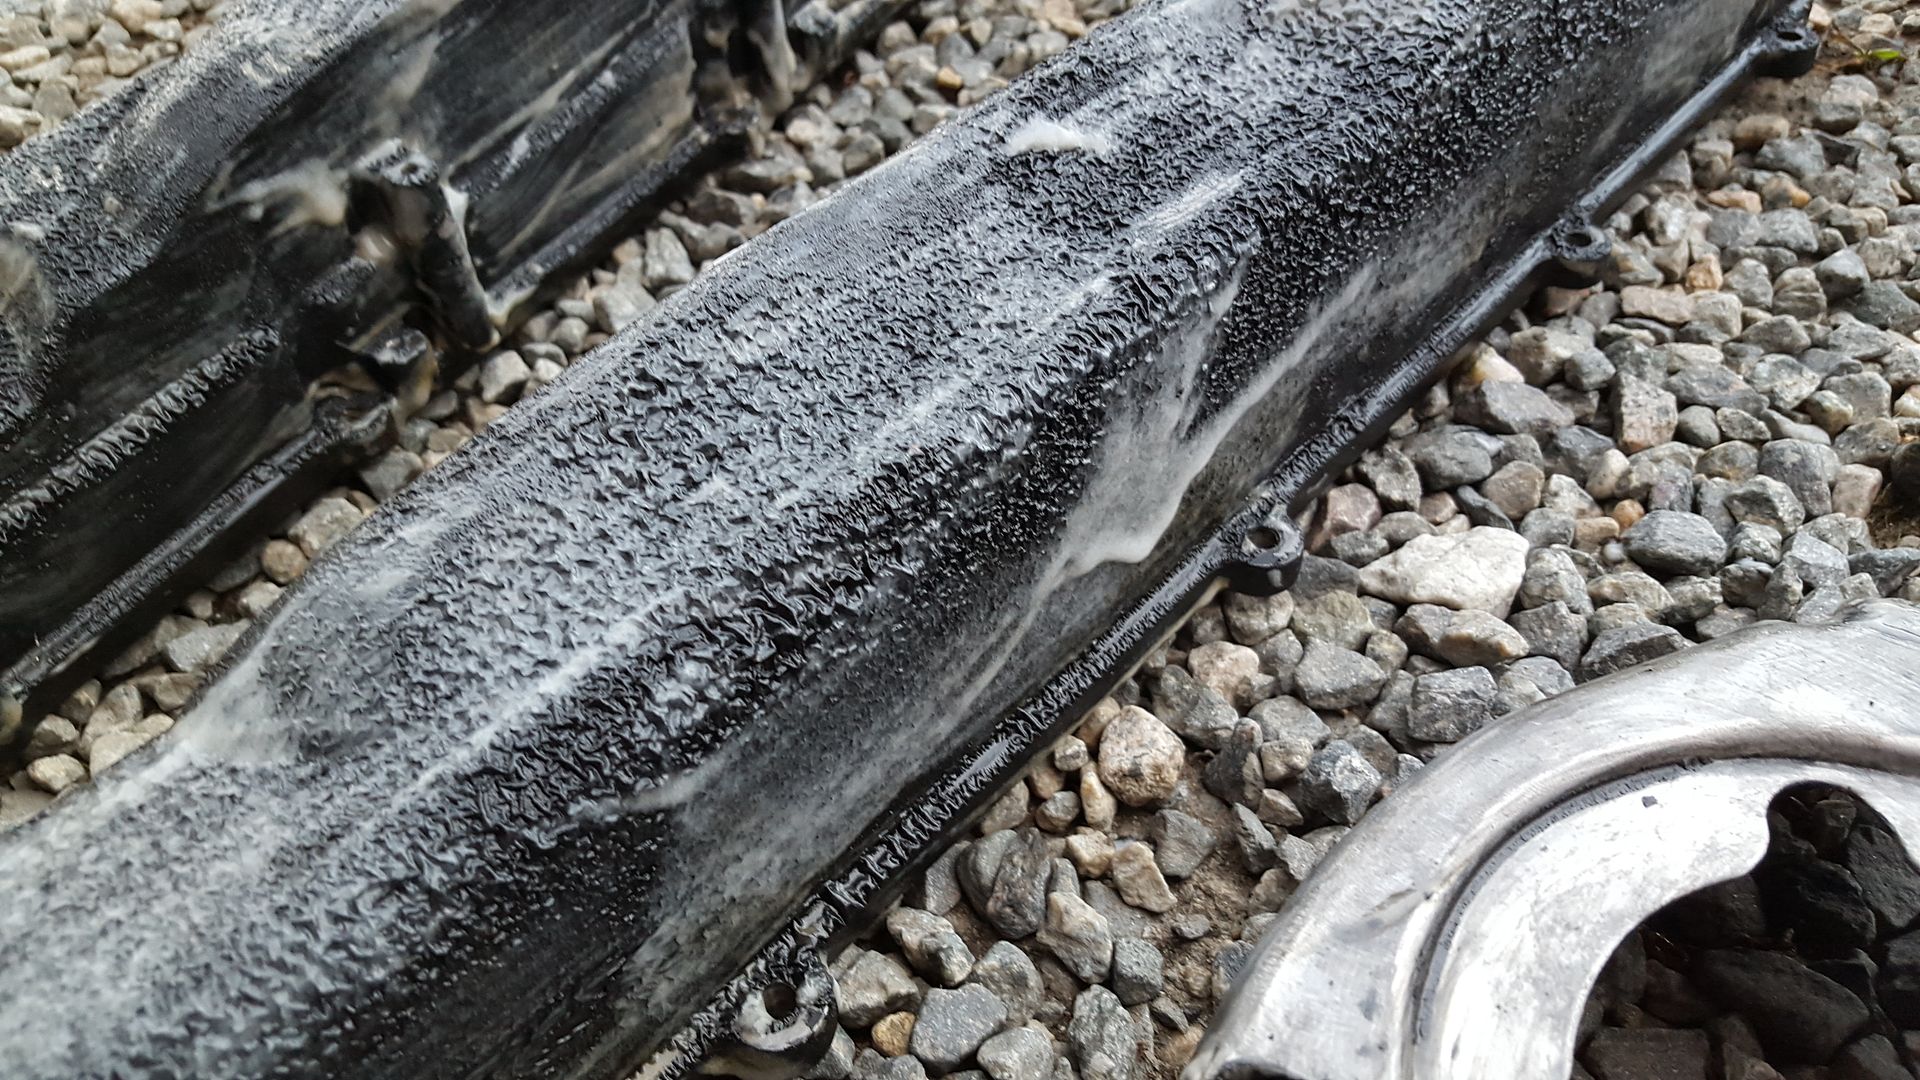
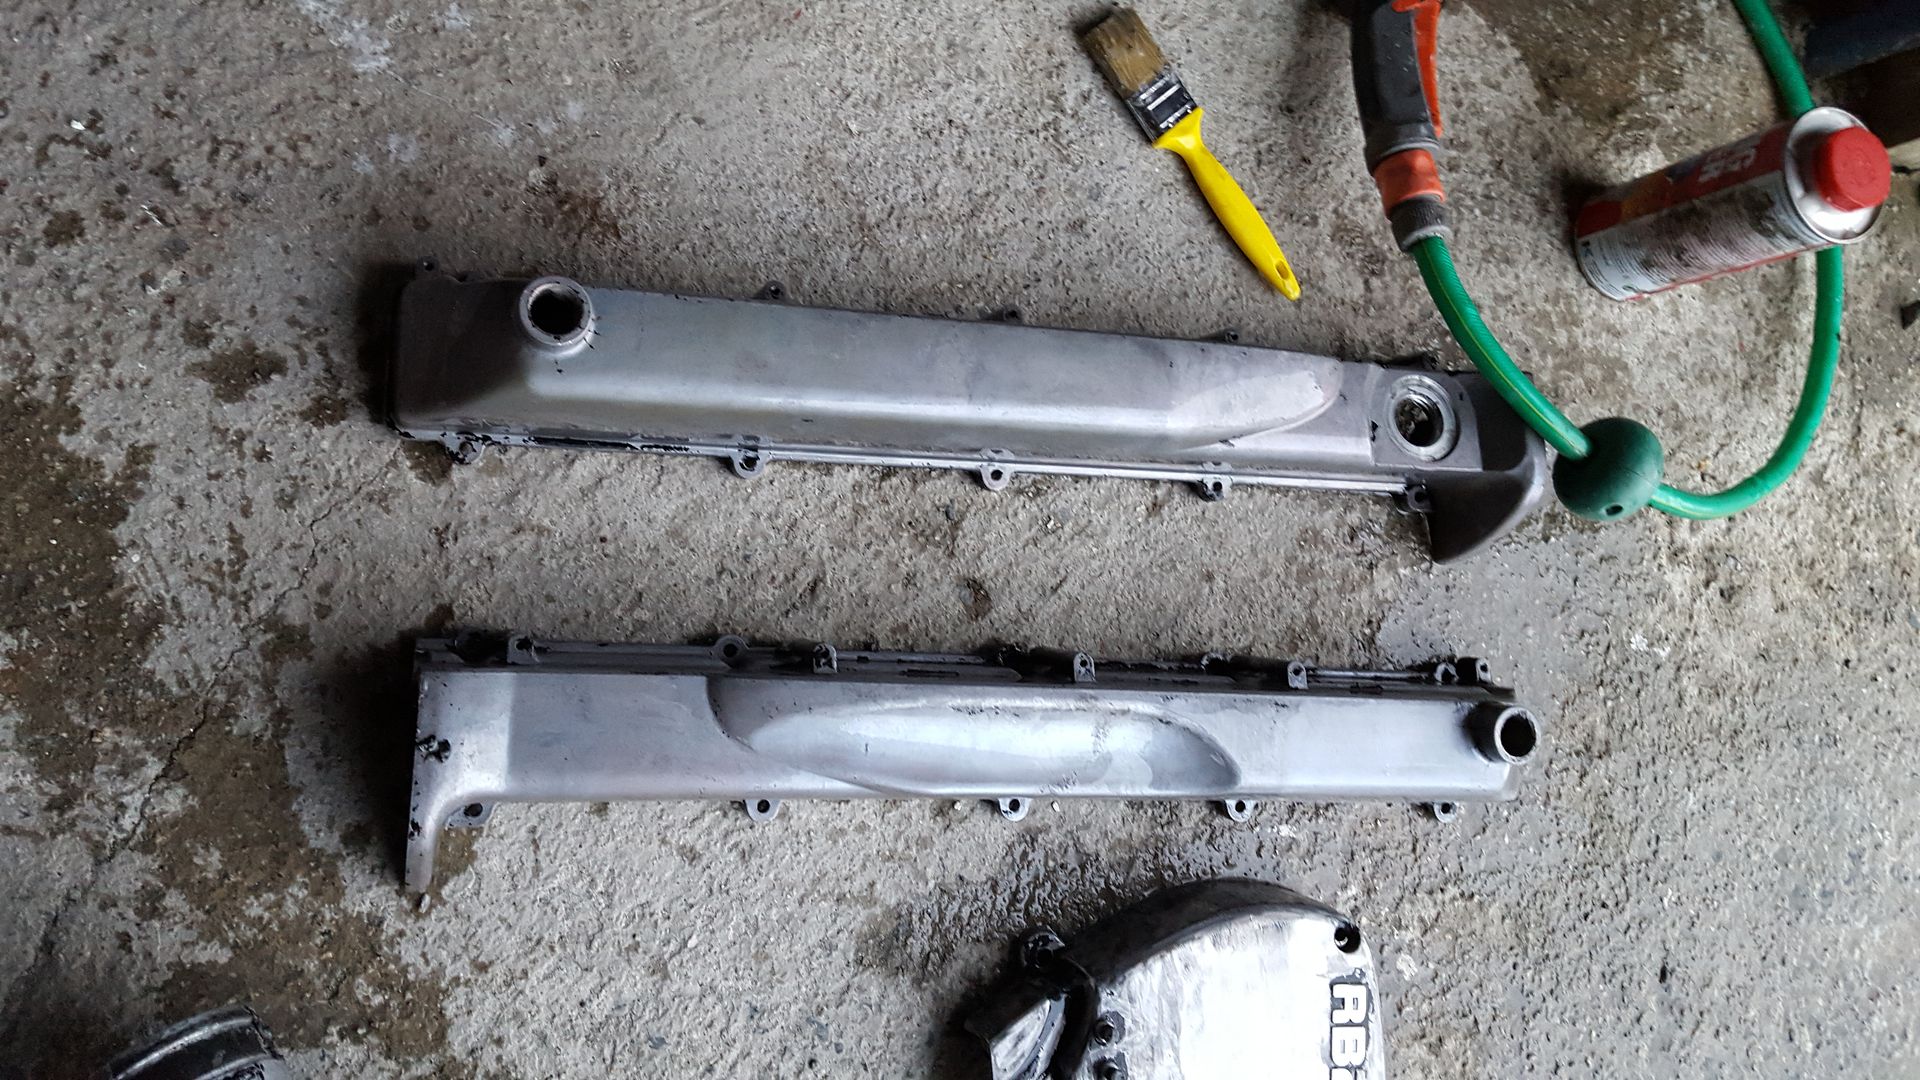
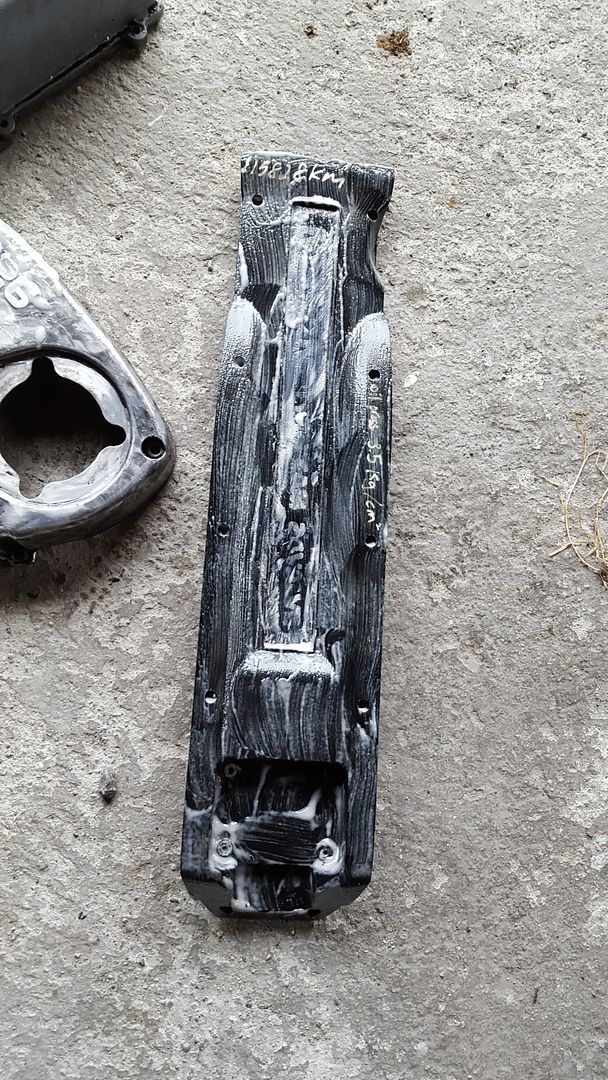
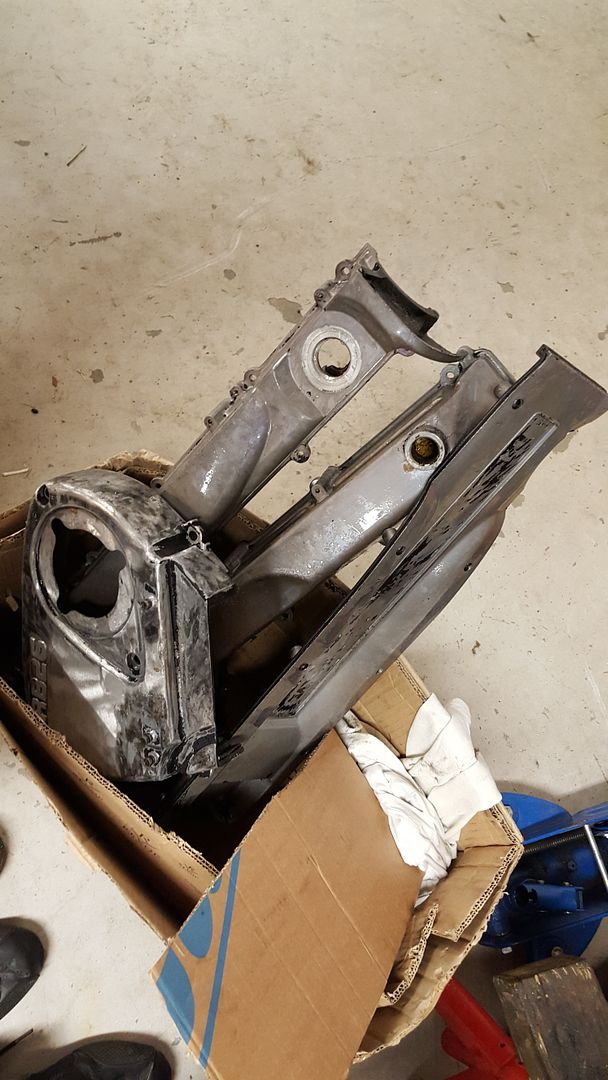
I want to dress up the engine, but have not decided on the looks yet. I'm leaning towards black wrinkle like the S50. Regardless, the old paint needed to go. So I went on with some paint remover.
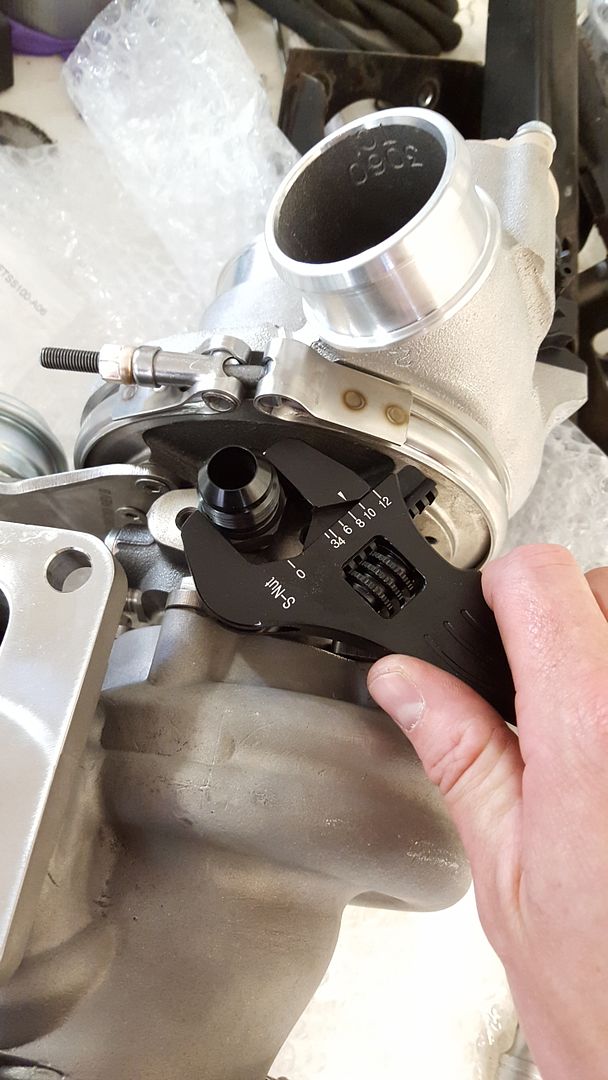
Mounted the fittings on the turbo
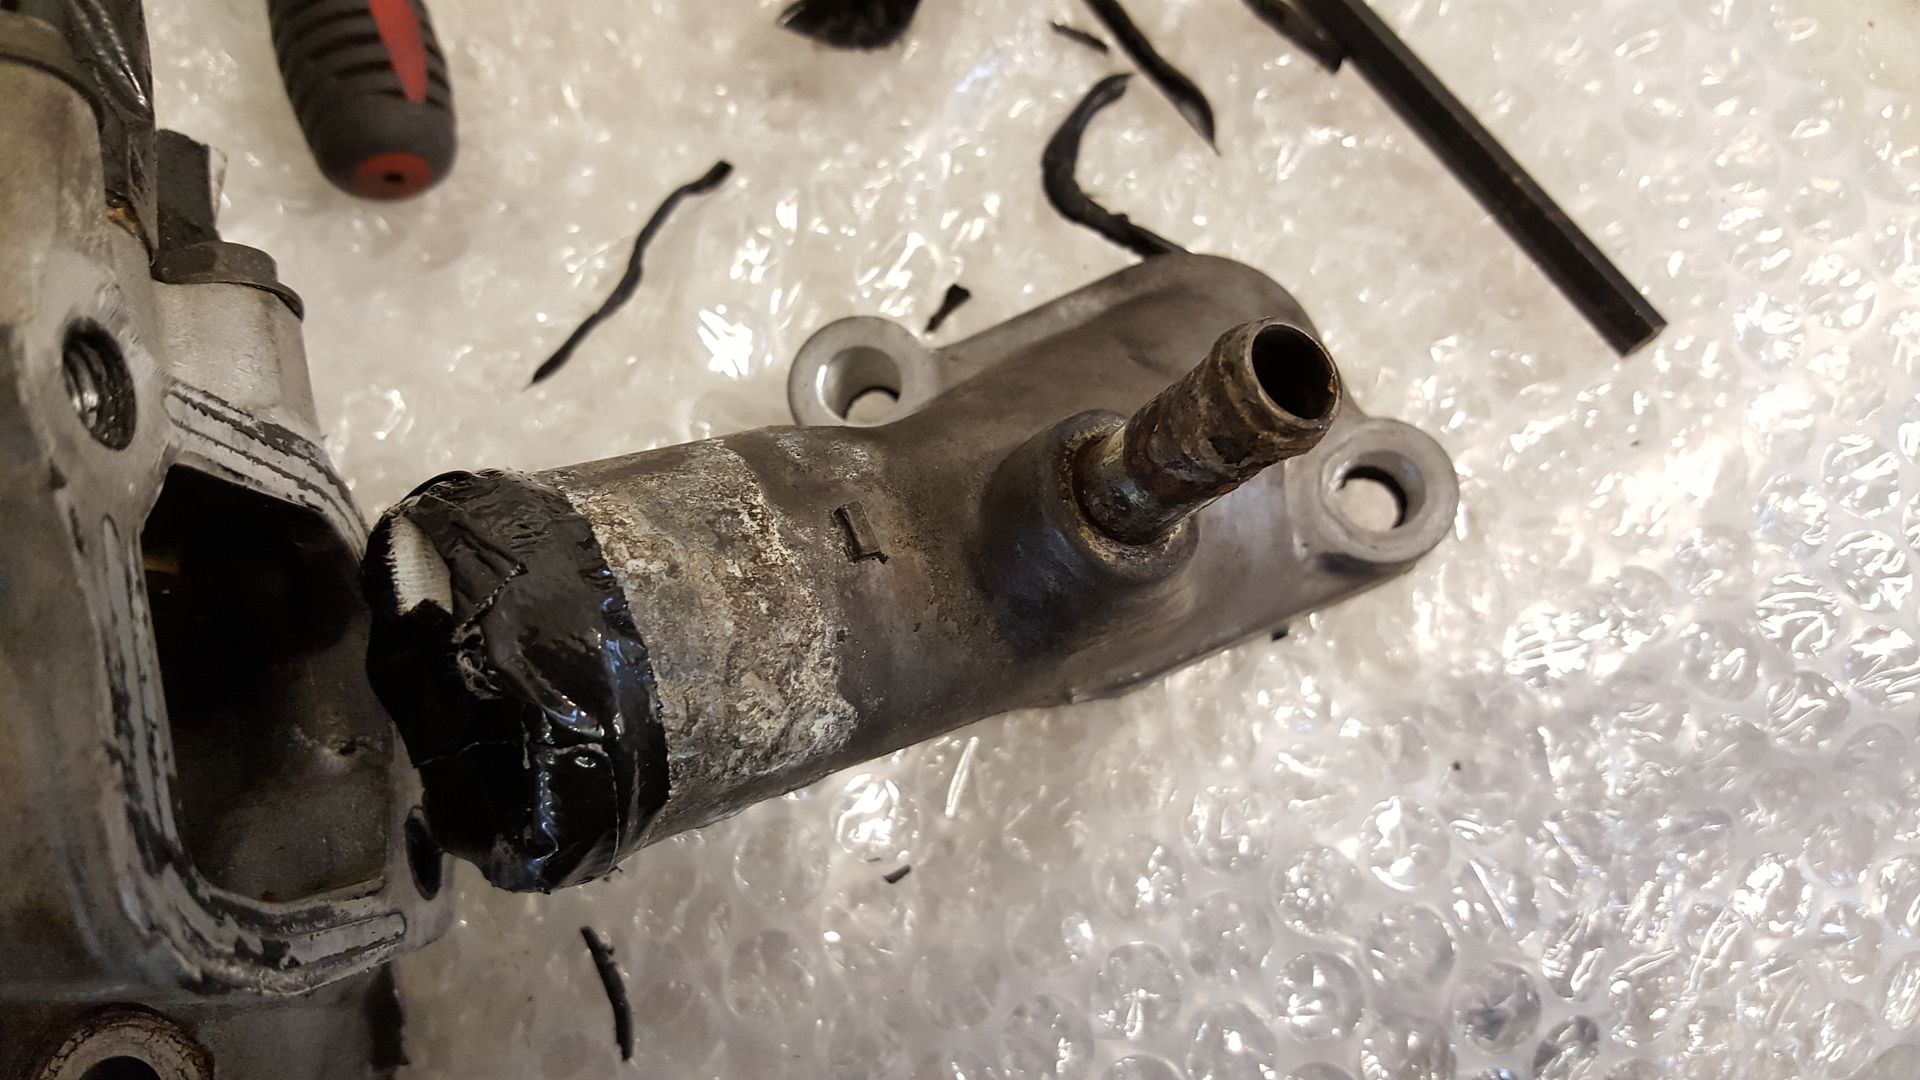
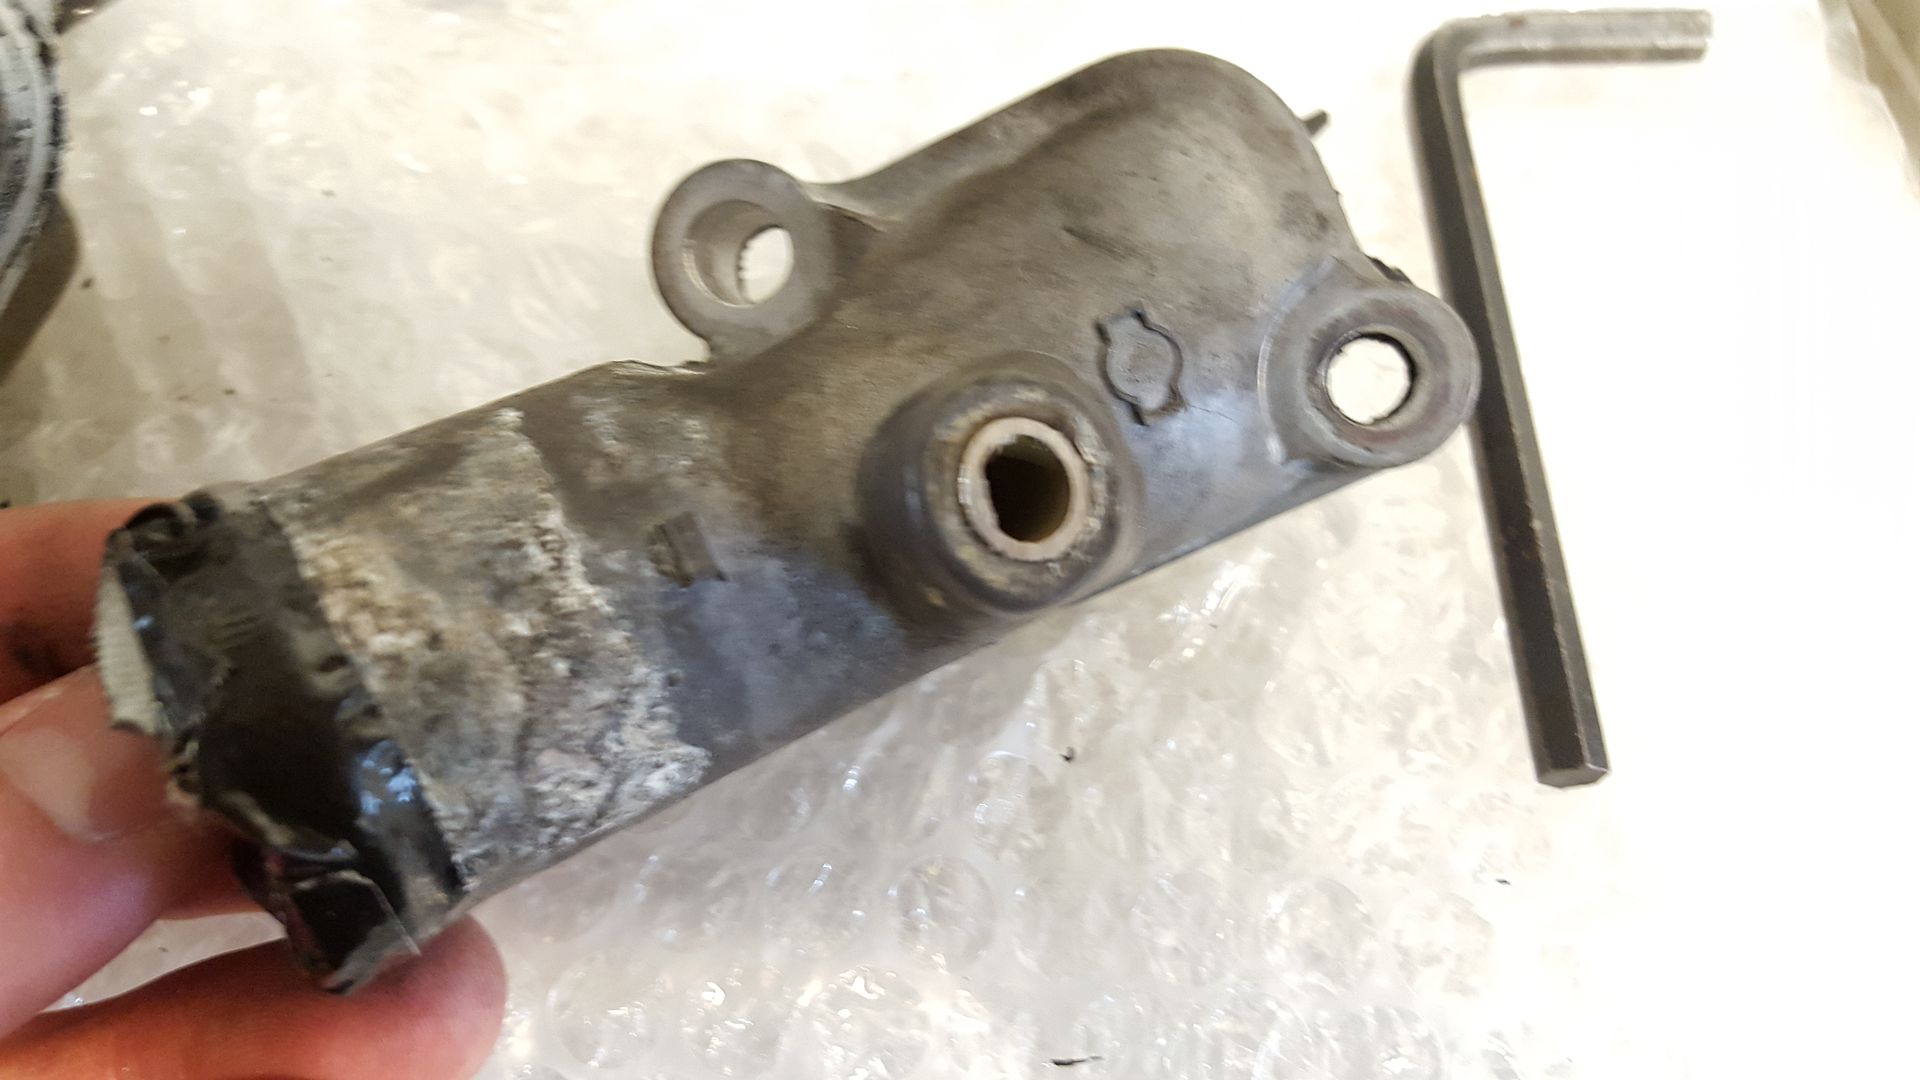
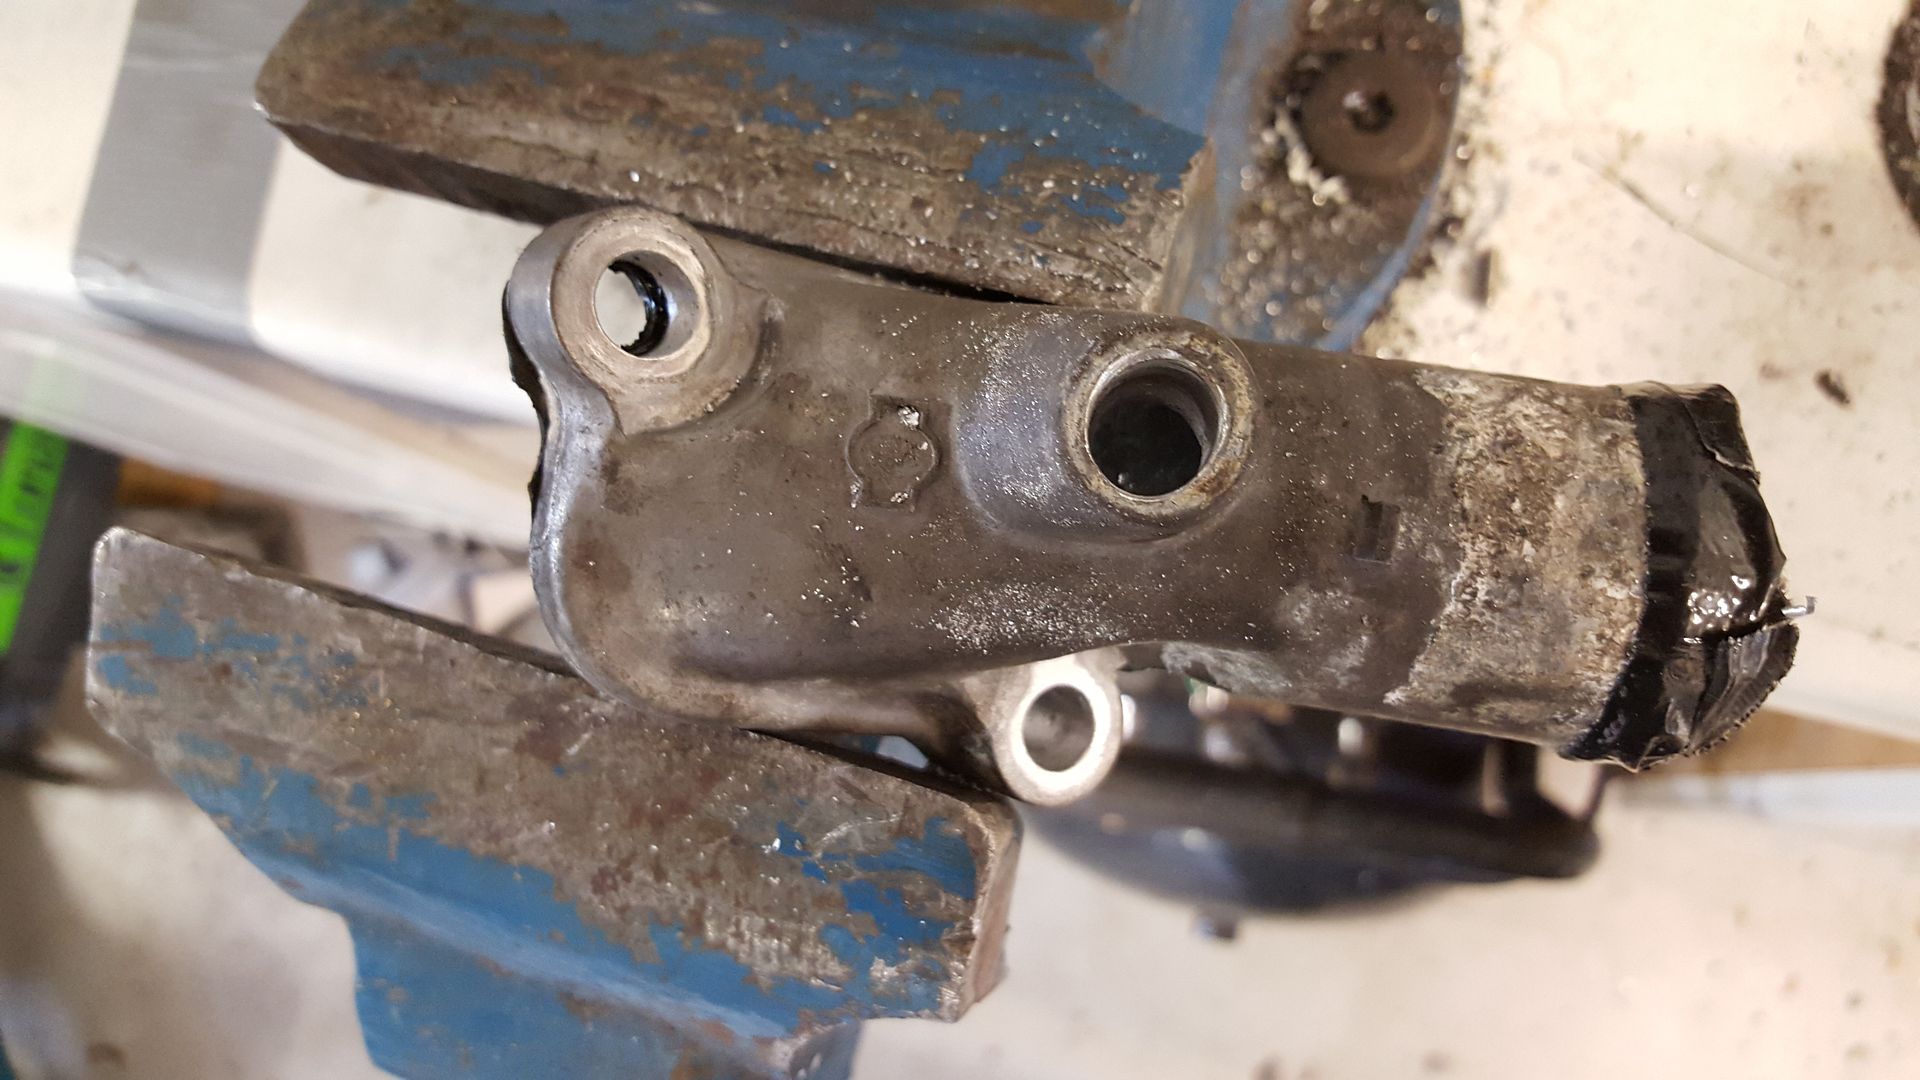
In order to get a nice line for the water return from the turbo, I decided to thread the top line from the radiator. I will put in AN6 adaptor here.
Cut it off...
Drilled out
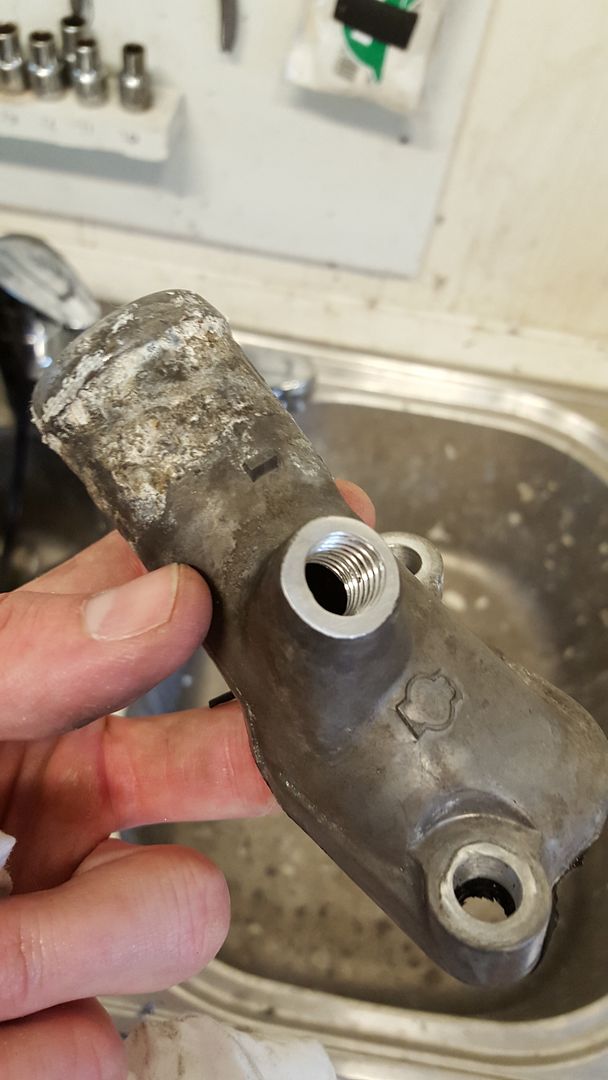
Thread
And done
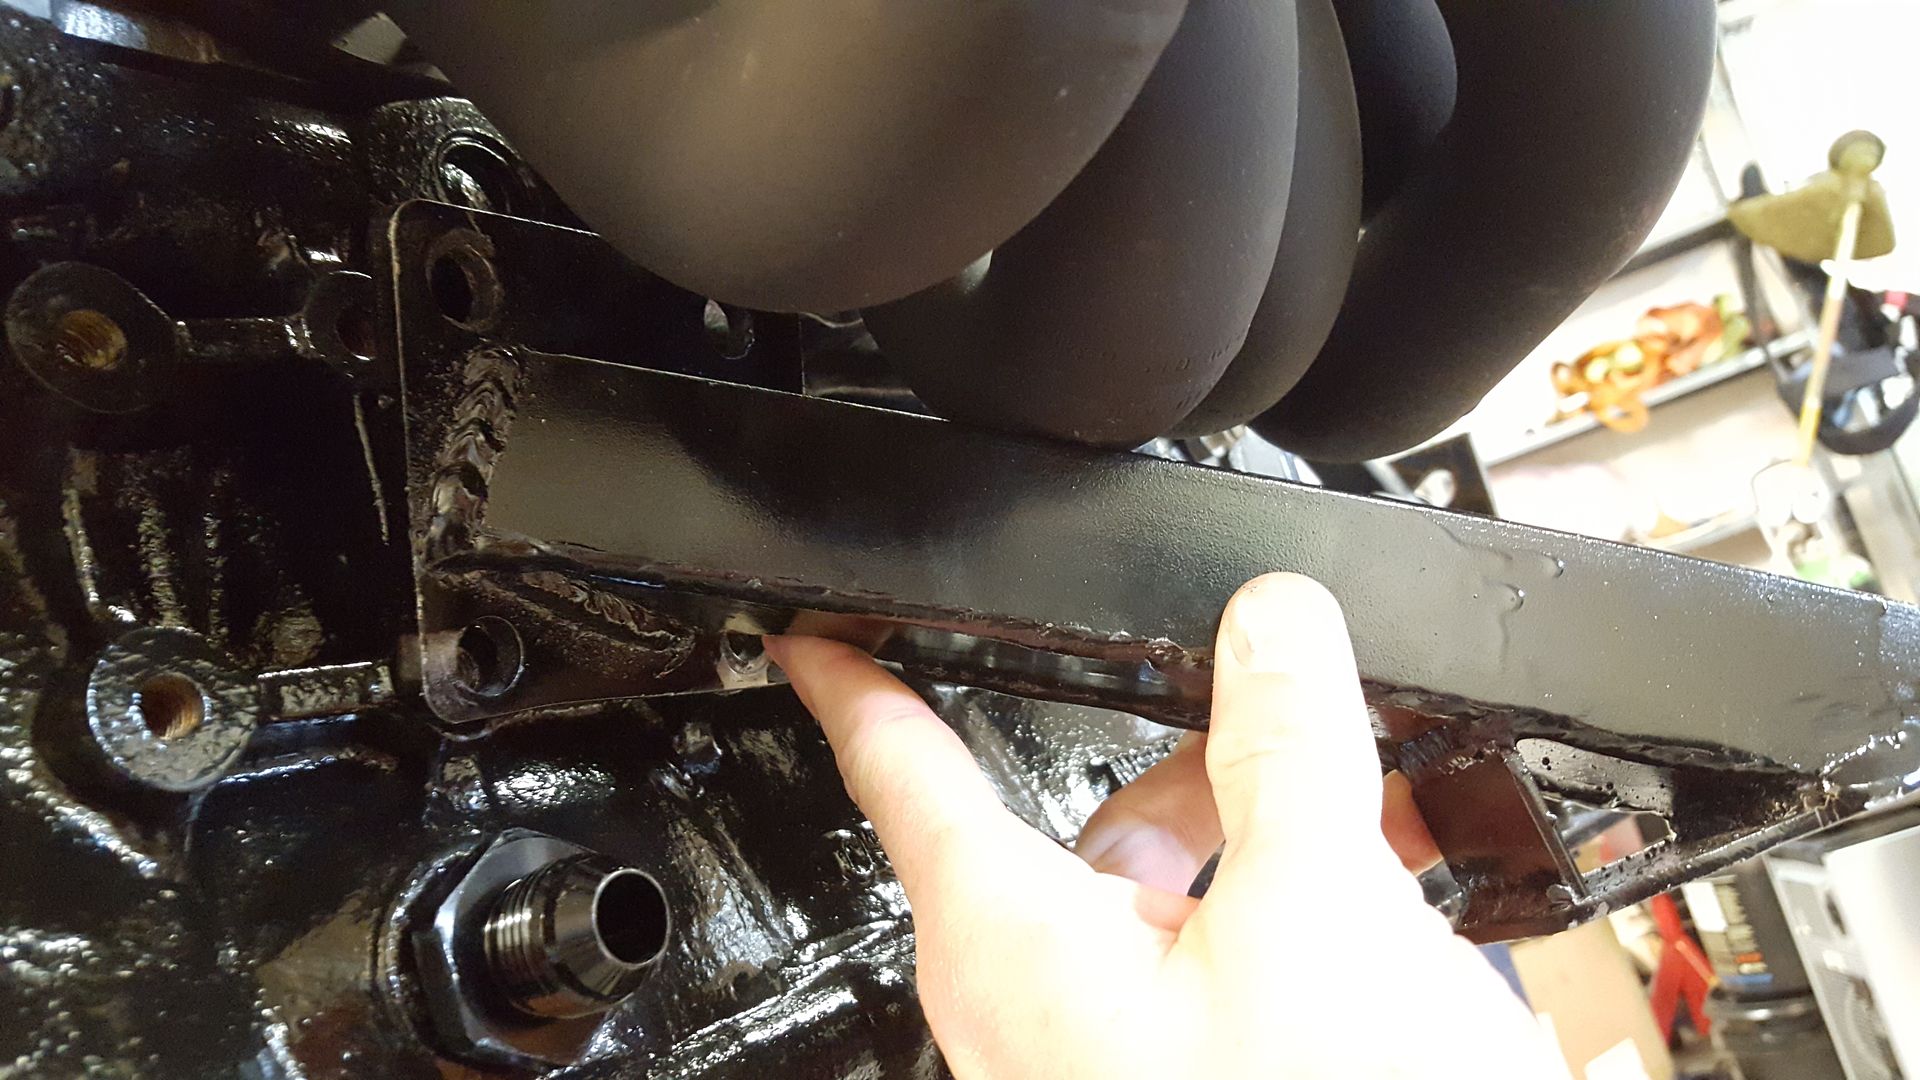
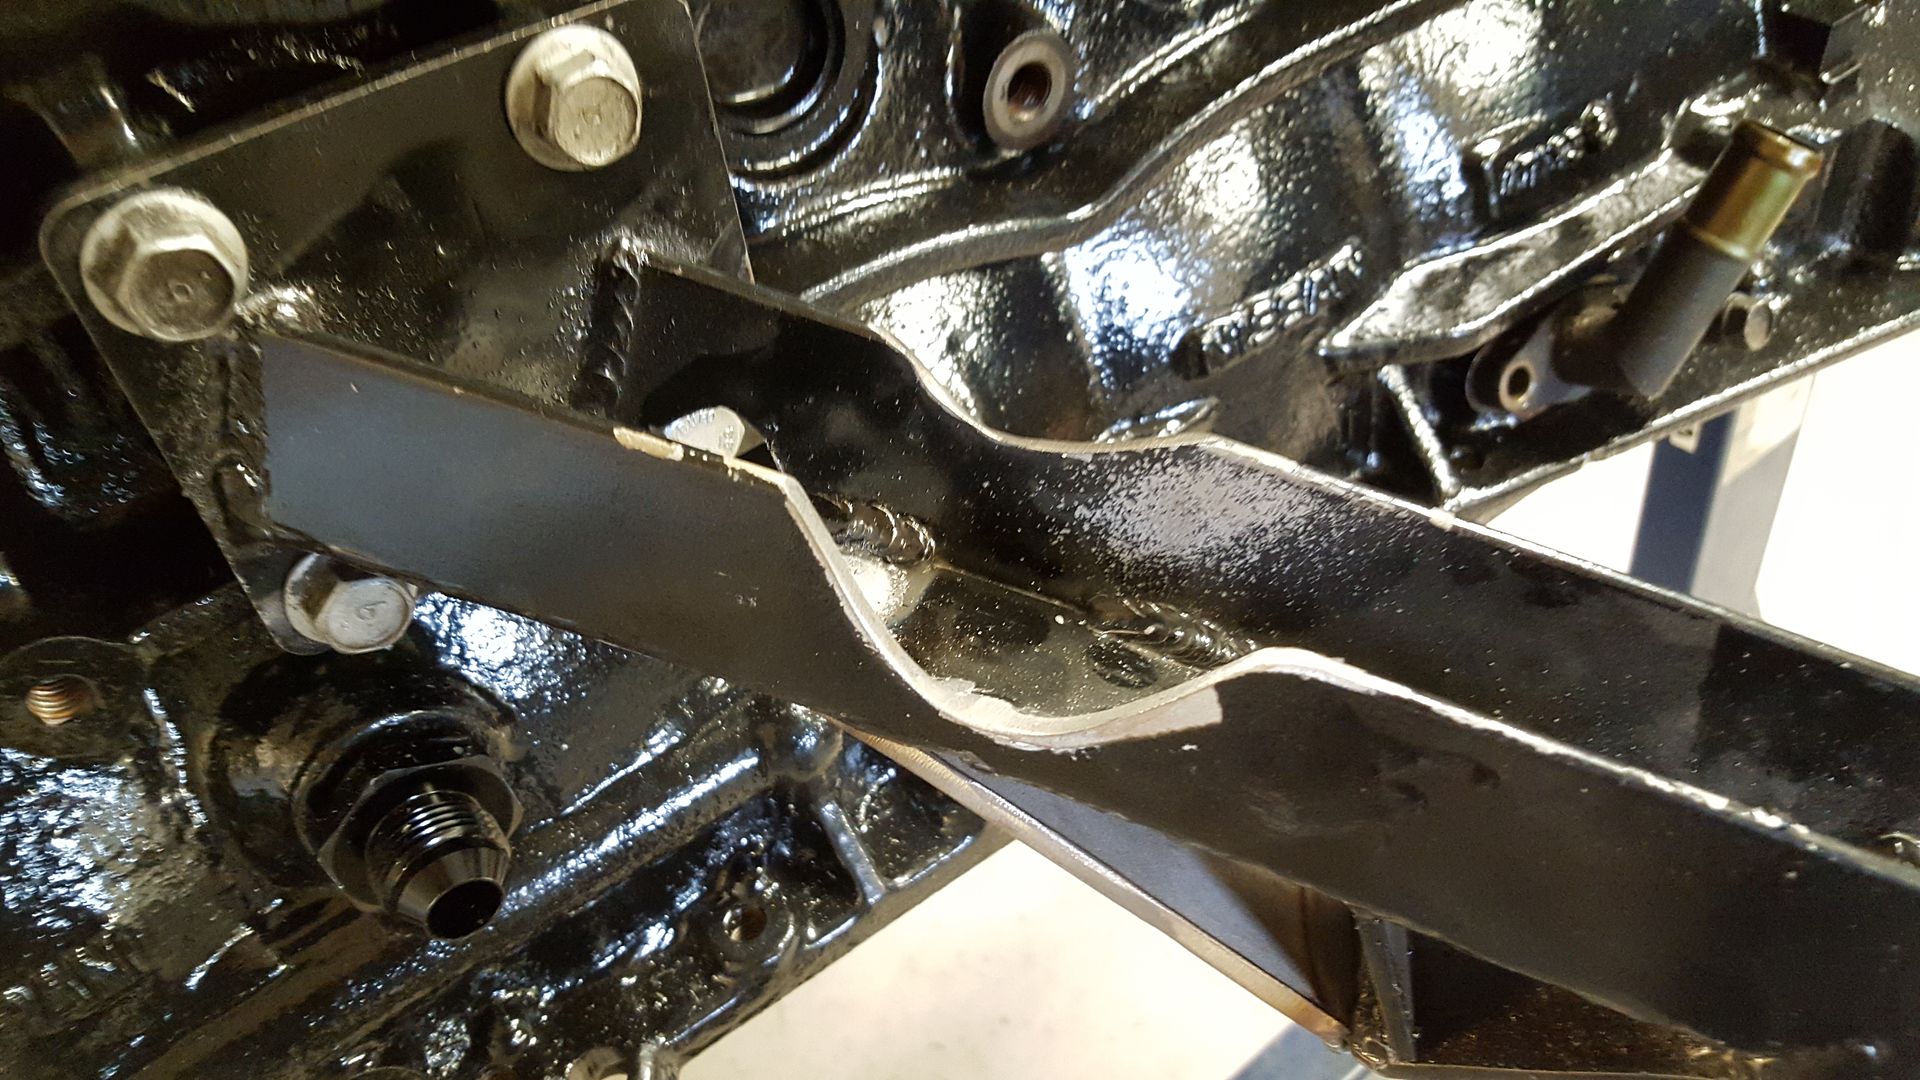
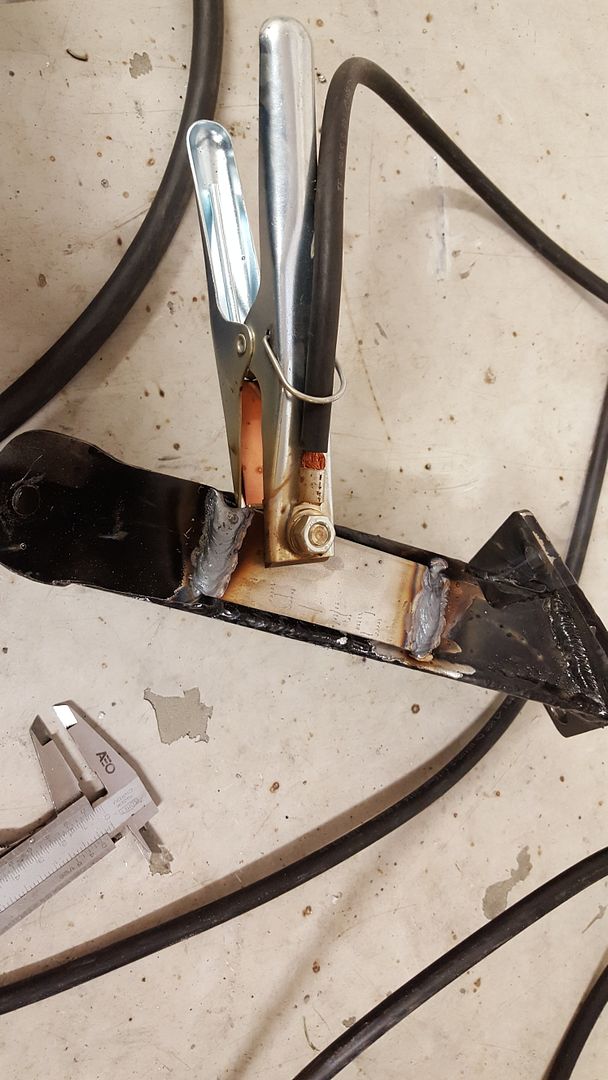
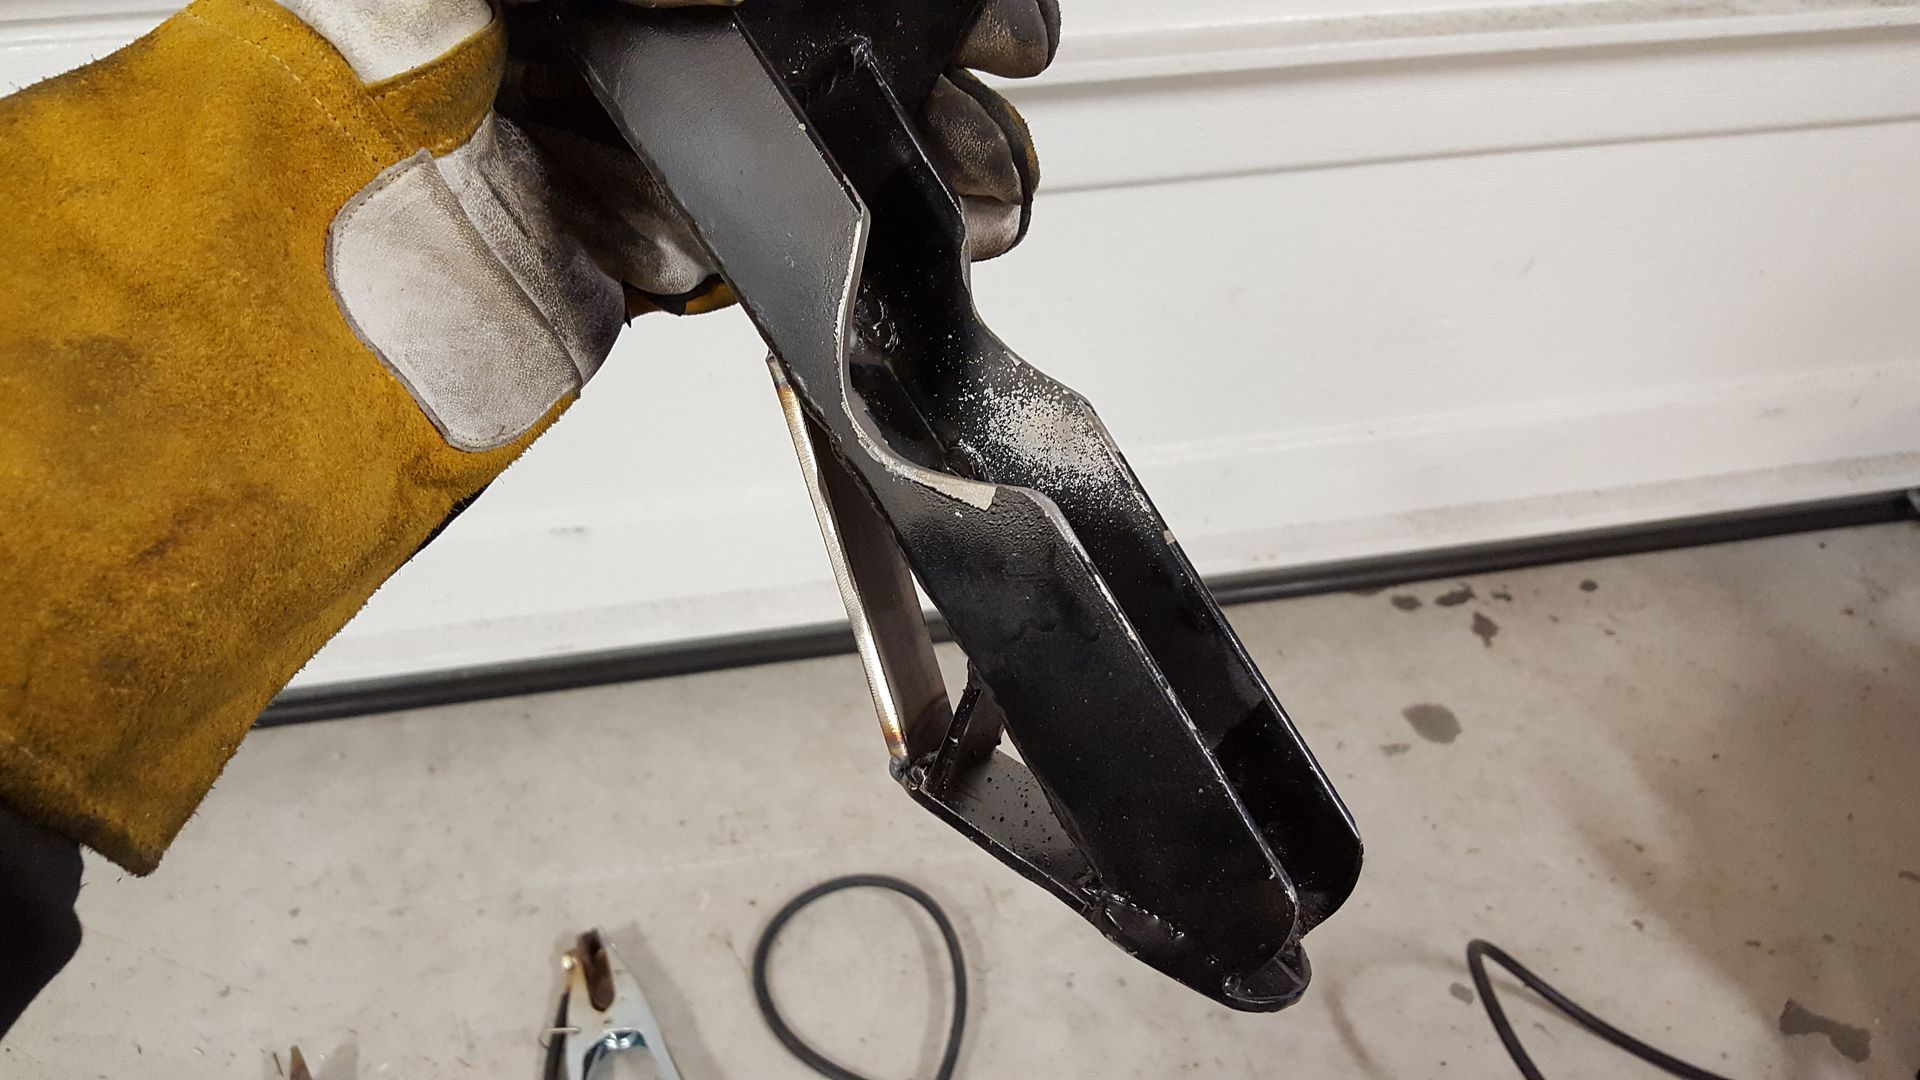
I buildt the engine mounts way before I got the manifold, and they needed to be modified.
Like this, I also reinforced that one on the uderside to be sure.
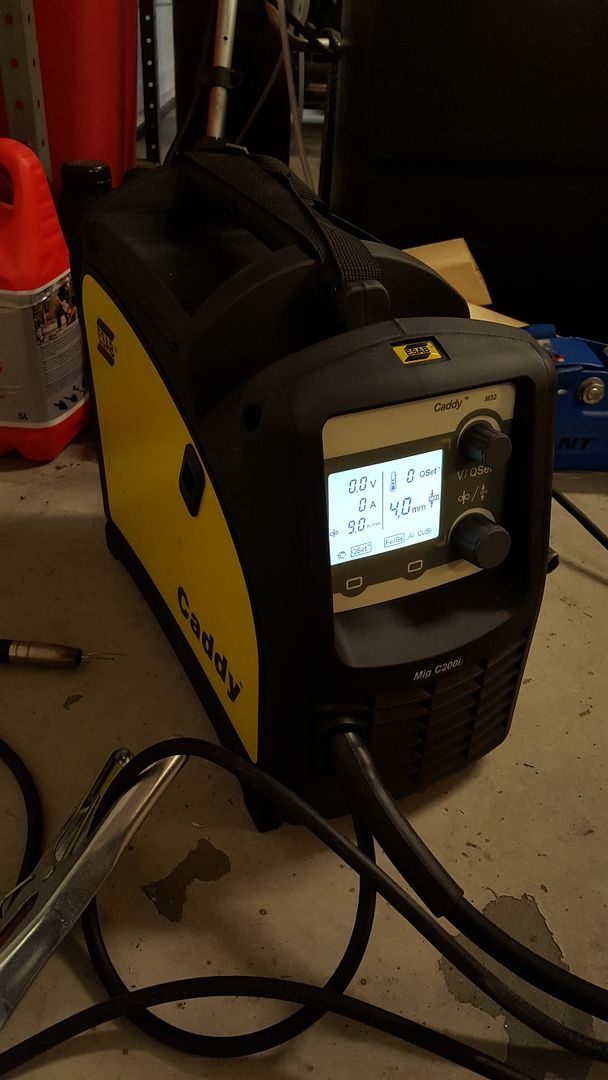
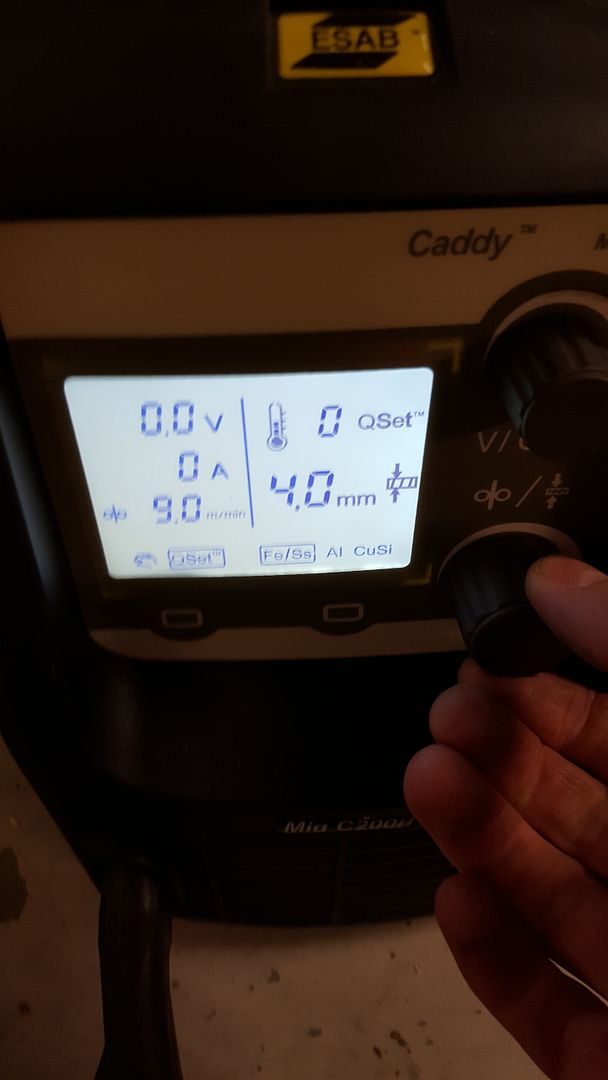
To do that I used my new ESAB Caddy C200i MIG welder. Just bought this baby couple of moths ago, and I can't understand how I managed to work on this car without my own welder before.
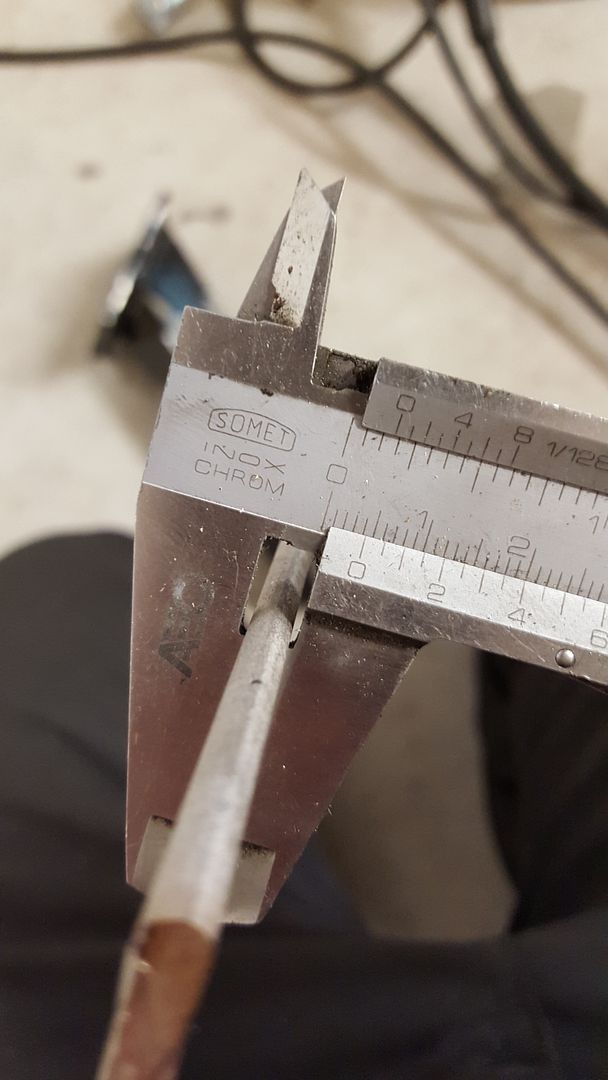
Here is a little instruction on how it works. First off you measure the material you are welding. In this case we have 4mm stainless steel.
Then you just select 4mm on the machine
Weld for a few seconds on some equal steel
And the machine have set itself for the optimal setting for that weld. Easy!
And done!
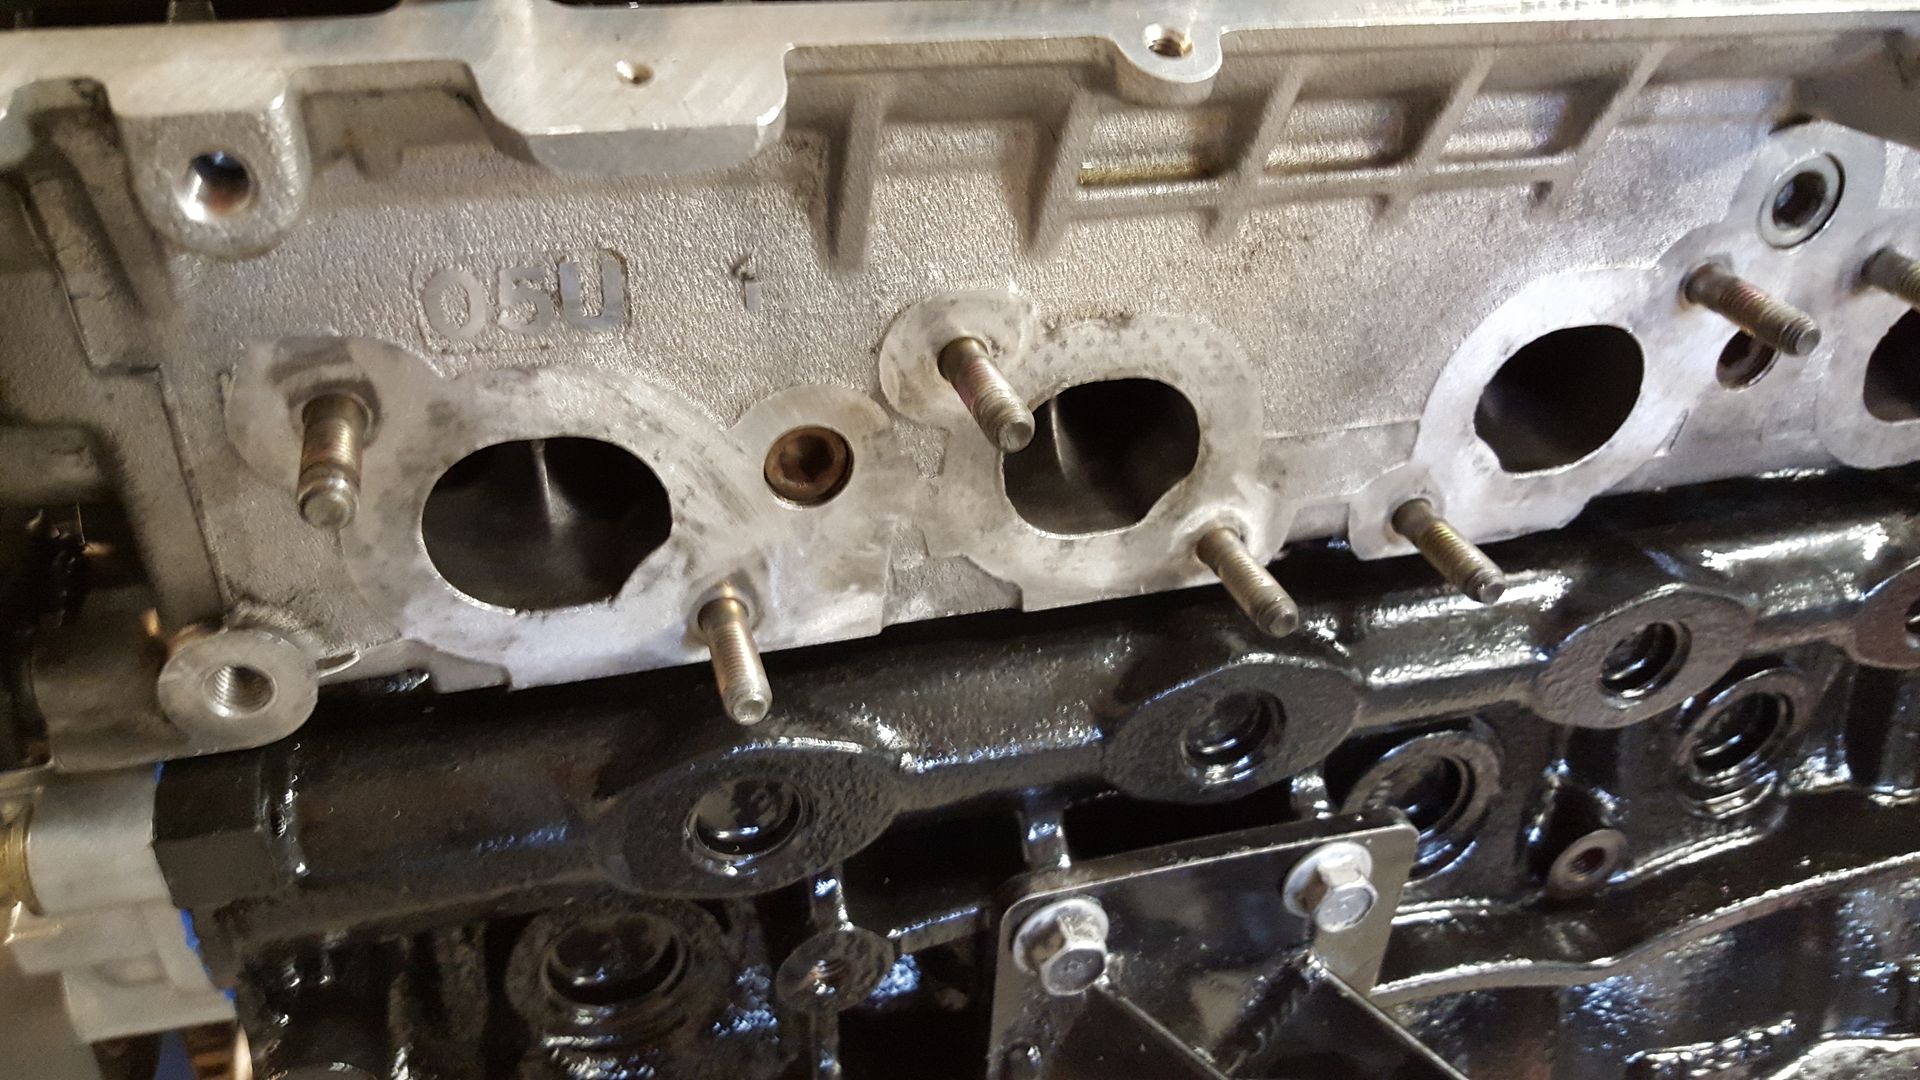
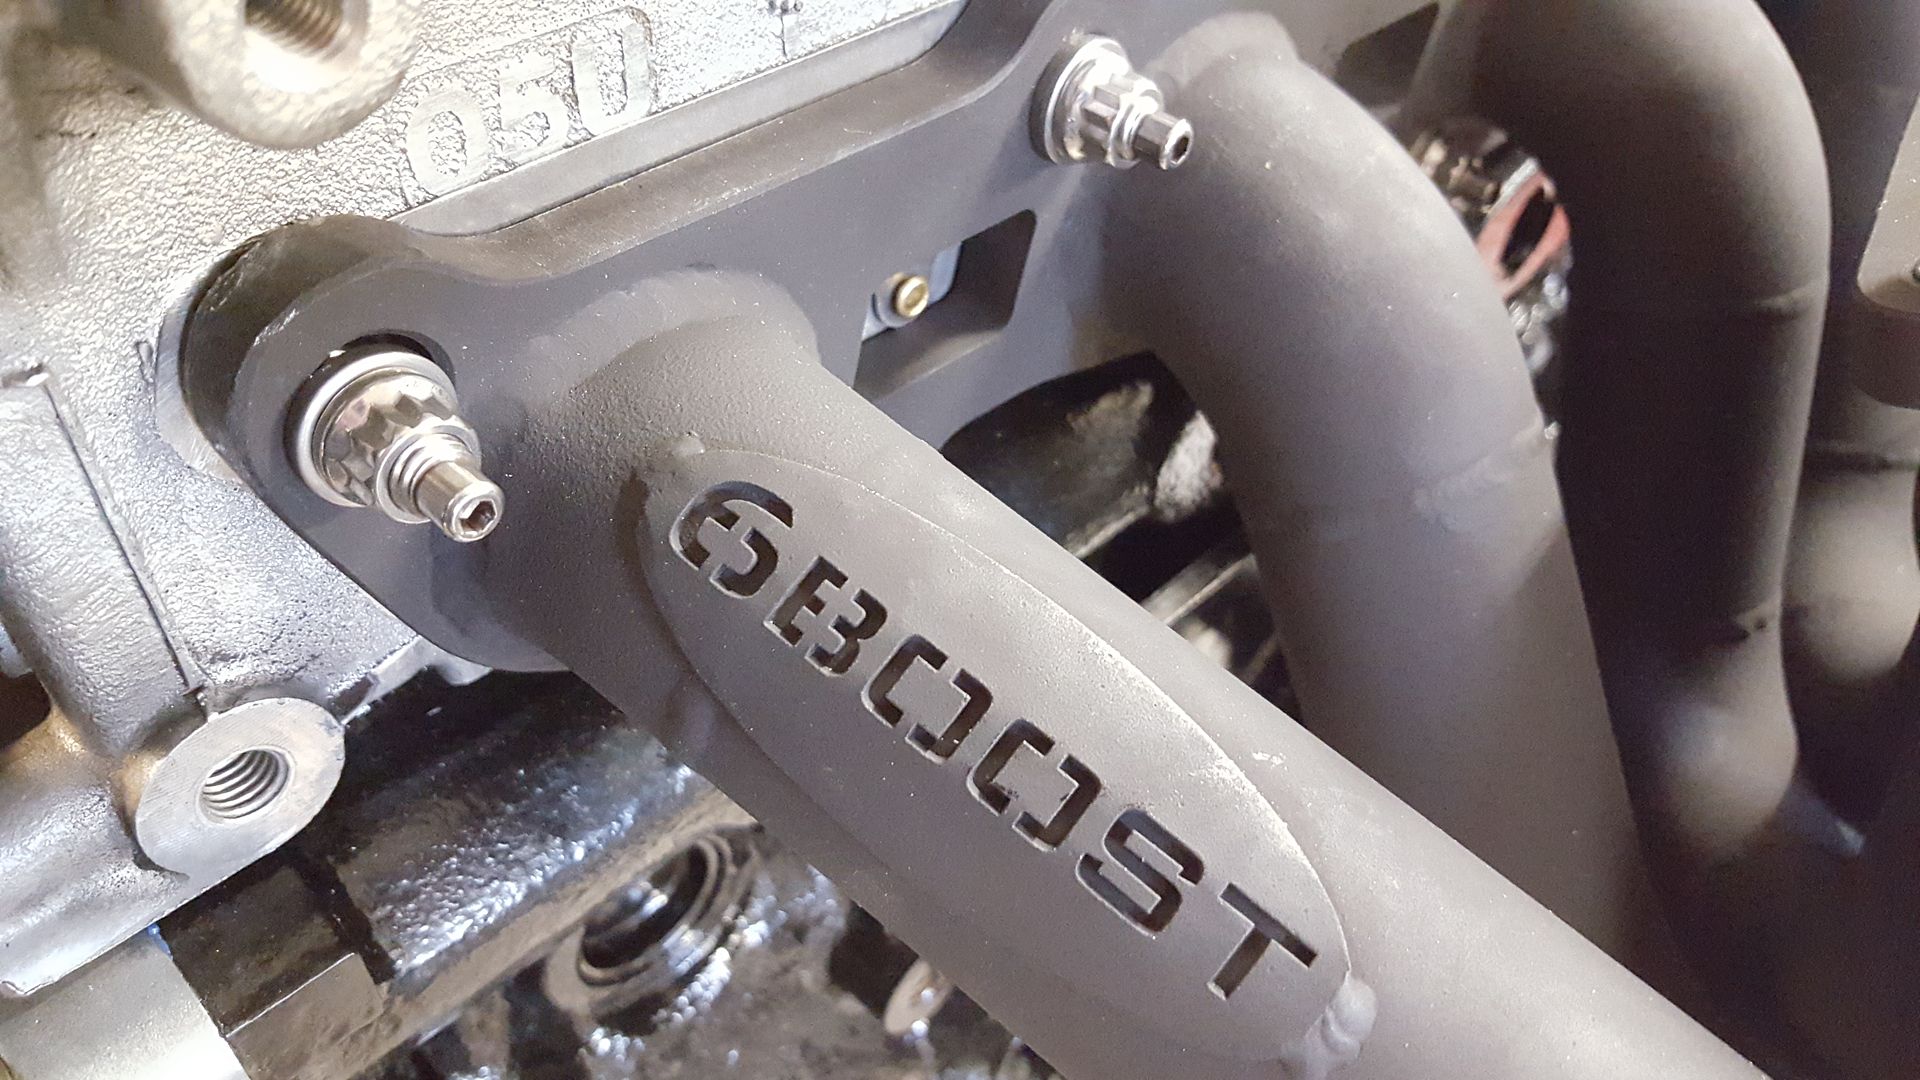
I bought ARP manifold studs for this, so I removed the stock ones today and mounted the ARP one. I think this actually made quite a difference in the looks as well.
It is the other way around. Problem is that the oil do not return to the sump. You fill the head and throw all oil out through the rocker cover breathers. And you end up with no oil in the sump and rod knock.
Ok, thanks that info...I was understand that wrong then
I cant imagine the money thats getting dropped into this car, such quality everywhere. Its nice to have a quality engine builder too. I am excited to see this completed.
I was hear this, in those heads have problems to go dry, i mean oil will move little too fast out of in head??
So other are installing those restrictors in head oil return
It is the other way around. Problem is that the oil do not return to the sump. You fill the head and throw all oil out through the rocker cover breathers. And you end up with no oil in the sump and rod knock.
I was hear this, in those heads have problems to go dry, i mean oil will move little too fast out of in head??
So other are installing those restrictors in head oil return
Looking awesome! Don't be frightened when people don't always comment, everyone just likes reading and looking at the pictures.
Cool to see you're in Norway and got a 6boost manifold! He lives an hour from me, didn't realise his work was internationally renowned.
You are in Australia? 6Boost is located in the UK. He supply manifolds all over the world to a lot of custom cars as well. There was some waiting time for me on this, since I'm using the EFR turbo with internal wastegate it had to be made to order.
We had a dialogue on the phone and the service top from my point of view. I hate waiting on stuff, but there was no rush for me getting it anyway.
Thank you for taking your time, showing us all your work.
Your M3 is going to be even more awesome, looking forward to see the final result with the new engine.
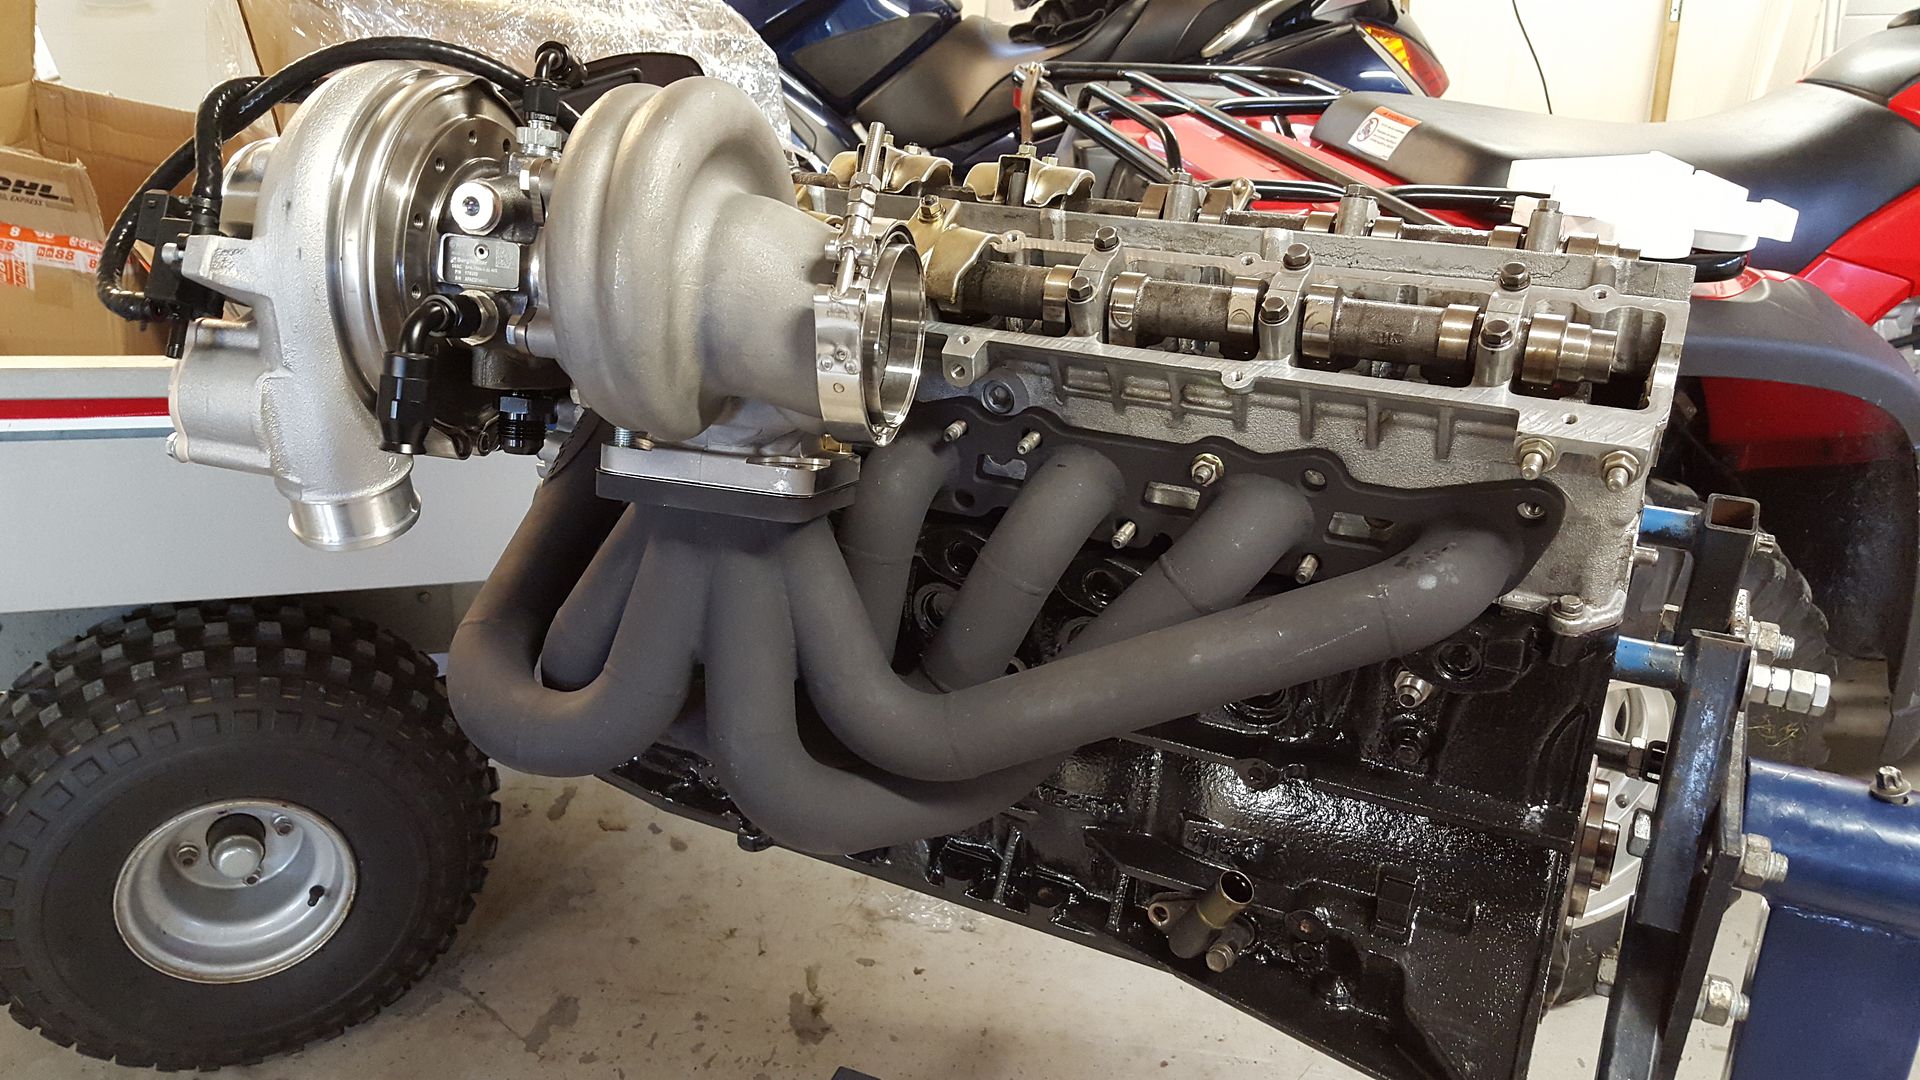
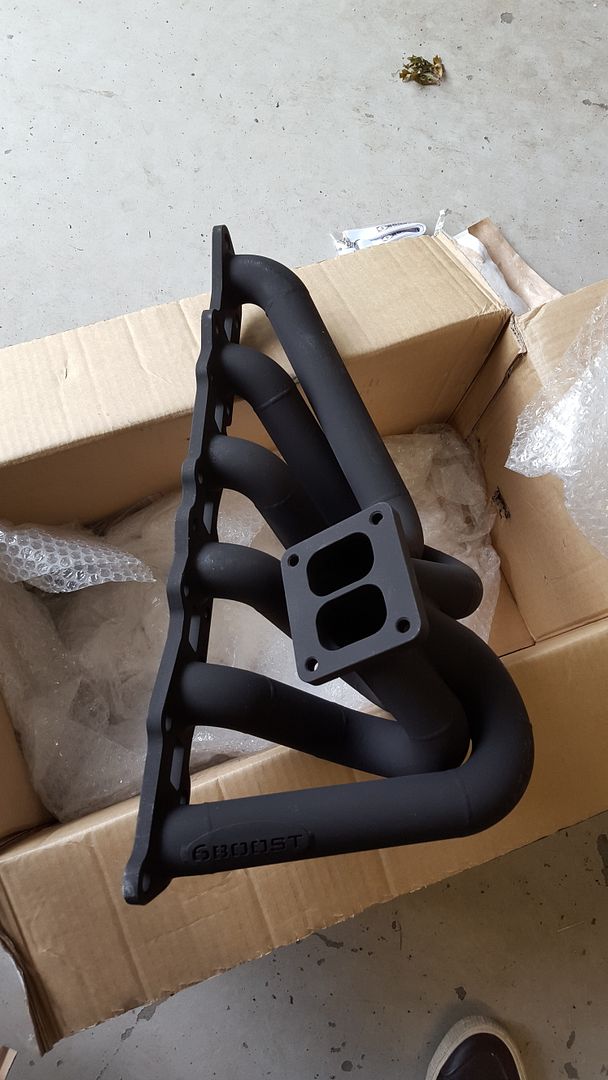
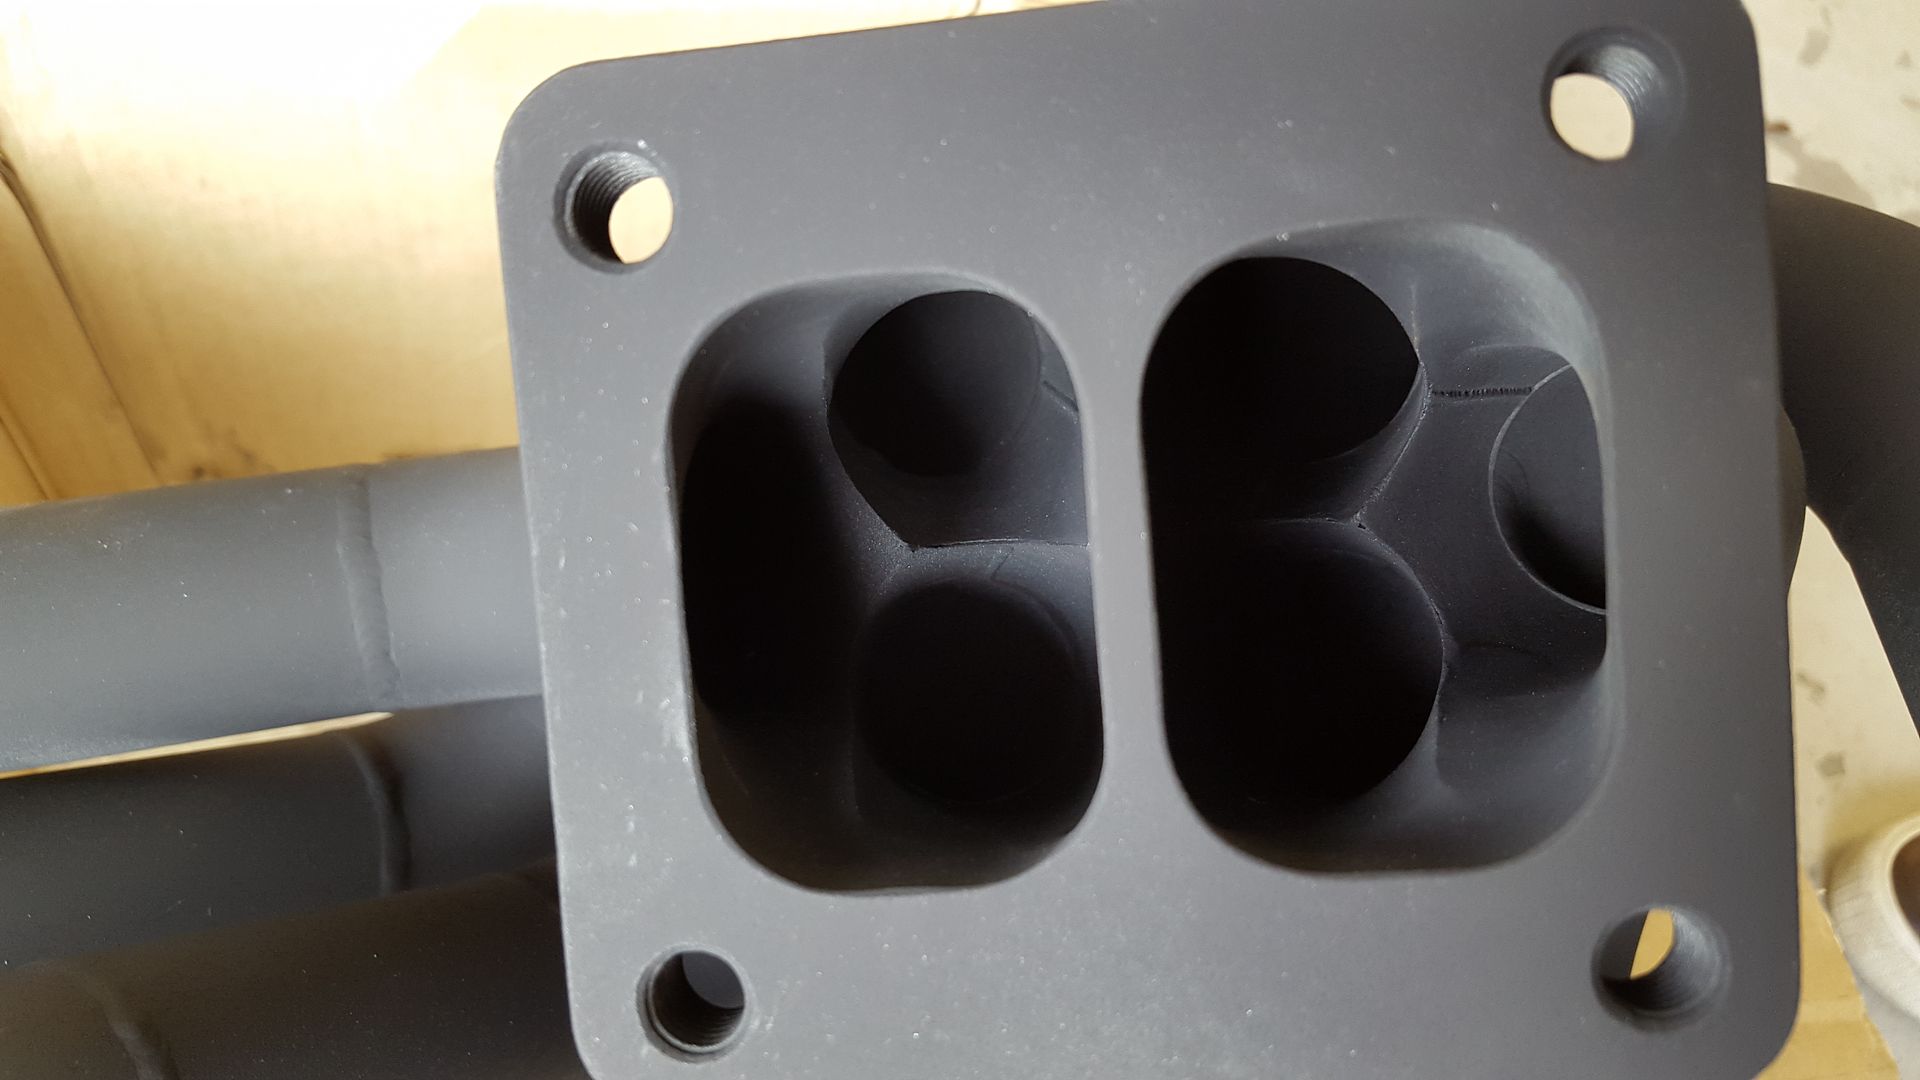
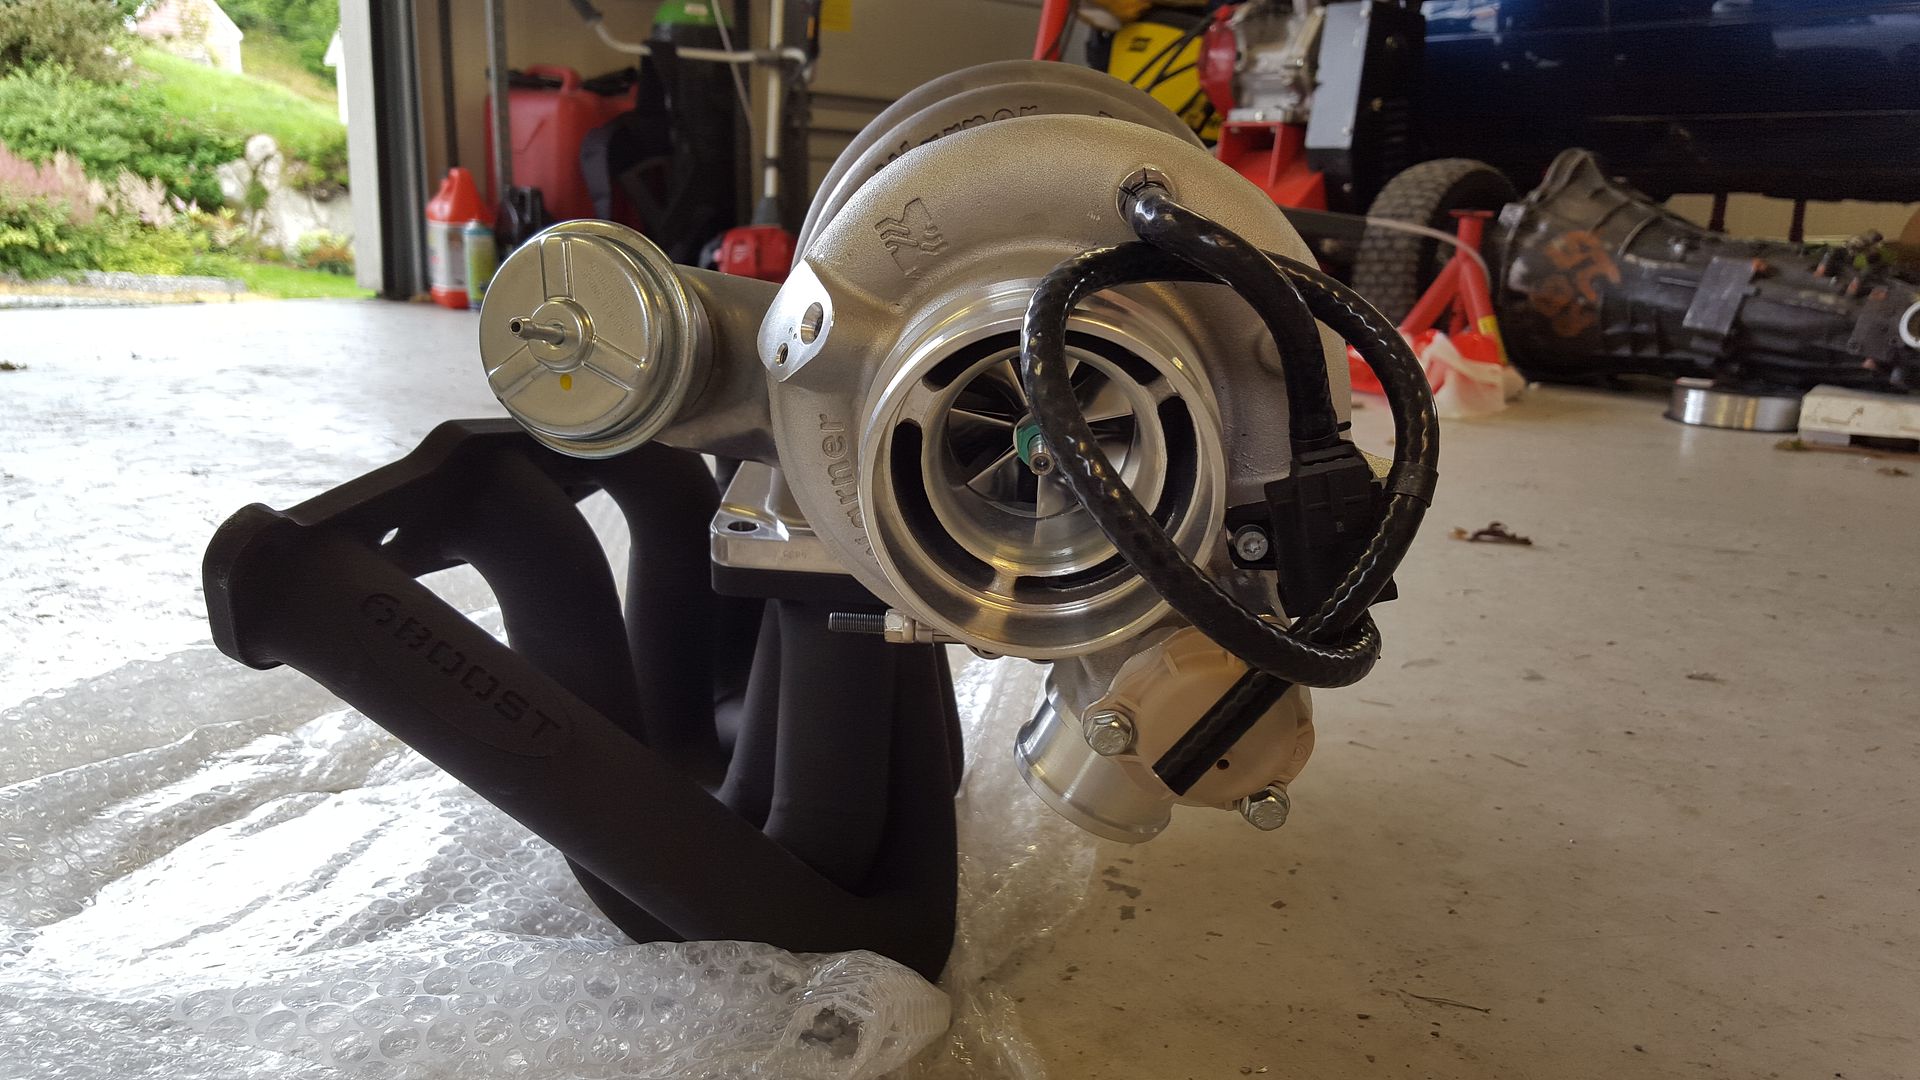
Okay. Have done a bit since last time. The 6Boost manifold did arrive at last, and this is high quality craftsmanship.
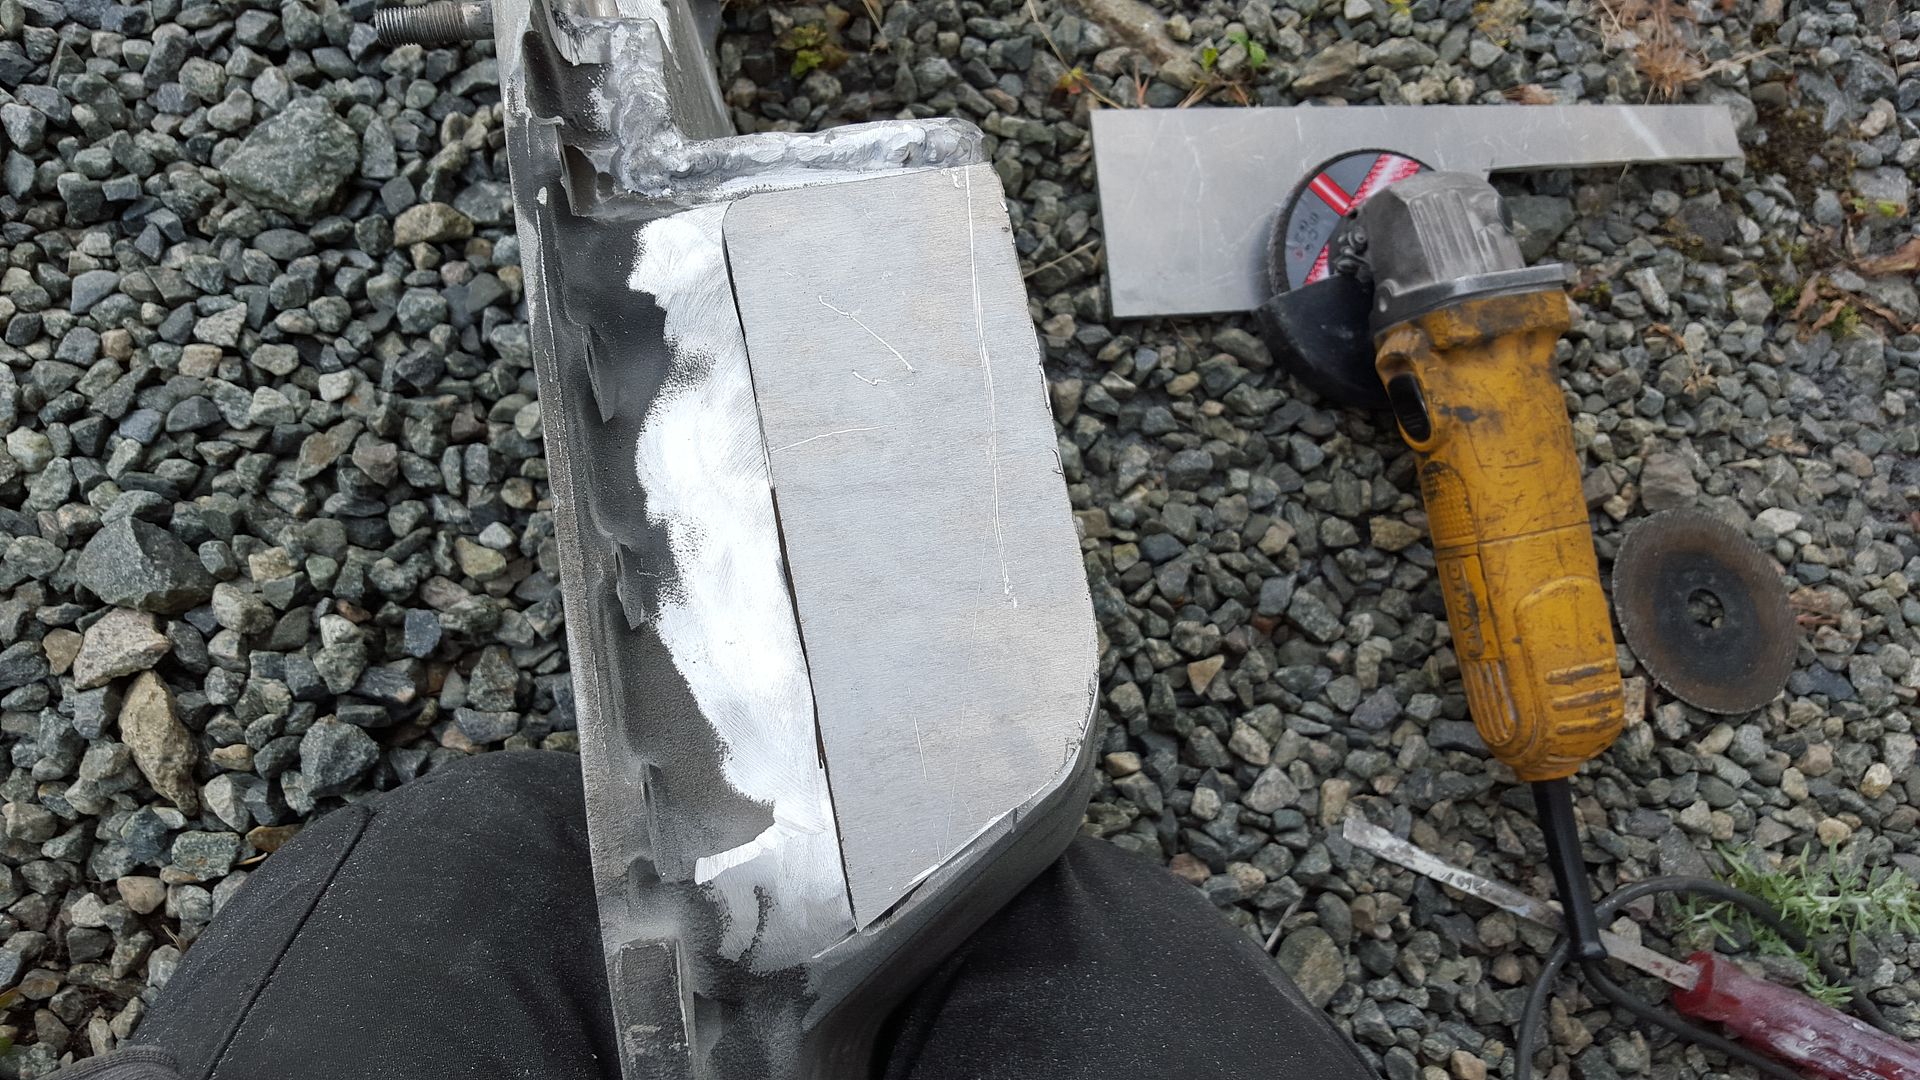
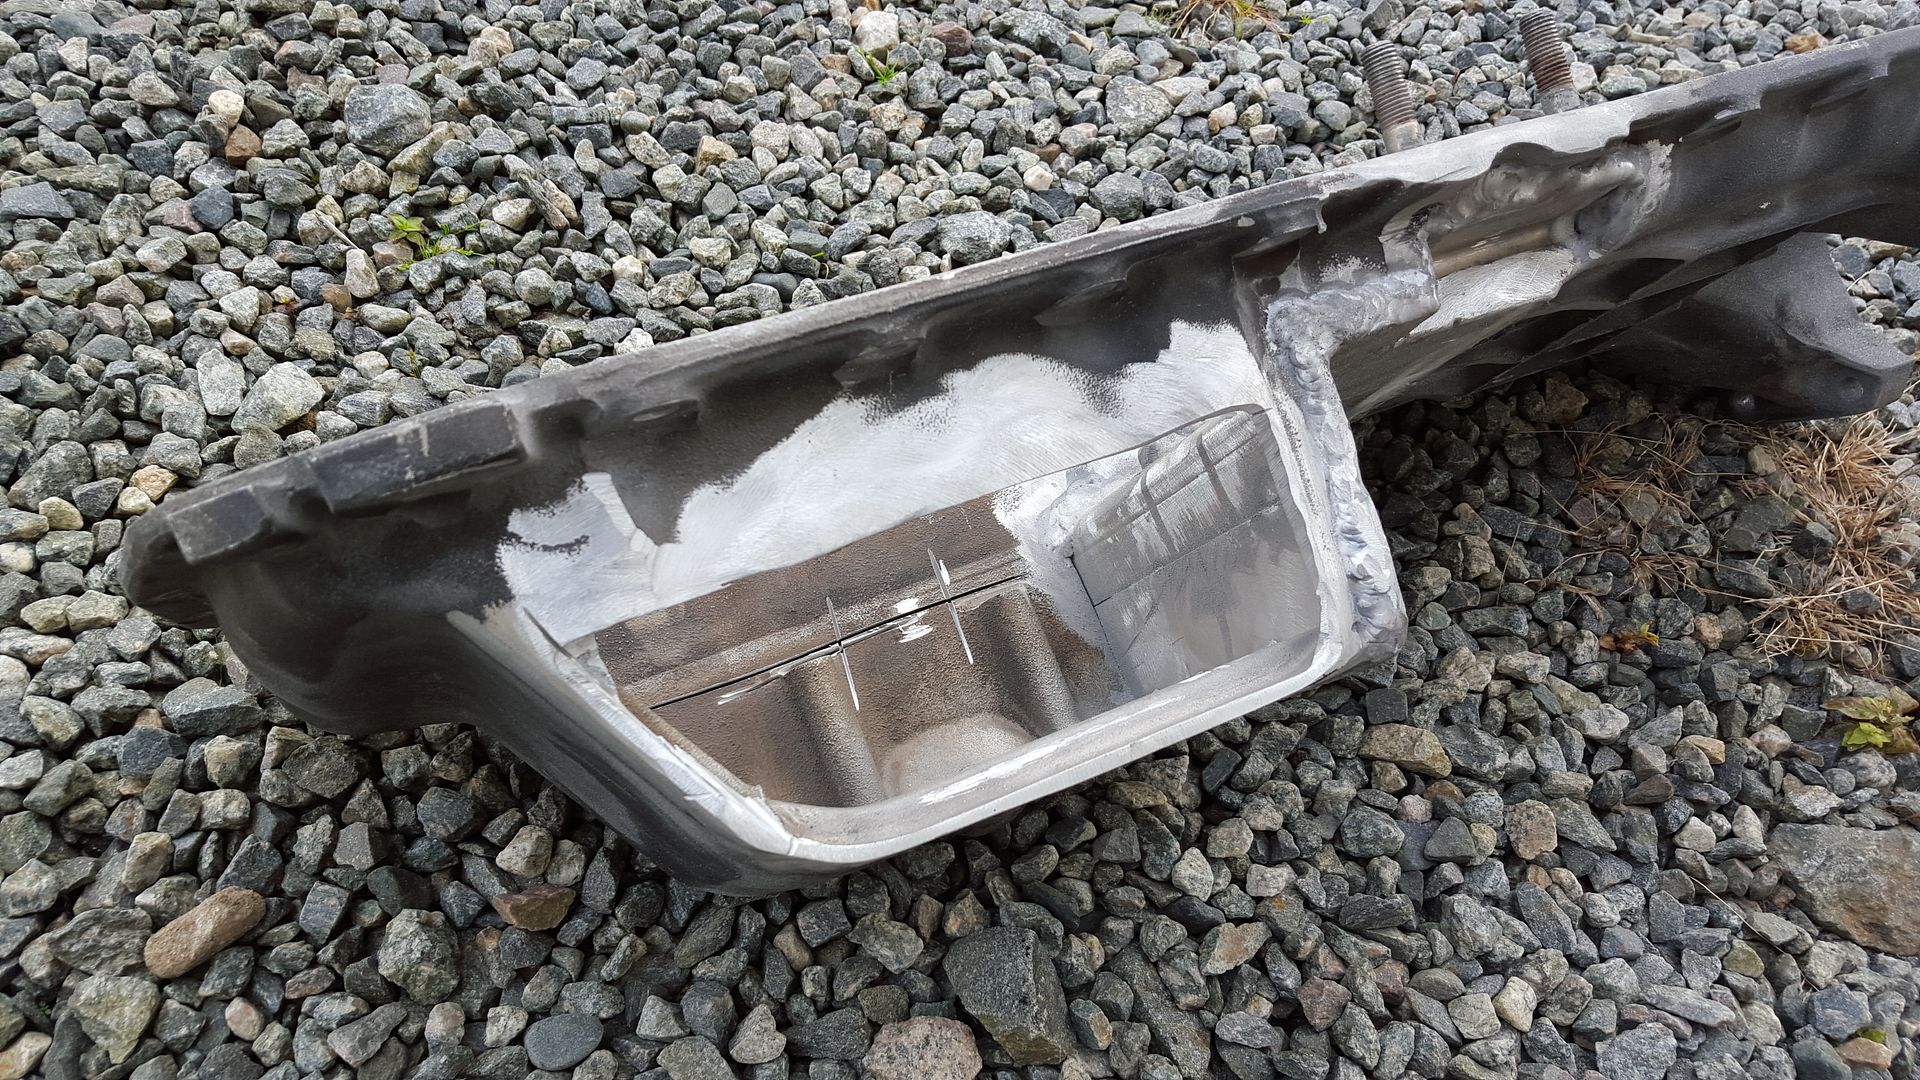
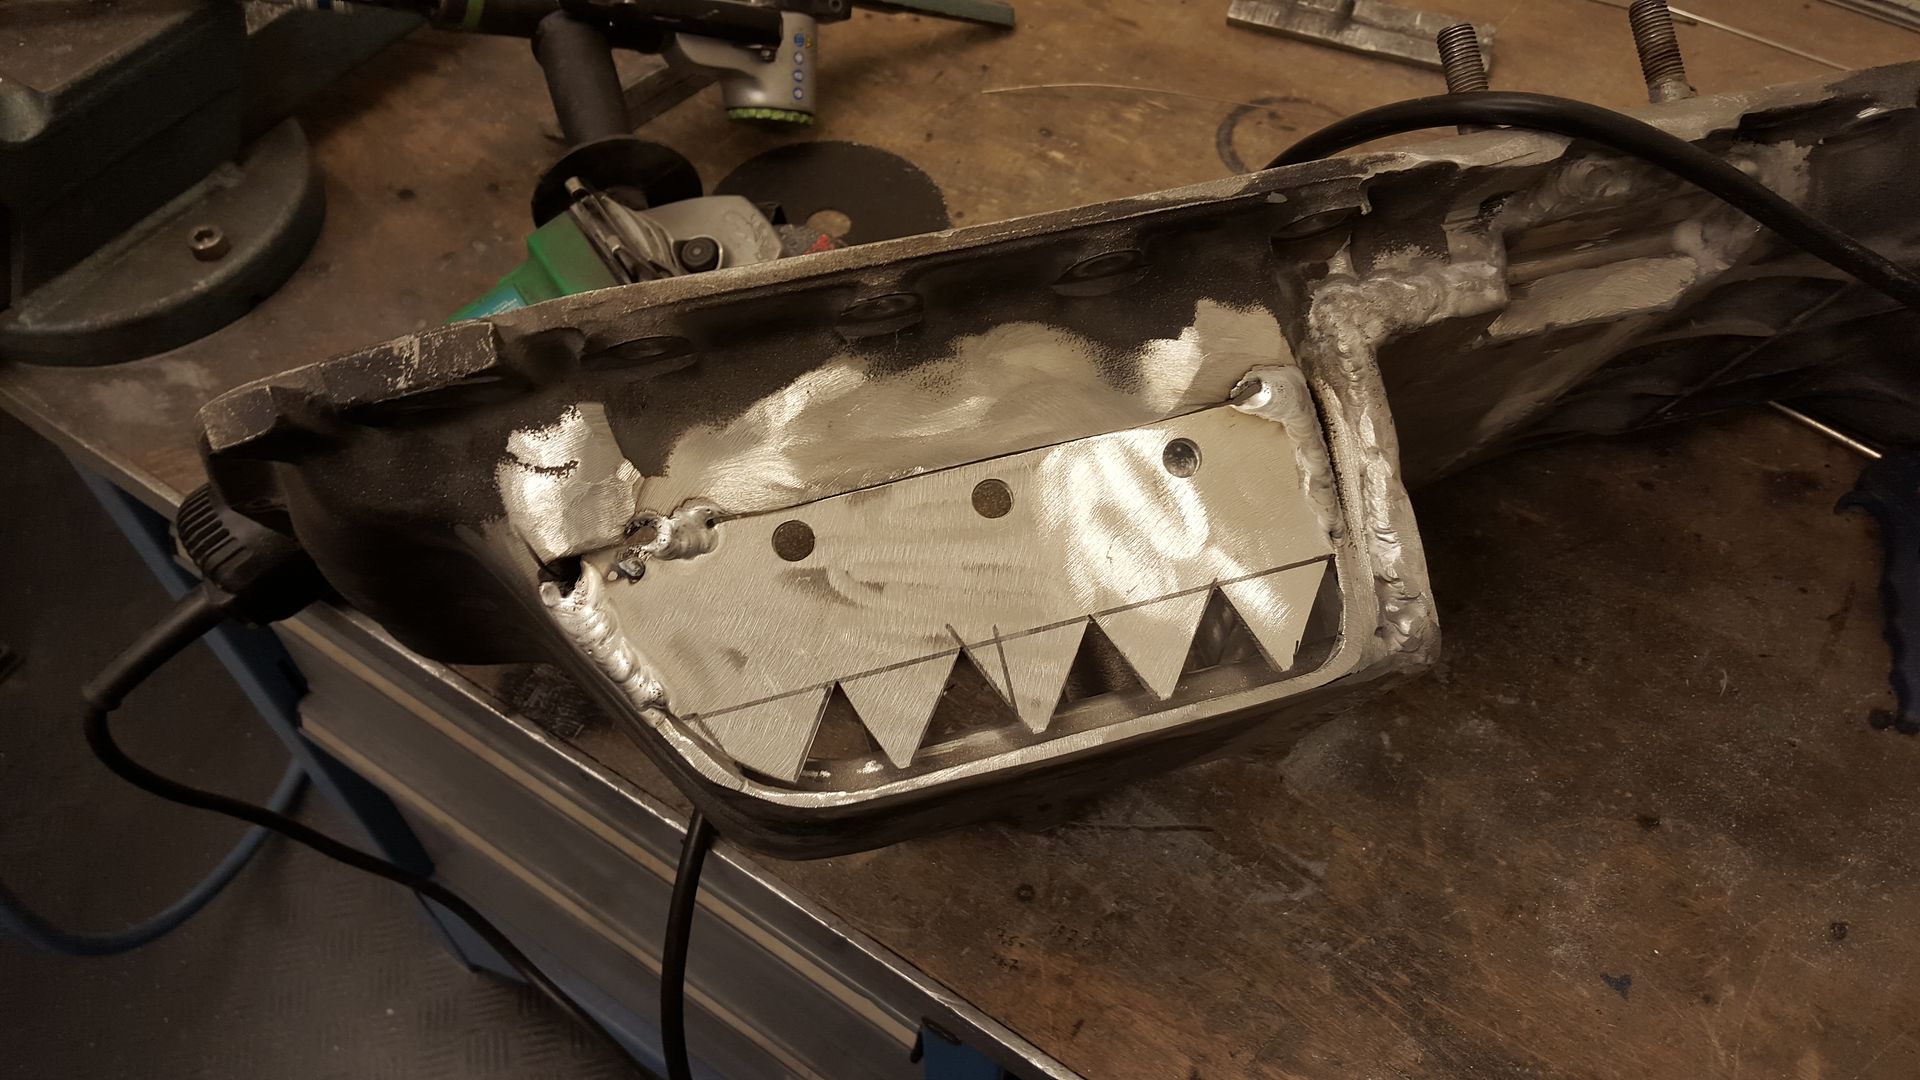
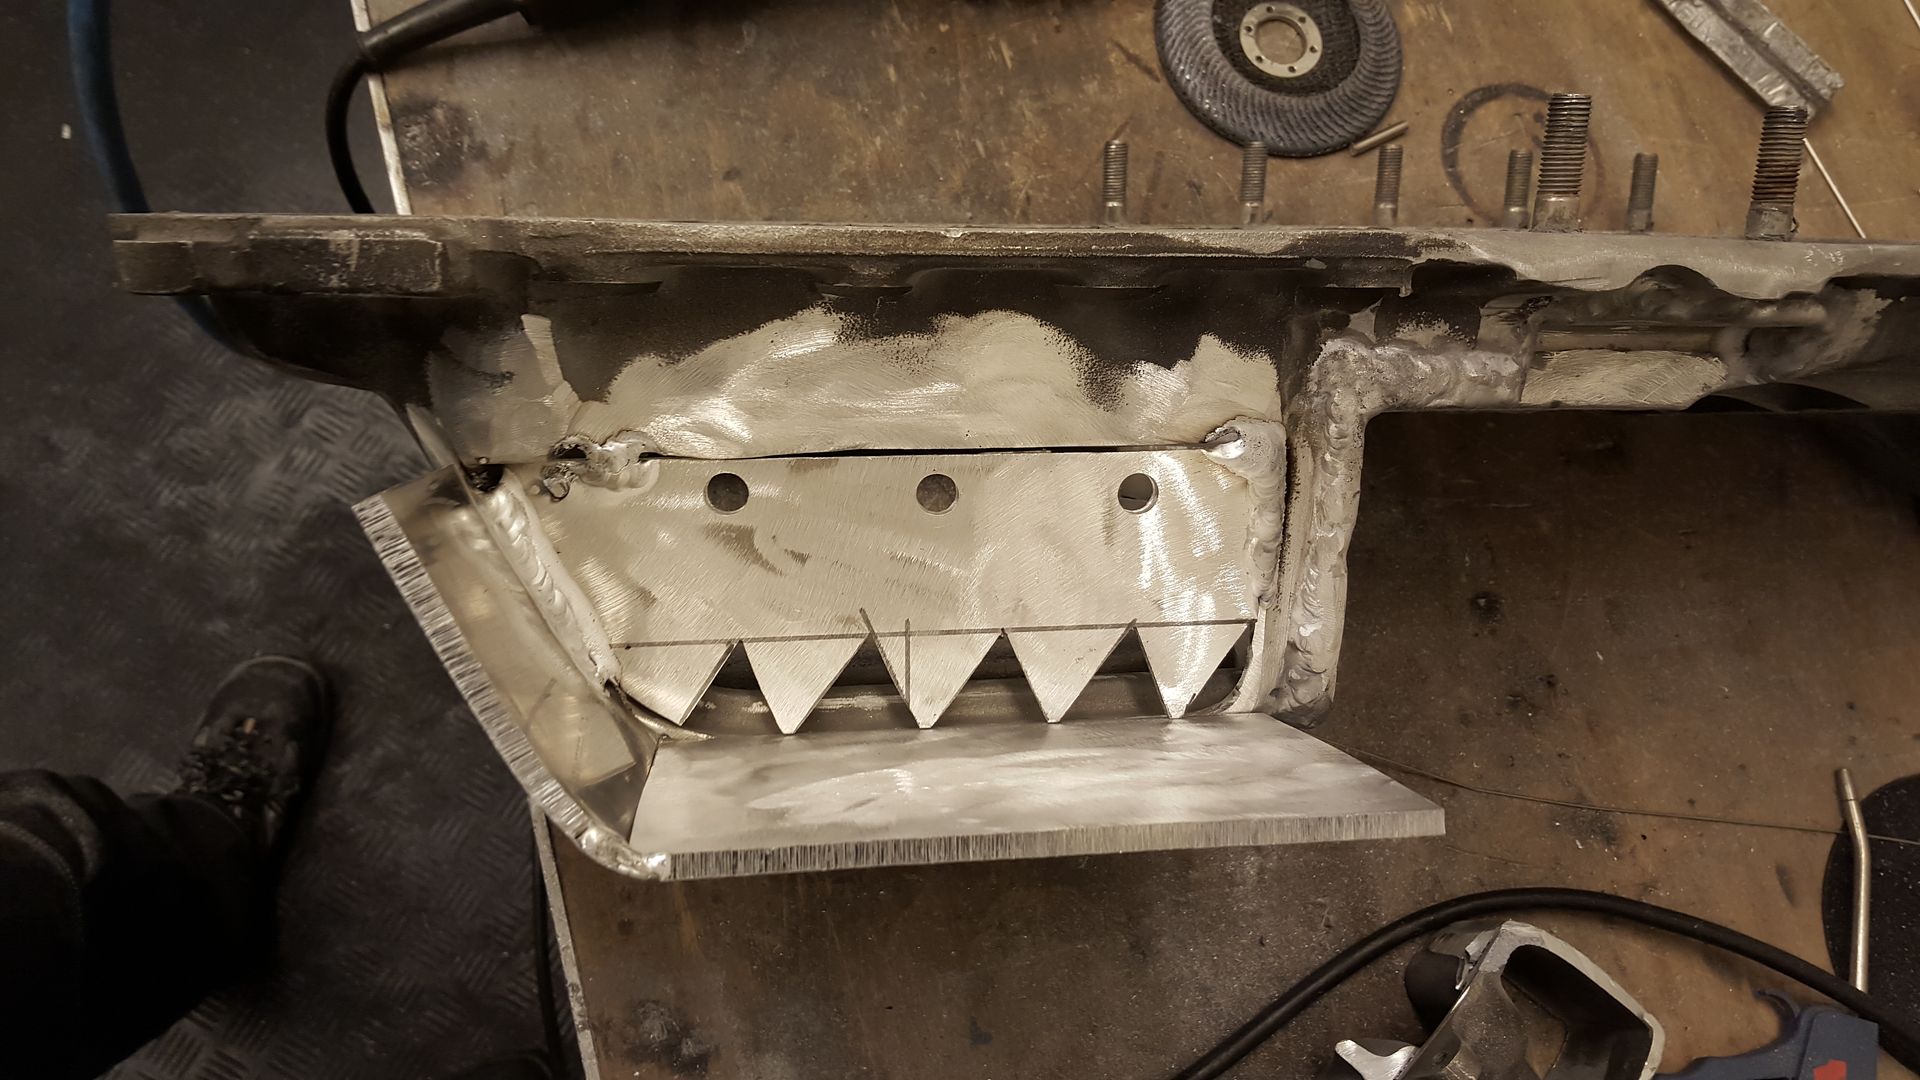
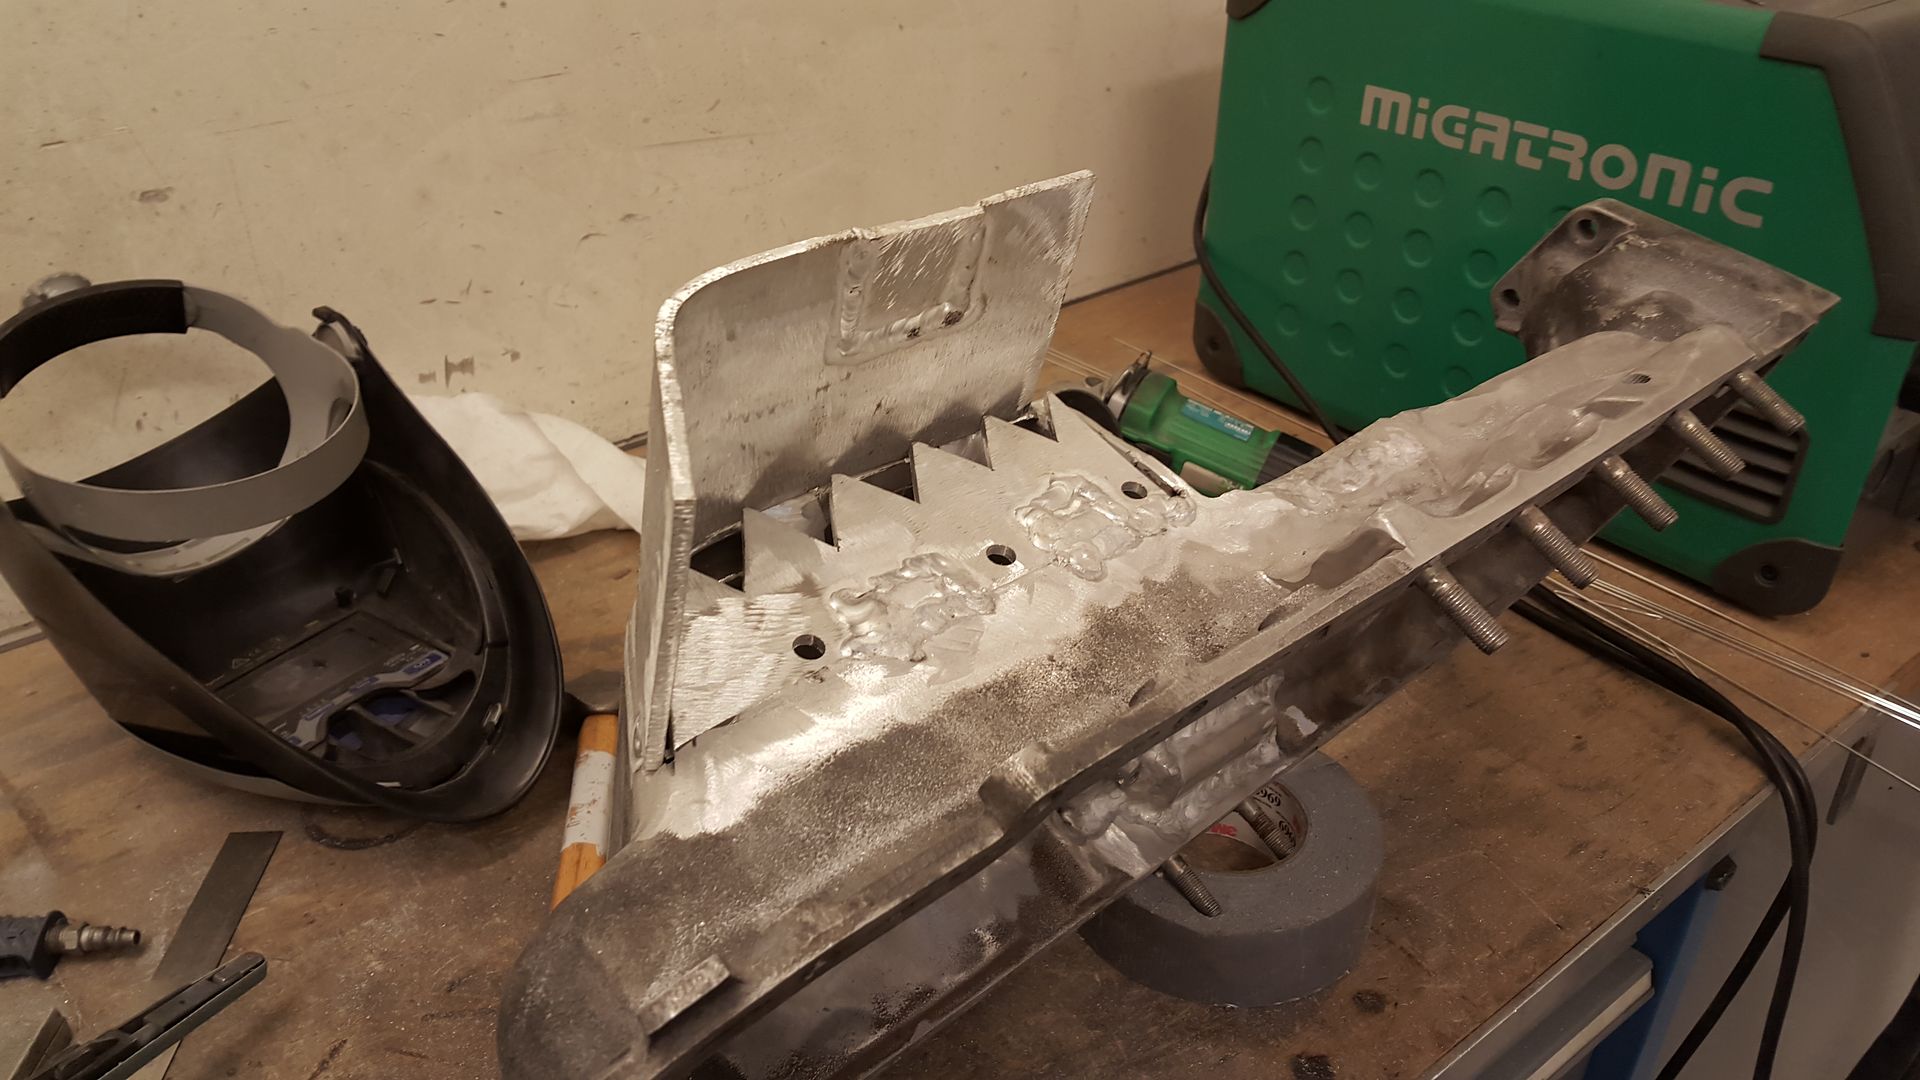
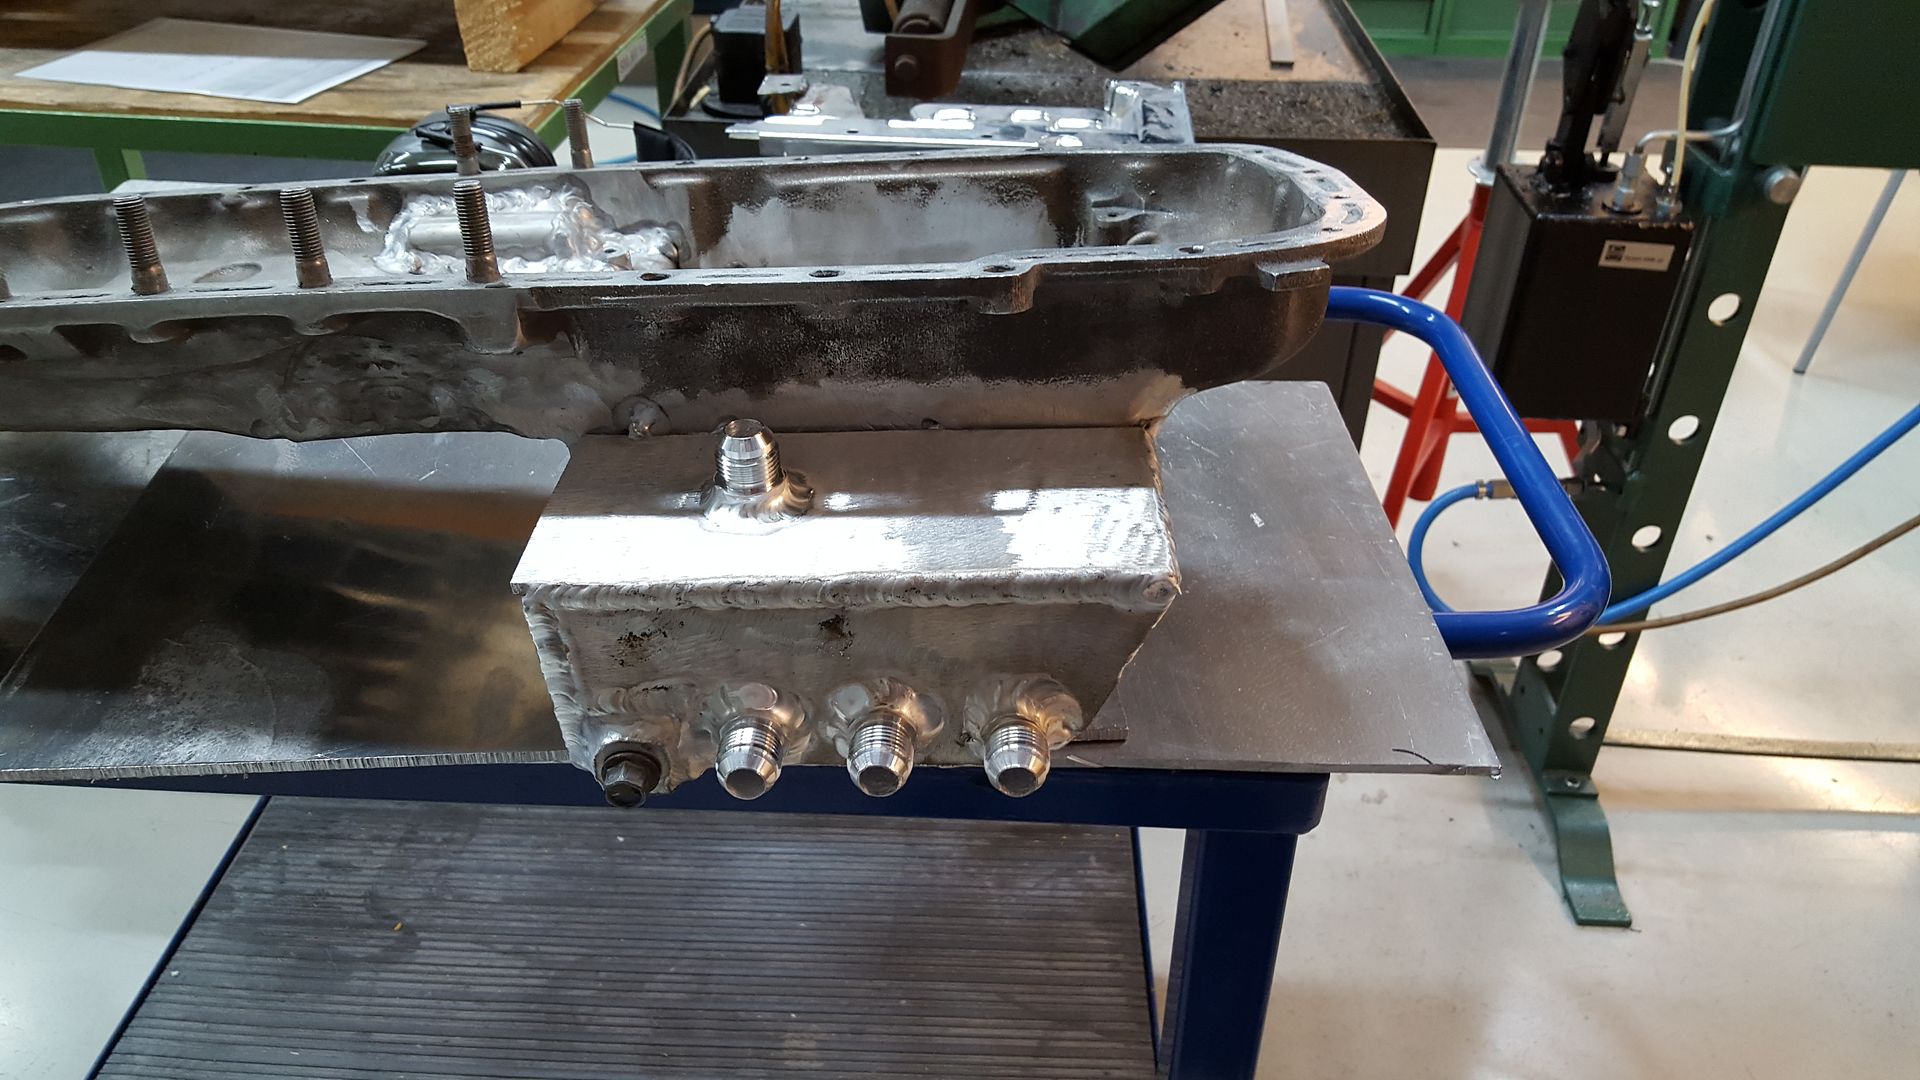
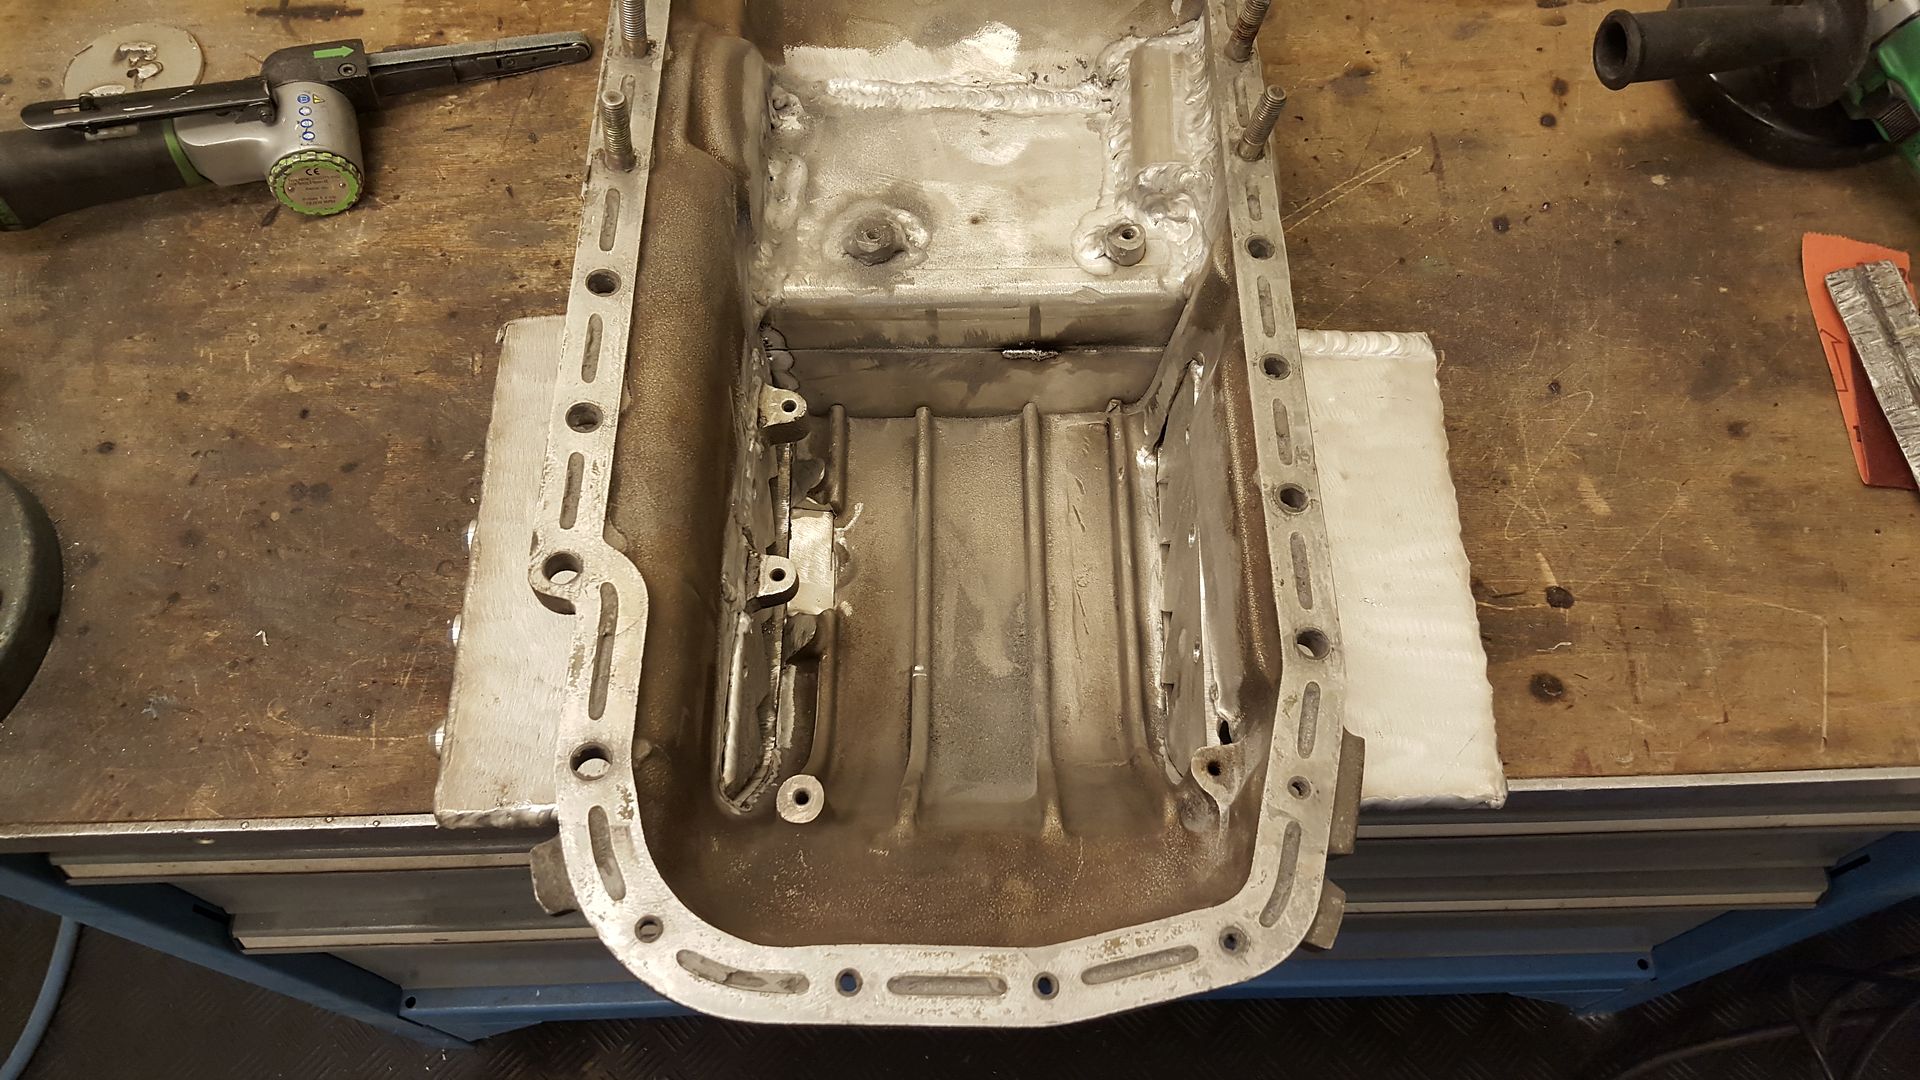
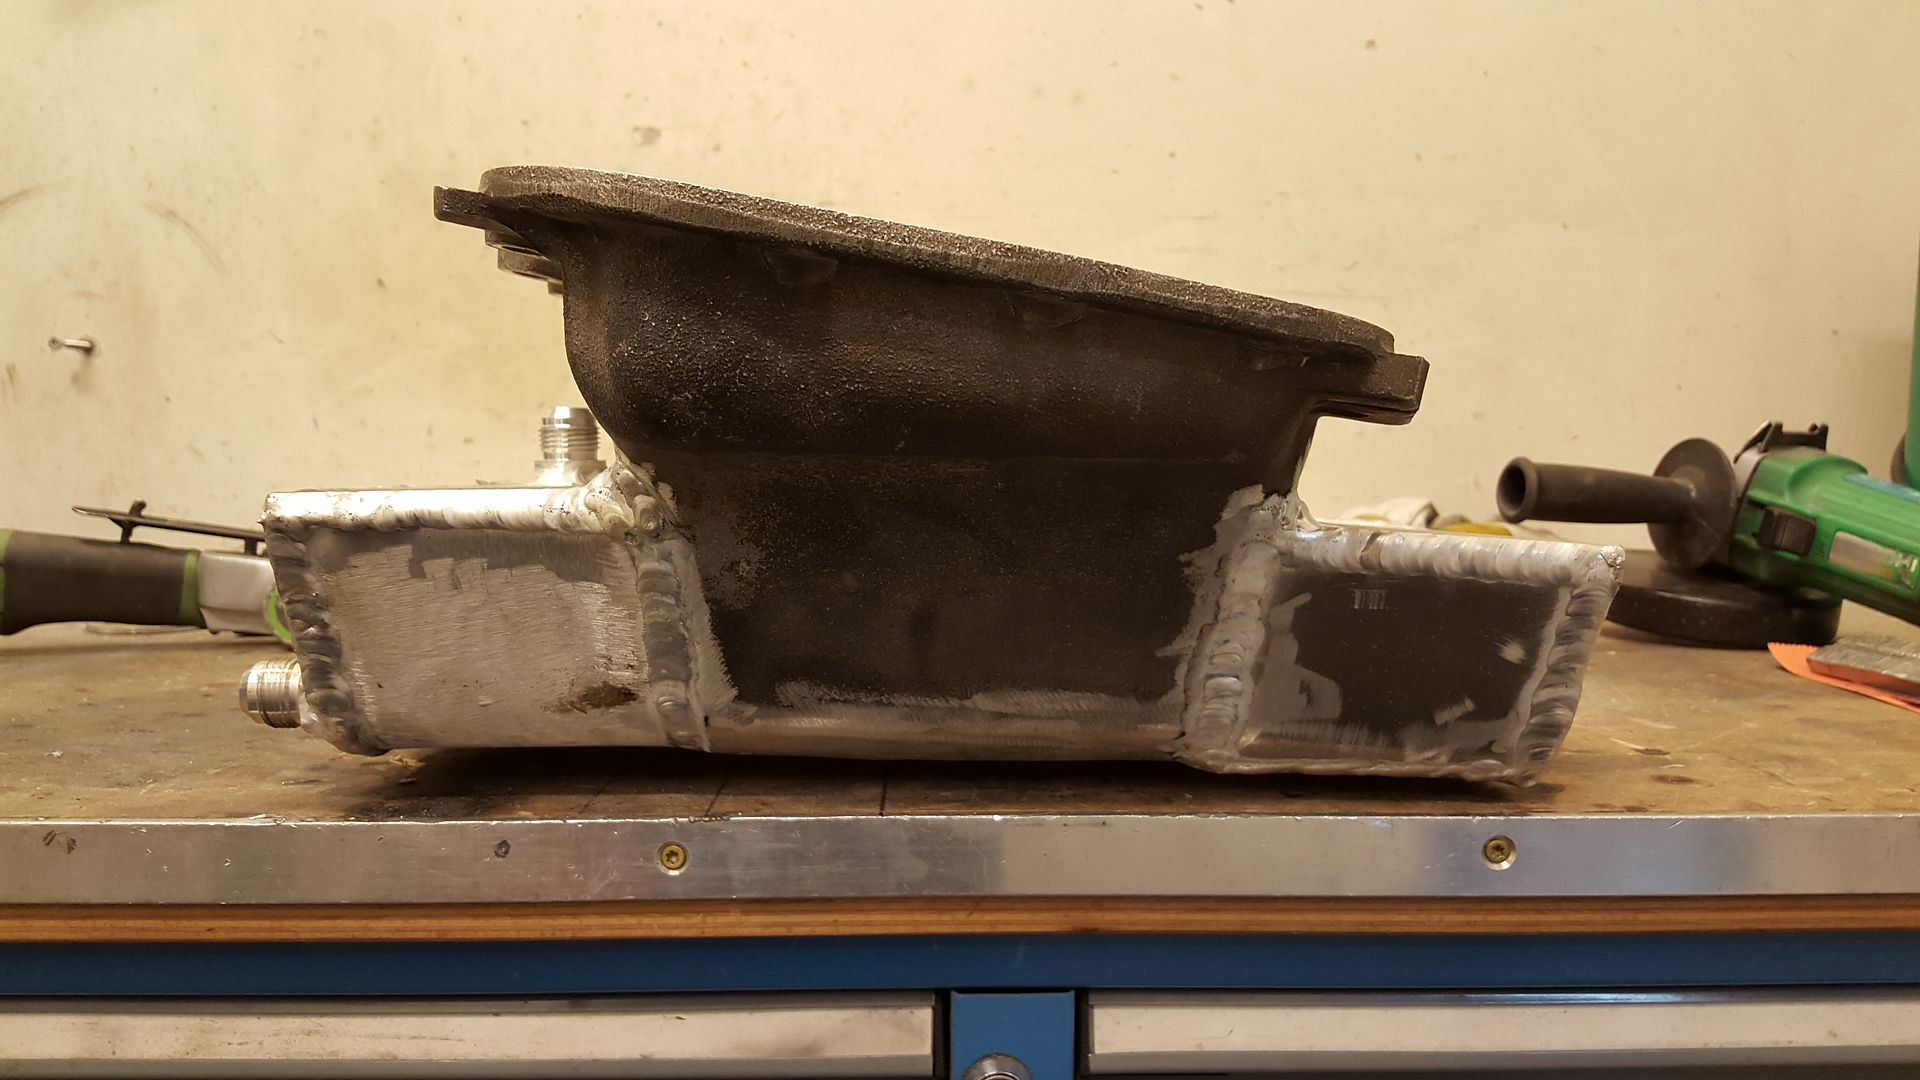
The oilpan is done. Extended the sump and made a kind of baffle inside. I have not welded aluminium before working on this oilpan. But I'm getting to it after all these hours on this oilpan.
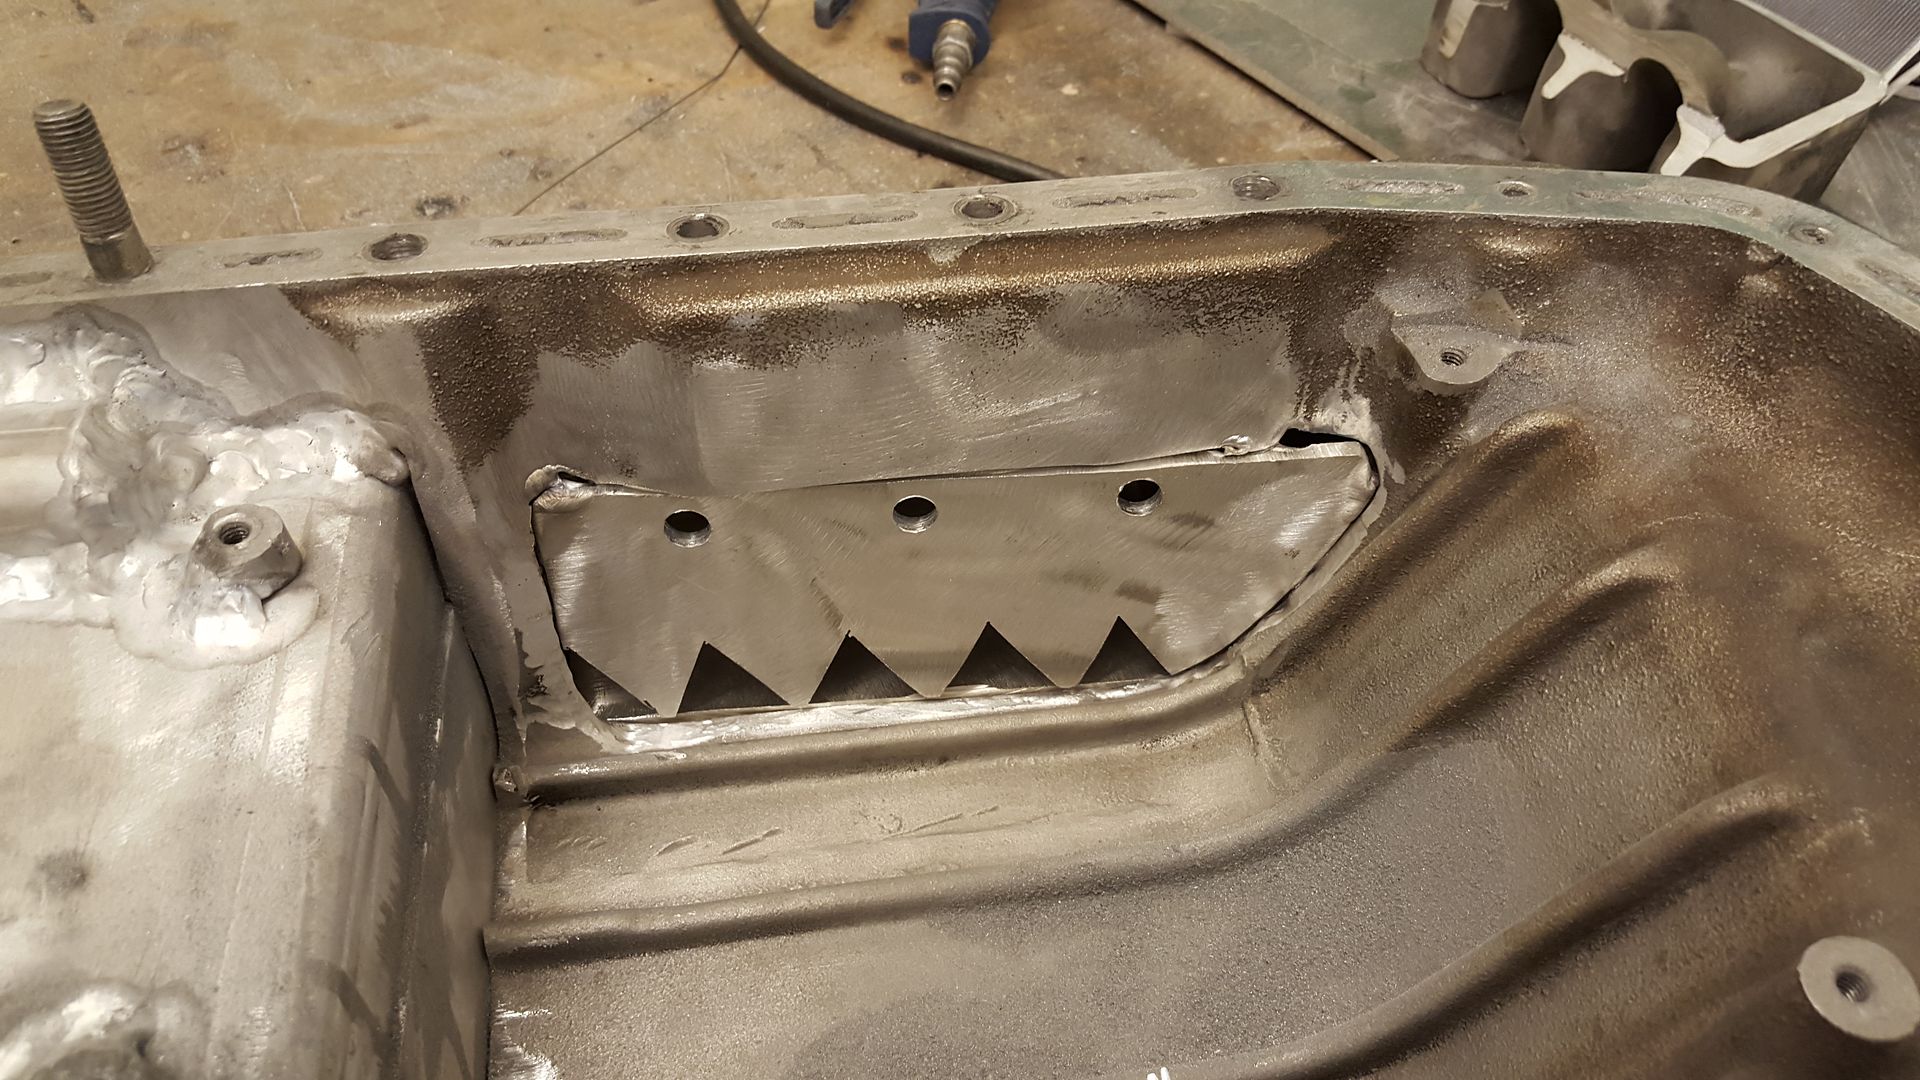
First I started cutting off the sides and made the baffle plates.
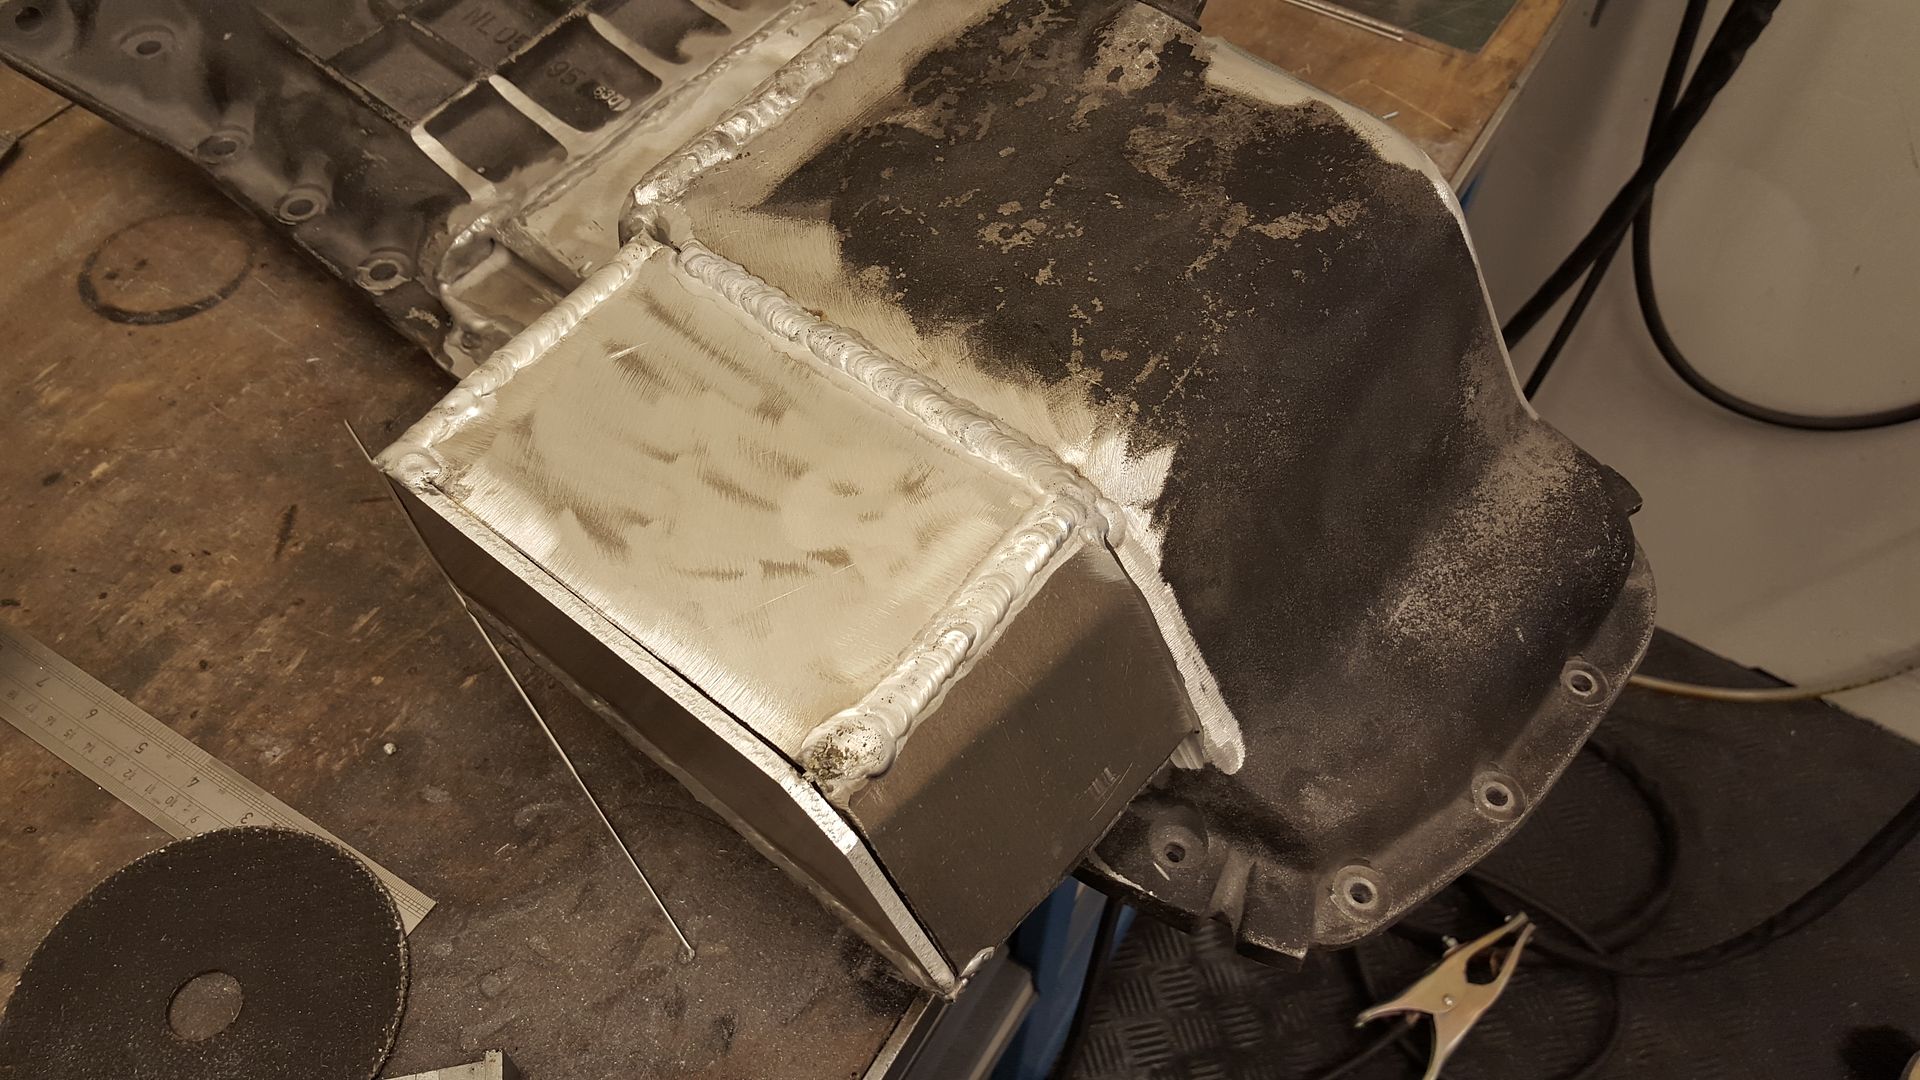
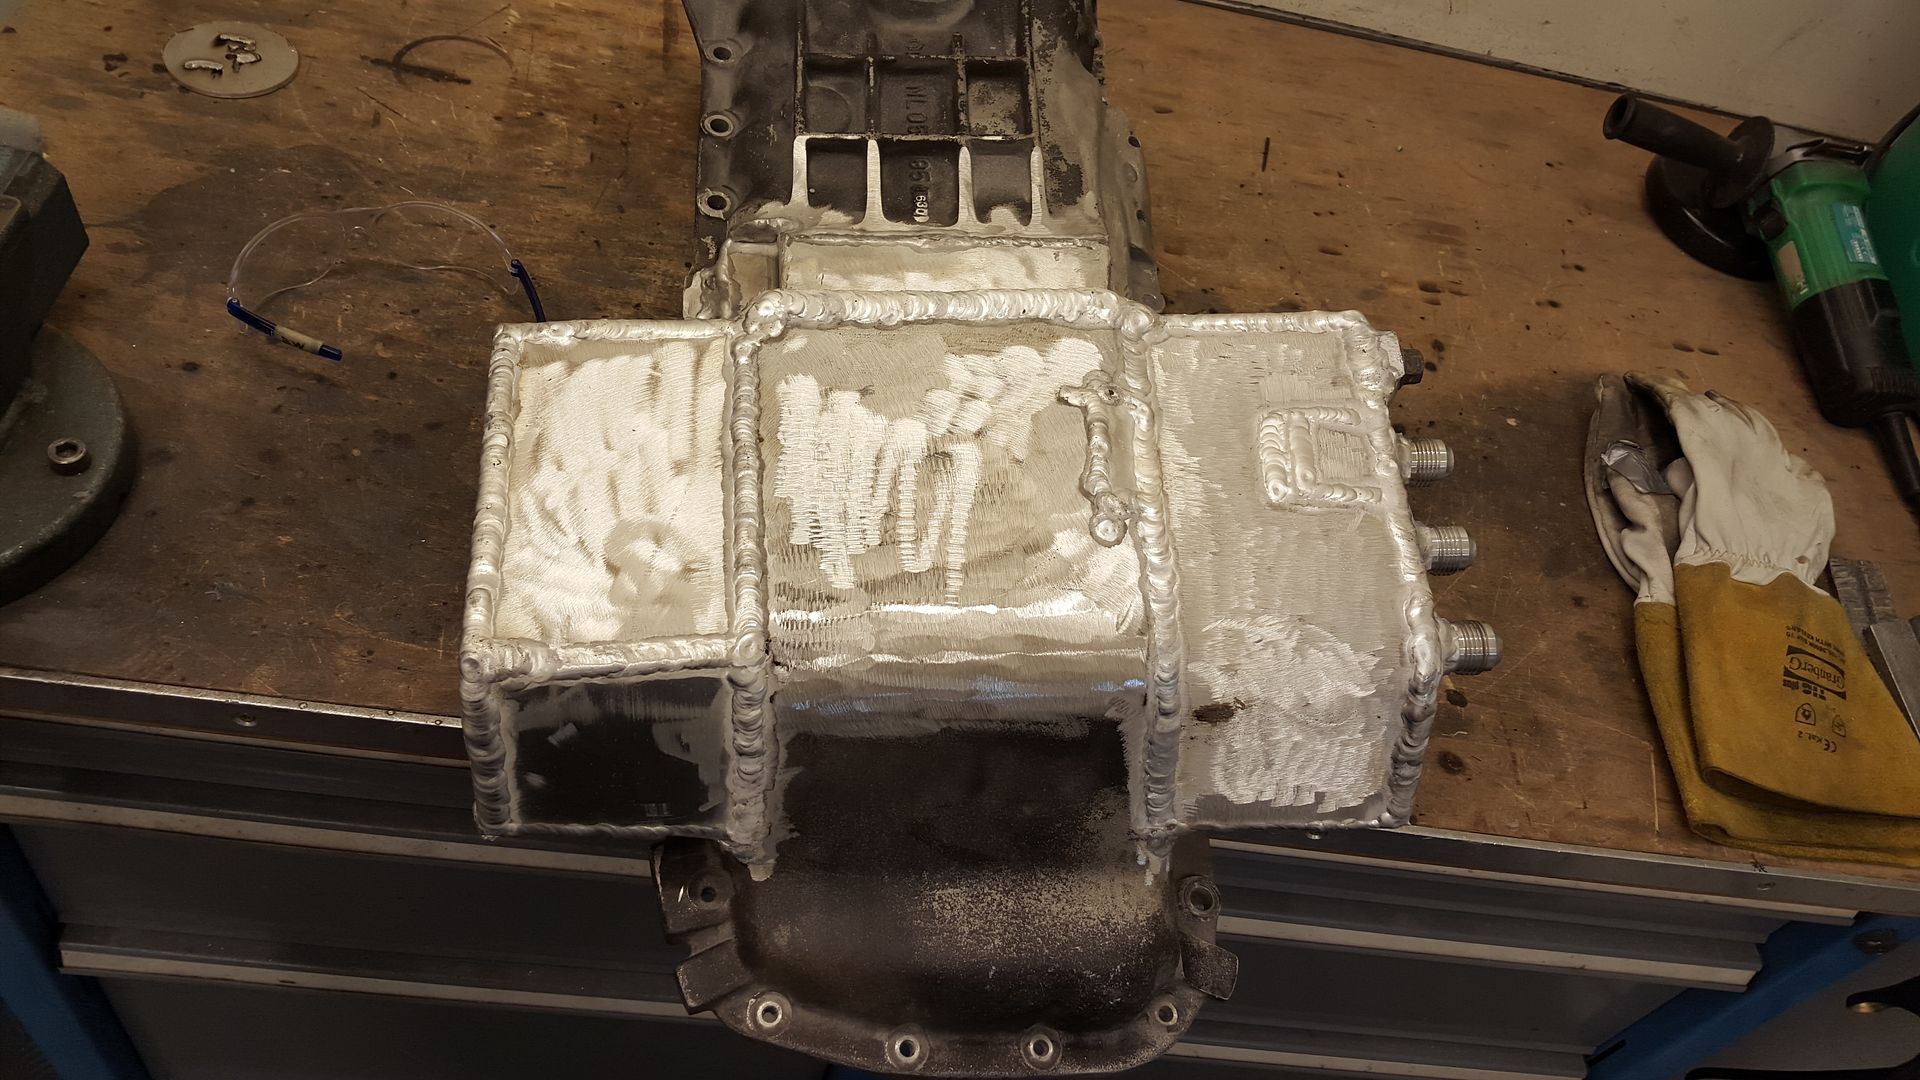
Then it was to box it in.
Went on with 4pcs AN10. There is some spare, but I want to have some extra in case there will be different catch can solutions in the future.
And the final result after hours of building
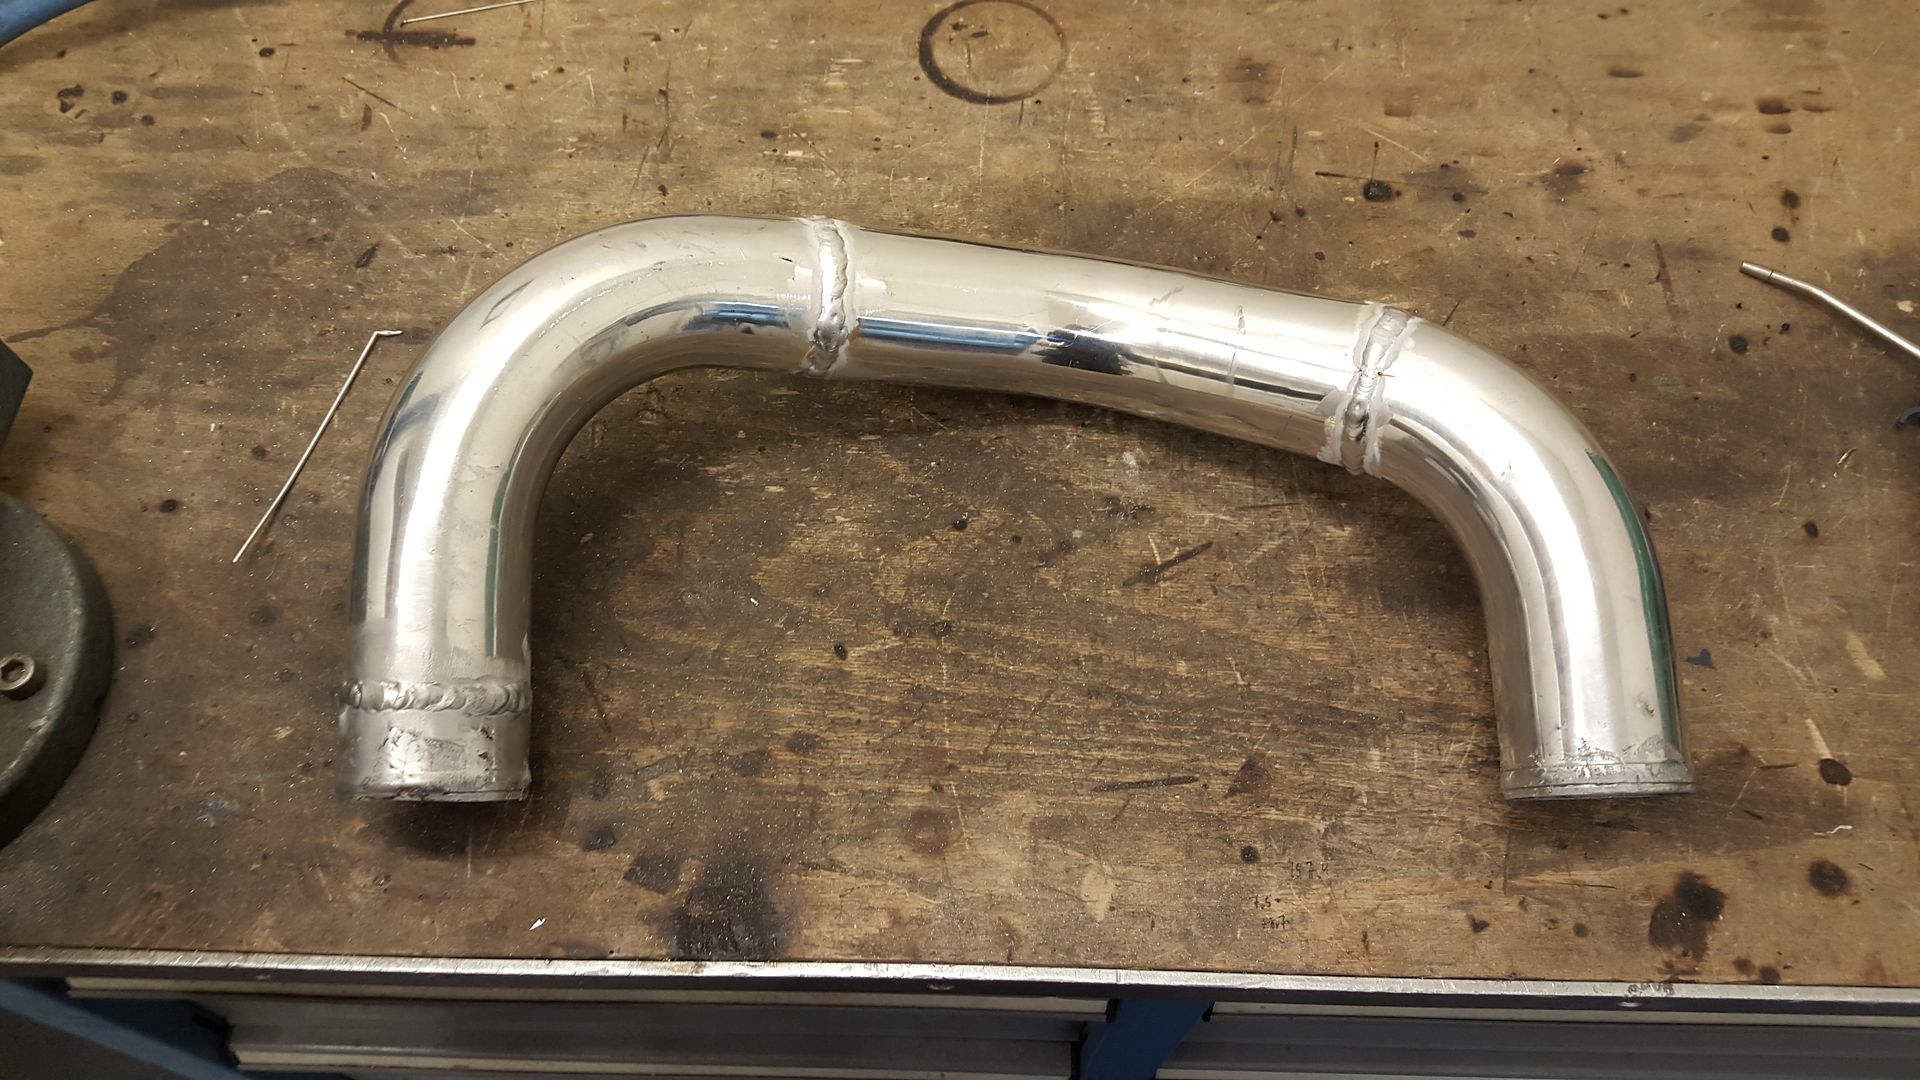
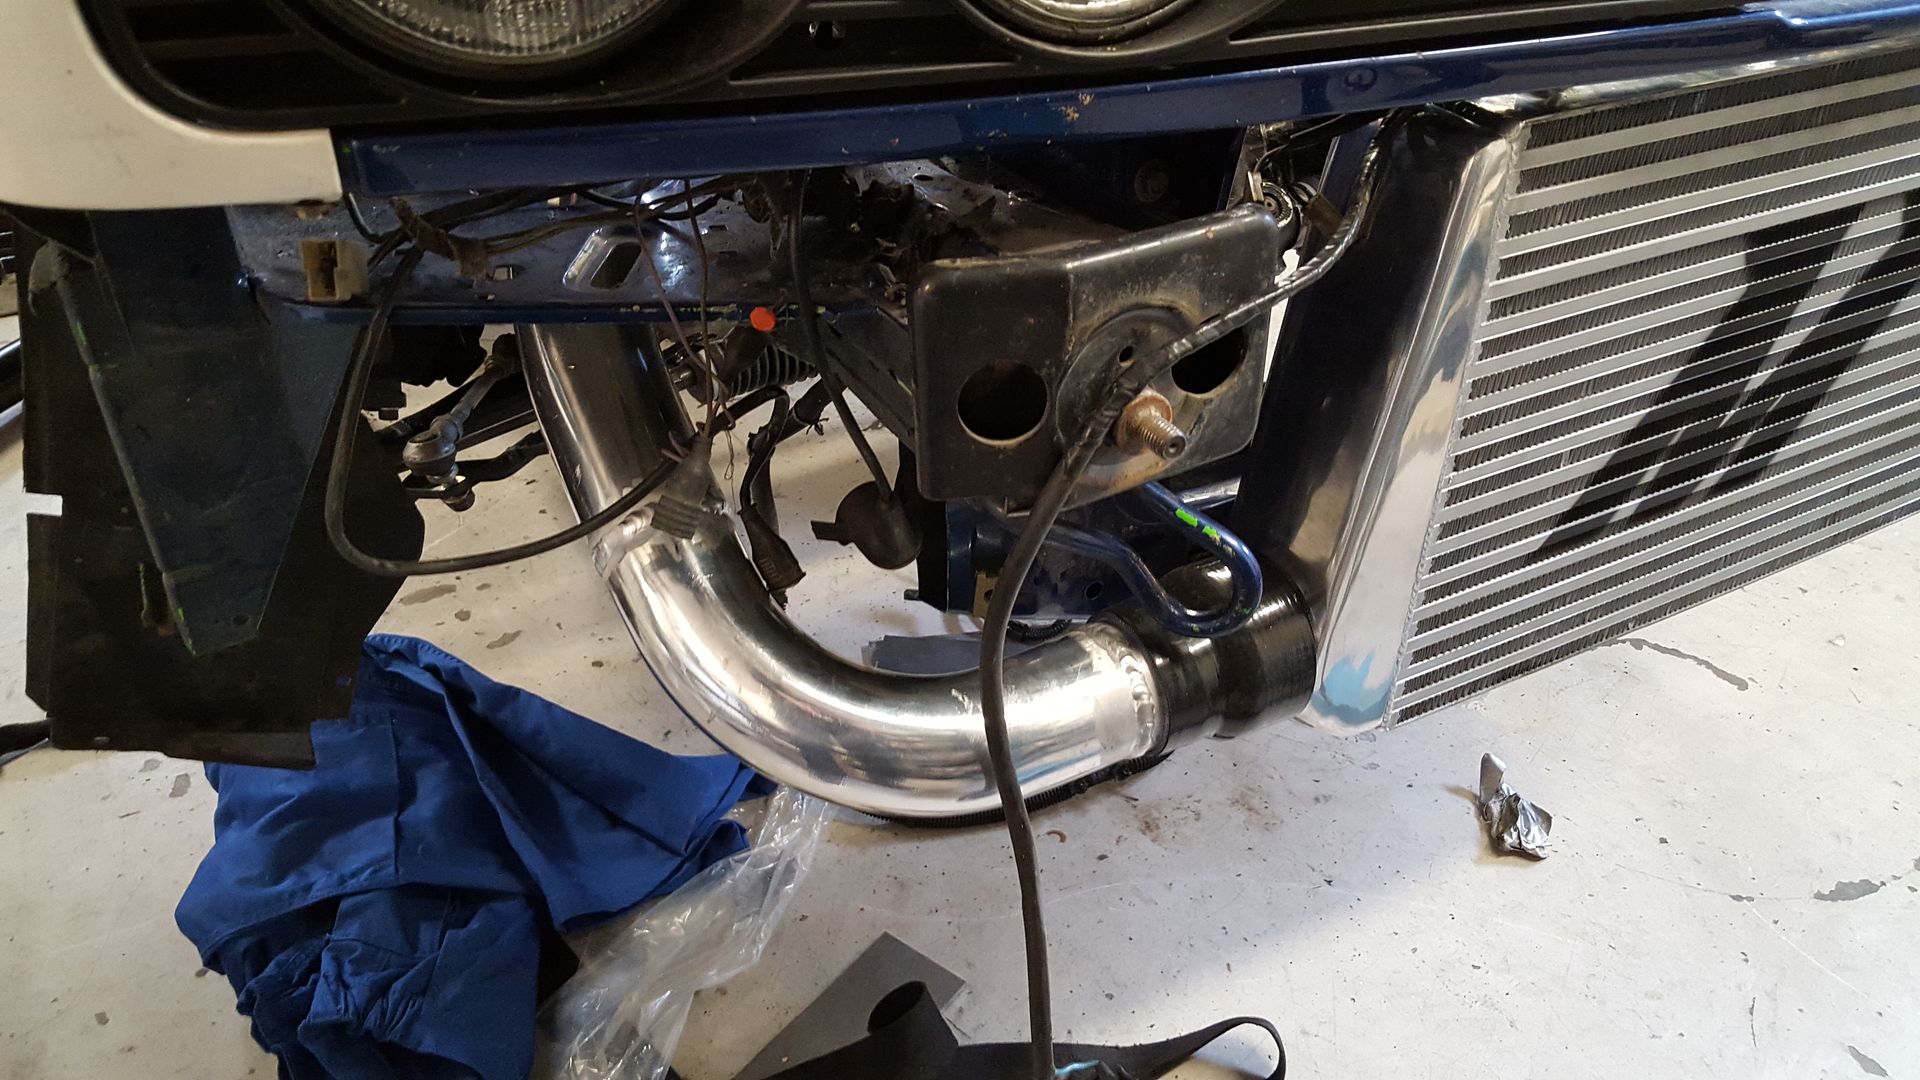
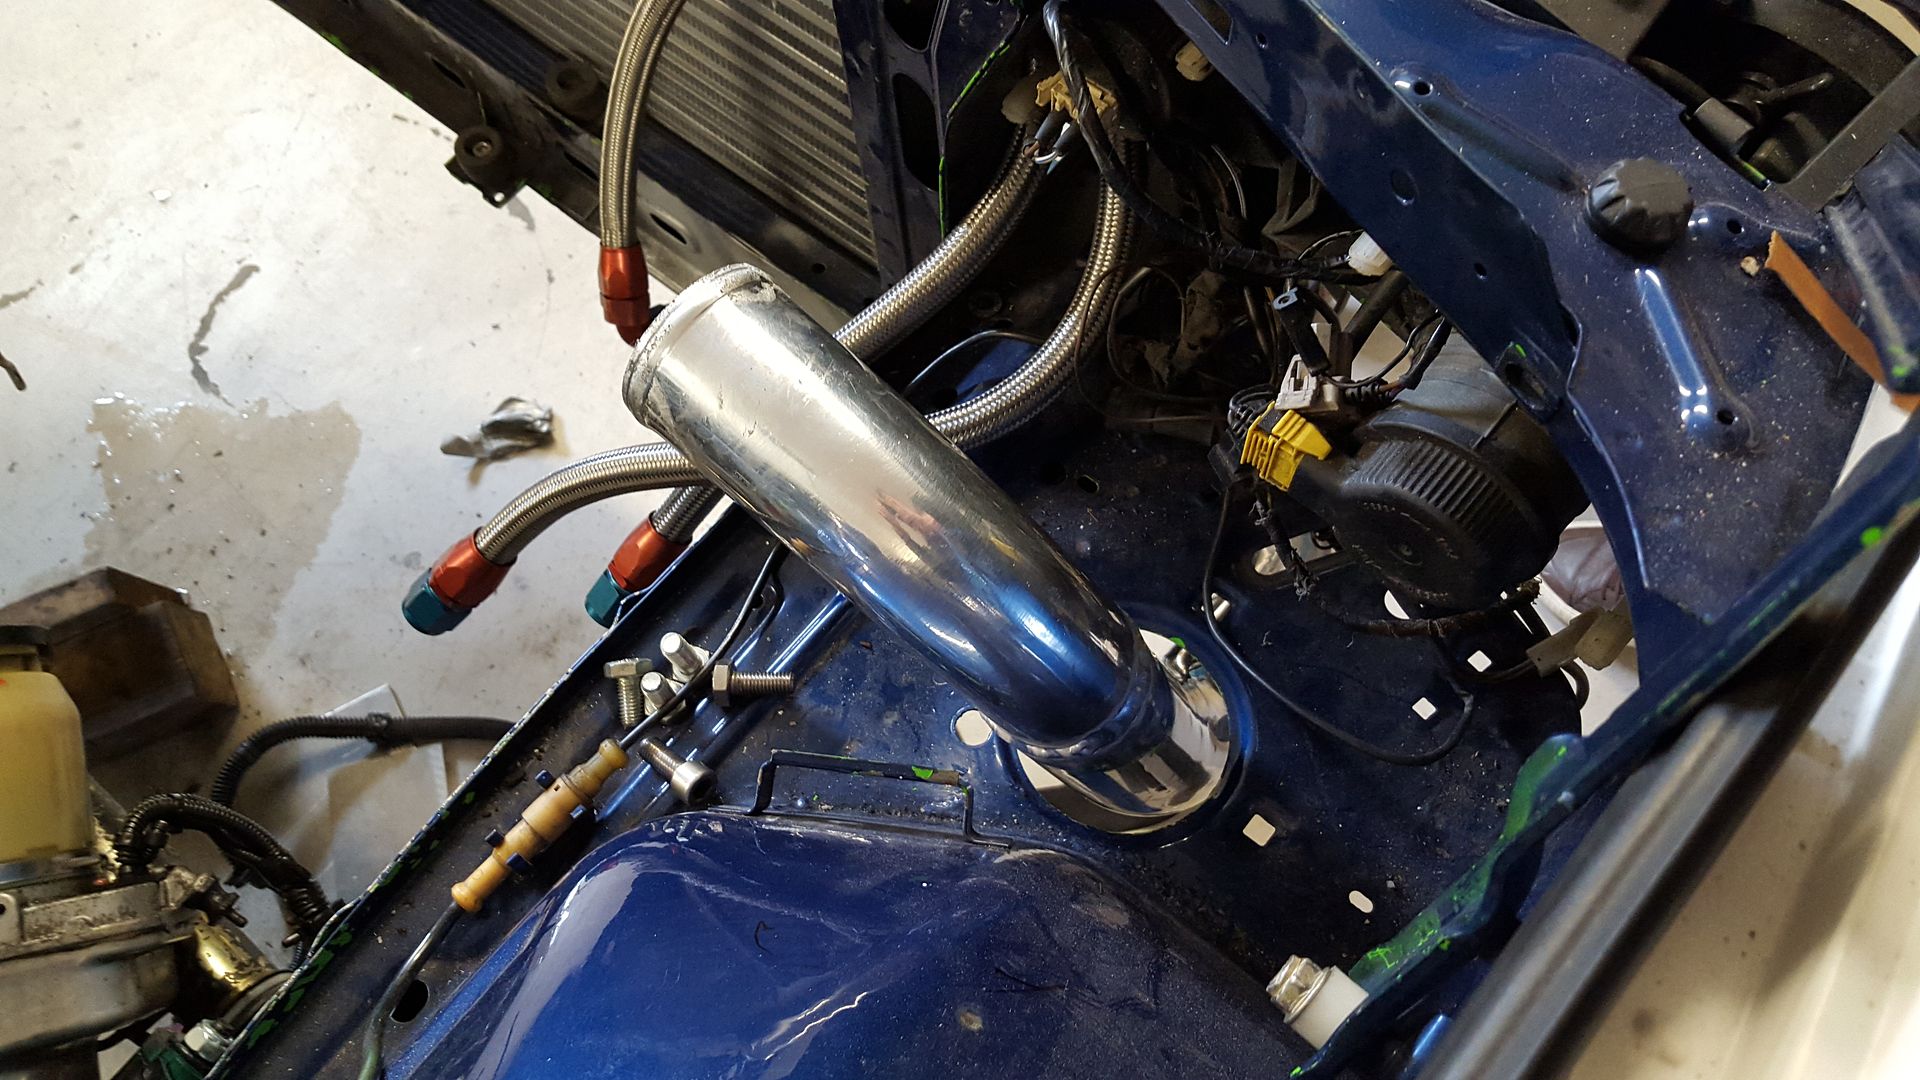
I have also buildt the pressure pipe for the intake side.
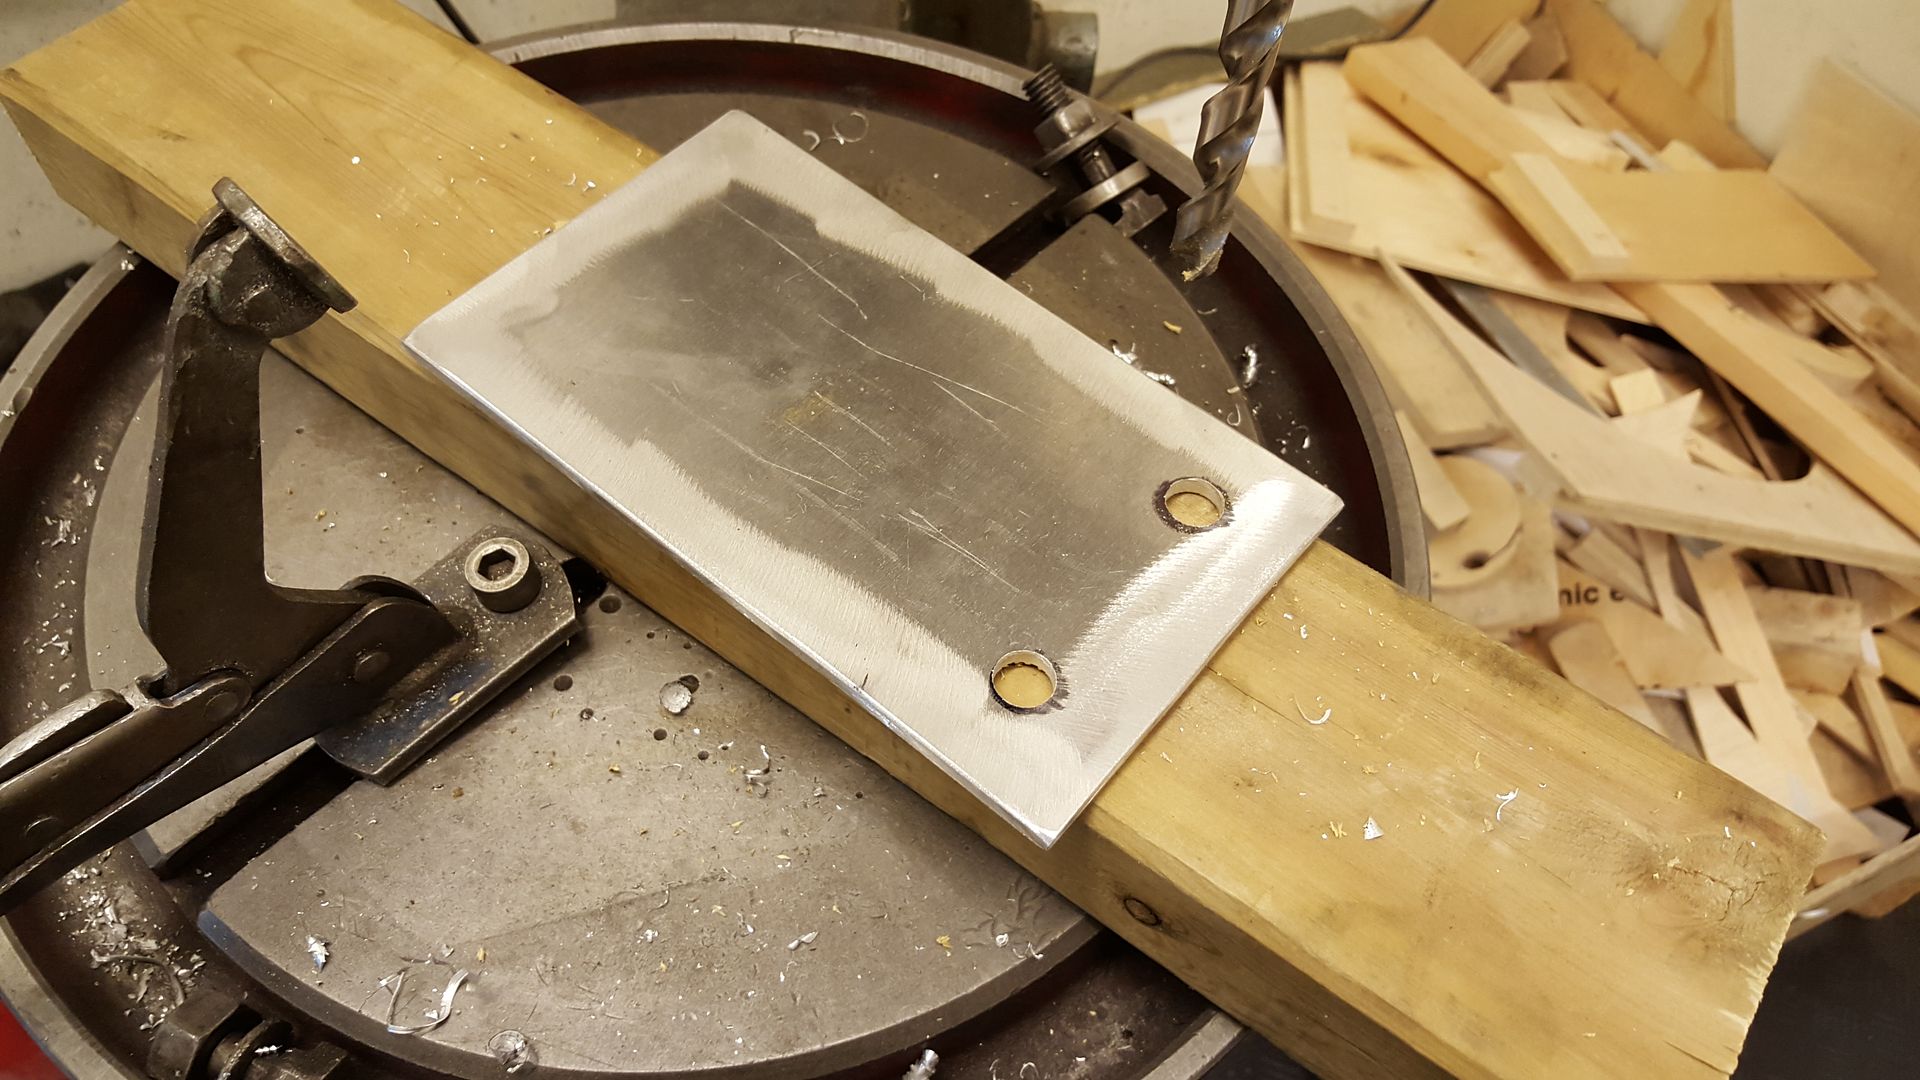
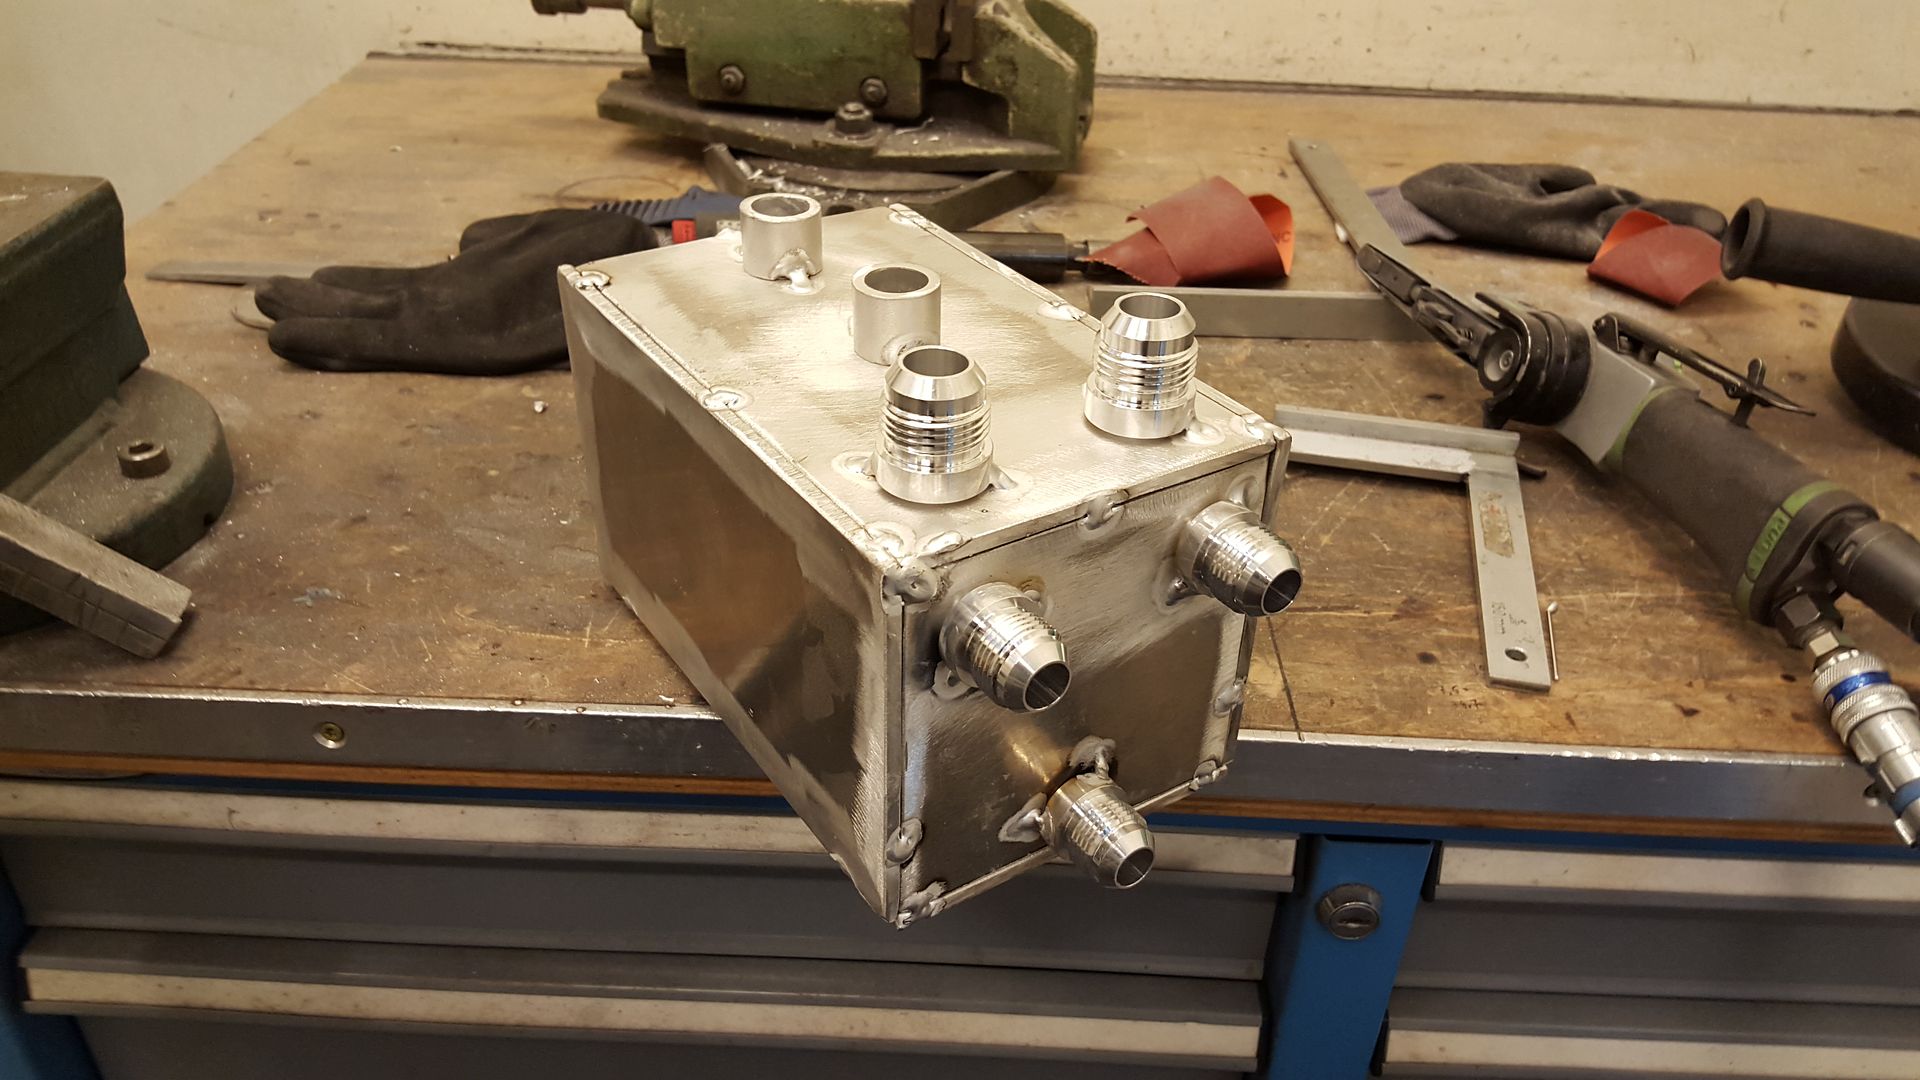
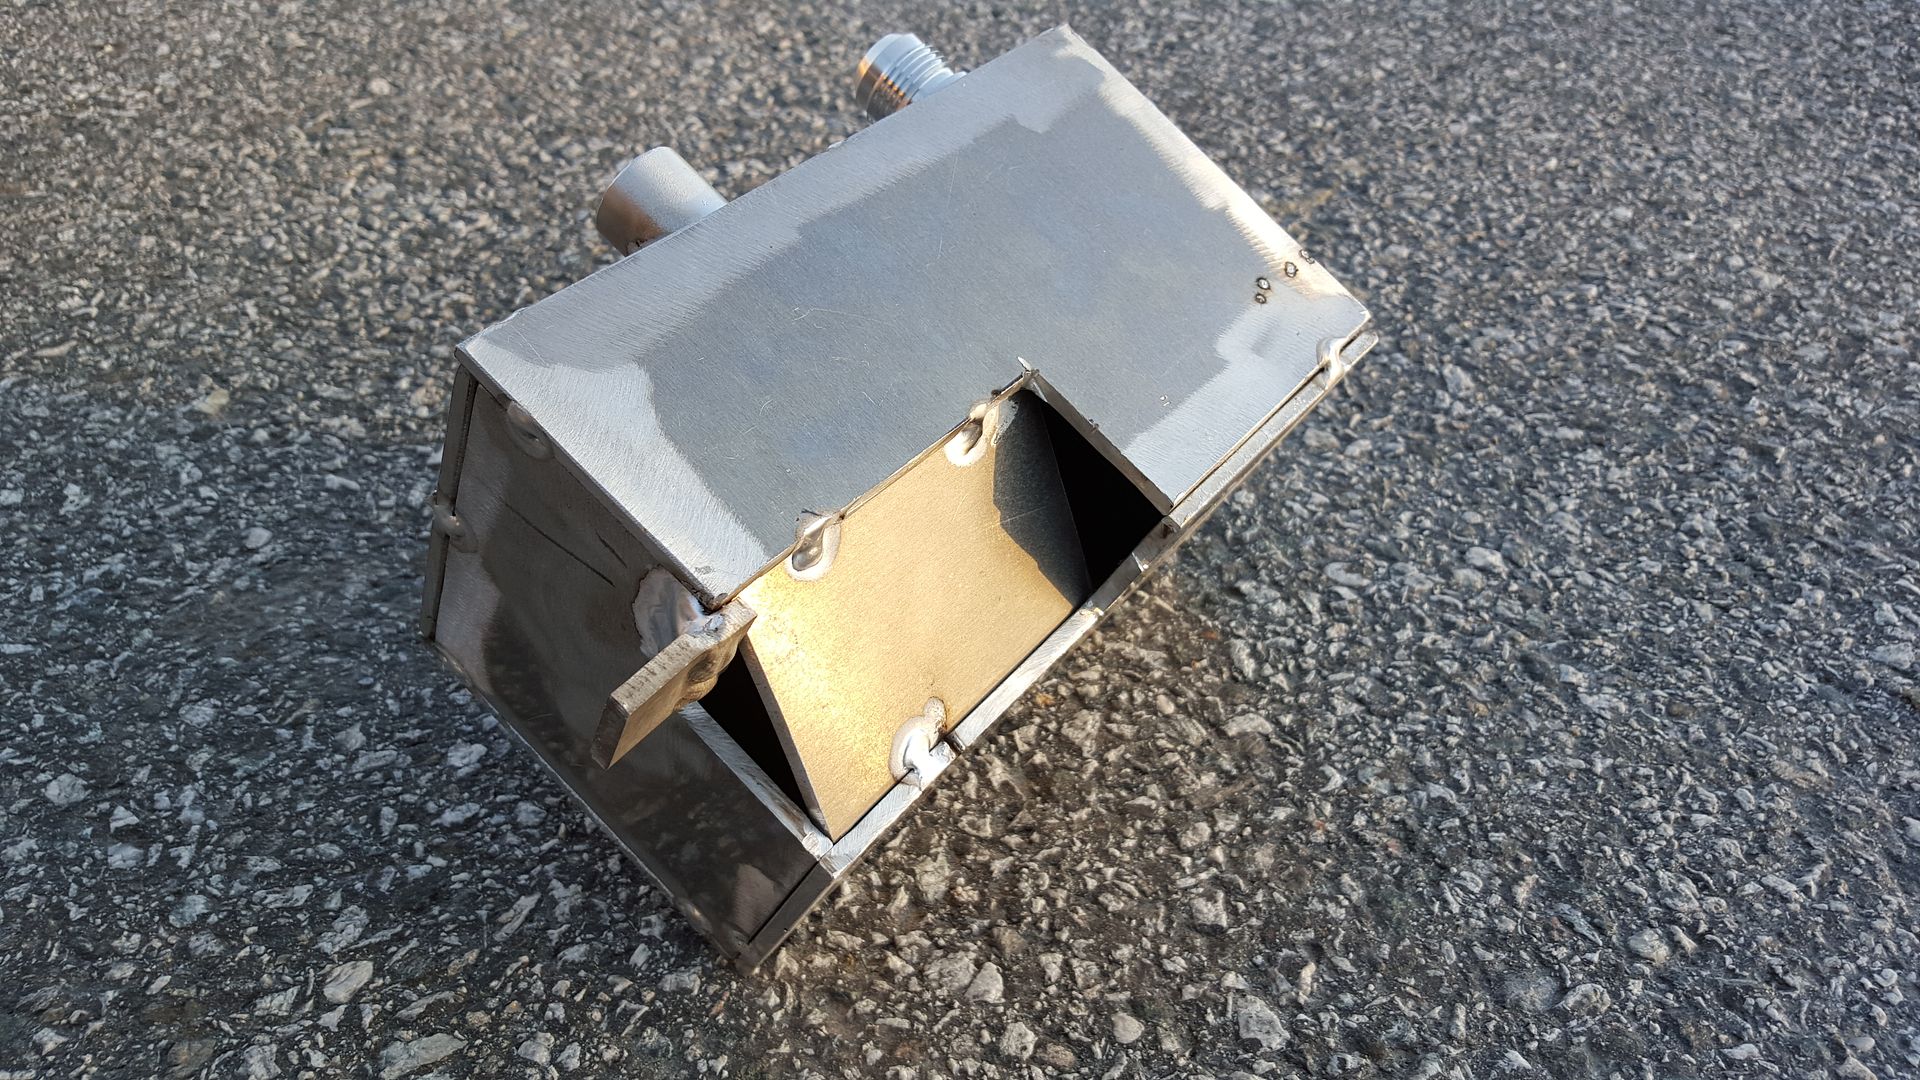
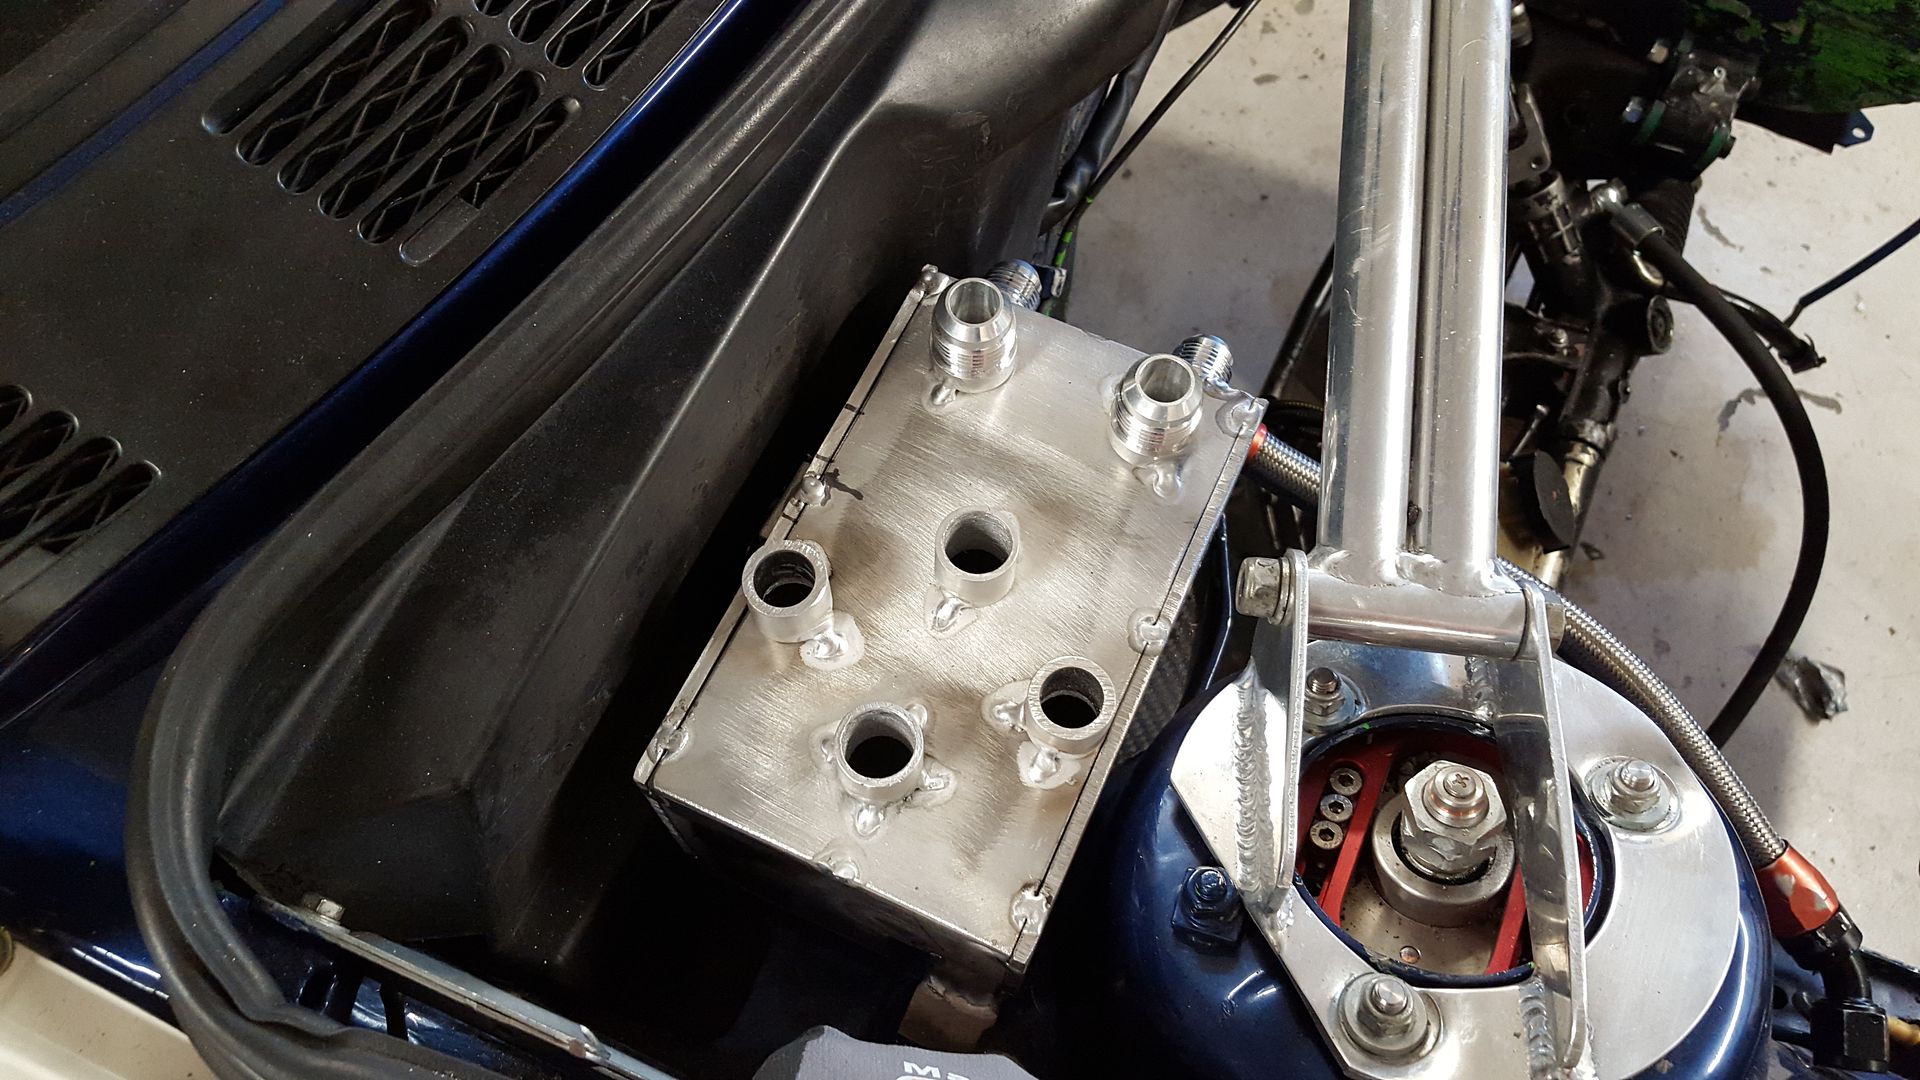
Then I buildt my catch can. This is just fixed together and tested to fit the car. It needs to be some baffles and filters inside. But the design is done.
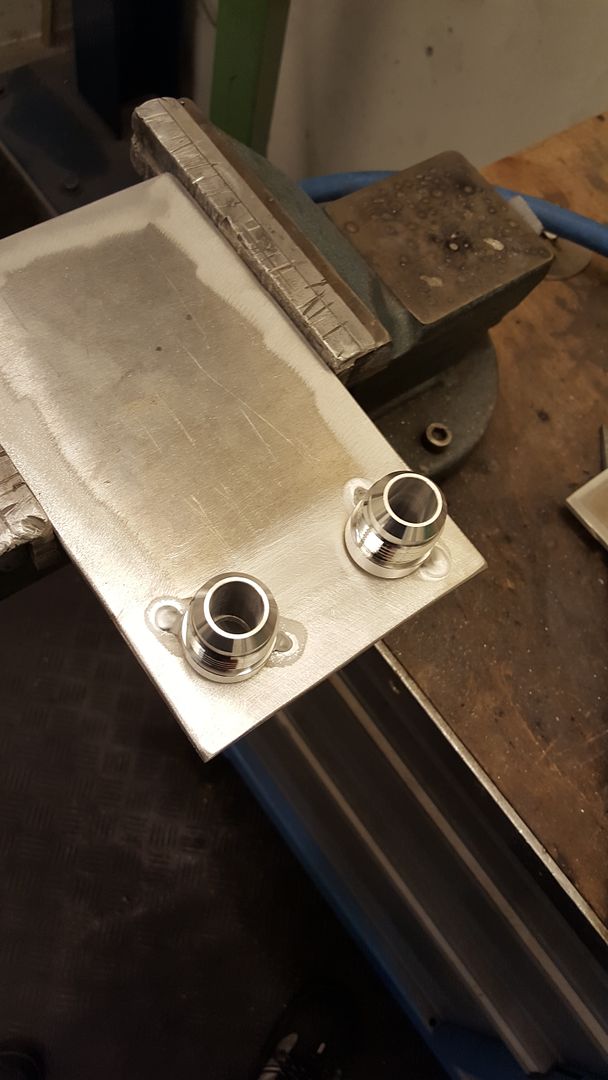
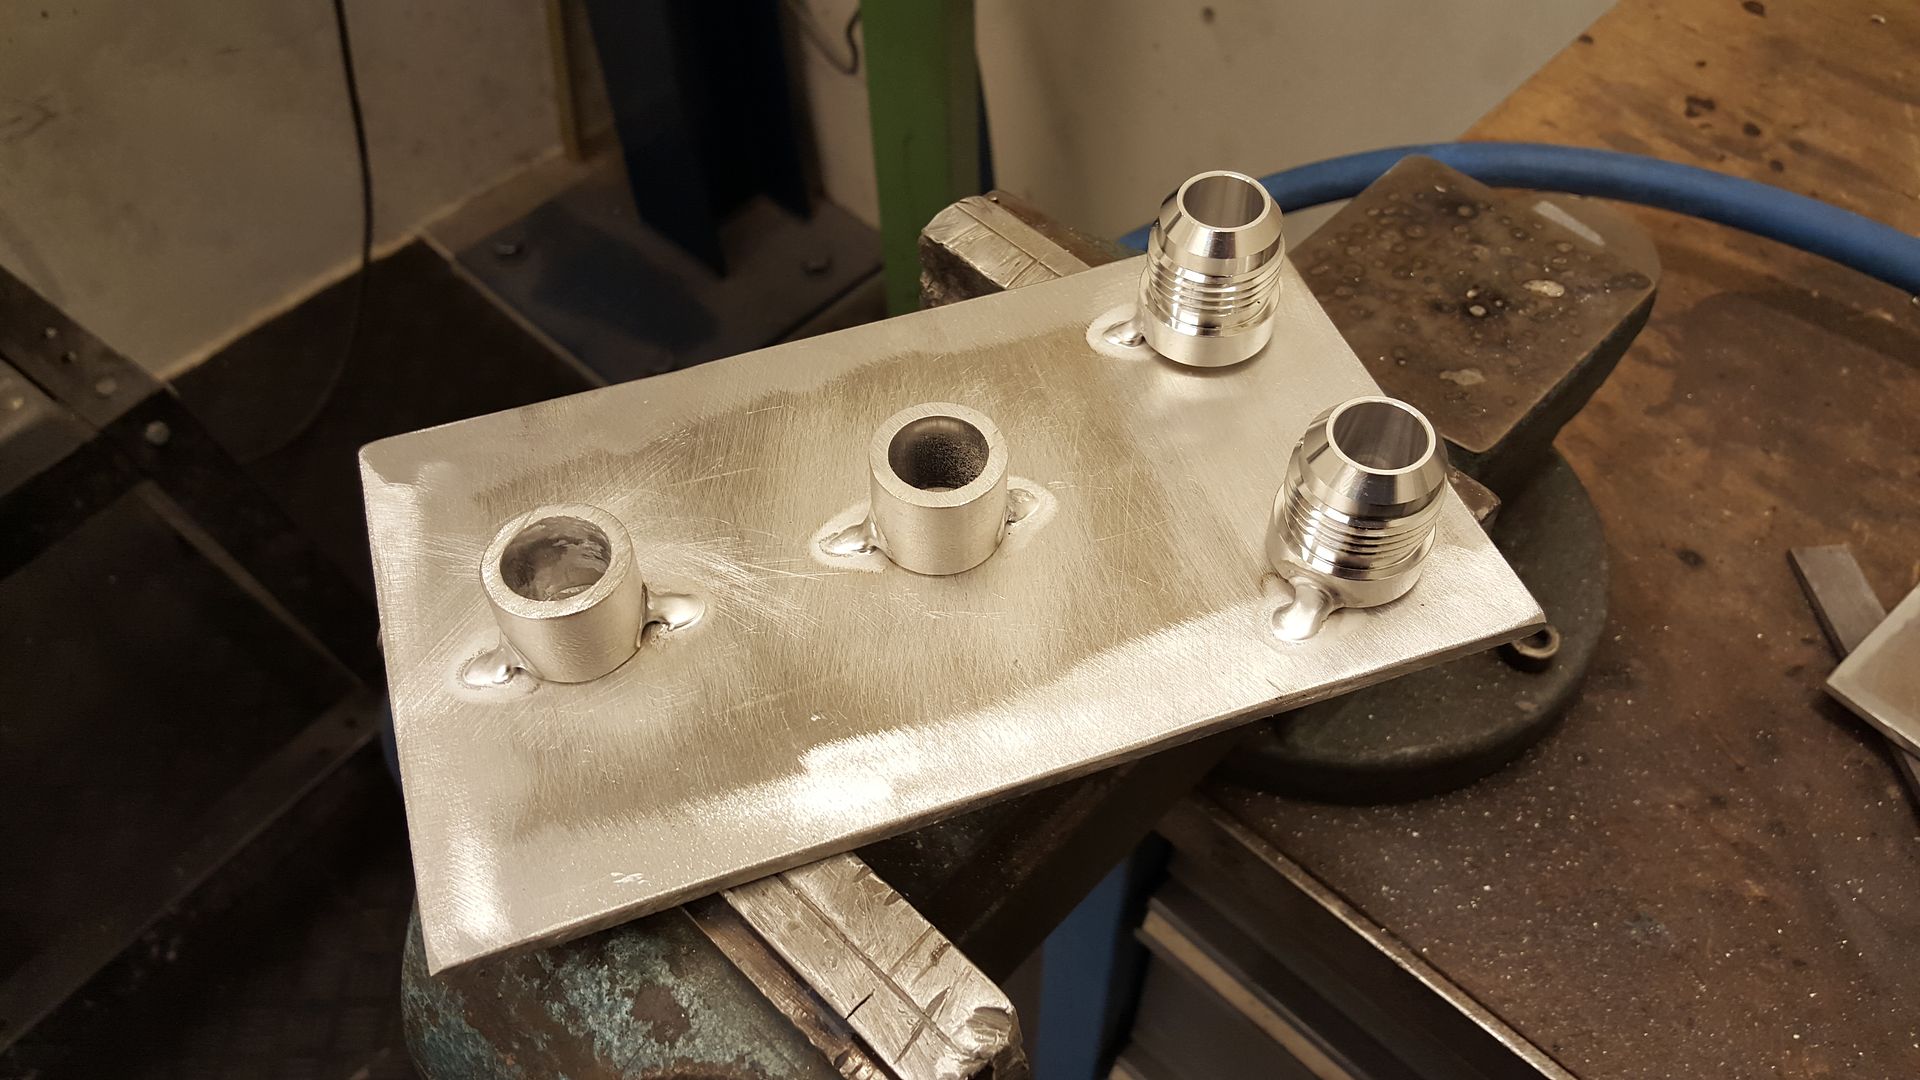
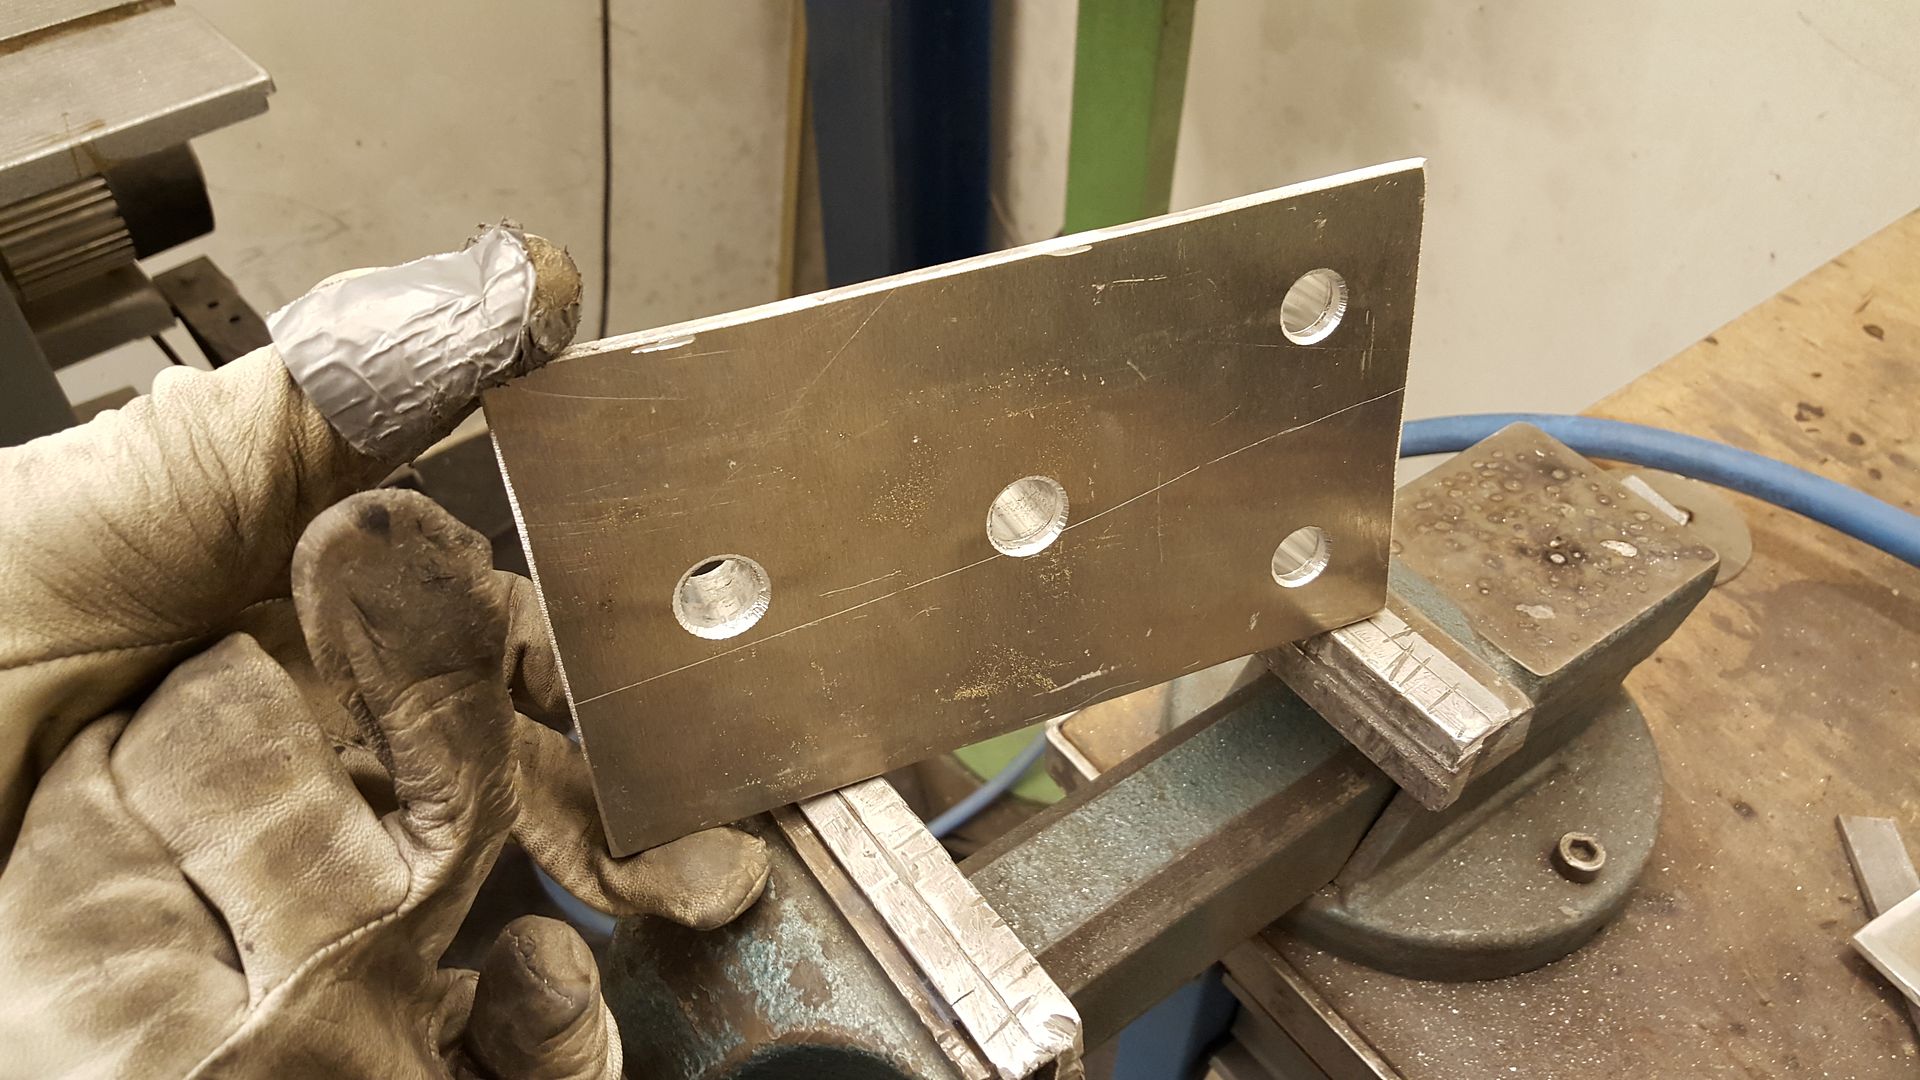
Started off with basic aluminium plates. Drilled the holes for the weld bungs
Spot welded
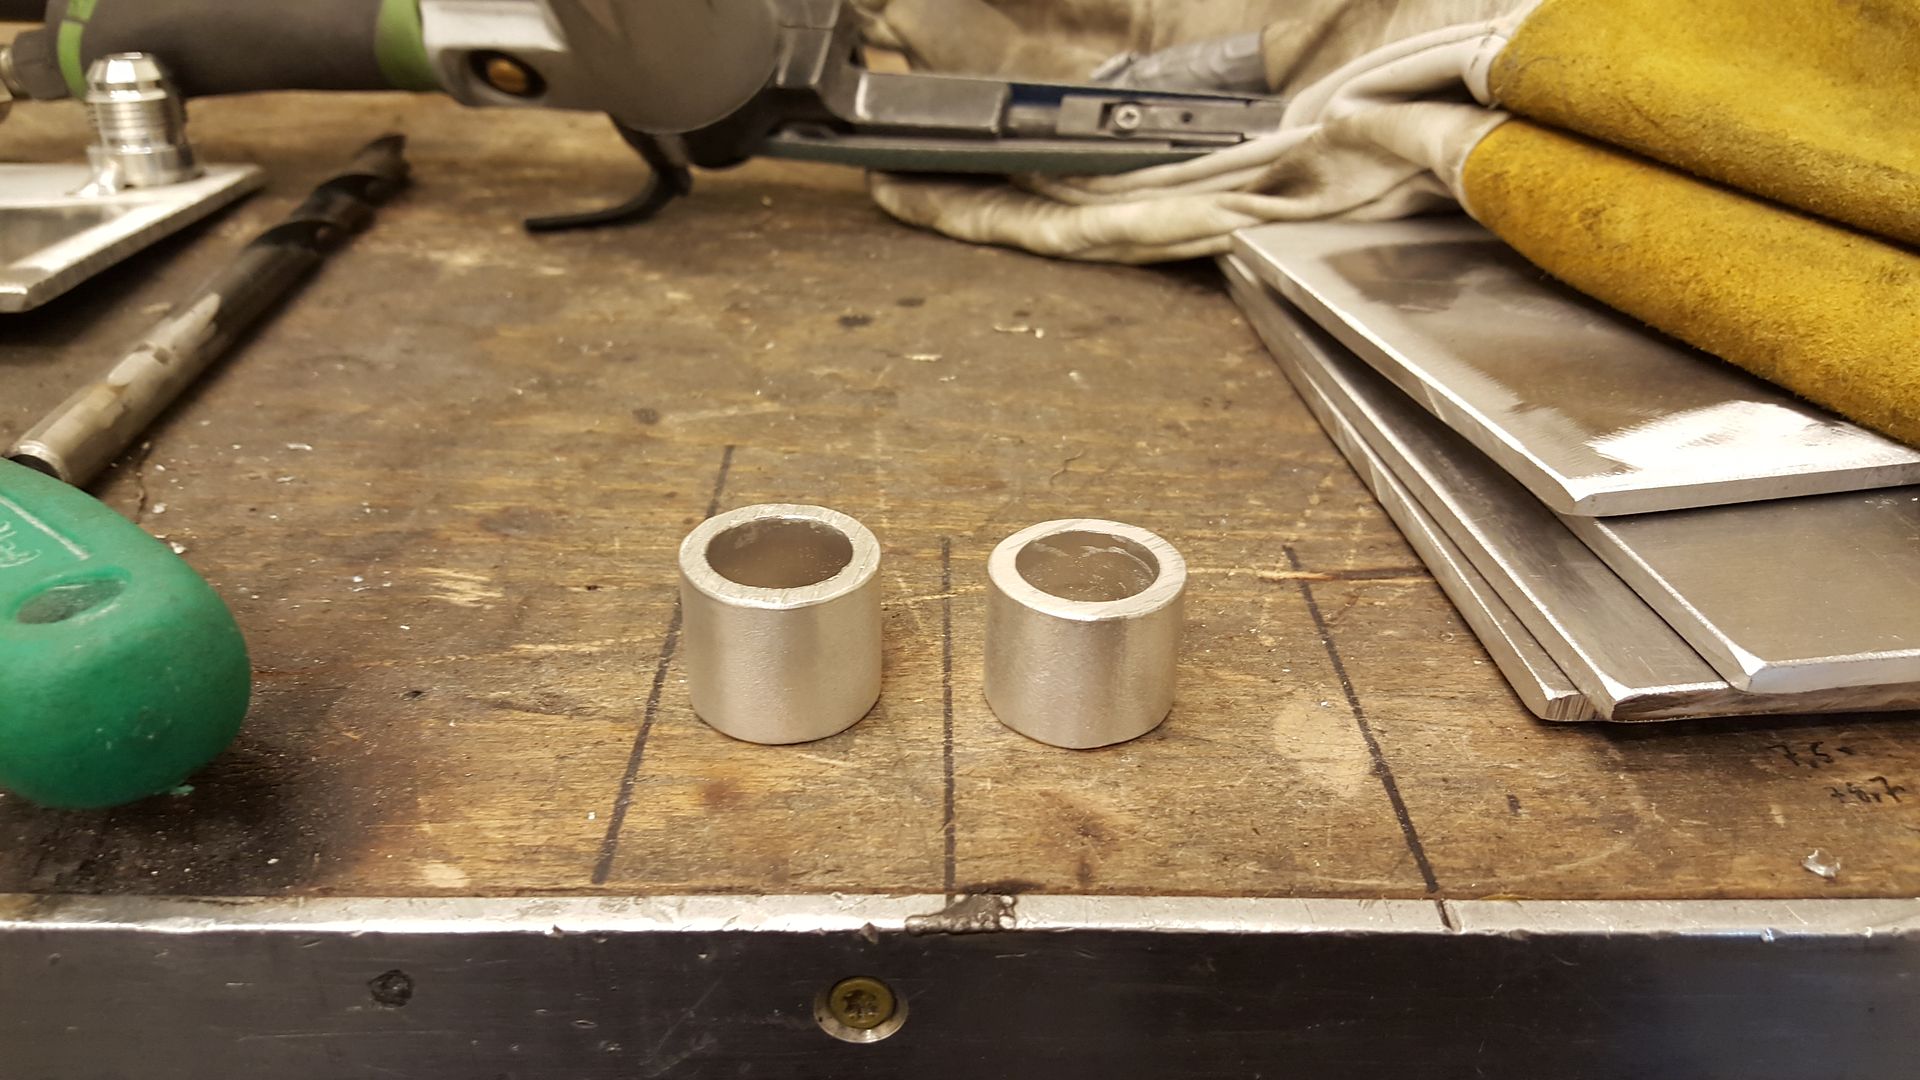
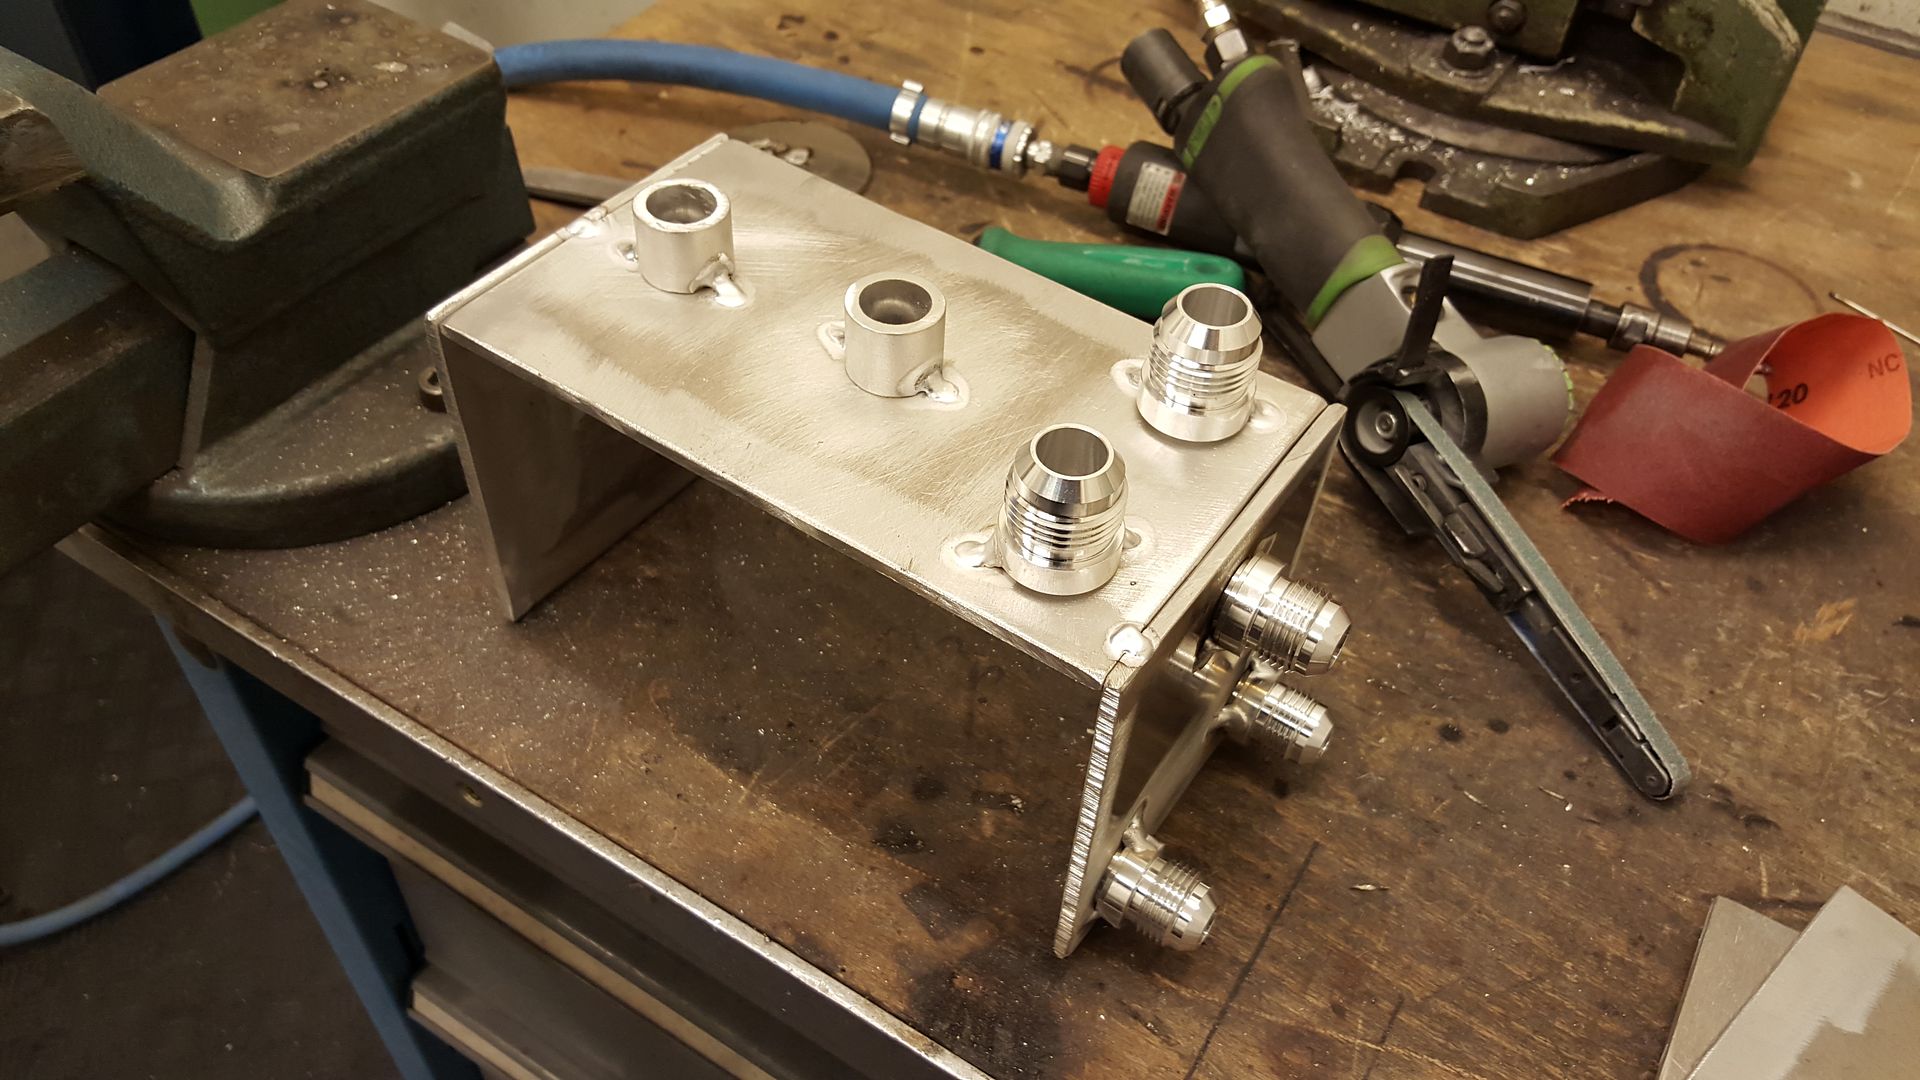
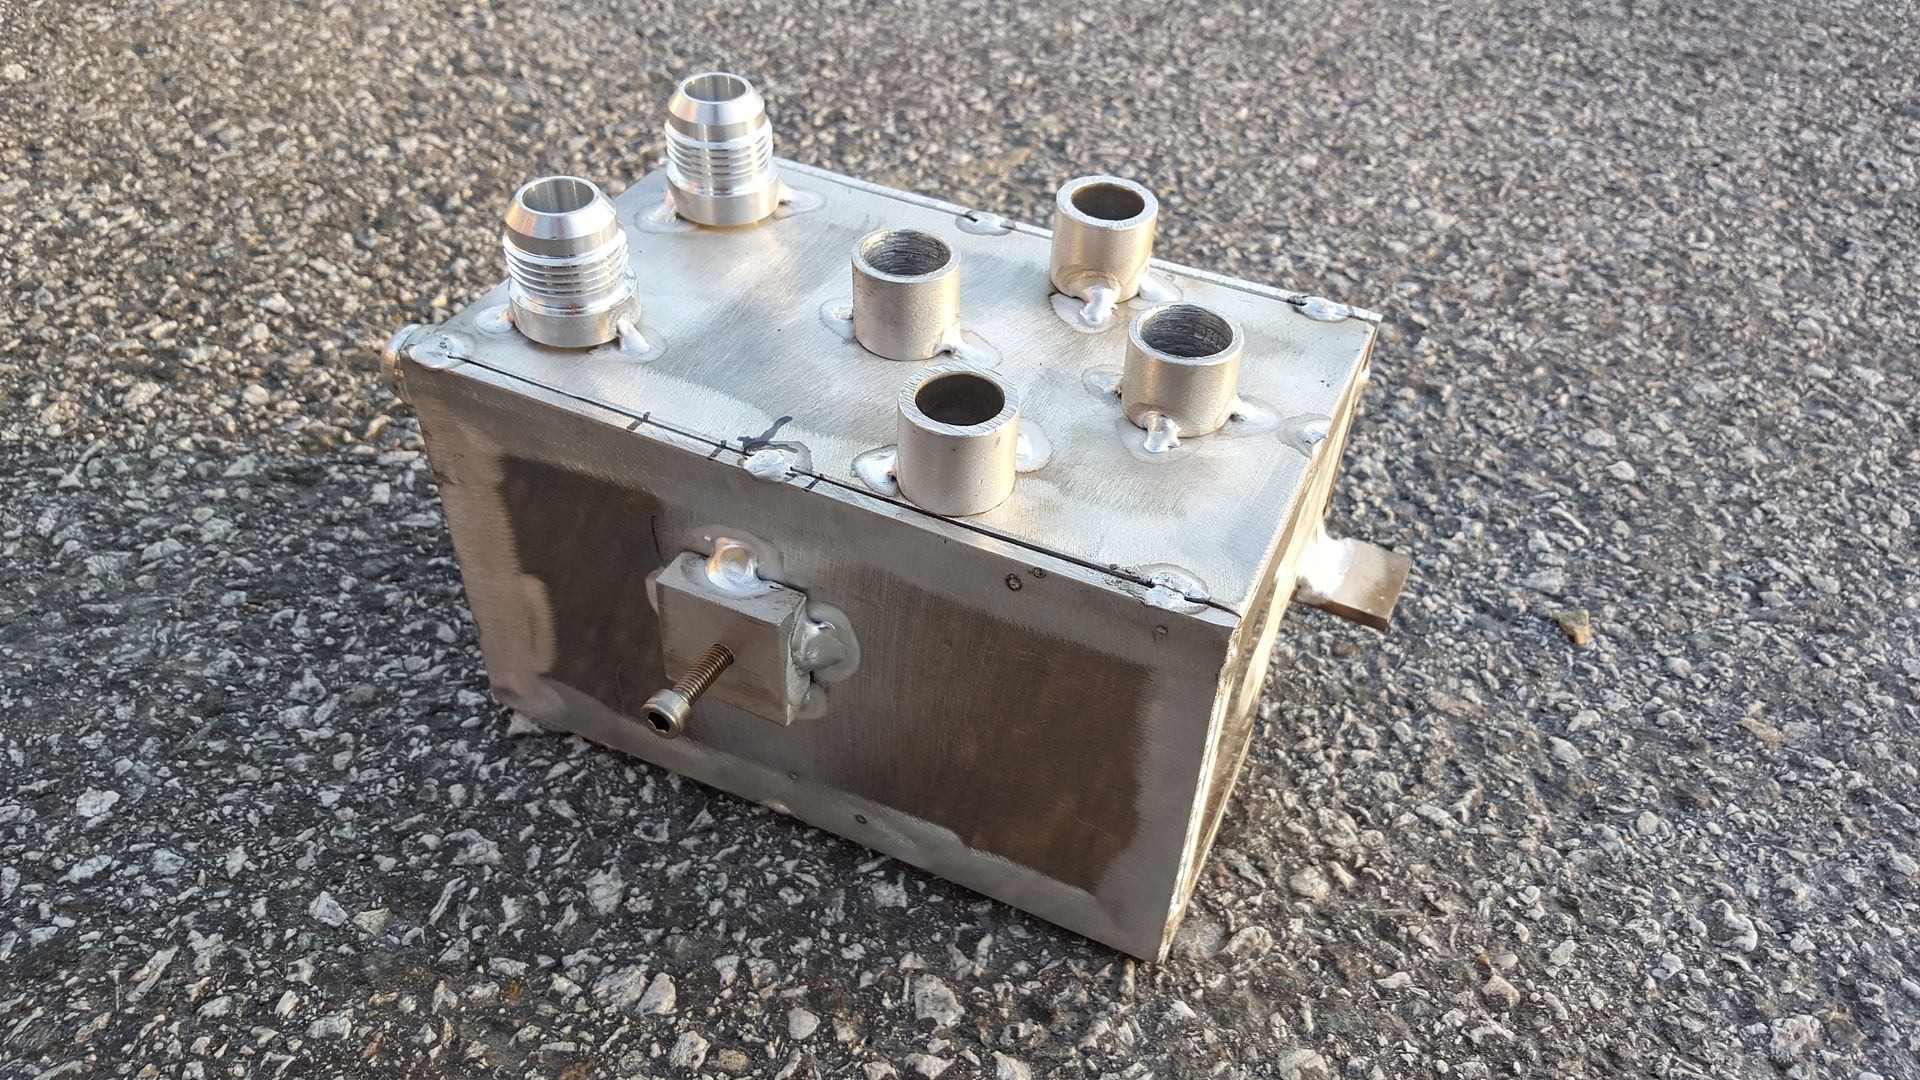
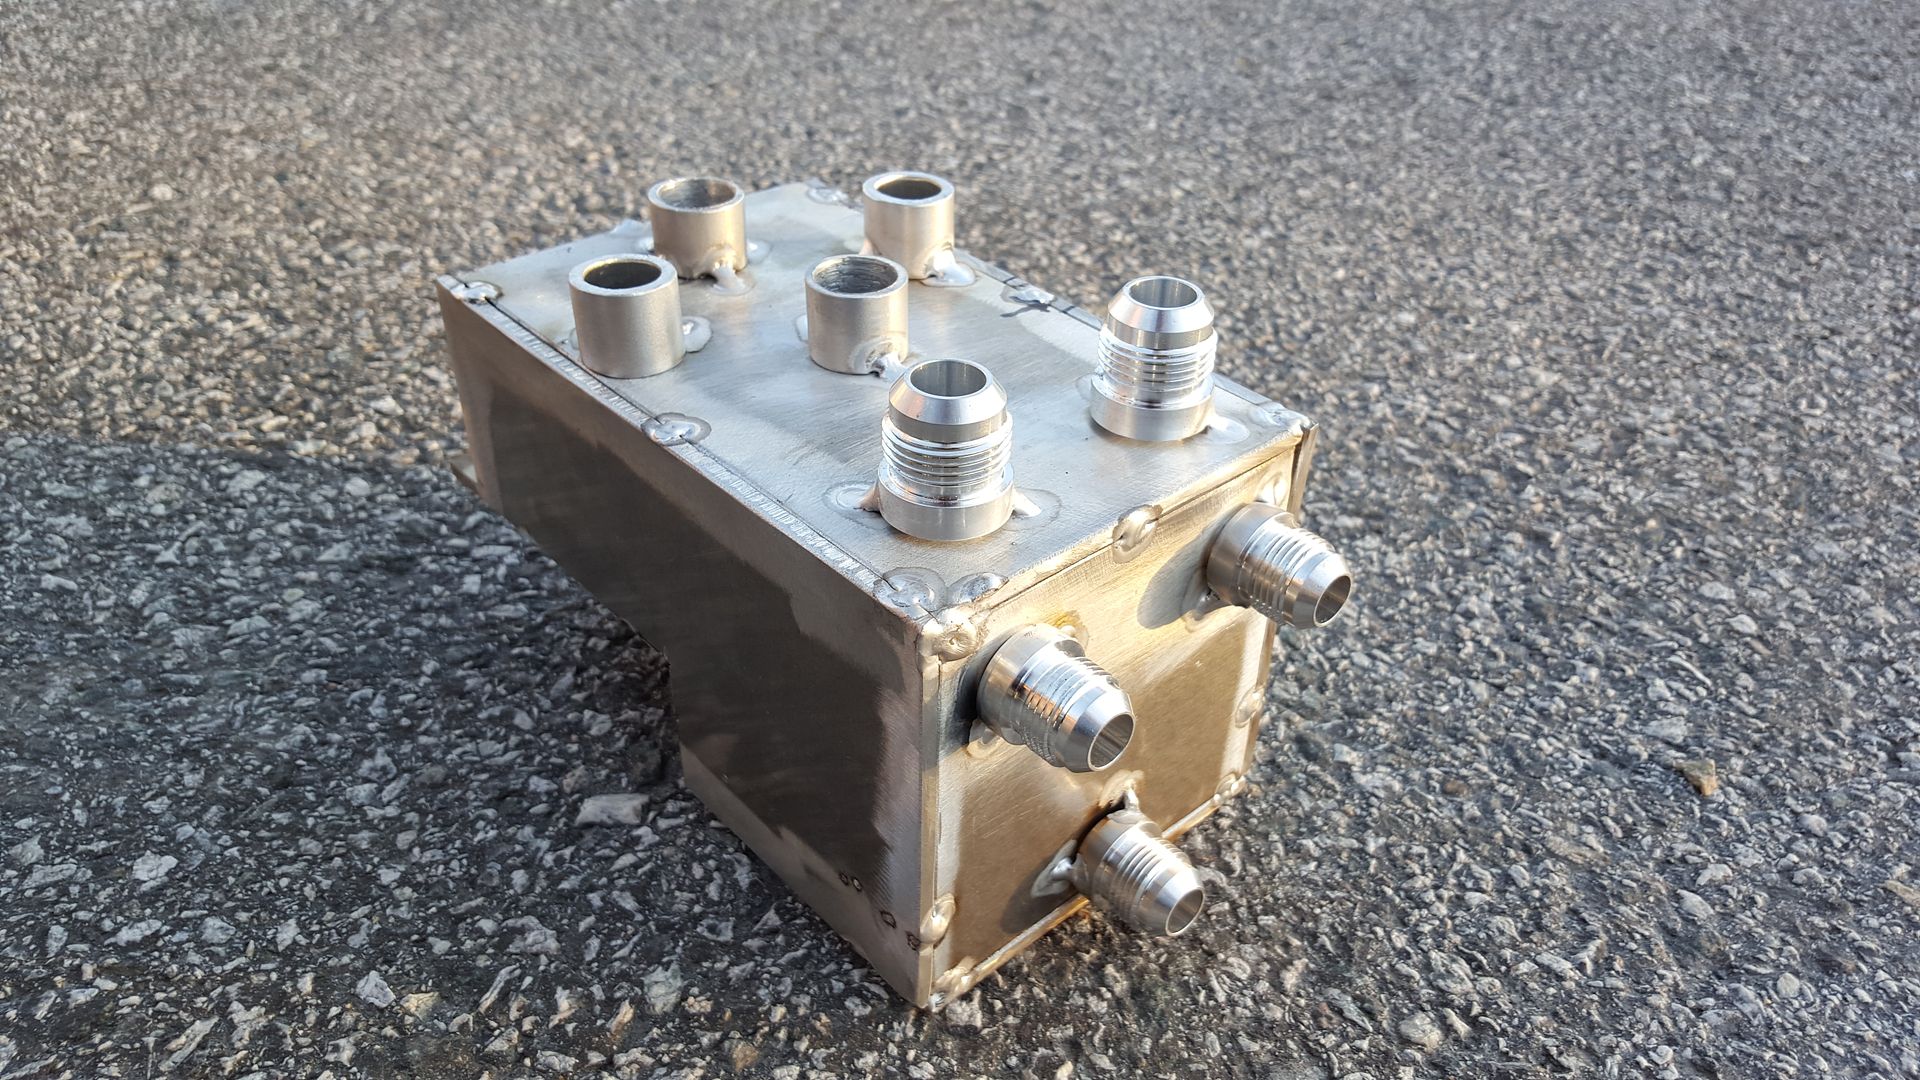
For the breather filters I went with regular 25mm aluminium tubing
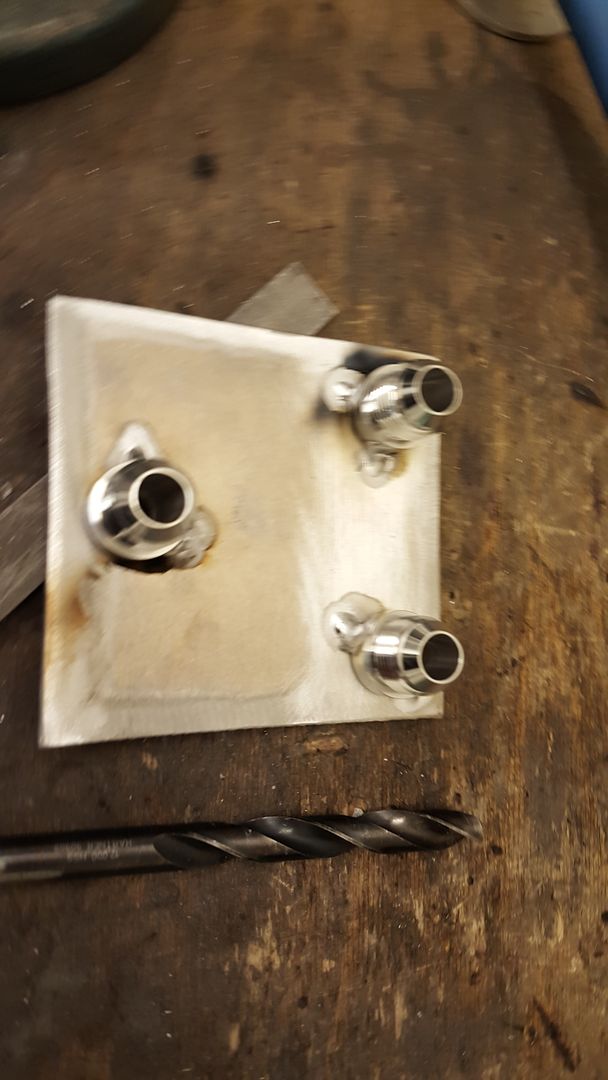
Drilled holes and spot welded
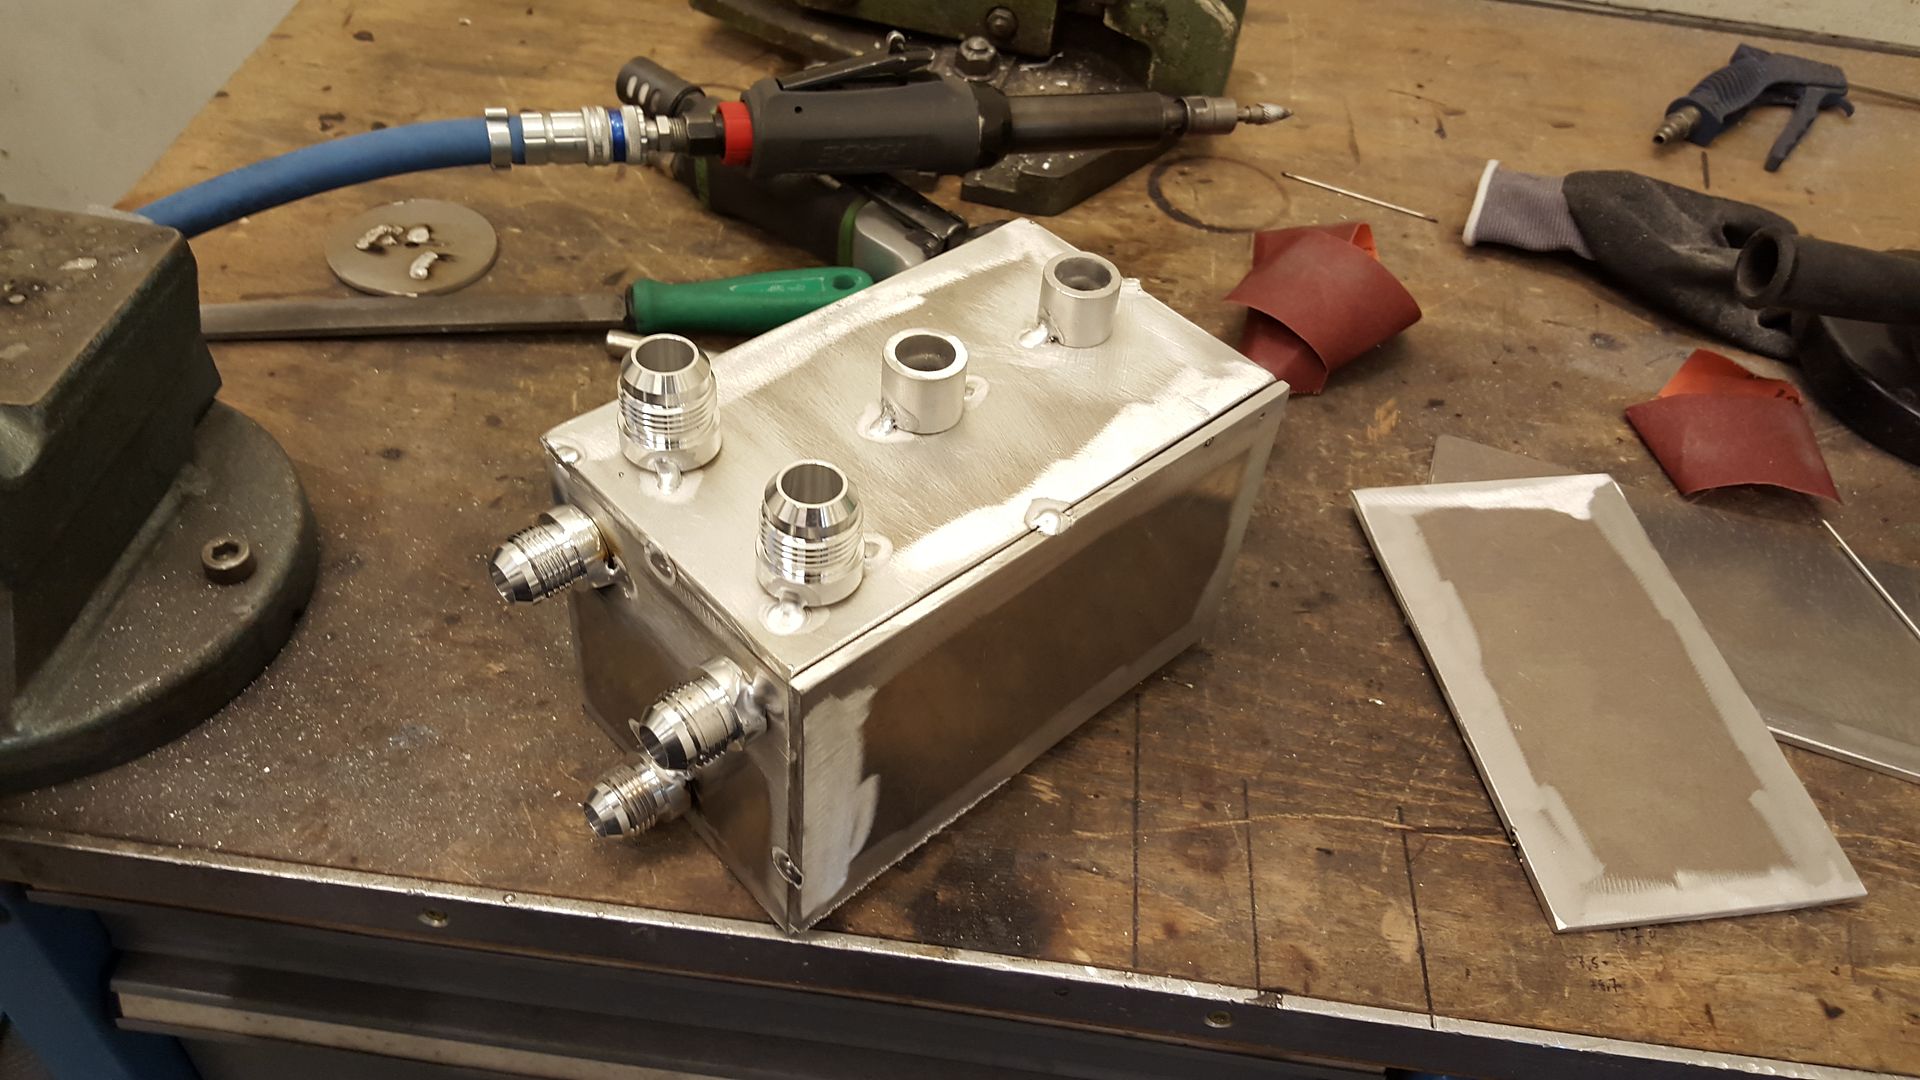
Then it was time to spot weld it together. Getting everything in 90 degree angle is important. So I took my time with this.
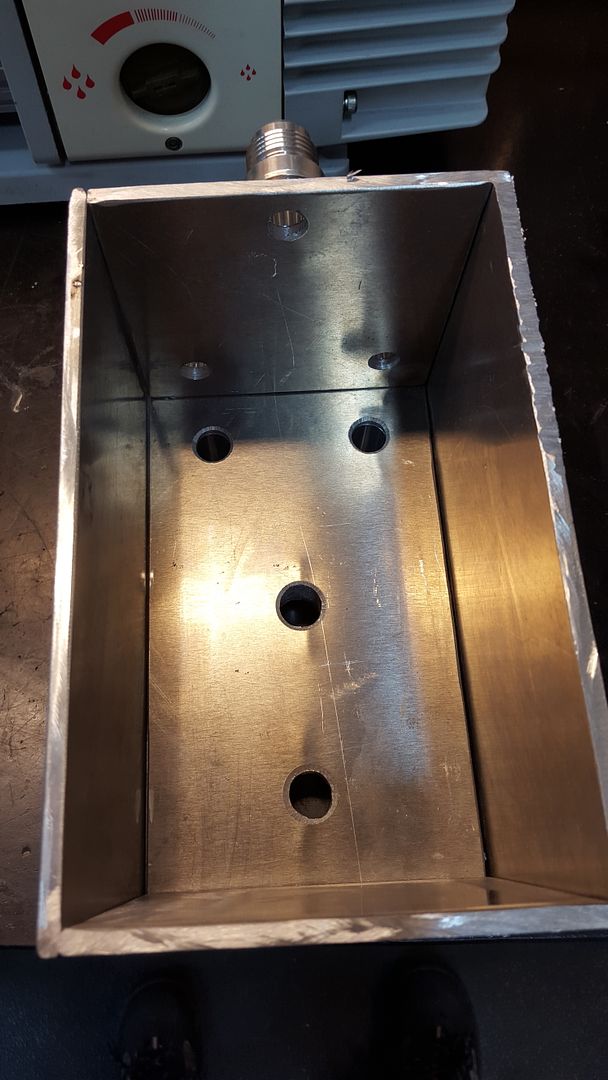
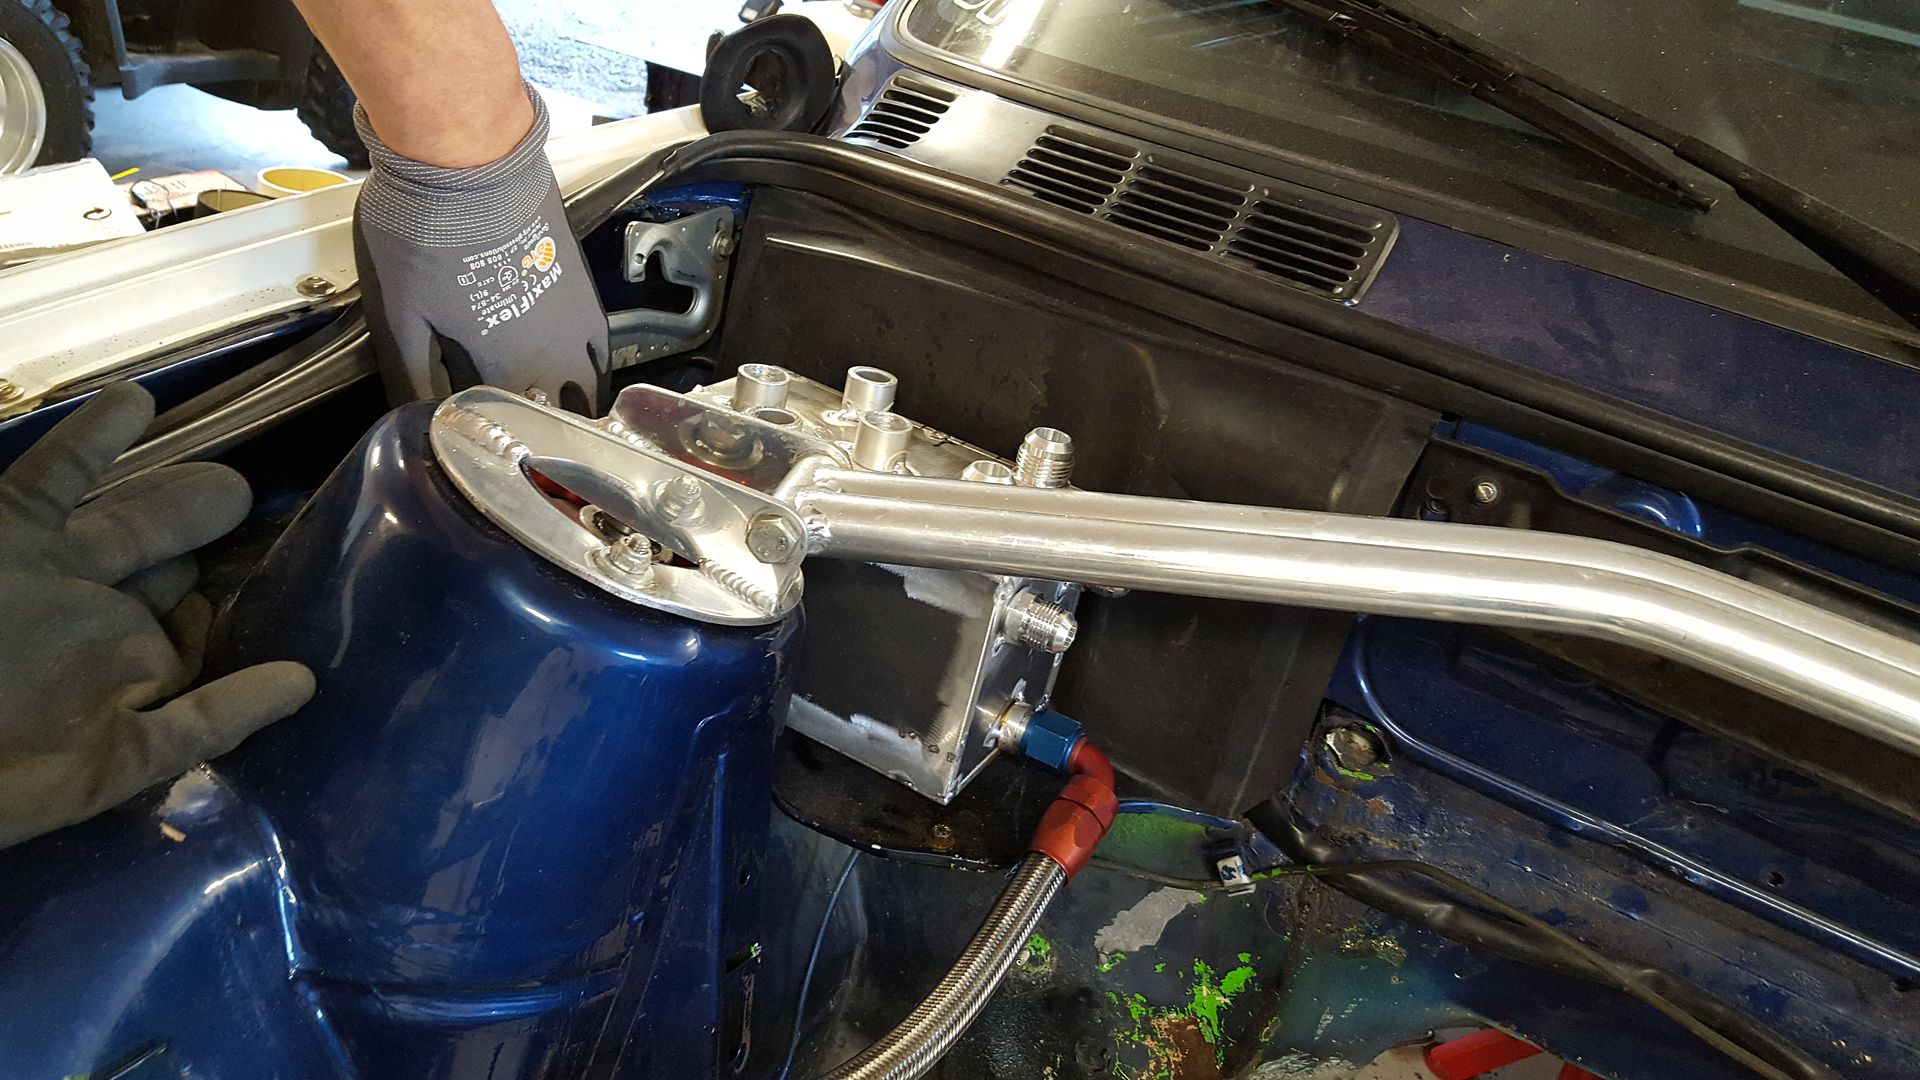
I then took the box to test in the car, and I had to modify it a bit in one corner. So I ended up with this as the final result
And this will sit in the car where the stock coolant expansion tank is placed in the M3.
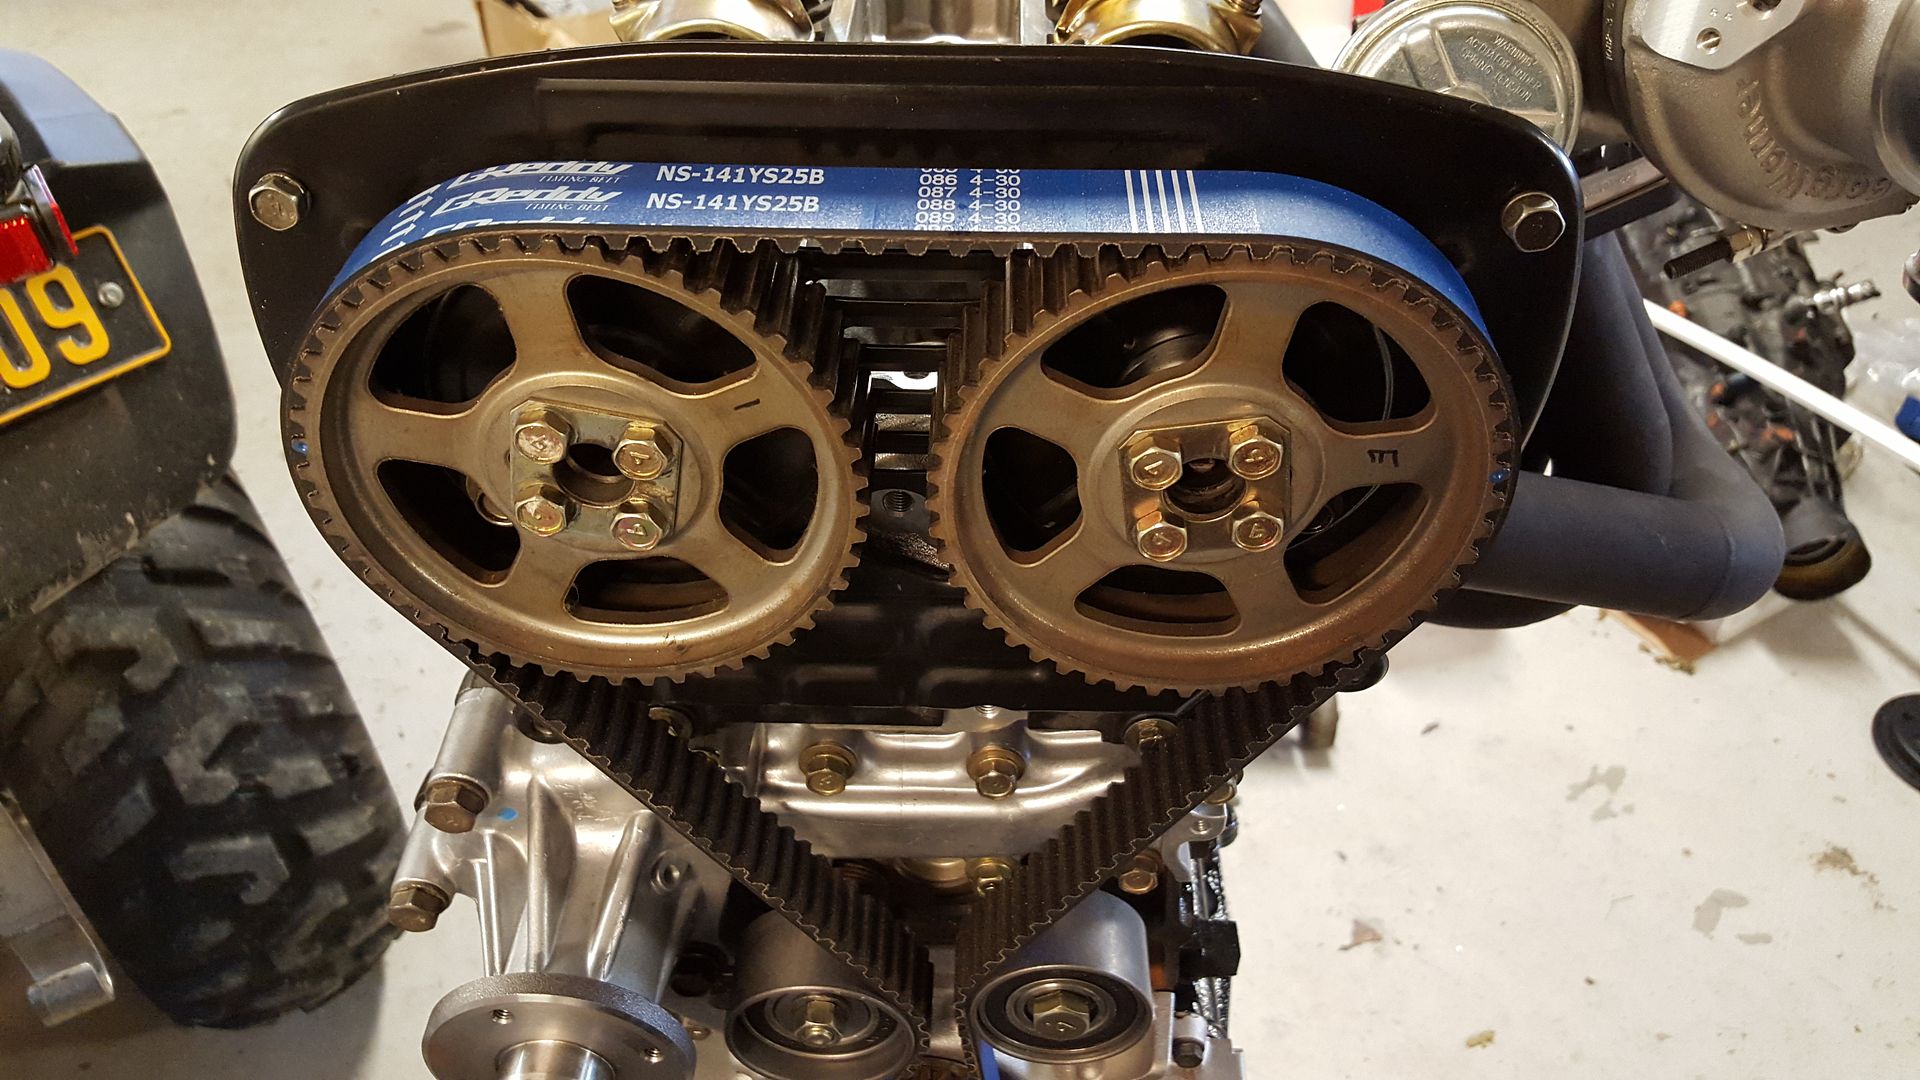
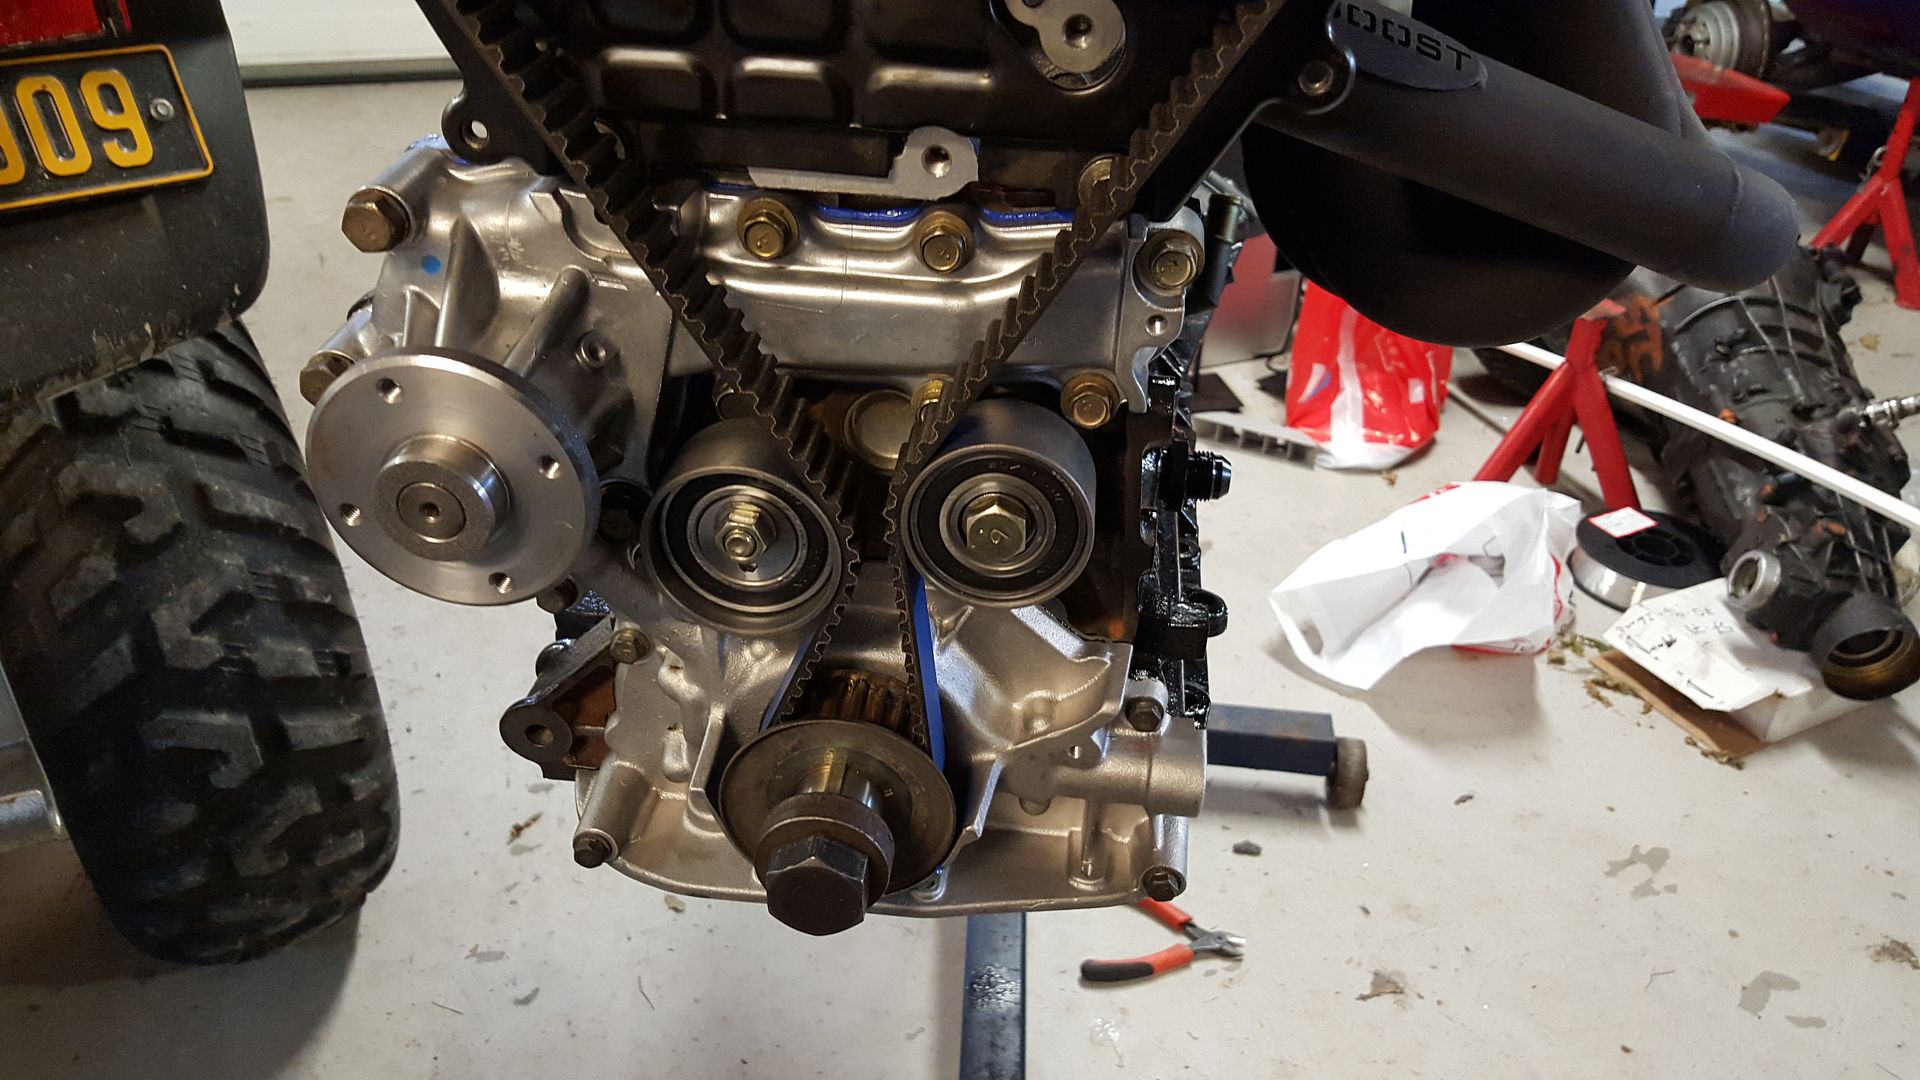
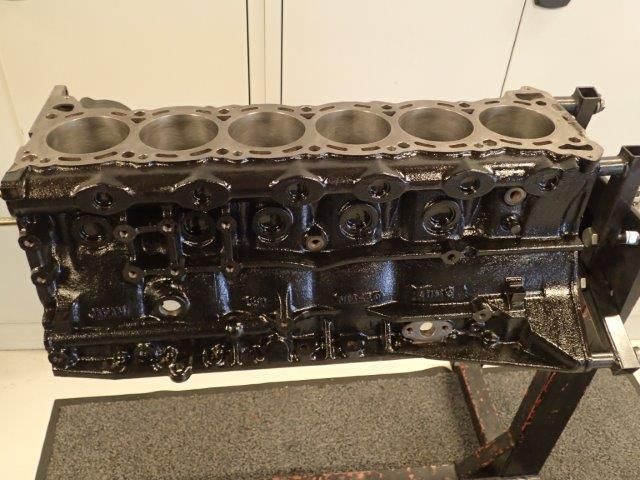
Another story is the engine. I picked it up yesterday from the engine builder and he has put down a lot of high quality man hours.
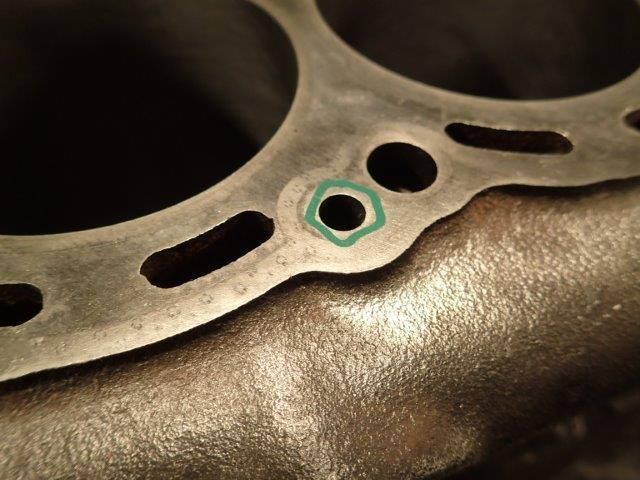
Since the RB26 suffers from a crap oil system, there is some work that can be done to make it better. One of those things is drill the oil return galleries bigger to match the head gasket. The main problem of the RB26's oil system is that when you push it hard it fills the head with oil. That results in a dry sump, the type of dry sump you don't want. And we all know what will happen then...
So, I got some photos from the builder on the job he did with my block and head. He will send me photos for the rest of the build later.
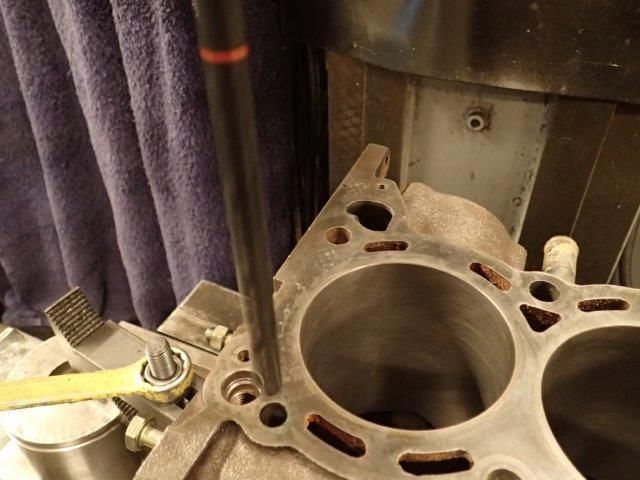
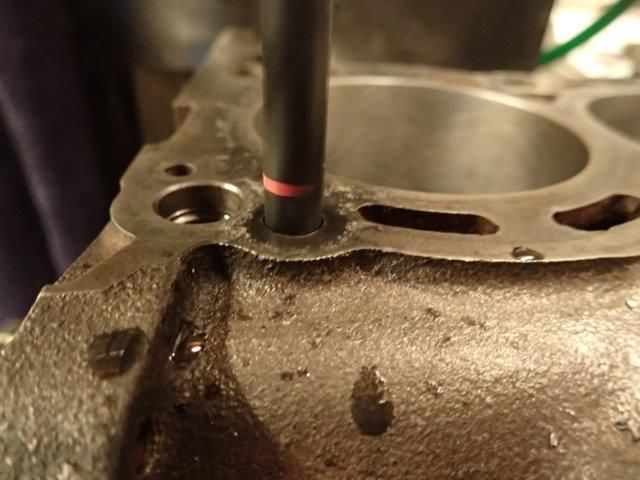
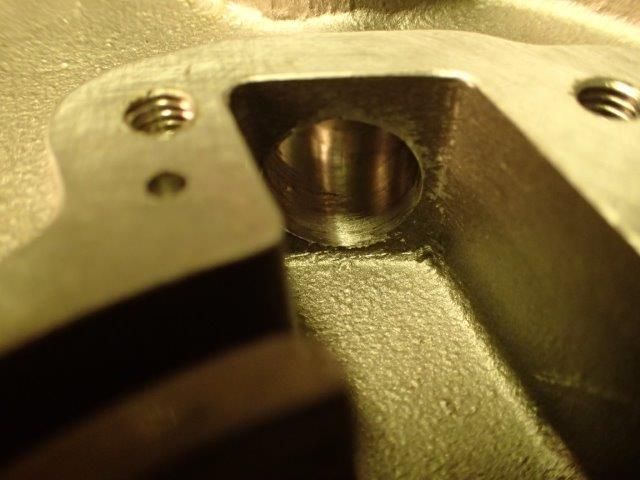
First he pressure tested and honed the block. Then he put it in the jig to drill the return holes.
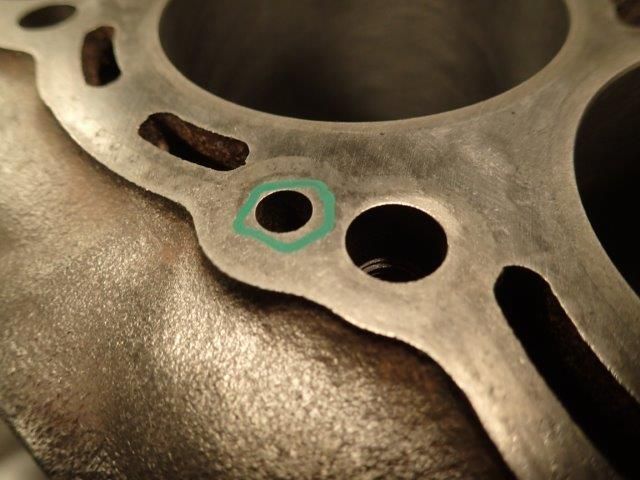
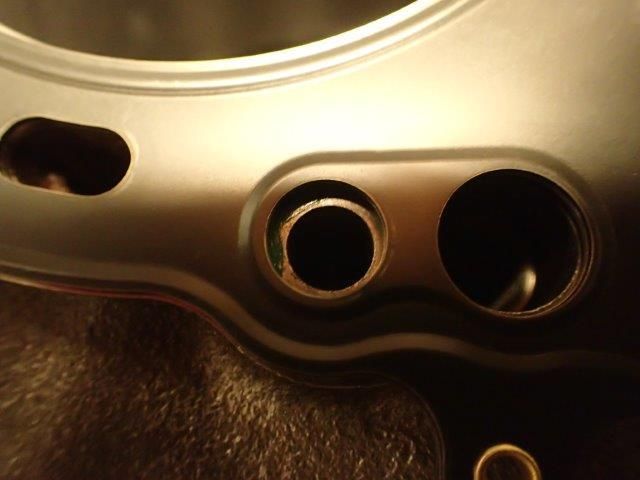
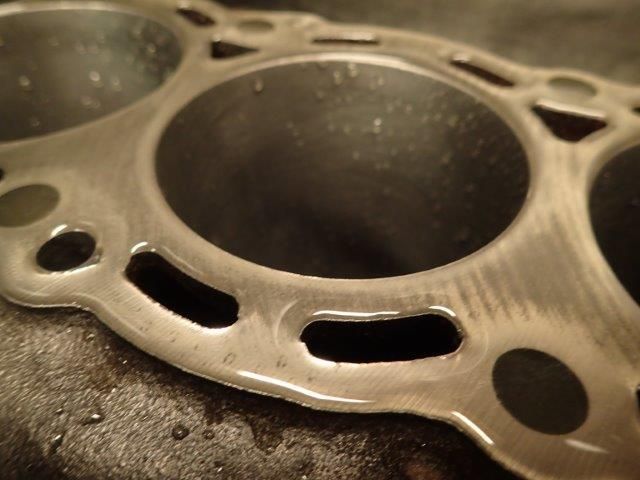
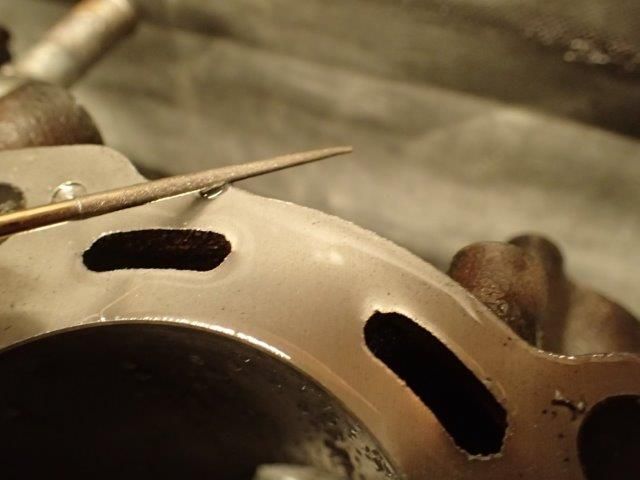
The holes for the return galleries can be seen here
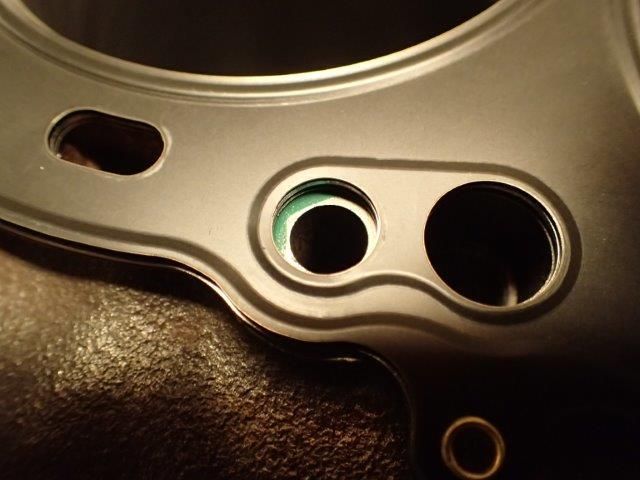
Here with the Cometic MLS head gasket
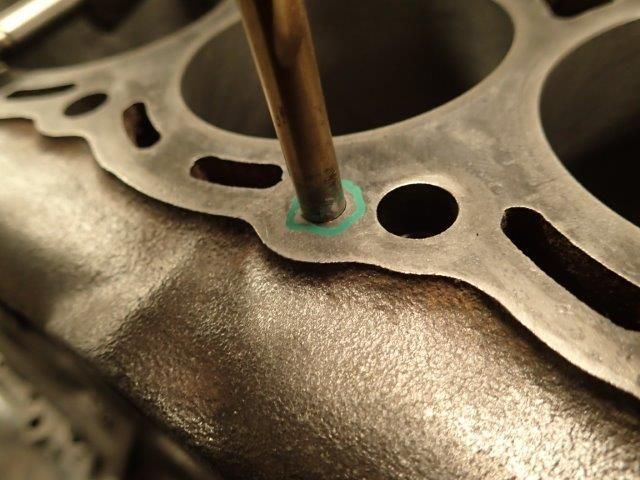
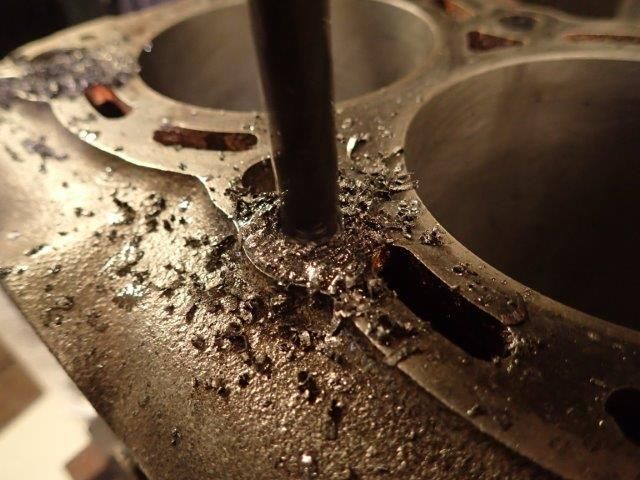
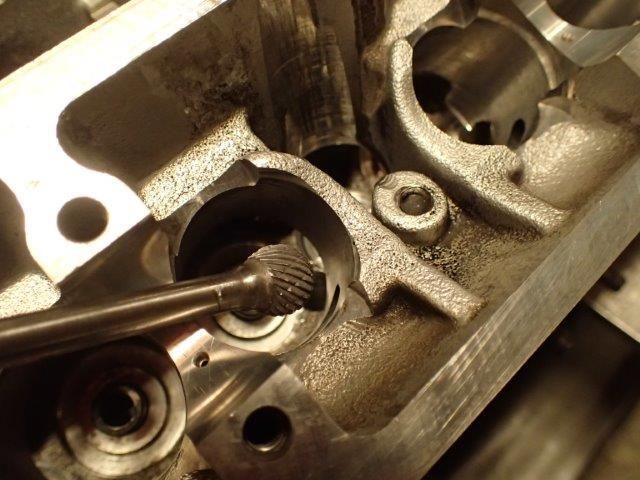
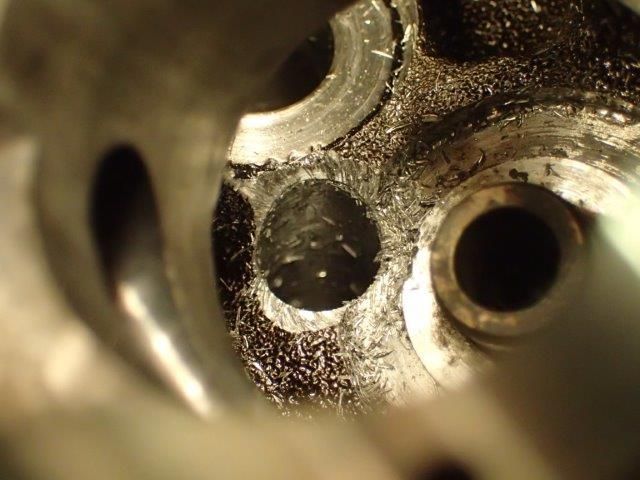
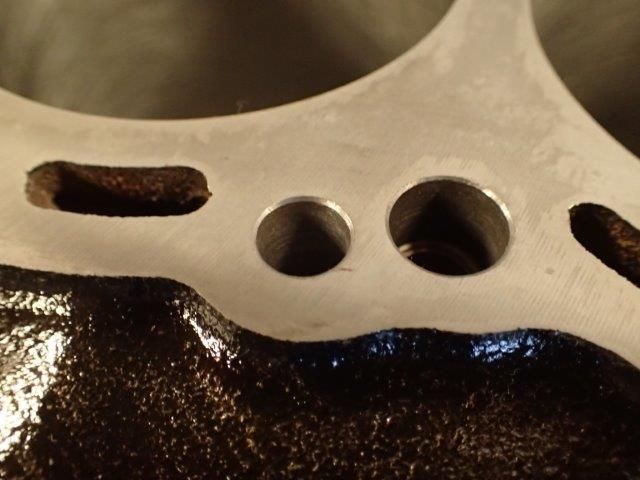
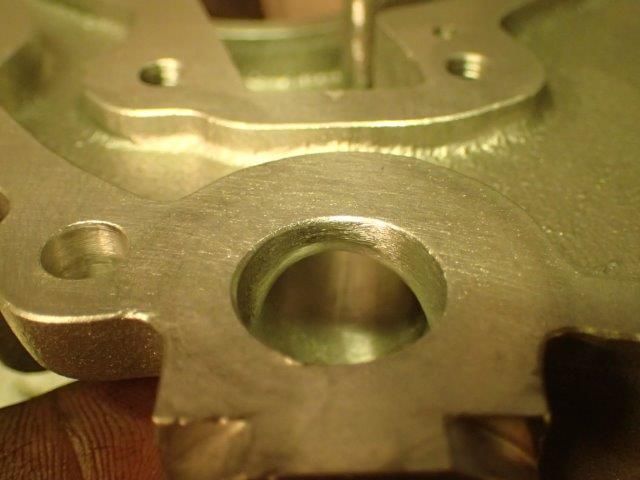
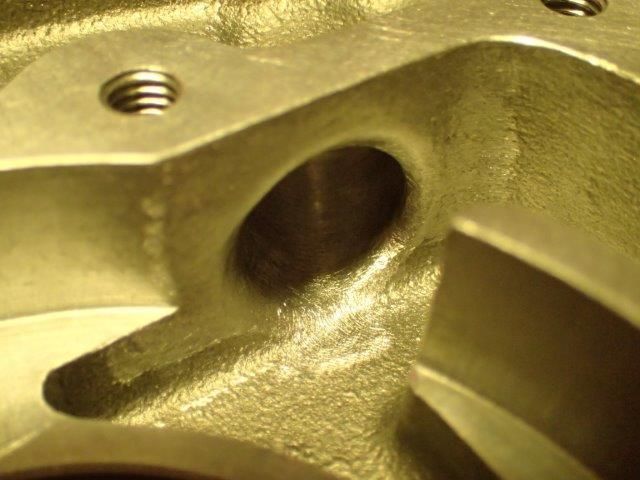
He then started drilling out the galleries
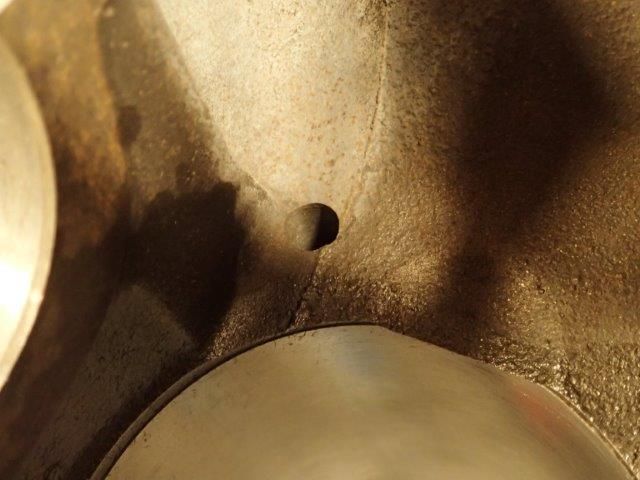
Quick look at the underside of the holes
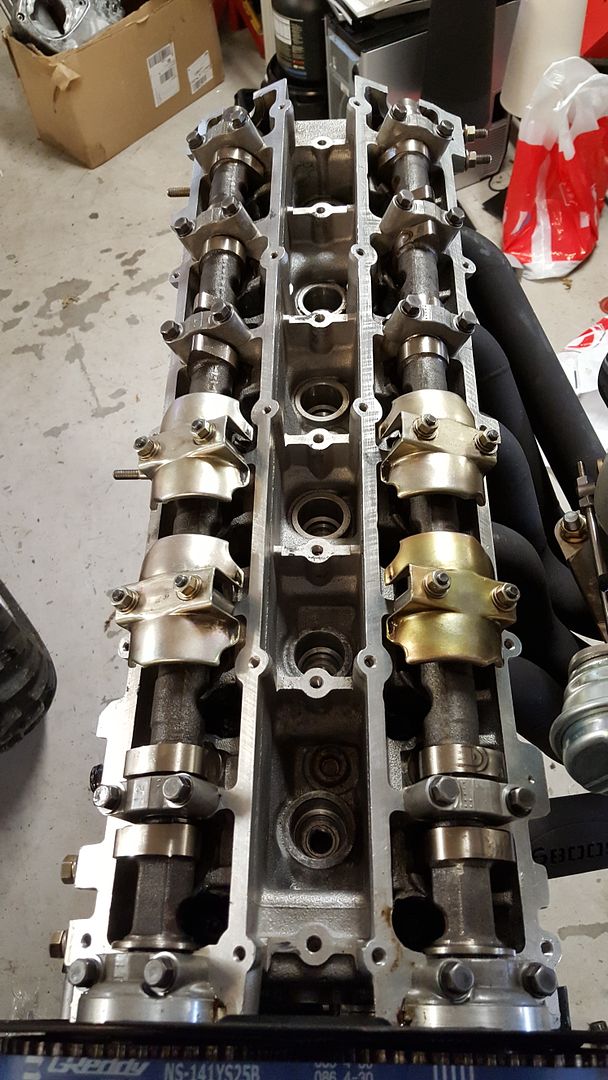
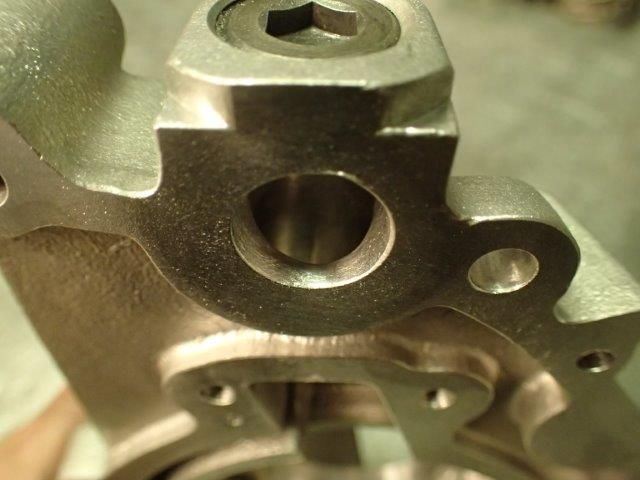
The same was done to the head
Smoothing the edges to make the oil enter easier.
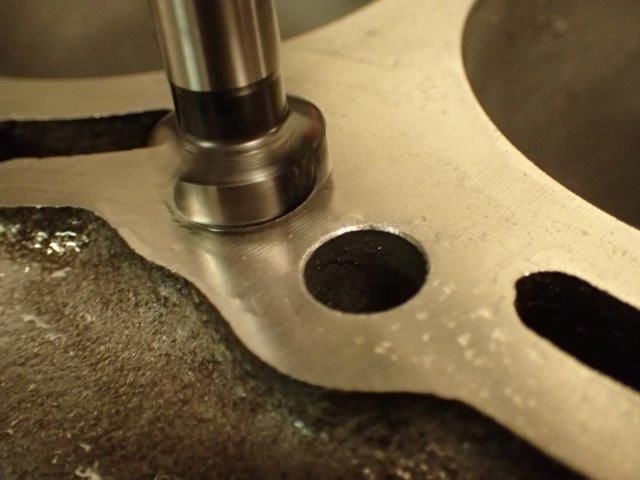
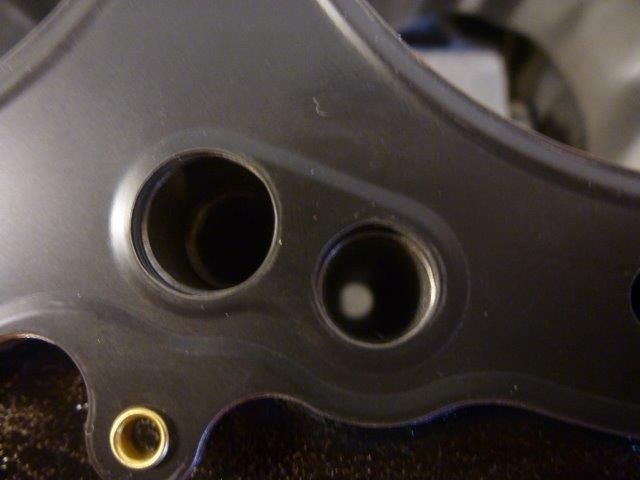
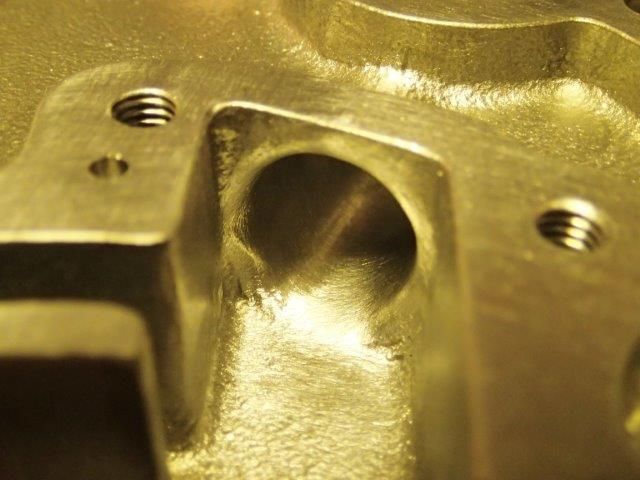
He then decked the block and mounted the 1.2mm oil restrictor.
Smoothing the edges
And the final result
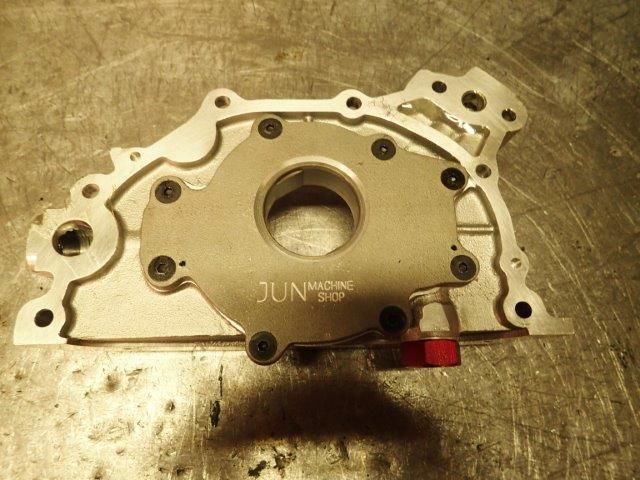
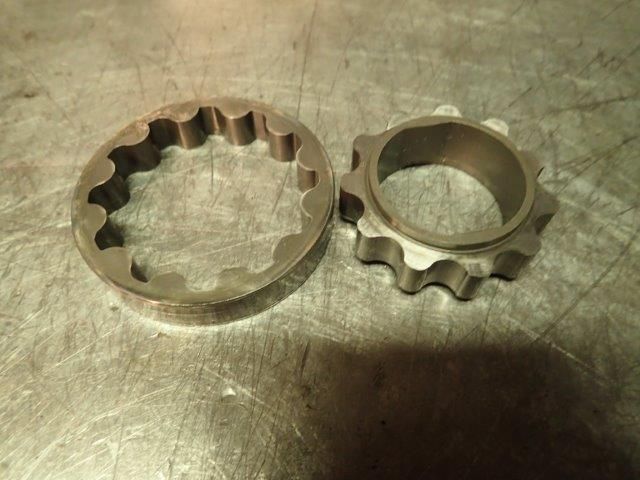
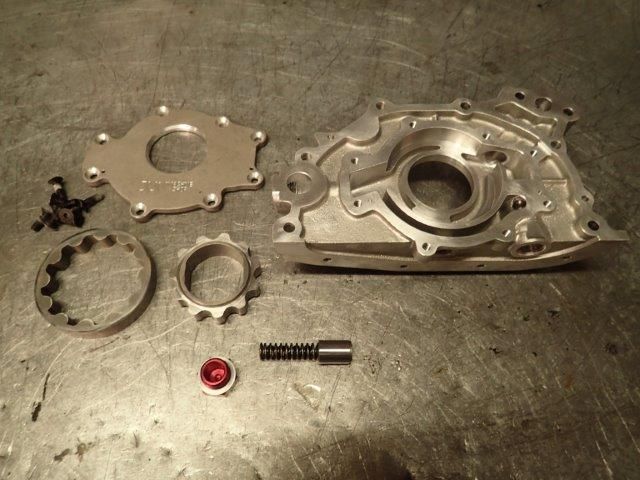
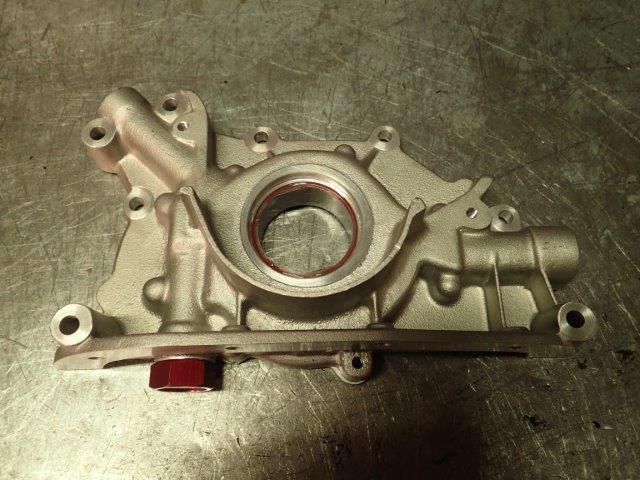
The oil pump did also get some work done. This is a JUN oil pump, which is supposed to be high quality products. This is not always the fact. Lets take a closer look.
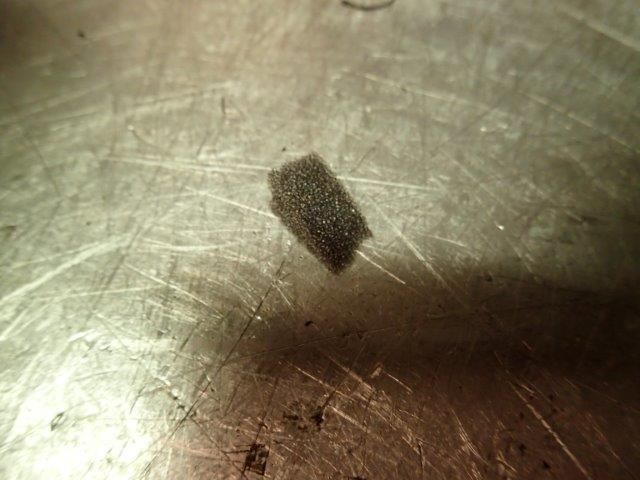
First thing that showed up was this foam piece.....
The gears was dry. No type of grease or lube on them. That would tear a lot when you are starting the engine for the first time.
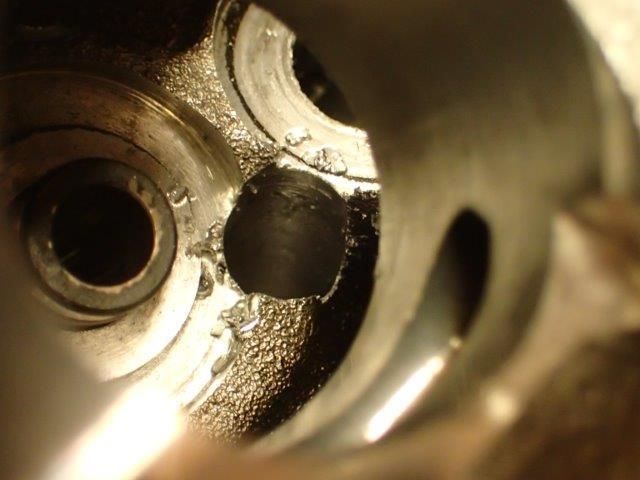
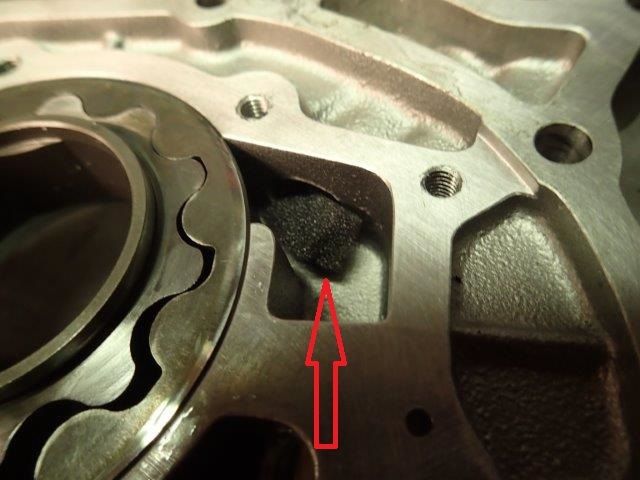
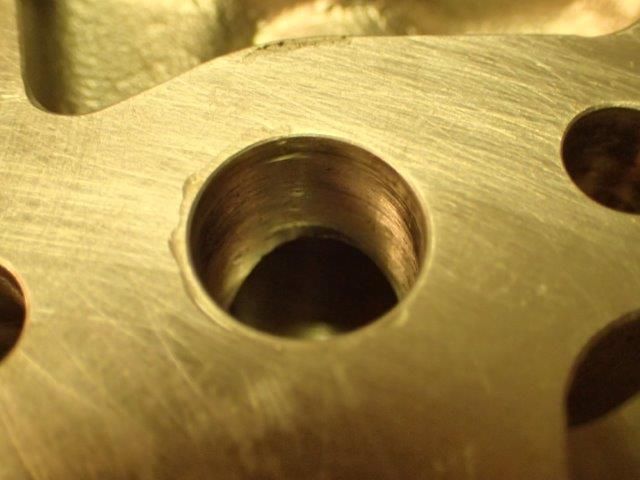
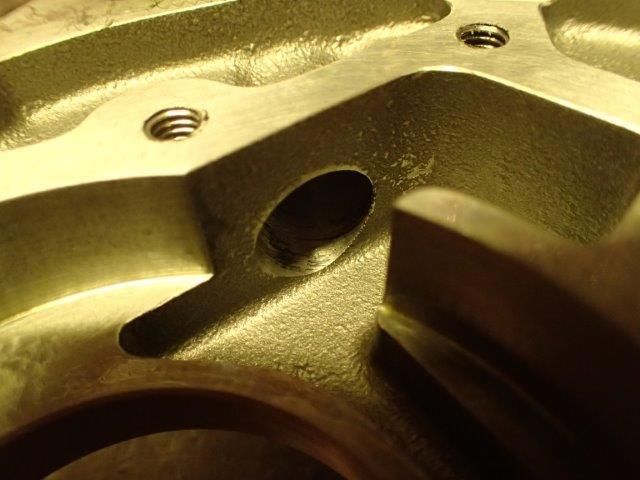
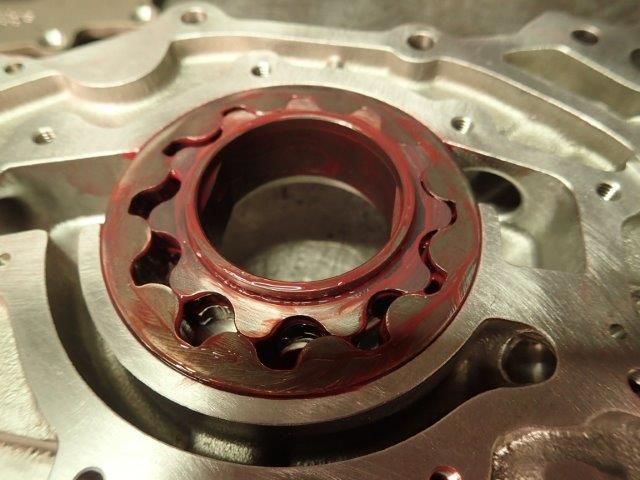
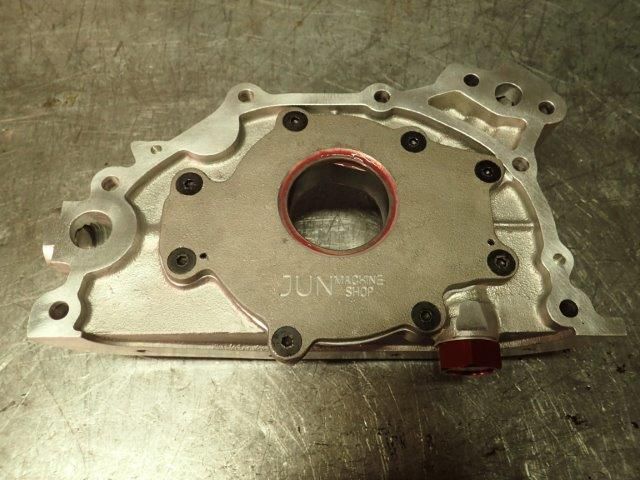
Here you can see sharp edges and no smooth machining. This is not good for oil flow.
The same ports after some porting an polishing
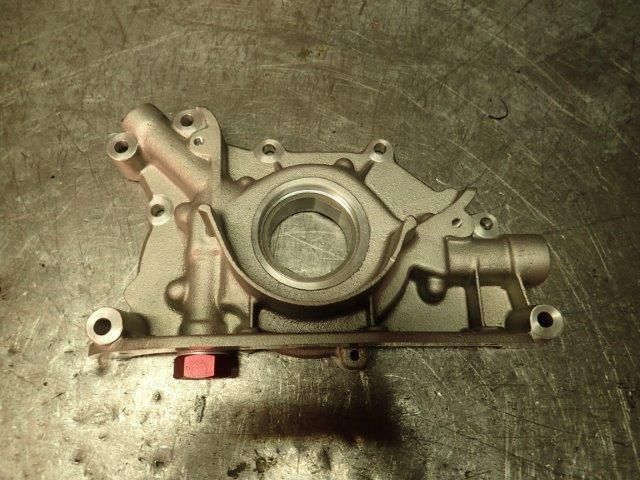
Cleaned and ready for assembly
He put on some special grease on the gears
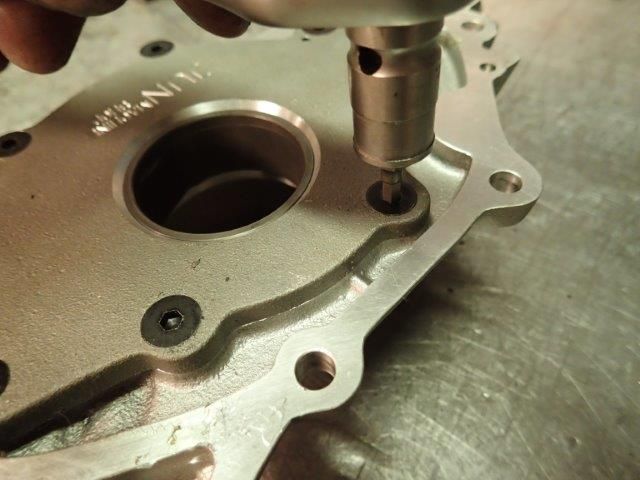
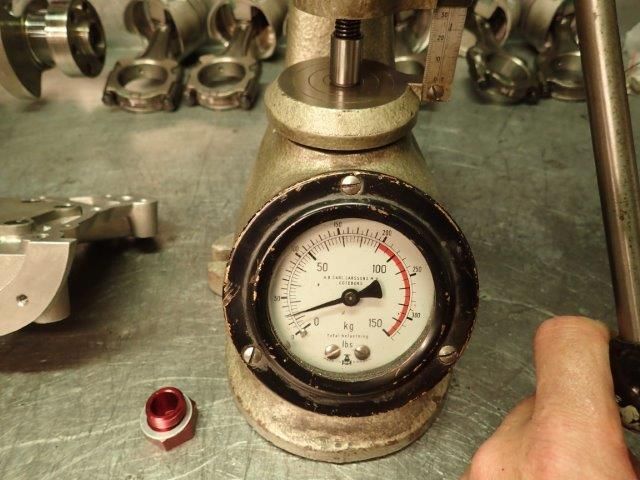
Checked the pressure preload on the spring
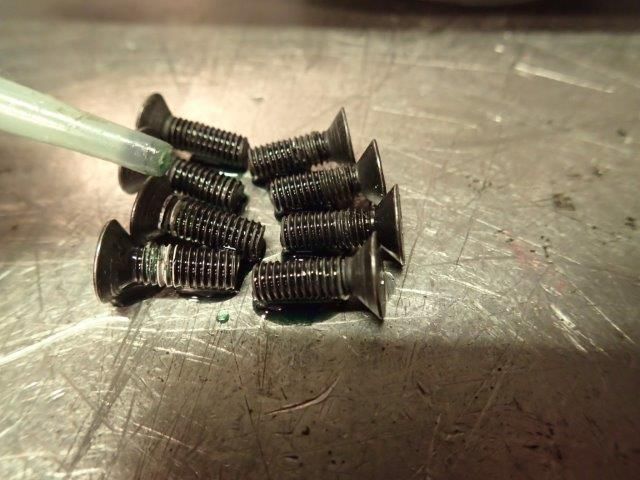
Loctite on the bolts
Done and done
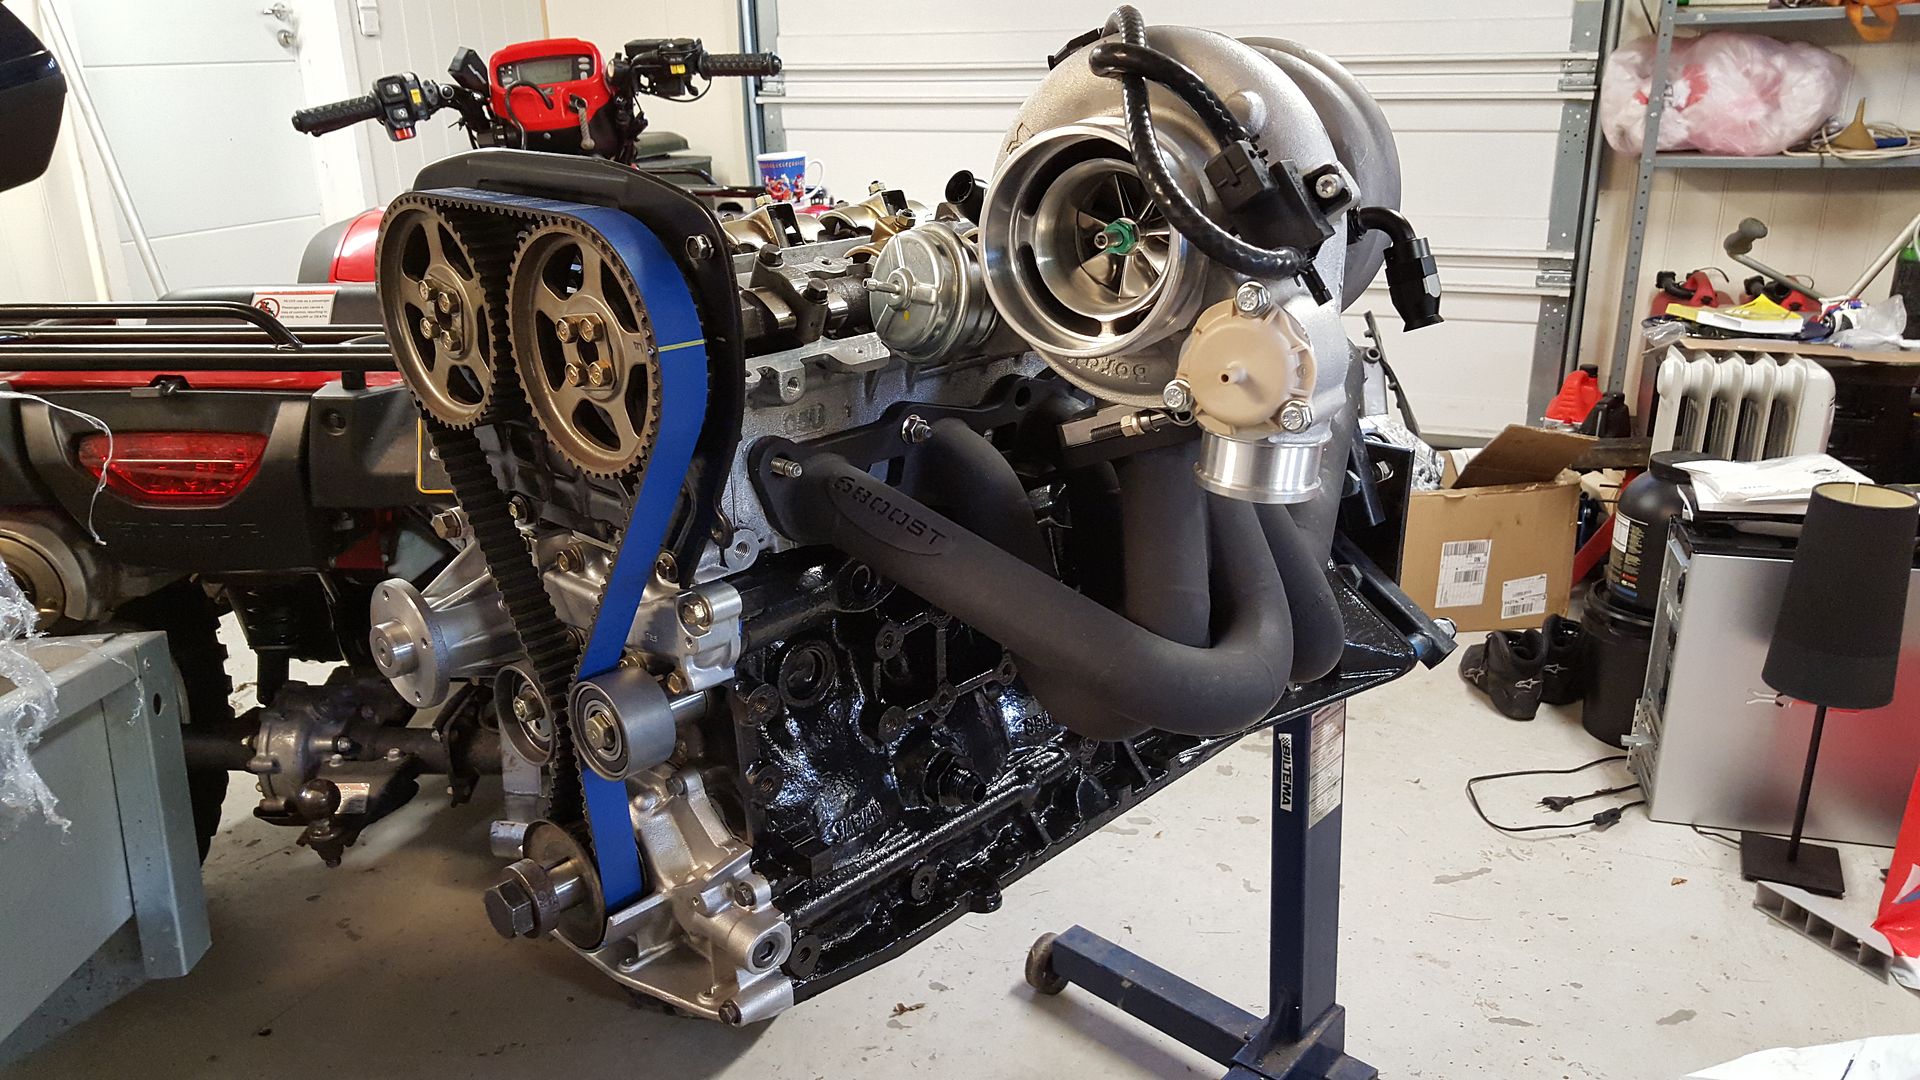
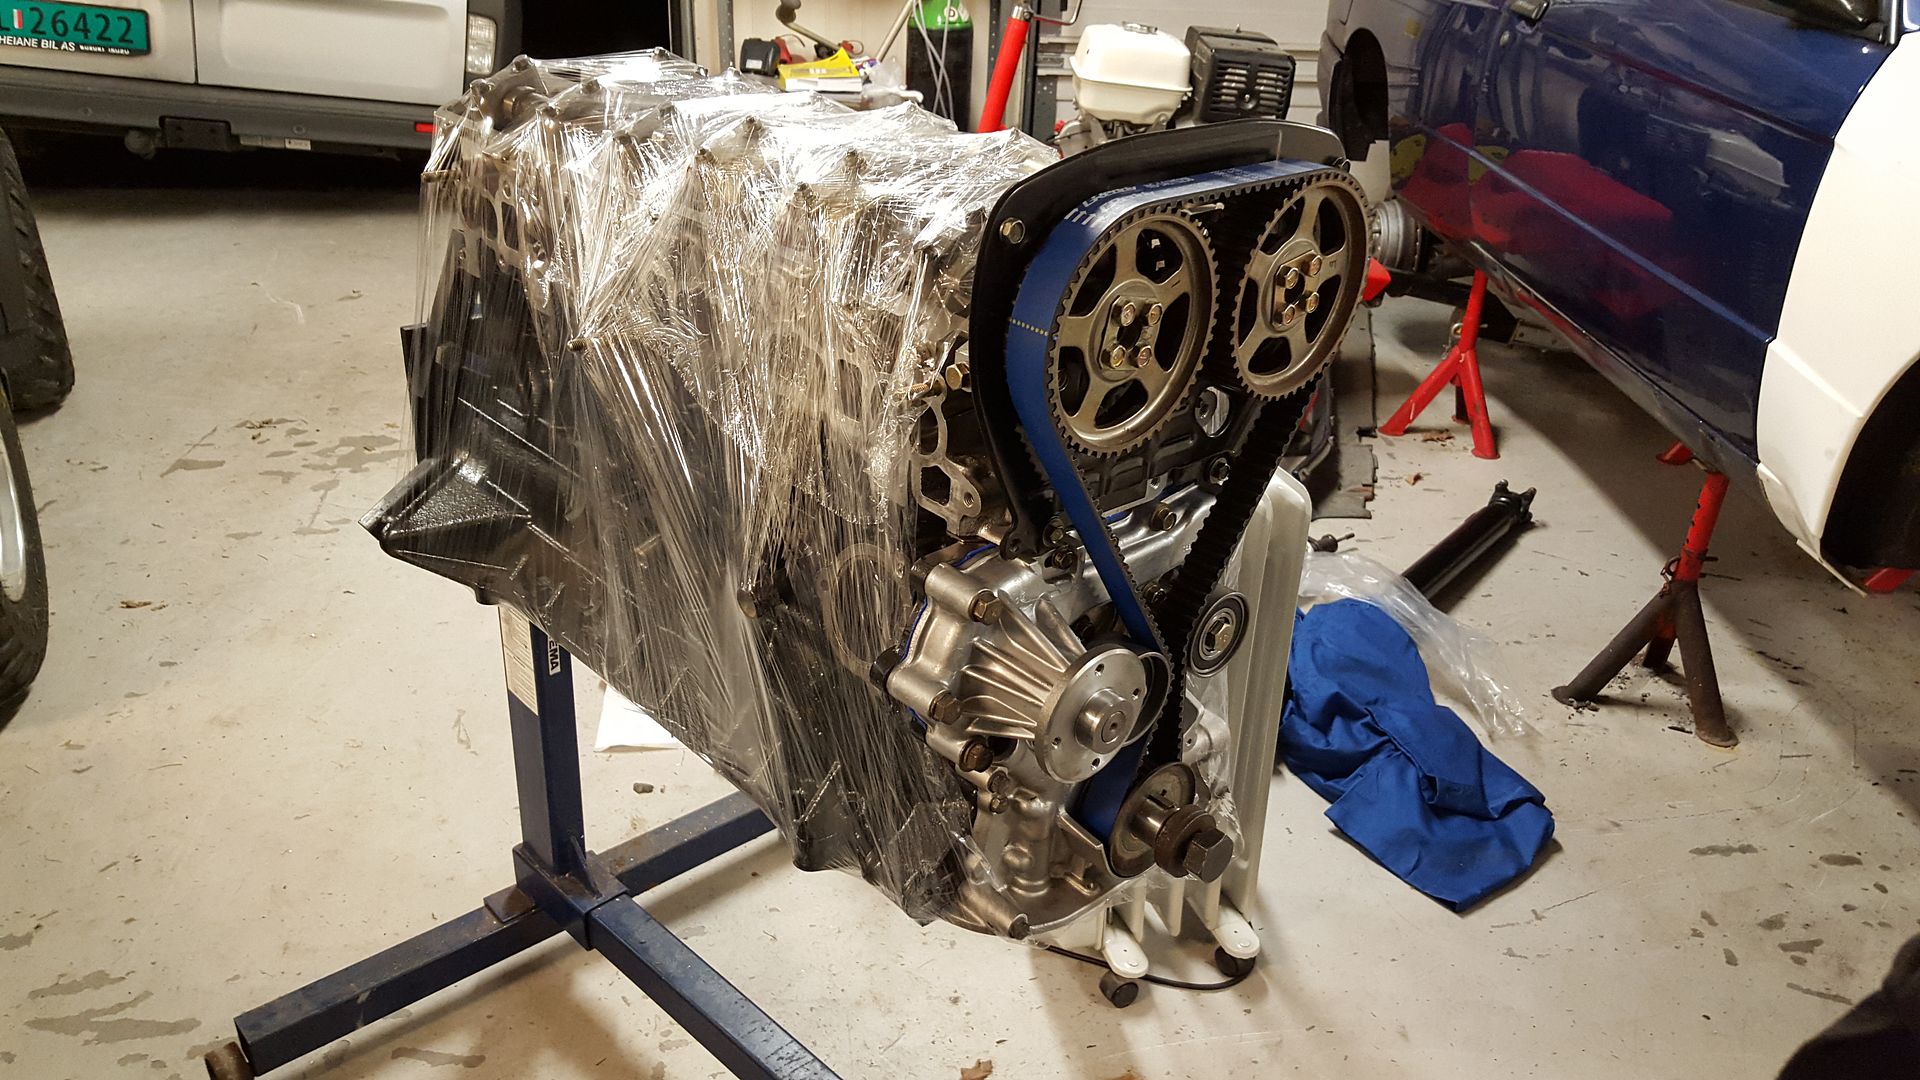
As I mentioned I picked up the engine yesterday. I was home late, so I only took some quick photos.


Leave a comment: