
Awesome project!
-
-
nice, your exhaust must sound intense
G.VerelliComment
-
Thanks guys. Yeah..I'm hoping it's a little louder than the e36 pipe, but not deafening. We will see...I'll hopefully fire it up today!Comment
-
Great projectComment
-
I like this thread. Awesome work and documenting everythingComment
-
Great build, very inspiring!
Comment
-
Subbed........great thread, ur attention to detail.....fantastic....I'm
keep it upComment
-
The exhaust sounds awesome! Much quieter than I thought though...hopefully it gets a little louder over the next day or so. I'll try to take some video for you guys. Stand by for more updates soon!Comment
-
Awesome build!-Nick Originally posted by 87e30
Comment
-
Gents,
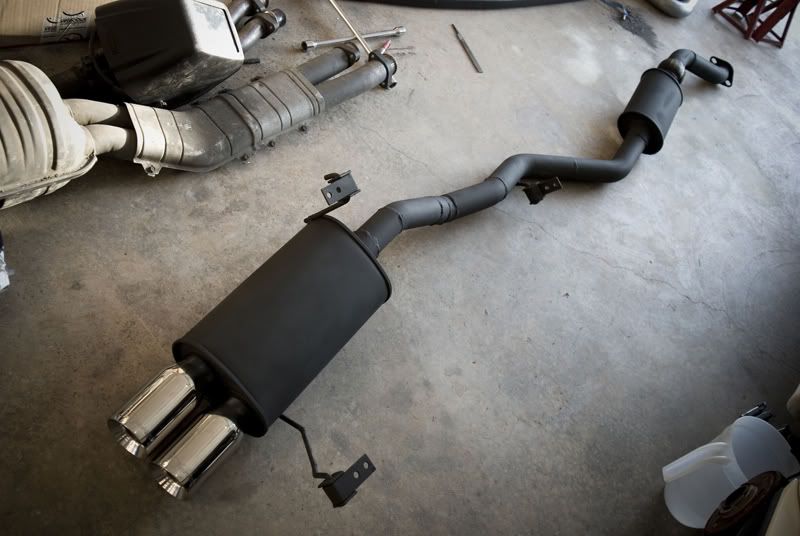
I have a few quick updates for today. So far, the exhaust was a good move...fits better, looks better, and sounds way better than stock m3 exhaust! I'll get some video this week so you all can hear it. Here is a shot of the completed pipe:
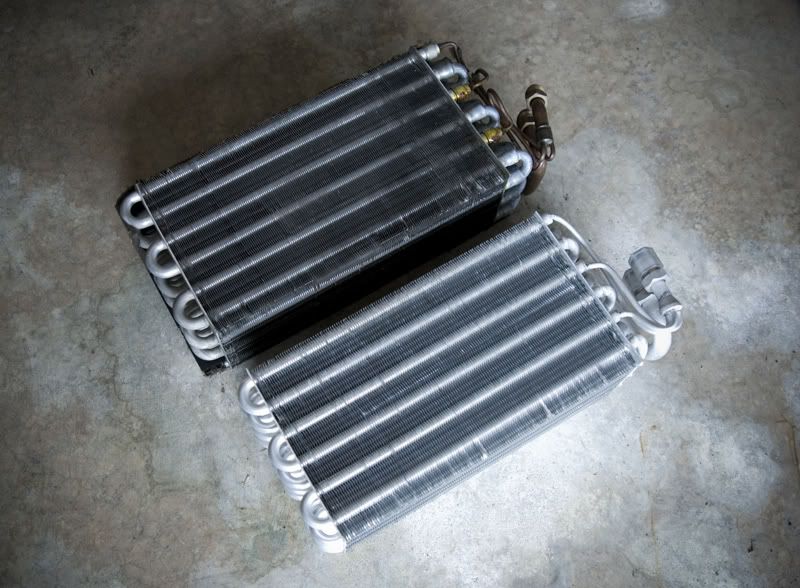
As for the AC project...I'm happy to report I have working AC on my swap; and for the first time in many years, cold air is flowing inside...what a difference in the experience of driving the car!! I ended up getting a new evaporator (chinese/ebay) and a new Behr condenser, plus new o-rings everywhere, new expansion valve, cleaned out all the lines and new drier, etc. I was going to take it to an AC shop, but I decided not to and to try it all myself with HF tools based on a DIY I found on bimmerforums. I didn't take a whole lot of pictures of the install of the various AC parts because I found it to be a little boring, but I did grab a few:
For those wondering about the chinese evap...I found the quality to be pretty good...all aluminum should help avoid the failure I had with the stock unit:
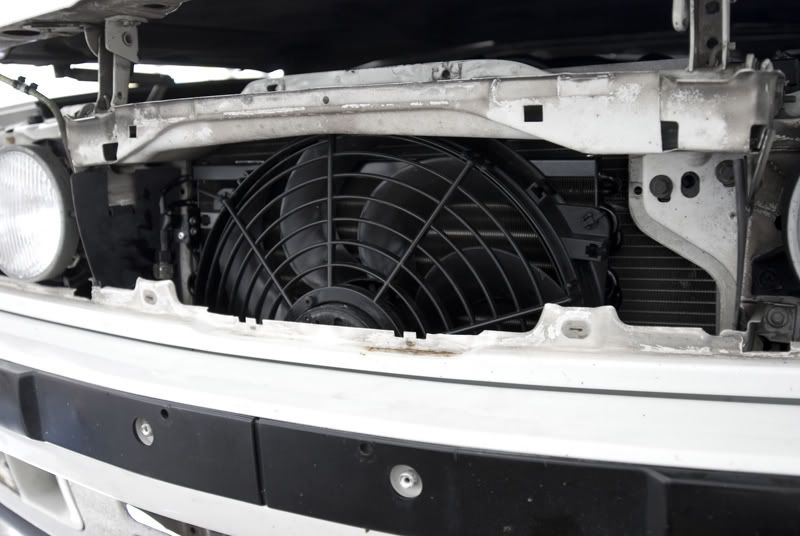
Here is the new condenser:
Like I mentioned above...I used the Harbor Freight AC manifold and vacuum pump to draw vacuum in the freshly overhauled system prior to filling with R134a. My compressor struggled to hang with the demand of the vac pump, but I did eventually get to 30" of vacuum in the system.
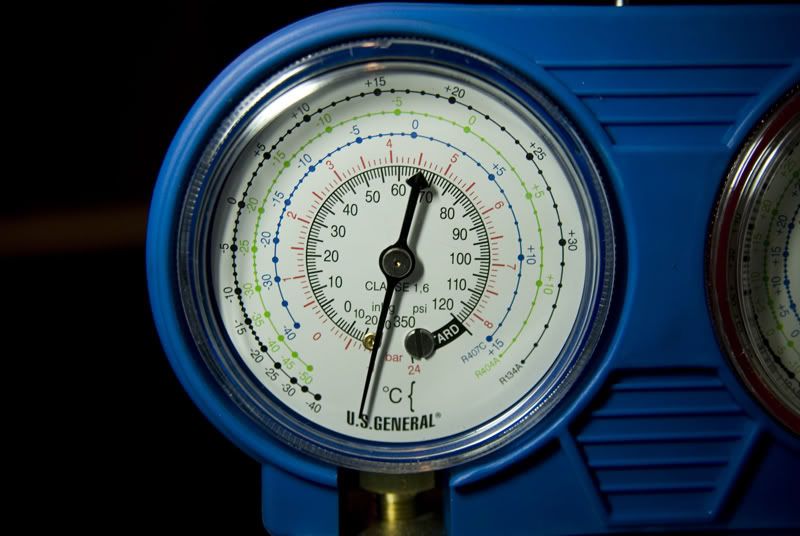
After holding this vac for over 24 hours, I deemed it a successful leak test/tight system. I then filled up the system with 2.5 cans of R134a. Cool air began to flow from the vents almost instantly and I was rewarded for my efforts. Honestly, this was much easier than I thought and super exciting all at once...money well spent; especially in the face of the forthcoming Mississippi summer!! I am pulling about 50F vent temps, we will see how it does when it gets hotter. I was worried R134 wouldn't be cold given what I've read on here...but it actually works well in a tight system that has been properly evacuated prior to filling.
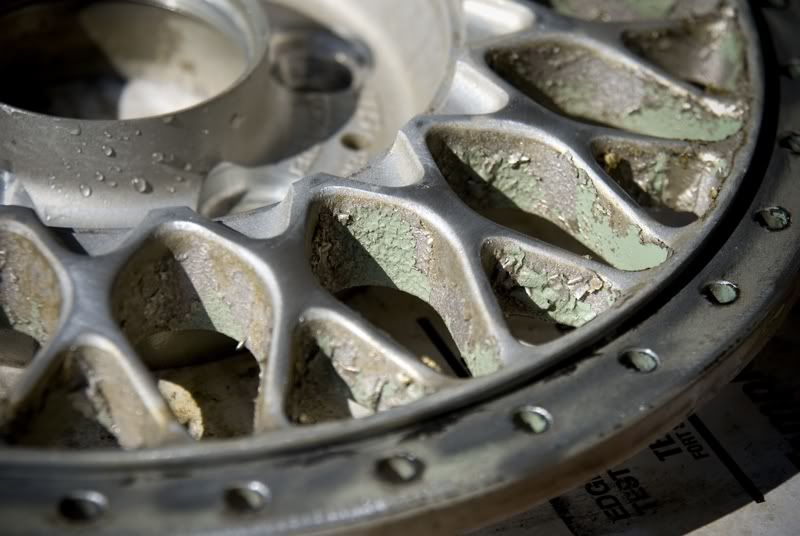
Now that I'm done with the AC, my next big project is the wheel restoration. So far I have broken them down, cleaned the old sealer off all the faces, barrels, and lips and began the faces for paint prep. One of the wheels had so much paint on it, I couldn't even read some of the center markings! I opted to use aircraft remover on it...once I did, I could see 4 distinct colors the wheel had been....yikes. It is the only one like that, so I'm lucky...I also now know I don't have an all original set. Doesn't really matter, but interesting nonetheless. Here is the heavily paint-laden wheel being stripped:
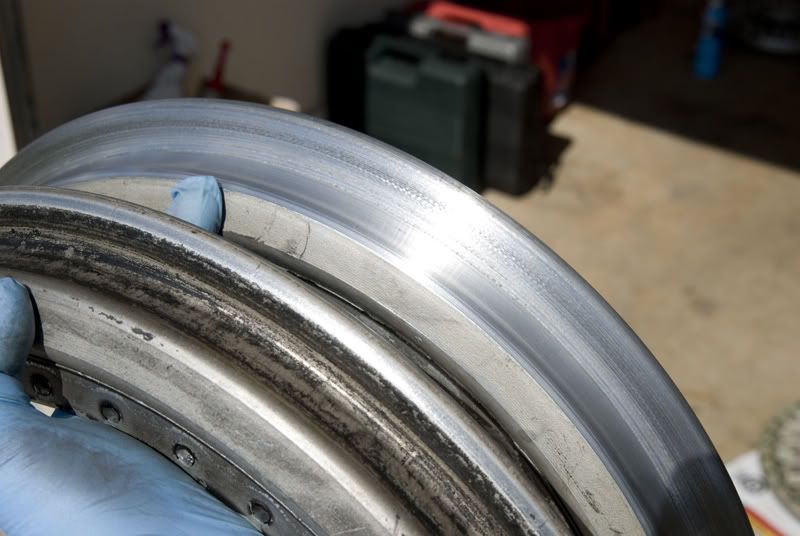
I also used aircraft remover on the lips to get the clear coat off before I begin polishing...no pics, but I fixed all the minor curb rash yesterday and they are ready to be polished up!
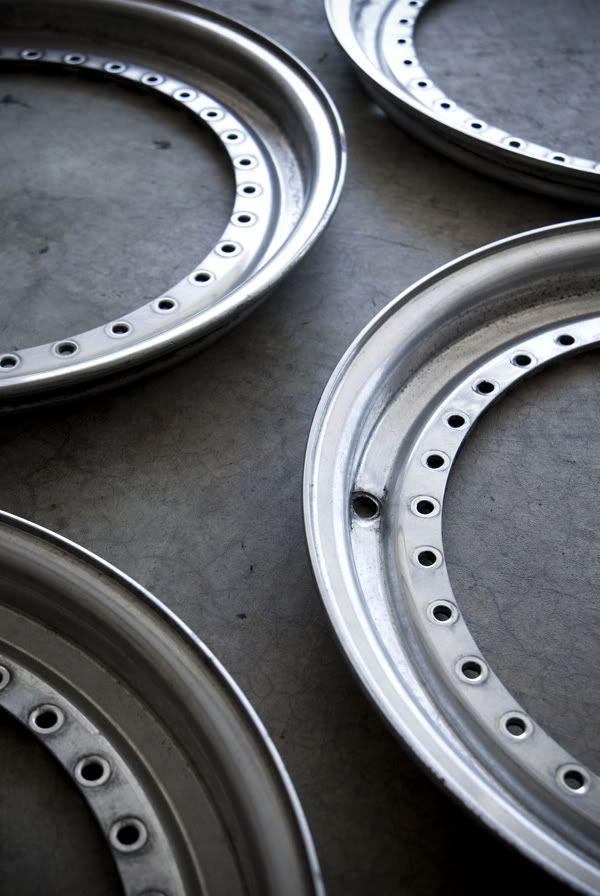
A lot of general clean up has been done to both the lips and the barrels...lots of old tire residue!!
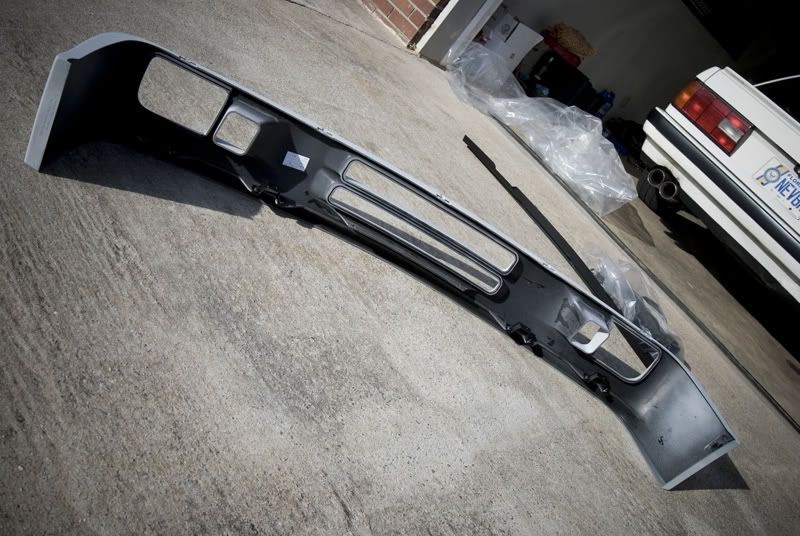
I should have pics up soon of progress involving paint and polish and then assembly. Here is a teaser of my next upgrade...should hold you over for next time! Thanks for reading!
Comment
-
awesome thread man! I like how you have everything clearly written out and documented so well. Interested in the new exhaust video :) Keep up the work!Comment
-
Great update and congrats on the a/c conversion. I did it last spring on my wife's E30 and I was also pleasantly surprised at how well the R134a cools. Really couldn't tell the difference.
Curious though--when you charged the system, did you have a digital scale to accurately weigh the freon? I'm sure you know that's very important.Comment
-
such a sick build, keep up the good work.'90 325is DD, 5 spd swap-H&R springs-Euro Headlight Fully Built OBD1 M54b30. Ox Blood interior, 3.46 LSD with Z3M Diff Cover. Custom shifter, every bushing replaced.
'86 325e- Donor car for swap/parts car
'00 323i- BBS 197s Totalted
'89 740 turbo Volvo- Donated


Comment
-
-
Comment


Comment