
This is how I start out...

Tape off the surrounds and the amber.

A little overspray os ok if the original red is not sealed because I sand it down anyway.

Use as directed on the Metalcast can. It is easy to work with.

I then put as many coats on it to match the original red.

The must be about 3 coats on these.

I may have given it a day to dry. Then I wetsanded using 1000. Then I taped off the reverse.

2 coats of metalcast to the whole lens.

Tape removed. This is without sanding.

Now its time for work. Wetsanded with 1500 the whole light. I had some fisheyeing going on but that is ok as long as its sanded out.
BTW, I used my hand to sand, not a pad.

With and without sanding.

These are ready for clear.

3 good coats of clear brings it to this. I forgot to take a pic of the prodect and will try to post a pic of it here later.

There is no shot if it but again, wetsanded with 1500 till the complete surface is without pitting or any fisheyes.
I like Malco products and this one is one of my favs. UFC compound takes out >1500 so it was the perfect application. With a yellow Majestic pad and my trusty HF special, I went to work.
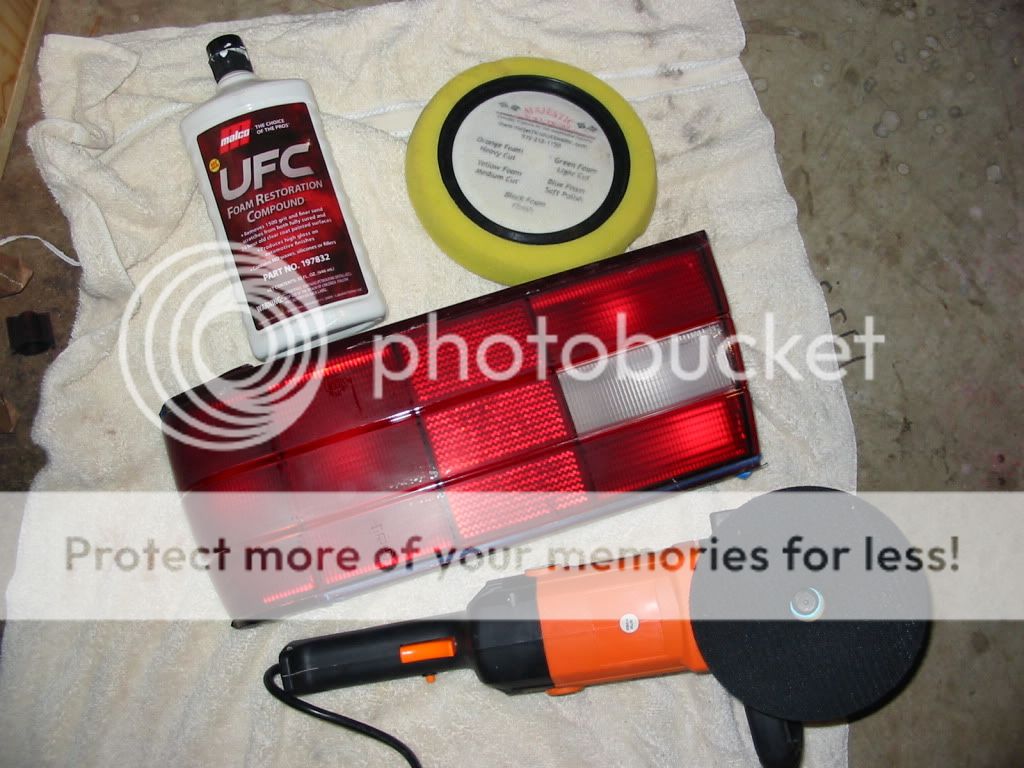
You can see some swirling so I went with some swirl-x.

I think they came out ok...for being done in my garage anyway.


This is my comparison from what I did nearly 6 years ago using just the Testors paint technique. Man, that was a sorry attempt but I at least learned how to do them better.

ewww....


ahhh.... much better. The new still need to be cleaned some and waxed but in due time.


The end....for this chapter.
Cheers!


Leave a comment: