-
-
Did a bit more work the last few days. Pulled the oil pan back off and took a closer look at what needed to be done. No pictures of it, but basically I am going to build in a thin plate that will cover the opening in the bell housing. Waiting on the stock cover plate from Blunt so I can figure out what that covers, then make another plate to cover what ever is left open.
Also worked on drawing up the exhaust header flange. Started by cleaning the stock manifold so it was clean enough to bring out of the garage. Then had to dry it.

Dryers are very useful!
Then got it drawn up in CAD.

Cut it out of cardstock on my plotter.

And test fitting.


I'm going to enlarge the stud holes by 1mm in diameter just so it is a little easier to slip on, but other then that, it fits perfect. Now I can have it waterjet cut.Last edited by AndrewBird; 05-08-2016, 08:30 PM.Comment
-
Excellent to see a bit more progress on this!Comment
-
how have i not seen this thread, this is epic!!!! so much craftsmen ship.Comment
-
Got some parts from the waterjet man.

The two aluminum pieces are going to be part of the intake manifold and plenum. The big plate is what the intake tubes coming off the flange that mounts to the head will be welded to. I will be milling a step around the outside edge for the smaller aluminum piece to sit in. This piece is what the airbox will be mounted to. I'll likely build that out of fiberglass, but am considering aluminum.
The other part is the exhaust header flange.


Had it cut out of 3/8" thick steel so there won't be any issues with warping. Made the ports slightly bigger then the head so I can flow match the head to the header. Now I need to buy some tube!Last edited by AndrewBird; 05-08-2016, 08:31 PM.Comment
-
my friend is doing some 2006 toyota engine swap in his mg. ur a freakin genius thosigpic
1985 325e - wrecked :( (being fixed and full paint job)
http://www.r3vlimited.com/board/showthread.php?t=197989
the horrible day
http://www.r3vlimited.com/board/showthread.php?t=210850
1991 318i - in process of being made a DD
http://www.r3vlimited.com/board/showthread.php?t=219793Comment
-
More progress on the intake manifold. Started out using a block of wood to mock-up the length the tubes needed to be.


Once I figured out the tube lengths, I cut them and then re-shaped one end into an oval to match the ports.


Here is a picture of them sitting between the two plates, essentially what it will look like when done.

And yes, there are only 3. I ran out of material, so I have to order another foot of it from McMaster. Ugh.Last edited by AndrewBird; 05-08-2016, 08:33 PM.Comment
-
Excellent fabrication work! I love checking in on this thread.'88 528e /// '88 M5 /// '89 951 /// '98 E430 /// '02 M5Comment
-
Got a little bit done tonight. Replicated an emblem that goes on the rear of the car in vinyl. Going for that Lotus look. :)

Two tone chrome and black. The clear transfer paper over the top mutes the chromes shininess.

The black ended up slightly miss aligned to the chrome, so I will need to make another, but other then that, I am happy with the results.Last edited by AndrewBird; 05-08-2016, 08:34 PM.Comment
-
Finished up all the pieces for the intake manifold tonight. Used hot glue to hold everything together while I fit the tubes to the plates.


Going to have my cousin TIG weld it all for me, so that will save some cash. Probably mail it to him this week.Last edited by AndrewBird; 05-08-2016, 08:35 PM.Comment
-
waiting on huge updateComment
-
I saw you were using wooden dowls to shape the tubing. Could you elaborate on the proses you are using to shape the tubes a bit more? I find it very interesting!
Great work!!!sigpic
"The bitterness of poor quality remains long after the sweetness of low price is forgotten."
Comment
-
I started out making a plug to fit into the tube to use to keep one end from getting distorted while shaping the other end. I made it a tight fit so it would not fall out. Then I clamped the other end in a vise and squeezed it until it was the correct size across the opening. This get's one dimension correct, but ends up making points at the "folds" of where the tube is being squished. To fix this, I pulled the piece out of the vise and put a clamp across the sides that were just in the vise. I only tightened the clamp enough to hold it in place. All it was used for was keeping those side from bulging back out. I then put the piece back in the vise and squished the pointed sides, making them flatter and the corners more round. After this rough shaping, I then used the wooden block I shaped into and oval and a hammer to fine tune the shape until it was correct. Takes me about 20 minutes to shape one tube, though the first one (test tube) took a lot longer. I wish I had pictures to help explain, but I didn't take any of the shaping process.Comment
-
That makes complete sens to me. Thanks.sigpic
"The bitterness of poor quality remains long after the sweetness of low price is forgotten."
Comment
-
Stoked your acctually doing it, I wish you bought my old m42 now! haha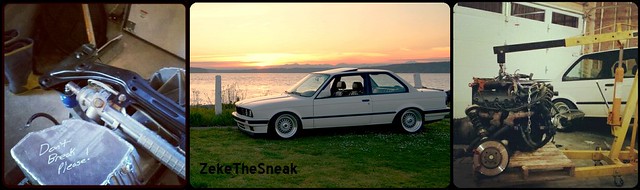
Comment

Comment