-
-
E30+Turbo=Funsigpic:):)Comment
-
limes limes limesComment
-
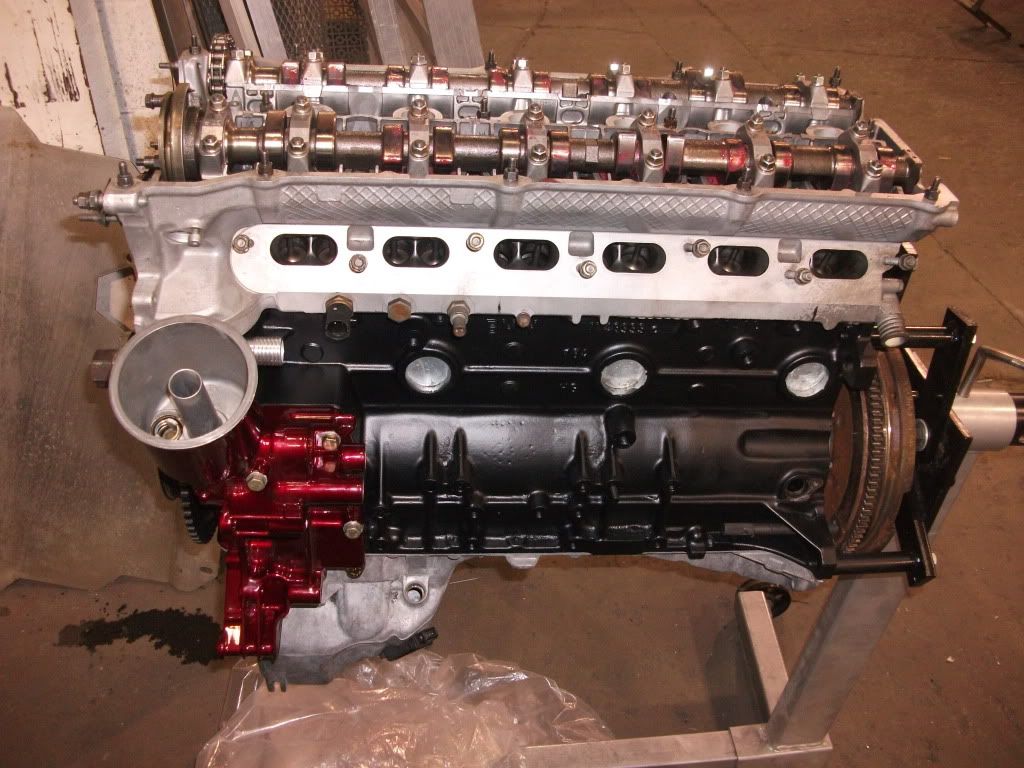
Okay here is an update for you guys, the last pictures of the motor on the stand. Should be in the car shortly.
S52 cams installed.

Ceramic coated blunttech/Good'n'tight manifold.

A couple pictures of the front of the engine with the accessories installed and the turbo set in place


Comment
-
Looks like candy
sigpic:):)Comment
-
Okay, this thread is in desperate need of an update. So here it goes, to start lets go all the way back to late April. Due to the issues I was having at the time I didn't take alot of pictures. So engine went in at the end of April, here is the only picture I have of that. I had to stand on the tranny to get enough angle on the engine to clear the core support.

After I put the engine and tranny in and installed the shifter I found that my ZF tranny had the dreaded 5th gear lean. I felt so stupid for not checking before installing the engine and tranny. Oh well, the tranny had to come back out to replace the shift pins. Here is a great link detailing the shift pin service http://webspace.ringling.edu/~dplass...hift_pins.html. I would also like to give a HUGE thanks to Jeff from my local BMW forum for machining the drifts. They worked beautifully and the job would have been impossible without them. The top shift pins were super easy.
Old shift pins out, and new sleeves installed.

New shift pins and springs installed.

New caps on.

The 5th gear and reverse shift pins were a TOTAL pain in the ass! I was actually so frustrated doing them I didn't take a single picture, but they did get done.Comment
-
Now onto the next issue. My dad and I rent a garage to work on our project cars, and unfortunately at the end of April we lost the garage we had been renting for the past year. Which means we had to find a new space to continue our builds. We did, and we packed up the cars along with all of our parts and tools and moved them to our new space.
There is something you don't see everyday!


Carefully bringing them up the driveway.

And safely resting in their new home.


Comment
-
Ready for some good stuff? How about intercooler fabrication? I started out with a Forge motorsport 24''x12''x2.5'' intercooler. I wish I would have taken some pictures of it before I started because I modified the end tanks quite heavily. After test fitting the intercooler with the original end tanks I was disappointed to find it would not fit between the frame rail with the inlets up at the top. I was also dead set against having the inlets at the bottom because I didn't want the hassle of having to run the boost piping down there and I wanted desperately to retain the stock foglights and brake ducts. I did not want a big ugly opening in the lower valence with a boost pipe running behind it, not very stealthy that way. So here is what I did.
Trimmed down the end tanks and welded 2.5'' tubing onto them. I wanted to run tubing under the headlights rather than couplers for two reasons. First, the tubing is a smaller diameter than the coupler and space under the headlight is definately limited. Second no risk of squishing the tubing under the headlight like with a coupler.


Set in place.

She's a pretty tight fit!

Now I had to make the valence fit. This was no small task and because I was stubborn and didn't want to change the intercooler or its configuration I had to do alot of trimming.


Comment
-
Got the tranny back in (didn't take any pictures) so it was time to start building the exhaust.
Downpipe fabbed up, still need the fitting for the EGR probe welded on in this picture

Muffler held up by the floor jack. Looks pretty stock, no?

Fooled ya! It's actually a 3'' in dual 2.5'' out magnaflow

Also got my boost piping back from the powdercoater's.


Comment
-
One more update for tonight. There is kind of a big gap between my last set of pictures and this one. Since those pictures were taken I put the engine harness in (mostly), hooked up the coolant hoses and lines. Bolted up the turbo and ran the water and oil lines to it. I have also plumbed the oil cooler and made fuel lines and had the intake manifold on and off a dozen times. Anyway I'll let the pictures do most of the talking.


Got the downpipe ceramic coated and installed. Like everything else on this car, fits real tight. The EGT probe fitting can be seen on the downpipe now.

Intercooler all mounted and hotside plumbed. Oil cooler all mounted and plumbed.


Oh, hai.

Oil cooler plumbing. Rallyroad oil filter housing cap > Earl's remote oil thermostat.

Underneath, Earl's remote oil thermostat > oil cooler


Comment
-
this thread has so much win! subscribed! cant wait to see how this turns out!1989 Alpine White 325i - Sold
1988 Lachssilber 325is - (Daily Driver)
http://www.r3vlimited.com/board/showthread.php?t=304195
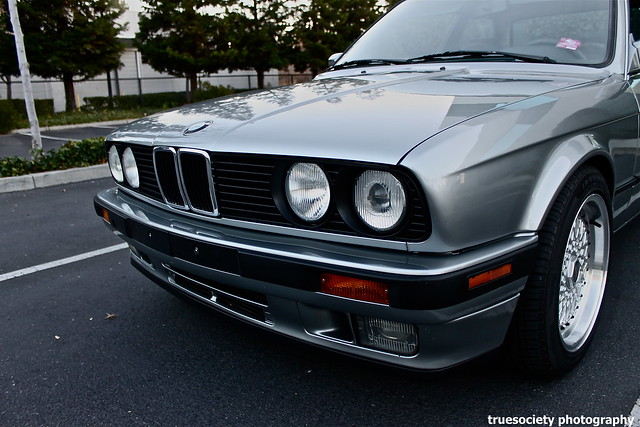
by truesocietyphotographyComment
-
Great job!
waiting to see the first start up :)Comment
-
I liked the way it was before, but this is also verrra nice.
what rear apron is that?
Happy Canada Day weekend.My new E34 525i Sport Limousine Blog
http://bmw525isportlimousine.blogspot.com.es/Comment


Comment