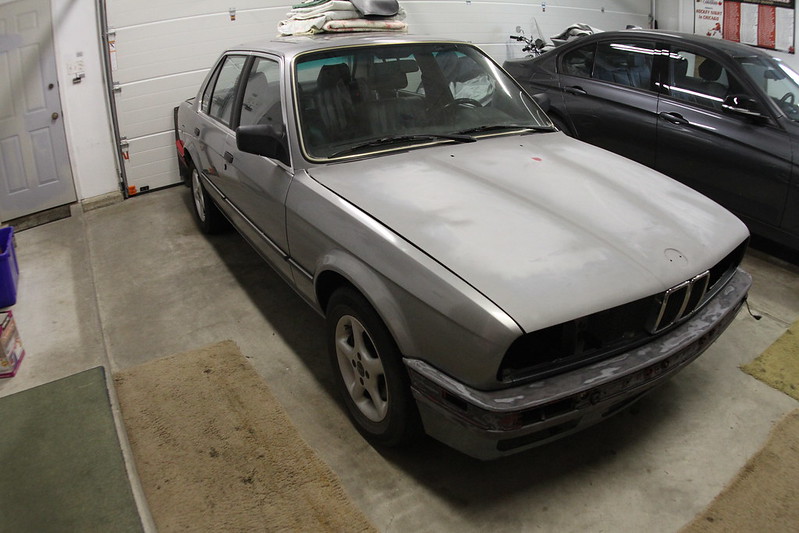
The past few months I have been working on replacing my radiator core support, and while I was there I decided to make it removable. This definitely was way more involved than I thought it would be, but so has everything else...
I started with a new radiator core support that I got from blunt ($290 shipped I think) and I had a rough idea of what I was going to do. I have yet to see a properly done OEM style removable core support, but I did have a couple threads to reference.
^^^ Good for reference
The first is just half-ass'ed, sorry JGood. And the second is race car... Both were good food for thought to think of something more subtle and proper. On to the photos...

IMG_4547 by Los Pantelones!, on Flickr

IMG_4550 by Los Pantelones!, on Flickr

IMG_4548 by Los Pantelones!, on Flickr
To make it short and sweet, removal of this thing sucked... There are 48 ish spot welds to drill out and some are really fun to find. I didn't bother welding anything between the frame rails since I figure if its that bad then its going on a frame rack anyways. Turns out I am fine though :D

IMG_4554 by Los Pantelones!, on Flickr

IMG_4555 by Los Pantelones!, on Flickr

IMG_4561 by Los Pantelones!, on Flickr
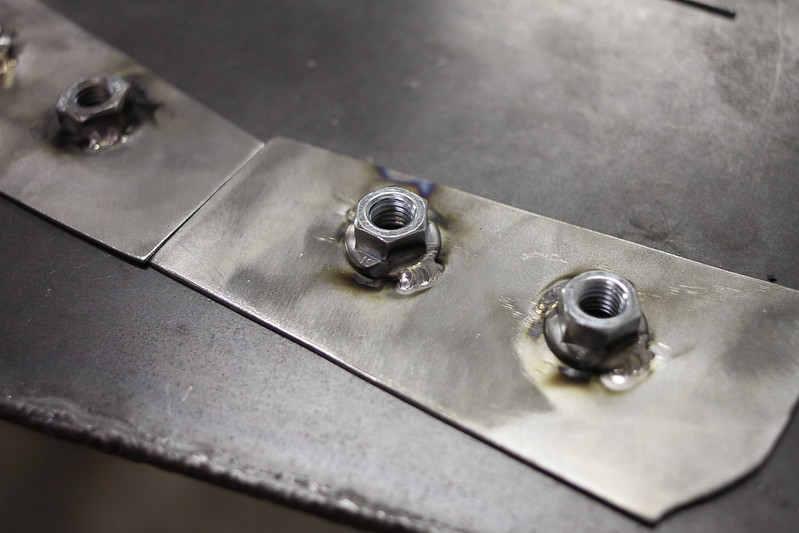
This was the first trial cut and fitment... It ended up being the first of many hahaha Pretty much the idea is to box the lower part of the core support with 16ga and have ears that will attach to the frame rails. I would have gone straight down, but I wanted to retain the lower mounting points for the valance.
IMG_4575 by Los Pantelones!, on Flickr

IMG_4576 by Los Pantelones!, on Flickr
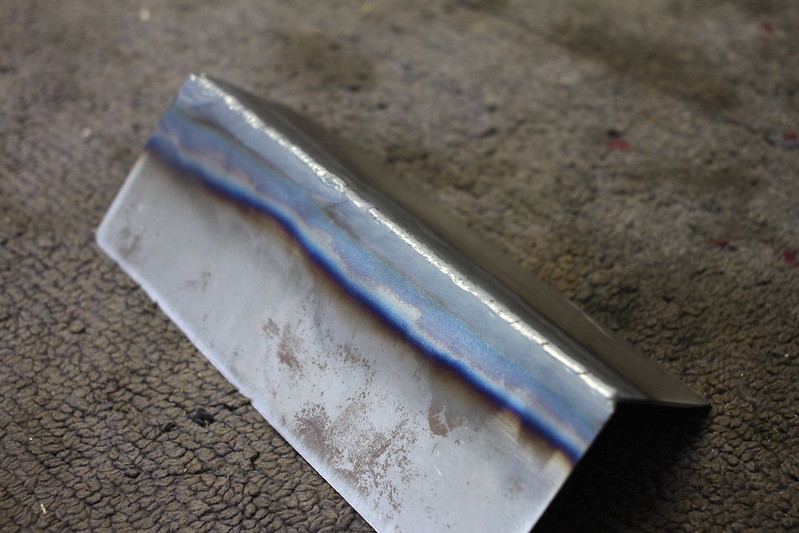
I did some practice welding today to get used to the material, positions, and joints. I took some photos of the 20/16ga edge in #2 position, and I also did the 20/16ga lap in the #2 and 3 positions but did not take any photos. I have not worked with a whole bunch of thin stuff, but man is it hard. Everything has to be seamless fit before it is welded, and I have to constantly let it cool so that the puddle stays consistent and so it doesn't warp. I then proceeded to do some destruction testing :hitler:

IMG_4577 by Los Pantelones!, on Flickr

IMG_4578 by Los Pantelones!, on Flickr
Some slight separation, but I royal fudged up the second half of that bead and was running way too hot. Overall, practice went well and I should be starting fitment and finnish welding.

IMG_4579 by Los Pantelones!, on Flickr

IMG_4580 by Los Pantelones!, on Flickr

IMG_4581 by Los Pantelones!, on Flickr

IMG_4583 by Los Pantelones!, on Flickr

IMG_4584 by Los Pantelones!, on Flickr
The thing fits great minus the left side... The measurements were originally off a 1/4" on the left side, and now I have everything roughly fitted and squared according to the drawing. I think that the gap is what was off, and I have to add material to make it work. I wish that I had taken some detailed photos about the hood fitment to aid in problem solving in the latter stages. Anyone have any ideas? Also if you are looking at my notes and wondering were #4 went, I have no idea hahaha... I had a brain fart and just ran with it. More to come in the next couple of days!
I started with a new radiator core support that I got from blunt ($290 shipped I think) and I had a rough idea of what I was going to do. I have yet to see a properly done OEM style removable core support, but I did have a couple threads to reference.
^^^ Good for reference
The first is just half-ass'ed, sorry JGood. And the second is race car... Both were good food for thought to think of something more subtle and proper. On to the photos...

IMG_4547 by Los Pantelones!, on Flickr

IMG_4550 by Los Pantelones!, on Flickr

IMG_4548 by Los Pantelones!, on Flickr
To make it short and sweet, removal of this thing sucked... There are 48 ish spot welds to drill out and some are really fun to find. I didn't bother welding anything between the frame rails since I figure if its that bad then its going on a frame rack anyways. Turns out I am fine though :D

IMG_4554 by Los Pantelones!, on Flickr

IMG_4555 by Los Pantelones!, on Flickr

IMG_4561 by Los Pantelones!, on Flickr
This was the first trial cut and fitment... It ended up being the first of many hahaha Pretty much the idea is to box the lower part of the core support with 16ga and have ears that will attach to the frame rails. I would have gone straight down, but I wanted to retain the lower mounting points for the valance.

IMG_4575 by Los Pantelones!, on Flickr

IMG_4576 by Los Pantelones!, on Flickr
I did some practice welding today to get used to the material, positions, and joints. I took some photos of the 20/16ga edge in #2 position, and I also did the 20/16ga lap in the #2 and 3 positions but did not take any photos. I have not worked with a whole bunch of thin stuff, but man is it hard. Everything has to be seamless fit before it is welded, and I have to constantly let it cool so that the puddle stays consistent and so it doesn't warp. I then proceeded to do some destruction testing :hitler:

IMG_4577 by Los Pantelones!, on Flickr

IMG_4578 by Los Pantelones!, on Flickr
Some slight separation, but I royal fudged up the second half of that bead and was running way too hot. Overall, practice went well and I should be starting fitment and finnish welding.

IMG_4579 by Los Pantelones!, on Flickr

IMG_4580 by Los Pantelones!, on Flickr

IMG_4581 by Los Pantelones!, on Flickr

IMG_4583 by Los Pantelones!, on Flickr

IMG_4584 by Los Pantelones!, on Flickr
The thing fits great minus the left side... The measurements were originally off a 1/4" on the left side, and now I have everything roughly fitted and squared according to the drawing. I think that the gap is what was off, and I have to add material to make it work. I wish that I had taken some detailed photos about the hood fitment to aid in problem solving in the latter stages. Anyone have any ideas? Also if you are looking at my notes and wondering were #4 went, I have no idea hahaha... I had a brain fart and just ran with it. More to come in the next couple of days!

















Comment