yahh's 1986 325e S50+Recaro+BBS RS

Collapse
X
 
  • Time
  • Show
Clear All
new posts

  • yahh
    replied
    Originally posted by evandael
    how have i missed this thread!?


    i love what you're doing. please continue.
    Thanks! I do what I can, i'm only a 20 year old college student haha.


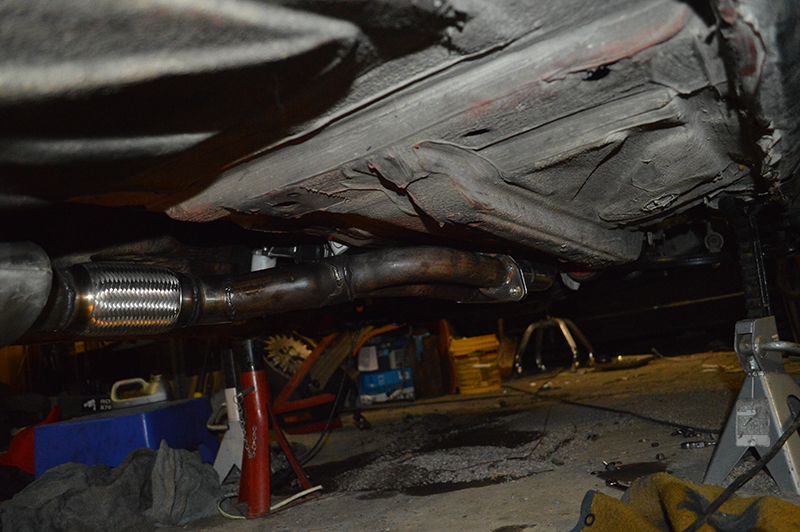
    Started on the exhaust last night and finished it this afternoon. 1 V band after the first muffler and flanges on the 2 pipes near the Y Pipe.


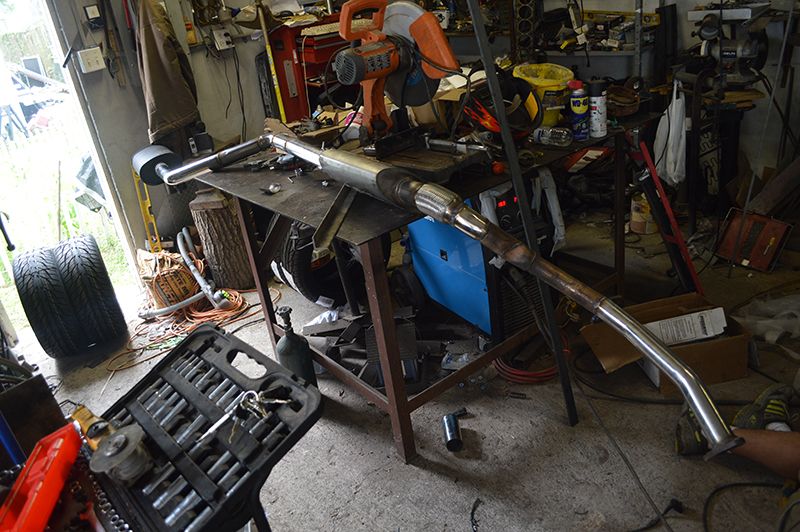
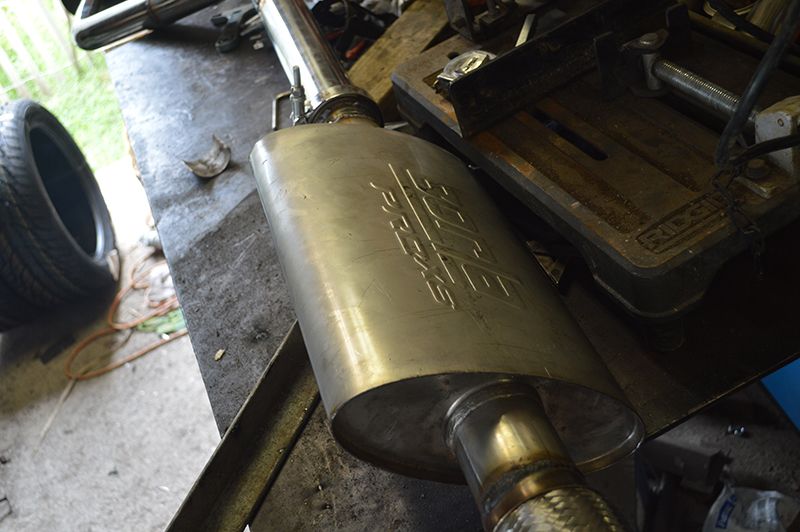
    Ebay Headers -> OBD1 Y Collector -> 2.5" SS -> Borla XS Muffler -> Vibrant Muffler

    Installed


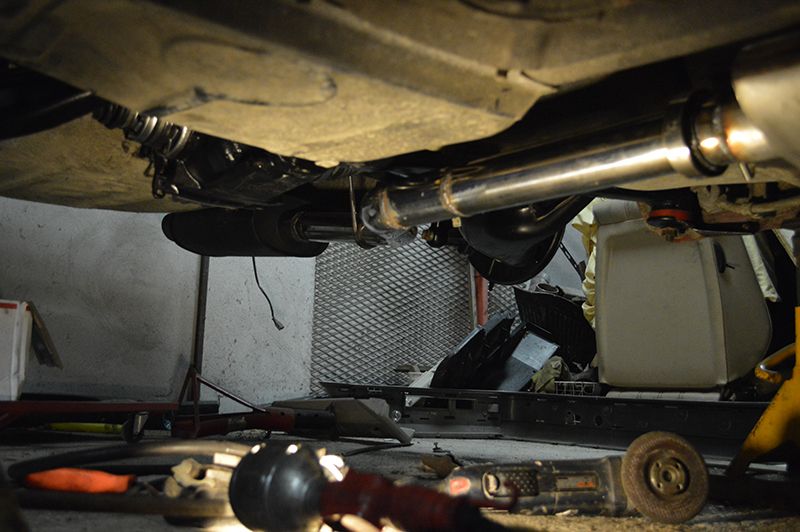
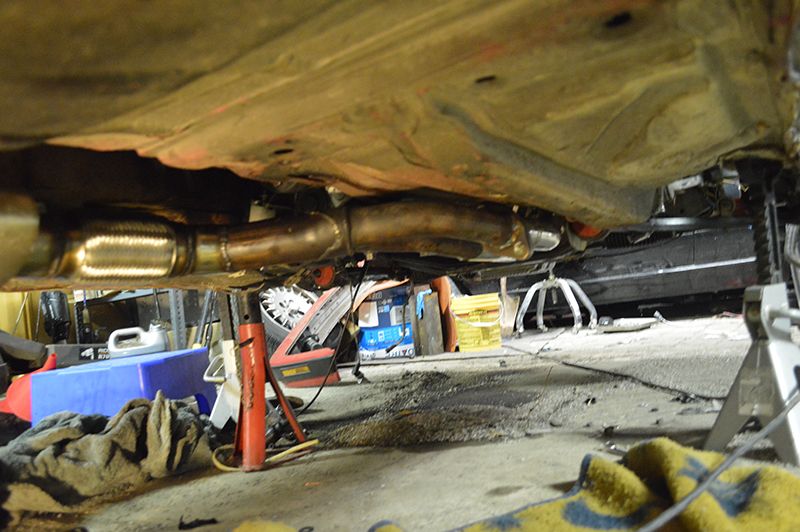
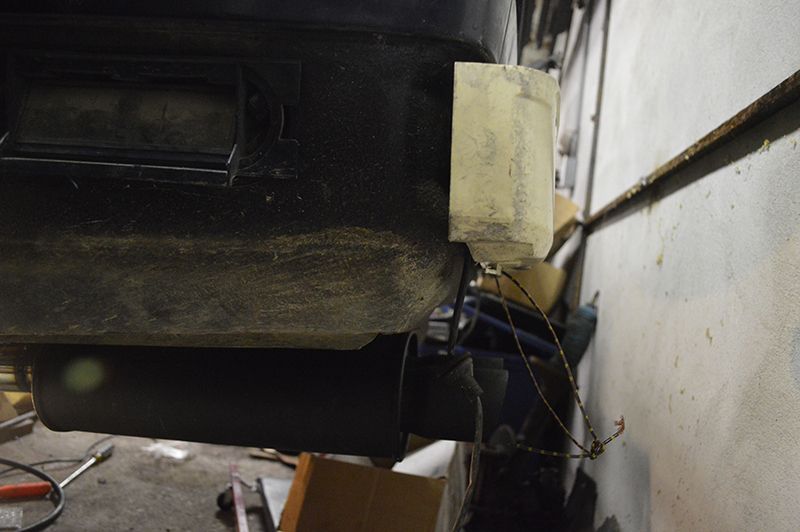
    I will get pictures from the rear once I get it rolled out of the garage. The exhaust is much quieter than I thought it would be. I'm very surprised, i'll get some videos soon.

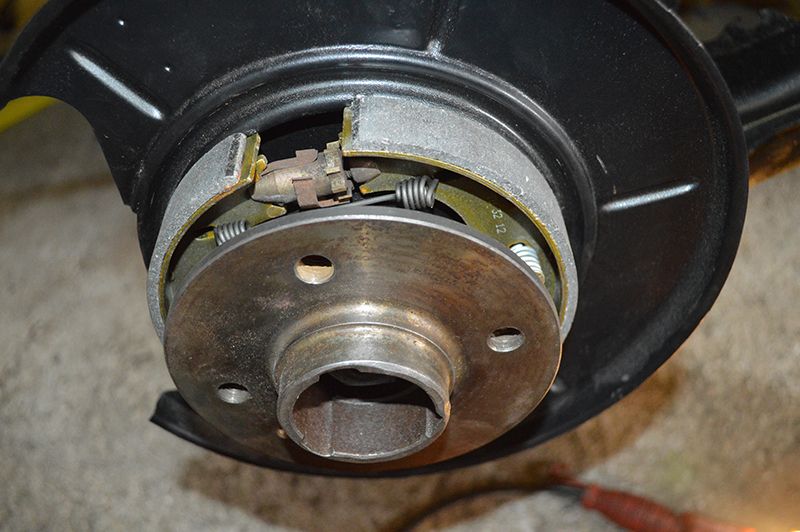
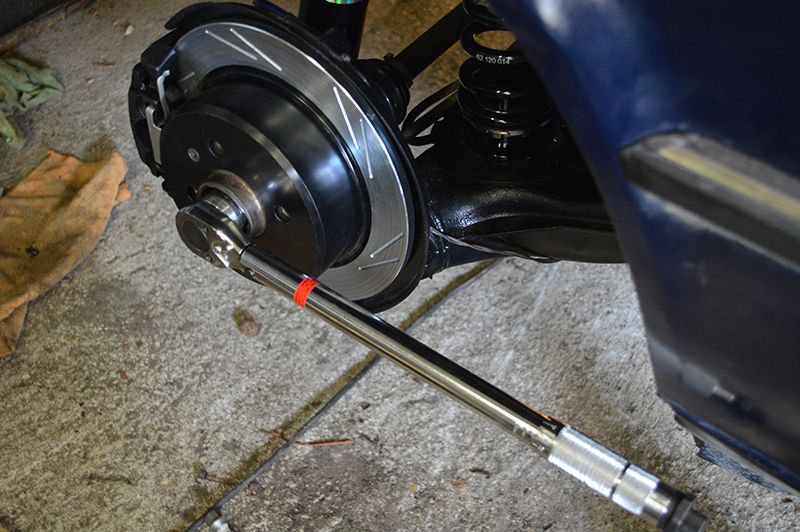
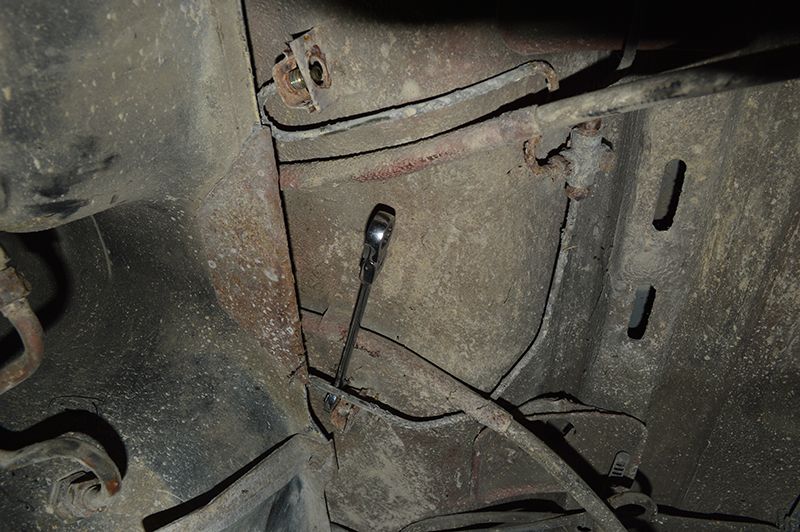
    Spent the time after that bleeding the brakes and clutch. Took about 2 hours because one of the bleeder screws was rusted in. Then it took a while to bleed the clutch but it all works now! Hopefully it will be on wheels tomorrow, if I can get the stupid cooling system to bleed itself.

    Leave a comment:


  • evandael
    replied
    how have i missed this thread!?


    i love what you're doing. please continue.

    Leave a comment:


  • yahh
    replied
    Originally posted by efficient
    damn your fast. i am dreading on doing my subframe bushings and putting in my 3.73 diff in.
    keep up the good work
    Thanks man. It sucks but you will be happy once you do it. It's really not that difficult just time consuming and having a second person really helps. I did everything alone until my dad helped me put the subframe up.


    Went to BMW this morning and picked up the lock nuts for the DS and Transmission Yoke. $14 for 6 nuts :o. This is why I order things online, but I needed them today.


    All new Fermi brake shoes and new hardware installed.


    Bored out the hole on the rotors so they sit perfectly flush. I wasn't satisfied with how they came.


    Rotors on.


    Calipers and pads


    Torqued the axles to 150 FT LBS.


    For the first time in ~7 months this car has a working drivetrain!


    Finishing the exhaust tonight, hopefully.

    Leave a comment:


  • efficient
    replied
    damn your fast. i am dreading on doing my subframe bushings and putting in my 3.73 diff in.
    keep up the good work

    Leave a comment:


  • yahh
    replied
    It was a long and tedious day, quite frustrating actually.

    Starting by spraying the other side of the "subframe lock plate"


    Removed the old brake lines that were left on the body.


    Then I got all the brake lines on the subframe.


    Ground down the welds from the one side that held my CSB in place, thanks P/O. Guess he lost the bolts so he just threw a couple spatter welds onto it. I painted it after that but forgot to take a picture.


    When I was removing the subframe one of the old washers had snapped right at the round part so I had to drill that out after beating it from the top with a center pin wasn't catching enough on the small edge.


    I then drained/filled the transmission and filled the diff. The transmission had VERY clean red line fluid in there which makes me happy.

    How I routed my gravity fed masterpiece lol


    Put the guibo on.


    Couple hours later and the subframe went up. Wasn't too hard but not easy either. Subframe torqued to 103 ft-lbs. Still need to torque the Rear diff bushing and axles after I get the brakes/DS on.


    Leave a comment:


  • yahh
    replied
    Couple more hours in tonight. I spent 3 hours taking the diff apart and putting it back together 5 times to get it to fully align and get the shims on the correct way for it not to lock up.

    Started by pressing in the sub frame bushings.


    Used loctite to convert the differential mount bolts to studs and mounted it to the subframe.(12mm riser kit)


    You can see the spacers + studs here.


    Fast forward a bit and you can see the rear end almost complete.


    Fully adjustable rear now :)


    Also wirebrushed and painted the sub frame support bar.

    Finally my dad and his "ricer wall." Better the wall than his car I guess haha

    Leave a comment:


  • yahh
    replied
    Originally posted by efficient
    nice progress. what sealant did you use to seal your diff cover?
    I used an oe paper gasket with a thin bead of copper gasket maker.


    Originally posted by Killacortes
    Sell me those billies?
    I need them for the daily, since the struts on there are blown.


    Originally posted by e30m3s54turbo
    Keep up the good work.
    Thanks!


    Will try to get the rear end together tonight! So excited haha

    Leave a comment:


  • Killacortes
    replied
    Sell me those billies?

    Leave a comment:


  • e30m3s54turbo
    replied
    Keep up the good work.

    Leave a comment:


  • efficient
    replied
    nice progress. what sealant did you use to seal your diff cover?

    Leave a comment:


  • yahh
    replied
    Some more progress tonight.

    Second axle was being a bit of a bitch so I had to bring out the short pipe.


    All Cleaned up


    Boots and part # I used, recommended by bluntech


    Froze the bearing like I read online to make it easier and used the harbor freight bearing tool. Super painless job with the right tools.


    Bearing in. (brand: FAG)


    oe C Clip


    Hub pressed in using the harbor freight tool again.


    Trailing arm 1 ready


    Trailing arm 2 ready


    Also got the sub-frame adjustments notched and painted it.


    Assembling the subframe tomorrow hopefully.

    Leave a comment:


  • mccor023
    replied
    Good work man, you now got a full 14 days to finish. Keep up the great work, and let me know if you need anything.

    Leave a comment:


  • z6ne
    replied
    nice thread, good to see so many pictures makes it clear exactly what steps you're going through. How hard is it to rebuild the CV joint?

    Leave a comment:


  • nokincy
    replied
    Love the amount of pictures. Keep it up man.

    Leave a comment:


  • yahh
    replied
    Dad and I got the subframe all welded up just need to slot the holes.


    Also rebuilt one of the axles, the other will be done maybe sunday.

    Before


    After


    Leave a comment:

Working...