-
Any updates on the build? I'm working on an S54 swap in my 91 318is right now, and your thread has been very helpful. Let me know how it's progressing!Leave a comment:
-
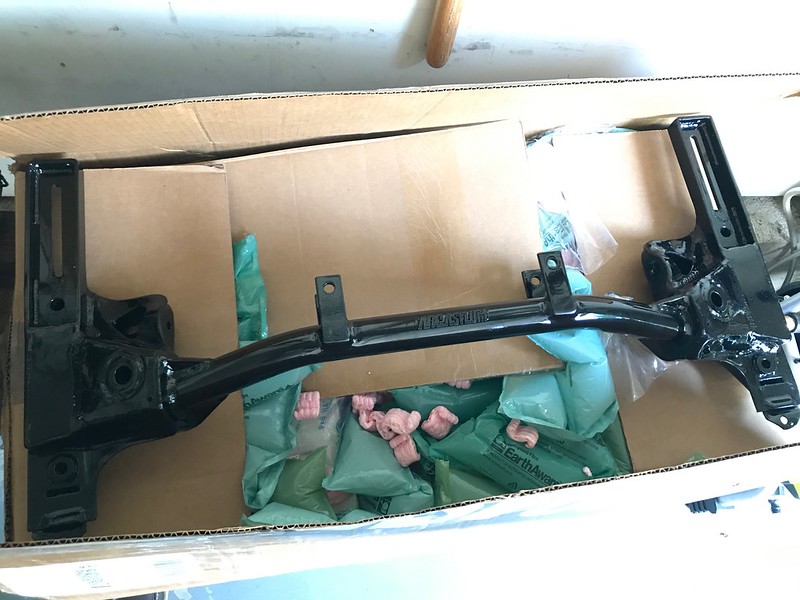
I'll start with the good news. Tyler was good to me and allowed for a core exchange of my initial (revision 2?) subframe for his updated (revision 3?) design which allows for top mounting the sway bushings for better clearance. This time it's powder coated as well, and looks great. It went in without major issue, and survived without any scratches.
The car is basically ready for a road test, however I'm still struggling with a clutch issue. I bled nearly half a bottle through it and still had no luck getting into gear. Tried starting in gear with clutch in and confirmed that the clutch is not disengaging.
Next I pulled the slave out again and did a few bench bleeds with the bleeder pointed straight up, pushing the rod into the cylinder to push out any air that way. No change. Another odd thing is that the pedal feels decent enough and I have lots of resistance now when I go to install the slave.
Next I bled it with a friend the old fashioned way a few times. I can hear a squishy sound when the pedal is pressed with the bleeder open, don't know if that's expected. Still no change.
Next I gravity bled for awhile on the advice of a friend who is a BMW tech. Still no change but I will try this some more.
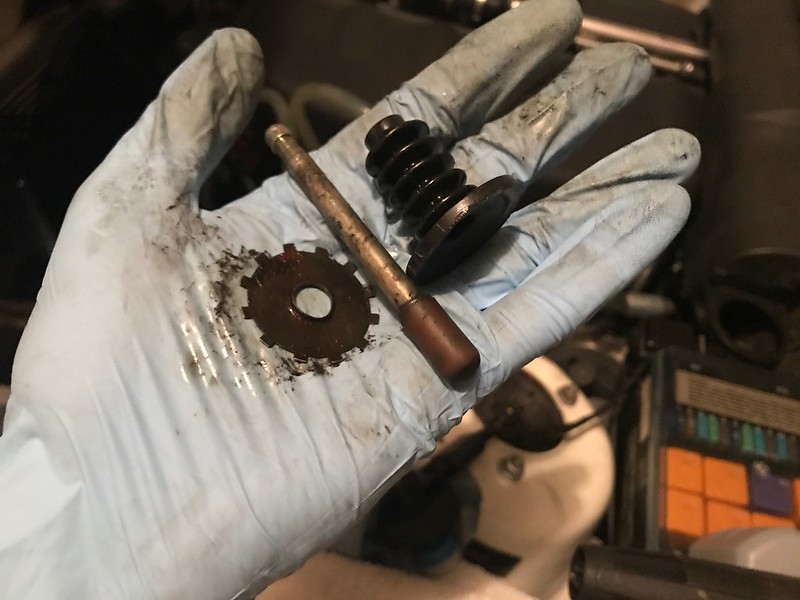
I think I need to get another slave to rule out the possibility that I got a bad one off the shelf. Aside from that I'm running out of ideas. My clutch disk, flywheel, pressure plate, fork lever, throw-out bearing, pivot pin and clip are all new and installed without issue.
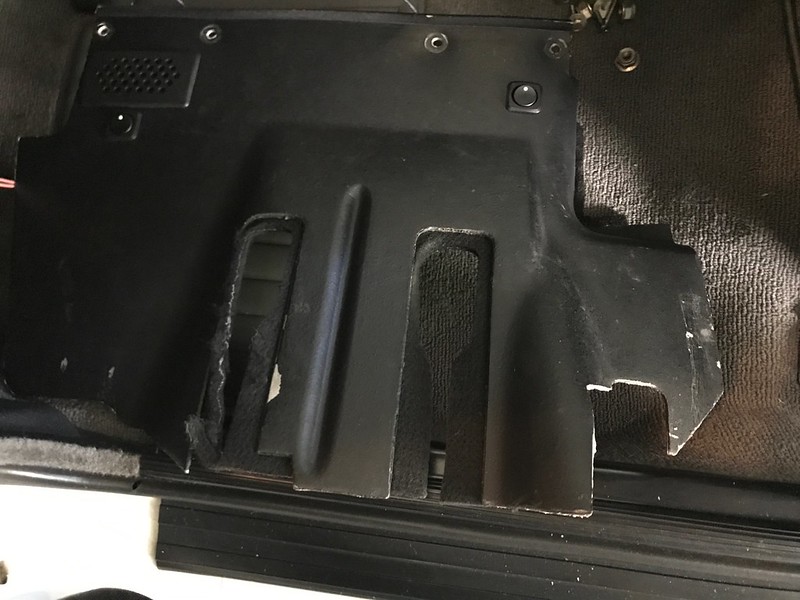
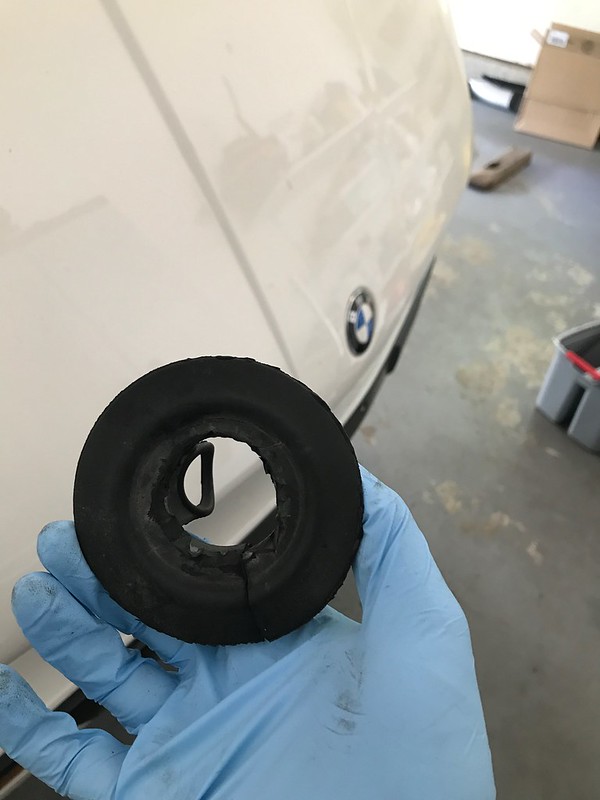
I'm really dying to drive the car now too, and this is the final thing in my way. Oh except the pedal broke off its epoxy when I went to install the lower kick panel. The panel needs to be clearanced for the upper part of the e-pedal:
Leave a comment:
-
From what I've read, the root cause is improper assembly where the pushrod is misaligned in some way - either it's not in the dimple of the fork lever, or it's off the lever entirely. My clutch operated fine before I pulled the S50, so I wouldn't think that the slave had any kind of malfunction. I'll have to be very careful and aware of the alignment when I install the new slave.
Outside of alignment, my pressure plate is new and the clutch kit is OEM for the S54 Z3, so I can't see what else might be wrong.
Actually, looking closely at the photo I might go as far as saying that there is evidence of misalignment, seen in the localized deformation of the ID of that spur-shaped washer/retainer. I'll look again when I'm home.Leave a comment:
-
How was it possible to over-extend the slave cylinder in the first place? With a correctly assembled clutch setup that shouldn't be possible.Leave a comment:
-
I consider myself lucky to have figured this out, as I breathe a great sigh of relief...
The casting has ridges inside the bellhousing, for rigidity I imagine, which make it impossible to simply slide pieces up to the slave opening using a strong magnet from the outside. I had to use the flex magnet to get the rod, which is no small task since the magnet on the end is quite thick on my version (which has a stupid little flashlight built in). I had to push it over the top of the fork lever and then let it wrap around to reach the bottom of the interior.
I had success getting the little disc out by using the strong magnet on the outside of the housing to bring it forward, but not too far to where the pressure plate is blocking it, and up to the first ridge. From there I could reach my smaller straight magnet past the fork lever, along the drivers side of the interior, forward to where I could hear it pick up the disc. Then the exterior magnet must be pulled carefully straight away so as not to drag the disc away from the retriever magnet. Sheesh. Now I just need to rinse out the bellhousing with brakleen and I'll be back on track.Leave a comment:
-
My buddy just had this happen and he ended up having to just separate the engine and transmission to get it out. He tried a magnet but it kept sticking to the clutch and was very hard to move around. The other problem was there was also a couple clips from the slave that fell in and were aluminum so a magnet wouldn't have worked in that case. In the end he would have been much further ahead time wise dropping the transmission.
I wish you better luck than he had!Leave a comment:
-
Lol I'm with you there! I've read a couple posts mentioning a hole-saw drill bit and I'm quite tempted to put an "access hole" in the housing, but I pray that the magnets work. I just grabbed the flex magnet and it might be more than a half inch in diameter, hopefully I can get it in there far enough. I keep studying this picture:
 Last edited by butters; 06-27-2017, 08:42 AM.
Leave a comment:
-
Good luck dude! I would do nearly anything not to have to drop the trans. It's not easy with the engine in the car. Like I would look for additional strong magnets, or build a strong electromagnet to ensure I don't have to drop the trans.Leave a comment:
-
I think the project has been going a little too smoothly as of late, and that German car karma caught up to me.
I was curious to feel the OE clutch after the previous (very heavy) DXD unit, but I will have to wait to find out. I pushed the clutch in and felt little resistance after a pop and clink from under the car. #%@$!
One more push and I could hear air escaping, so I shut the door and started looking for fluid. I couldn't see any, and the reservoir barely dropped in level if at all. The master and inside the car showed no sign of leaks, nor did the hardline or braided line running to the slave. The slave itself only had a little dribble of fluid from when it was bled. However, I noticed clean brake fluid at the bottom of the bellhousing, so I pulled the slave and found no resistance because the pushrod had fallen out. Not good, please oh please let me avoid dropping the trans!
I couldn't see anything, and a straight magnetic retriever couldn't really access the bottom of the bell housing. I grabbed my craft magnets from the vanos service and gave them a shot from outside the bell housing, and happily I am able to hear the pushrod being moved around. I think this might work, I want to try "handing off" from the craft magnet to a flexible magnetic retriever which I'm picking up today from the Zone. Fingers crossed.
A new slave should arrive tomorrow, in the mean time I got started on the SPAL brackets. The top left can be secured using the bolt hole for the E36 shroud:
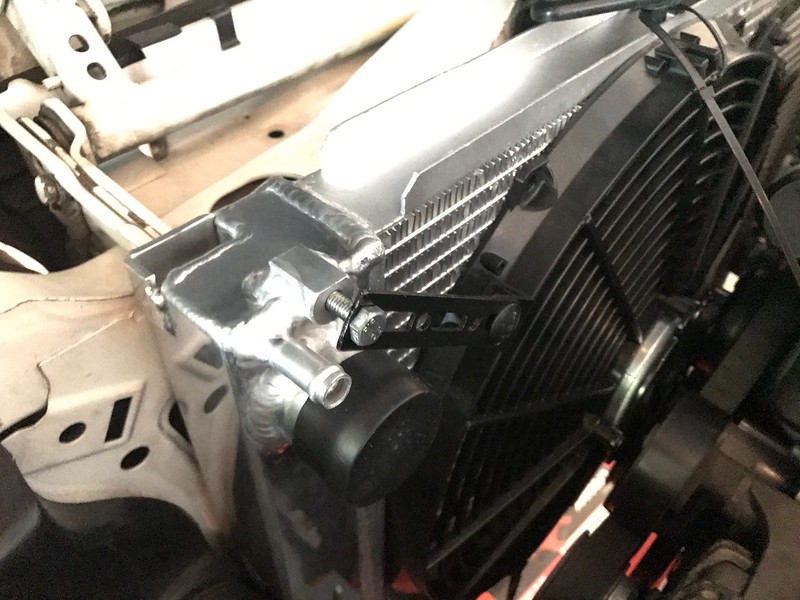
So I cut down the first bracket, and put touch-up paint on the bare end:

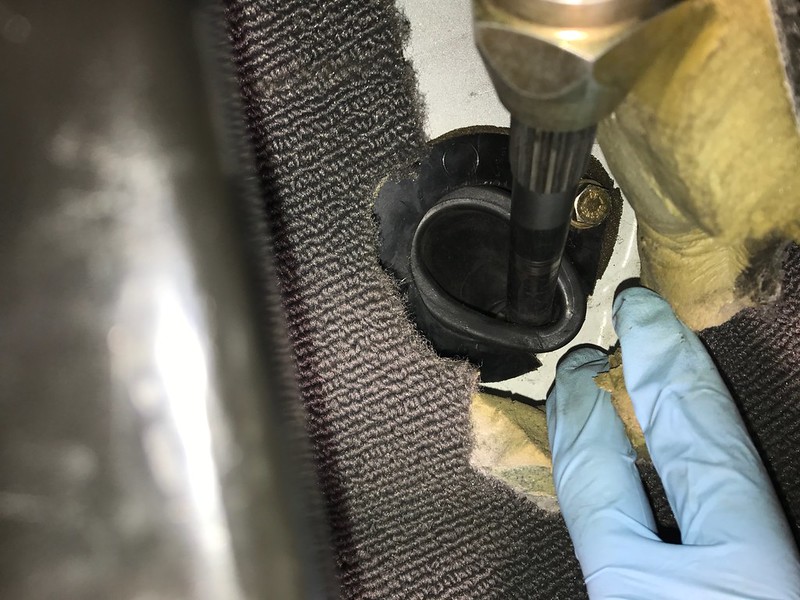
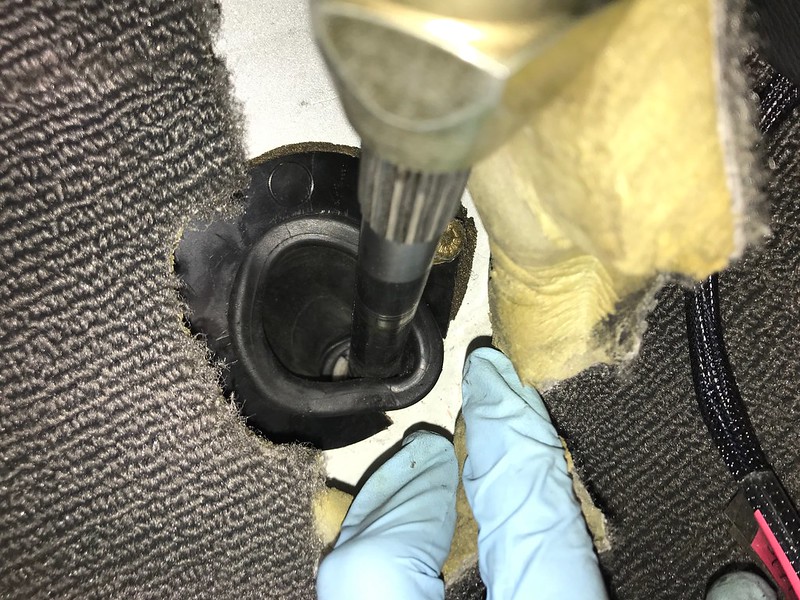
I did get the relays and fuse holder back through the firewall hole, and cut down the stock grommet to handle all the extra wires. Still need to shove it in a bit more but I think it'll work:
Leave a comment:
-
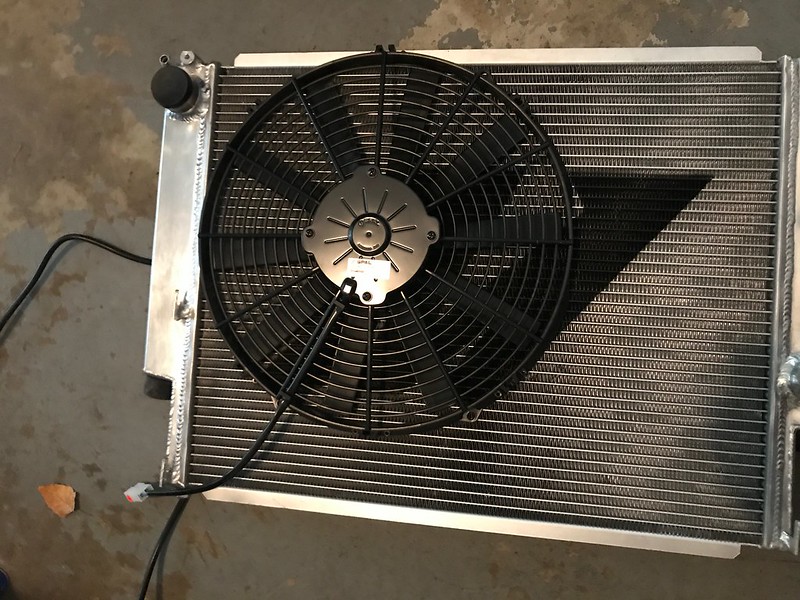
The new fan came in, this is the 14" SPAL "Medium Profile" puller fan. In order to clear the water pump and crank pulleys, I'll need to run it as high and to the left as possible.

The SPAL brackets are coming tomorrow, I should have ordered them with the fan but for some reason got it in my head that my Massive brackets might work.
Keeping the momentum going, I wrestled with the engine harness to push the relays and fuse block back into the engine bay because there is room behind the plastic covers. There is still plenty of wiring to try and hide behind the glovebox though, don't worry.
I also wanted to fix the position of the firewall seal around the steering column, on both sides of the firewall. The cuts for clearance make it somewhat impossible but it's better than it was.
Sunday I plan to install the fan and fill with coolant, maybe try to take the car for a drive around the block.
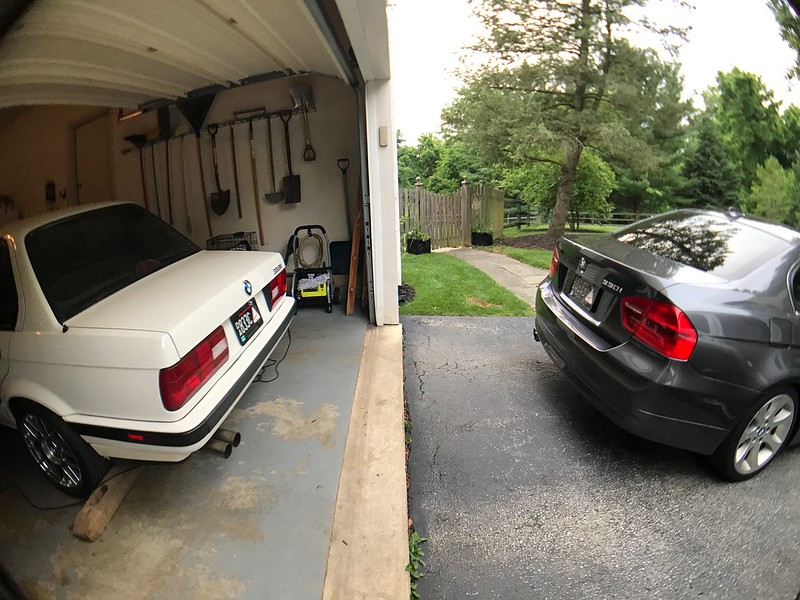
Gratuitous fisheye shot with the daily:
Leave a comment:
-
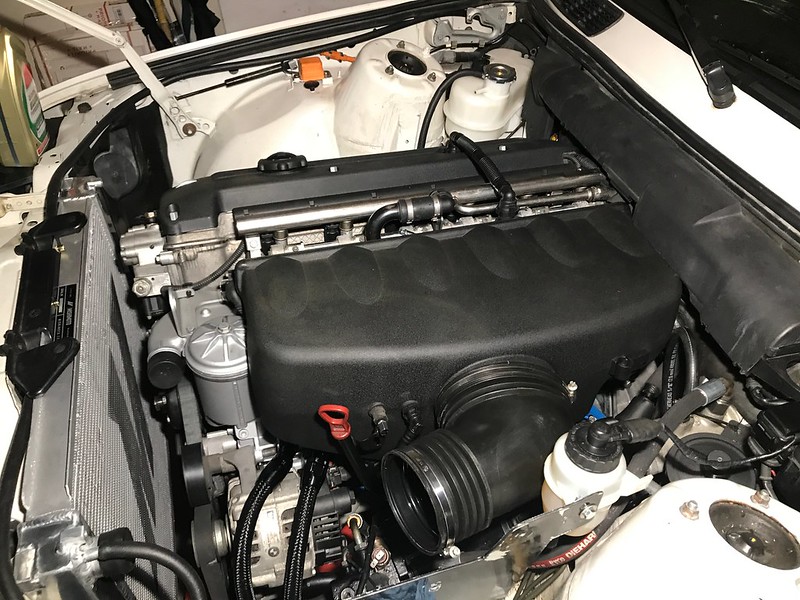
I think I've installed the intake for the last time before driving the car... knock on wood. It's pretty easy to do though.
I cleaned the intake elbow and got out the dremel again to make the harness covers fit. I might need to cut the passenger side section a bit, I don't think it's going to stay in place with how squeezed everything is between the head and the firewall.
I struggled with the clamp-on factory intake clamps, so I went with these fancy OE/german-style flat clamps:
I am also trying to squeeze a 5/16" hose onto the radiator bleed nipple, then route it under the upper radiator bracket and along the passenger fender so that it's as hidden as possible. Problem is, the nipple on the radiator is more like 3/8"...
I think it's more common to run this hose along the engine-side of the radiator, but that doesn't look as tidy so I'm giving this a shot. Main problem is how to get a small 180-degree radius as it exits the radiator.Last edited by butters; 06-21-2017, 11:35 AM.Leave a comment:
-
I suppose the argument against that risk, or what I'm telling myself, is that the pedal is still bolted "upright" so if the epoxy fails, it should be kept out of the brake area.
I might take you up on the waterjet....
Yikes! That's scary. But I do like the idea of zip-ties for failsafe, I think I'll see if I can run a couple around the chassis tab and pedal bracket(s).Leave a comment:
-
I mounted my pedal really ghetto at first, until the pedal actually DID fall over during an autocross run and got wedged behind the brake pedal. Fortunately it didn't get stuck on throttle, but I had to fish around with my foot to find the pedal and limp back in.
I ended up using the factory tab at the bottom, zip tying through both the metal tab and the E46 plastic bracket. For the top, I formed a sheetmetal bracket with a captive bolt, so that I could use the upper bolt hole in the E46 pedal bracket. Come to think of it... it's still a little kludgey but eh, it works. I guess I could custom make a new bracket and weld it in an appropriate place but, well, I'm lazy.Leave a comment:


Leave a comment: