
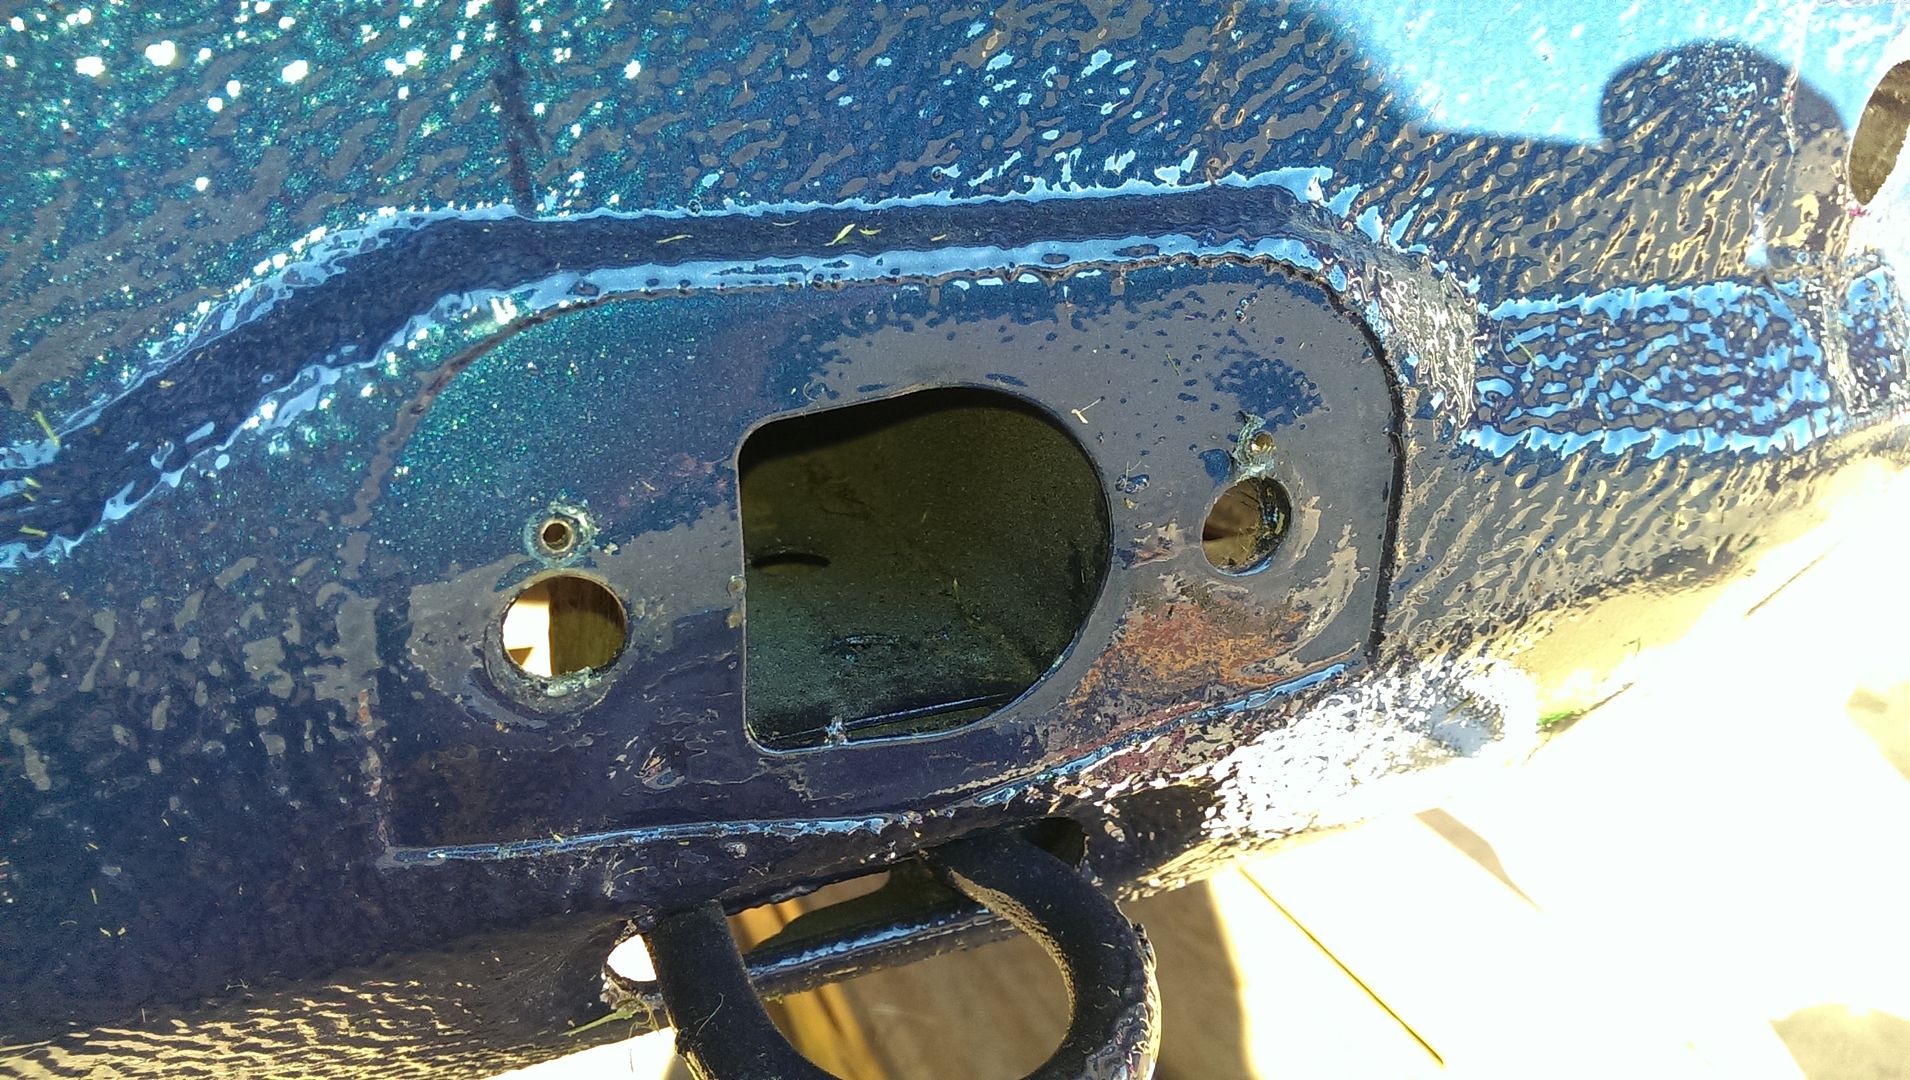
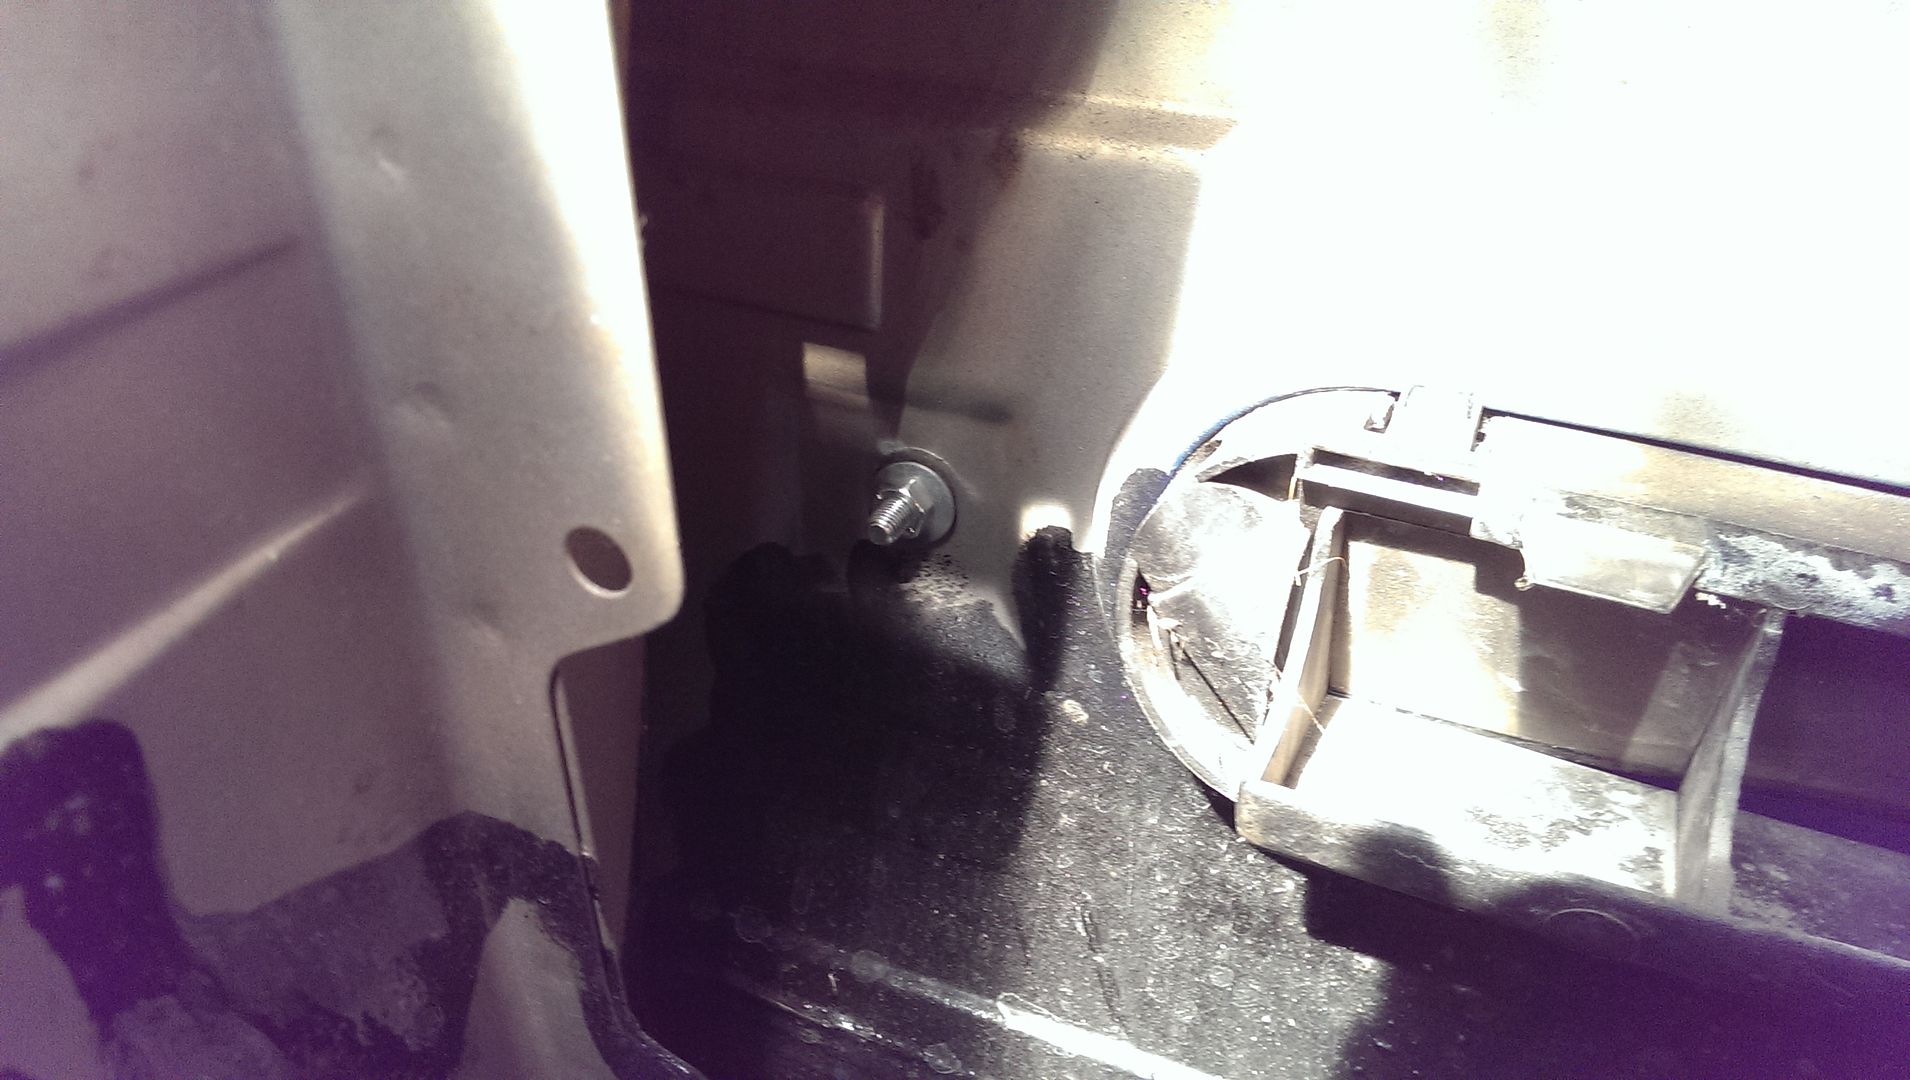
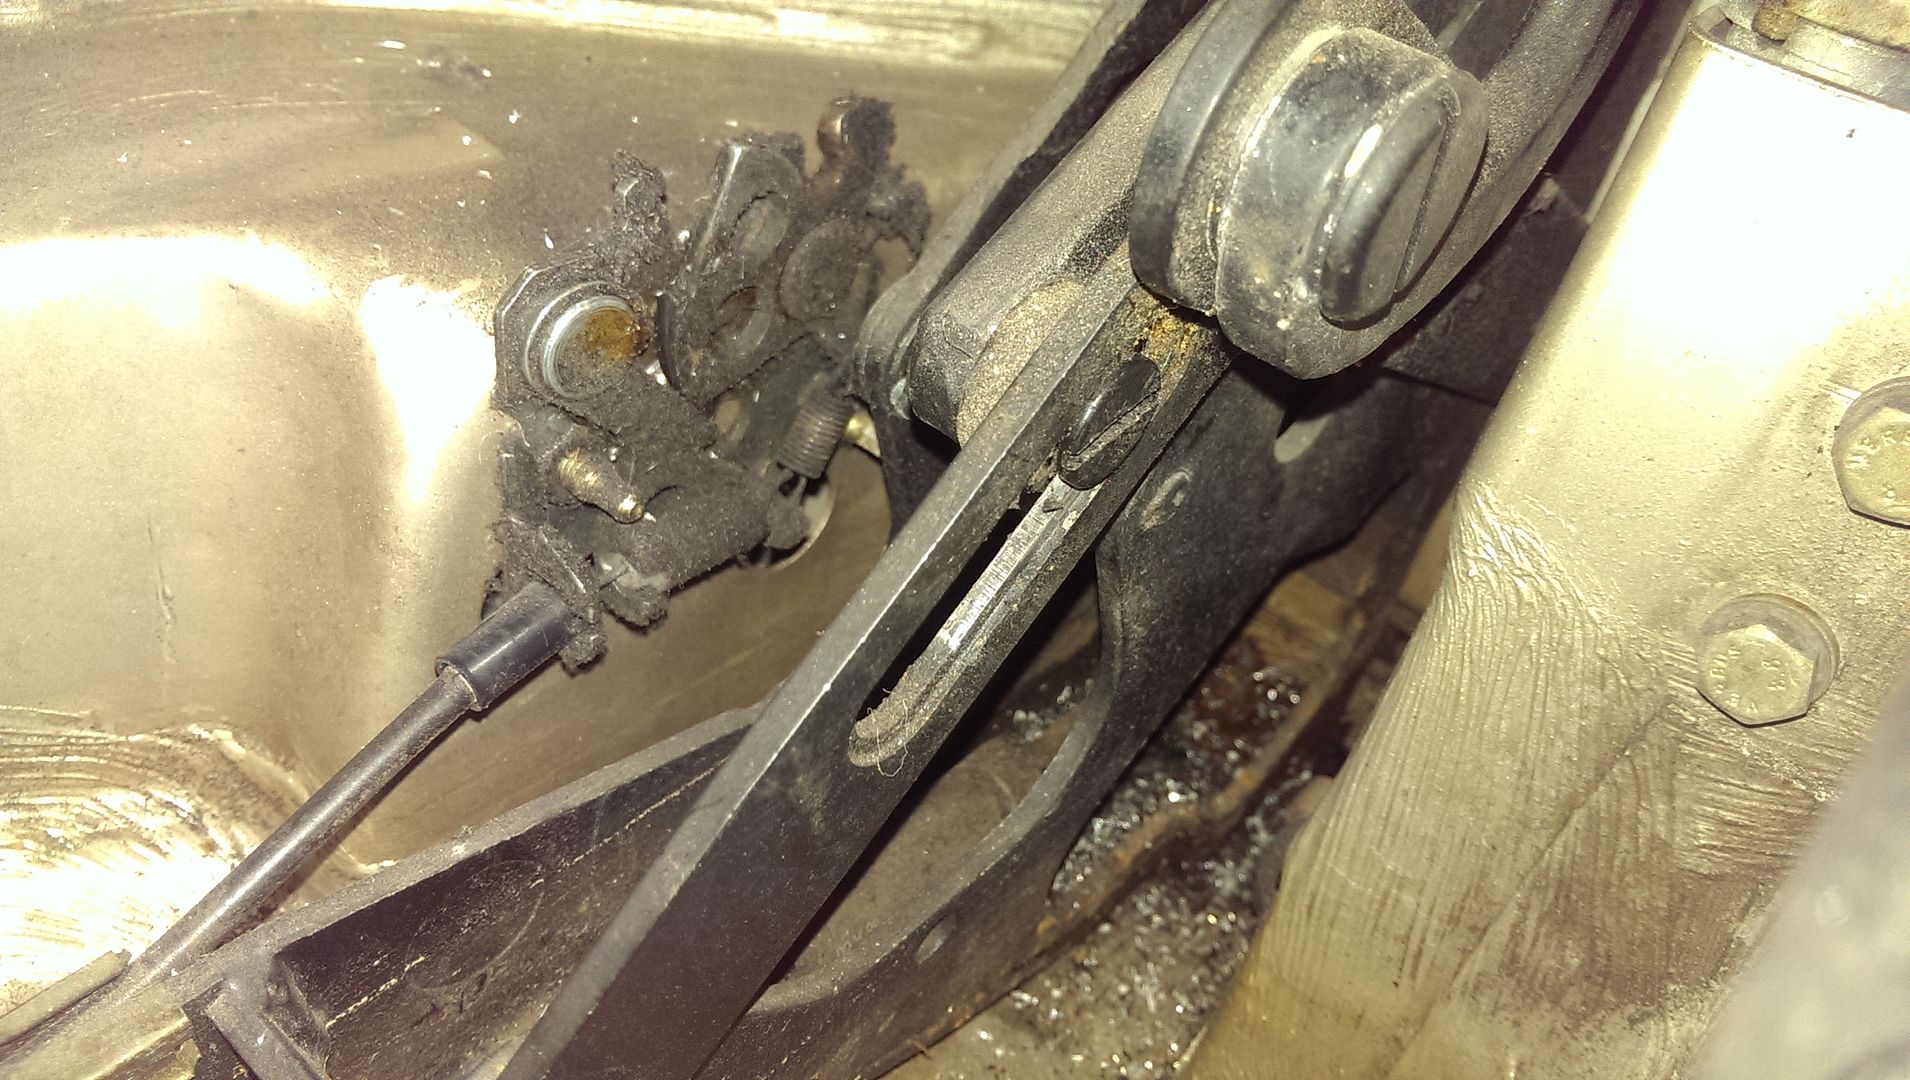
So it was time for some creative efforts to get the bumper up about 1/4-3/8" across the back. First step was to remove the brackets and determine how far up the brackets could go without major work. I determined that I was going to be able to get about 1/4" of vertical movement at best. This was due to the fact that while the 2 studs could move up a bit more, at the 1/4" mark the cylinder for the bumper shock would contact the top of the channel in which it rests. To get that movement I was going to have to drill new holes (or slot the existing holes) where the studs go and to sand/file/grind away a lip at the top of the opening to the cavity where the cylinder goes.
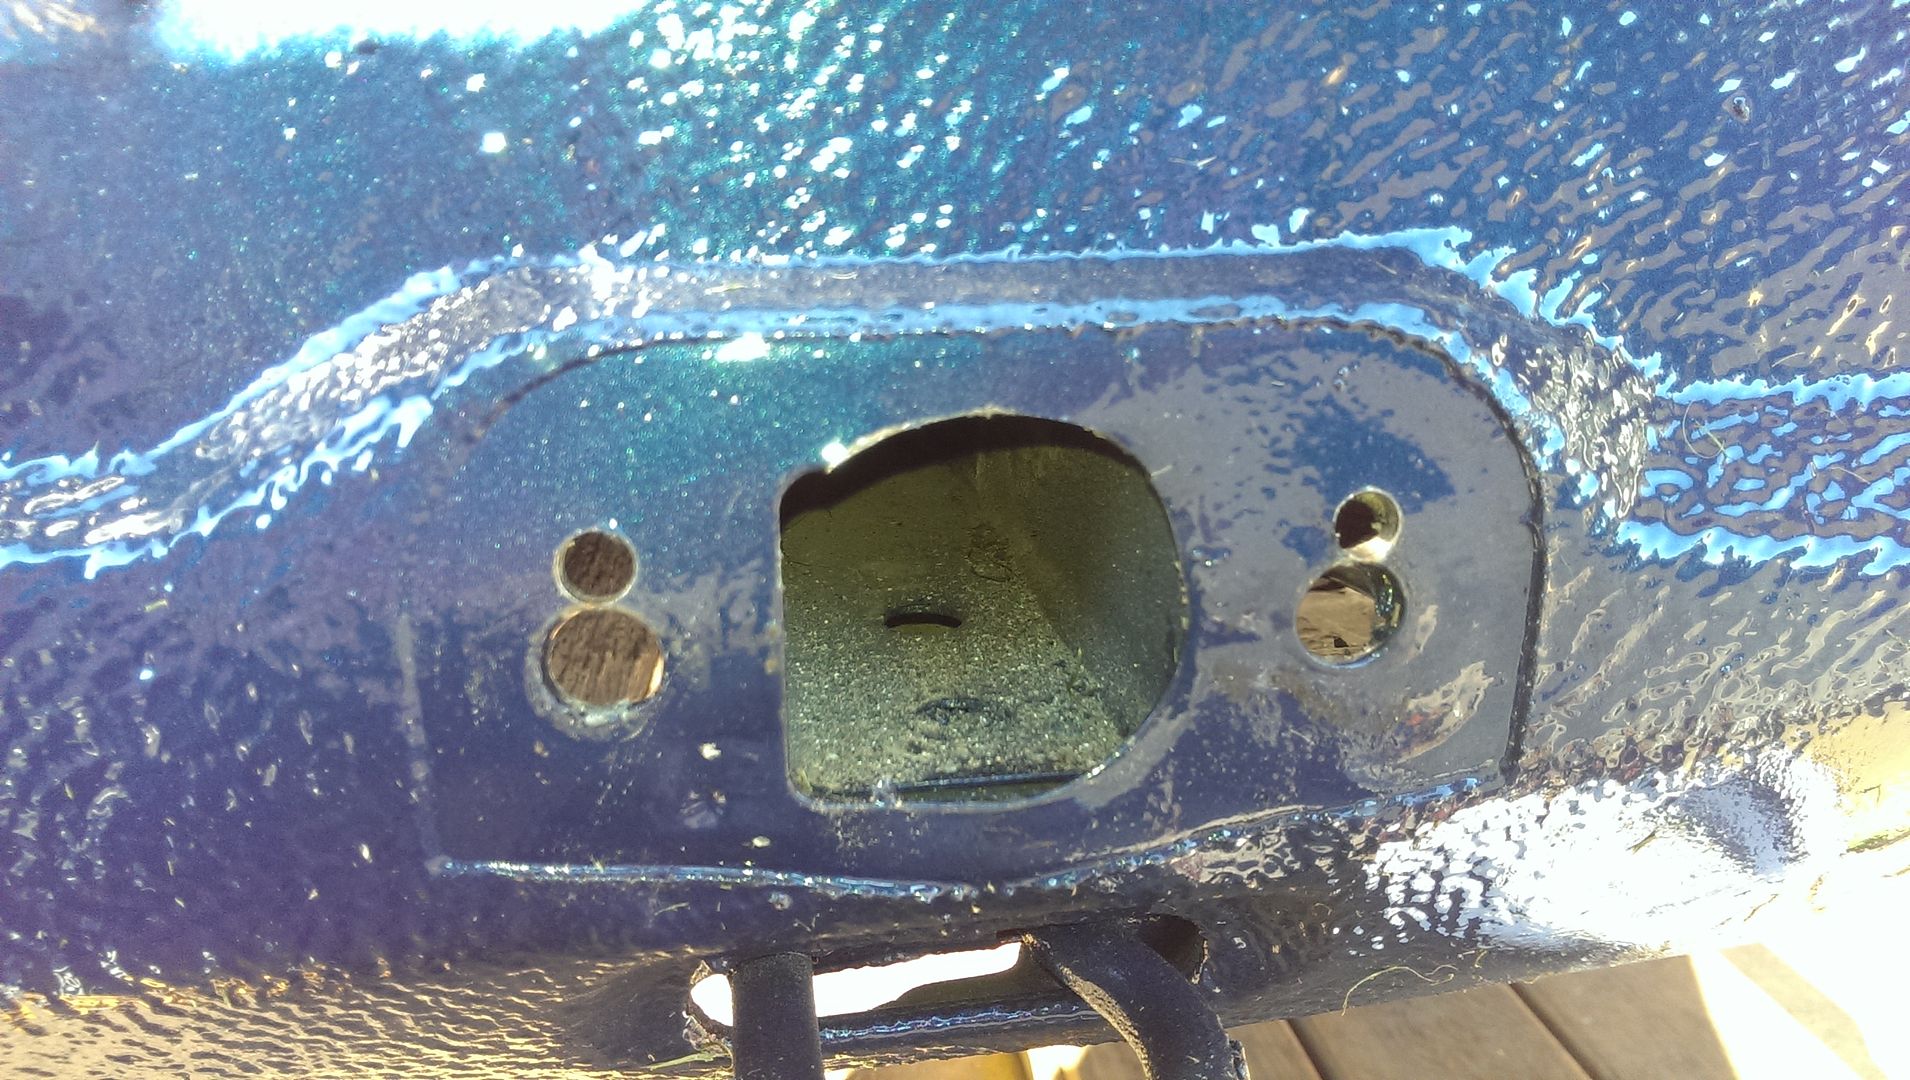
Next up I needed to drill some pilot holes.
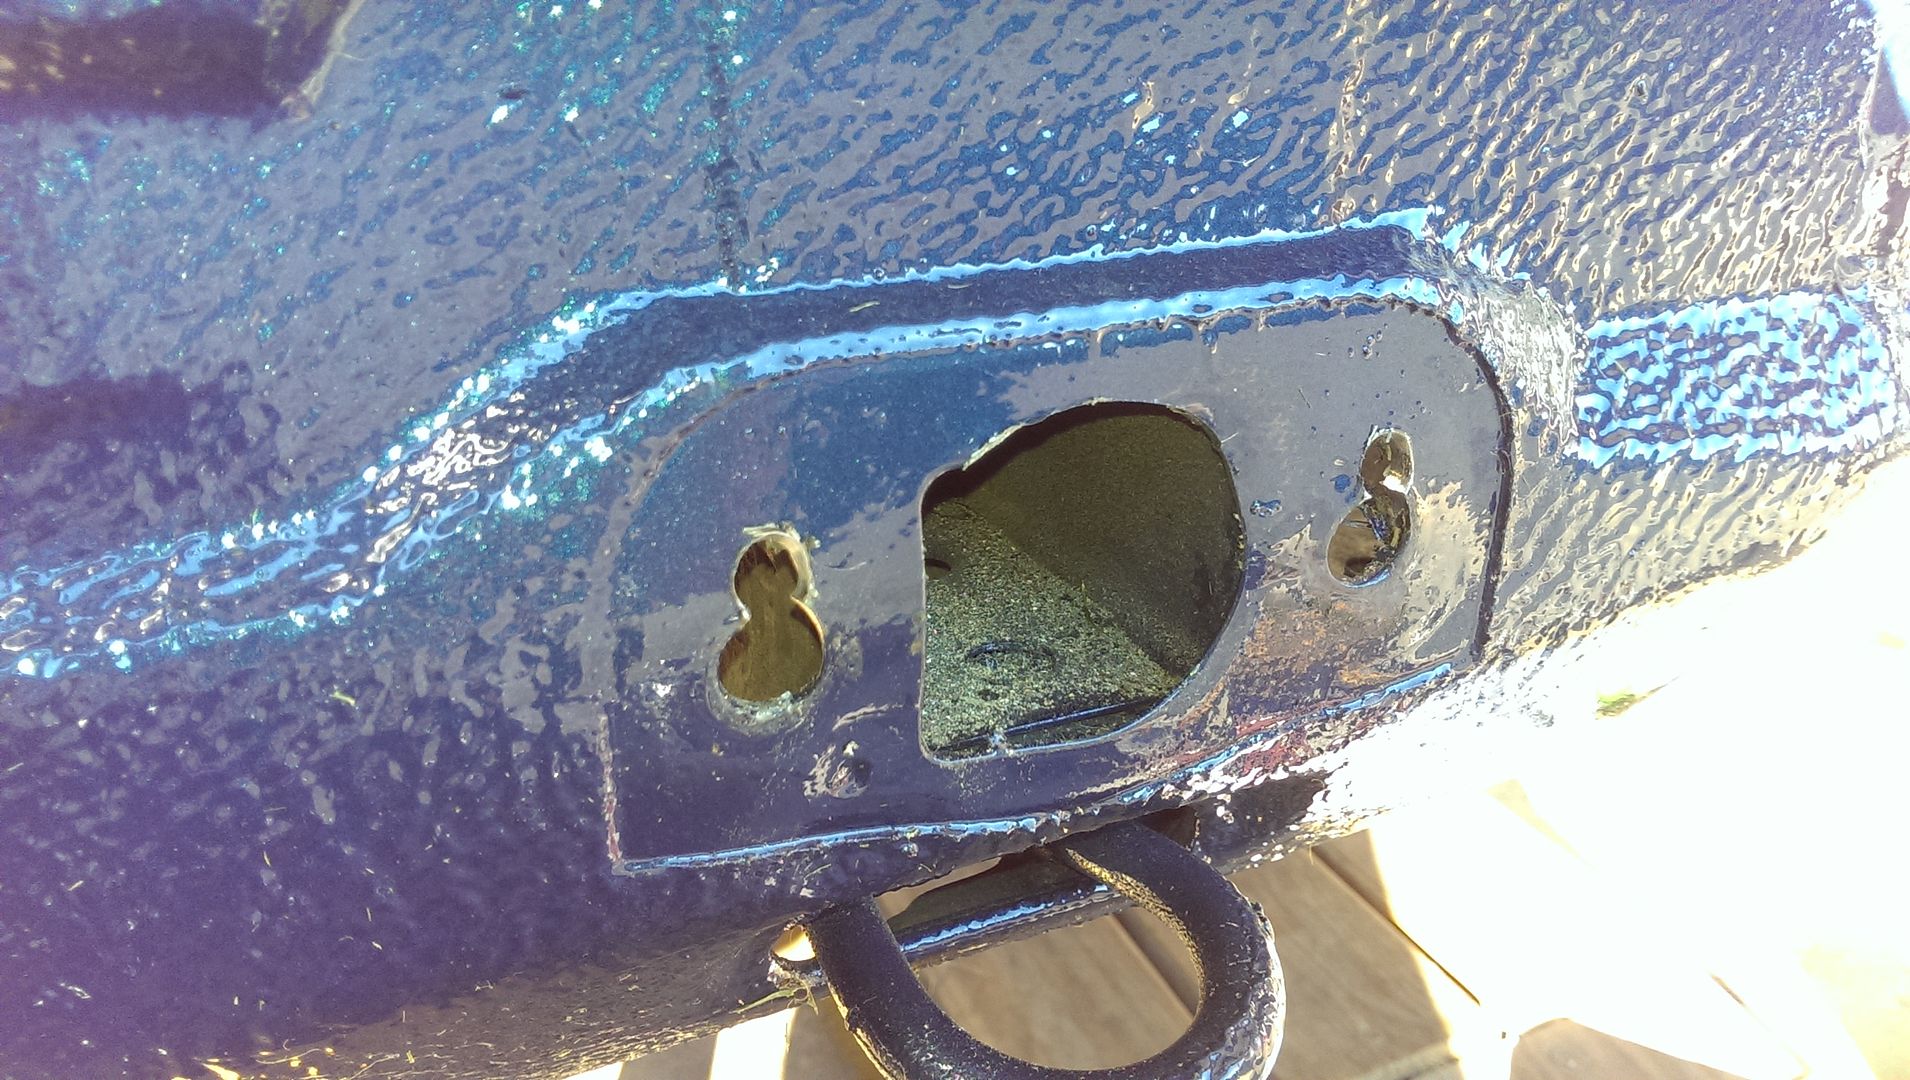
Enlarge the holes:
Use a round file to slot the holes and a rounded (flat on one side, rounded on the other) file to remove as much material from the top of the opening to the channel so that the channel and the (former) lip are now flush:
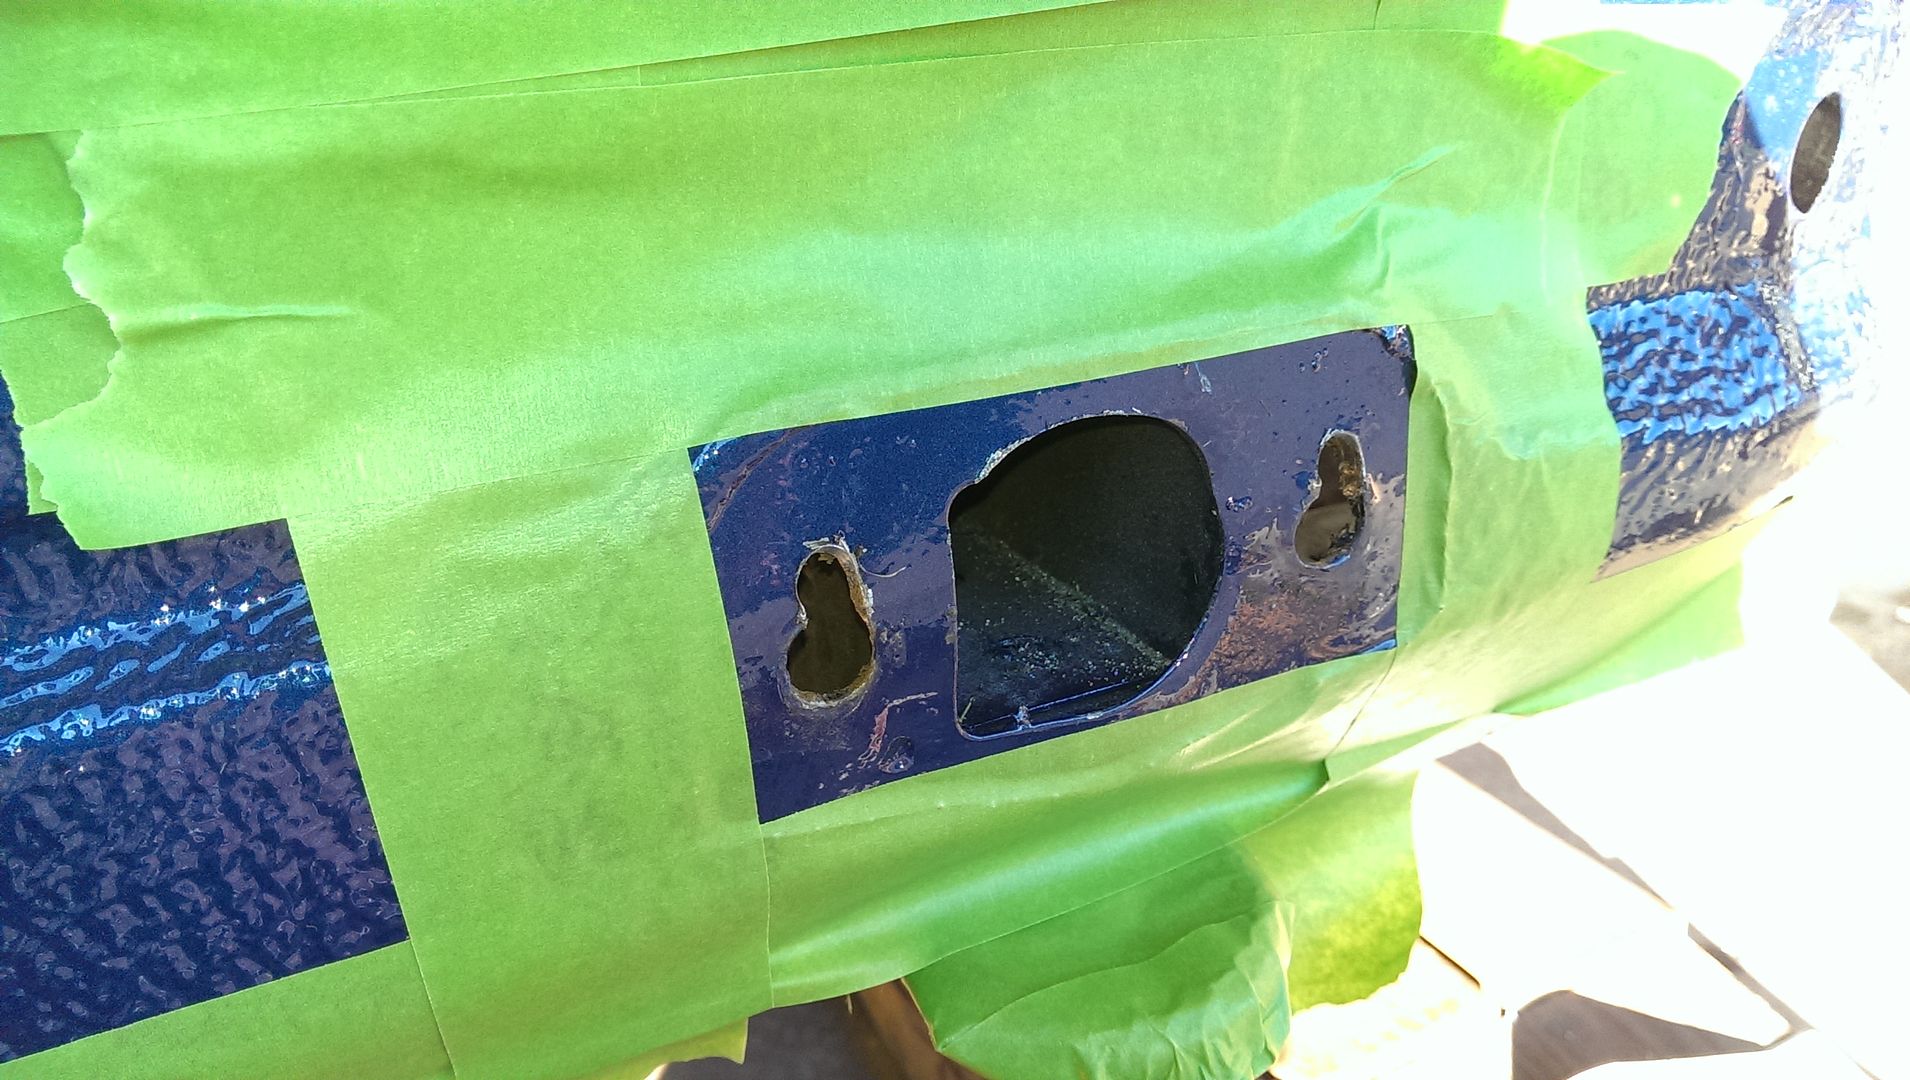
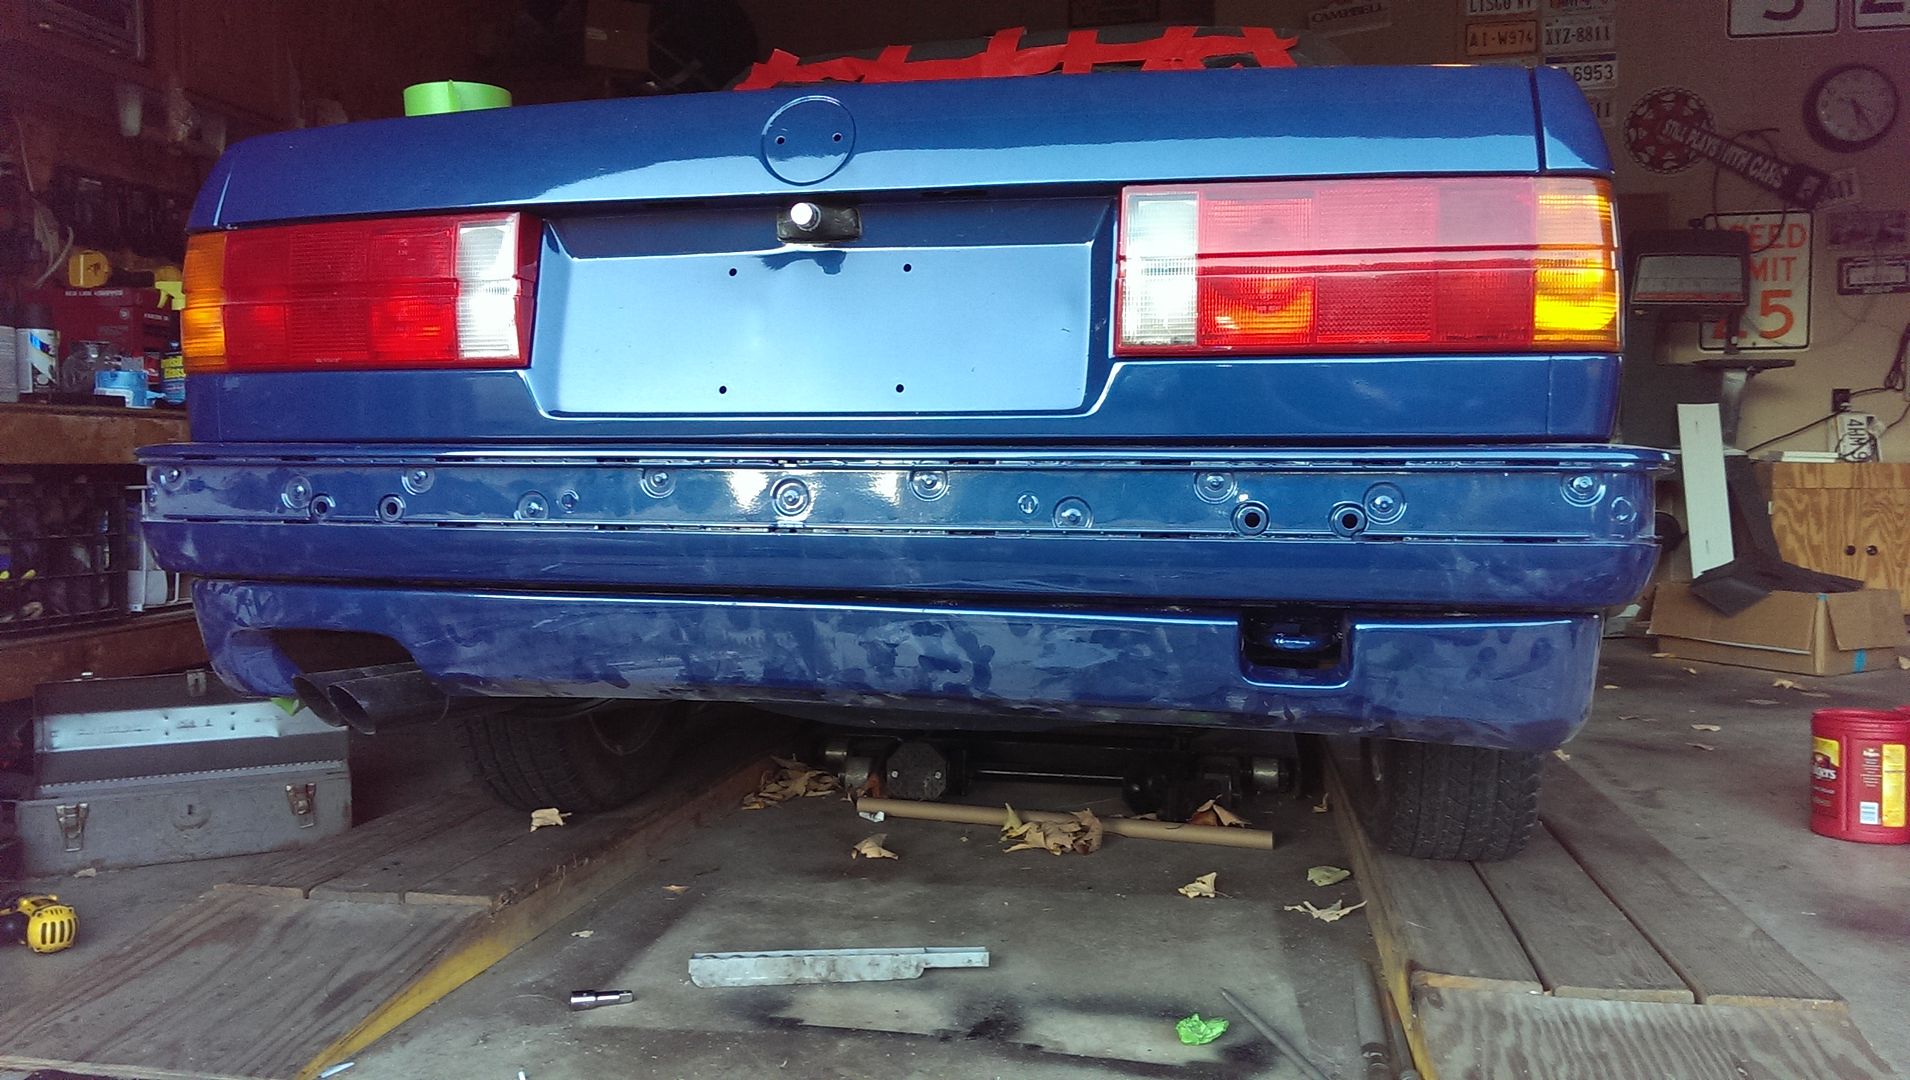
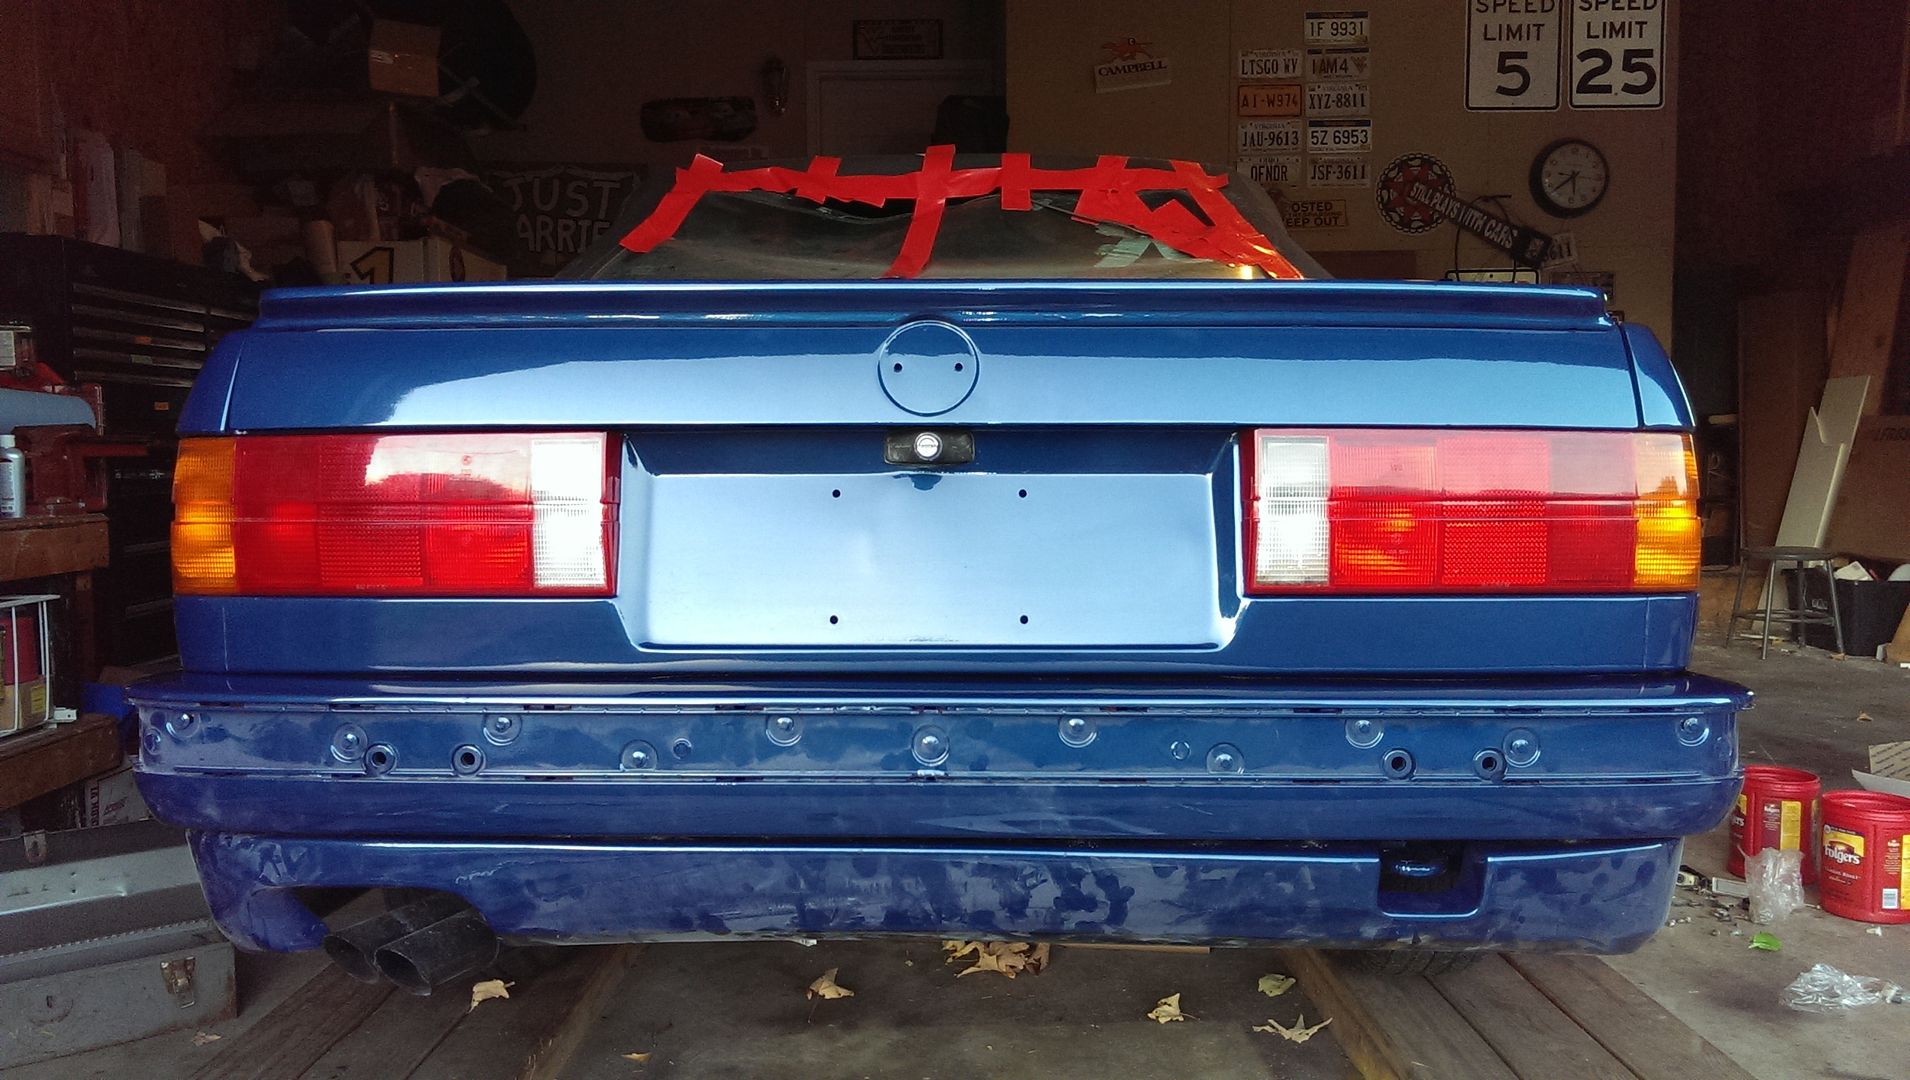
At that point I taped/masked it and sprayed the raw metal edges to prevent rust, then re-installed the bumper.
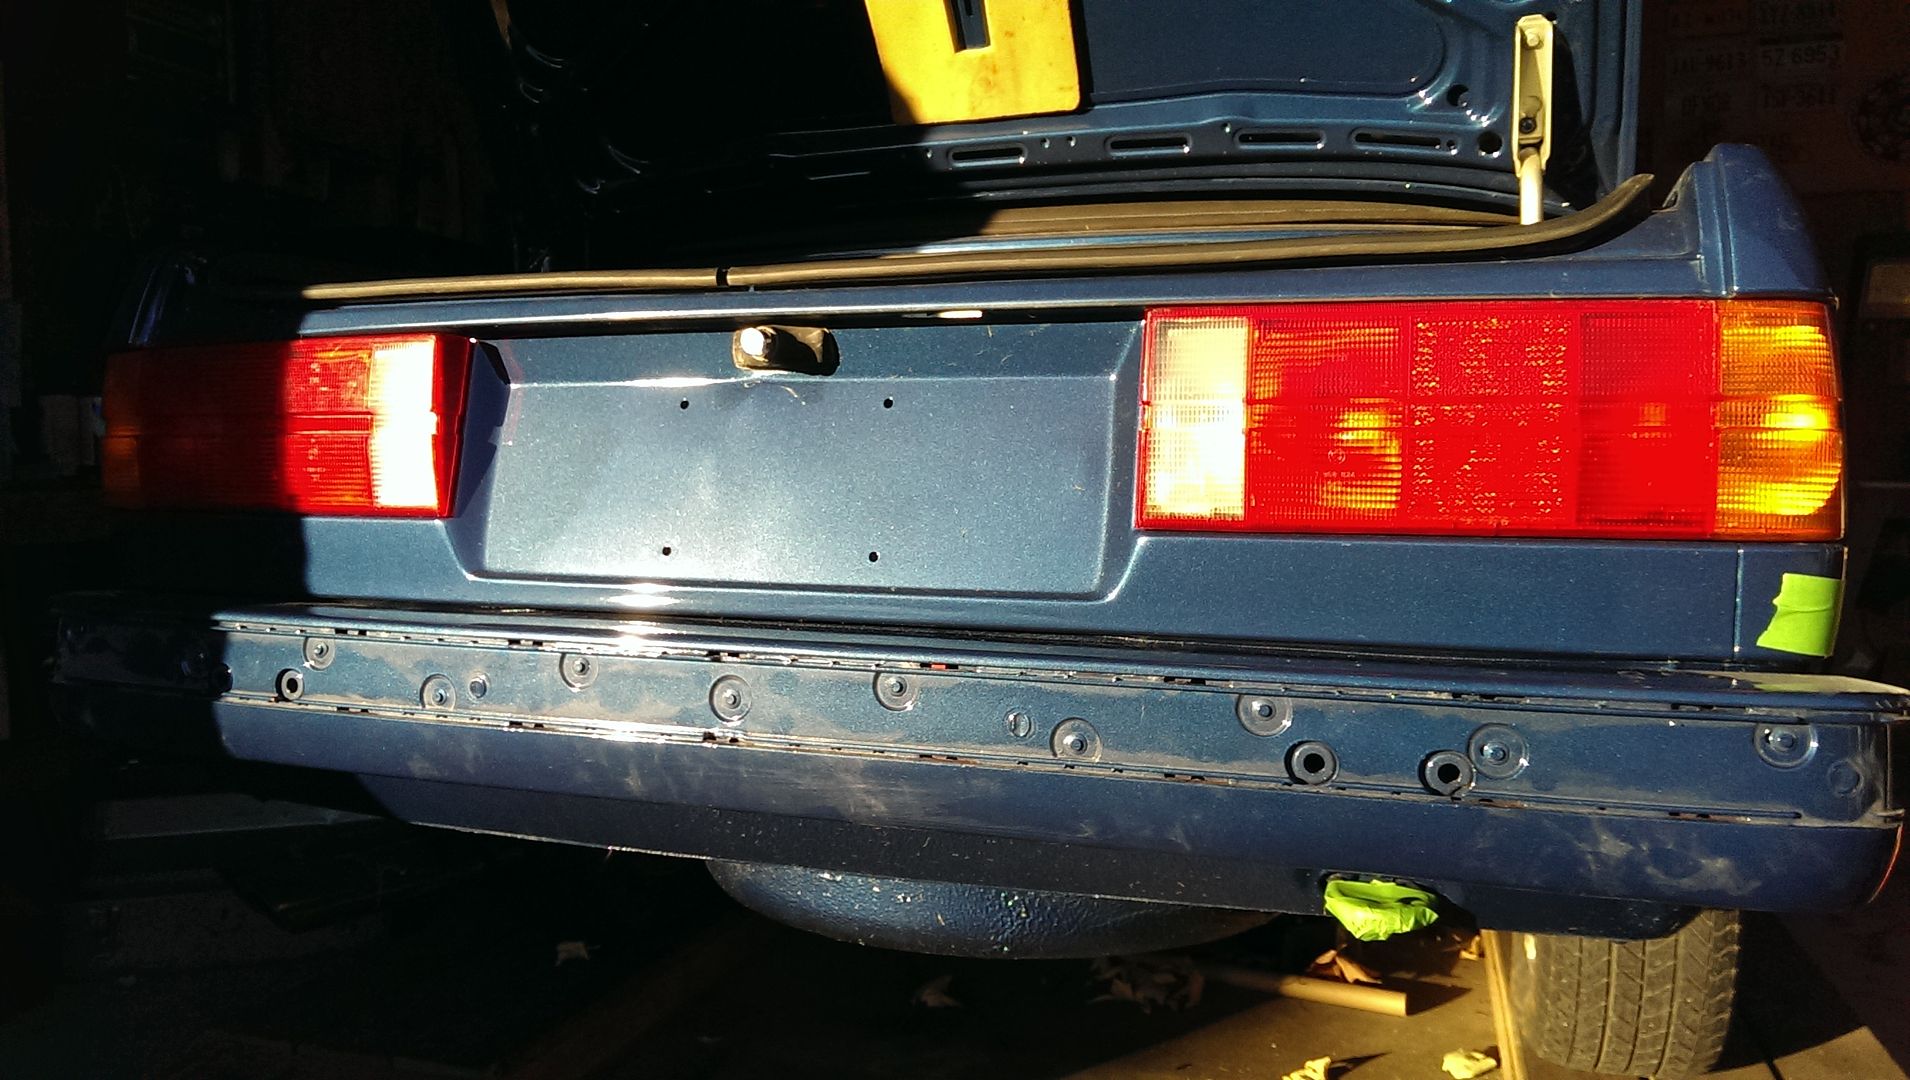
I then used the M6x40 tactic and secured the sides.
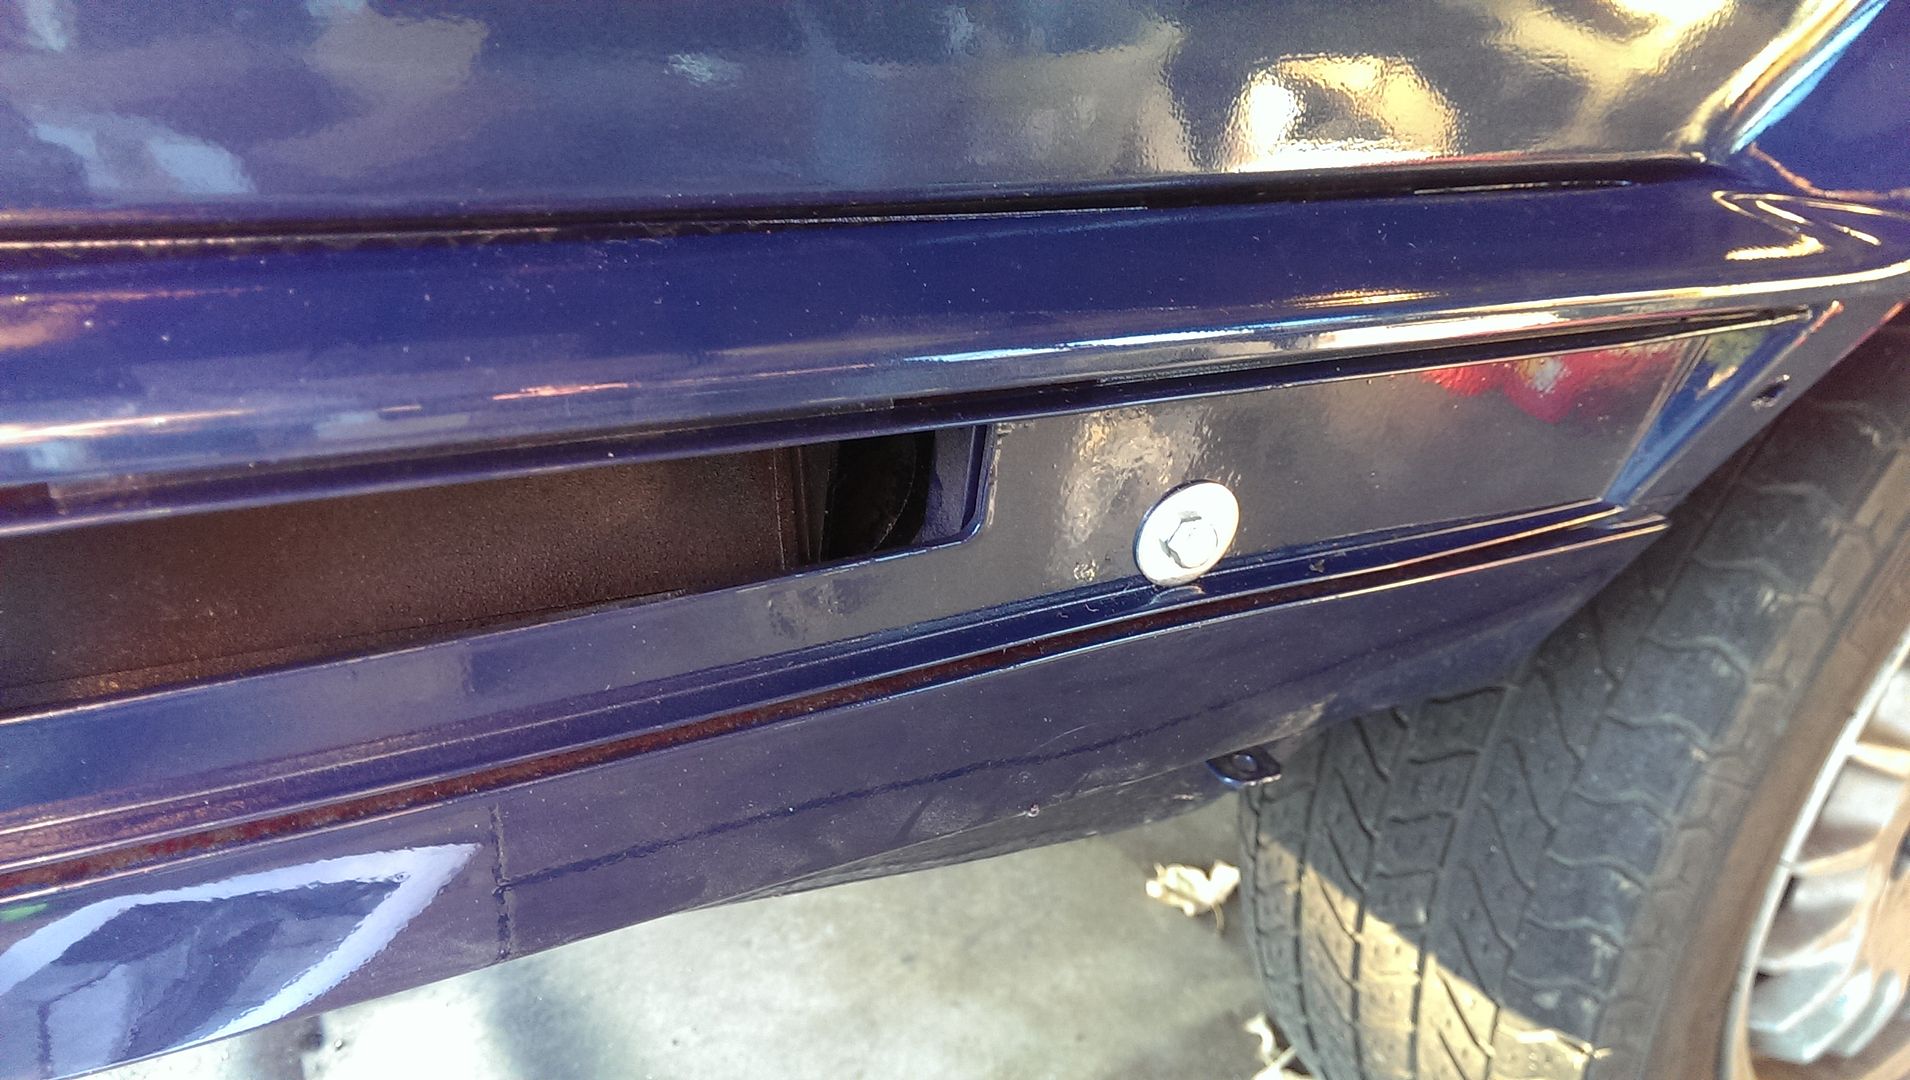
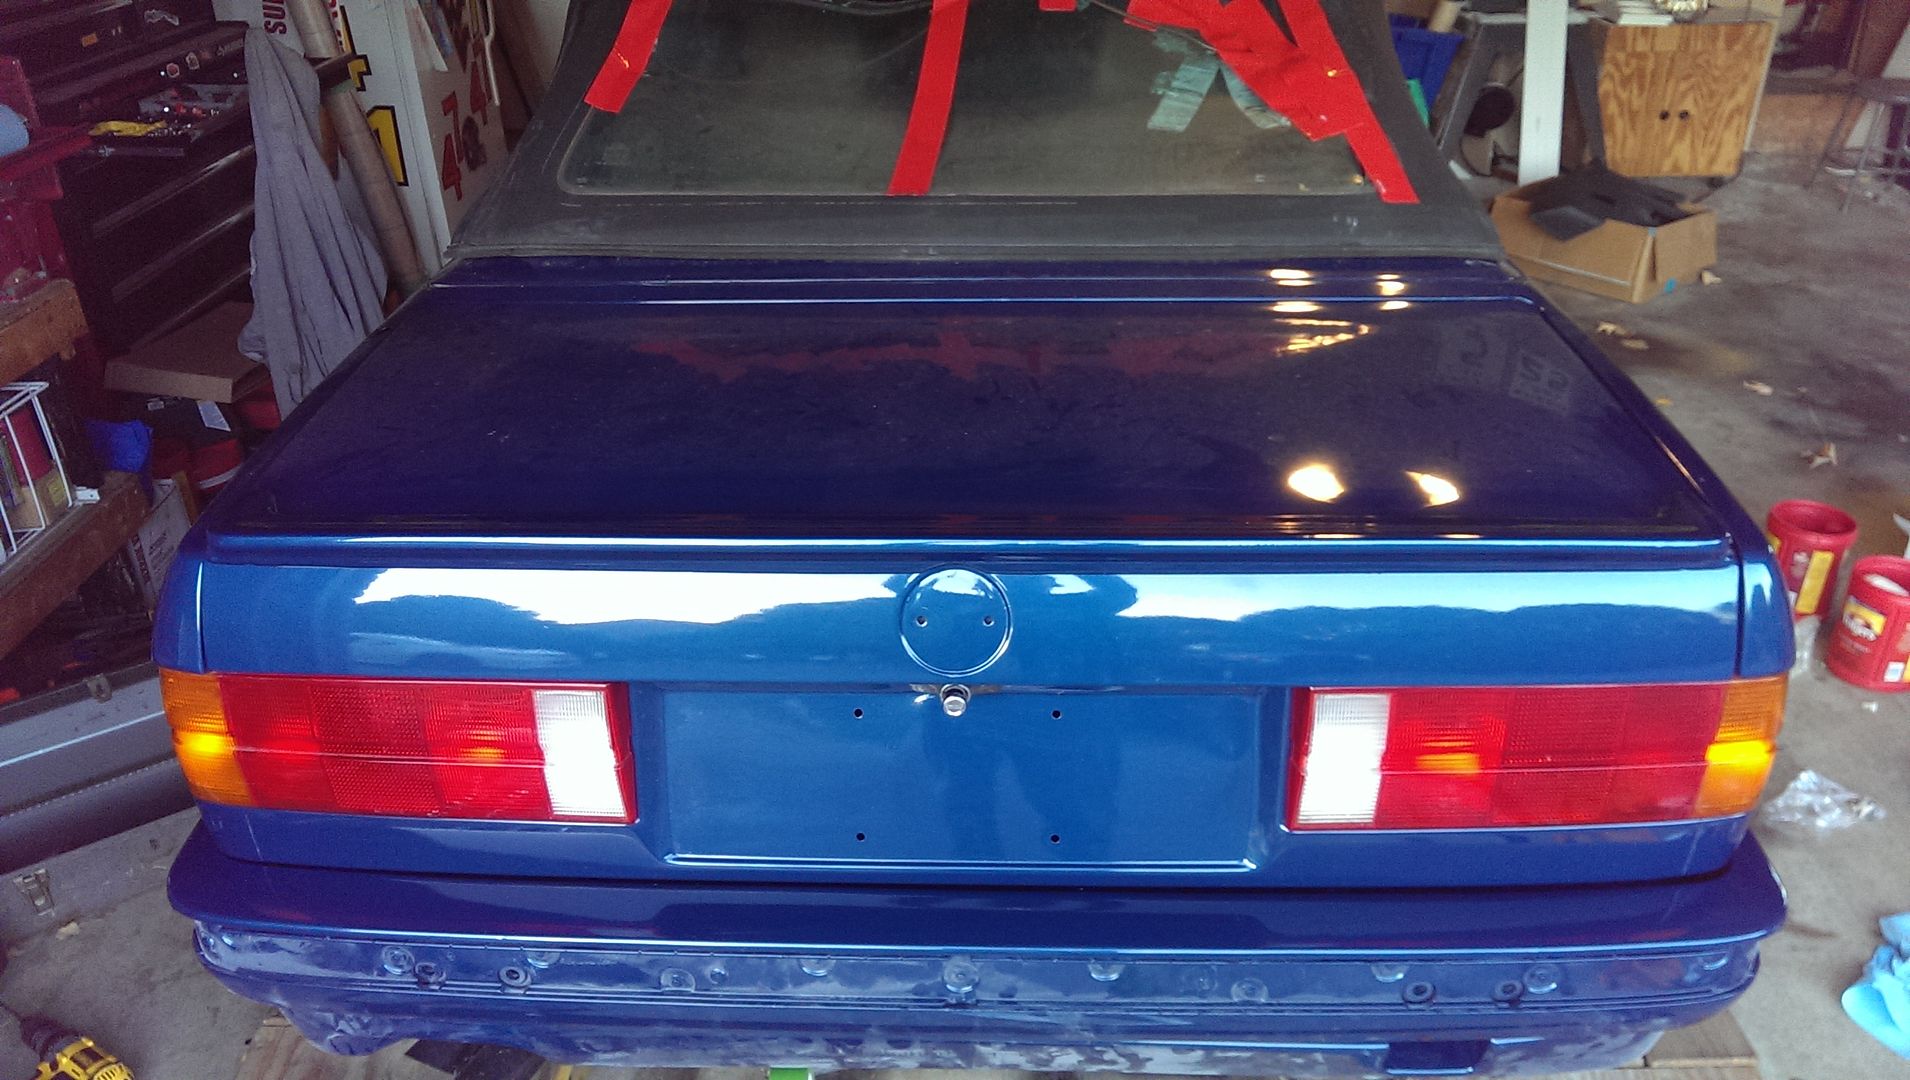
And installed:
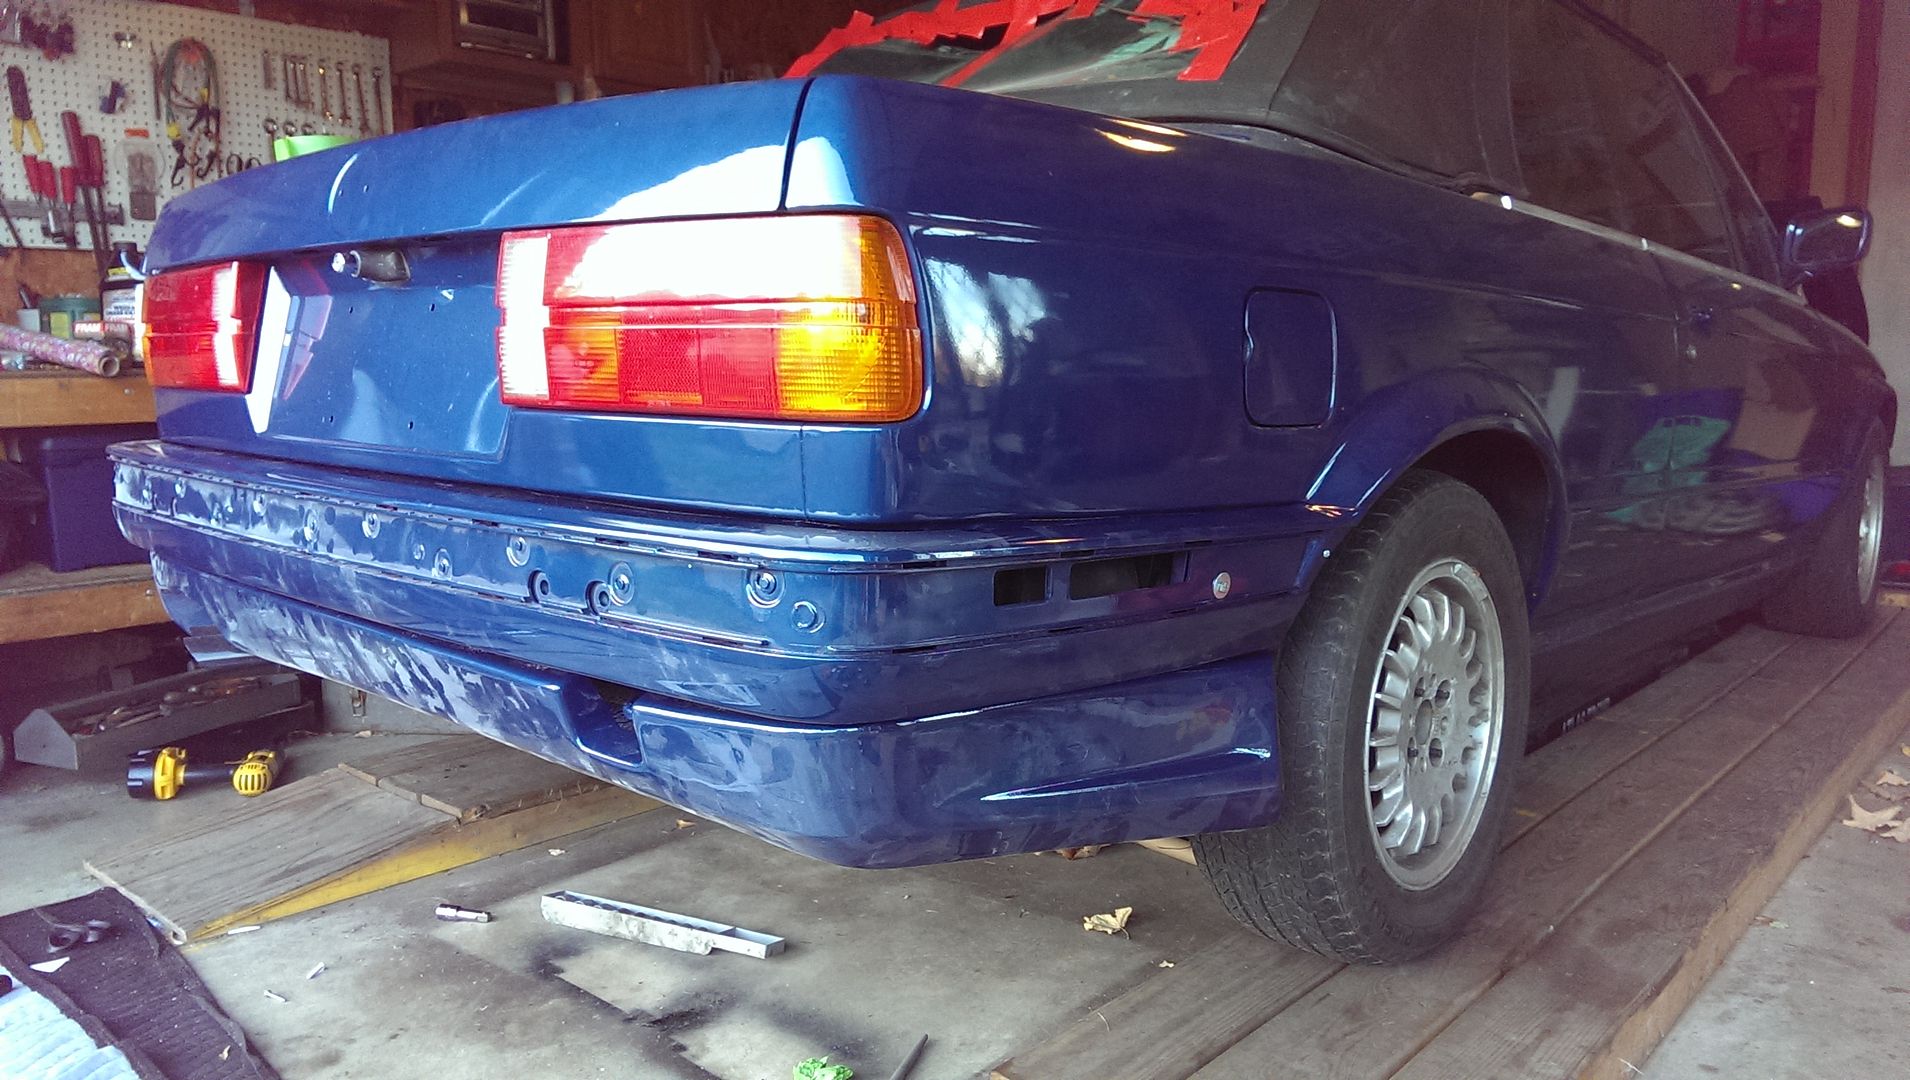
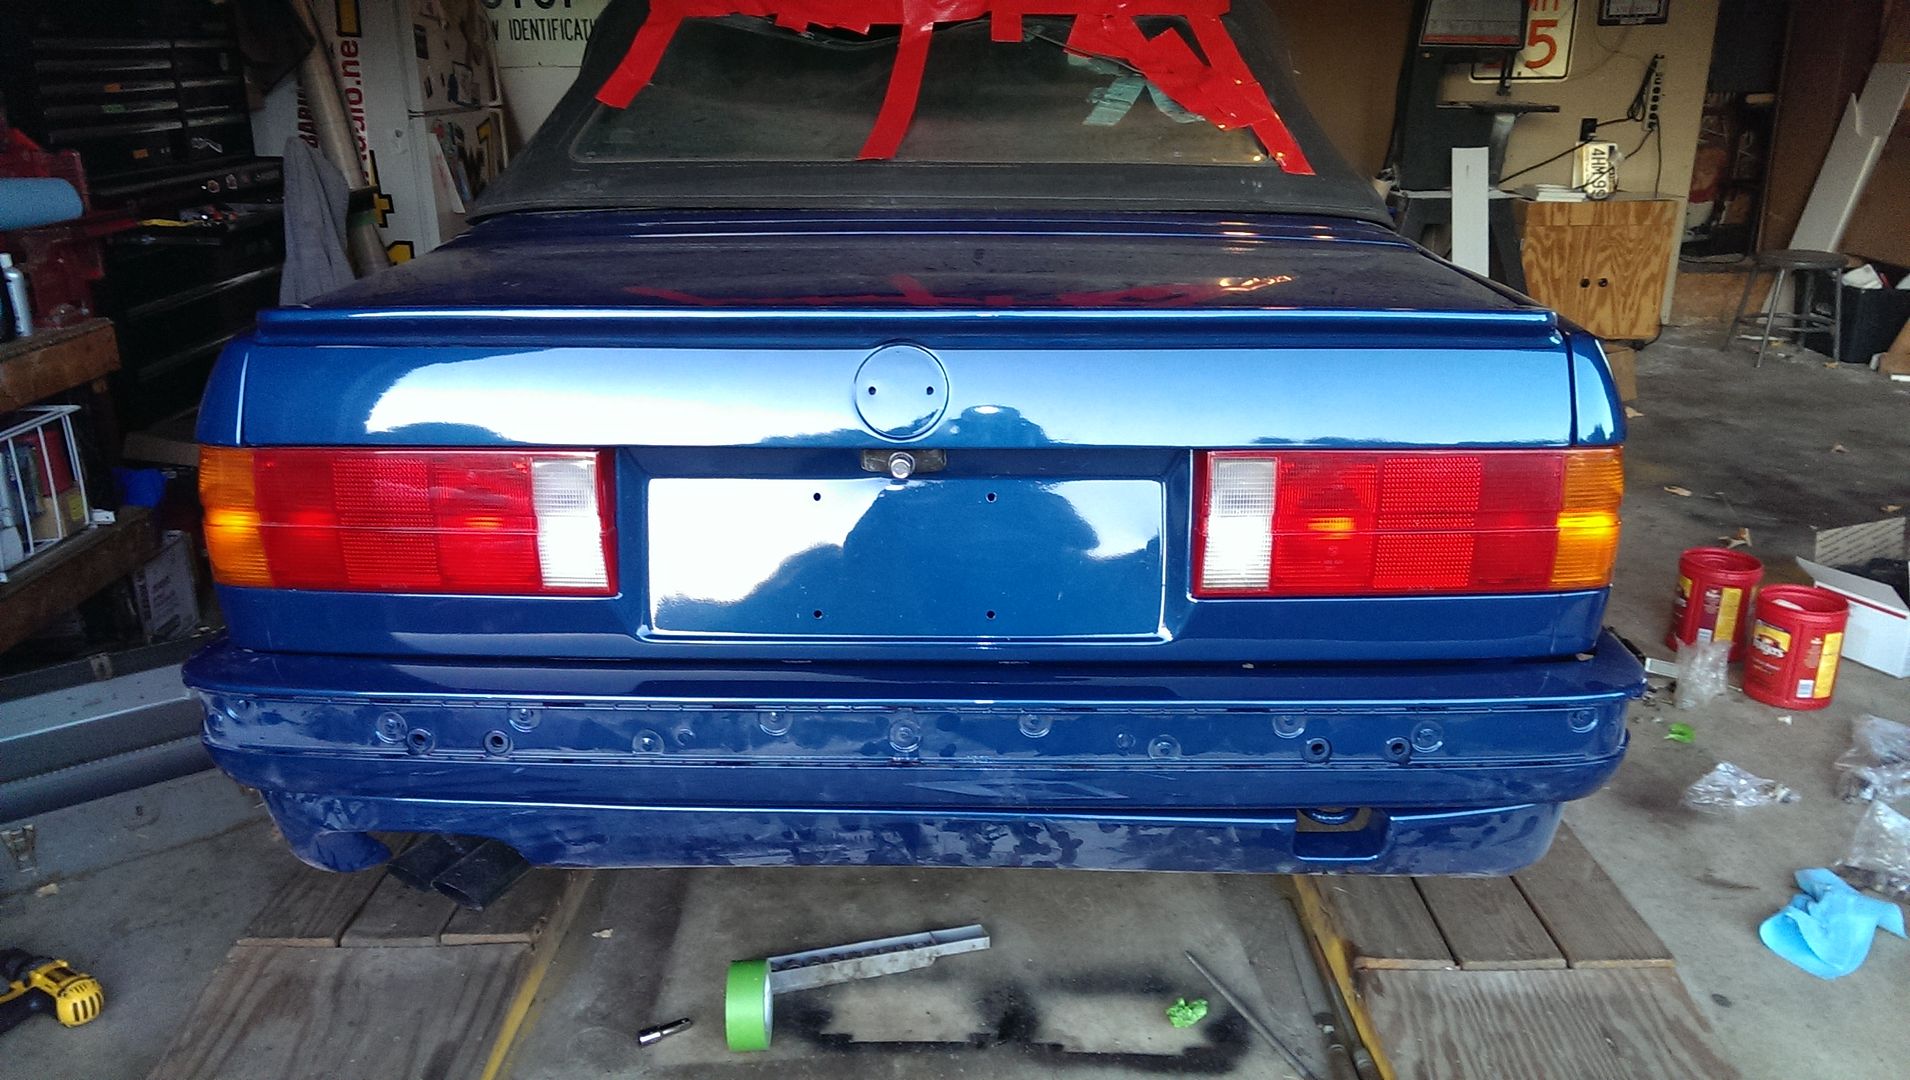
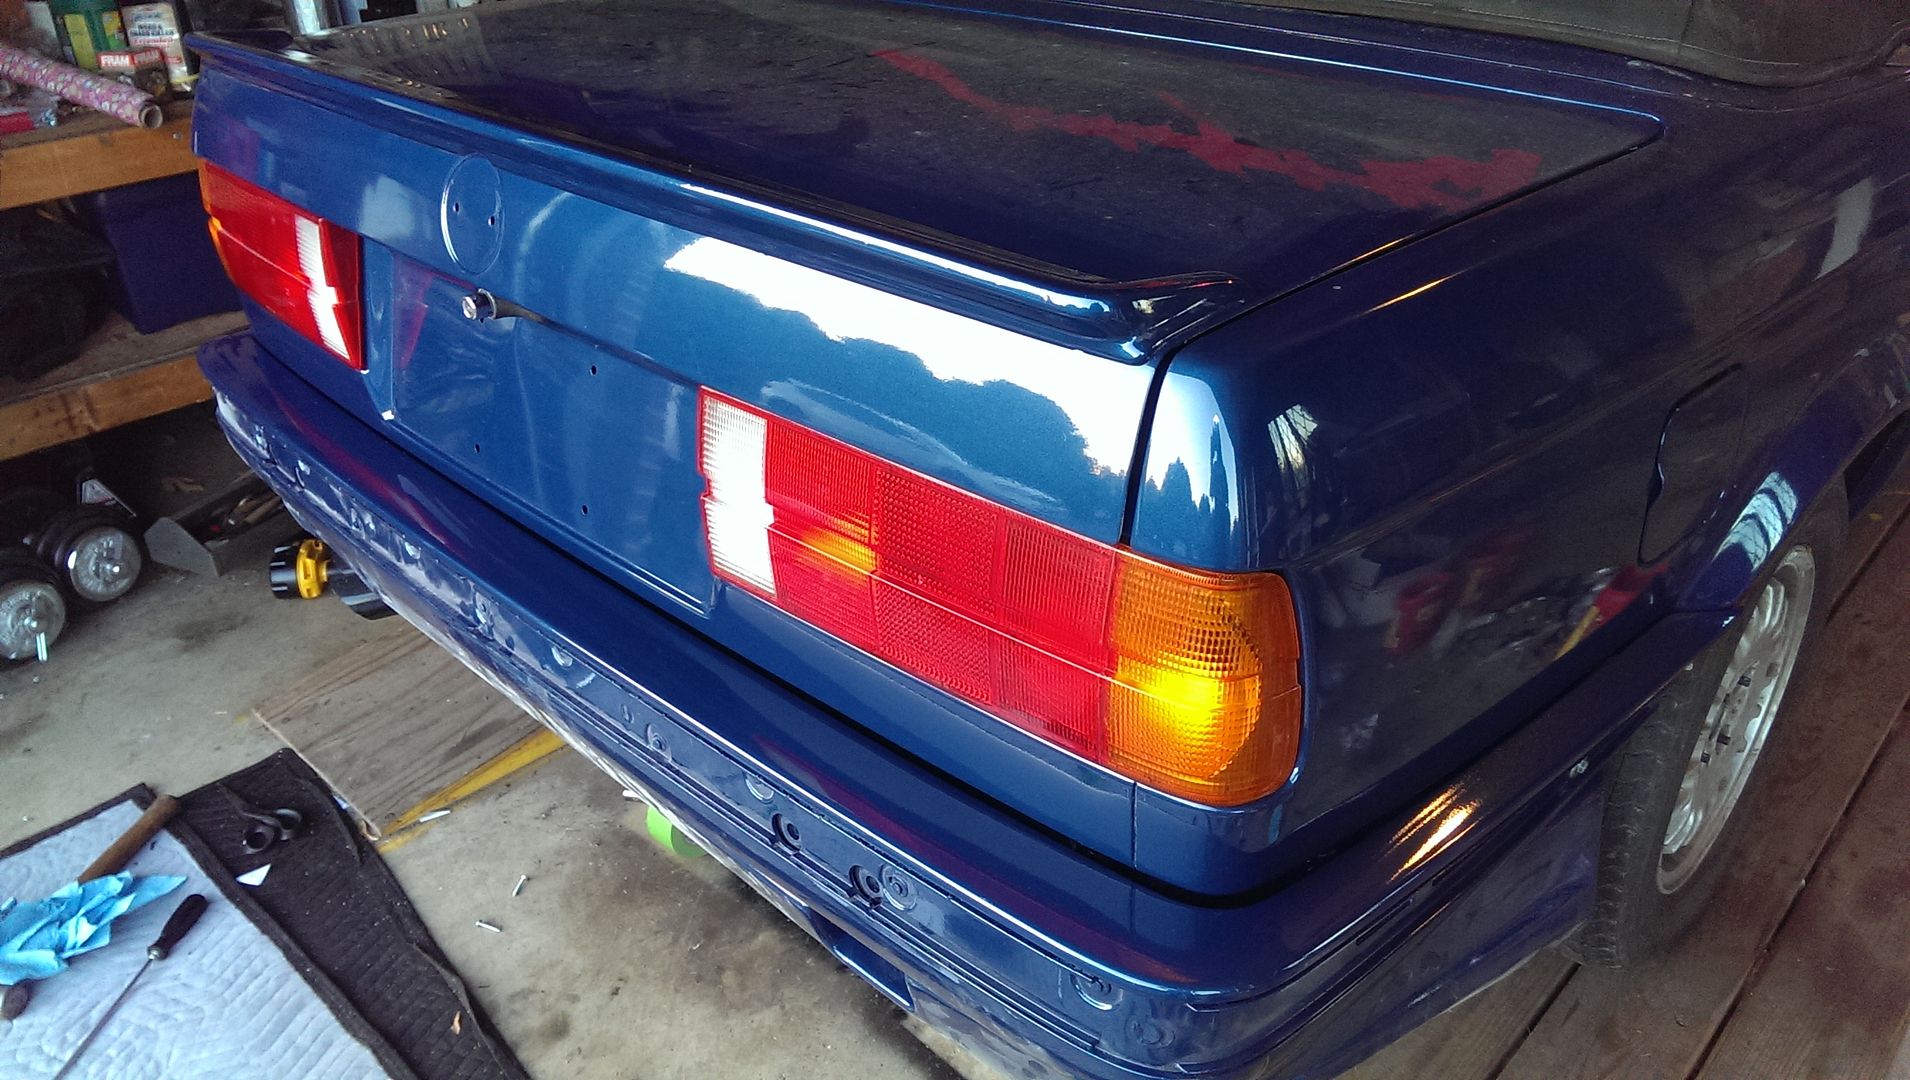
I then took a stab at re-installing the fiberglass no-name rear apron/valance:
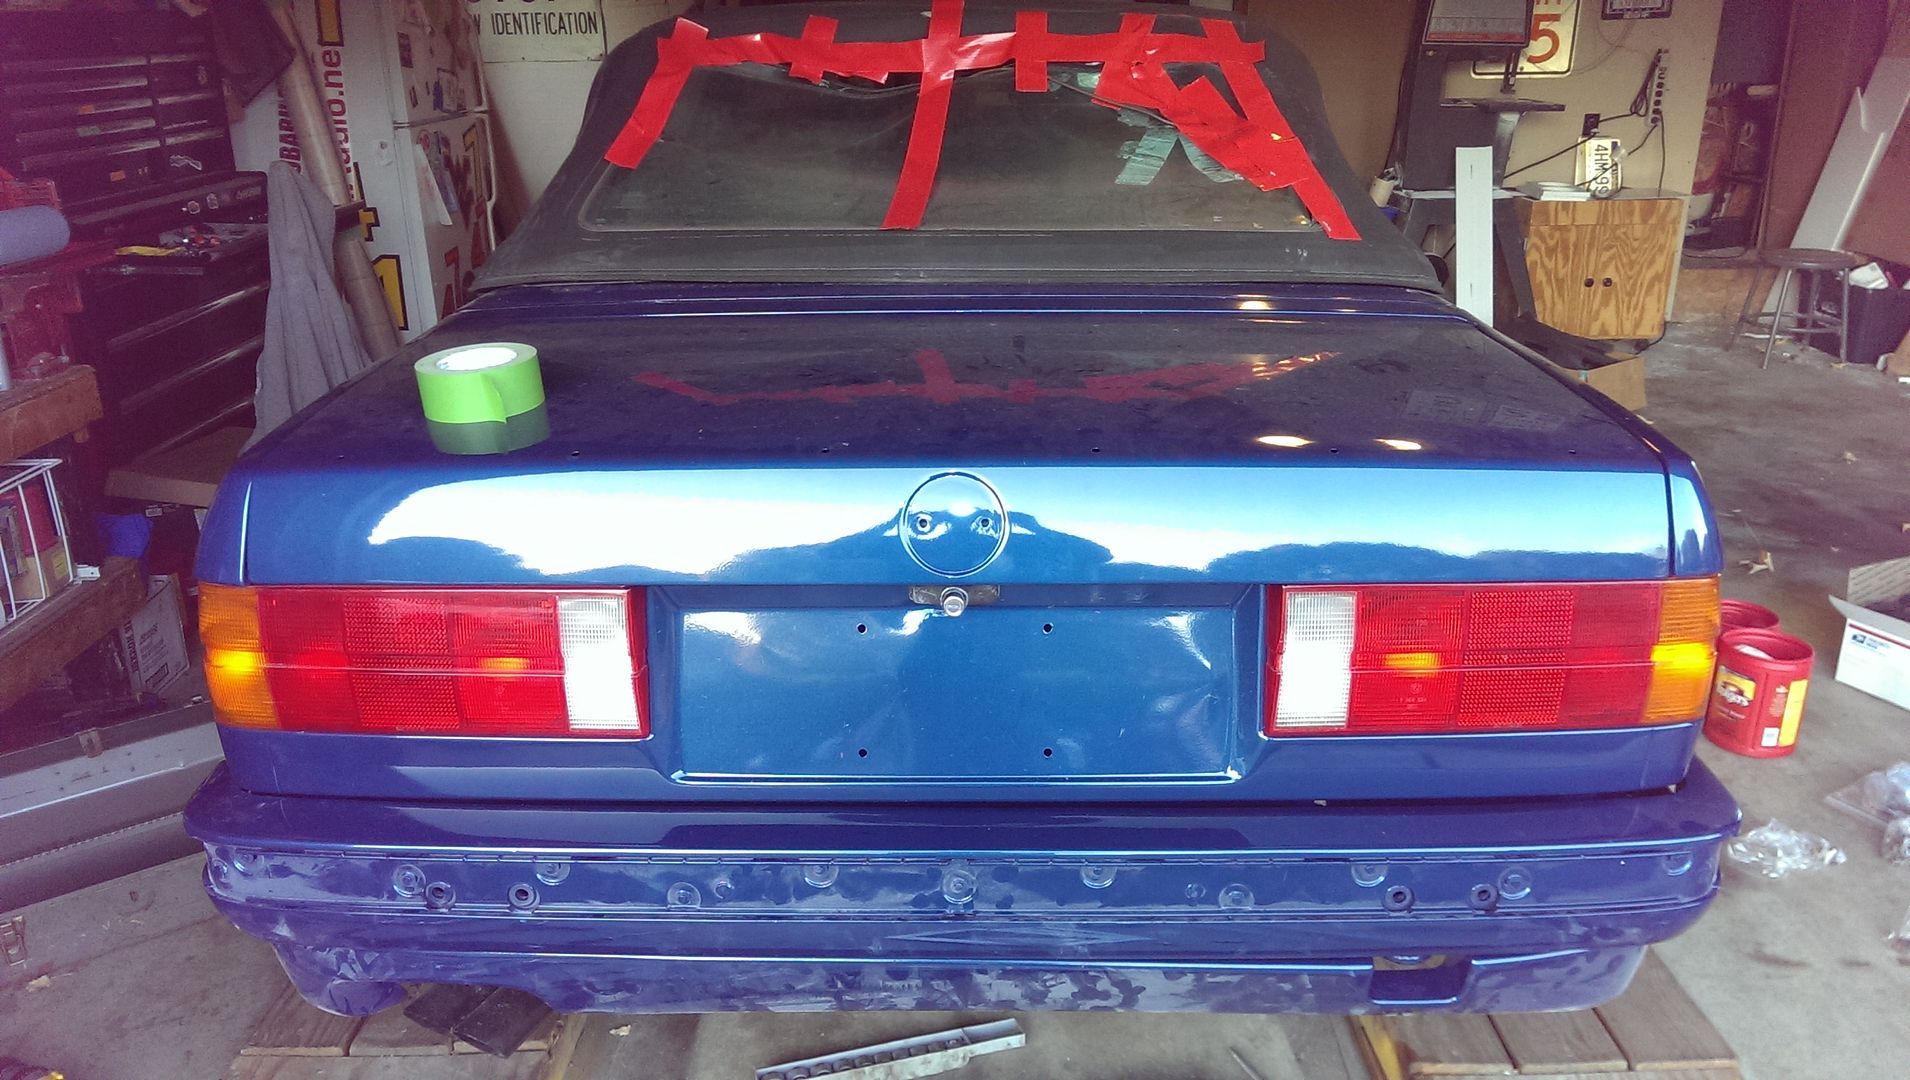
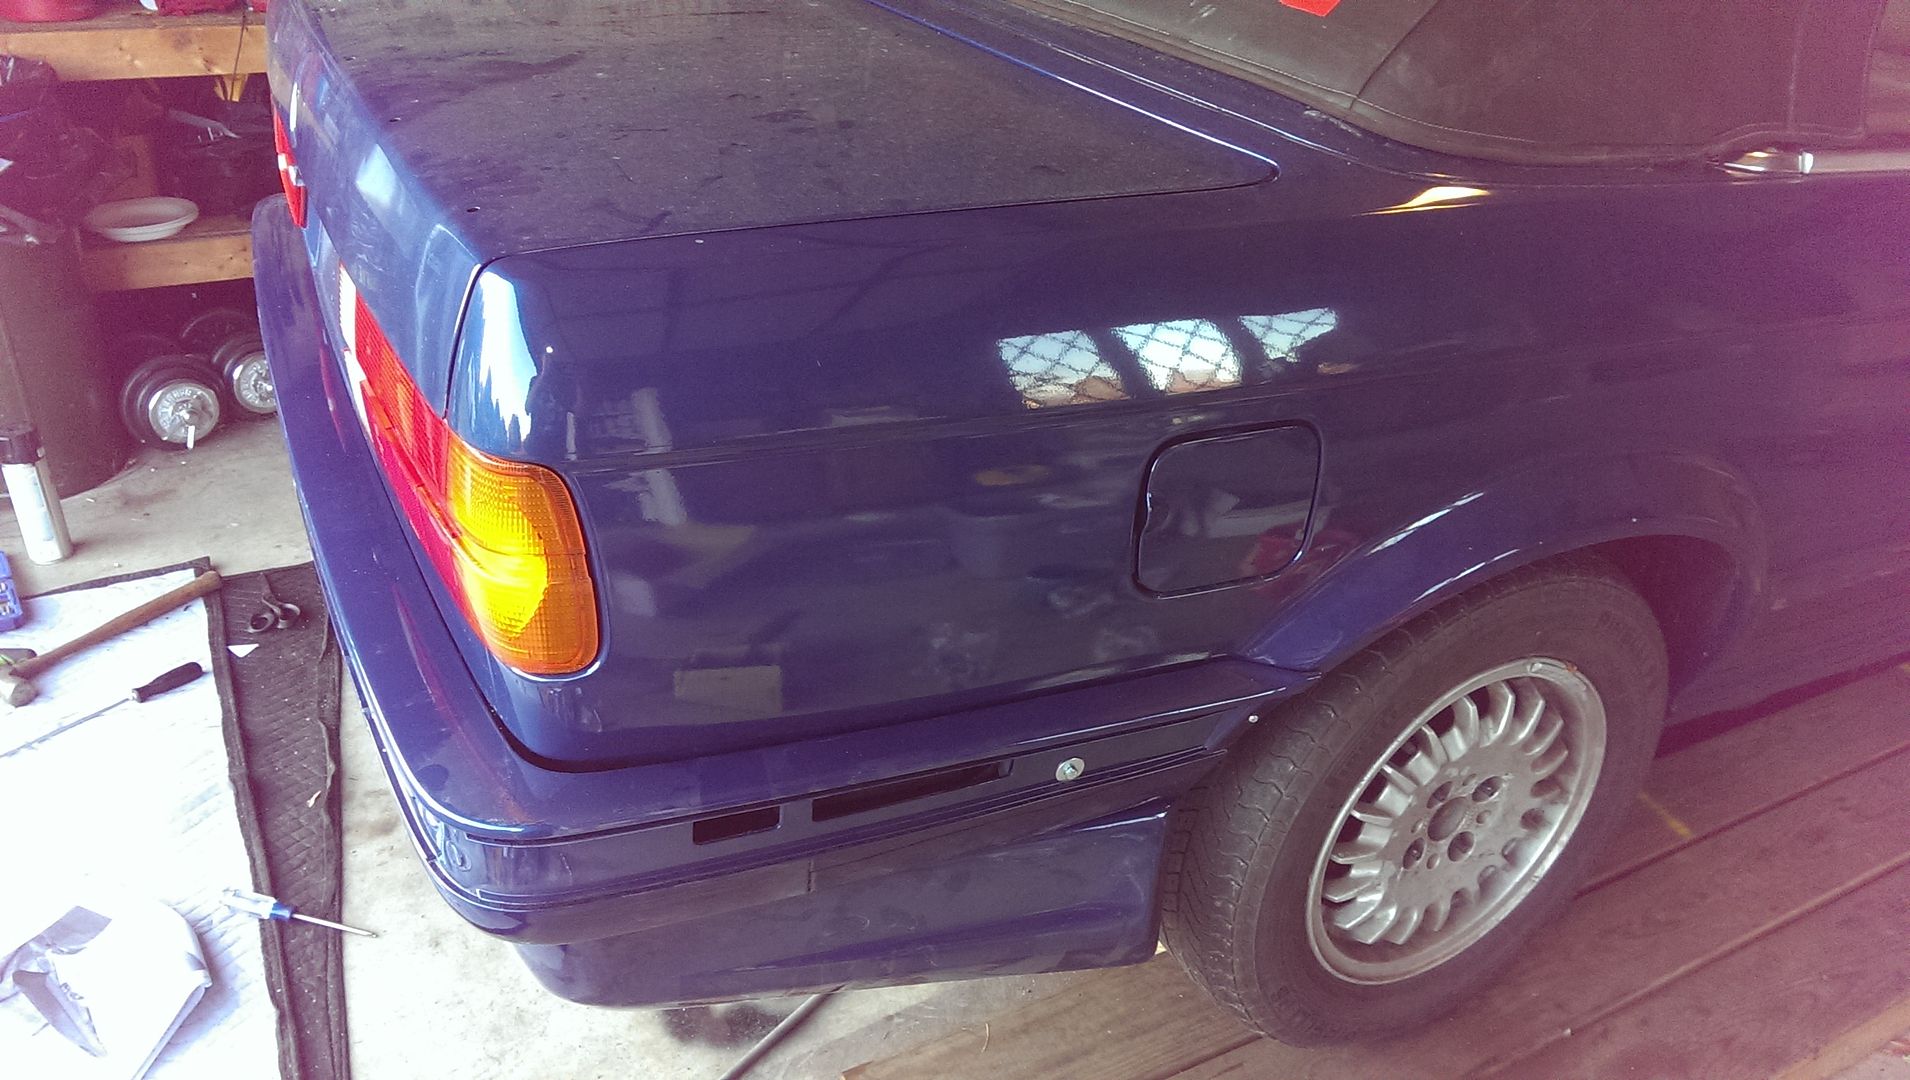
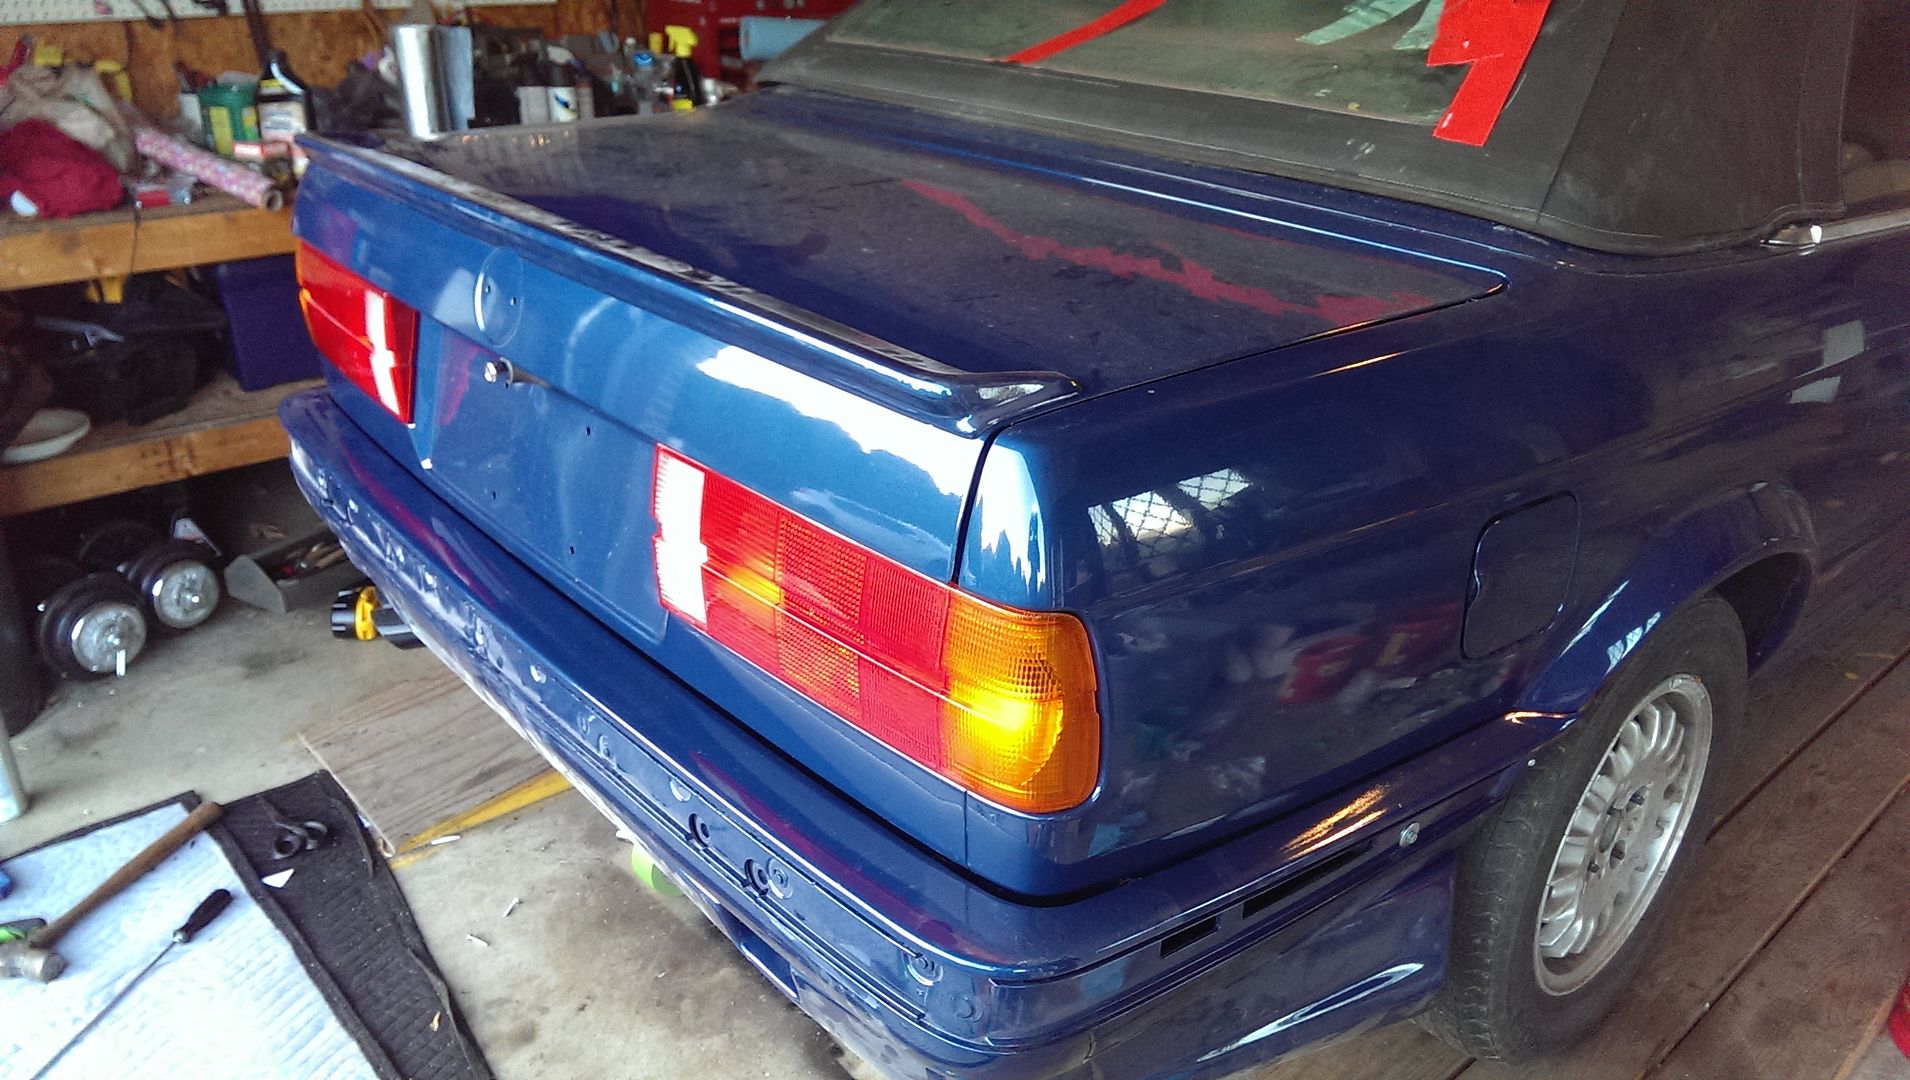
And then I added my paint-matched rear "is" spoiler:
Next up I needed to drill some pilot holes.
Enlarge the holes:
Use a round file to slot the holes and a rounded (flat on one side, rounded on the other) file to remove as much material from the top of the opening to the channel so that the channel and the (former) lip are now flush:
At that point I taped/masked it and sprayed the raw metal edges to prevent rust, then re-installed the bumper.
I then used the M6x40 tactic and secured the sides.
And installed:
I then took a stab at re-installing the fiberglass no-name rear apron/valance:
And then I added my paint-matched rear "is" spoiler:


Comment