
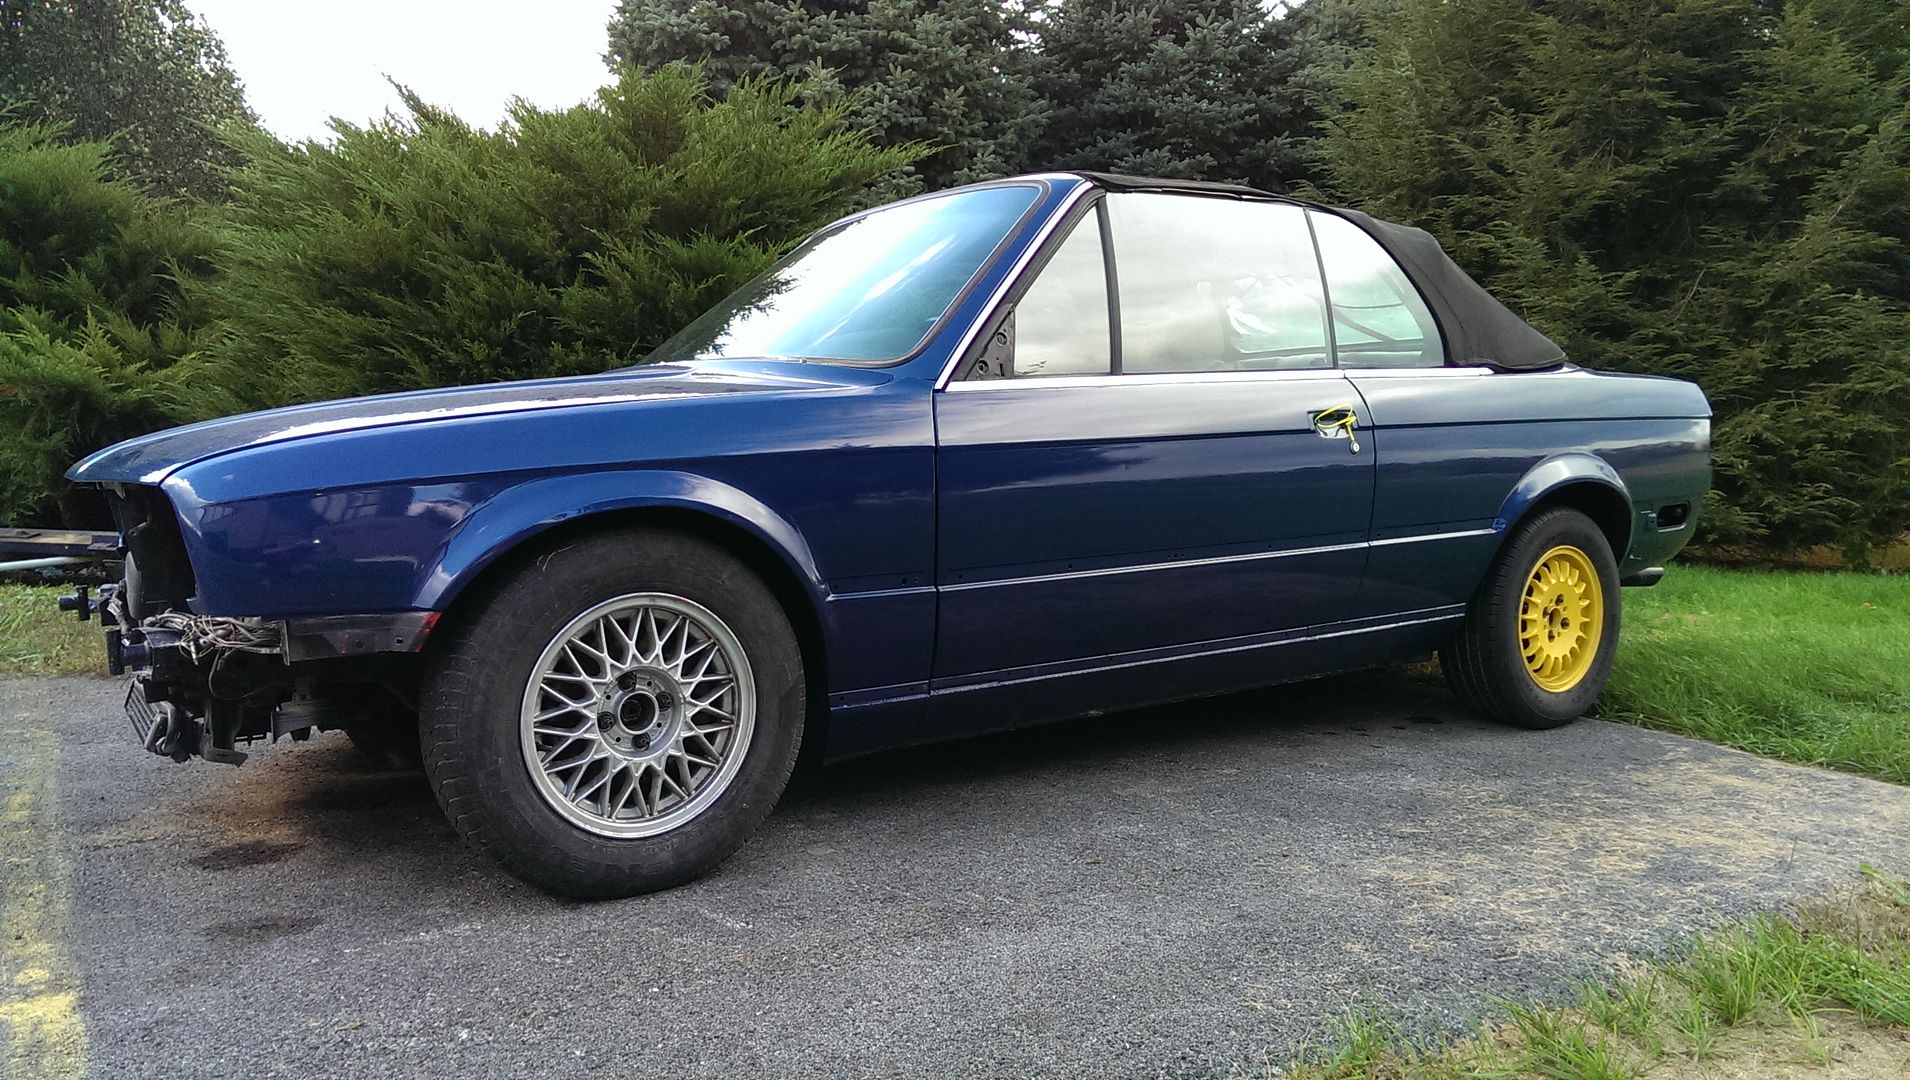
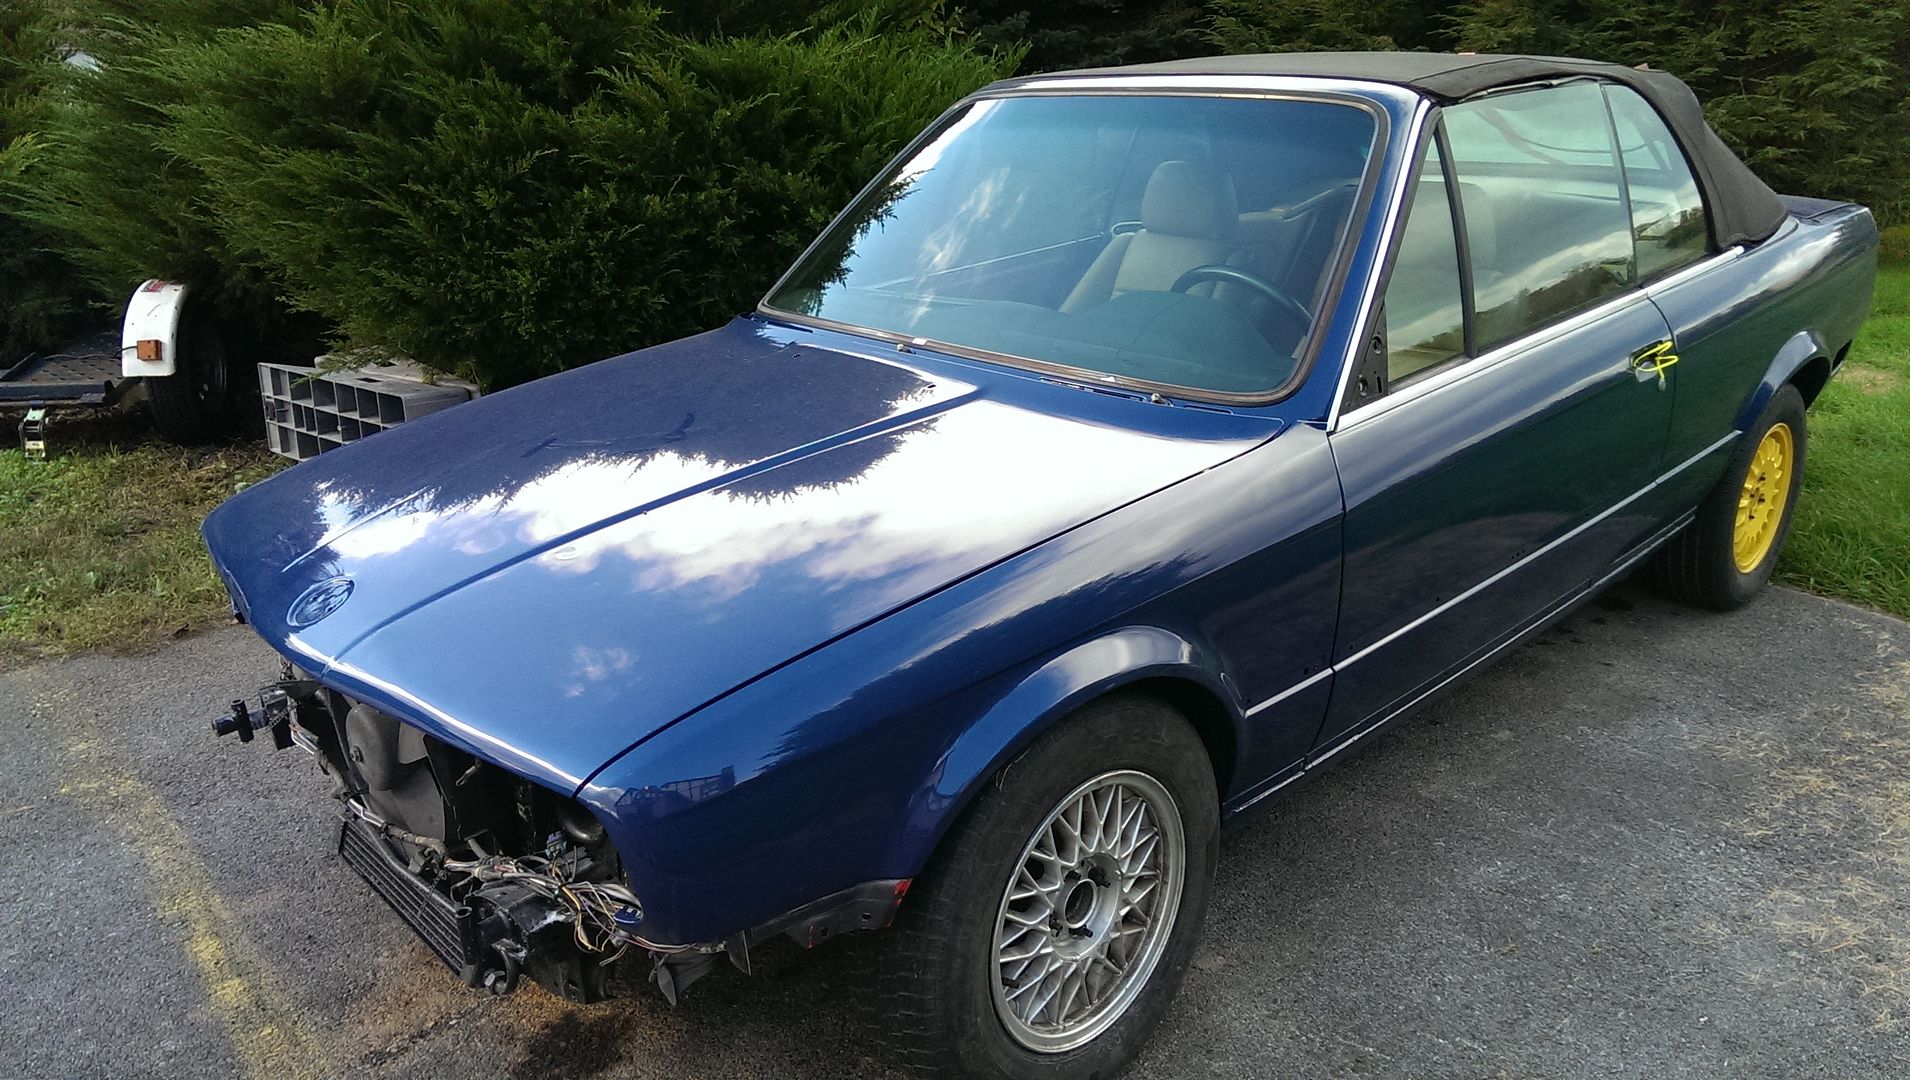
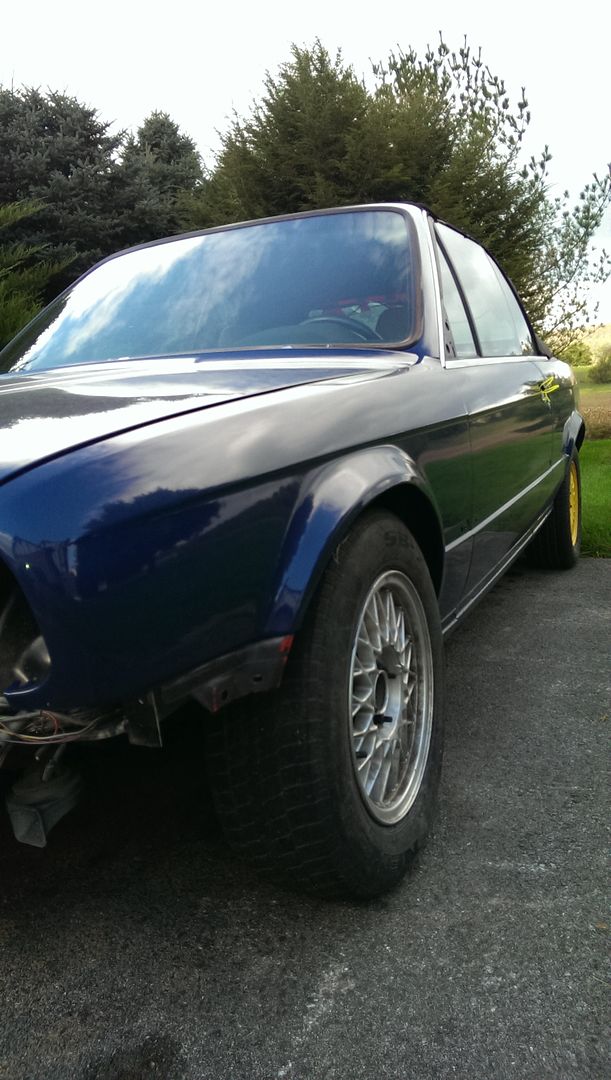
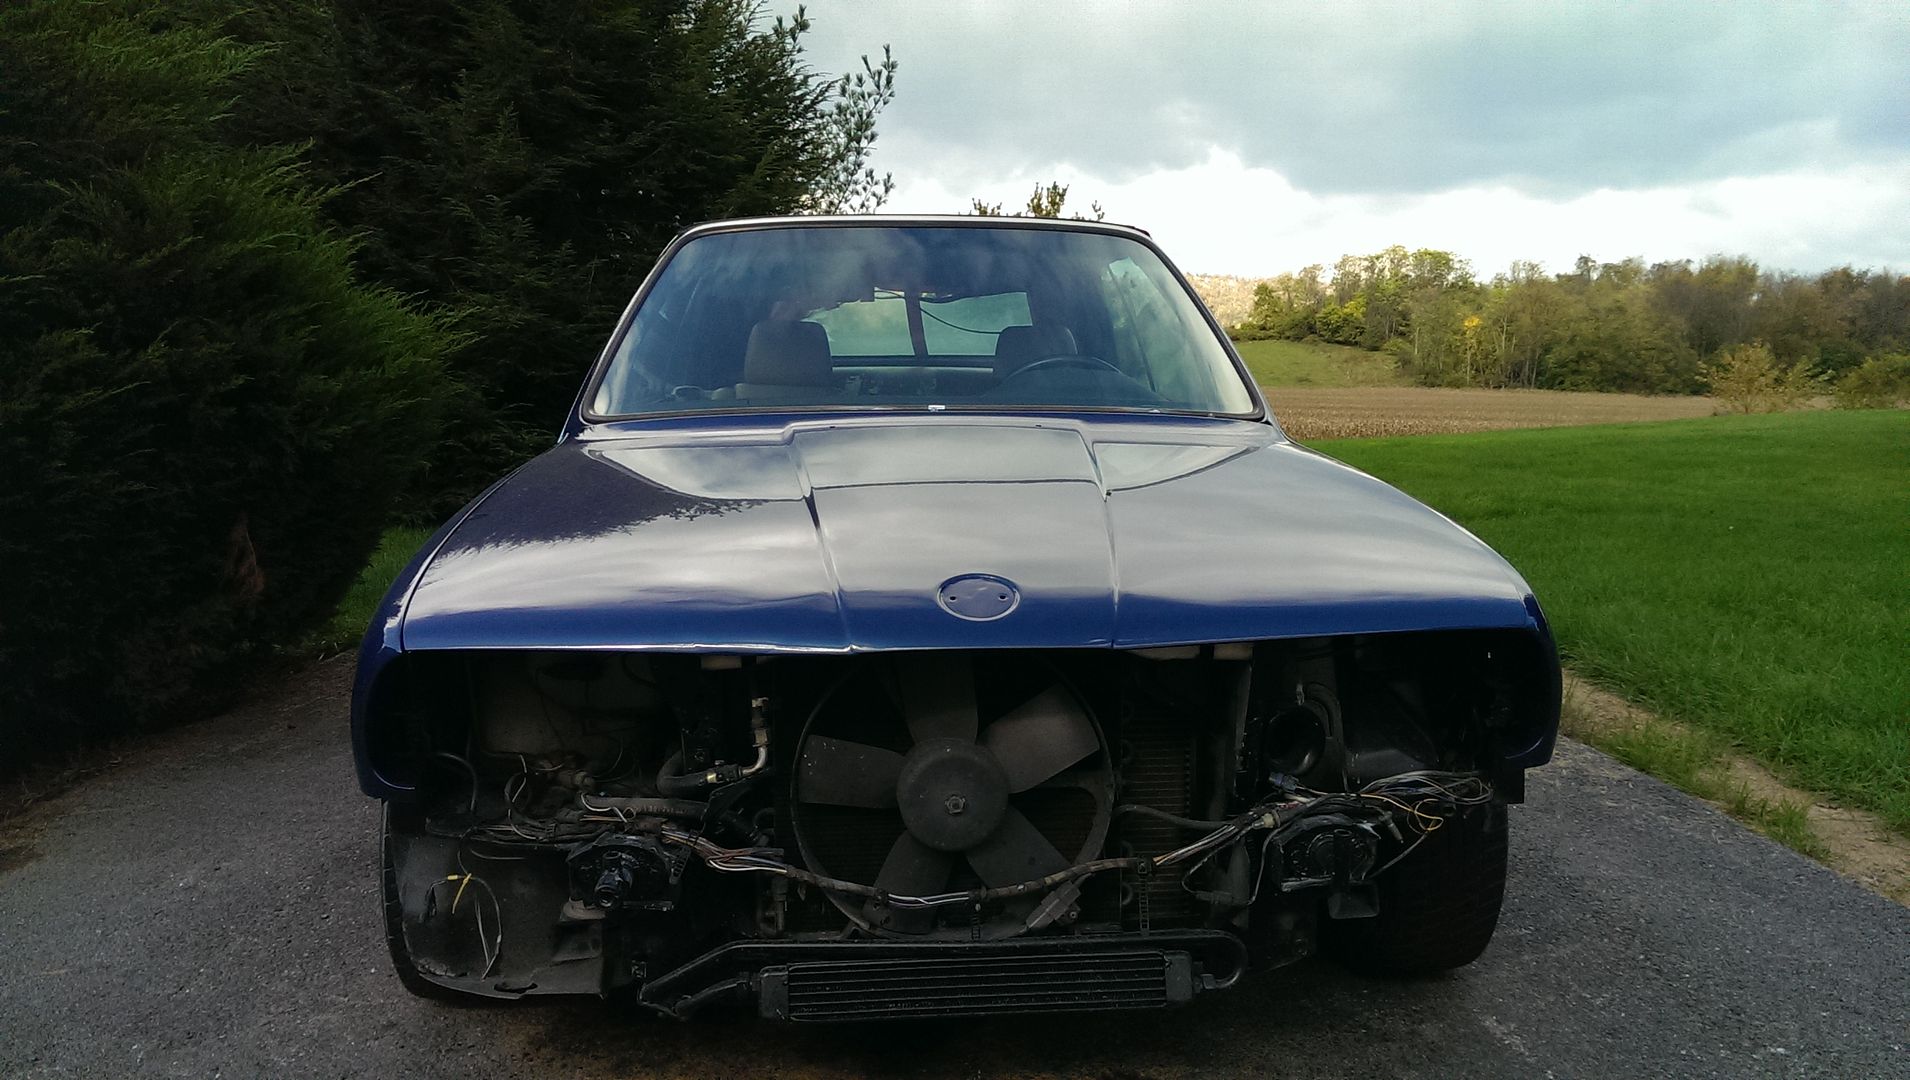
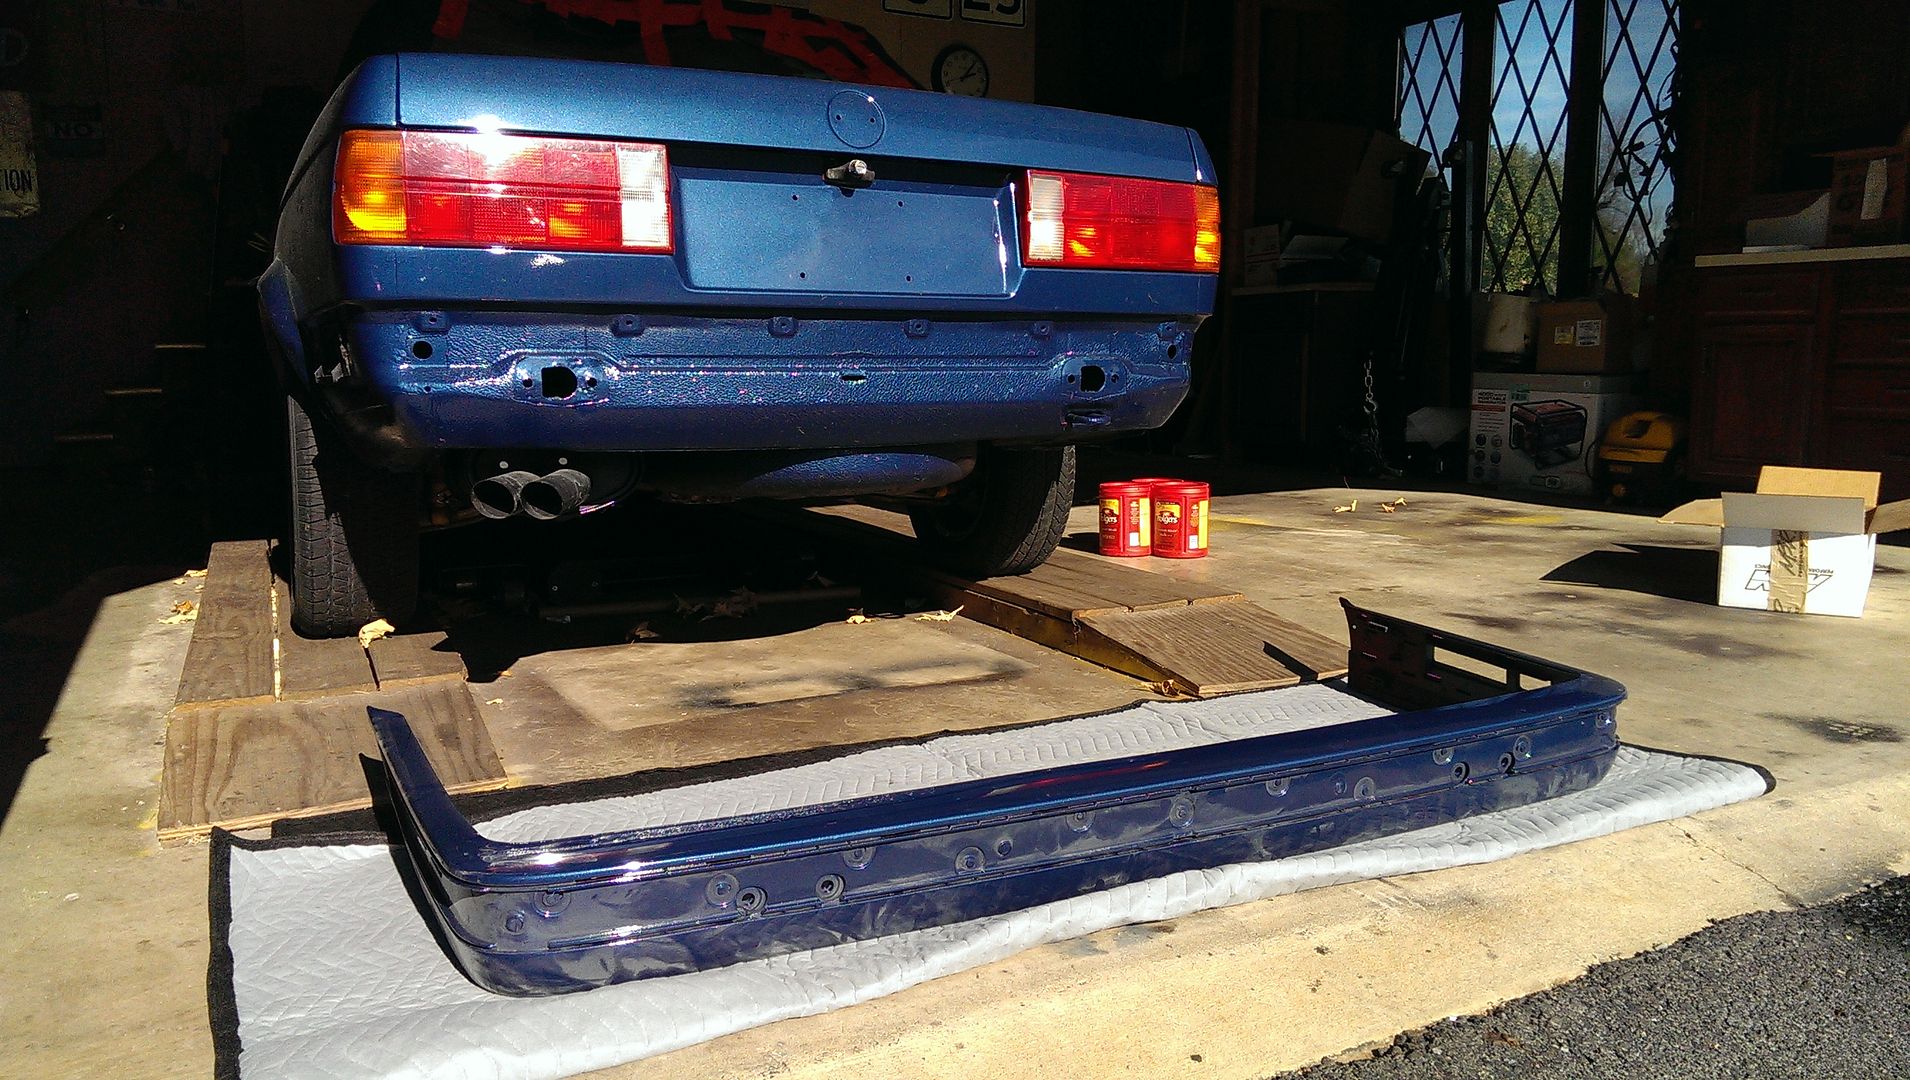
Arrived yesterday:
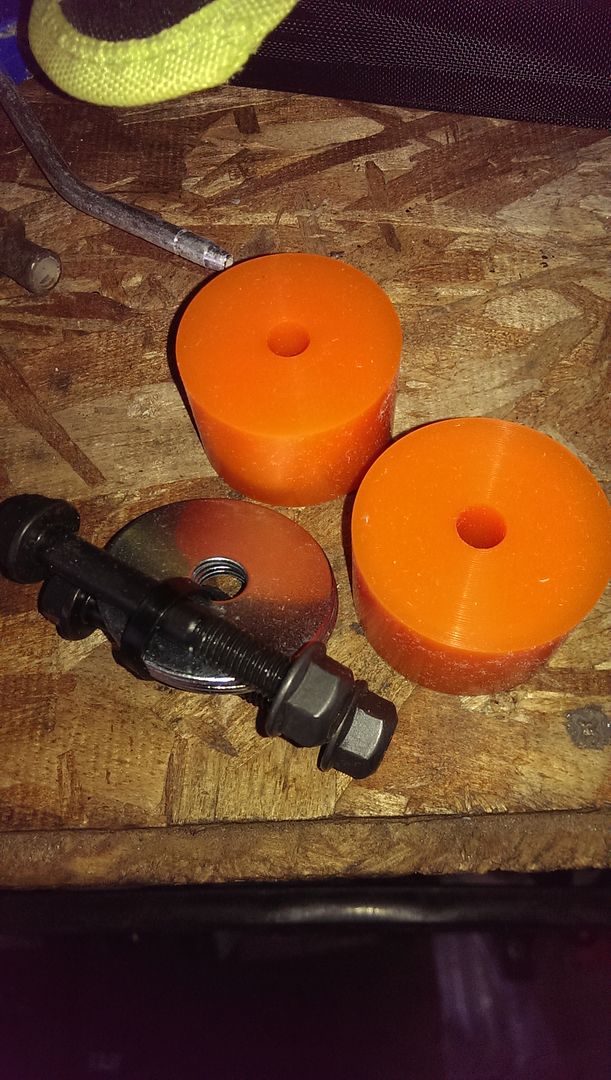
Poly trans mounts from G-Man the visionary. I still like Condor for race (and many street) applications but these seemed like a good option for a pure street/cruiser car.
Now just waiting for the car to come back form paint to install them. Well, these and about 50 other parts.
Poly trans mounts from G-Man the visionary. I still like Condor for race (and many street) applications but these seemed like a good option for a pure street/cruiser car.
Now just waiting for the car to come back form paint to install them. Well, these and about 50 other parts.


Comment