
BIG few days for me.
So I got tired of not having all of the parts that I needed to finish the top- namely the shocks and sleeves that assist the actual top mechanism- no thte cover. These were mentioned back on the page when I had the top installed but at $100 for all 4 parts, I was waiting until better weather to order them- plus I wanted to hold off until I got free shipping for those, some seat repair parts, and a few other odds and ends. Fortunately or unfortunately, I spent enough for free shipping at ECS Tuning, which was th eonly place that carried everything that I needed in this round of acquisitions.
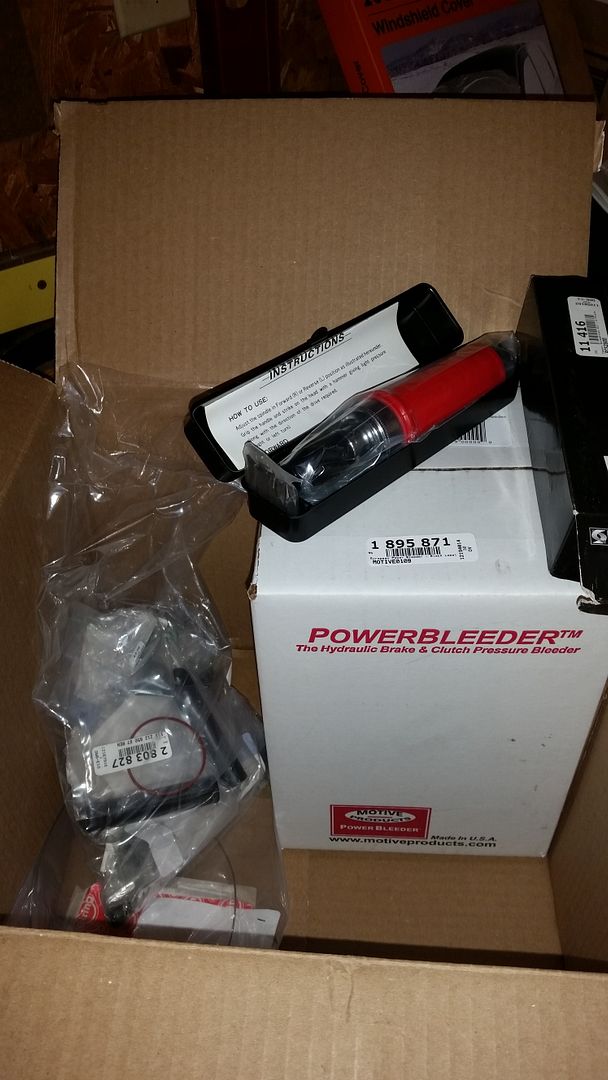
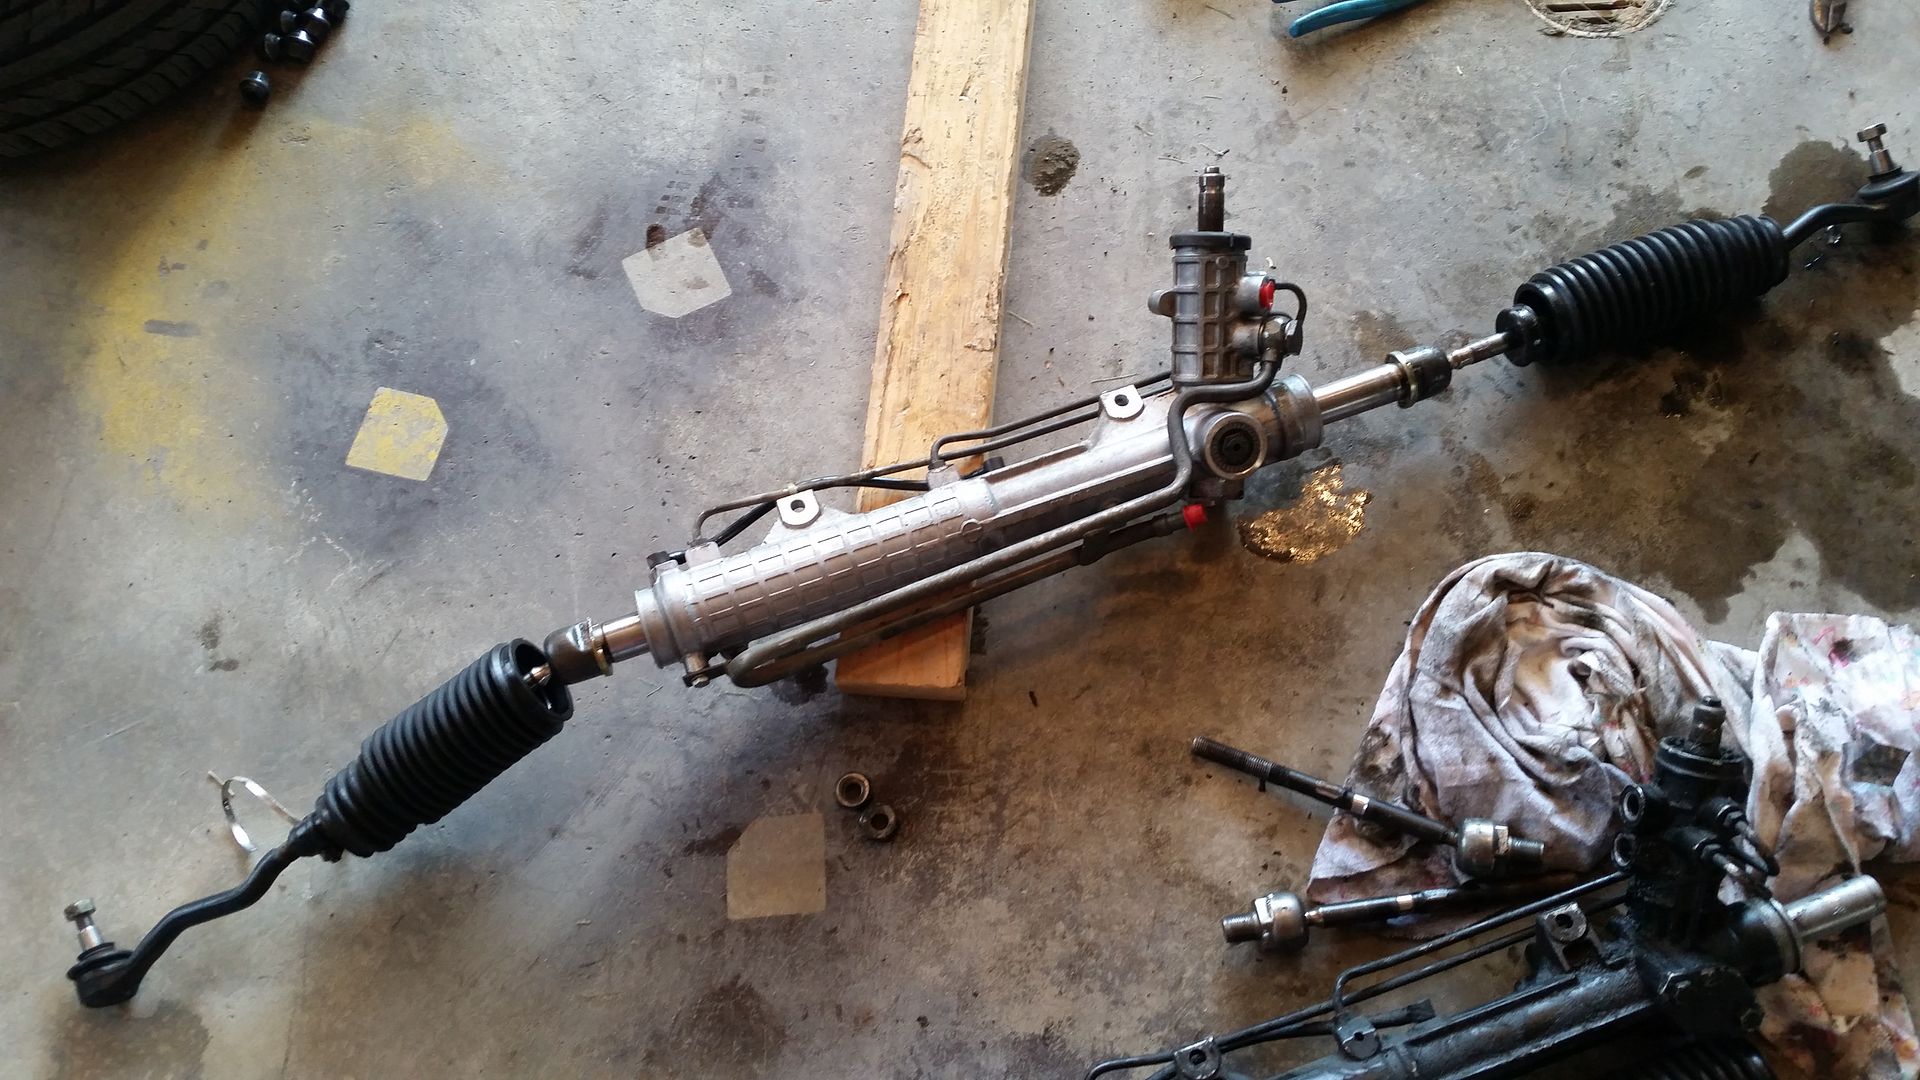
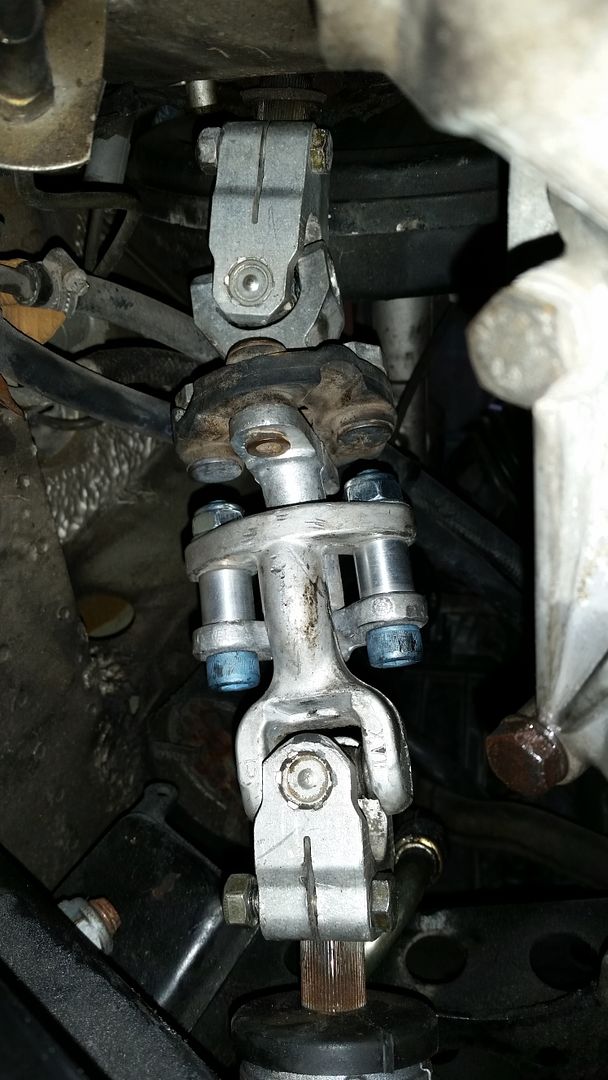
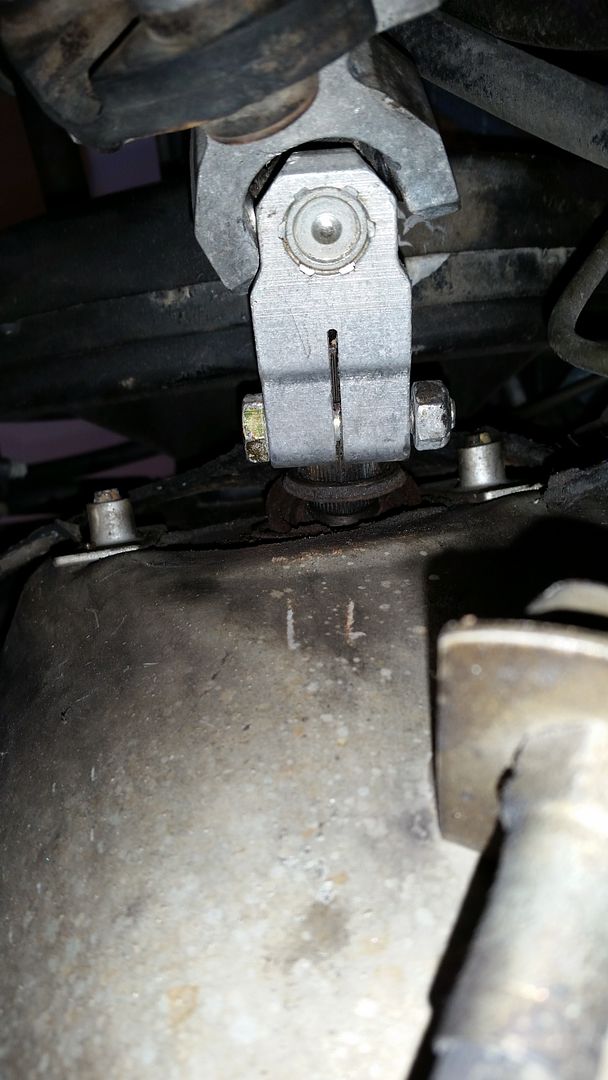
Once things came in, I took time off from work last Friday and started the top repair process. Nothing about it was difficult but it was tedious. I only did this because I was putting off my e36 rack swap, but I got one side done.
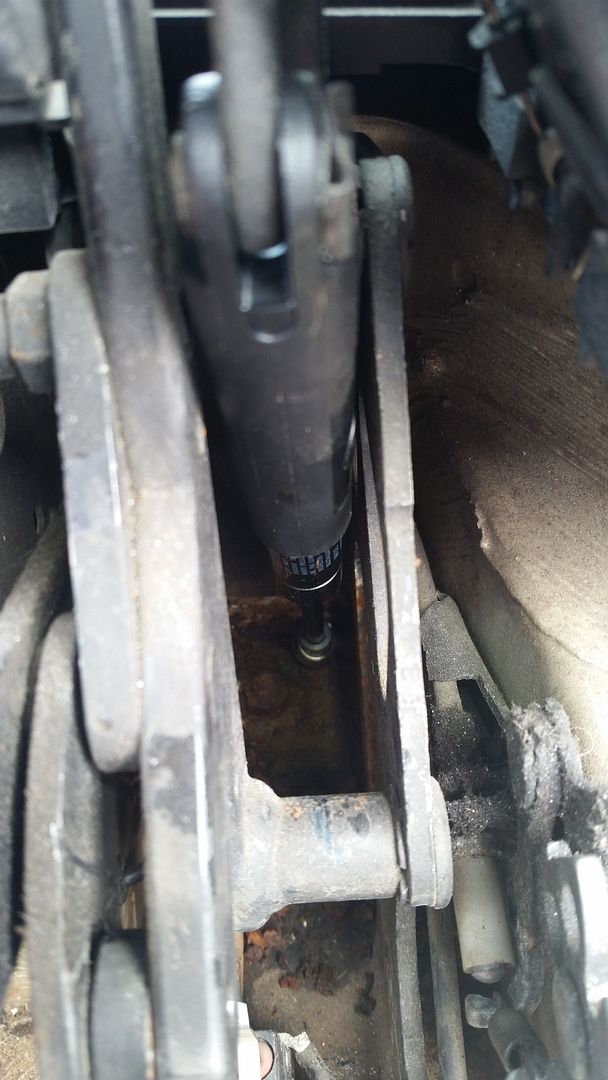
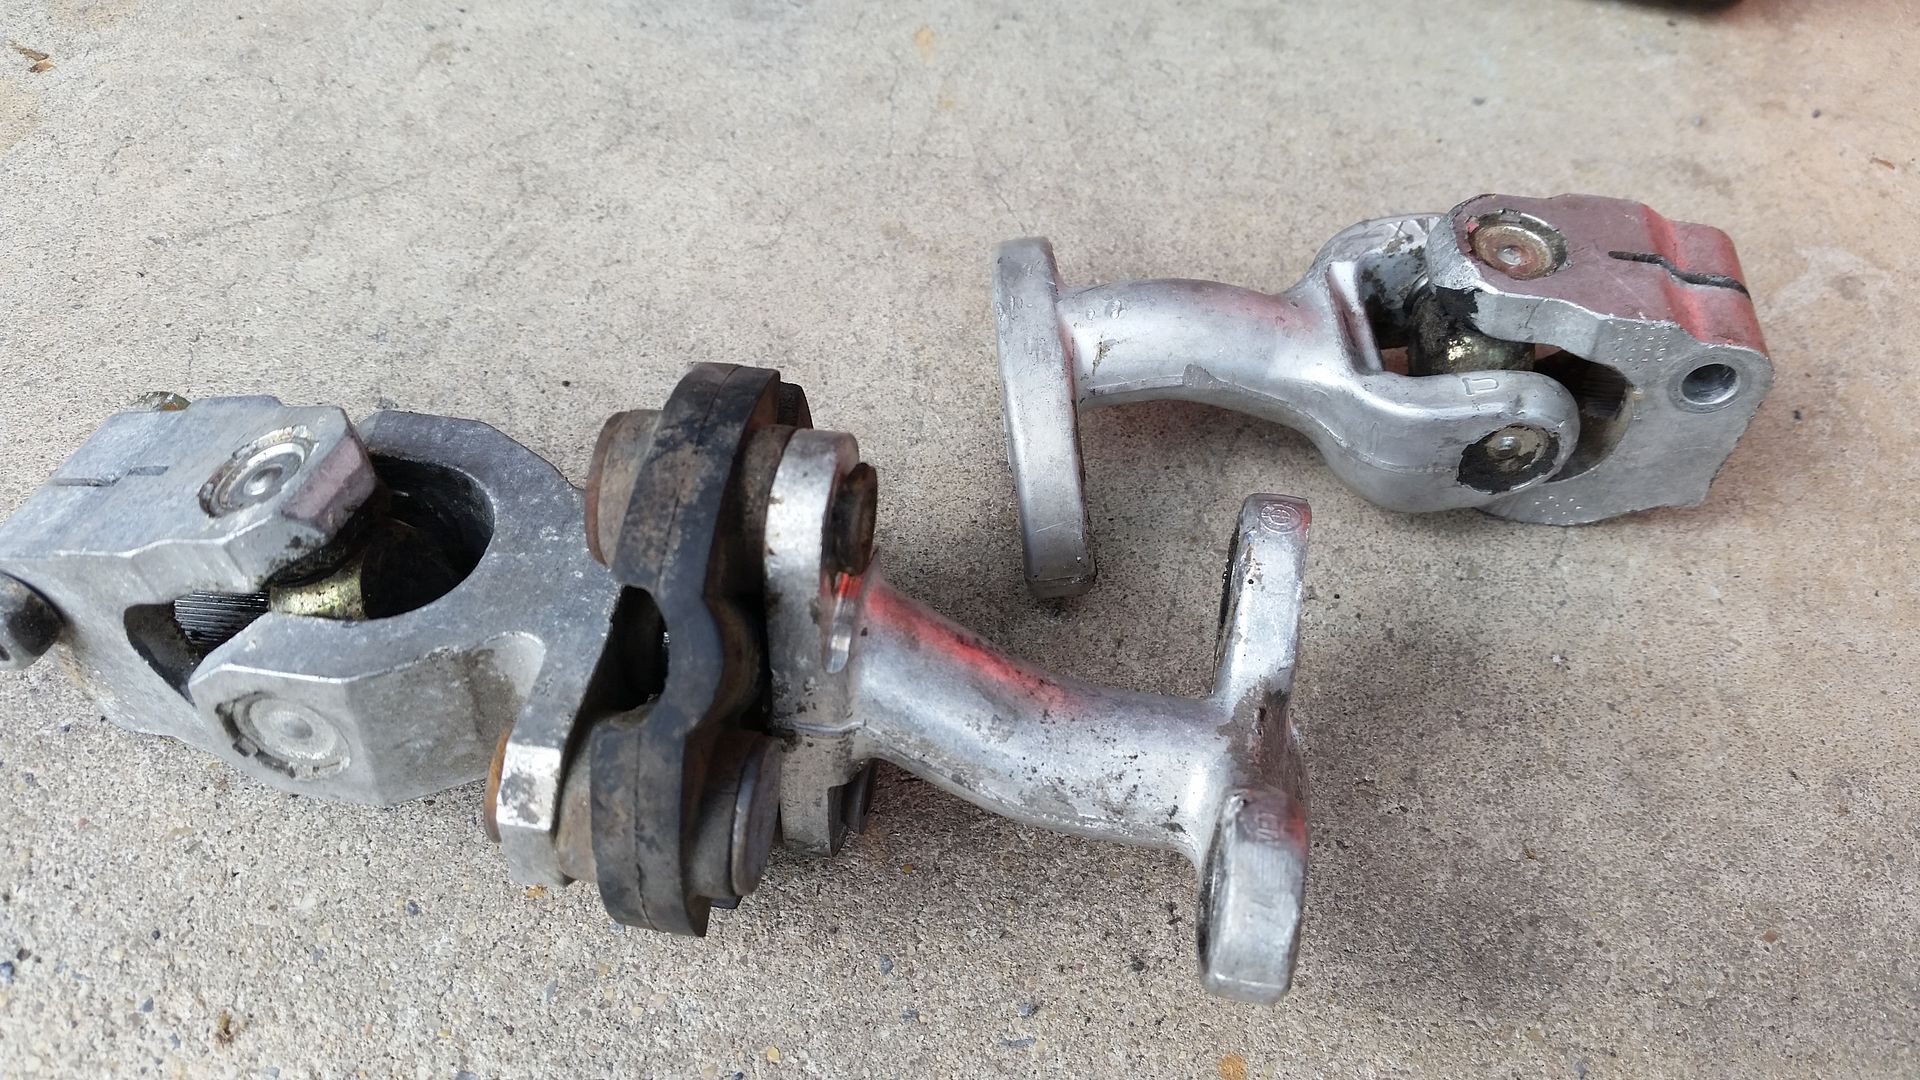
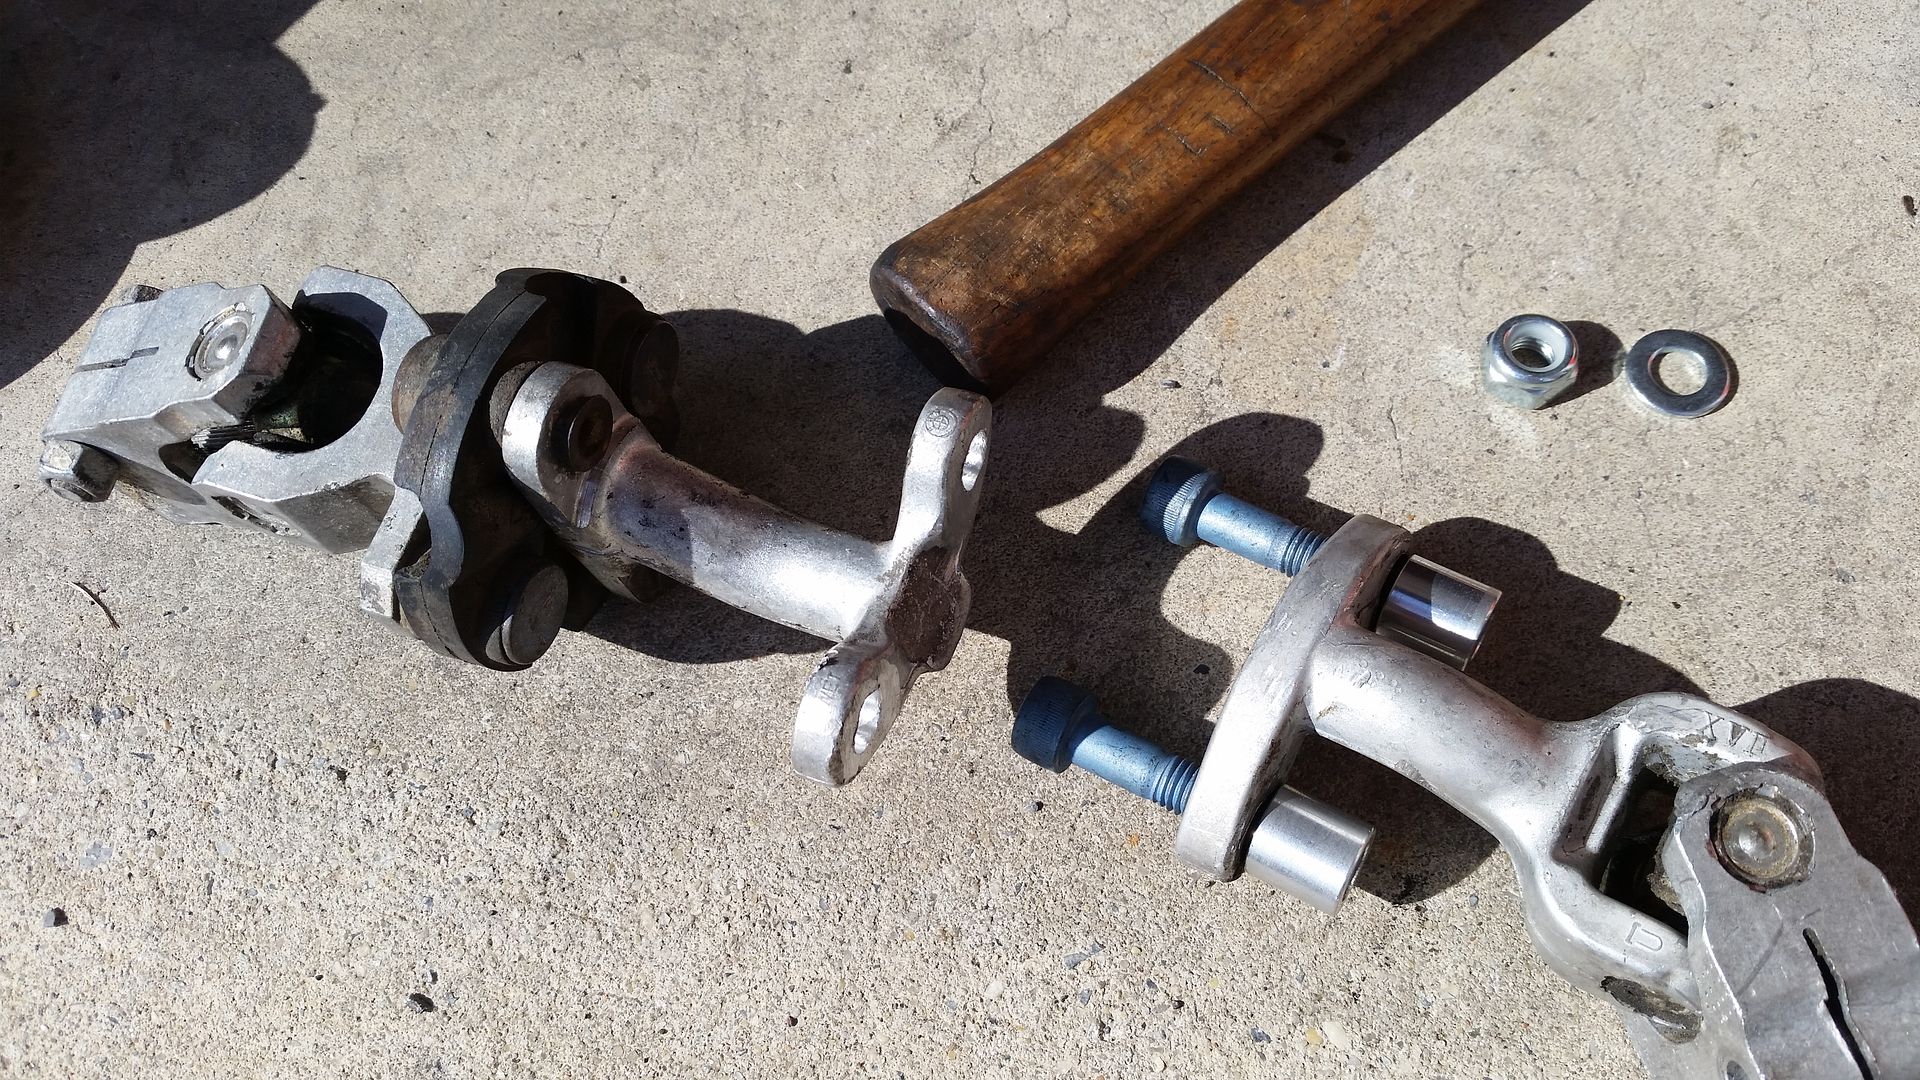
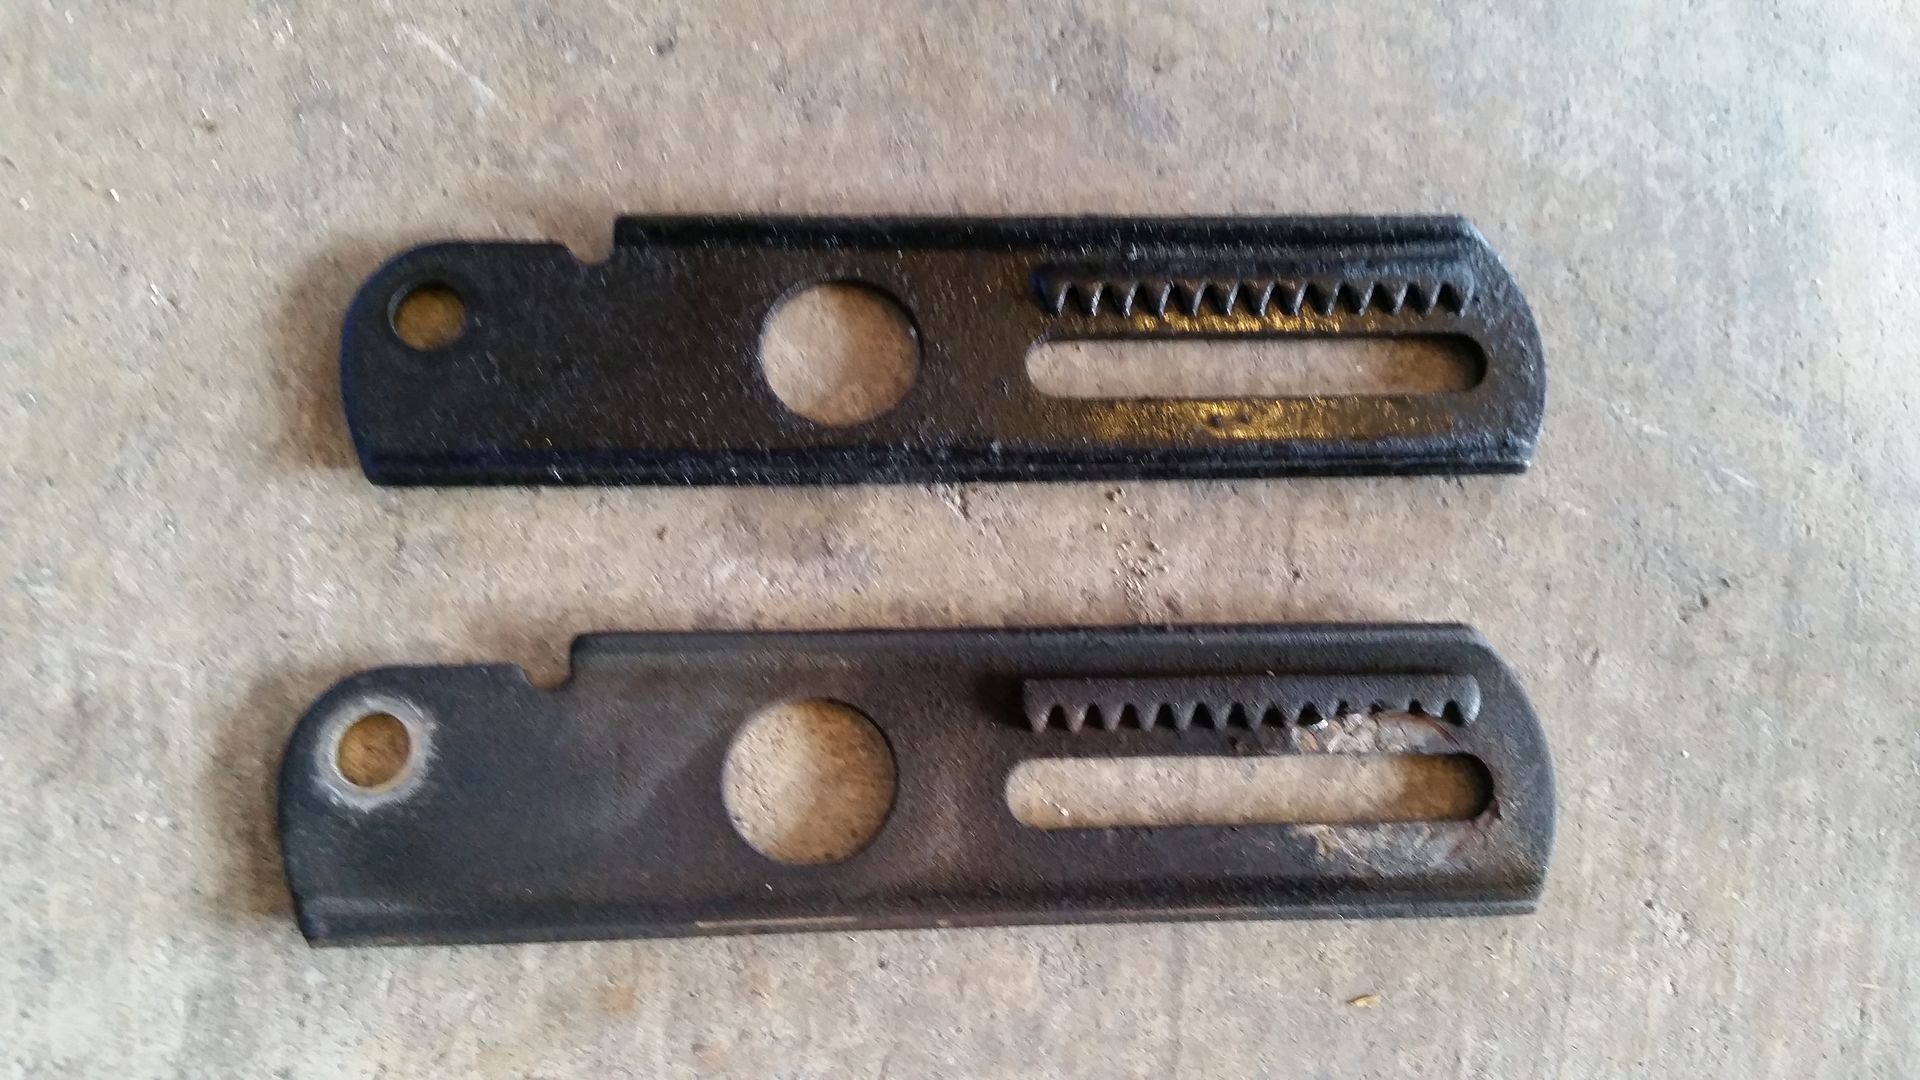
Old v. New:

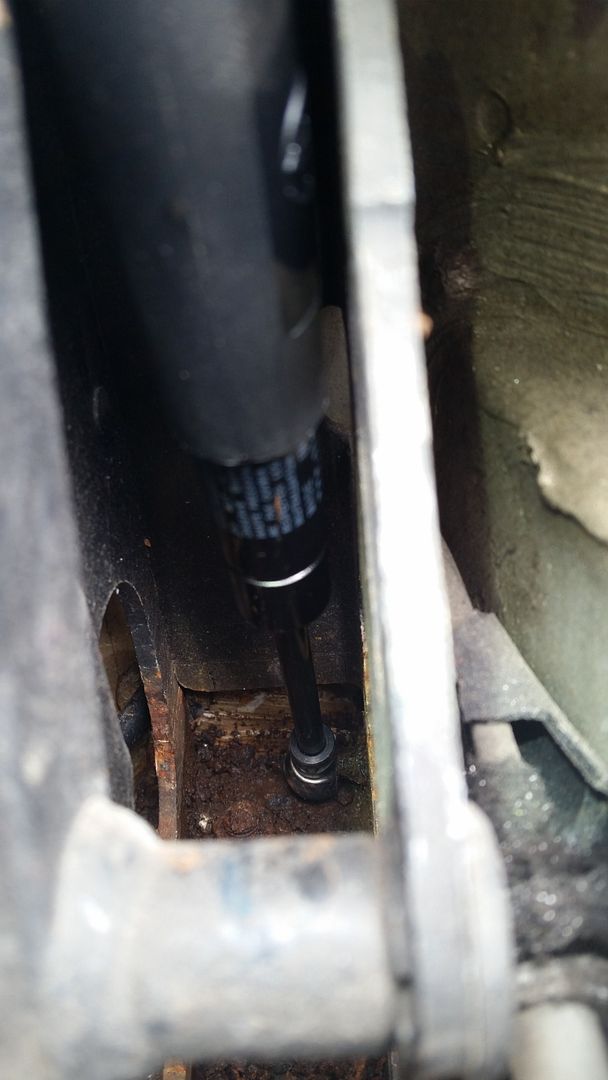
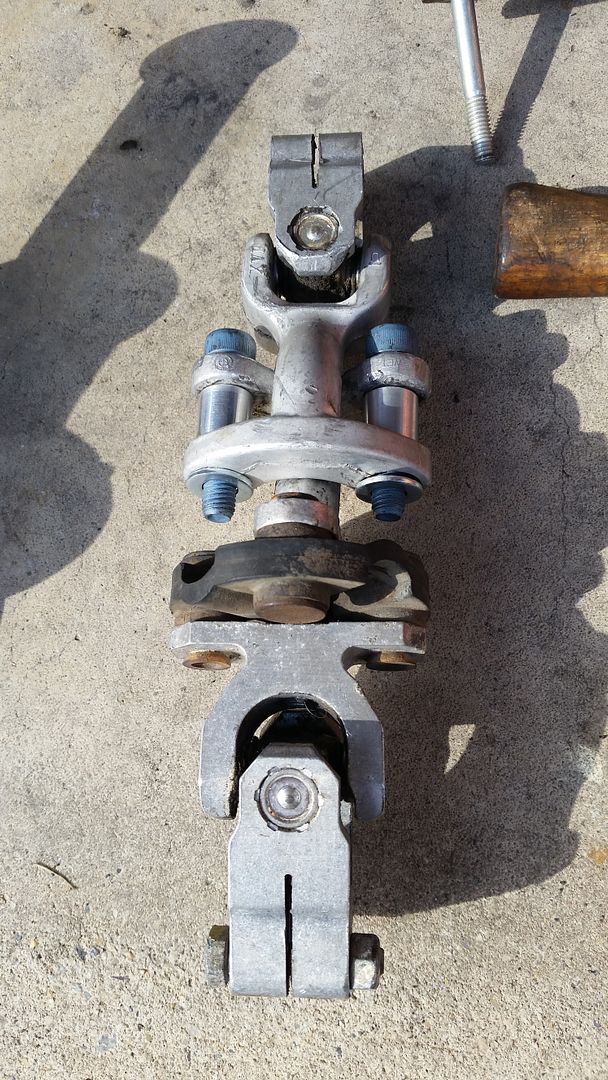
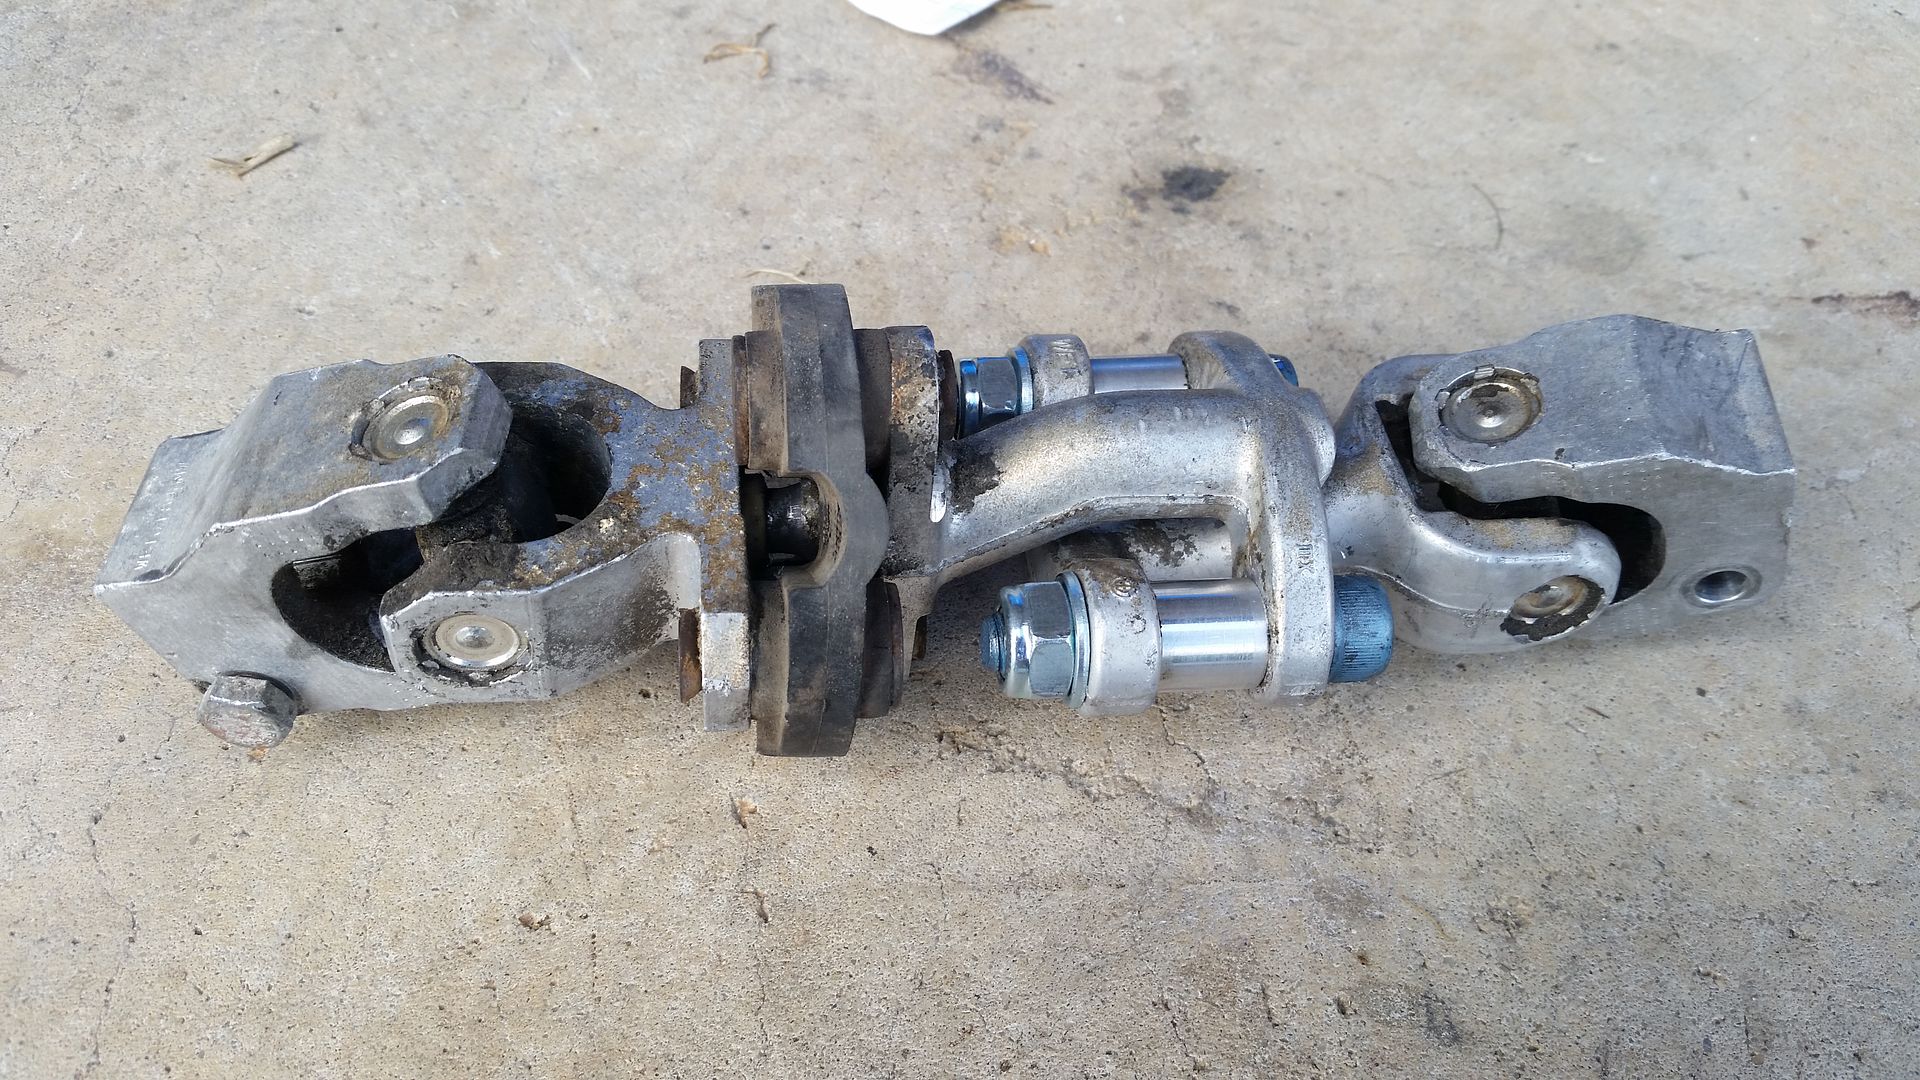
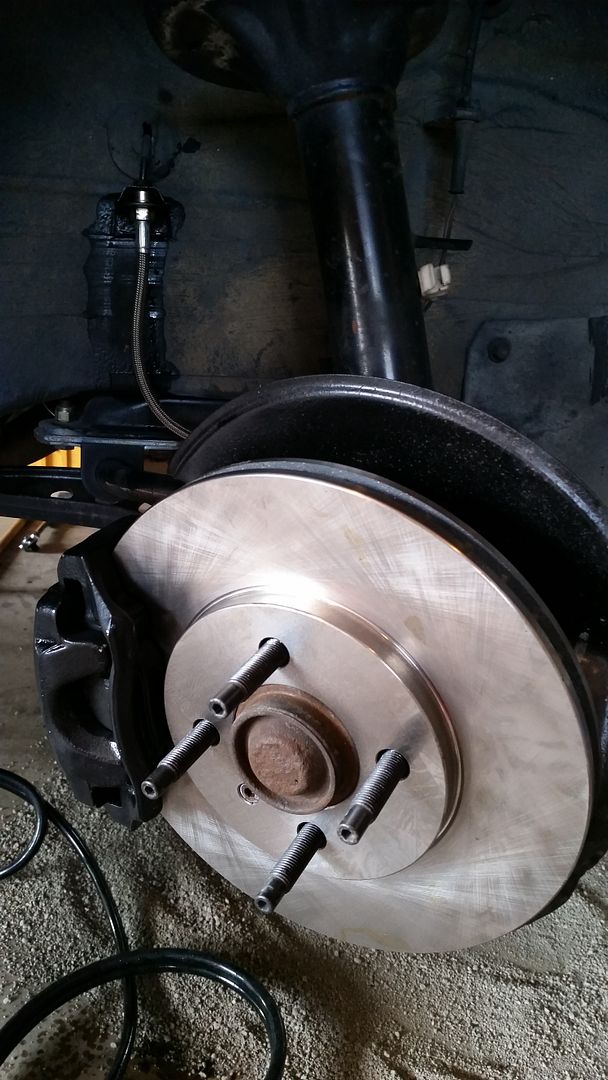
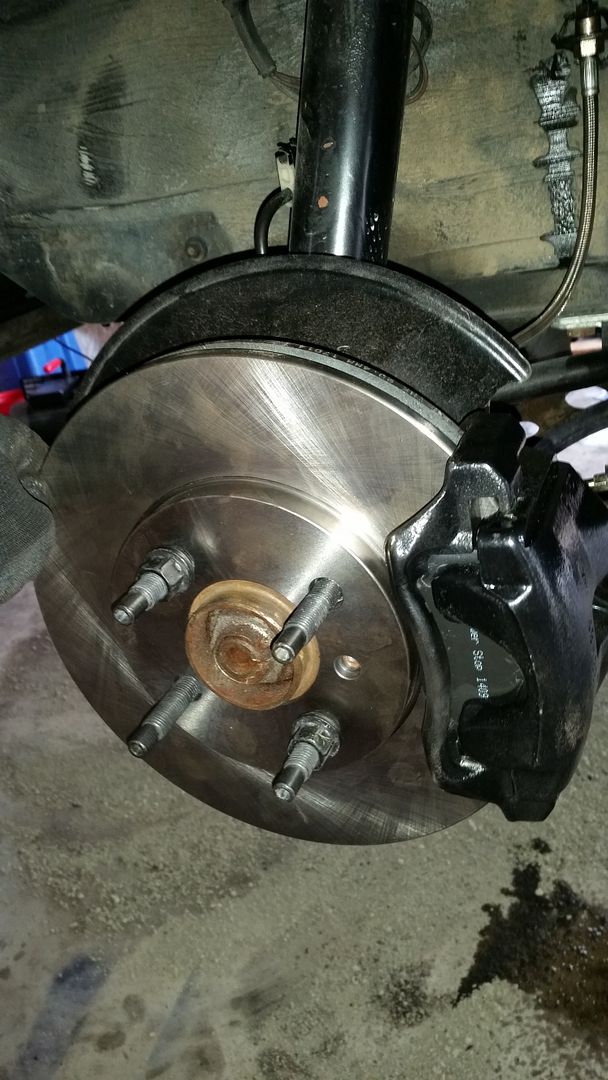
Installed:
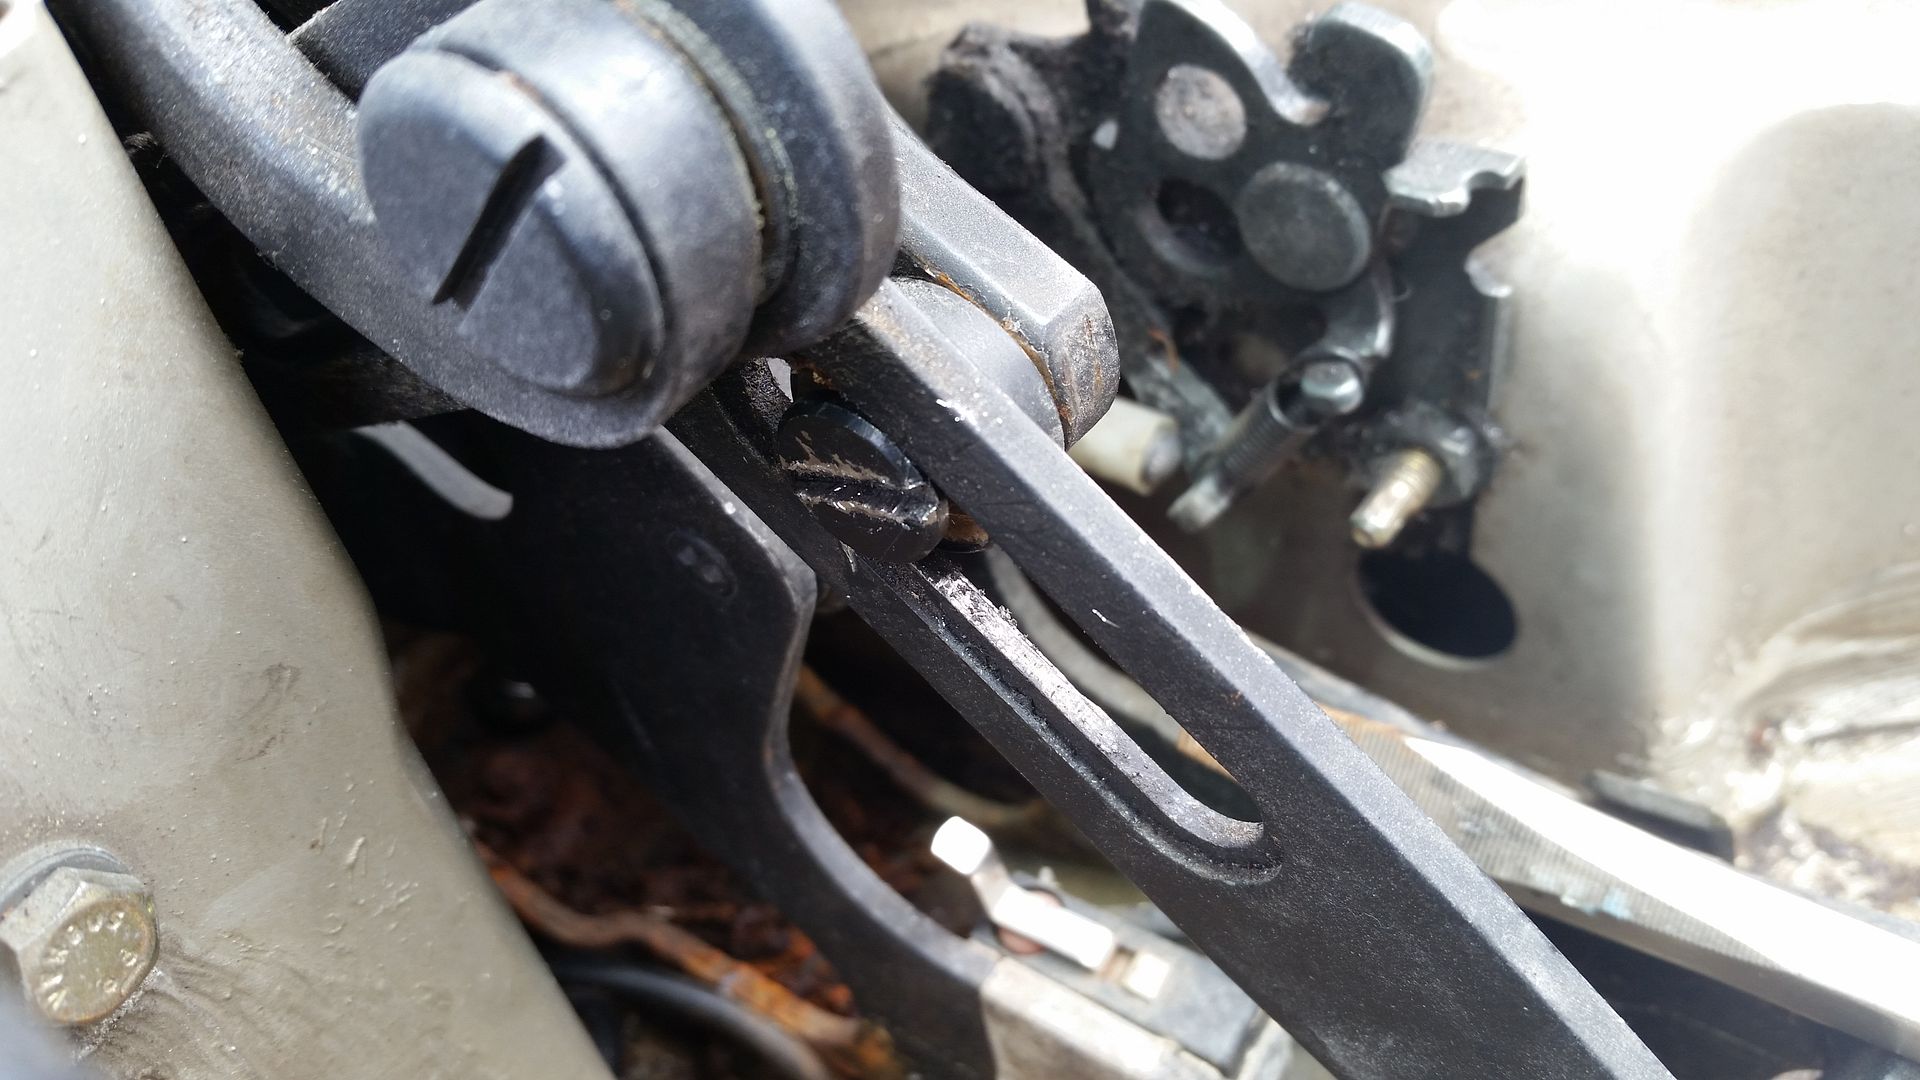
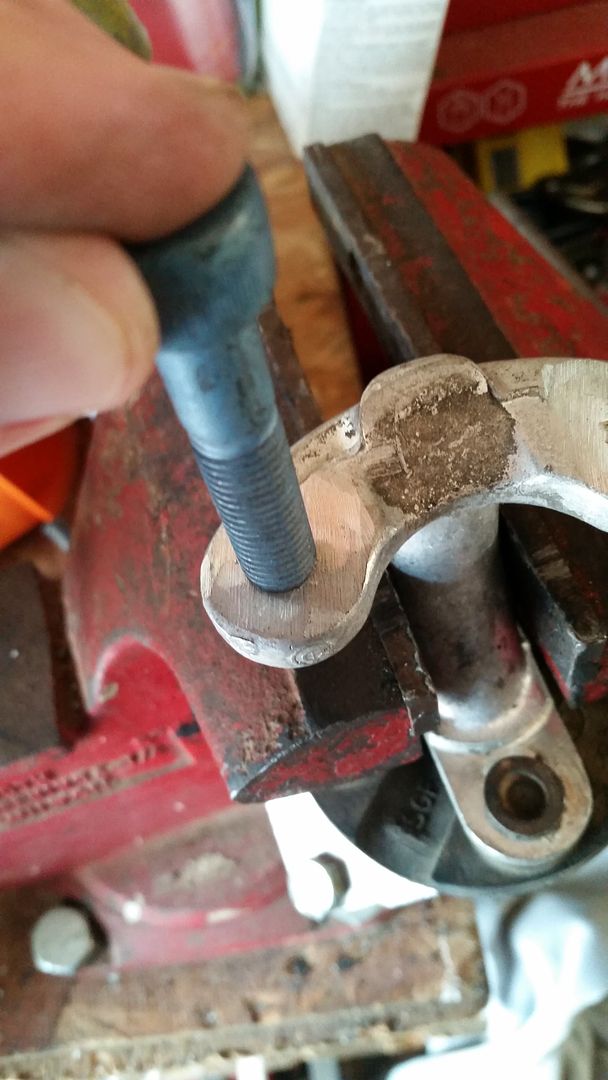
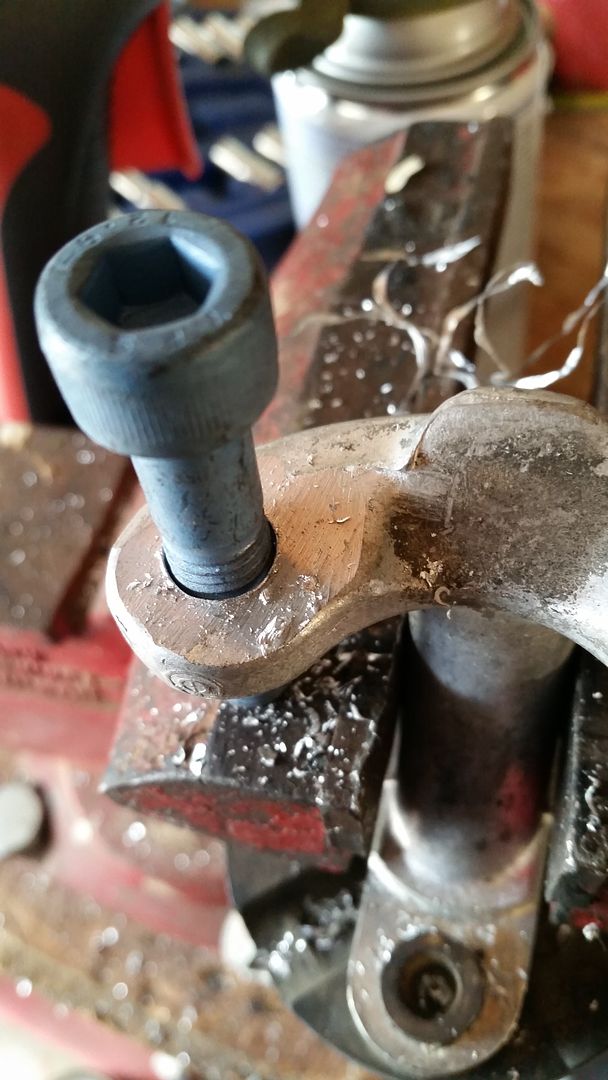
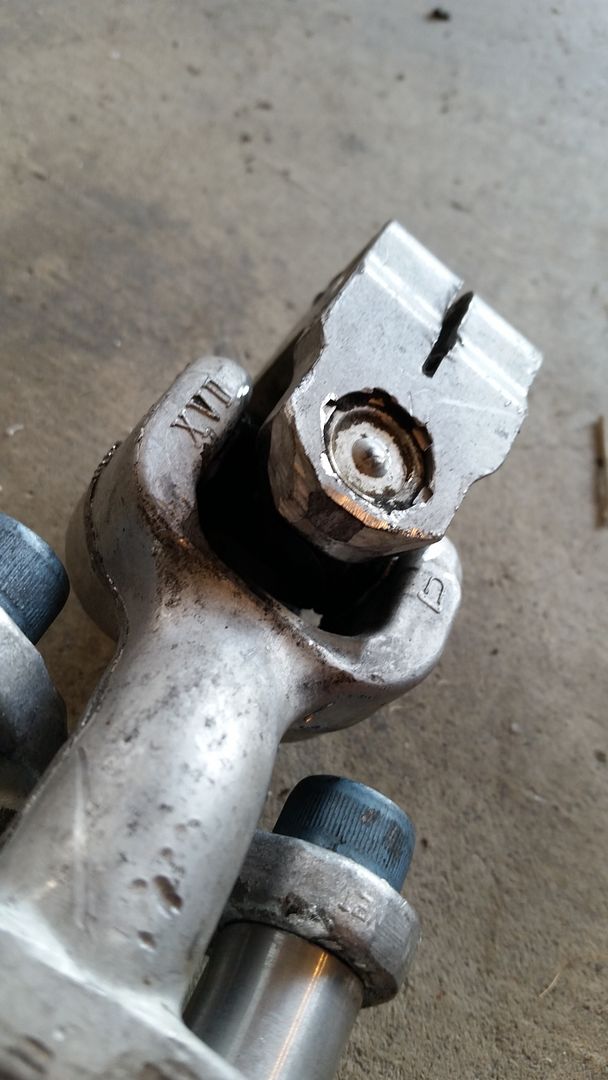
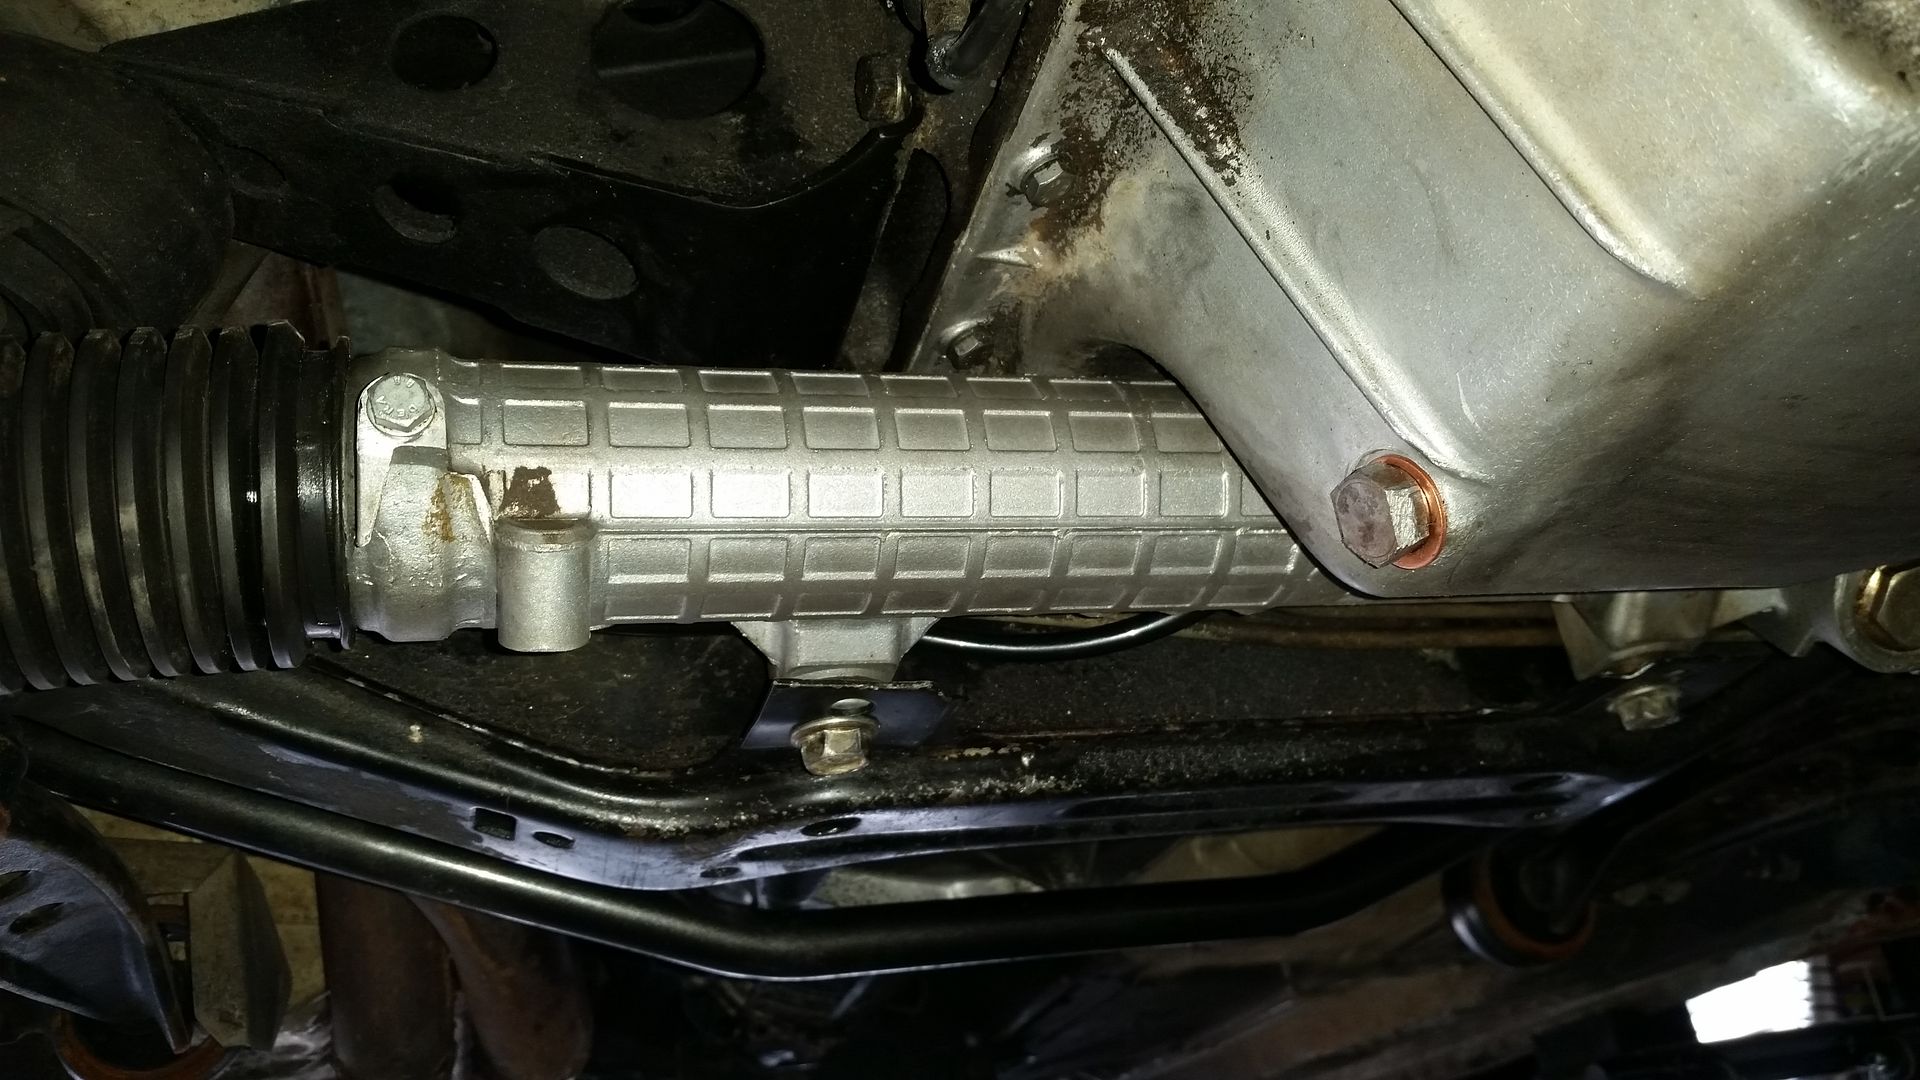
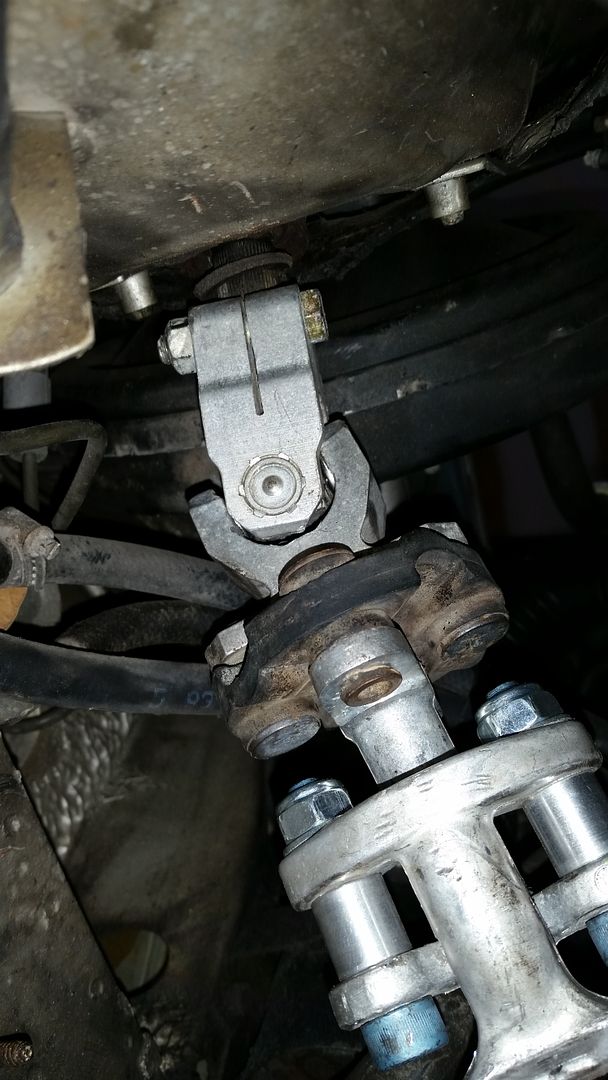
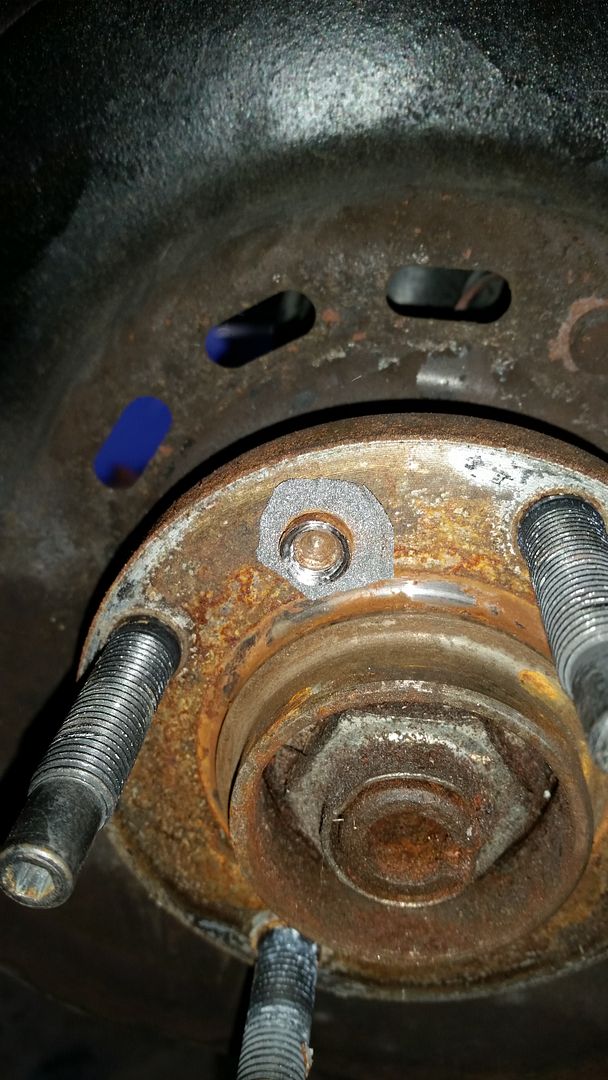
I also finally installed the weird slotted fastener that I was missing. This was a real b!tch to install, even using a 90* ratcheting screwdriver.
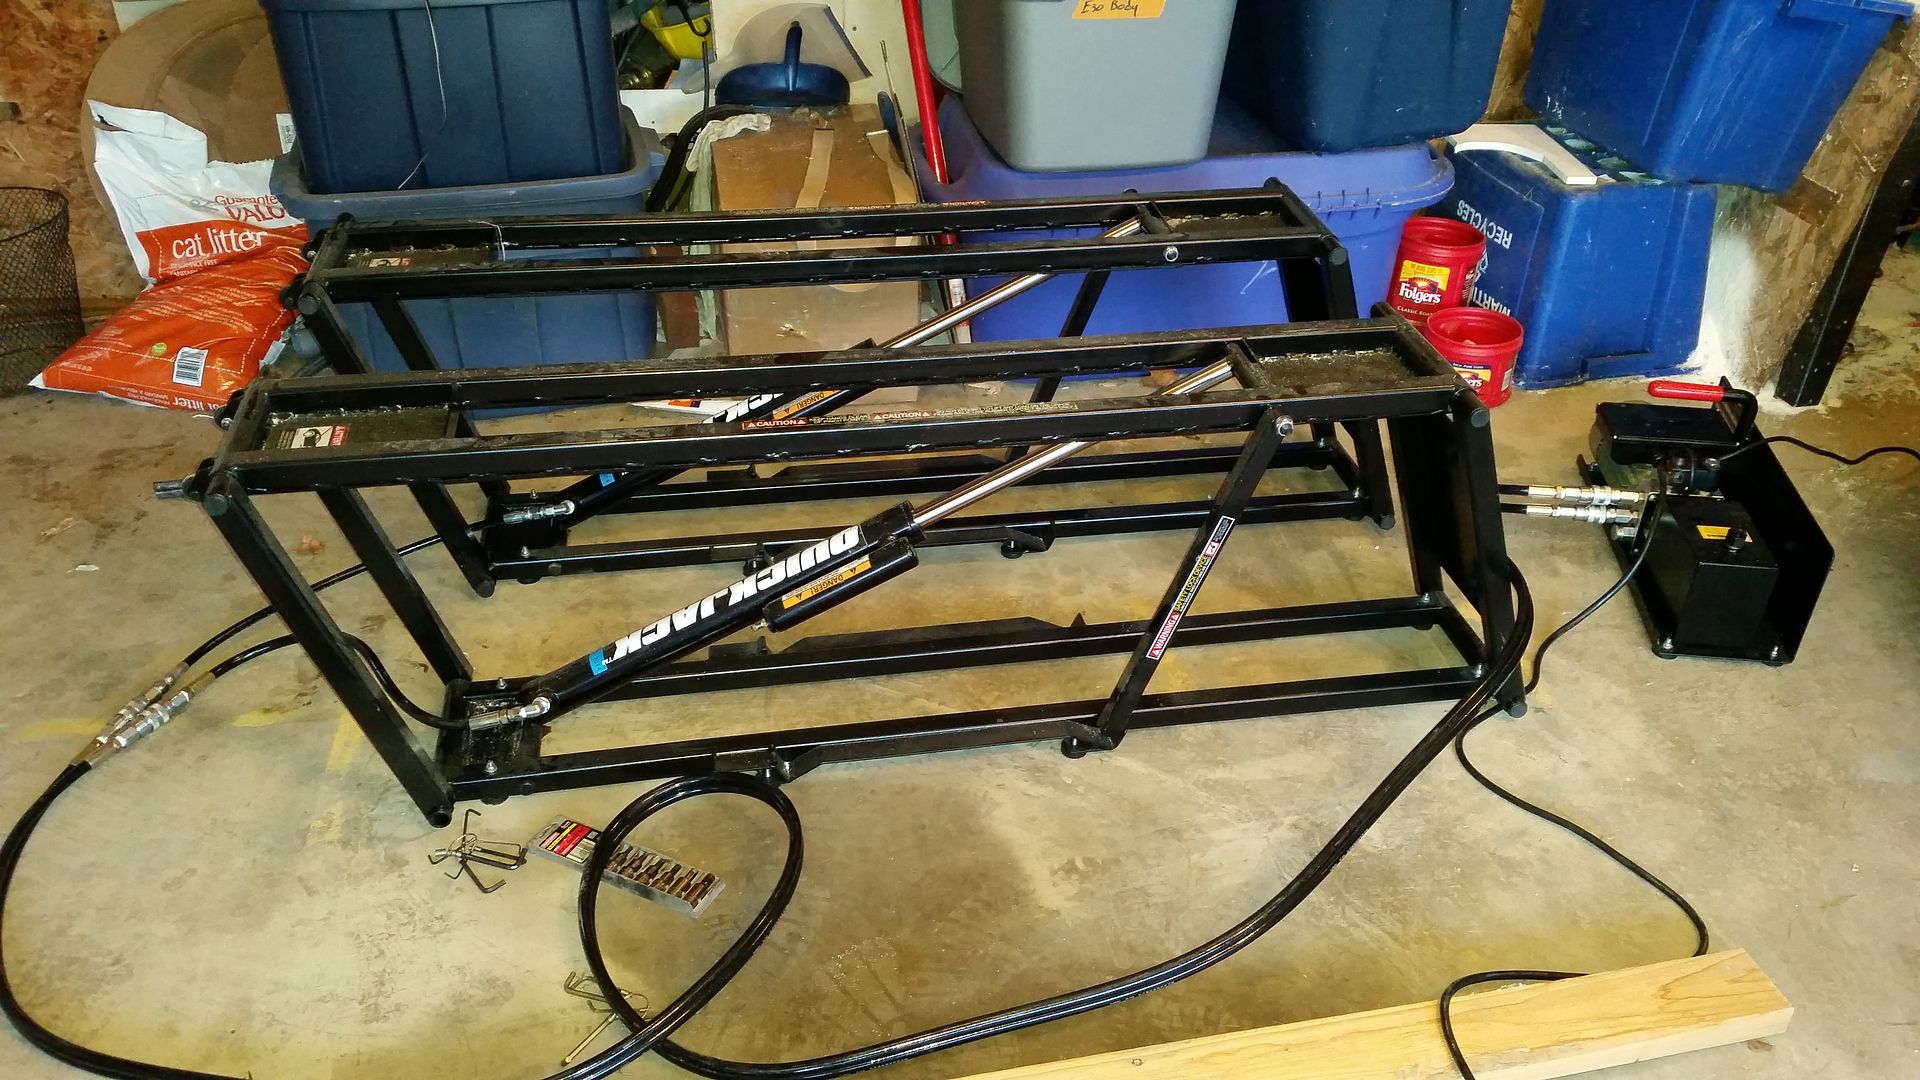
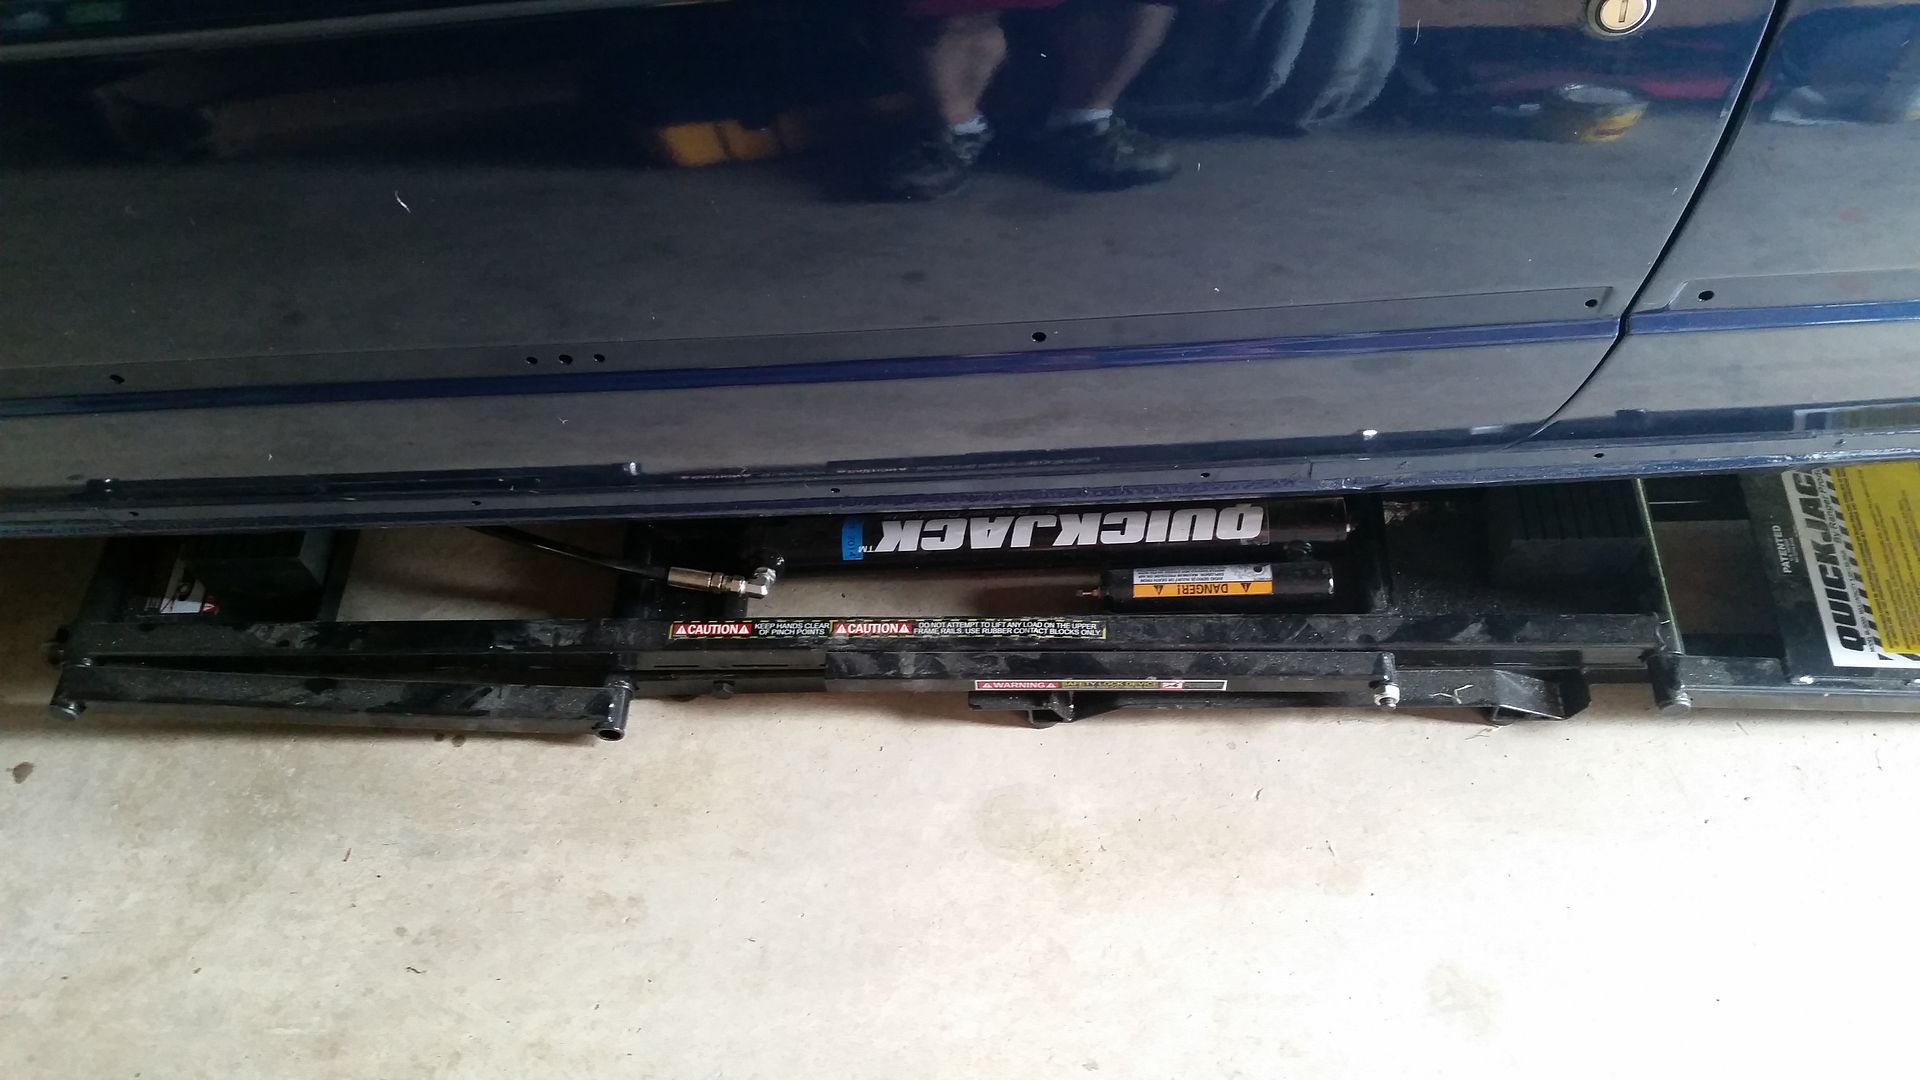
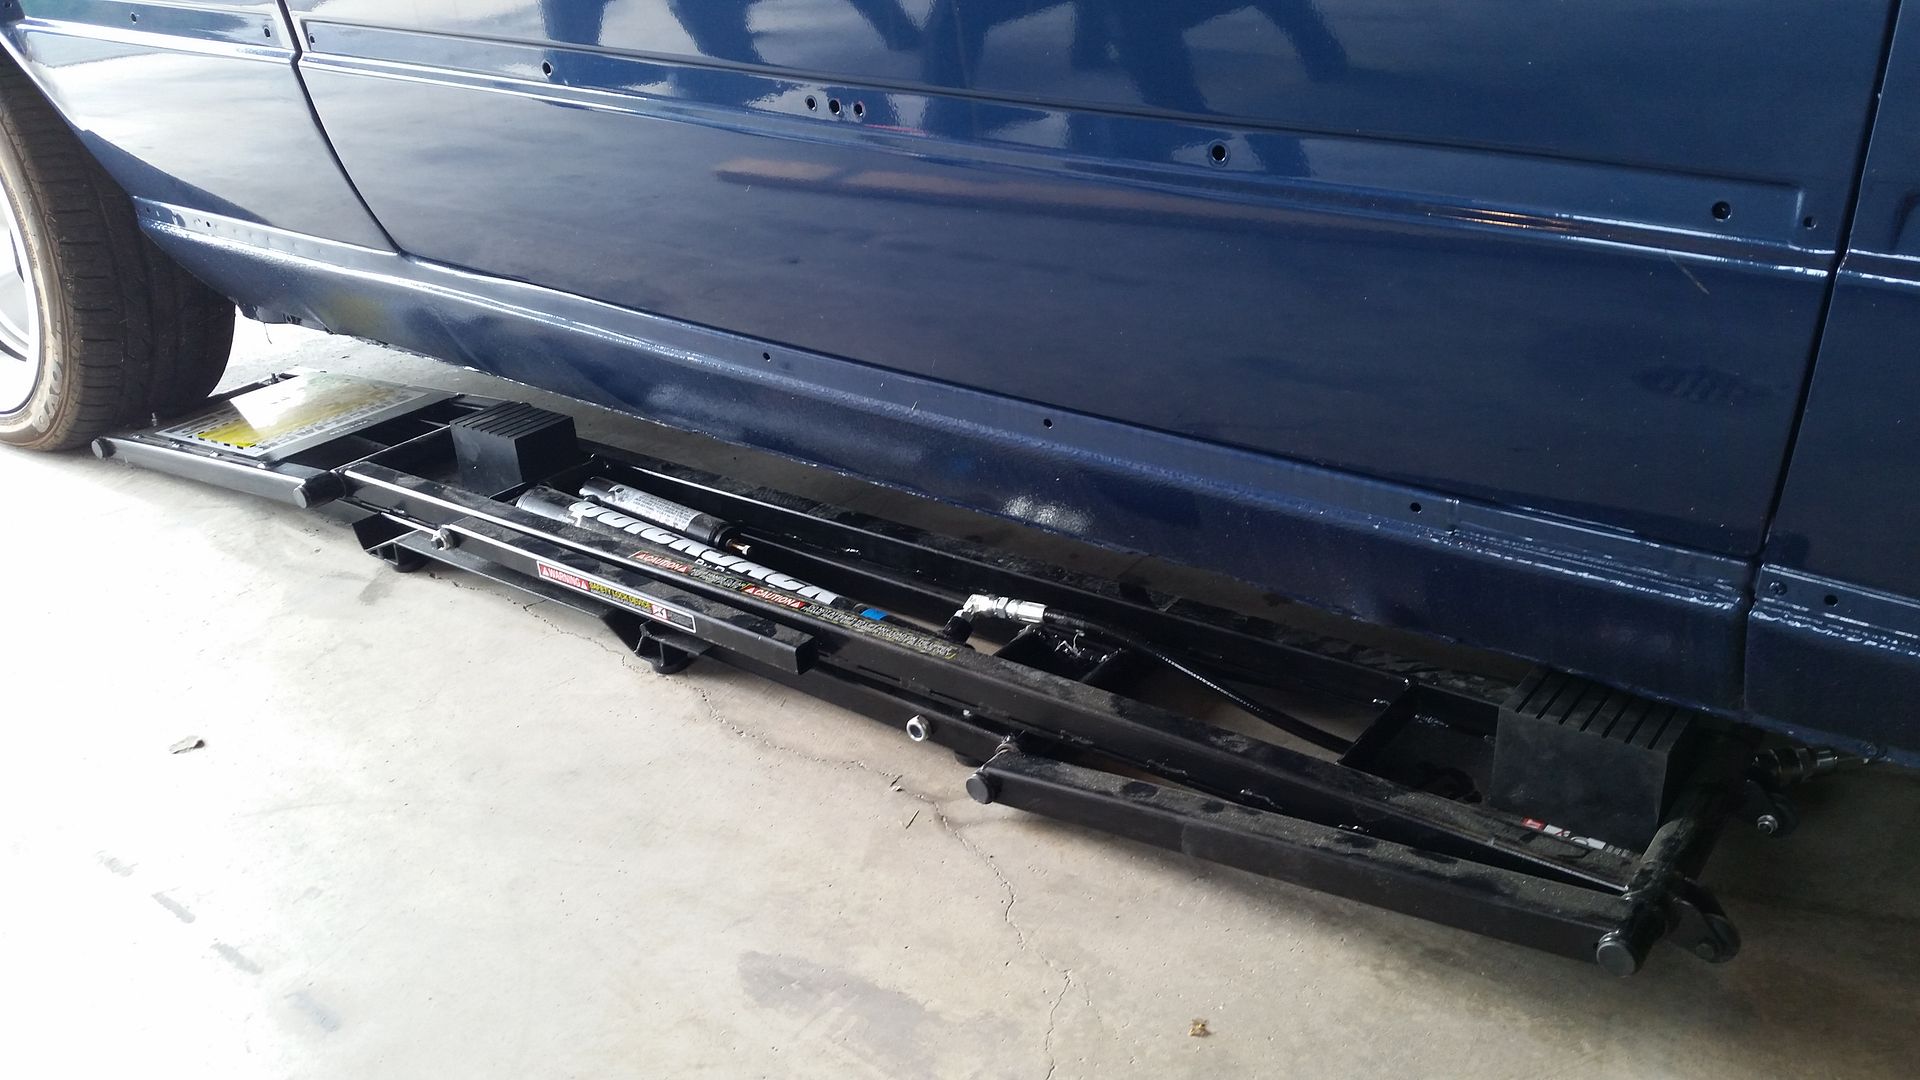
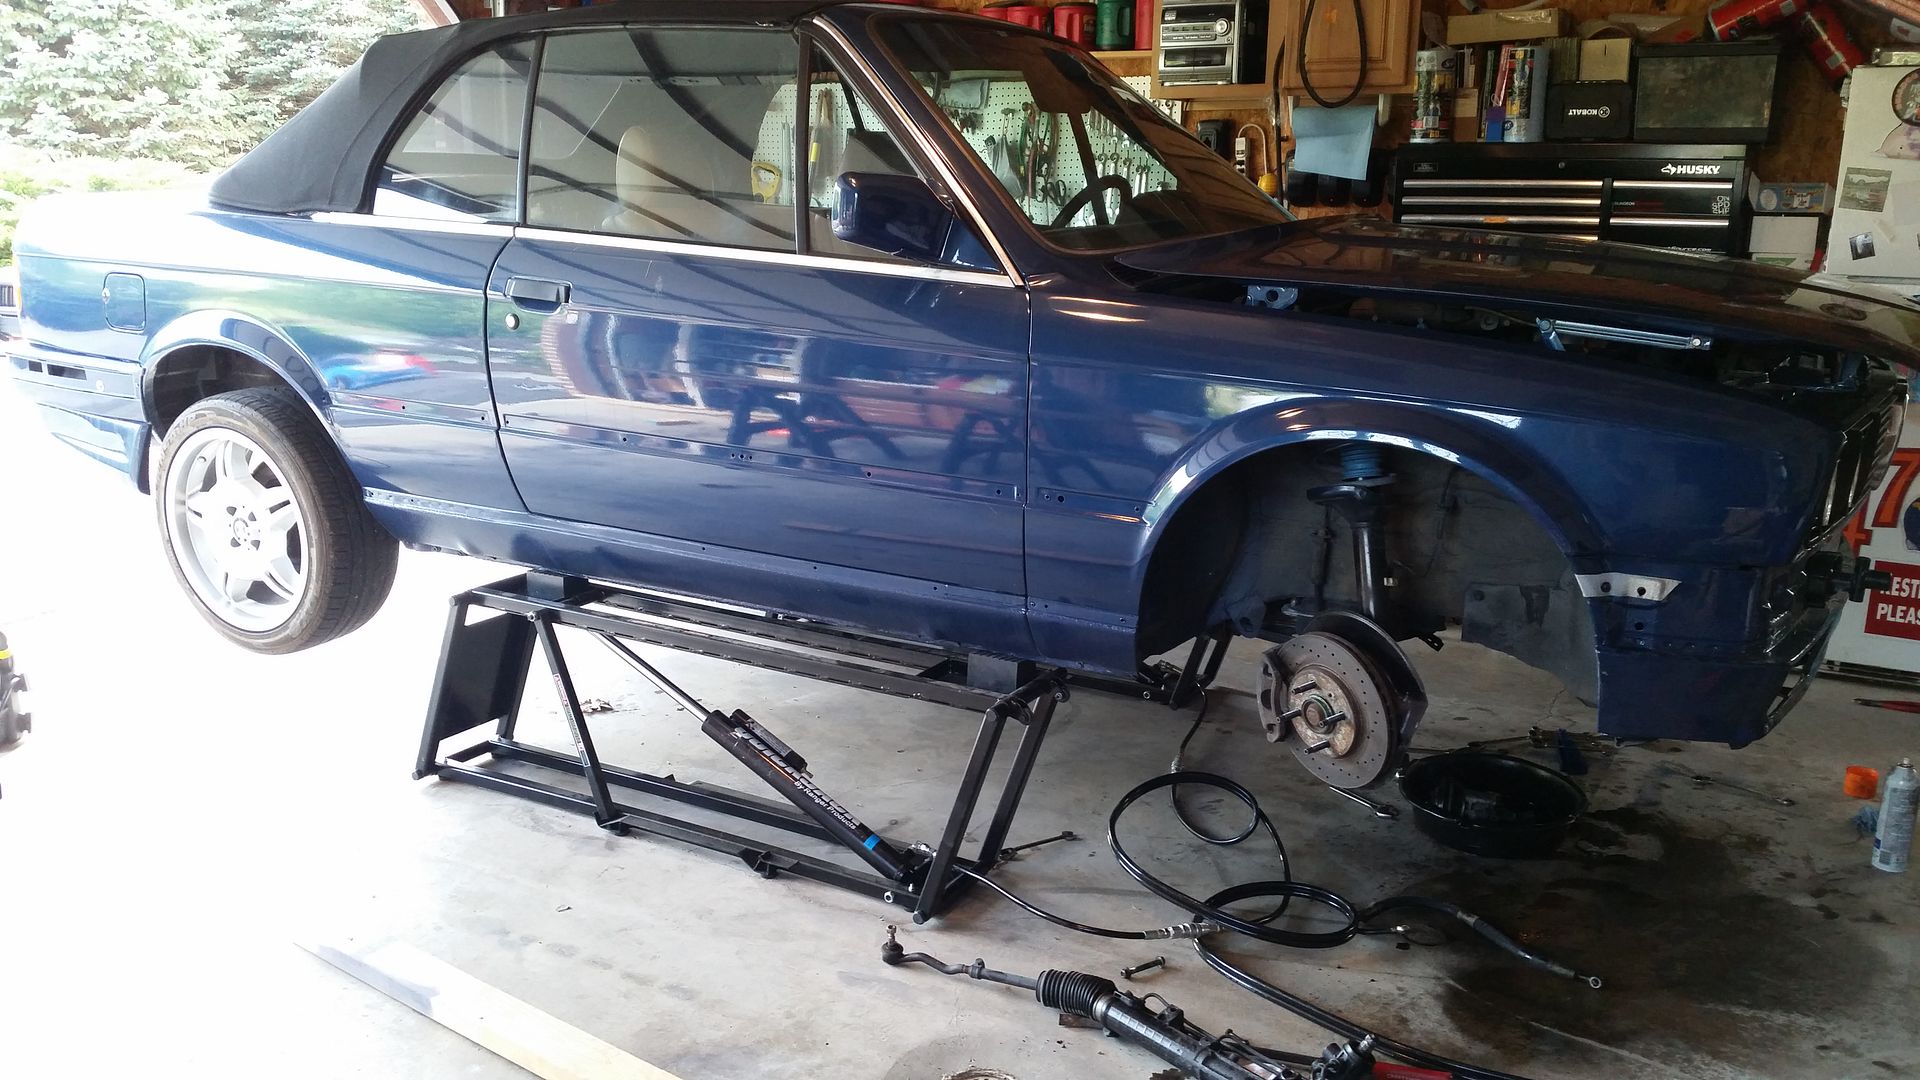
That is all for this post- more after my next meeting when I get into my new lift and the e36 rack install.
So I got tired of not having all of the parts that I needed to finish the top- namely the shocks and sleeves that assist the actual top mechanism- no thte cover. These were mentioned back on the page when I had the top installed but at $100 for all 4 parts, I was waiting until better weather to order them- plus I wanted to hold off until I got free shipping for those, some seat repair parts, and a few other odds and ends. Fortunately or unfortunately, I spent enough for free shipping at ECS Tuning, which was th eonly place that carried everything that I needed in this round of acquisitions.
Once things came in, I took time off from work last Friday and started the top repair process. Nothing about it was difficult but it was tedious. I only did this because I was putting off my e36 rack swap, but I got one side done.
Old v. New:
Installed:
I also finally installed the weird slotted fastener that I was missing. This was a real b!tch to install, even using a 90* ratcheting screwdriver.
That is all for this post- more after my next meeting when I get into my new lift and the e36 rack install.


Comment