
I had no idea, so I just measured it. 20x12 is the core size, not sure if it's 2.5" thick or 3" thick, but the in/out are 2.5".
Edit: I went back and looked at the ad I bought this from, and it's advertised as 21x9x2.75. I'll probably come back and edit this again next time I take the front end off and can measure properly.
I'm banking on it being a high pressure area, same sort of logic people use for splitters, so I don't see why it wouldn't work. You can pretty much cut right to where the curve starts, and from where the steel mounting bracket inside the bumper ends on each side.
I used a 1" hole saw at each end to get the radius, then used a grinder with a cutoff wheel to cut the straight bits. It cuts fine, just creates a ton of dust that's probably extremely unhealthy.
-
I must have removed and replaced my front valance 50 times cutting and checking fitment for my intercooler. I have a 24x12x3 Mishimoto intercooler and mounted the inlet/outlet on the bottom so they sit right behind the brake ducts on the valance. Ended up losing my lower two mounting points but was able to keep the upper two and all the others under the headlights and on the fender so it should be ok.Leave a comment:
-
Good intercooler fitment pics this will help me a lot once I go to chop mine up so it can actually go on!
Sent from my iPhone using TapatalkLeave a comment:
-
I'm going to steal your idea of cutting a chunk out of the front bumper to get some airflow to the intercooler. I might try to see if there's a way to mount some kind of angled piece in place of the cutout to direct the flow to the intercooler/radiator when the car is moving. Might not be worth the effort but I'll see what's what when I get to that point.Leave a comment:
-
What are the dimensions of that intercooler? Looks like a decent piece. That engine is going to have a good feel when you get it going, that high compression 2.8L with a HX35 should spool nice and quick and have plenty of low end torque.Leave a comment:
-
Probably 350whp best case.
I have two big things working against me:
1. 91AKI is the highest octane I can get around here. On top of that, Nova Scotia gas is reputed to be crap compared to the rest of the country (Which most of that gets 94 octane pump gas, and spotty amounts of E85 around western/central canada)
2. Stock compression ratio doesn't do me any favours either, but I'll probably eventually go ARPs+MLS or CES cutring/spacer to bring that down to make a little more. I think this new turbo would be good for 500 at least with lower CR.Leave a comment:
-
-
I guess I didn't post some pictures I took while putting the car together, so here they are
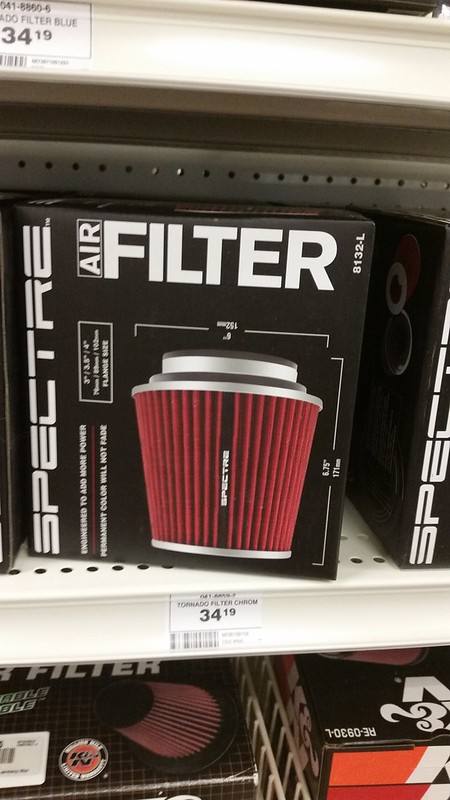
Looking like the biggest air filter I'll be able to fit, at least it's not that "jdmaf" HKS mushroom filter. Going for something similar to Kam's last M20 turbo setup with the silicone 90 cut to fit, with a port for the crank case vent stuff.
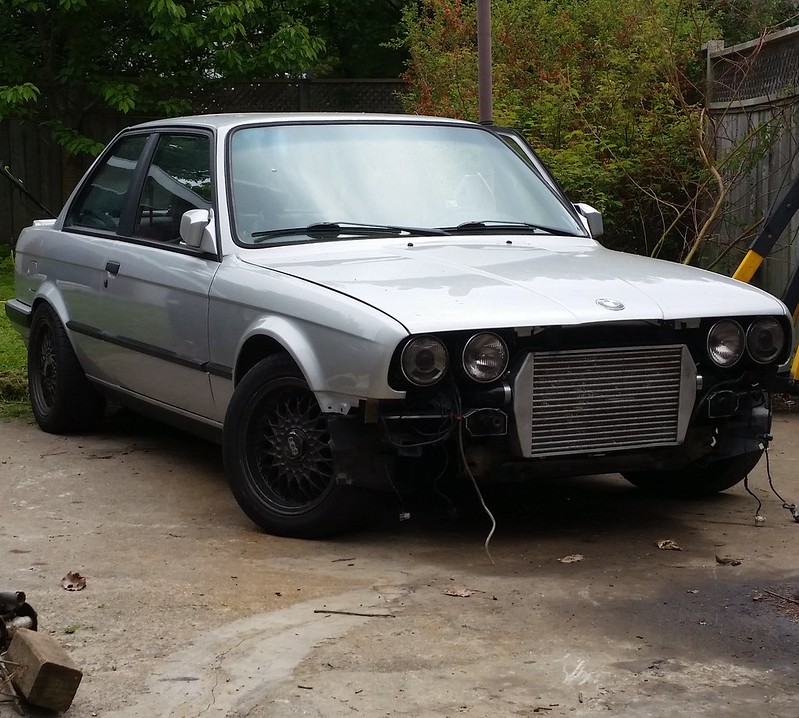
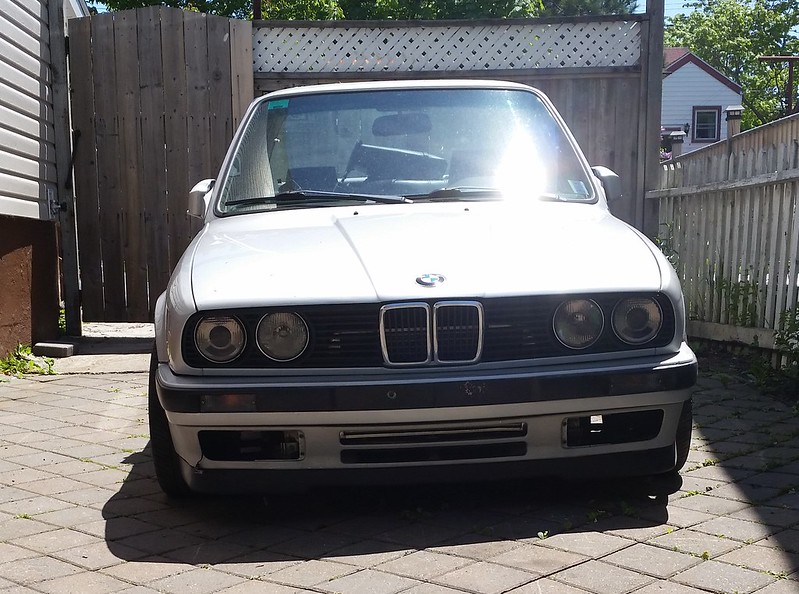
In progress pic of moving the car out of the yard and into the driveway after the car tent came down. Headlights and 2.5" silicone 90's in place, fits with room to spare.
Valence fits nicely.
Cleaned up a lot of rust from the fender attachment points, and the lower wheel well edges.
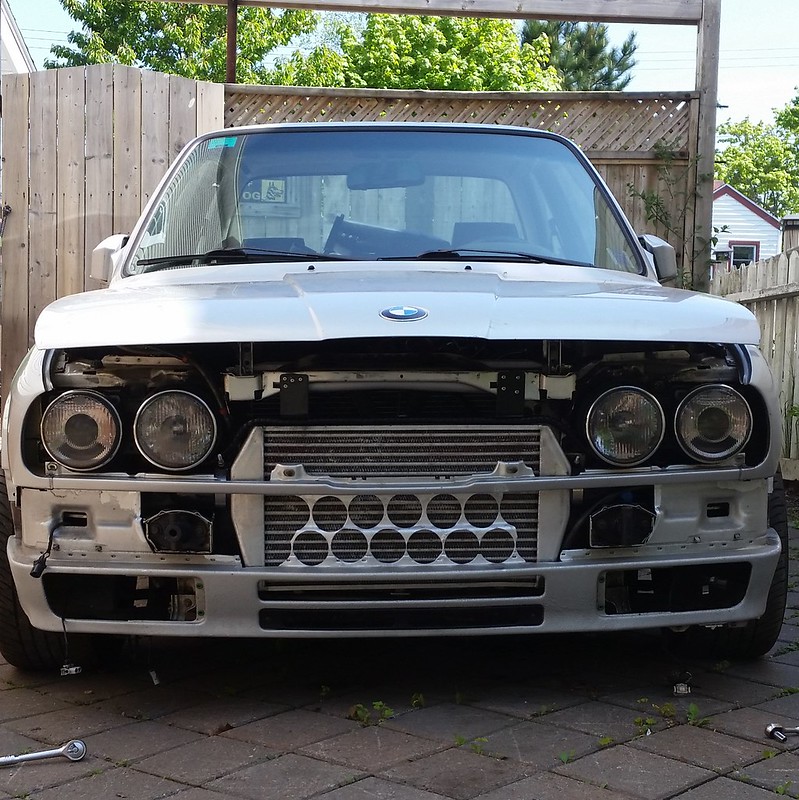
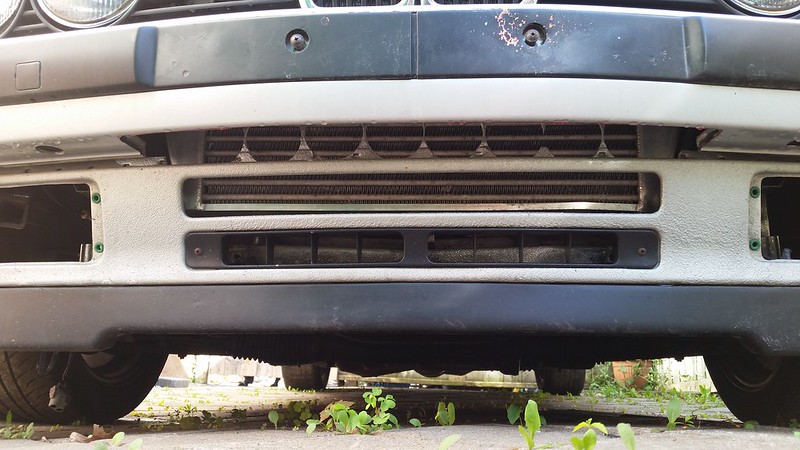
Cut holes for fitment and fmic airflow, including removing upper/middle valence brackets.
Added captive nuts for quick release fasteners for the bumper side brackets.
Backside covered with Ardrox AV15 that time expired (TX'd) at work, and I managed to get like 6 cans through scrap hand out. Sprays on as a very thin liquid and penetrates well, then hardens up to a barely sticky wax that's somewhat self-healing.
FMIC clearance RHS
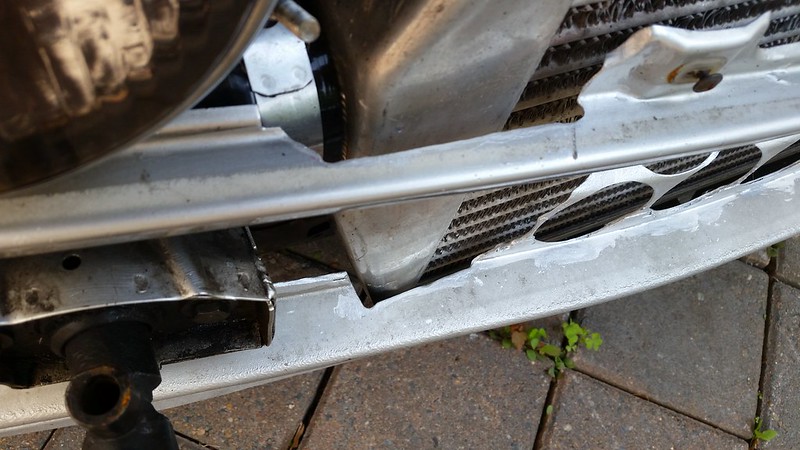
FMIC clearance LHS
Bumper/lip/grilles on:
Slot in bottom of bumper and holes in valence: ends up being almost big enough to fist, but not visible unless you're almost almost level with the bumper
 Last edited by Northern; 10-03-2017, 12:33 PM.
Leave a comment:
-
Excellent progress mate. Good informative post for those that may want to to similar things.
New turbo is .82 A/R should do great things!Leave a comment:
-
Ordered a thing
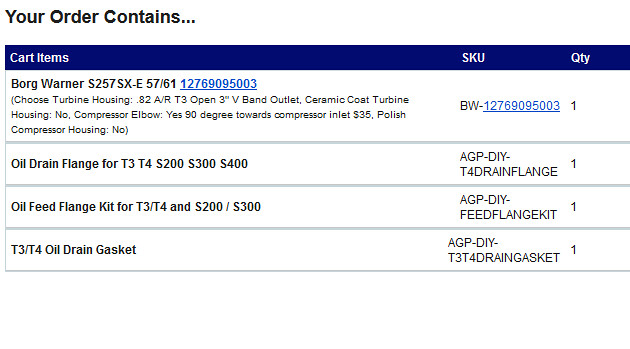
Picking up a 2"-2.5" silicone reducer as well. Ideally they could weld a 2" to 2.5" 90 degree elbow on the turbo, but I think that's a little unrealistic. Also grabbing NPT-AN unions to keep my feed/drain the same. Worried about what sort of vband flange the AGP housing uses - I know the Borg housings require some weird "Marmon" vband flange that looks more like a single flare, but they look different in pictures than the AGP stuffLeave a comment:
-
-
I agree, the compressor snap rings is a whore, I welded main cap bolts at the ends of the rings to install it.
You should be able to replace the compressor wheel fairly cheap, doubt the shaft snapped, possibly bent, but doubt it, Holset's are really tough.Leave a comment:
-
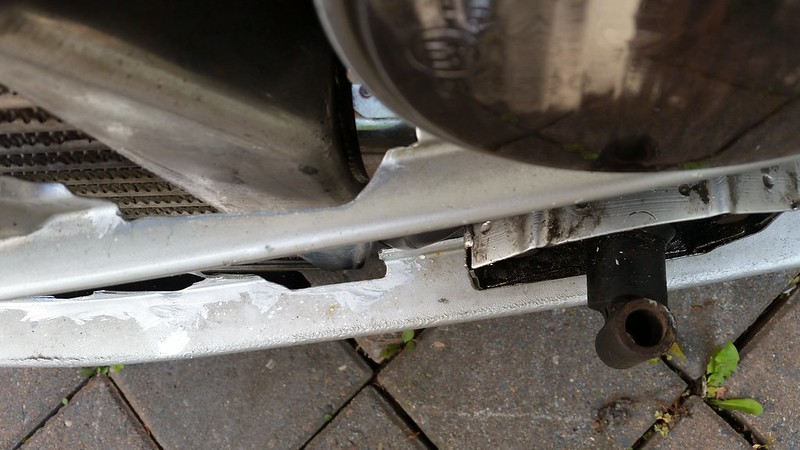
I like the block tap as long as the engine is out of the car. Too hard to get a drill in/straight, and guarantee you're not leaving swarf in the oil otherwise. On the plus side: Shorter drain line, guaranteed above the oil level and there's not a lot of space on that side of the pan because of the engine tilt anyway. Most OEMs seem to return to the block vice the pan, so it seems a little less ghetto (to me at least) If you ever need to drop the pan, it's also one less thing to disconnect.
If you do the pan, I would get an aluminum bung welded to the pan.
If you do the block, I'd tap the hole and cut down a union to sit flush on the backside, then either braze or JBweld it on. I put mine in with loctite and it didn't seal it, so now it has a fillet of RTV around it.
Really though, I think it's just personal preference in the end.Leave a comment:


Leave a comment: