-
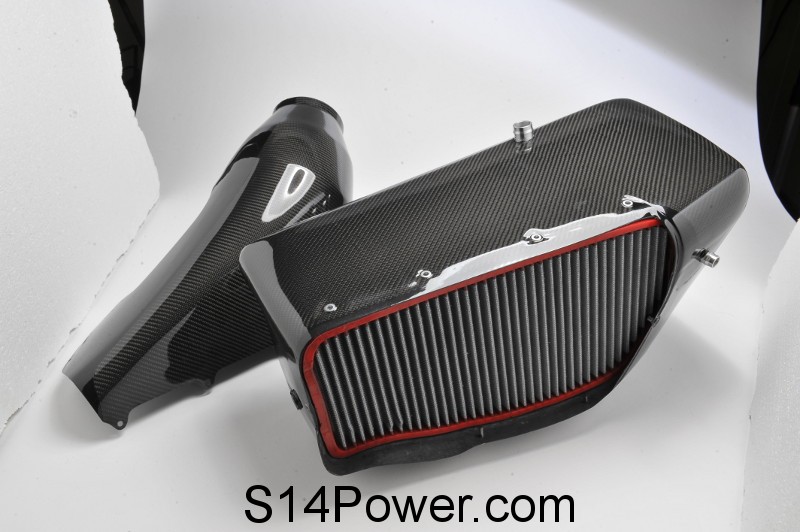
On the airbox front:
Going to wait and see how that plays out, would love a set in carbon.
The only annoyance with the new Blaupunkt was that any time the radio was on, the antenna went up. That combined with the antenna starting to stick was enough to send it to the dumpster. E36/ti antenna conversion was relatively easy, here's a few notes:
-Lower antenna bolts on the Hirschmann were not actually threaded into anything, required holding the bolt while trying to loosen.
-Factory antenna pulls out downward from the grommet, just yank once you undo the two lower bolts and the ground.
-The ti antenna base I bought from Mr. Vang required a larger ring terminal to use the factory ground location (stock bolt is too big). Easily remedied, but could hold you up if you didn't have any on hand.
-Ti grommet presses in from the top. Spit on it (seriously), and press. You'll hear it pop in.
-The base fits VERY tightly into the grommet, requires some decent force.
-The antenna I ordered has tiny silly text on the base that says "The Stubby". Not an issue or visible really, just irked me.
-E30 Antenna connector only plugs into the ti base one way, and only connects one spade connector. This is fine.
Here's the thread I pulled info from:
Here's links to the antenna and grommet. $36 total I believe.
http://www.amazon.com/gp/product/B00...?ie=UTF8&psc=1
http://www.amazon.com/gp/product/B00...?ie=UTF8&psc=1
Last edited by 318aye; 08-13-2017, 01:41 PM.Leave a comment:
-
-
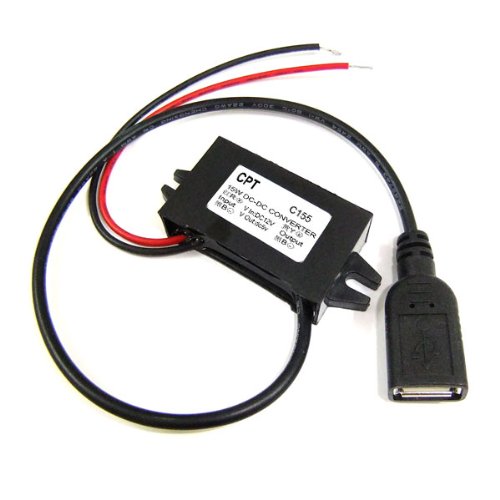
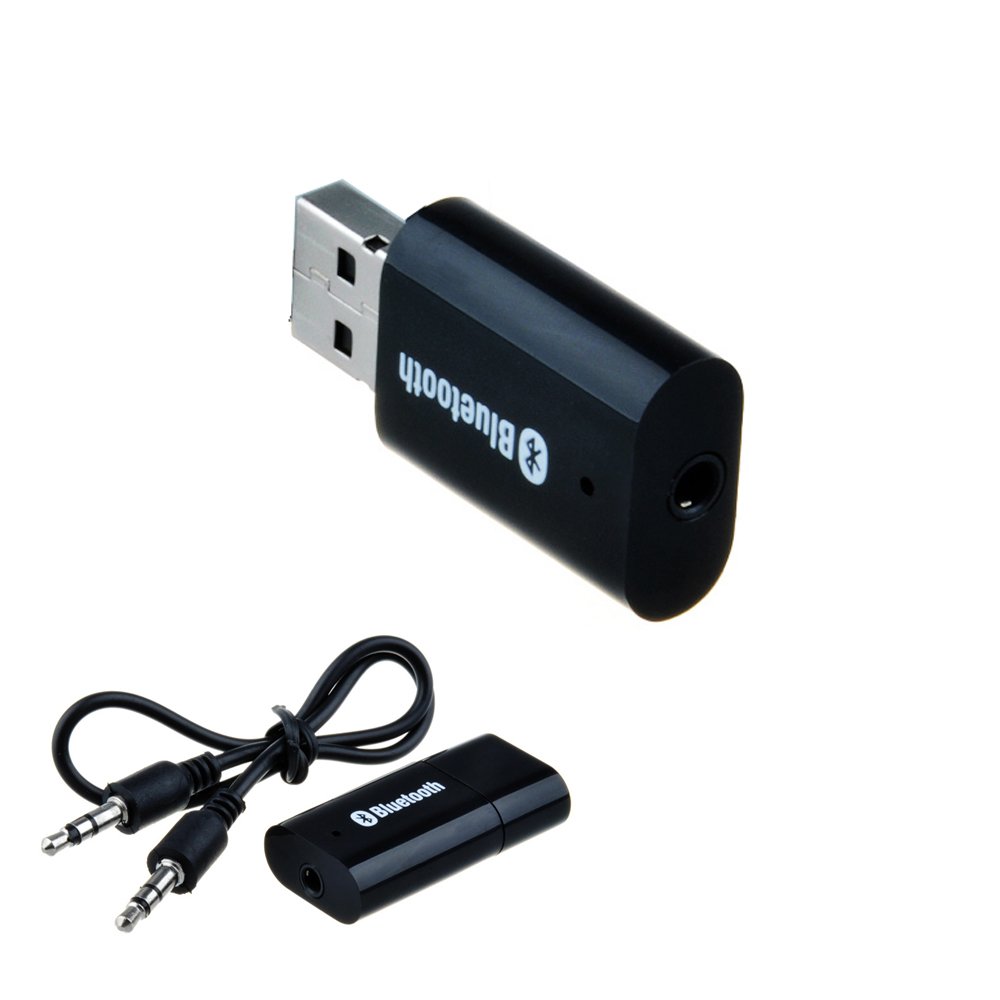
Got the radio install finished up today. Wiring plugged right up. I cleaned up/recovered a few connections (Thanks for the duct tape, PO :P), and wired in the 12V/5V converter. Bluetooth plugged right into the aux on the Manhattan, and voila. $20 Wireless input, awesome sound, and it doesn't look like a disco circus on the dash. Seller for this radio installed a tinted filter and the illumination looks 99% factory, picture doesn't do it justice.
Once the power antenna is gone, I think I can call this done.Last edited by 318aye; 08-13-2017, 01:38 PM.Leave a comment:
-
Thanks for the helpful hints on the box clearance. Still trying to get enough time away from work to get the bay scanned.
In between some of the bigger stuff, I stumbled across a radio solution I couldn't pass up. My car is already wired for my existing Blaupunkt Toronto RDS 126, and I found a good deal on a Manhattan CD 148. Seller says it was purchased as NOS in 2014, and it looks to be in good shape. This should plug right in to my existing wiring, and has an integrated 1/8" input jack ready to go.
In order to utilize that auxiliary input, I'm going to integrate a 12V to 5V DC/DC converter, and a simple bluetooth A2DP audio adapter. I've used this bluetooth unit in previous "radio deletes" using motor cycle amplifiers, and it works well. Should only require connecting the converter to switched 12V and plugging in the bluetooth behind the new headunit, and voila.
Going to look for a 318ti antenna conversion as well.
Leave a comment:
-
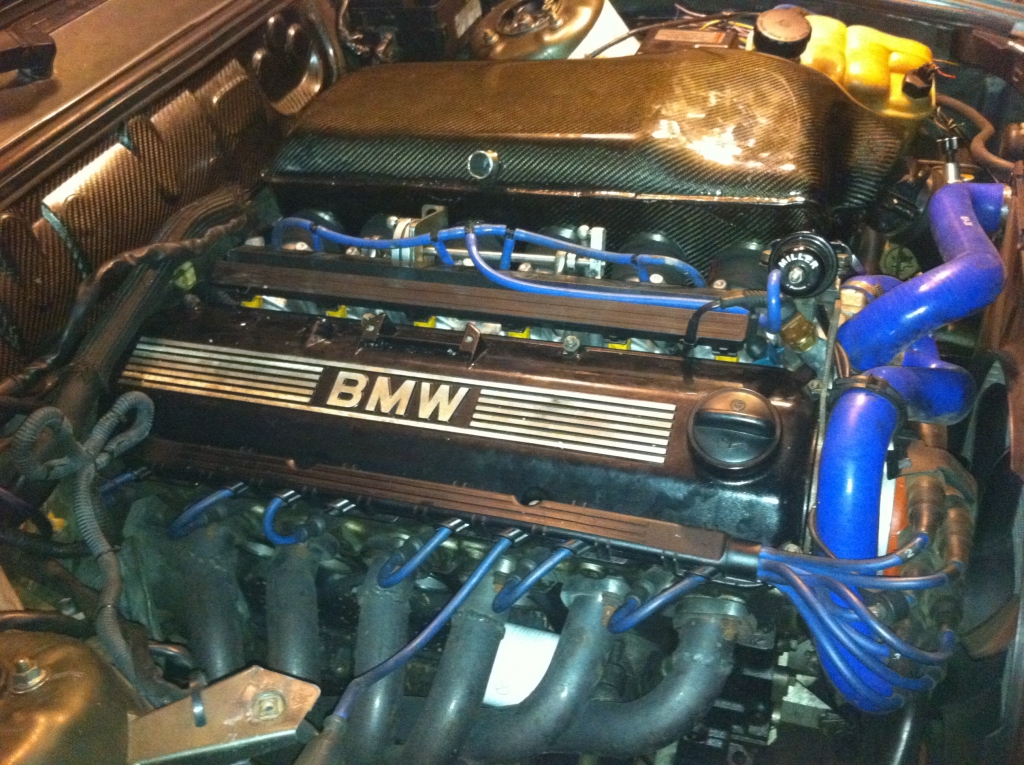
any airbox using the dbilas head-manifold adapter is going to have very short fat runners. i used to use one and they flow like dogshit and are massive. to get close to the right length runners that clear the booster with the dbilas stuff you need a 90 degree bend elbow and the bellmouth sits about 2" or less from the hood so not much room to fit a plenum.
ill have to measure the clearance inside the box but runner 6 was moved so that the edge of the bellmouth sites 25mm higher. in the pic below the highlighted trumpet is the original position
 Last edited by digger; 05-29-2015, 03:08 PM.
Leave a comment:
-
I appreciate the offer! I'm going to have the bay replicated in 3D with a FARO arm and a laser scanner which should give me a very accurate solidworks environment in which to work. From there I'll probably build one rough proto from foam or something simliar based on my design, then I'll send it out to be milled from high density foam (that'll form the mold for the carbon).Leave a comment:
-
I was referring to having something similar to a nutsert actually molded into the carbon during construction, rather than having it drilled and installed later. Not sure though, that could be a bad plan. I'd rather not have stuff sticking out into the flow path if I can help it.
Would be very interested to see your results. IAT's could be an issue, but proper ventilation might negate that. Have anything drawn up yet? Planning to filter with your existing CAI tube?
Ahh, ok. Same place I have my screen filters currently. This was also my plan for the box plate, just hard to convey sometimes over the internet.
The booster area is definitely going to be the biggest concern, how much room did end up leaving between the trumpet radius and the box wall? Seems like it could be a negative to allow the box to open up as you go from cyl 6 to cyl 1 (differing pressure and velocity for each cylinder) but many plenums I've seen taper this way. Granted, most of them are also for FI cars :P.
Agreed on the panel filter most likely being a superior option. I need to look at space on the radiator support/where I'm going to be ducting air in from. The 16 y/o in me wants to pull a high beam out and run it there, but I think I'll stay a bit more subtle.
Also agreed on the IAT increase from metal plenum boxes, but perhaps it's less of an issue with proper ducting, etc. We'll see where KA's results end up.
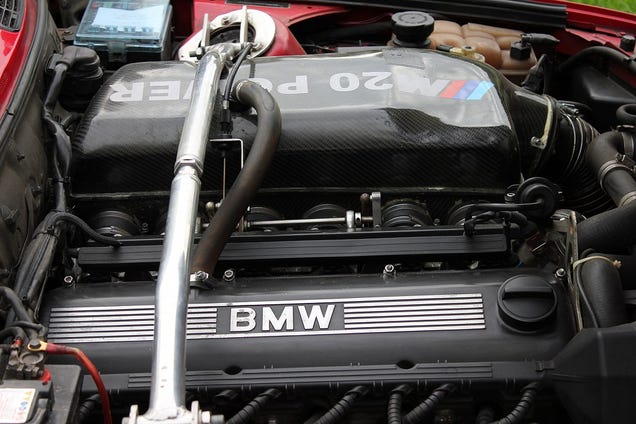
After digging around a bit, the only other completed M20 ITB boxes I've found all seem to be dbilas related, and a bit funky looking.
I think the airbox will require some extensive research and design, so in the mean time I'd like to get the AKG shifter taken care of. I've had 75D motor/trans mounts before, and I consider them too harsh for street use. I'm also less worried than I used to be about motor shift when using this shifter, as it will be 99% street driven.
Going to pick these up from Garagistic and see how they do.

-500x500.JPG)
Leave a comment:
-
just remembered! I do have some foam in a bottle I can send you its a 3 piece additive laying around but not sure its any good anymore, they have a short shelf life..
If you can buy yourself some foam pre mix it and pour in a rectangular small box and let it expand to that shape, you can use it as a mock up in your engine bay. You can then start shaving around the edges till you create the correct architectural model shape to base your intake design off from. It will help make and fit the right intake you desire in your engine bay, without any rough estimated guesses!.Last edited by goarmy; 05-29-2015, 07:31 AM.Leave a comment:
-
This S14.COM air box you posted on post 187 is truly a beautiful piece!. Like I said before OEM is truly the best route.
Although flow bench testing these conicle type filters without the air box does result in less pressure drop than the flat panel filter, once they are placed in a small OEM box the air flow restriction (significantly) increases! Like the video I posted on post 177 although he was correct in a sealed state the cone type filter would require a much larger boxed space, which is not what I'm seeing from the first DTM rep box and nor the following suggested filter on post 185.
Please be aware that boxes constructed from metal will conduct heat into the air intake faster than OEM plastic!.Leave a comment:
-
The 50mm long CNC extensions are the parts that bolt between the TB's and trumpet. I sandwiched an aluminium plate that forms the airbox mounting face between the trumpet clamps and cnc extensions.
As far as for bolting/screwing I just glued some tapping blocks on the inside.
I would have a smaller panel more at the end so that it faces near the ABS area. The slant of the m20 engine means there isn’t enough room to have the panel parallel to the engine like the s54
The strut brace would need to cross near runner 4 and 5 as runner 6 needs to be angled up slightly to allow enough clearance to booster as you want some space between the trumpet mouth and airbox wall as well as about 10mm clearance between the box and booster to allow for movement of the engineLeave a comment:
-
I'm actually building an aluminum plenum, I have all the dimensions and drawings finished up just need to find a decent aluminum welder:)
its just this with 2 more cylinders, simplicity

Leave a comment:
-
^^If you're talking about rivet nuts, they're cheap. I've got an install tool if you wann a borrow it.Leave a comment:


Leave a comment: