Announcement

Collapse
No announcement yet.

84 euro gray market rebirth

Collapse
X
 
  • Filter
  • Time
  • Show
Clear All
new posts

    #46
    Worked on the front end over the last couple weeks but have been lax in posting...
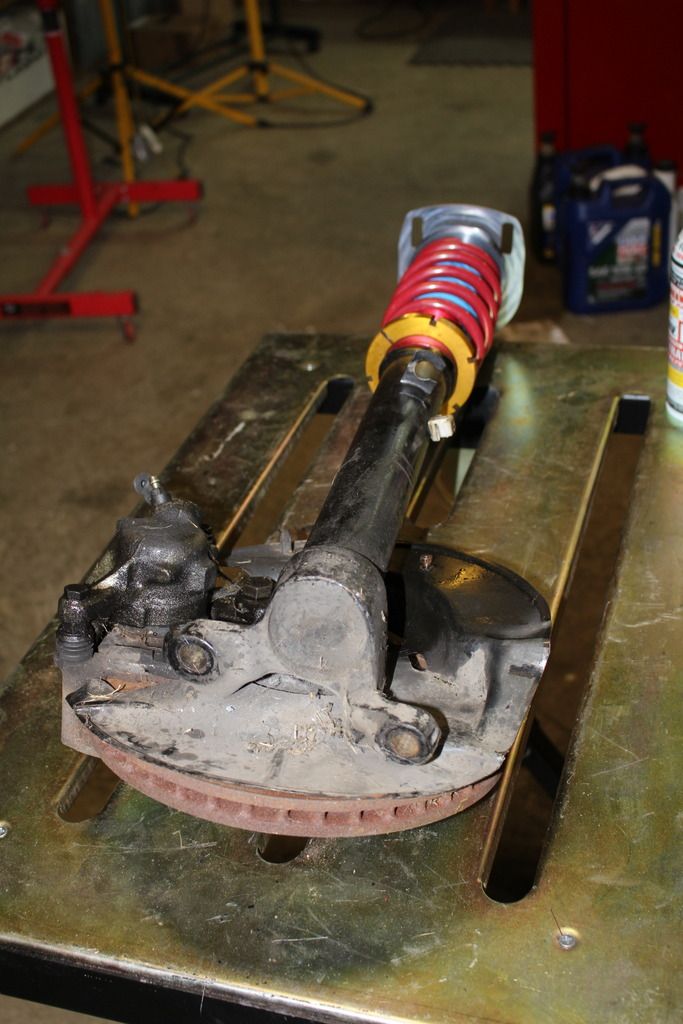
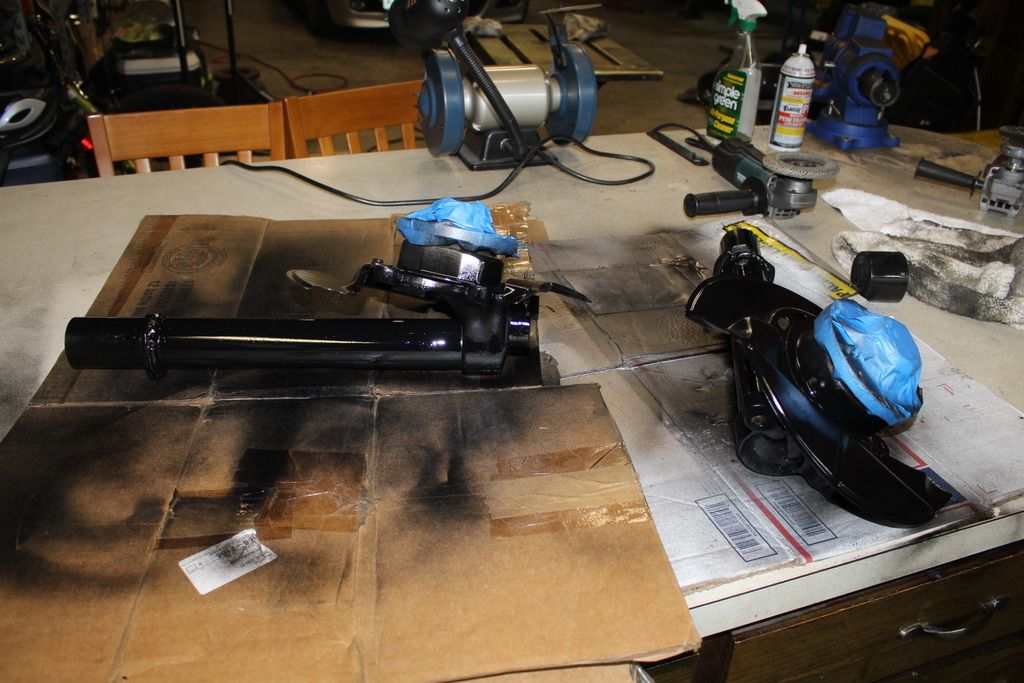
    Struts before:


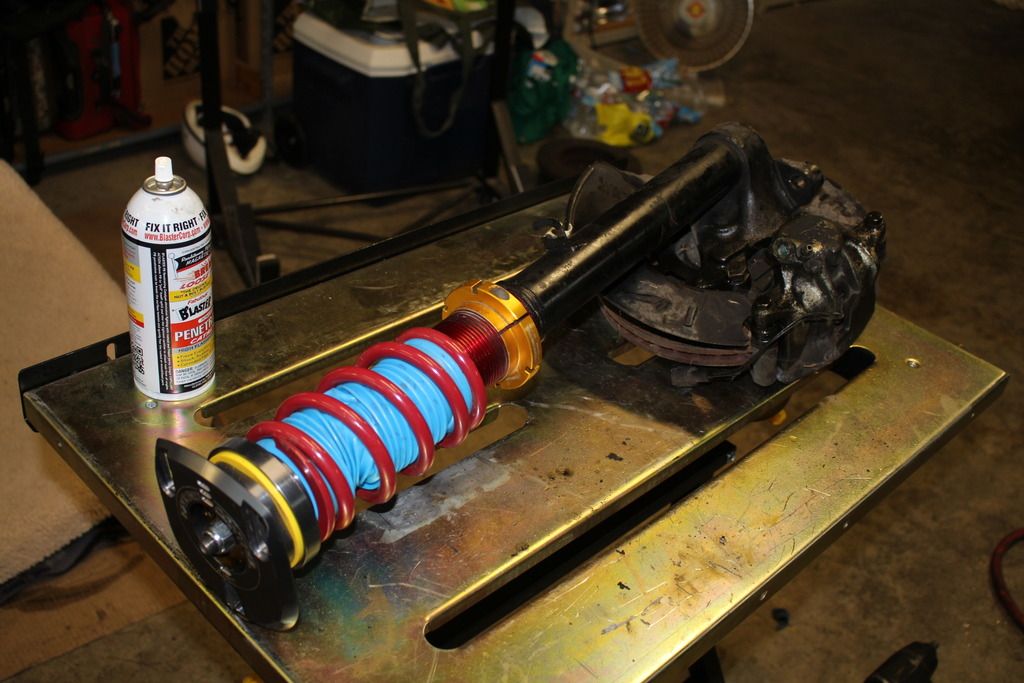
    Crappy picture of the newly welded perches:


    Painted up and looking fresh:


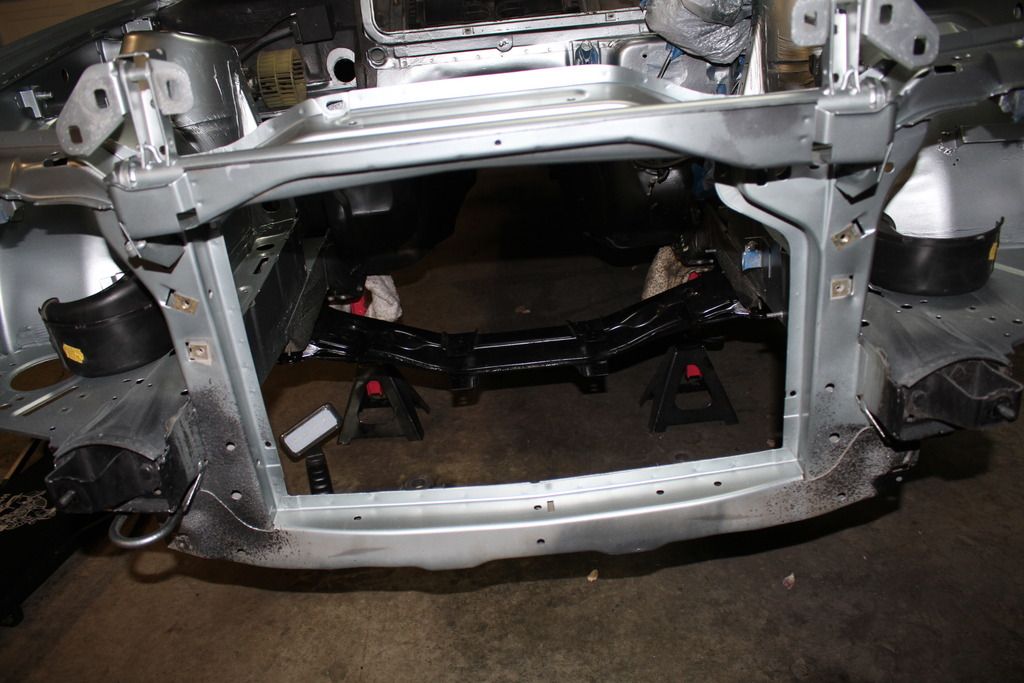
    Subframe back in the car. I previously welding in reinforcement plates:


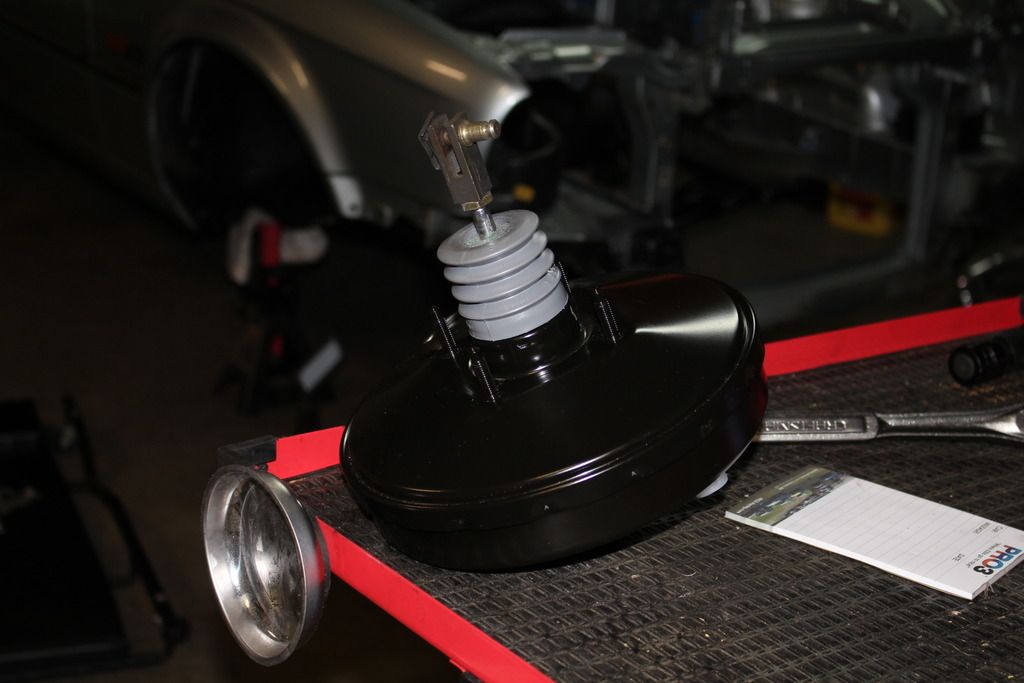
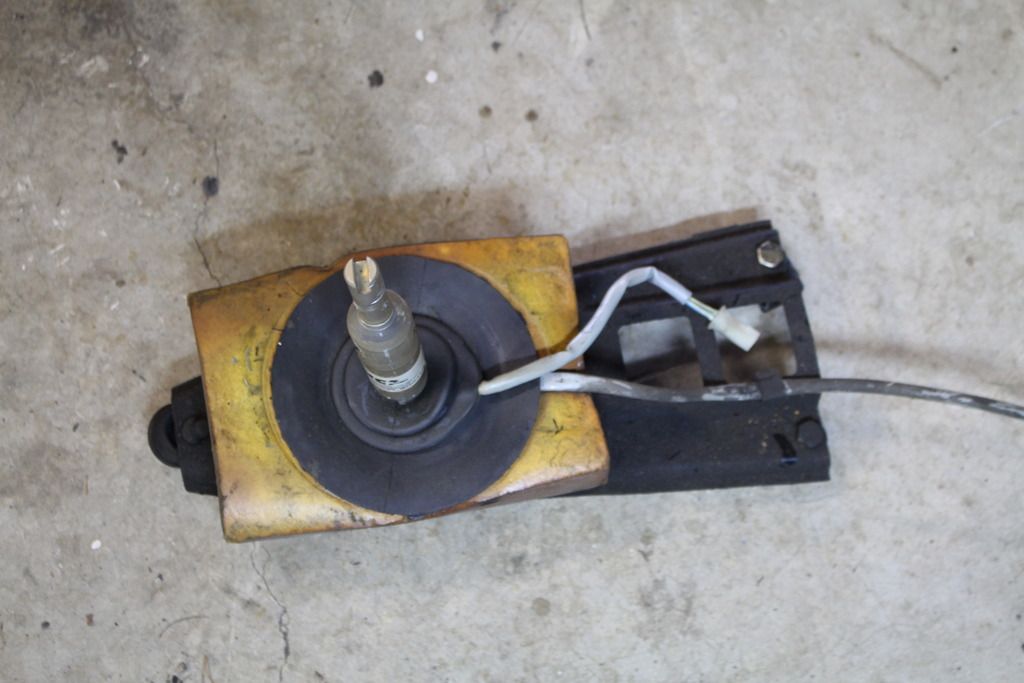
    New Porsche booster modified and ready to install:


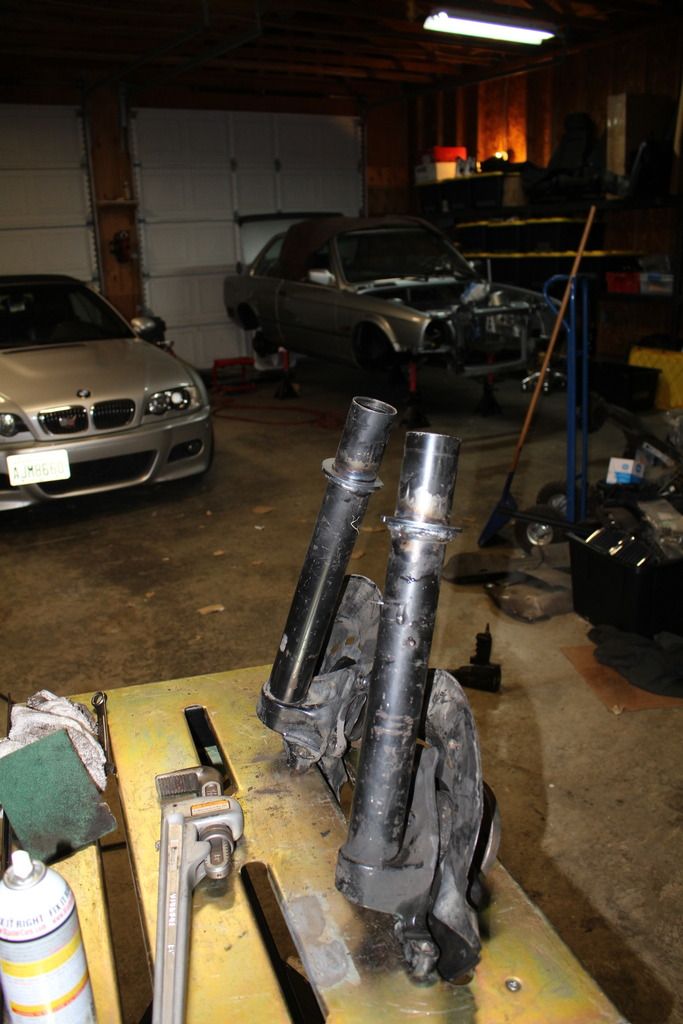
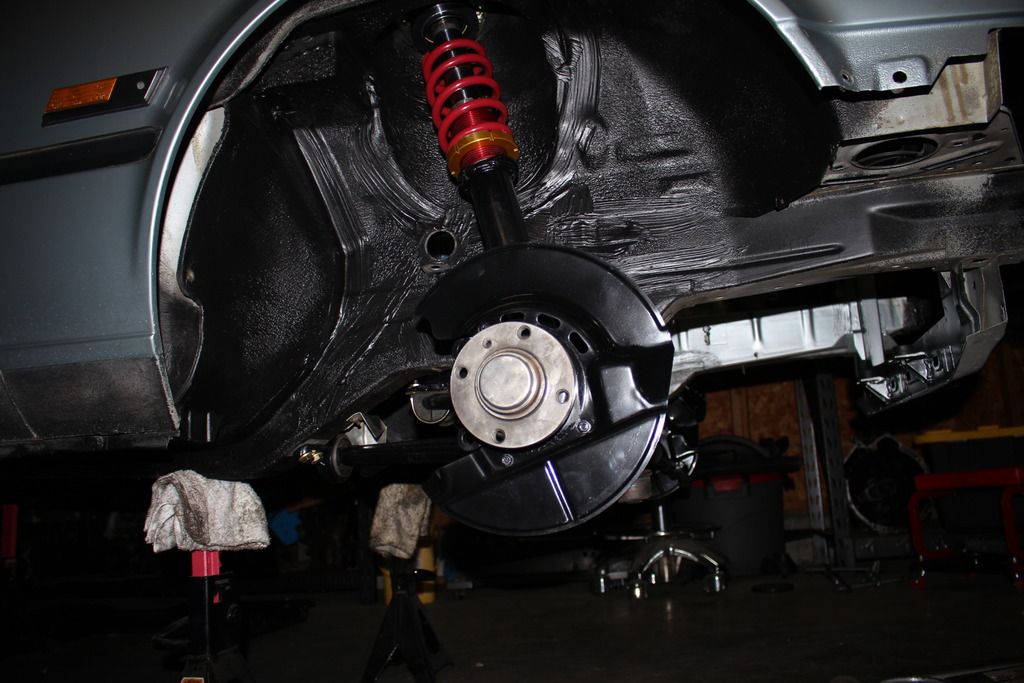
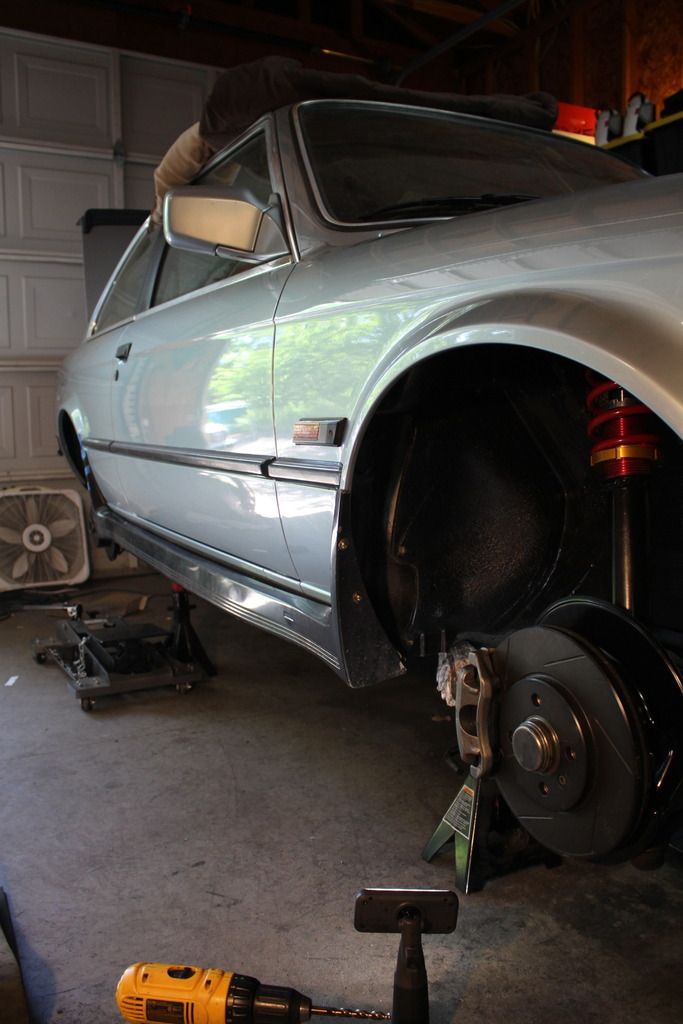
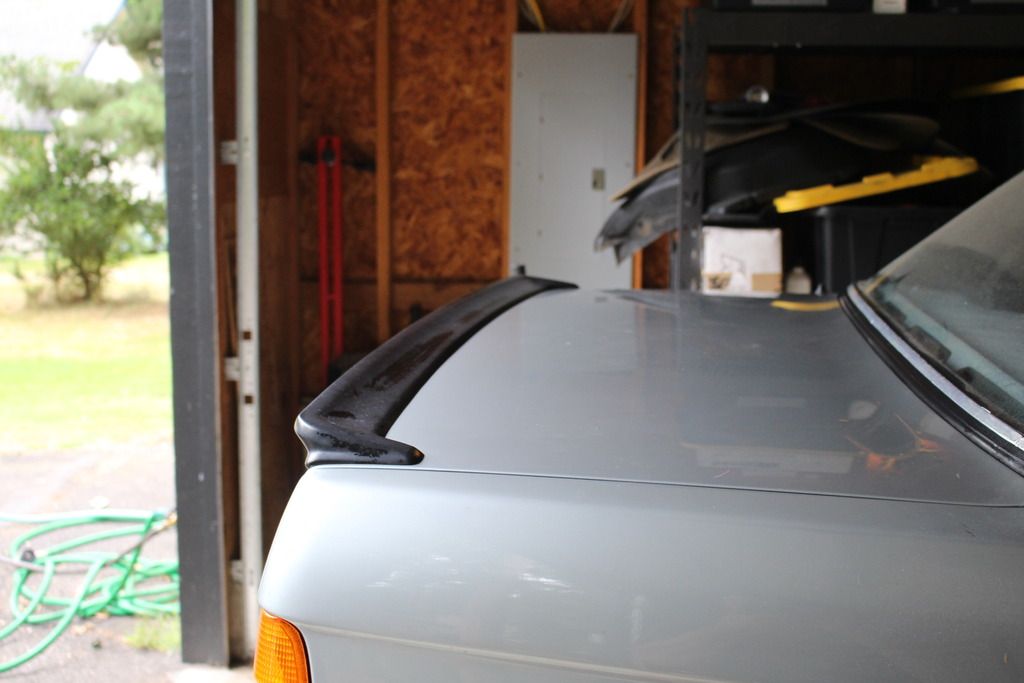
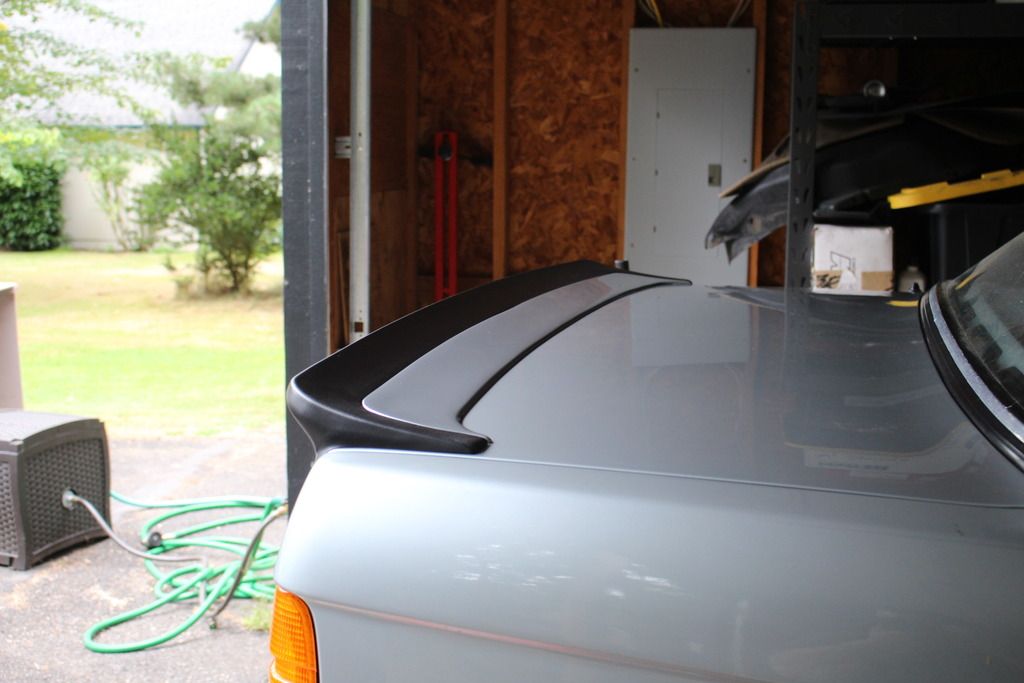
    Struts back in the car where they belong...great to see this getting closer:


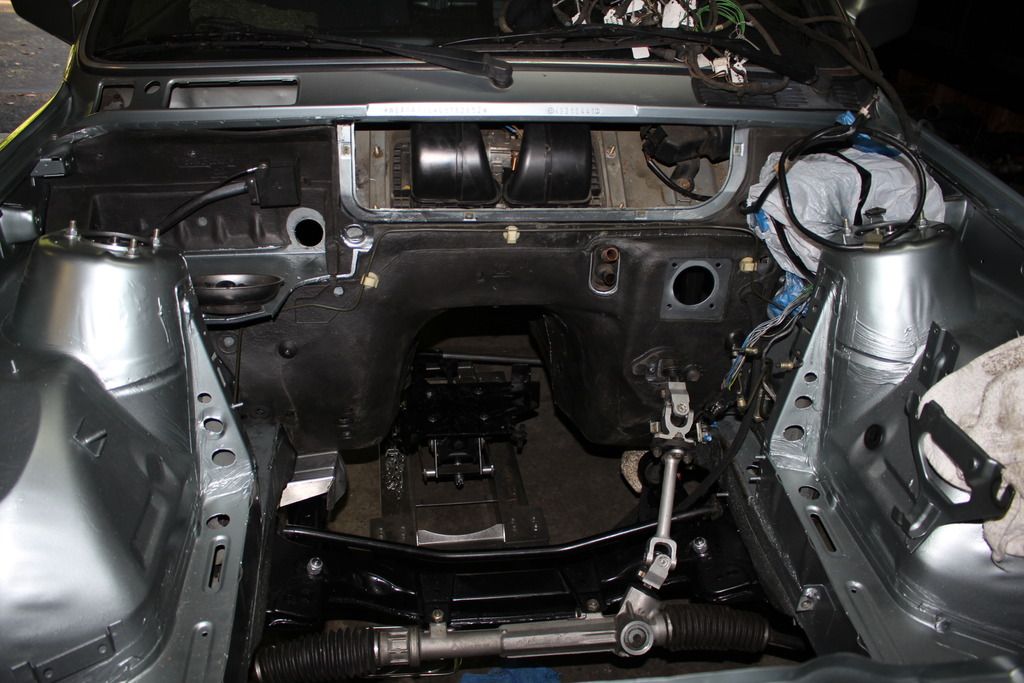
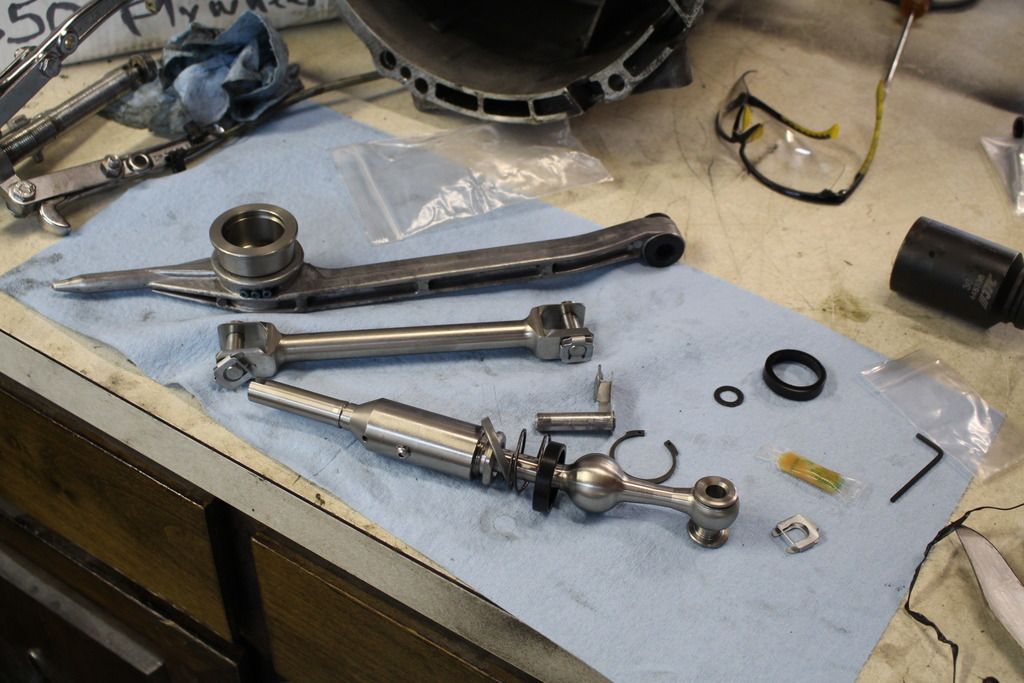
    Steering rack and fresh firewall insulation installed:


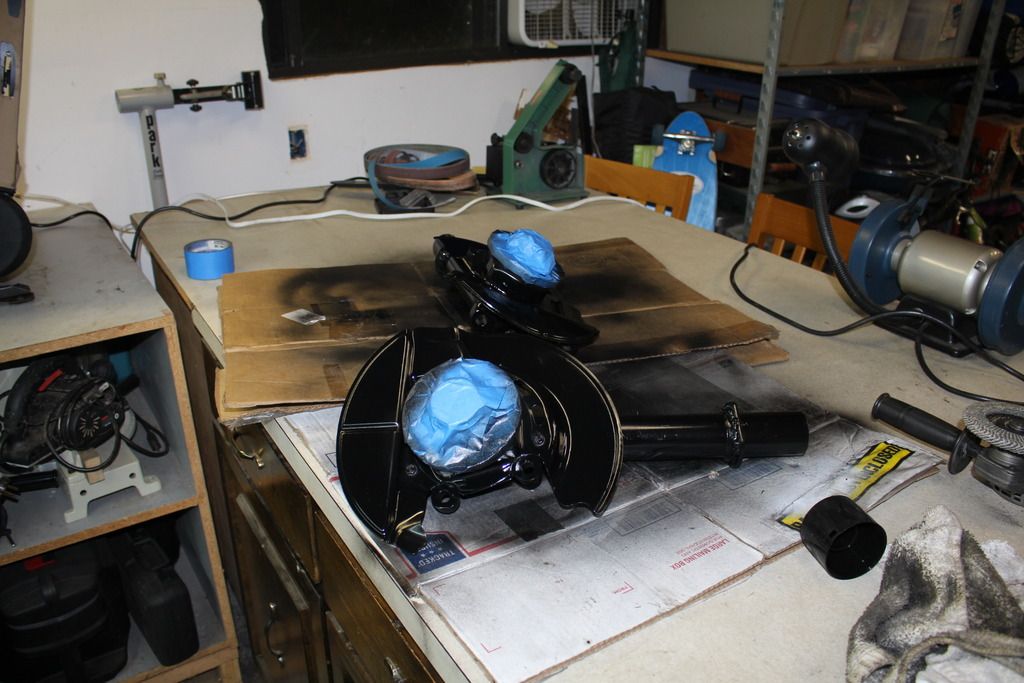
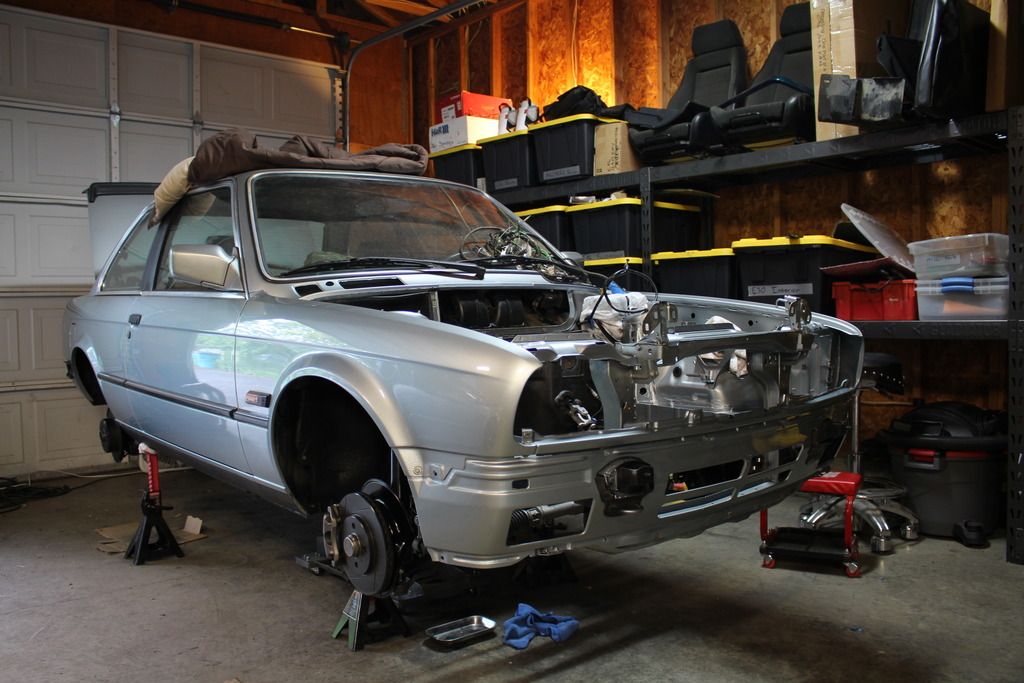
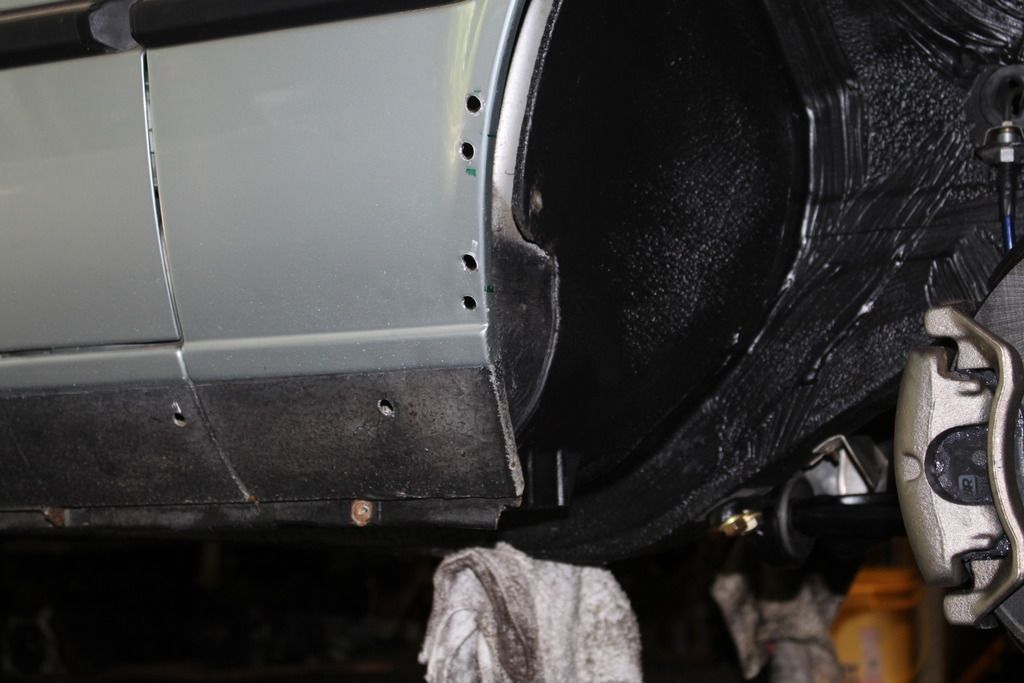
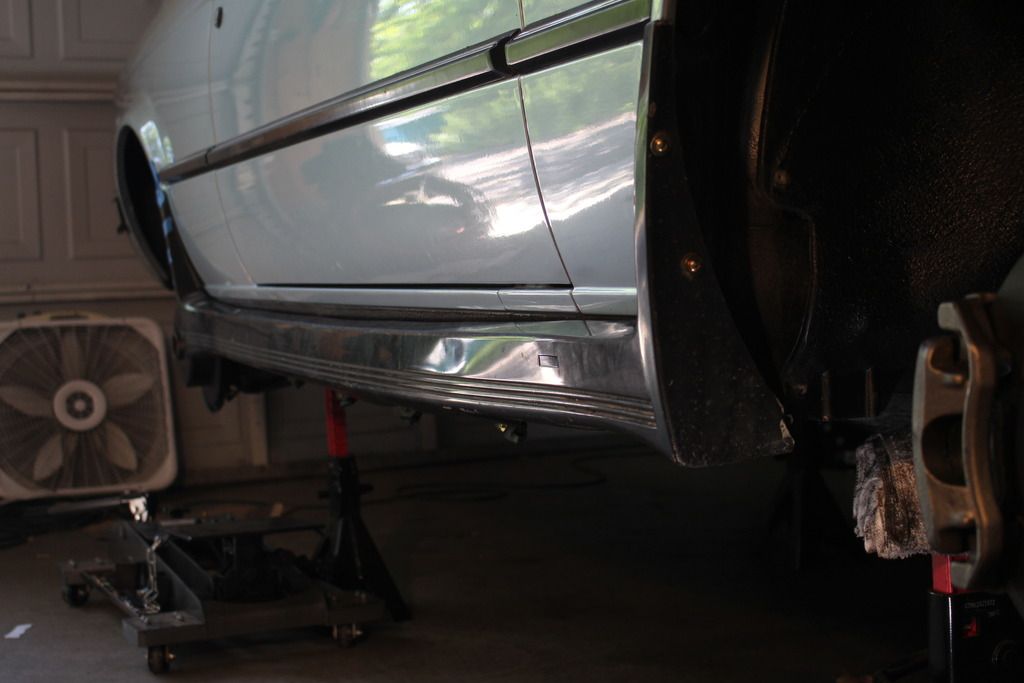
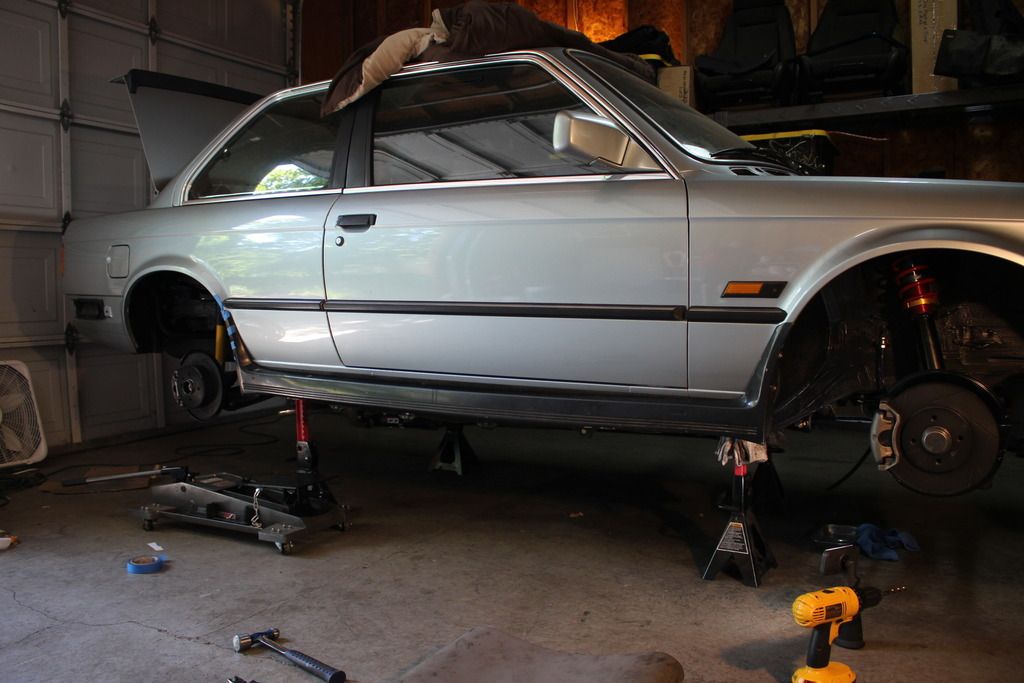
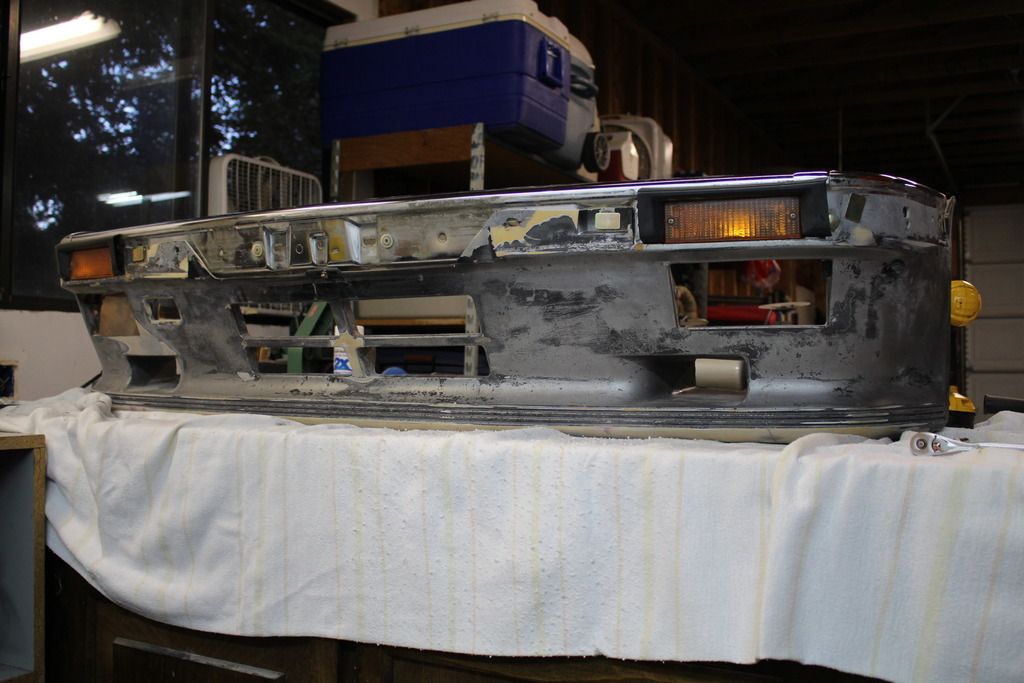
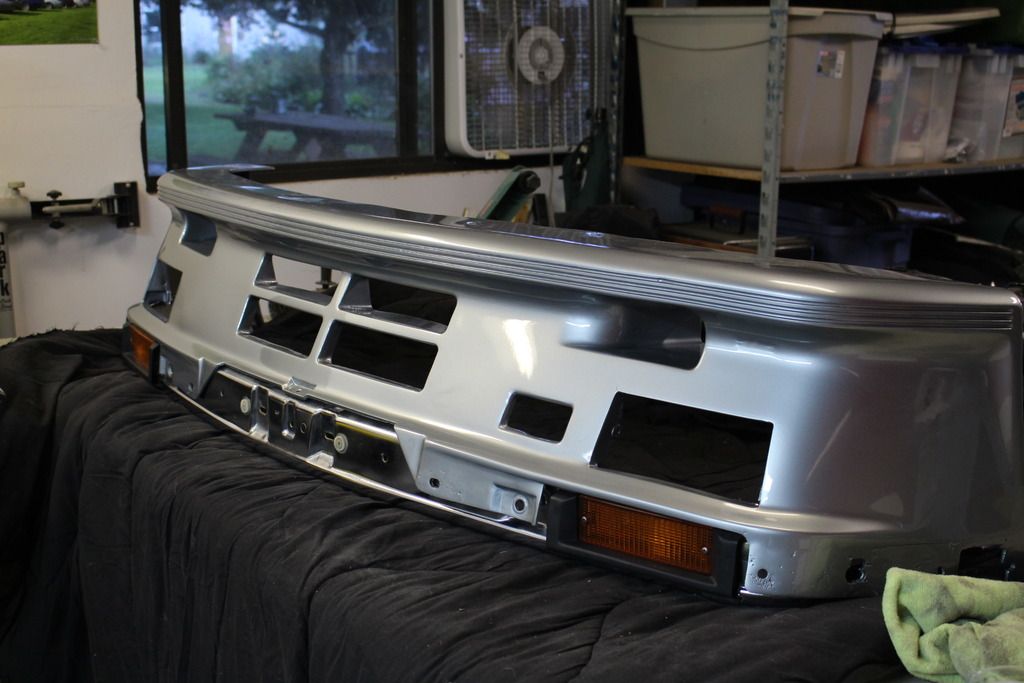
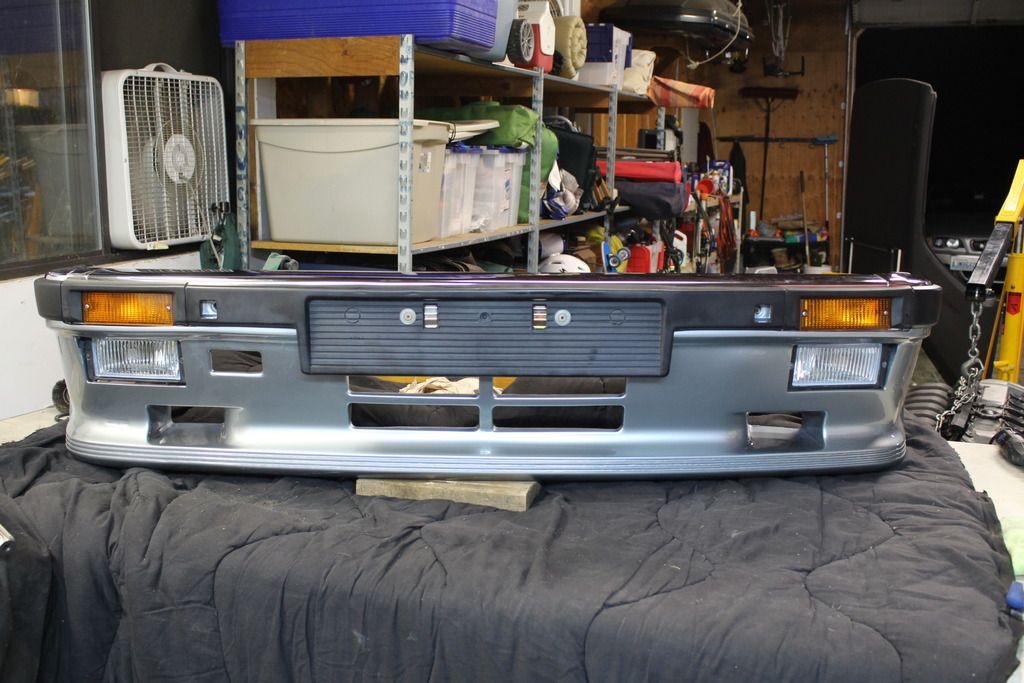
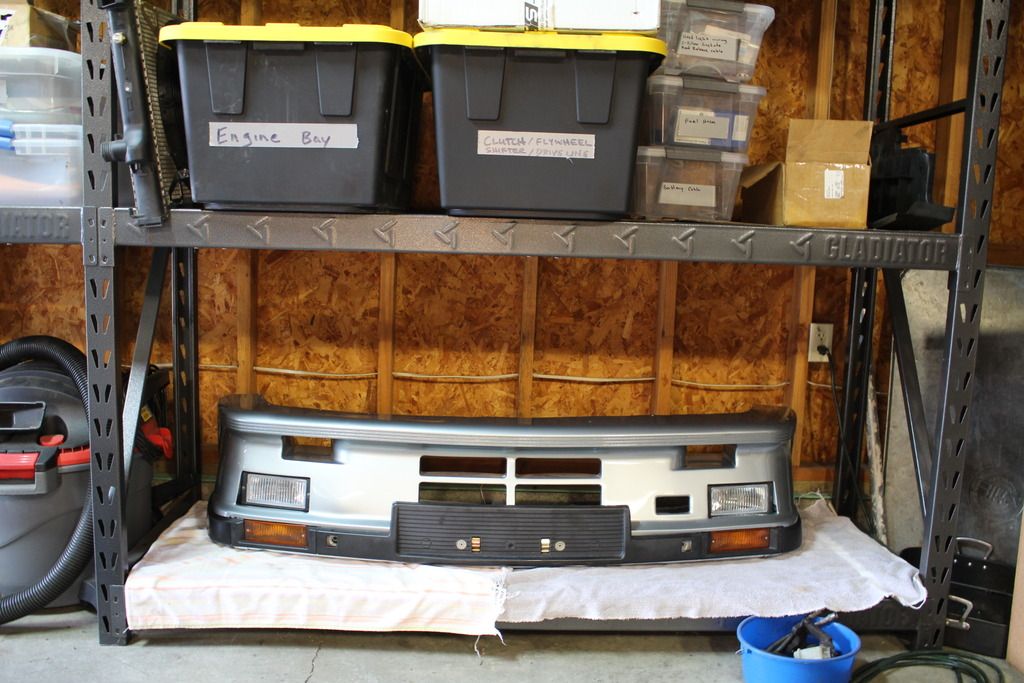
    Reinstalled the valance in preparation for test fitting the mtech kit:


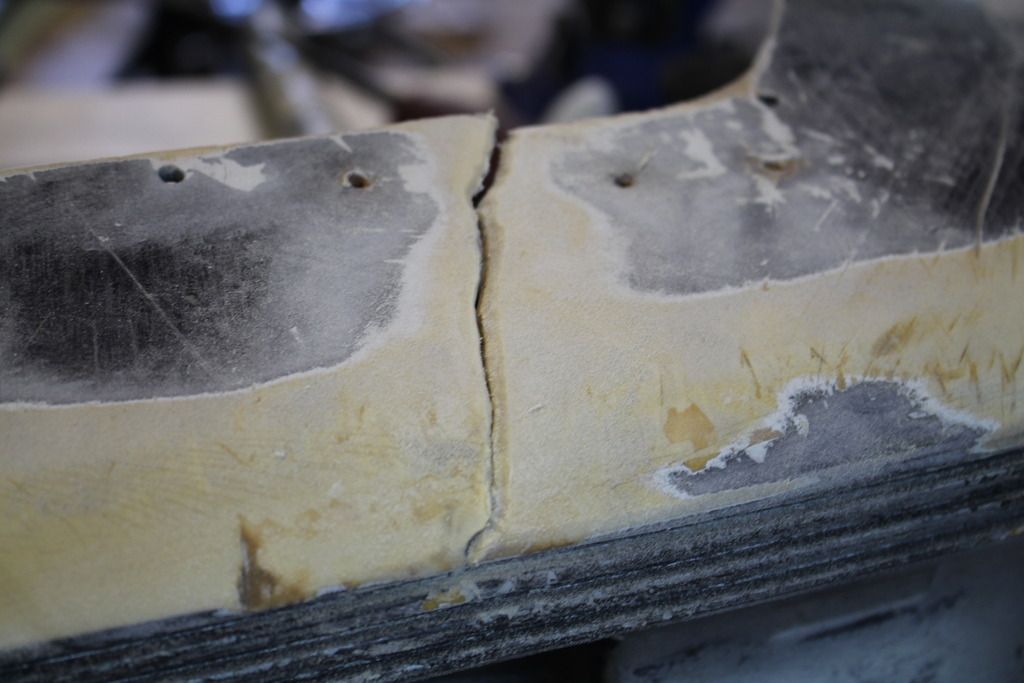
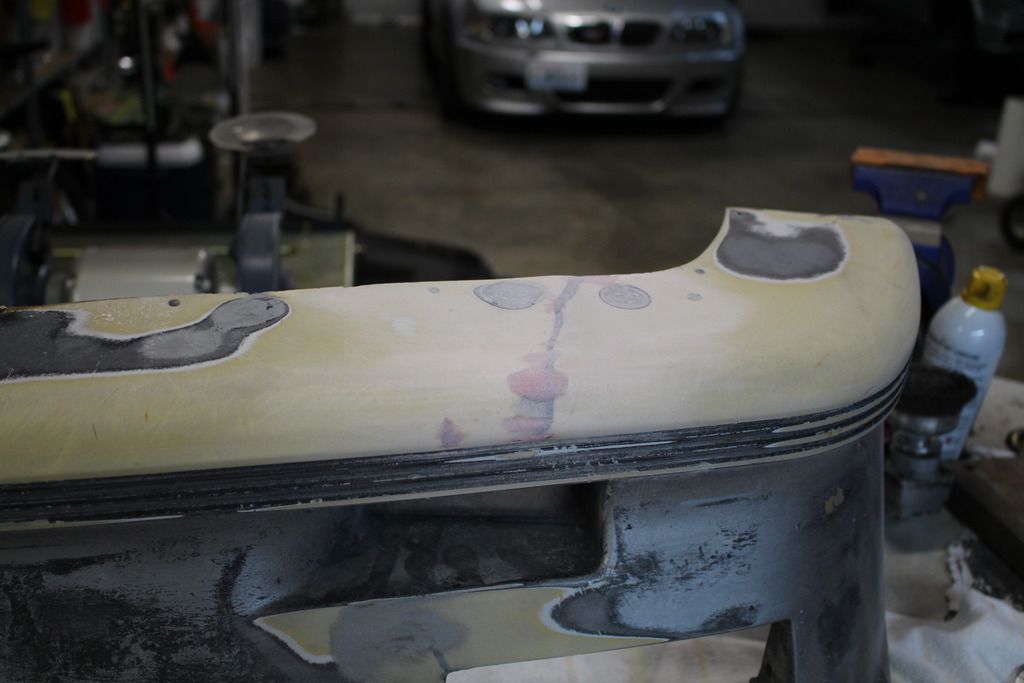
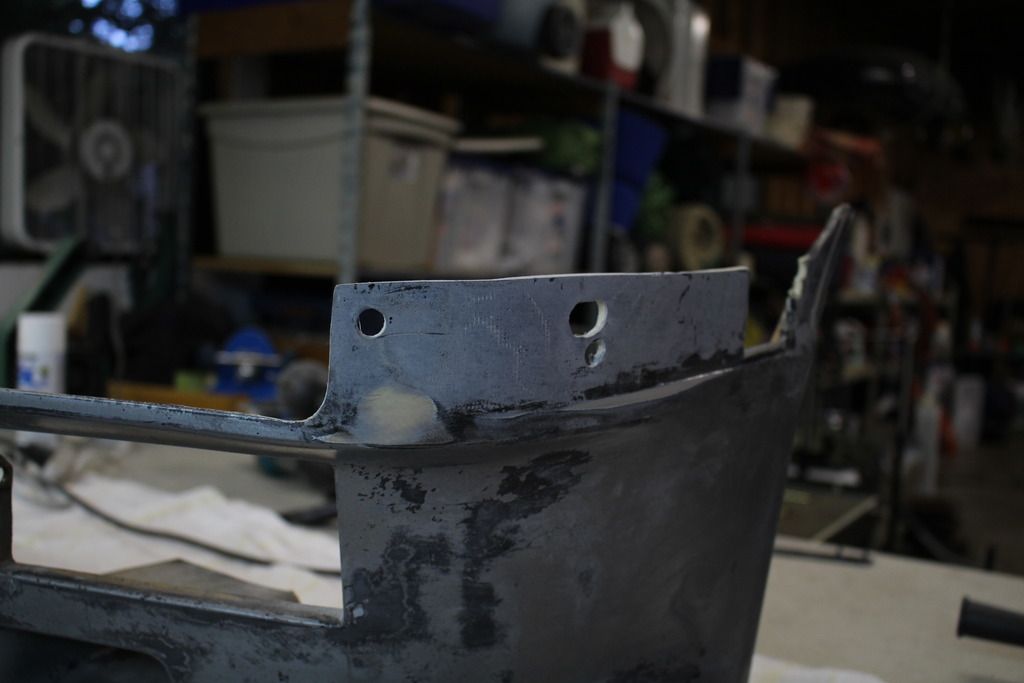
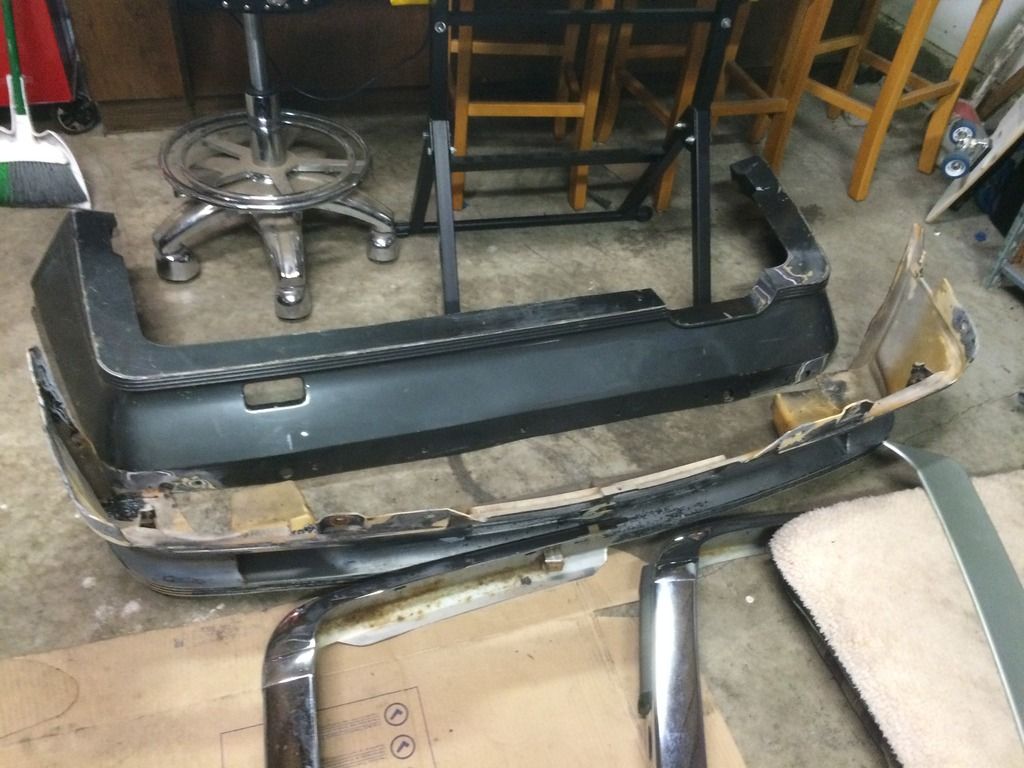
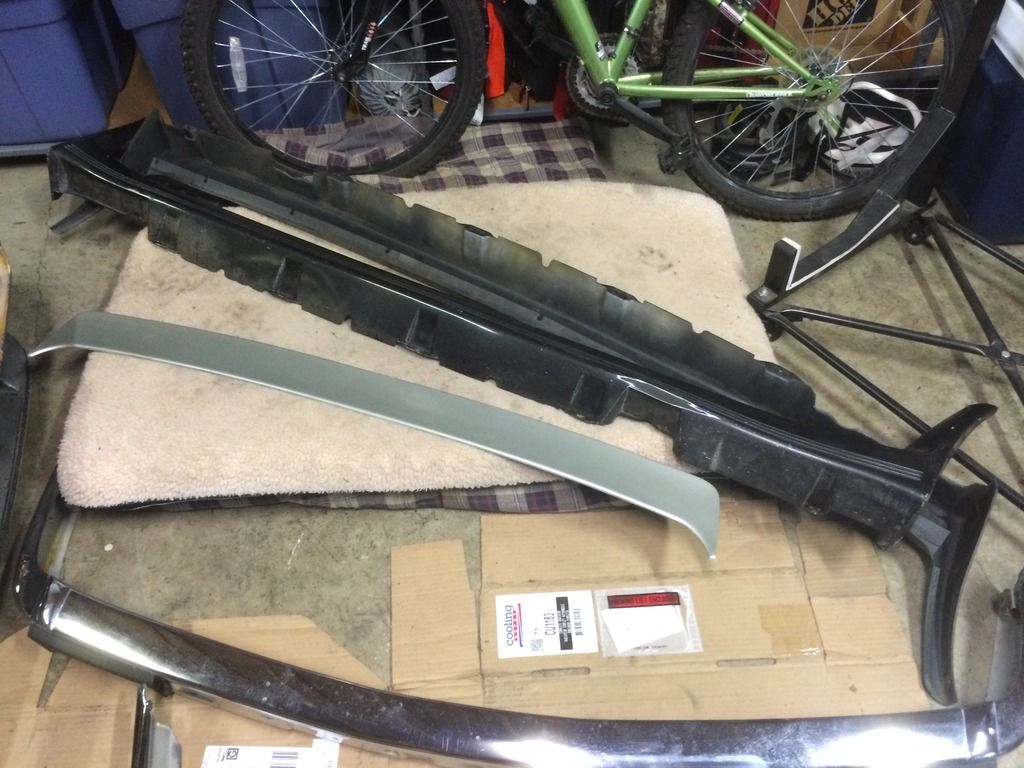
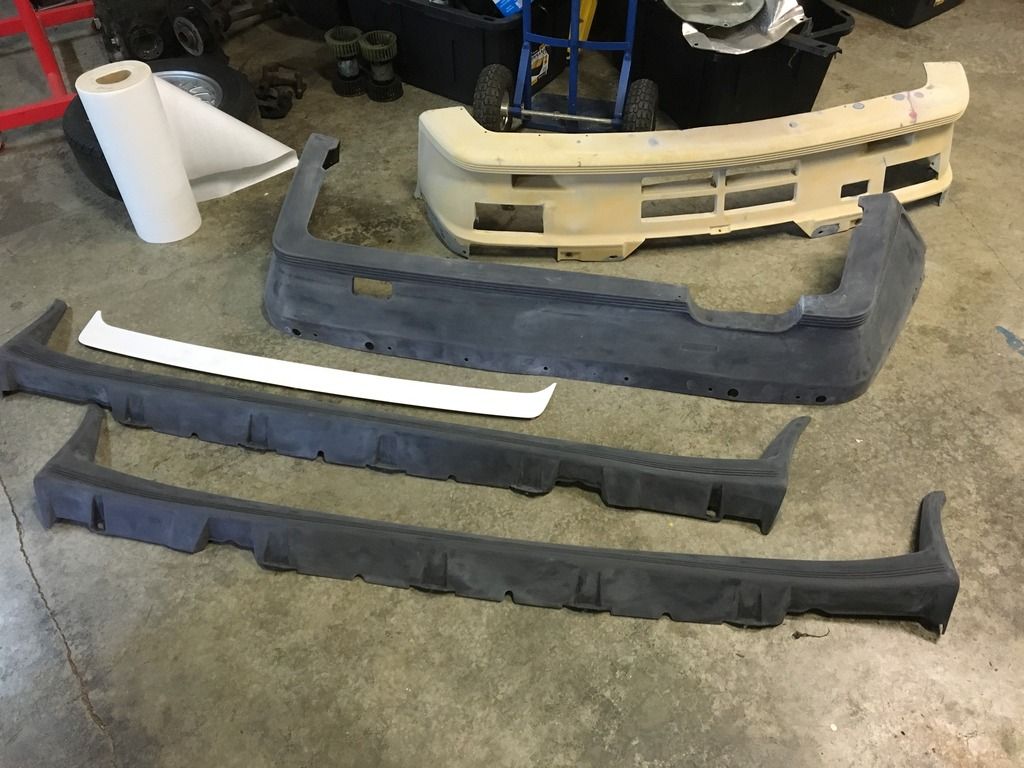
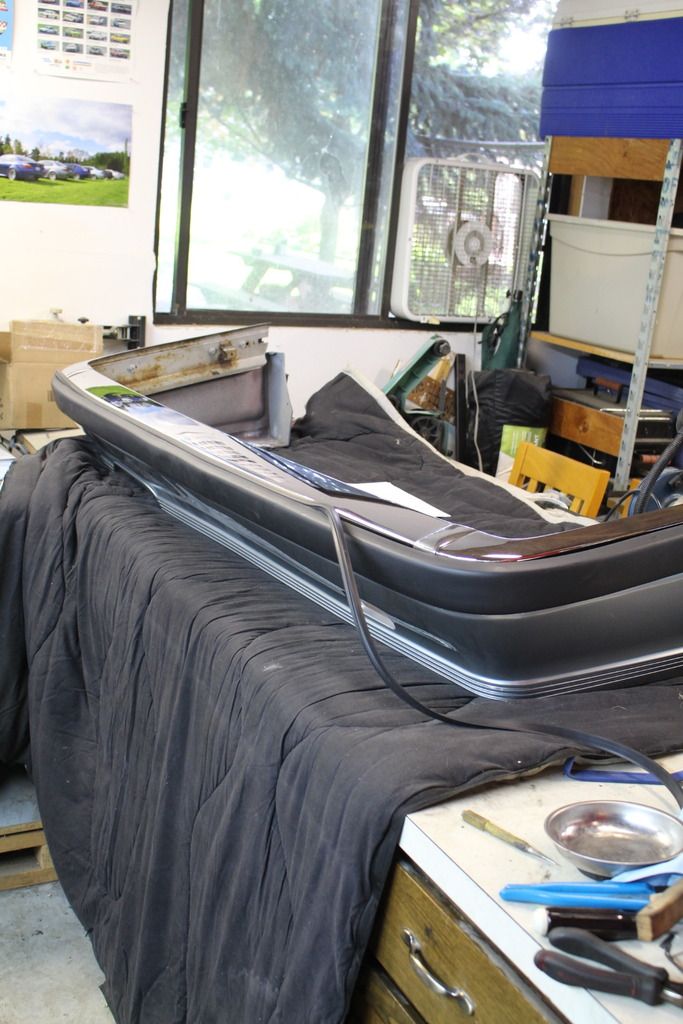
    But the mtech kit needs some help before it is ready for test fitting...warning graphic content ahead:


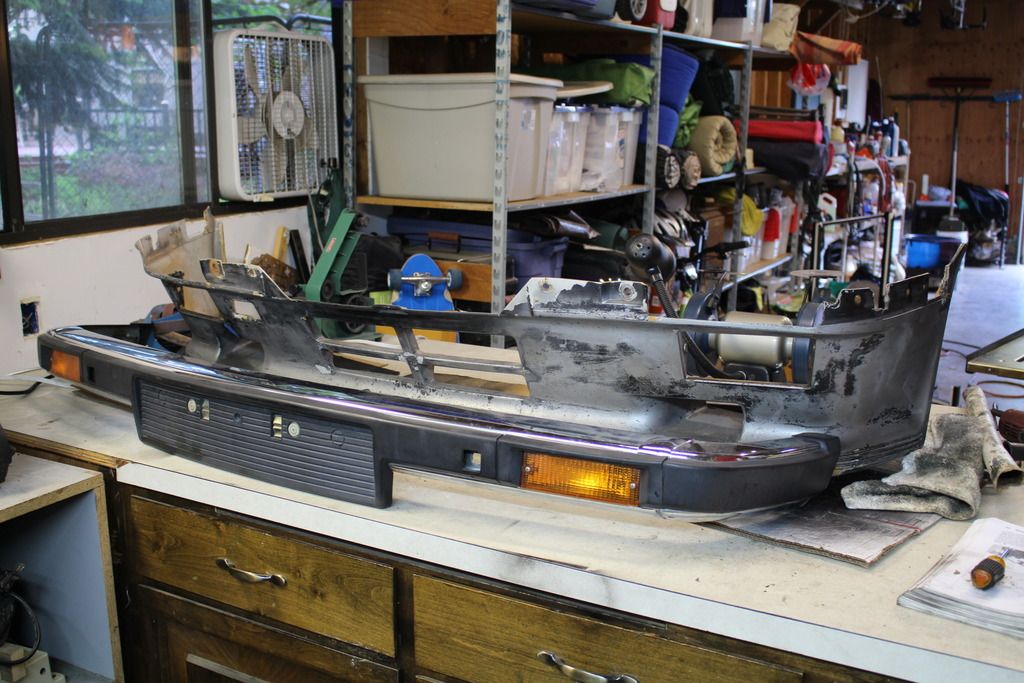
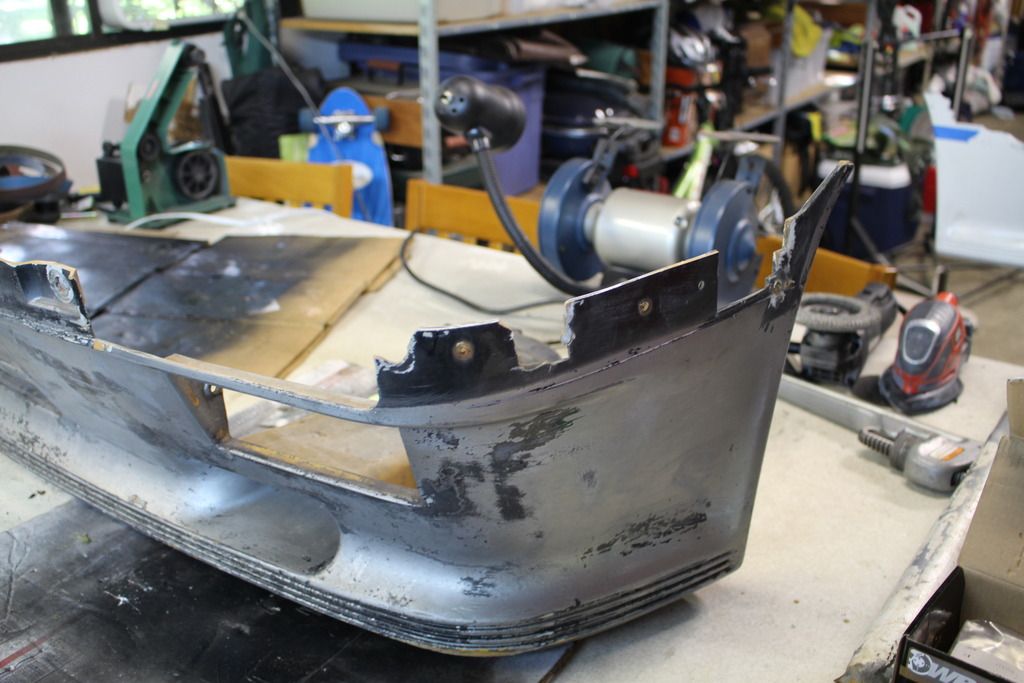
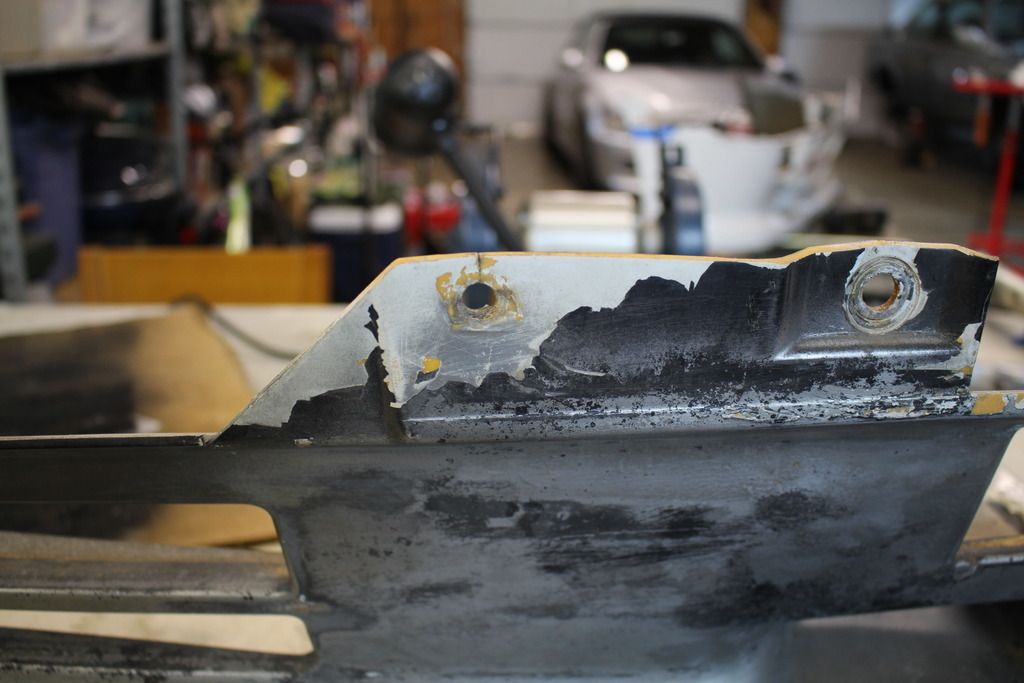
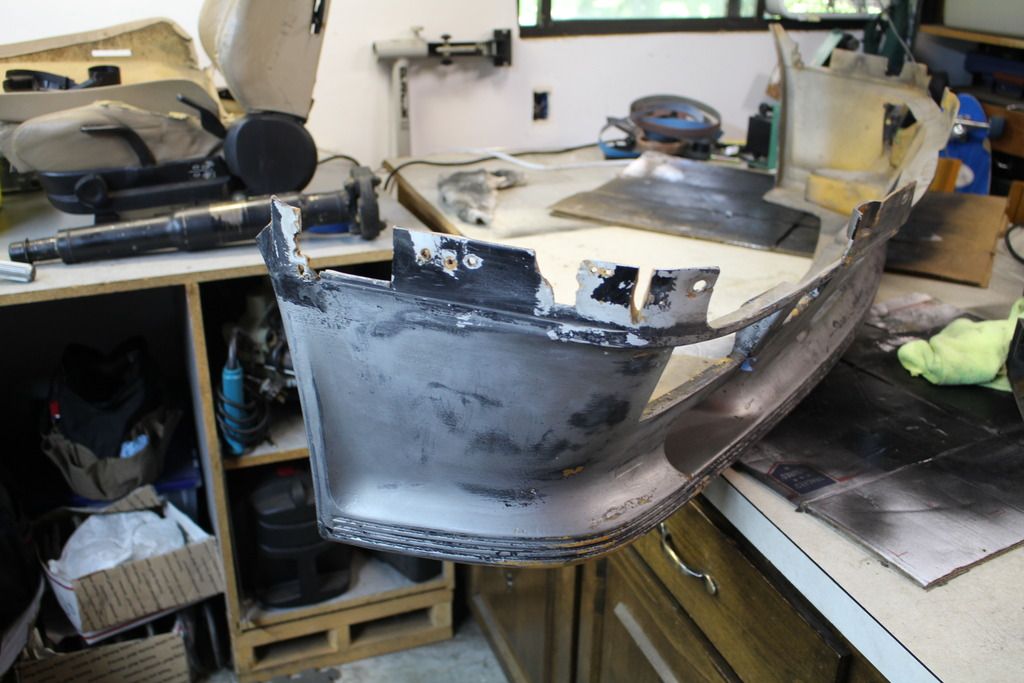
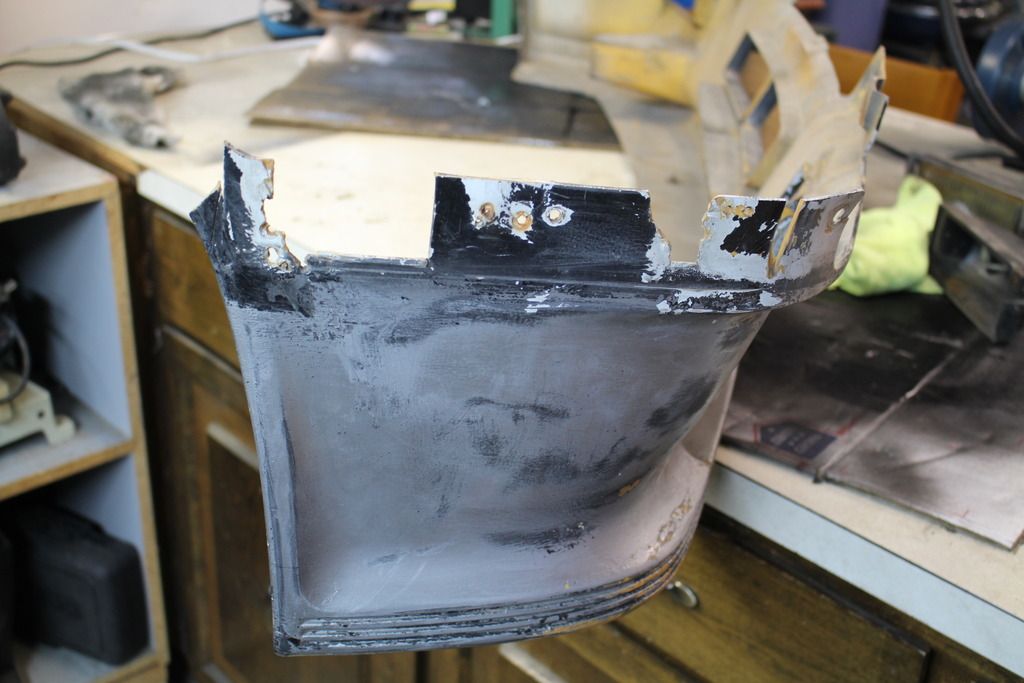
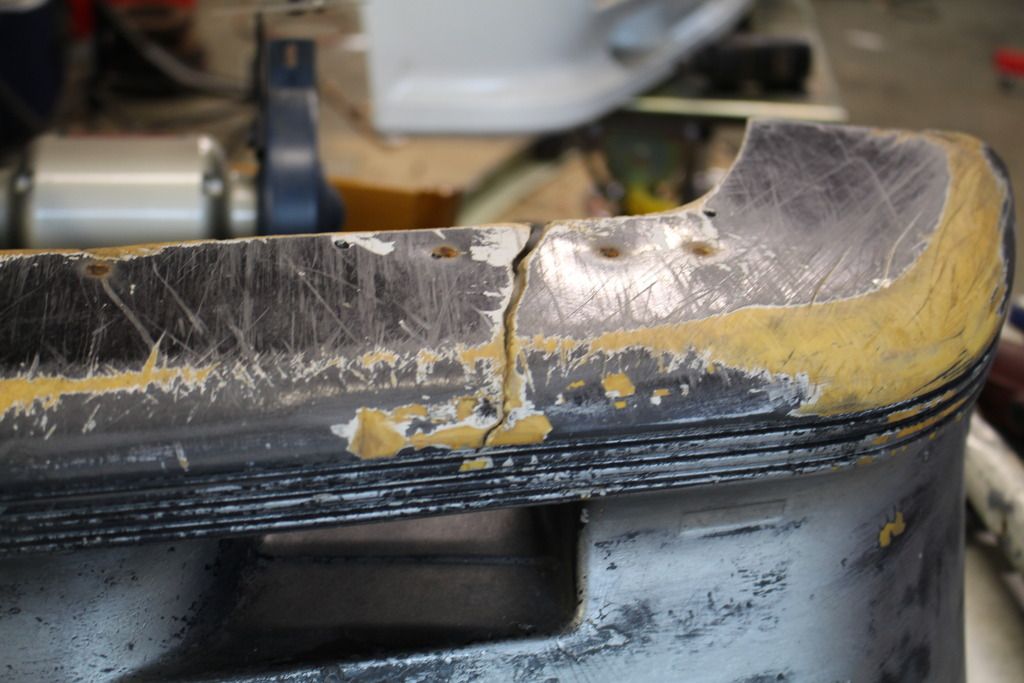
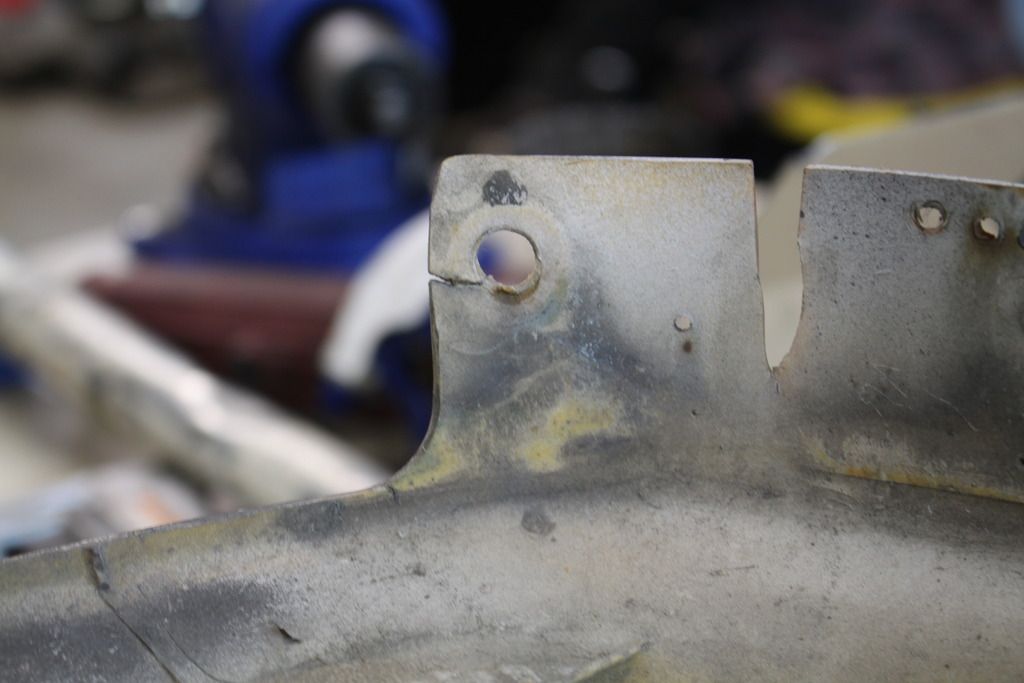
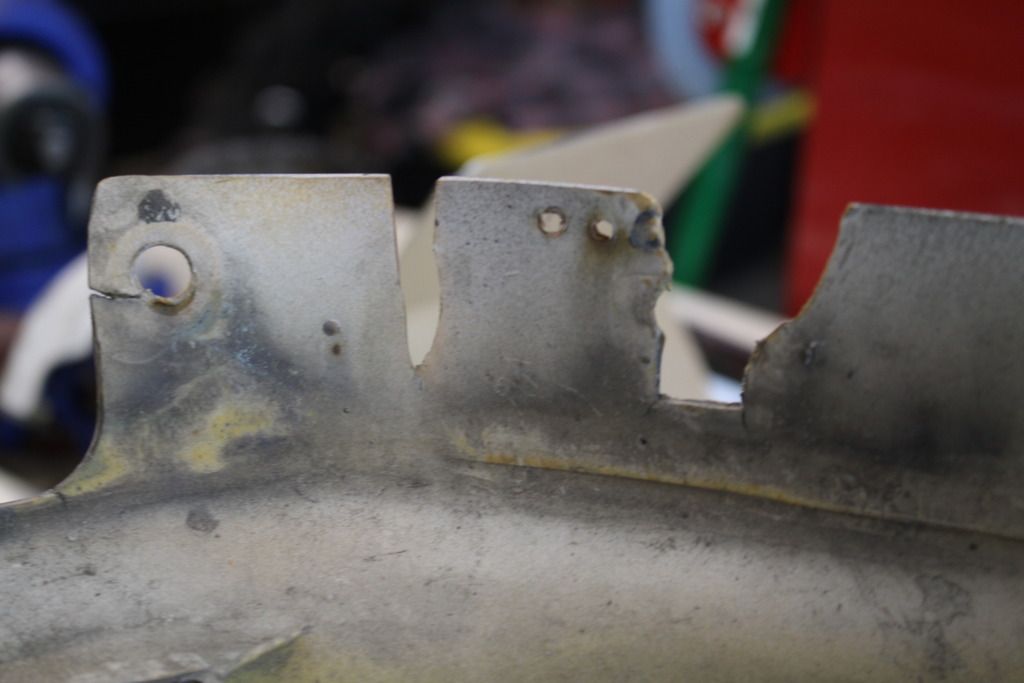
    I wish I had a better starting point for this but I'll see if I can salvage this piece. The skirts are in good shape with no breaks or cracks, the rear valance has a small break by the exhaust cut out but I didn't grab any pics of it. Stay tuned to see if I can make these work.
    Last edited by dahows; 06-03-2016, 12:09 AM.
    sigpic
    84 323i

    Comment


      #47
      It was a hot weekend in the Northwest with temps hitting upper 90's but that wasn't the only reason I was sweating, drilling into the front fenders was nerve-wracking:


      Fortunately I had help from a couple buddies, Jim and his son Jamie...they showed up in Jamie's extremely nice vert.


      The skirts are a little warped but hopefully they'll straighten out once fully mounted.


      The last couple nights I worked on the front valance and fitting it to the bumper after repairing most of the connecting tabs and the big crack on the bottom of the valance.

      before:


      after:


      There's more but you get the idea, I think it will work out.


      Getting closer but still need to finish test fitting the rear before I can get these into paint.
      sigpic
      84 323i

      Comment


        #48
        nice progress. Id be a wreck too poking holes in the fender!

        COTM

        Comment


          #49
          :)

          Car looks great! Not sure why you drilled holes in the fender?? Is there a bracket that goes under the side skirt?
          I did not put this on my m-tech, but the side skirt fits fine.
          jm

          Comment


            #50
            Coming along nicely
            Continuous For Sale Thread
            323i s50

            Comment


              #51
              Originally posted by N2MYE30 View Post
              nice progress. Id be a wreck too poking holes in the fender!
              Thanks, it was not fun.

              Originally posted by 2002jm View Post
              Car looks great! Not sure why you drilled holes in the fender?? Is there a bracket that goes under the side skirt?
              I did not put this on my m-tech, but the side skirt fits fine.
              jm
              Thanks jm. I used the plastic brackets I think that are supposed to be used. I seriously thought about just attaching to the lip of the fender but had the brackets and was concerned about the amount of lip that was available.

              Originally posted by Court M3 View Post
              Coming along nicely
              Thanks, never seems to go as fast as I think it should but it's getting there.
              sigpic
              84 323i

              Comment


                #52
                Overdue Post

                This is long overdue; in June I had just finished repairing the front and rear valances. I contacted a couple local paint shops but couldn't even get a callback. I guess everyone was busy with full paint jobs and didn't want to take on a crappy old body kit. I finally called Bill Hall Body & Frame. Bill has a great reputation but is on the spendy side. Bill said he doesn't usually do body kits but agreed to take a look. I loaded it up and swung by his shop; even though I had done a lot of repair work, he said the prep work would be a killer and he didn't want to take it on. Bill said if I sanded it down, he'd paint it. He advised me not to chemically strip it as it would leave it brittle.


                So I started sanding. The front and rear valances had 4 and 5 coats of paint. It was a bitch, I spent over 2 weeks sanding these pieces. The ribs on these pieces were a real challenge, I ended finding a sanding disk for my dremel that worked pretty well.


                I picked up the pieces a few days ago and they look great. There are a few defects in the plastics that I couldn't completely hide but the paint finish and color look fantastic.


                The front is ready to go and will wait for the engine install before I mount it.


                I prepped the rear valance, it has a couple depressions that are pretty noticeable but there isn't much that can be done about those. I don't have pictures of these right now but will post em later.


                I've been spending time getting the engine prepped and installed (I'll post up some pics tomorrow) but wanted to get the rear spoiler mounted as the insert was sitting on the bench and I'd moved it a few times already, I didn't want it getting scuffed or scratched.

                Before


                After


                I've pieced this kit together over several years and have had it stored, waiting to get it painted and installed. So cool to see the first piece on the car. More to come soon...cheers.
                Last edited by dahows; 08-07-2016, 11:46 PM.
                sigpic
                84 323i

                Comment


                  #53
                  Coming together quite nice!

                  I need to start hoarding mtech 1 stuff asap
                  Instagram : makeitsnap

                  1985 e28 520i

                  Comment


                    #54
                    Wow looks great, can't wait to see those on the car.

                    Comment


                      #55
                      David! We need updates!!!
                      '72 2002 pickup | '88 M5 | '89 330is | '89 M3 | '01 Z3M | '11 328xi-t

                      Comment


                        #56
                        I removed the sheet metal shifter from the car in preparation for the new shifter.


                        I had a UUC shifter with the old setup and loved it, I picked up the evo3 from UUC with the DSSR.


                        Transmission prepped with new seal, guide tube, fork lever, ball pin & throwout bearing.


                        I picked up the UUC lightweight flywheel and e34 m5 clutch from another member here. This was from a scratch and dent sale or something and didn't receive the signature blue anodized coating. Shown here with my getto flywheel lock.


                        With the clutch installed


                        And the transmission mounted


                        The headers are ebay headers that have been ceramic coated.

                        My wife helping me get the lump in the car.


                        Finally in place.


                        Pretty much where it sits today, I was hoping to have this ready to take to Monterey but just had too many delays.
                        sigpic
                        84 323i

                        Comment


                          #57
                          I have to ask

                          most of these oem Mt1 kits are pretty rough. What exactly did you use to weld these pieces together. Oh, I will leave it up to the professionals but am just curious what it takes. Your work looks impeccable.

                          Comment


                            #58
                            Originally posted by Javier h View Post
                            most of these oem Mt1 kits are pretty rough. What exactly did you use to weld these pieces together. Oh, I will leave it up to the professionals but am just curious what it takes. Your work looks impeccable.
                            Thanks man. I used Lord Fuser products...extreme bumper repair with some of their prep products and reinforcing mesh. I probably should have had it plastic welded but I wanted to try and repair it myself. I think it turned out pretty well, the paint is excellent and a prefect match as far as I can tell under shop lights.

                            I'm leaving for pebble beach tomorrow, riding along with a couple buddies and hitting Legends, Laguna Seca, and we got on as class hosts at the Pebble Beach Concours. Unfortunately I can't stick around for Oktoberfest...could only get a week off at the new job.
                            sigpic
                            84 323i

                            Comment


                              #59
                              Hanging out with the coupe crowd ahead of legends.


                              sigpic
                              84 323i

                              Comment


                                #60
                                This dude showed up with this sweet '02


                                Some interesting bracing going on. Not sure if you can see it but the valve cover is connected to the strut bar by way of a transmission mount.
                                sigpic
                                84 323i

                                Comment

                                Working...
                                X