-
Definitely still here and appreciative of thread updates! Thats a crap load of wheel sets. Are those ssr's lighter than the kosei's?
I accidentally won an ebay auction for some style 3's and now I'm thinking about 5 lug swapping.Leave a comment:
-
I'm still here! Running a skeleton crew of true enthusiasts. Haha! Too bad those wheels aren't 4x100... Love your setup. Keeps me motivated.Leave a comment:
-
Small update... kind of depressing how dead the forums are.
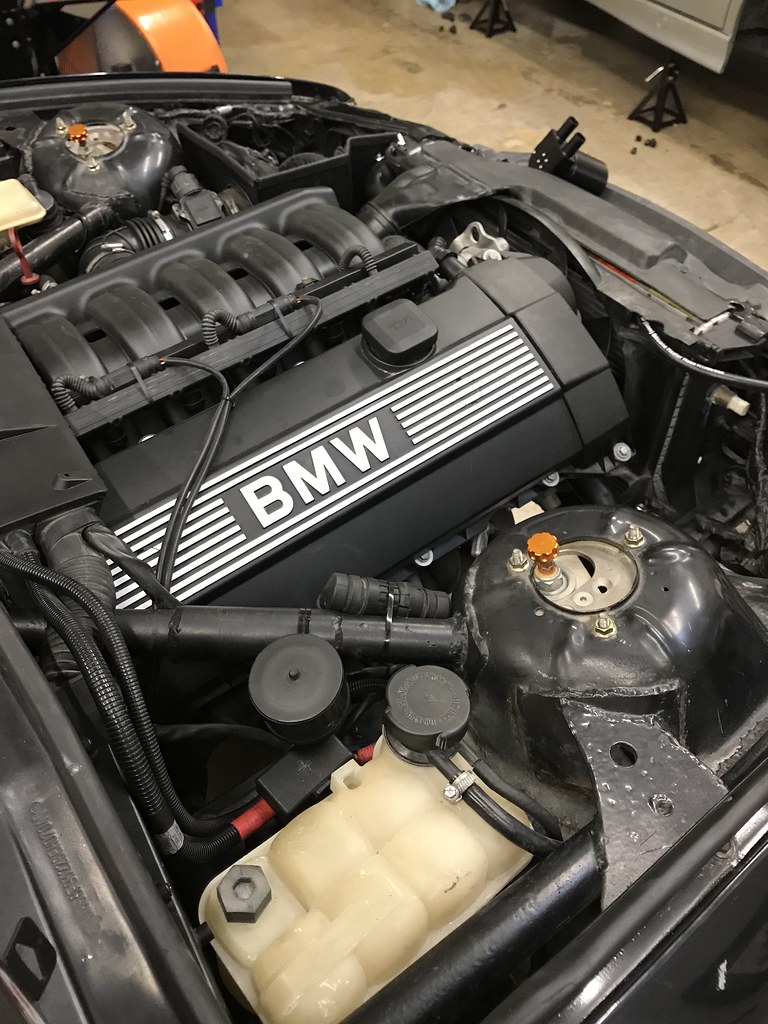
Headed back to Sebring this weekend. Since Homestead, I haven't done too much. My big project was adding some more peripherals, and then hardwiring ALL the peripherals. For instance, I was charging everything every evening at the hotel when at track events. Now I added in a transponder and an AiM Solo2 and I wasn't about to be charging even more things! The transponder and Solo2 are 12v, and the other 3 are 5v. I bought a small 3 port 5v USB car charger with a cigarette port, and then just cut that off and hard wired it to the car. I added in a switched bus bar for 12v switched power, and put everything on that. It's mounted high on the tranny tunnel, underneath the dash. I put power to the bus bar from the original cig lighter wire, which is 12v constant. I put it through a switch though. It's nice because you can turn on and test the peripherals without the key on. For instance, I had the car hooked up to the battery charger the other day, so I also switched on all the peripherals to make sure they are all fully charged as well before I go to the track this weekend. The batteries don't REALLY need to be charged, but they are a fail safe in case something happens with the wiring. Otherwise, they are all going to run off the car from now on (permanently plugged in).

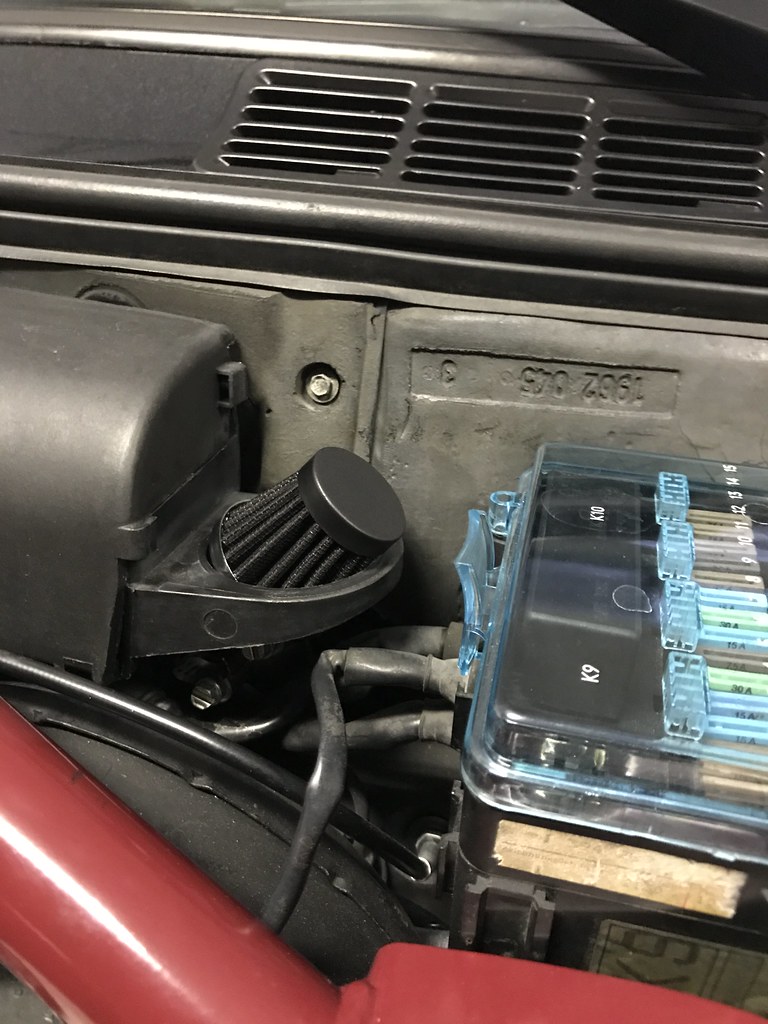
Made a bracket for the transponder. It's mounted where the little A/C drier was in the front right corner of the engine bay, behind the passenger side headlights.

Solo2 mounted to the left of the wheel, Mylaps Racekey mounted to the right of the tablet dash. The Racekey is part of the transponder system.

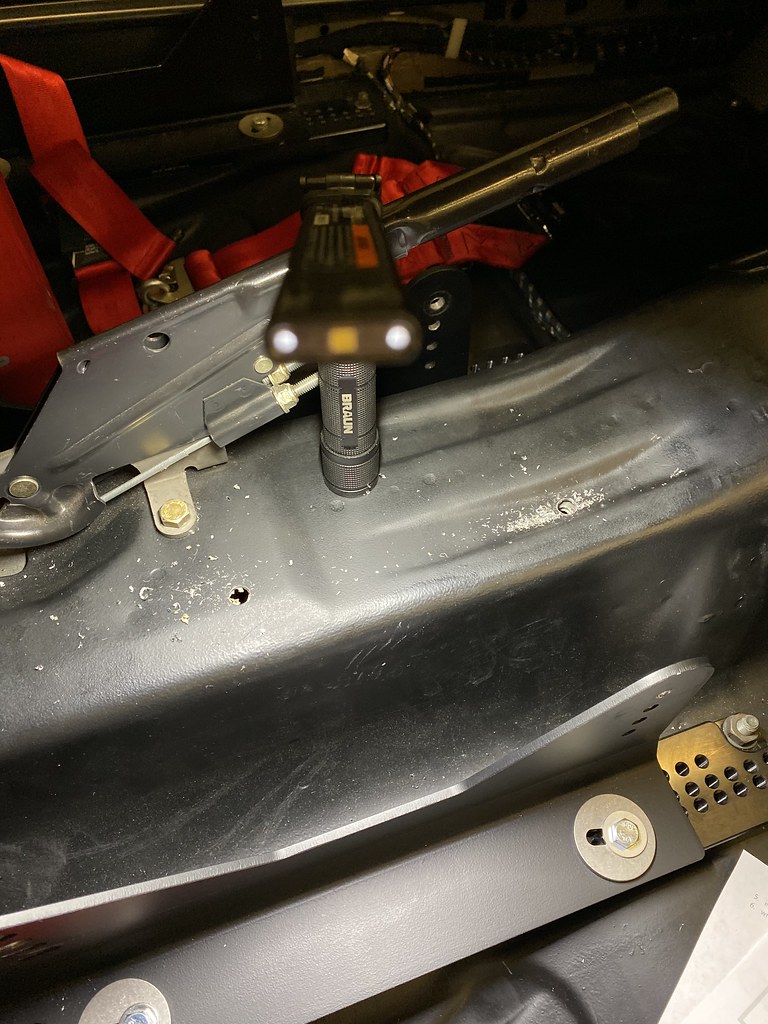
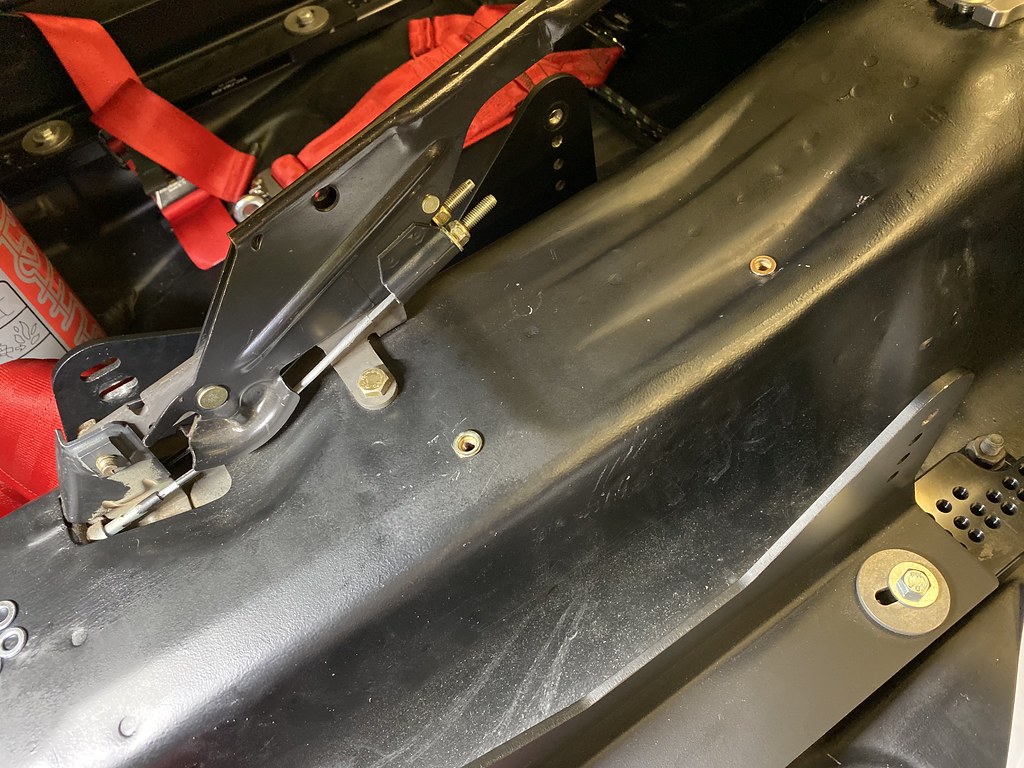
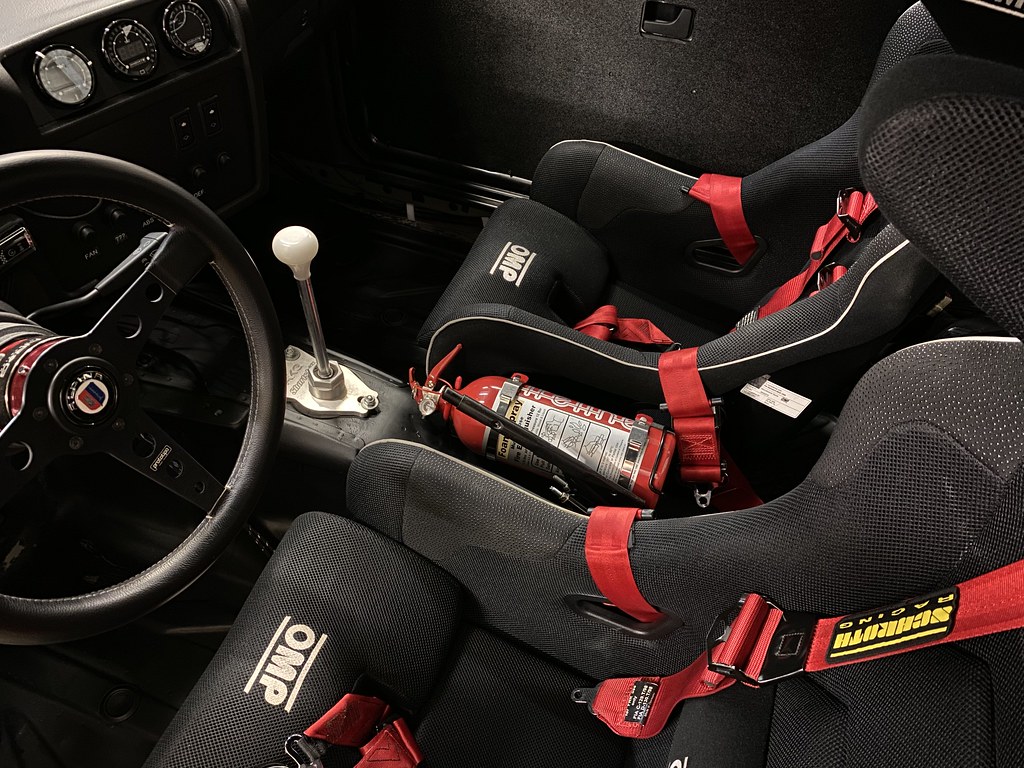
I mounted a small 1.75L foam fire extinguisher next to the ebrake. Marked it up, drilled holes, used M6 rivnuts and some steel spacers for the bracket. To lift the bracket up off the center console a little bit.
I bought some more wheels locally. I need to clear some stuff out. Most of these are on the way out. The 17x9 SSR Integral A2's are going to stay, those are going to go on the E36. I am not sure what is next for my car. I fit 13 wheels in the back of the X5 easily and could still see out the back window. Then fit 12 more the next day to get all the tires dismounted.

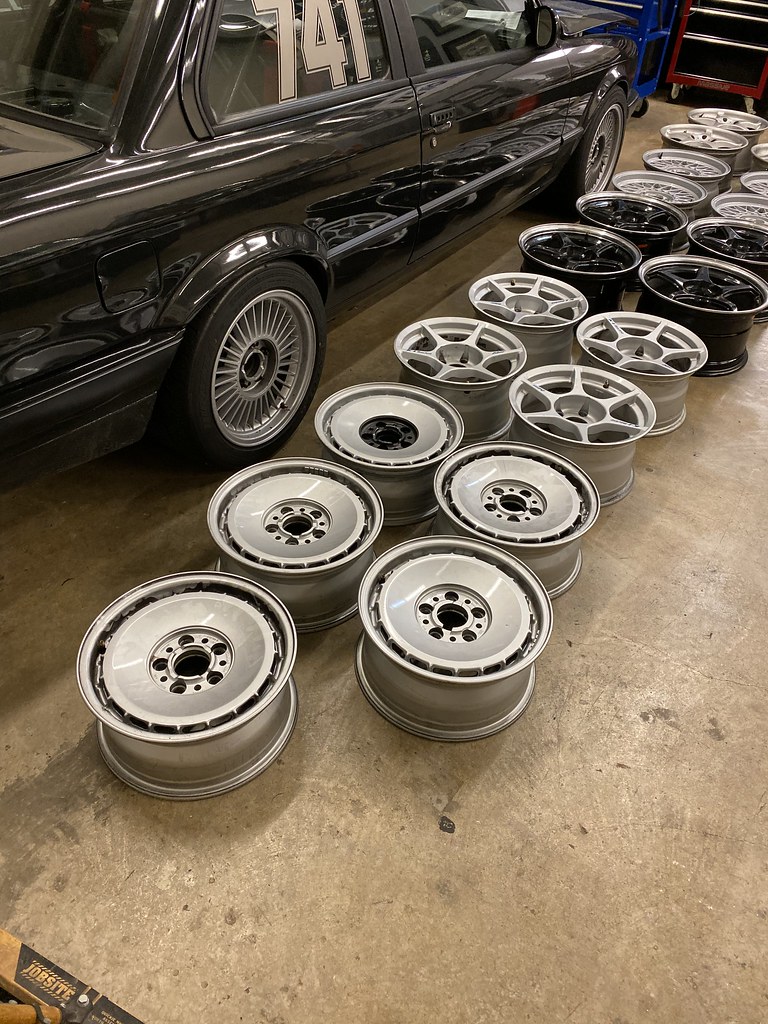
These are my latest obsession for the E30. SSR Comp C's in bronze. They are stupid light. Maybe I'll find a set to run...
 Last edited by Digitalwave; 11-07-2022, 01:31 PM.
Leave a comment:
-
Well I've been meaning to post an update! First off with the E36, since there isn't too much new there.
Last we left off, I got it running! It fired right up once I had everything sorted out. I did an M50 manifold swap and left the OBDI IAT sensor in the manifold. As it turns out that's a no-no since they read differently than the OBDII sensors. I'm sure a lot of people have done this and never even realized, because the OBDI sensor will plug right into the OBDII harness. I bought a Bimmerworld re-threaded OBDII sensor to fit the OBDI manifold.
I have a bunch of parts waiting to go into the M3. I pulled the tranny as the 5th gear detent pins were shot. I ordered the parts but dropped it off at Road N Race to have them install the detents and a new input flange on the diff (it was removed for an unknown reason). I didn't want to mess with either of those things, plus I've been busy.
Good news on the M3 front is that the diff is built! Looks like Racing Diffs 30/60 ramps. I am not sure how many or what clutches, but this is another nice hidden gem in this car that I picked up for a song.

I strongly considered putting this diff in my E30, but in the end I think it's going to be less work to just have the E30 diff built up eventually. Plus, after the labor to swap the guts of both diffs, the price difference probably wouldn't be that great.
The engine bay is pretty much done at this point. Remaining things to do include putting the tranny, driveshaft, shifter assembly, and diff back into the car. Then reinstalling the brakes and doing a full nut-and-bolt check. Past that I just need to put a seat and belts in the car, get it aligned, and it should be pretty much ready to go.


Lastly, this JGTC car is my inspiration for the E36. Going to come up with a livery somewhat similar, which will be easy as I have most of the red body panels already!

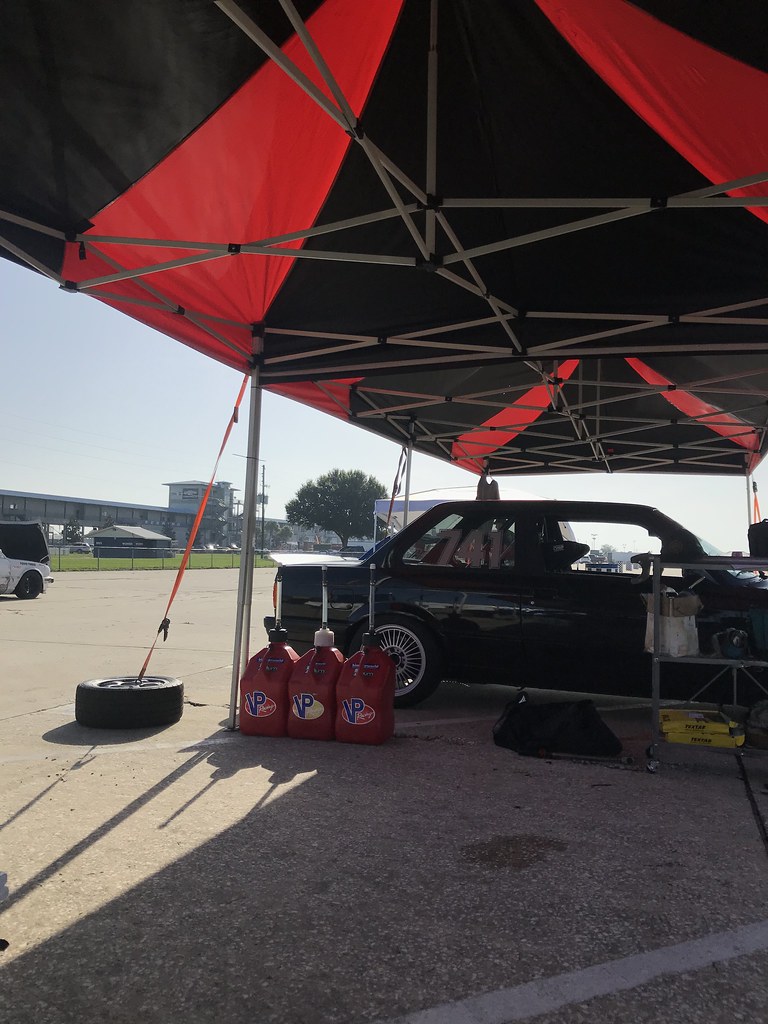
Got a fuel jug rack for the trailer.

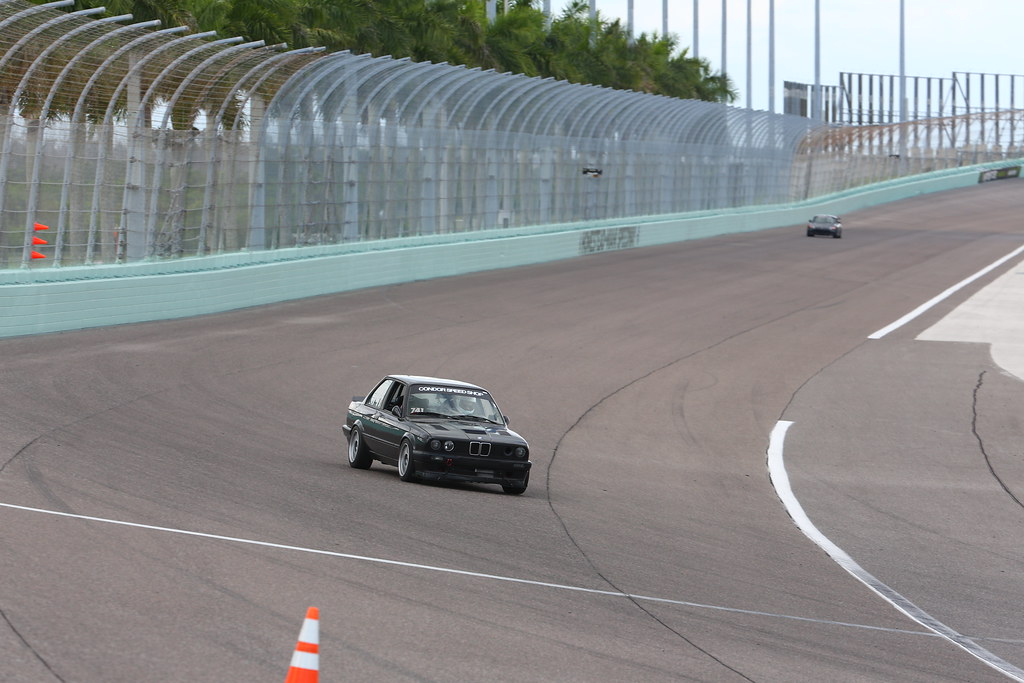
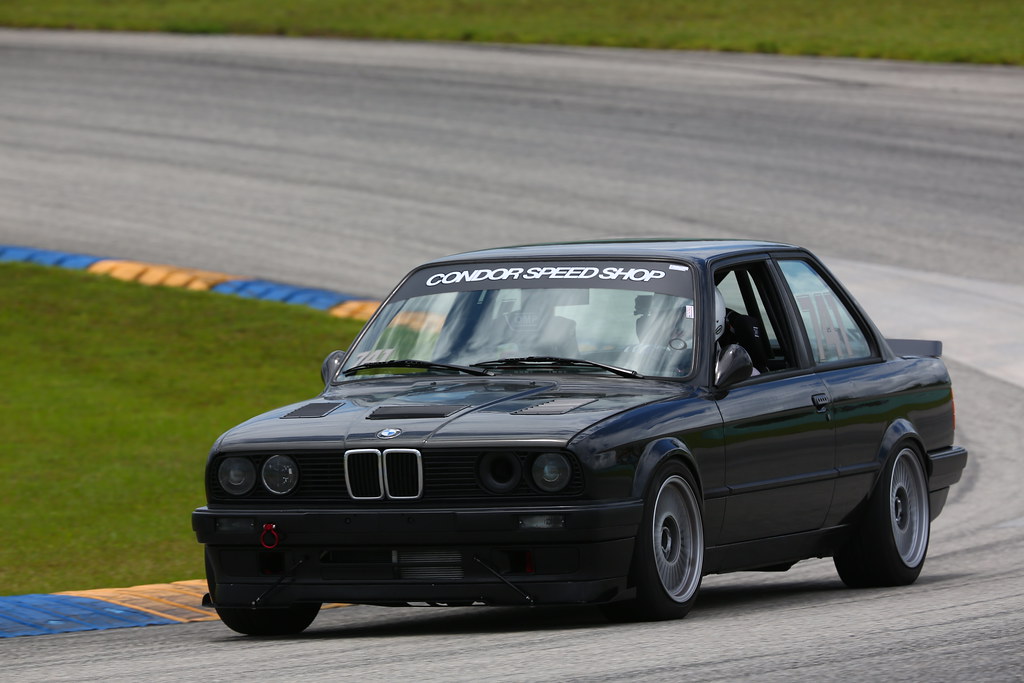
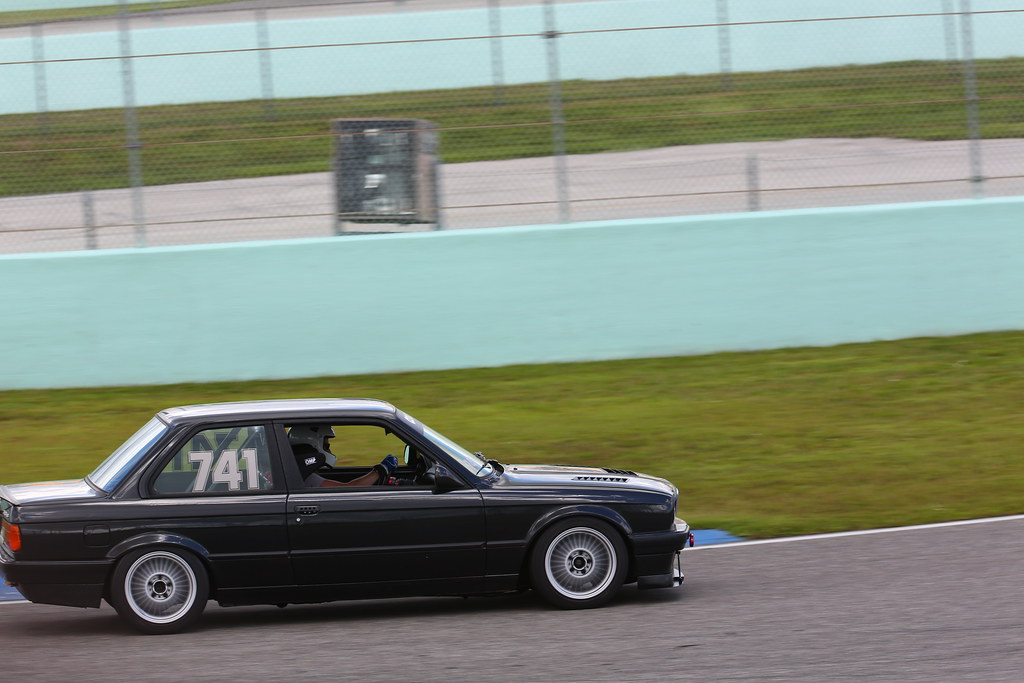
Had a successful outing at that track in Sebring in June. Nothing new to really report on the car. The new brake rotors look brand new still with the cooling ducts and backing plates on them now.


After Sebring I didn't do much to the cart other than a safety check and nut-and-bolt, but the one project I did do was putting heat shielding back on the exhaust. I didn't have anything save for the little bits in the engine bay. I had to modify the area by the CSB due to the custom exhaust, and I also added in some DEI heat insulator to the heat shield by the gas tank as well as on the gas tank itself. Having nothing there and the exhaust being so close, I am sure I was heating up my fuel more than necessary!
Section by the muffler.

Wrapped the section by the gas tank in heat insulator:


Had to make some cuts to clear the hangers and the curve near the CSB:

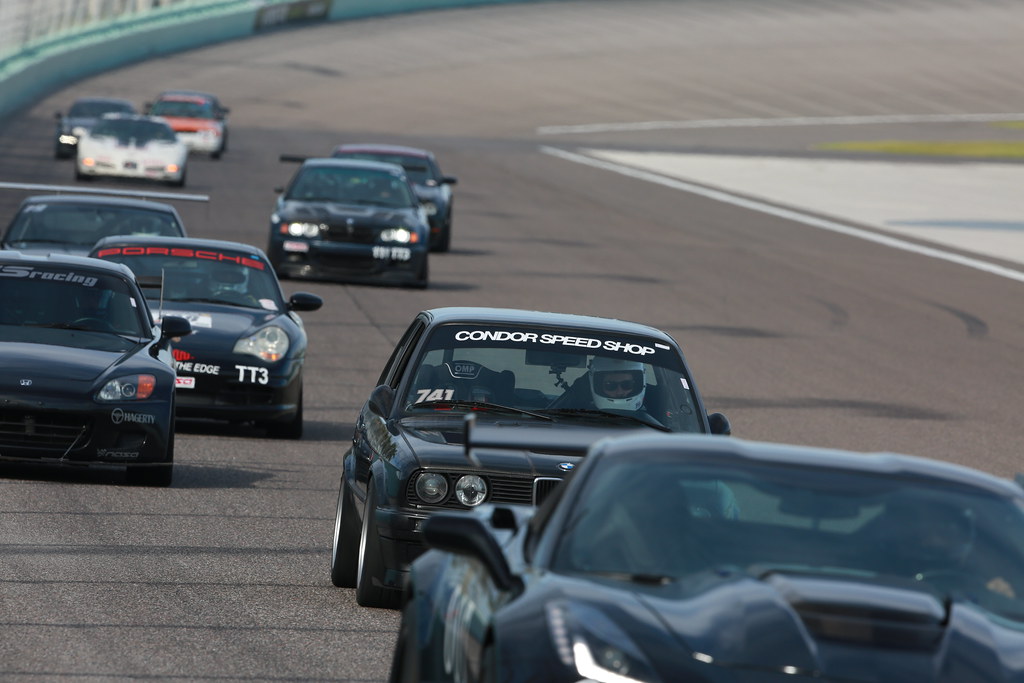
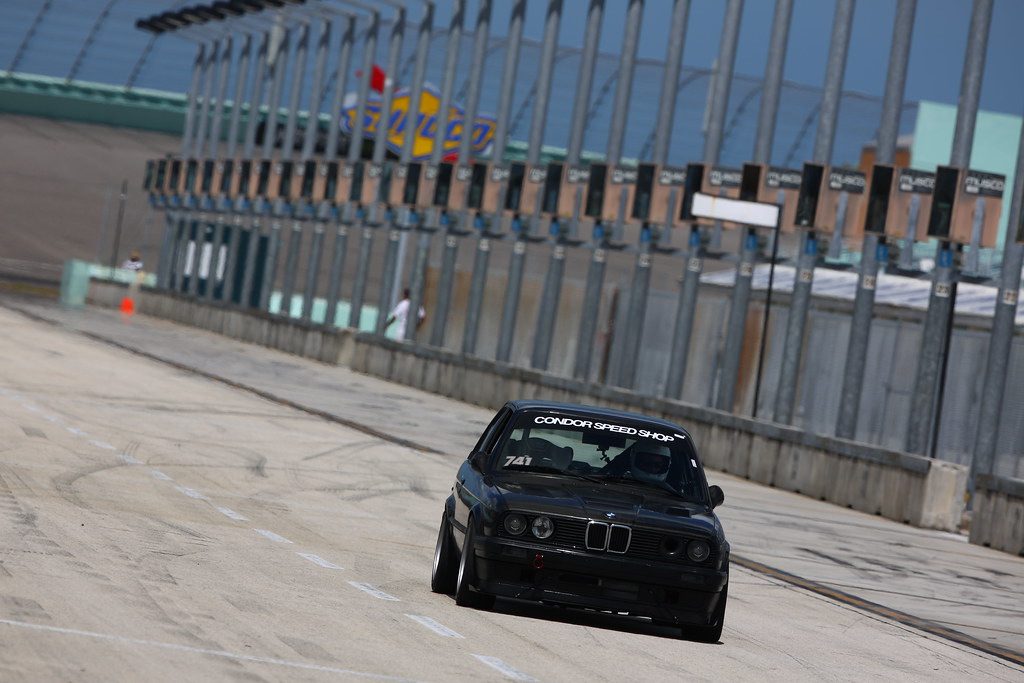
On the road to Homestead. Miami traffic is horrible.

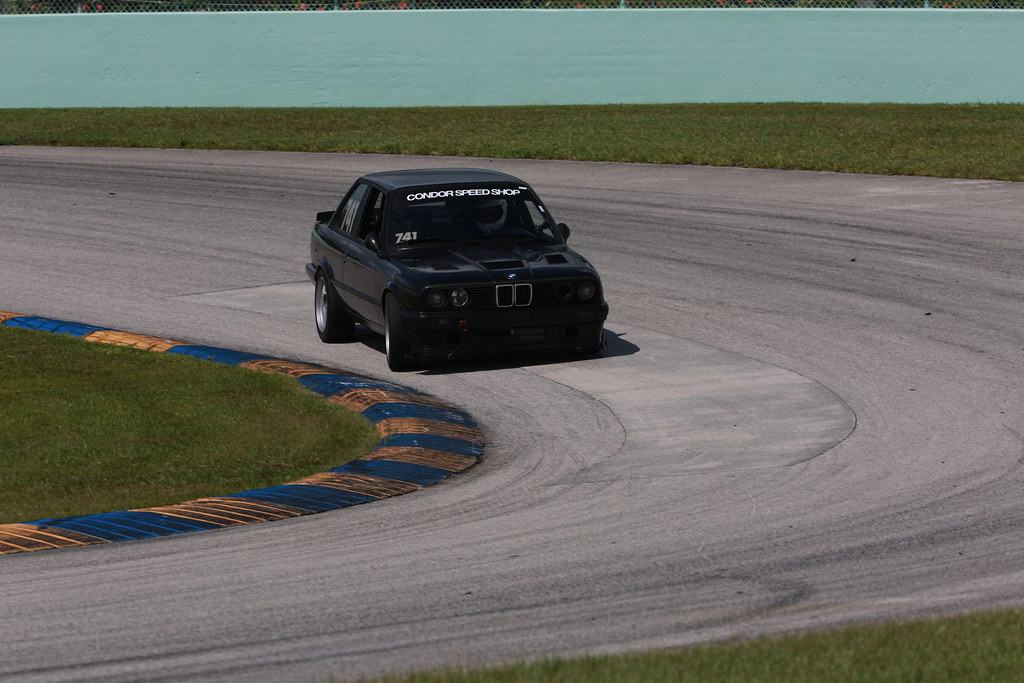
Cool photo taken by Carlos at Condor Speed Shop:

That's it for now. Not sure what is next. The car needs a good cleaning! I will probably work on some small cosmetic projects soon. The car doesn't need anything major mechanically, although I do need to get it on the dyno again for NASA TT power:weight classification.Leave a comment:
-
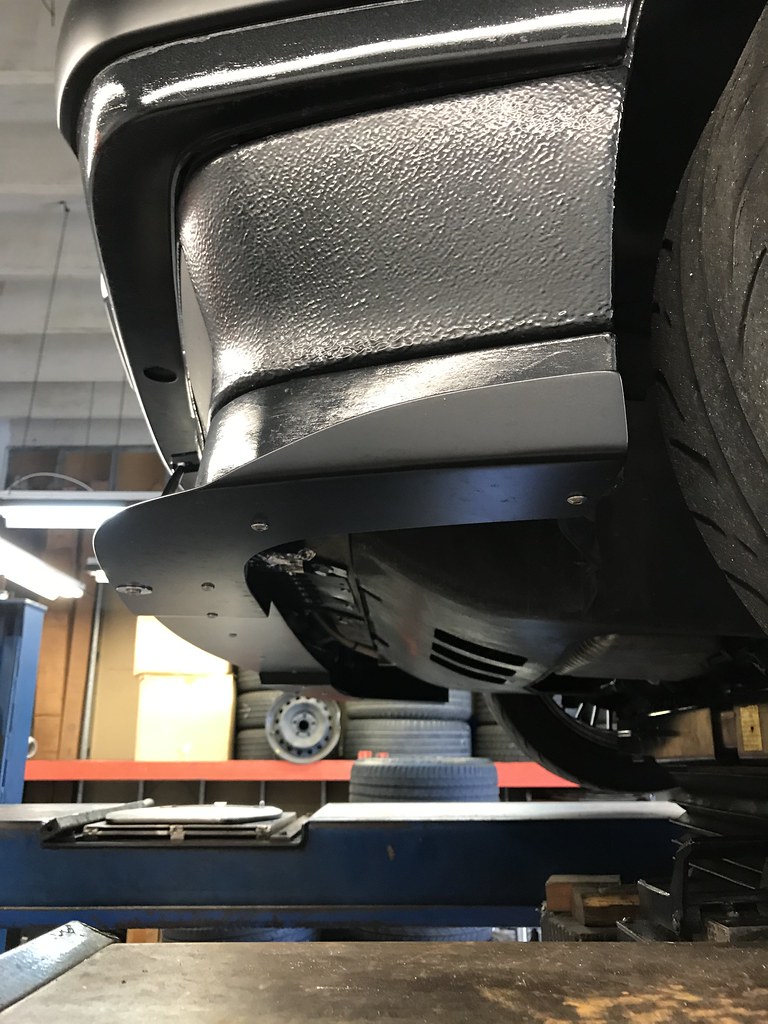
The stock plastic undertray doesn't have much to do with the radiator, more with engine bay aerodynamics and oil pan cooling. I also more recently used it for holding/mounting my brake ducting tubing.
The tranny overflow vent tubing is 1/2" whatever tubing I could find at the auto parts store. It's not important what it is; this is probably coolant line. I used hose clamps because I did it while the tranny was in the car, but some day I'd like to put a fitting on it. There isn't much meat to put the hose clamp on. I originally used 2 or 3 feet of tubing and eventually I pushed fluid all the way out of that! I added in another 4 feet and coiled it up by the intake manifold and haven't had any problems since. I'd do at least 5-6'.Leave a comment:
-
Love reading about your build. Yours and Jordan's are my favorite going on right now (besides mine of course!)
This is something I want to do to my G260 before it goes back in the car. What kind of hose did you use? Fuel? Did you use a hose clamp to attach the hose to the metal breather tube? Or did you tap the outside of the metal breather and use some kind of female fitting?Thanks!Leave a comment:
-
-
-
-
-
I can measure it but IIRC it's about 8" long. 3" to 2.75" coupler from the intake to the tube. The 2.75" tube is a really tight fit into the silicone intake elbow I have. The stock rubber one probably has more play/give.Leave a comment:
-
Do you recall how long the AFM delete tube was? Also is your intake the KAM unit with a 3" to 2.75" coupler on it? I'm getting ready to set up my MS2 and am using your car as a model. Thanks in advance!Leave a comment:


Leave a comment: