A 50 year old Japanesse lady: SRL311 01228

Collapse
X
 
  • Time
  • Show
Clear All
new posts

  • 2mAn
    replied
    Got my starter back a few days ago but because it was finals week the box sat in the corner until today. I also bought some heat shield stuff to prevent the starter from cooking like the 1-year old one seems to have done. Couldnt quite completely cover up the header like I wanted... yet....

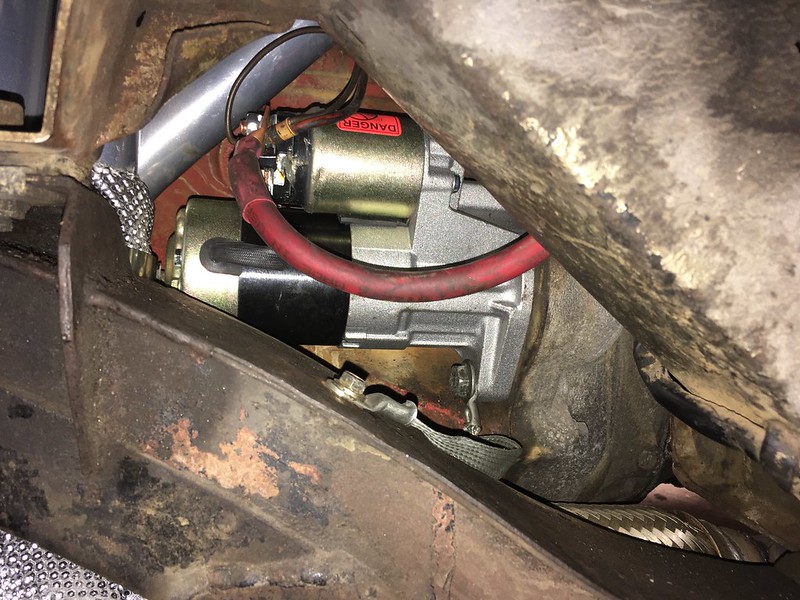
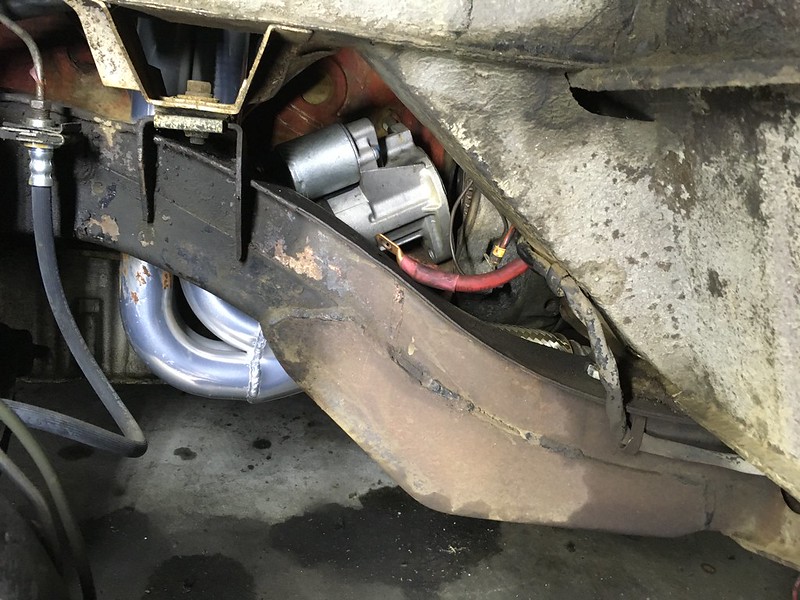
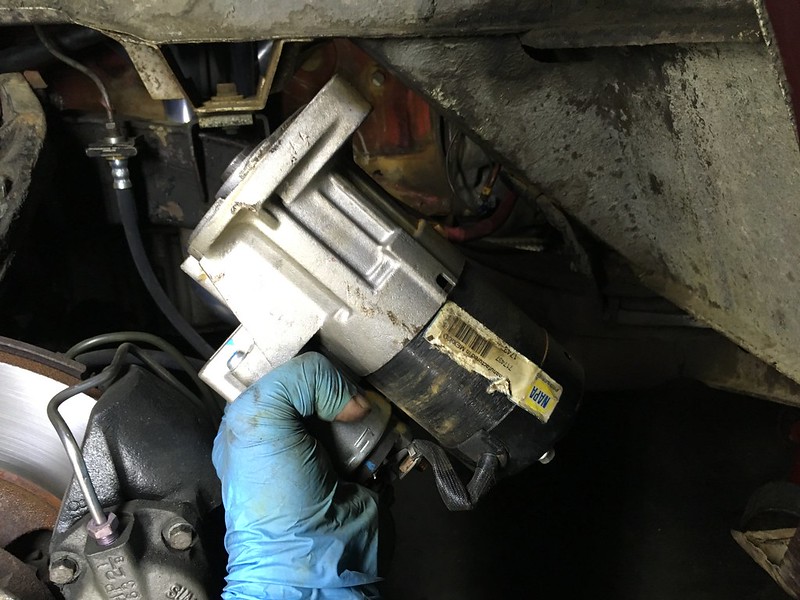
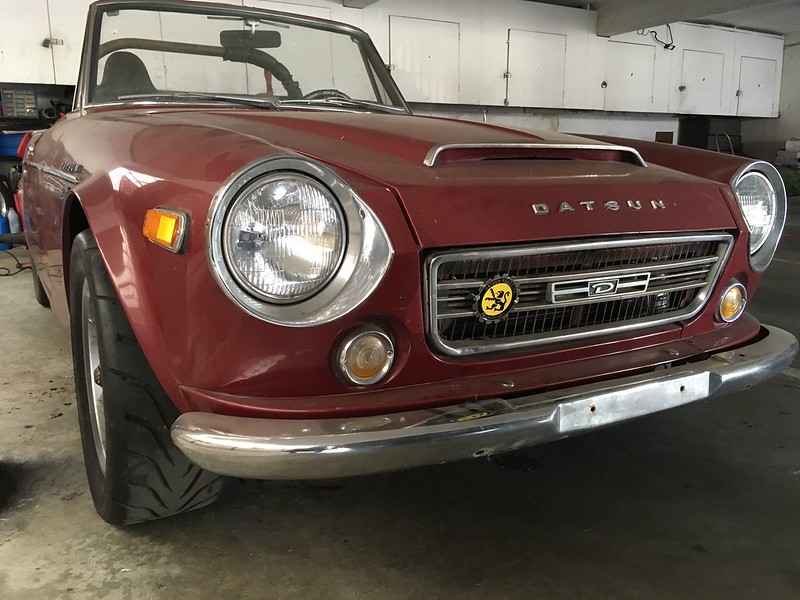
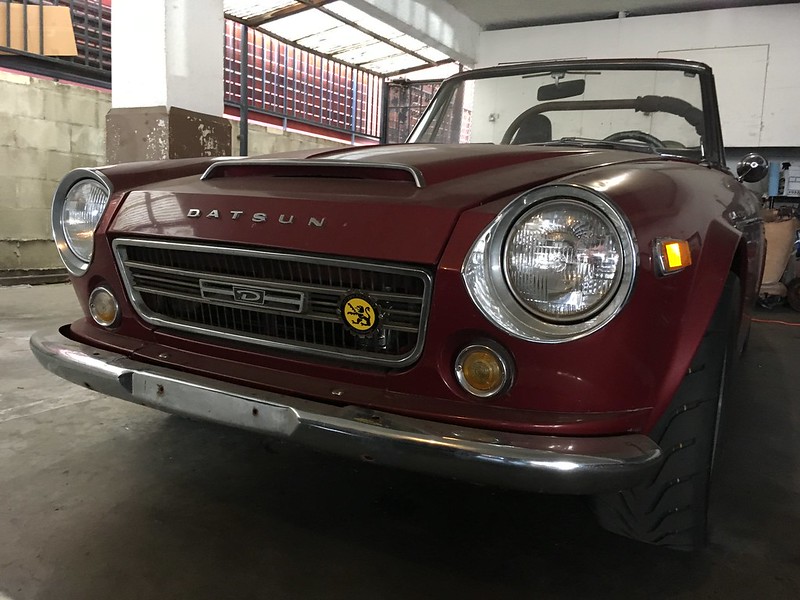
    More importantly, the starter is installed and I added a ground since I saw it on one of the 311s thread. This was a leftover from BavRest


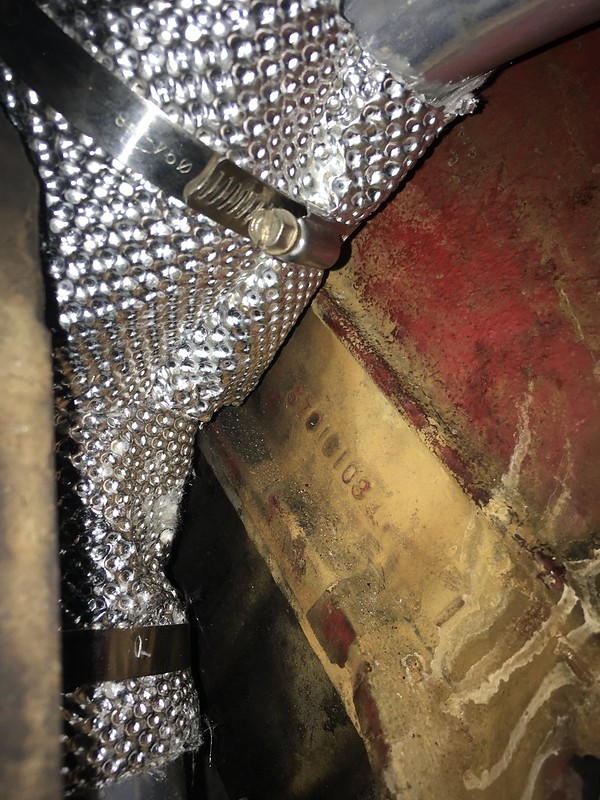
    luckily most of the area facing the starter is covered... I will get the entire header piping down to the collector wrapped

    Leave a comment:


  • jph
    replied
    Super cool car man! I knew you had a Datsun, but assumed it was a 280 or something similar. This thing is wicked awesome. Keep up the great work.

    Leave a comment:


  • 2mAn
    replied
    Had some time to kill in between waiting for the SEM trim paint to dry and no starter to install on the Roadster, so I worked on something else I wanted to do...

    I never really liked the black, and had an idea... It took some time to get it down to bare metal but Im pretty happy with it. Probably need to clearcoat it so it doesnt rust though


    Now to just wire it up and make it functional haha

    Leave a comment:


  • 2mAn
    replied
    Drove the car to school on a nice, hot, sunny day 2 weeks ago. Thought the view looked nice so I snapped a pic


    I thought this might be the last pic with this rollbar. I had a nice road trip to Santa Barbara planned out to trade the rollbar for a tonneau cover, as my current rollbar isnt going to legit for racing....

    buuuuttttttt

    Friday the 13th struck and the Roadster decided it didnt want to start. Lots of b!tching and moaning later and I knew I needed to pull the starter. More b!tching and moaning about it, but finally decided to get to work the other day. Spent a few minutes getting started. Got the easy bolt out, along with disconnecting the power cables. Yesterday, I spent a few minutes on the car and got the top bolt out... jacked it up and took the wheel off and this is what I was staring at:


    A little manuevring and success! I probably spent more time complaining about this, than it actually took to remove it.


    I also had an idea and thought I would try it out... my friend bought this sticker for me a while back and I finally found the place to put it.


    I still have a few petrolicious stickers to put on the car and some other cool ones that Im VERY excited about, but for now Im going to deal with the starter and hopefully I can finish getting this rollbar traded out so I can get the car prepped for the drive up north in about a month...

    I hope to have a new starter in my possession next week, and driving the car next weekend.

    ...stay tuned....

    Leave a comment:


  • 2mAn
    replied
    My battery has been dead pretty much since I got back from Solvang. Ive been having to jump start the car, but the battery would still be dead afterwards, so per Wills advice, I ordered an Odyssey battery and "box" to mount it to the car. Well, the Odyssey battery arrived just as we got back from our daycation in Catalina Island, but due to my BMW acting weird and World Cup soccer, I didnt get a chance to install it until today. Will told me the areas to drill would be obvious and they were. Was a fairly simple and straight forward install. Now begins the fun part of routing the wiring to the kill switch and getting that part done.

    Admiring my purchase and wondering if this game would ever end... England got lucky, but they did what they needed to do to advance


    Now, mounted solid


    It fired up the car fairly easily, you could tell its a strong battery. I still disconnected it because I dont want it to get drained while sitting...

    Hope to get this kill switch completed soon and then its on to the next big item :)

    Leave a comment:


  • jeenyus
    replied
    It's one of those cars you just gotta look at. would you just look at it?

    Leave a comment:


  • parkerbink
    replied
    Looks great, I wonder whose cool blue e30 that is behind it in the front end pic.

    Leave a comment:


  • 2mAn
    replied
    Originally posted by jeenyus
    I think the mirror location is awesome. I've started to really set my eyes on some vintage Japanese. Maybe like an older Corolla or something would be really cool. Dream car, obviously would be a C10 Skyline, but that is almost impossible to get at a reasonable price. Love the Fairladys. They are starting to climb in price too.
    I got a chance to test out the mirror location yesterday while driving it around it is absolutely perfect. an absolute win-win. Its not going anywhere and I dont care that theres a hole in my door for the actual mirror. Got back home and parked it outside so I could snap some daytime shots...

    Typical angle, the shadow ruined it though....


    I like this angle a lot


    and I love this one.


    Hope to get my battery situation fixed here soon so I can put some miles on it this summer before driving it up to Laguna Seca in 2 months

    Leave a comment:


  • jeenyus
    replied
    I think the mirror location is awesome. I've started to really set my eyes on some vintage Japanese. Maybe like an older Corolla or something would be really cool. Dream car, obviously would be a C10 Skyline, but that is almost impossible to get at a reasonable price. Love the Fairladys. They are starting to climb in price too.

    Leave a comment:


  • 2mAn
    replied
    Originally posted by parkerbink
    Nice!
    Originally posted by jeenyus

    Great work.
    Thanks guys!

    Messed around with the car a little more. Finished up a few minor things and took her out for a spin. I love driving this car, its an instant smile on my face. Life just seems less stupid when Im driving the car...

    I got home and decided it was time to see how the Talbot mirror would look where the antenna goes... Will was correct when he told me it was going to be useless in the OEM spot, but while I was driving around, I noticed that there was a perfect little pocket in my line of sight where the antenna was. Pulled the antenna out, grabbed a few spacers, liked the shape in relation to the fender curve and bolted it on with one of the two bolts. purrrrfect!


    Ive got some more plans and Im excited that the car fired up, I was getting paranoid about the new tank. I need to ditch that battery and get something lighter along with wiring in the kill switch so I can move one step closer to actually taking it out and letting her sing at WOT on a closed course.

    Leave a comment:


  • jeenyus
    replied
    very cool. I love POR15. That stuff makes old shitty look, new shiny.

    I even used the POR15 on fiberglass cloth to seal holes or patch rust spots; like in my battery tray area.

    Great work.

    Leave a comment:


  • parkerbink
    replied
    Nice!

    Leave a comment:


  • 2mAn
    replied
    It really had been a thorn in my side that I hadnt completed the POR15 job on the pass floor, so last night I went bananas on it to get it all down to metal so I could get it done

    Started the 3 step process and while the metal prep was drying I went to go buy some tan paint, found a khaki color that looked good and fairly close so I got that and took one final "before" pic


    POR15 laid down and the rear shelf "done"


    POR15 pretty much done. I also used whatever POR15 was left in my starter kit. I will need more for the driver side and any other pieces that will need POR15 down the road. I still have plenty of prep stuff left though, so thats nice


    and this is my "finished" pic.


    When I peeled the masking off, I did a little blending, but I will finish off the tunnel when I get to the driver side. The tunnel has some really stubborn areas that dont want to go to bare metal so all of that will be fun to deal with soon...

    I guess thats one step closer to finishing the interior. I have a few things in the plans here in the near future so I hope to get to those sooner than later

    Leave a comment:


  • 2mAn
    replied
    soooo I didnt add any fuel to it, BUT since I finally got the badge on the front, I figured I should ramp up the effort to put the badge on the rear.

    a 311s.org member sent me some good pics with measurements that gave me confidence and a good general area to make sure I was good to go. Oddly enough, my spacing was different than the ones he sent me, but the height and spacing was good enough to make me bust out the drill...

    Im happy with the results :)

    Leave a comment:


  • 2mAn
    replied
    so update on the rear axle. I used a reversed drum slider idea and oddly enough, the opposite side of what I was yanking on came out, but the side that had more rust continues to be a pain.


    so rather than stay frustrated with it, I moved on to the other tasks I had. One was
    to finish trimming the pass side bump stop. I had forgotten to do it, so I got that done. Im happy with the finished product.


    With that crossed off the list, I figured I will tackle something easy and while I stared at the car, it occurred to me that I had some extra lugs from that other axle and I pulled the 3 random lugs off and installed the spares. Boom, small difference. That done, it was on to the next thing that had been on my mind.

    Some people on the 311s forum recently purchased a lot of Roadster Griffin grill badge. Obviously the people who assembled this and shipped it out have never installed it on a Roadster because this little blunder prevented me from actually installing it... that backing plate needs to be as wide as the holes on the badge itself.


    I dug through my random metal pieces, and got lucky again! :P


    Here is the piece, trimmed and ready to install.


    Installed it on the pass side first, wasnt too stoked on how it looked


    and here it is on the other side, I like it better here. It blocks the overflows overflow haha


    I ended the day by trying to jump the car, but it just didnt want to kick. I knew the tank was nearly empty because when I had swapped the tank I emptied it and filled up the BMW. I will add two gallons tomorrow and try again

    Leave a comment:

Working...